Tengan todos una feliz y bendecida tarde, espero se encuentren muy bien... Es grato acompañarlos hoy y traerles un creativo tutorial de costura dónde te contaré cómo transforme un vestido en una linda, suave y cómoda pijama de damas. Últimamente he sacado algunas prendas que ya no uso para convertirlas en algo más, prendas que en algún momento decidí guardar porque me gustaba algo de ellas, como es el caso de este vestido...
Have a happy and blessed afternoon everyone, I hope you are well... It is a pleasure to accompany you today and bring you a creative sewing tutorial where I will tell you how I transform a dress into a pretty, soft and comfortable ladies pajamas. Lately I have taken out some clothes that I no longer use to turn them into something more, clothes that at some point I decided to keep because I liked something about them, as is the case with this dress...
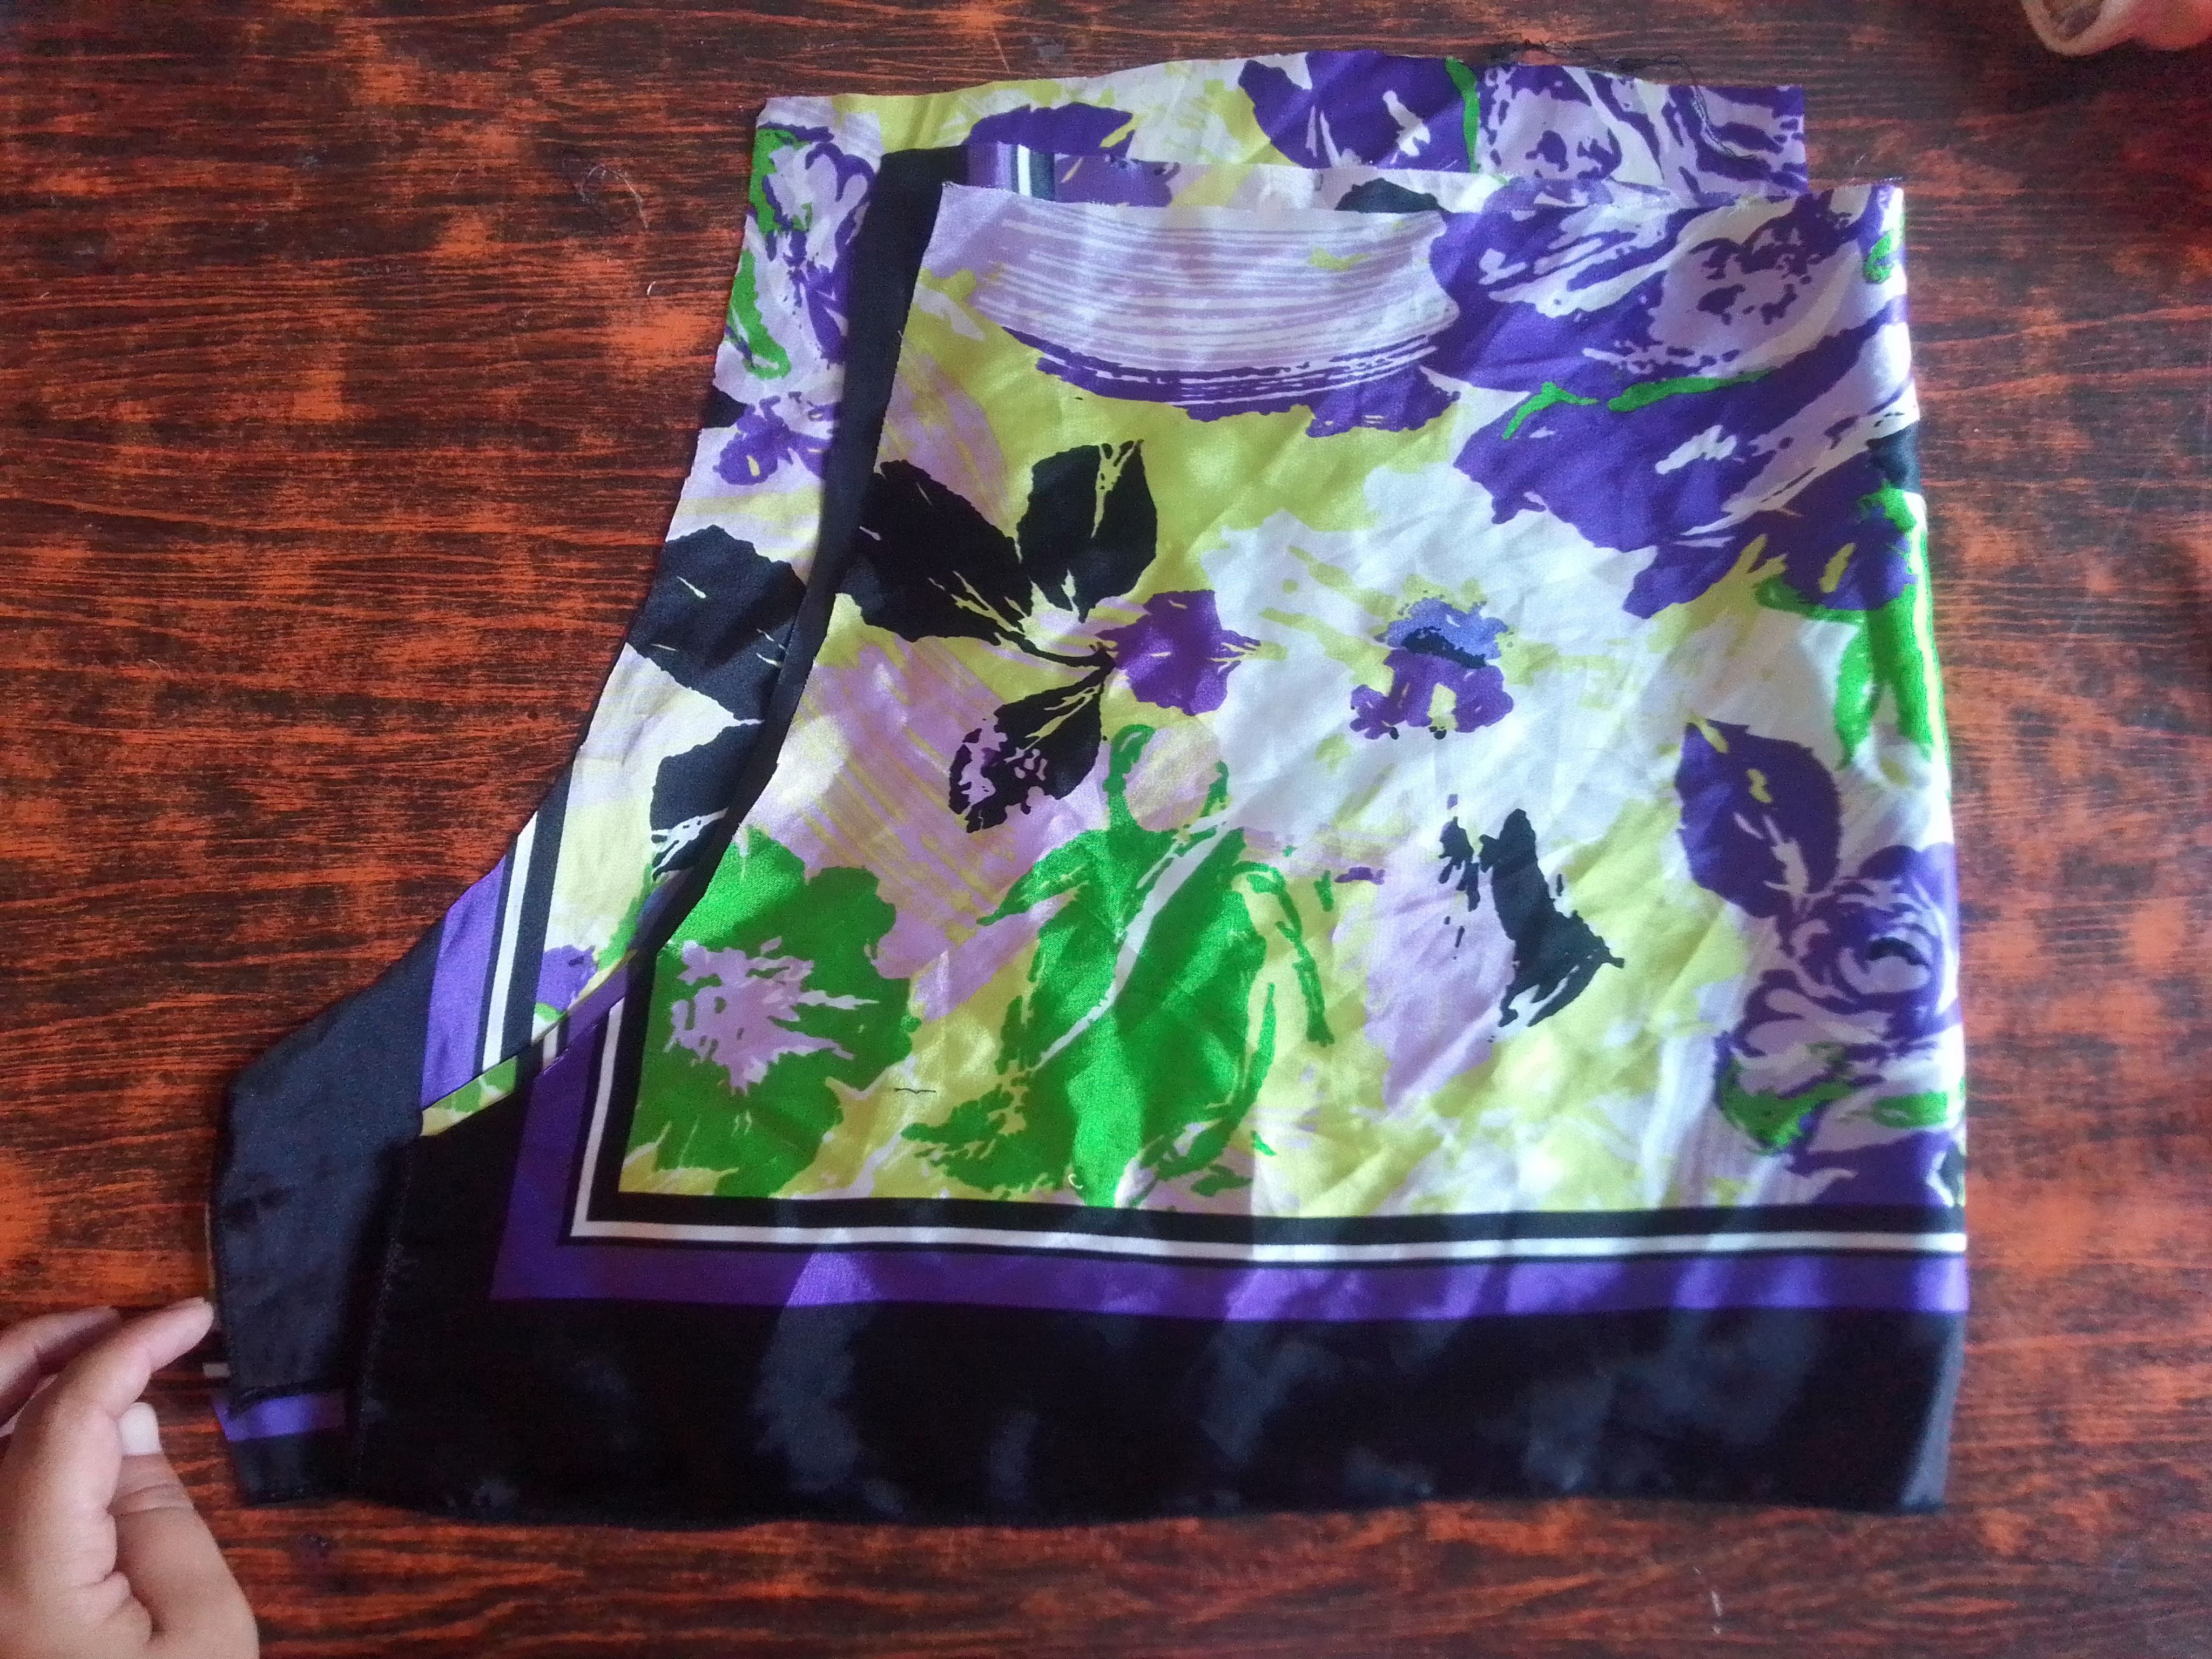
Te cuento porqué decidí transformarlo; este vestido me lo regaló mi suegra hace un tiempo, por lo tanto era un prenda especial para mi..¡Si! era un vestido que tenía detalles bonitos, estaba como nuevo, pero me quedaba muy muy grande, pienso que ponerlo a mi medida seria un poco complicado y la verdad yo muy poco salgo a eventos para usarlo, sin embargo su tela es fascinante, sedosa, delicada, y muy suave al tacto, ¡nada haria guardado!, por lo que se me ocurrio convertirlo en esta linda pijama con botones que me permitirá usarlo mucho más seguido en mis noches de descanso y conservar así un poco de él... Si te gusta, te muestro como lo hice, acompañame hasta el final.
I'll tell you why I decided to transform it; This dress was given to me by my mother-in-law a while ago, so it was a special item for me... Yes! It was a dress that had beautiful details, it was like new, but it was too big for me, I think that fitting it to my size would be a little complicated and the truth is that I rarely go out to events to wear it, however its fabric is fascinating, silky, delicate, and very soft to the touch, nothing would have been saved!, so it occurred to me to turn it into these cute pajamas with buttons that will allow me to use it much more often on my restful nights and thus keep a little of it... Yes If you like it, I'll show you how I did it, join me until the end.
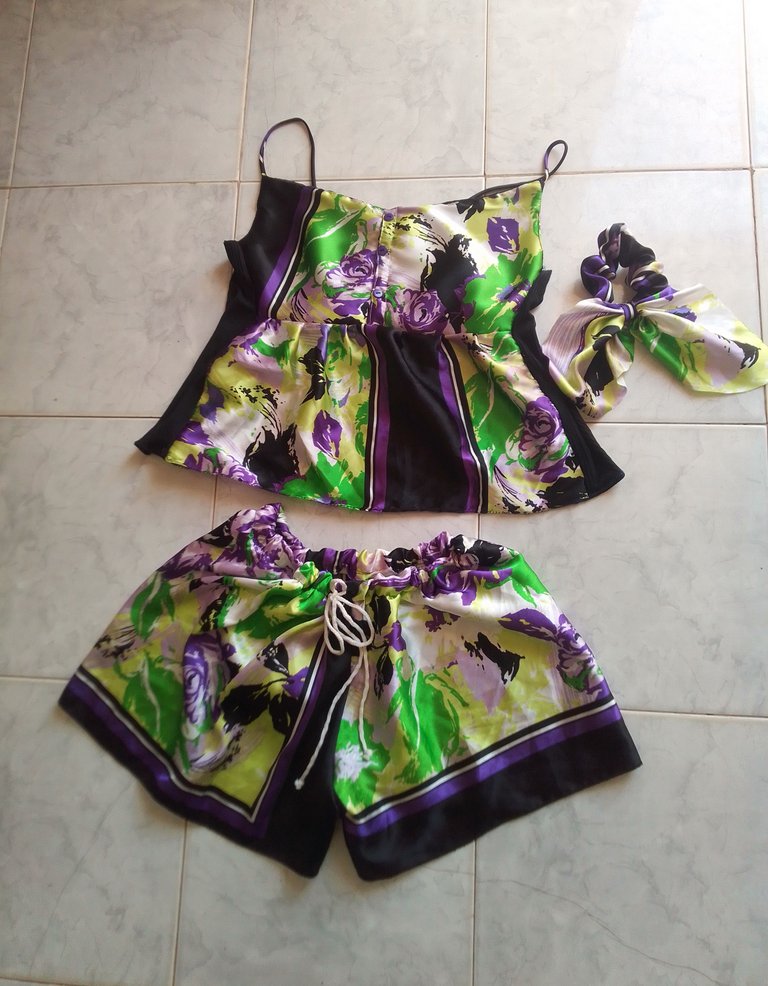
Materiales que necesitas:
- Vestido.
- Tijeras.
- Hilo y aguja.
- Botones.
- Elástica gruesa y fina.
- Máquina de coser.
- Dress.
- Scissors.
- Thread and needle.
- Buttons.
- Thick and thin elastic.
- Sewing machine.
(PROCEDIMIENTO)
Paso 01
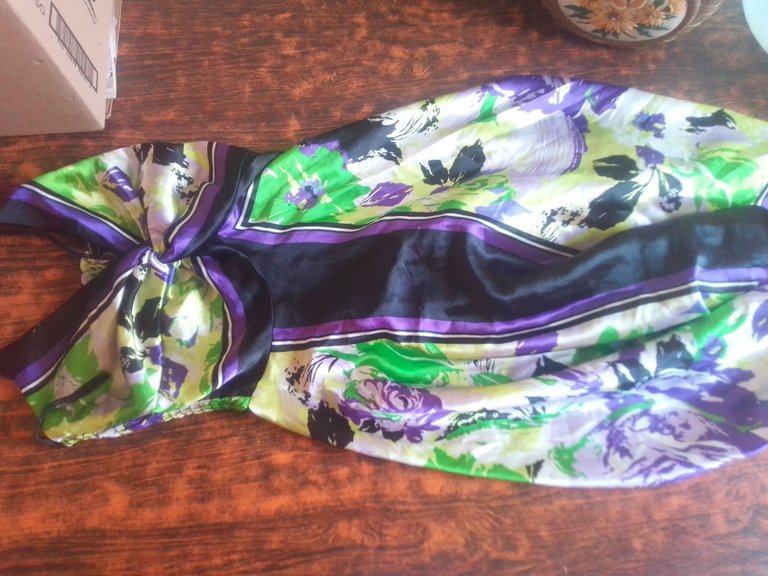
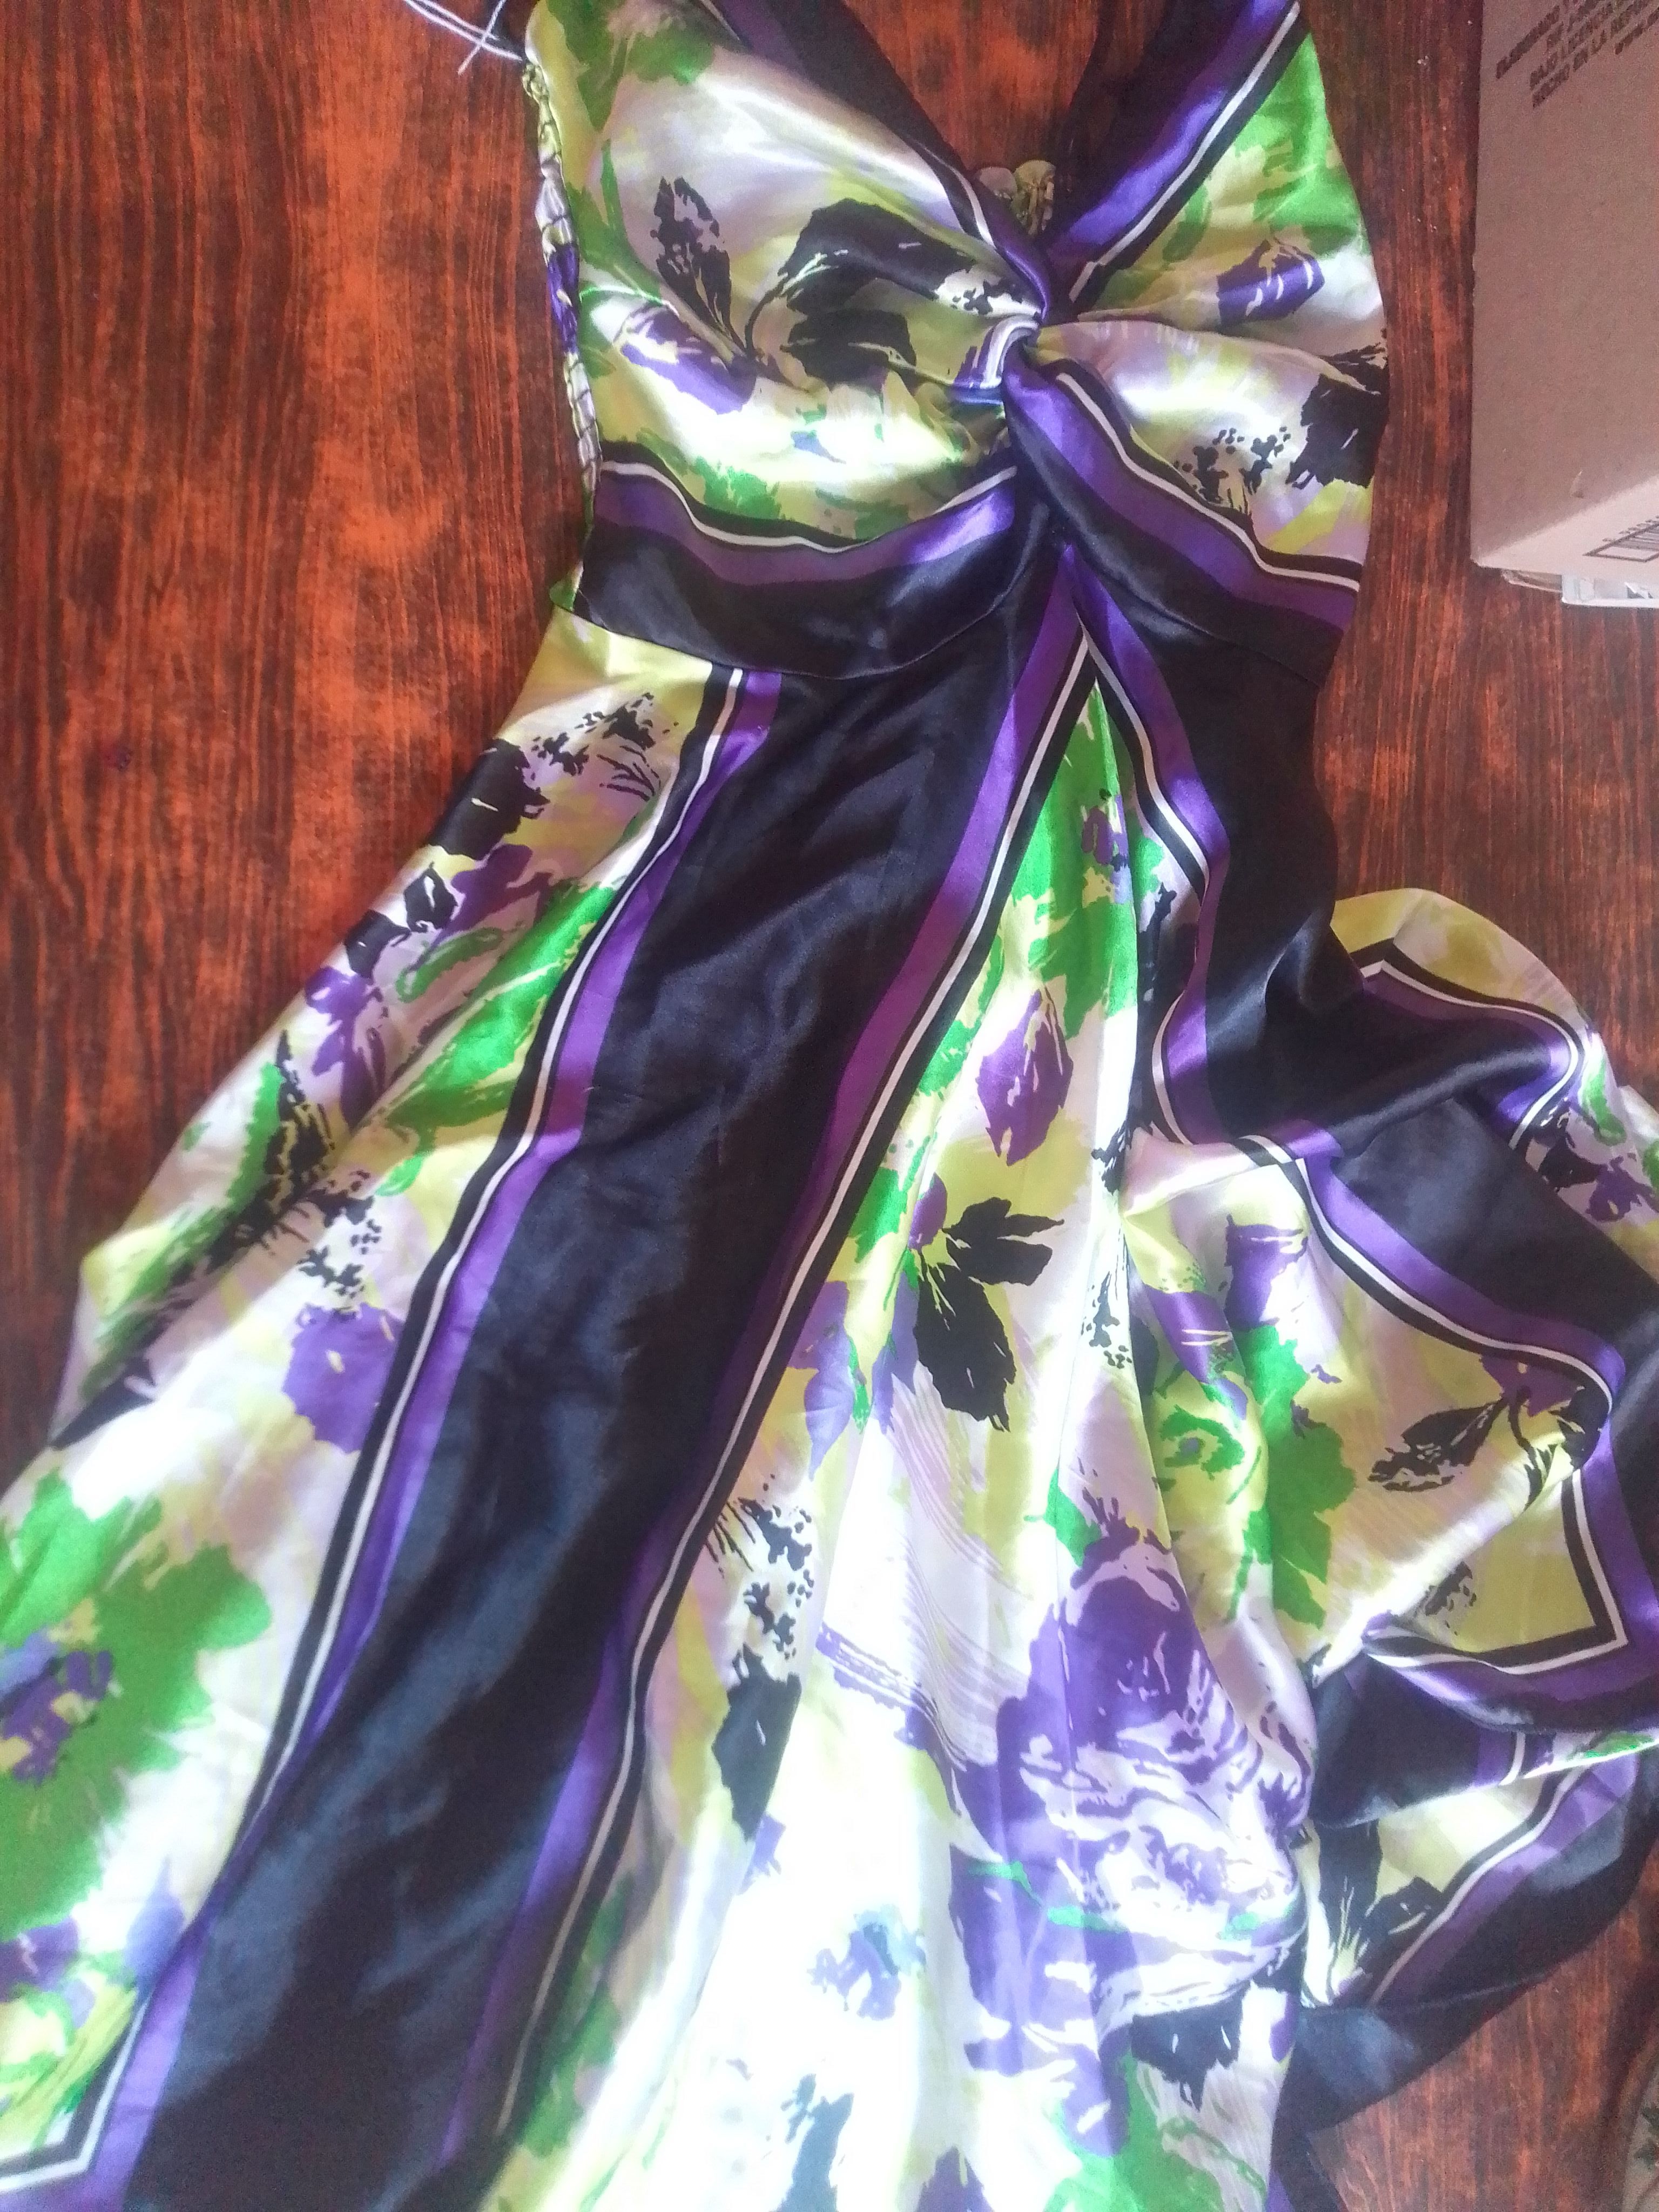
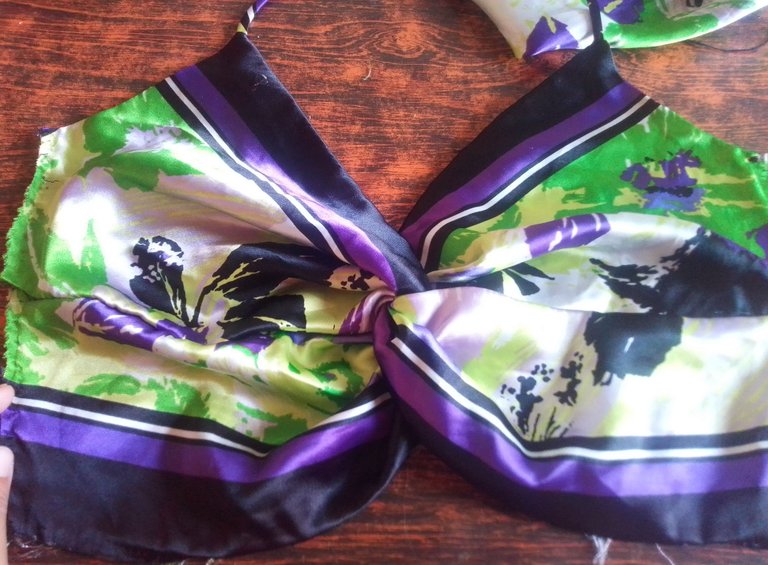
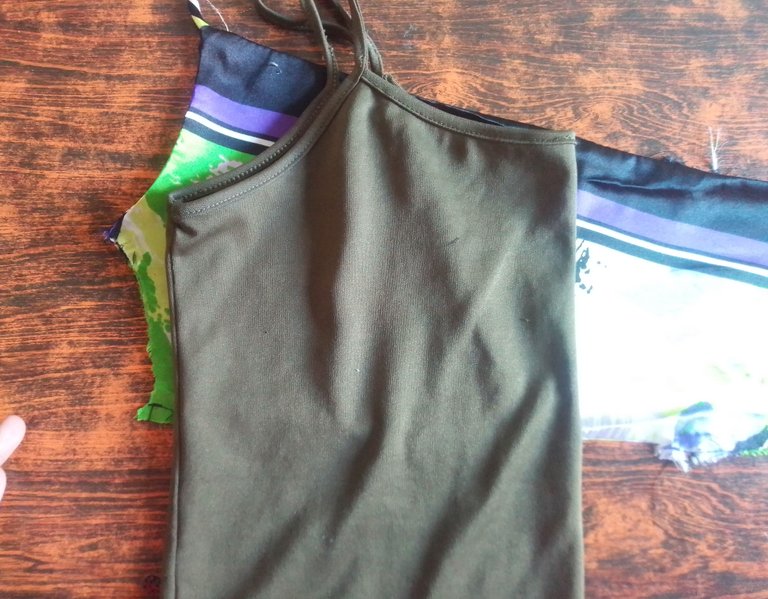
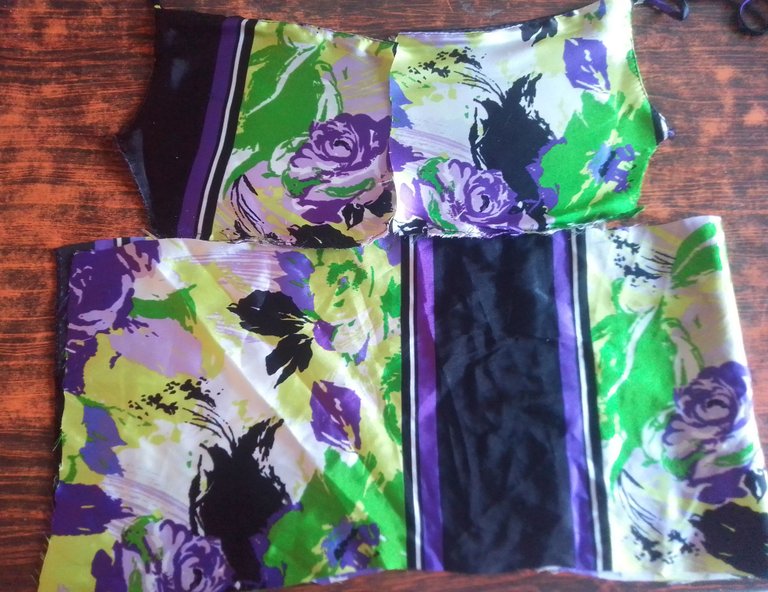
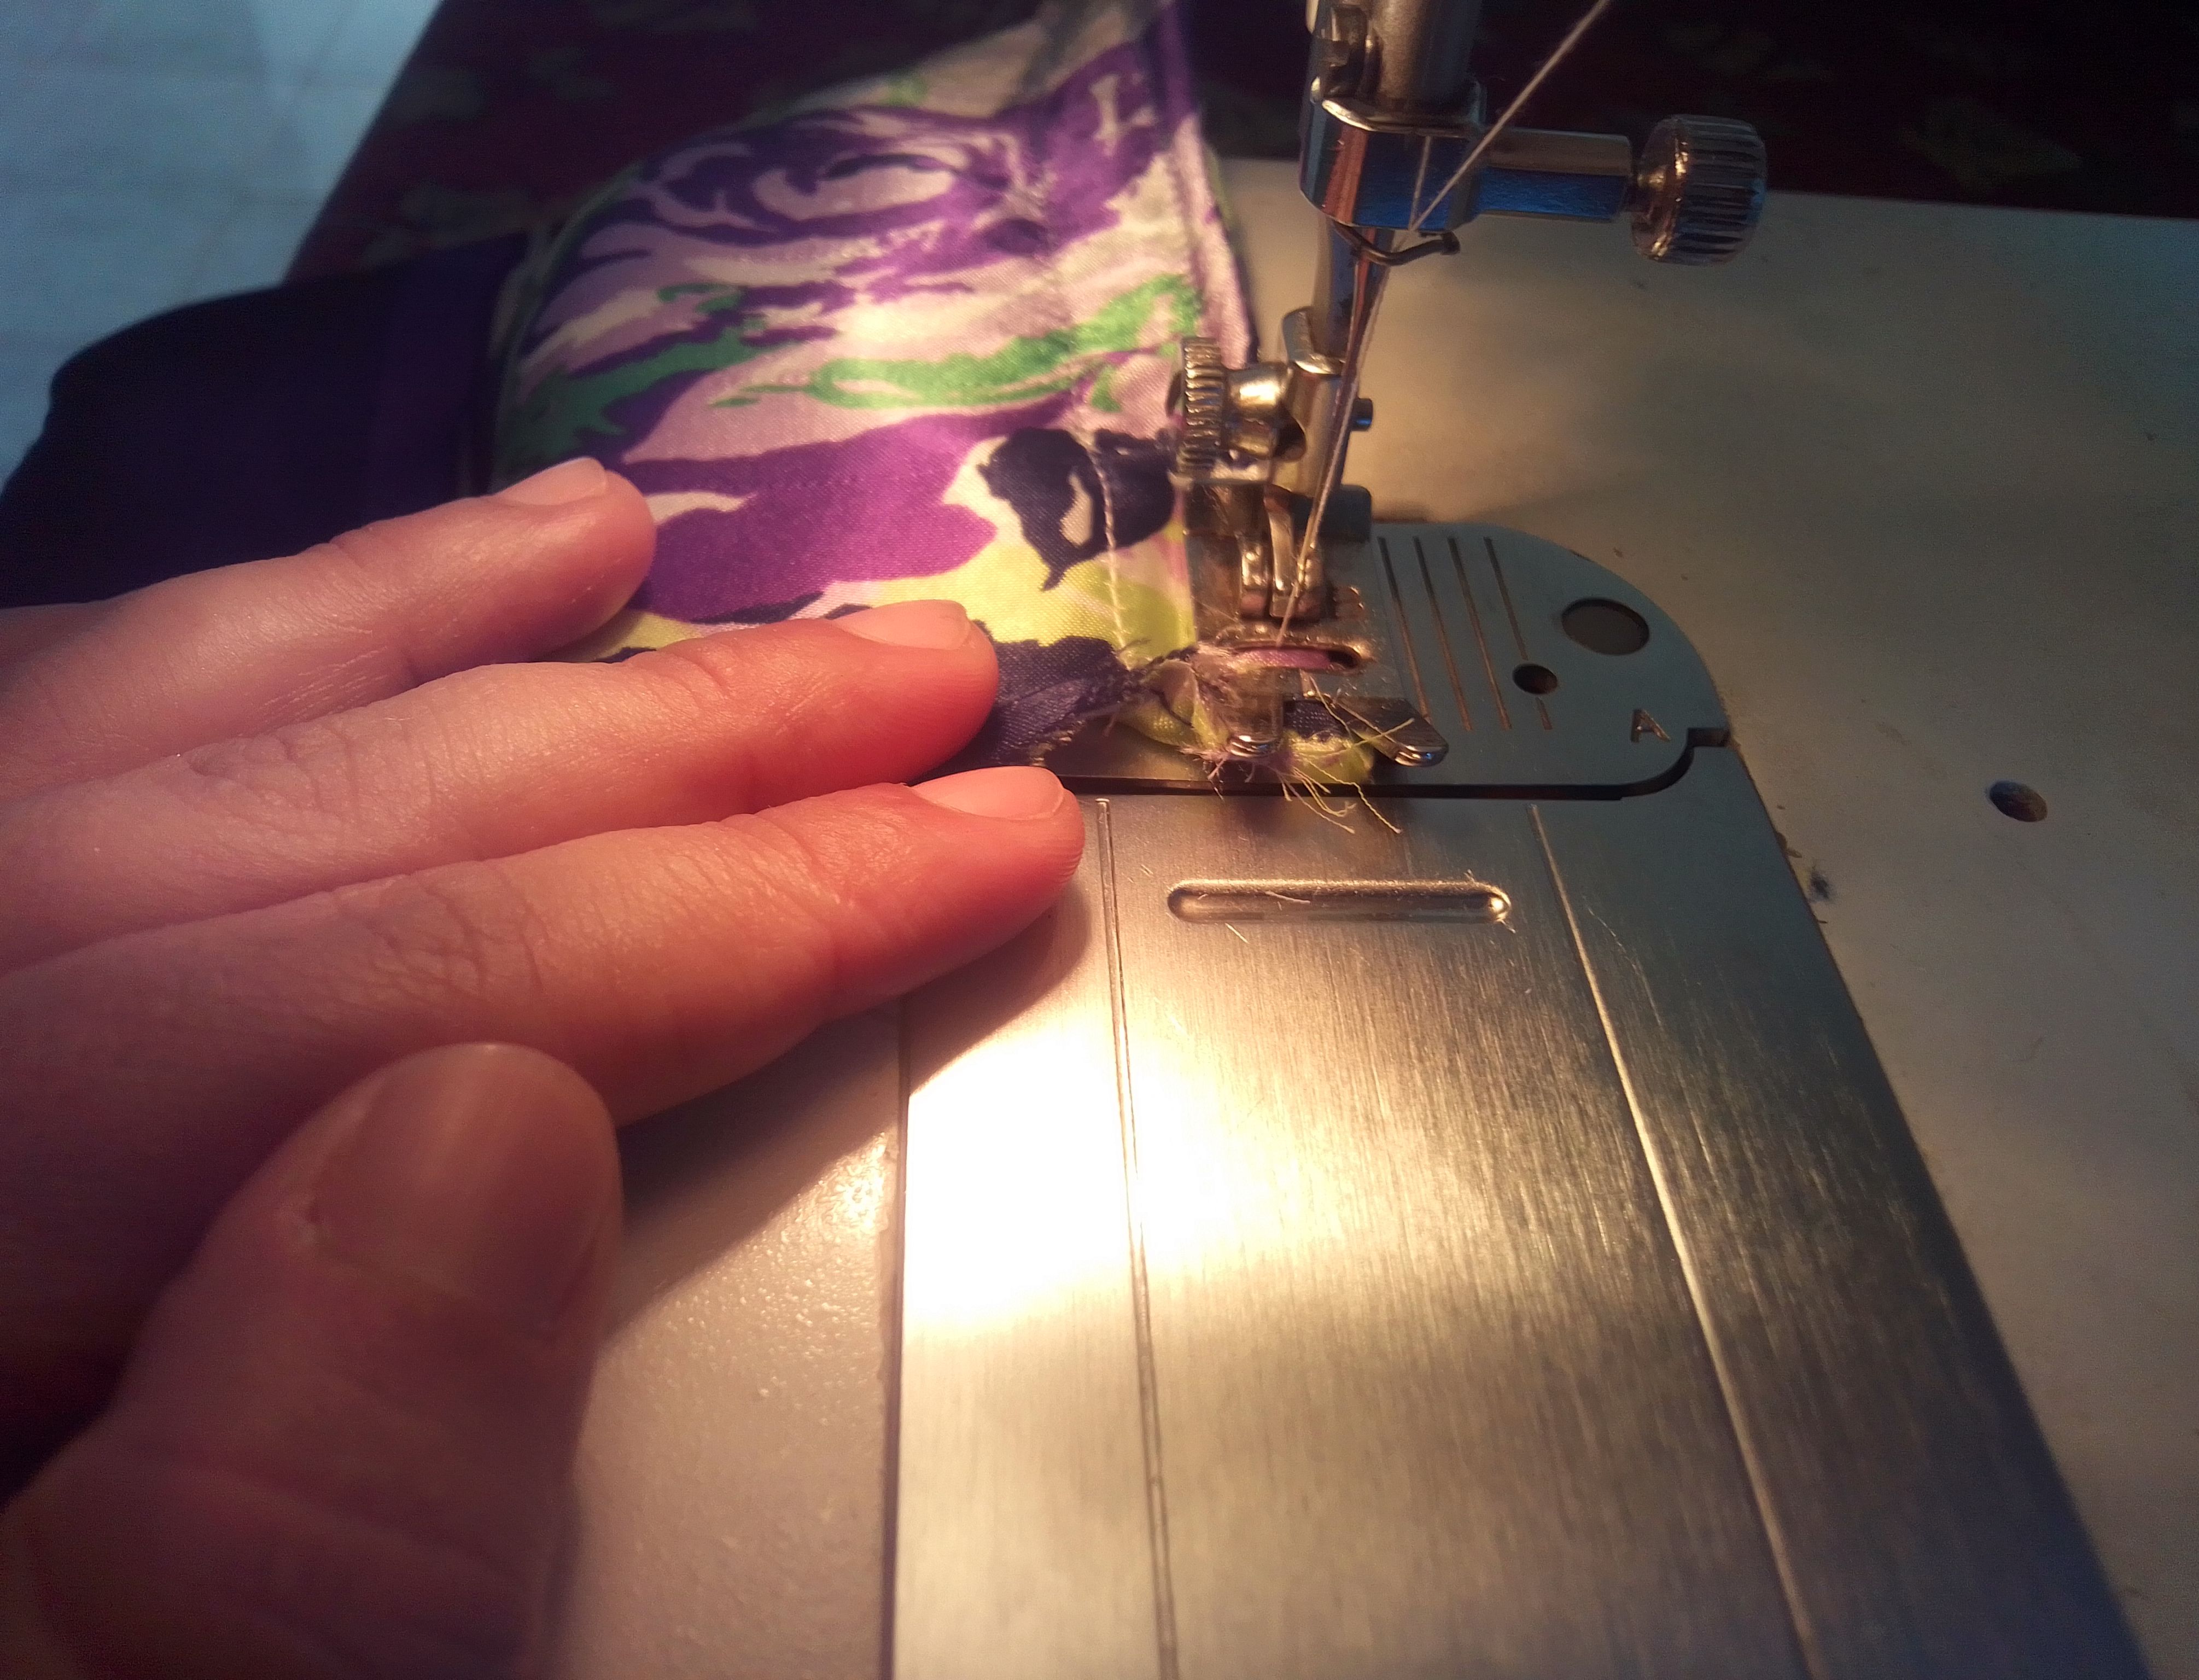
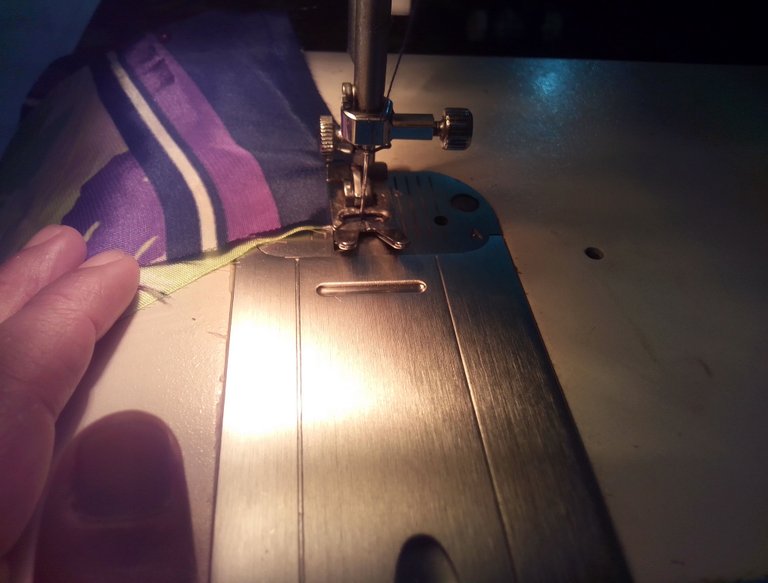
Como les dije la parte del busto de ste vestido era muy grande para mí, asi que empecé por descoser toda la parte superior cruzada de este vestido, al desarmar pase la plancha para estirar todo lo que estaba doblado. Me quedaron estas dos piezas que corté a mi medida conservando las partes de los tiros.
Step 01
As I told you, the bust part of this dress was too big for me, so I started by unstitching the entire crossed upper part of this dress, when disassembling I used the iron to stretch everything that It was bent. I had these two pieces left that I cut to my size, preserving the parts of the shots.


Paso 02
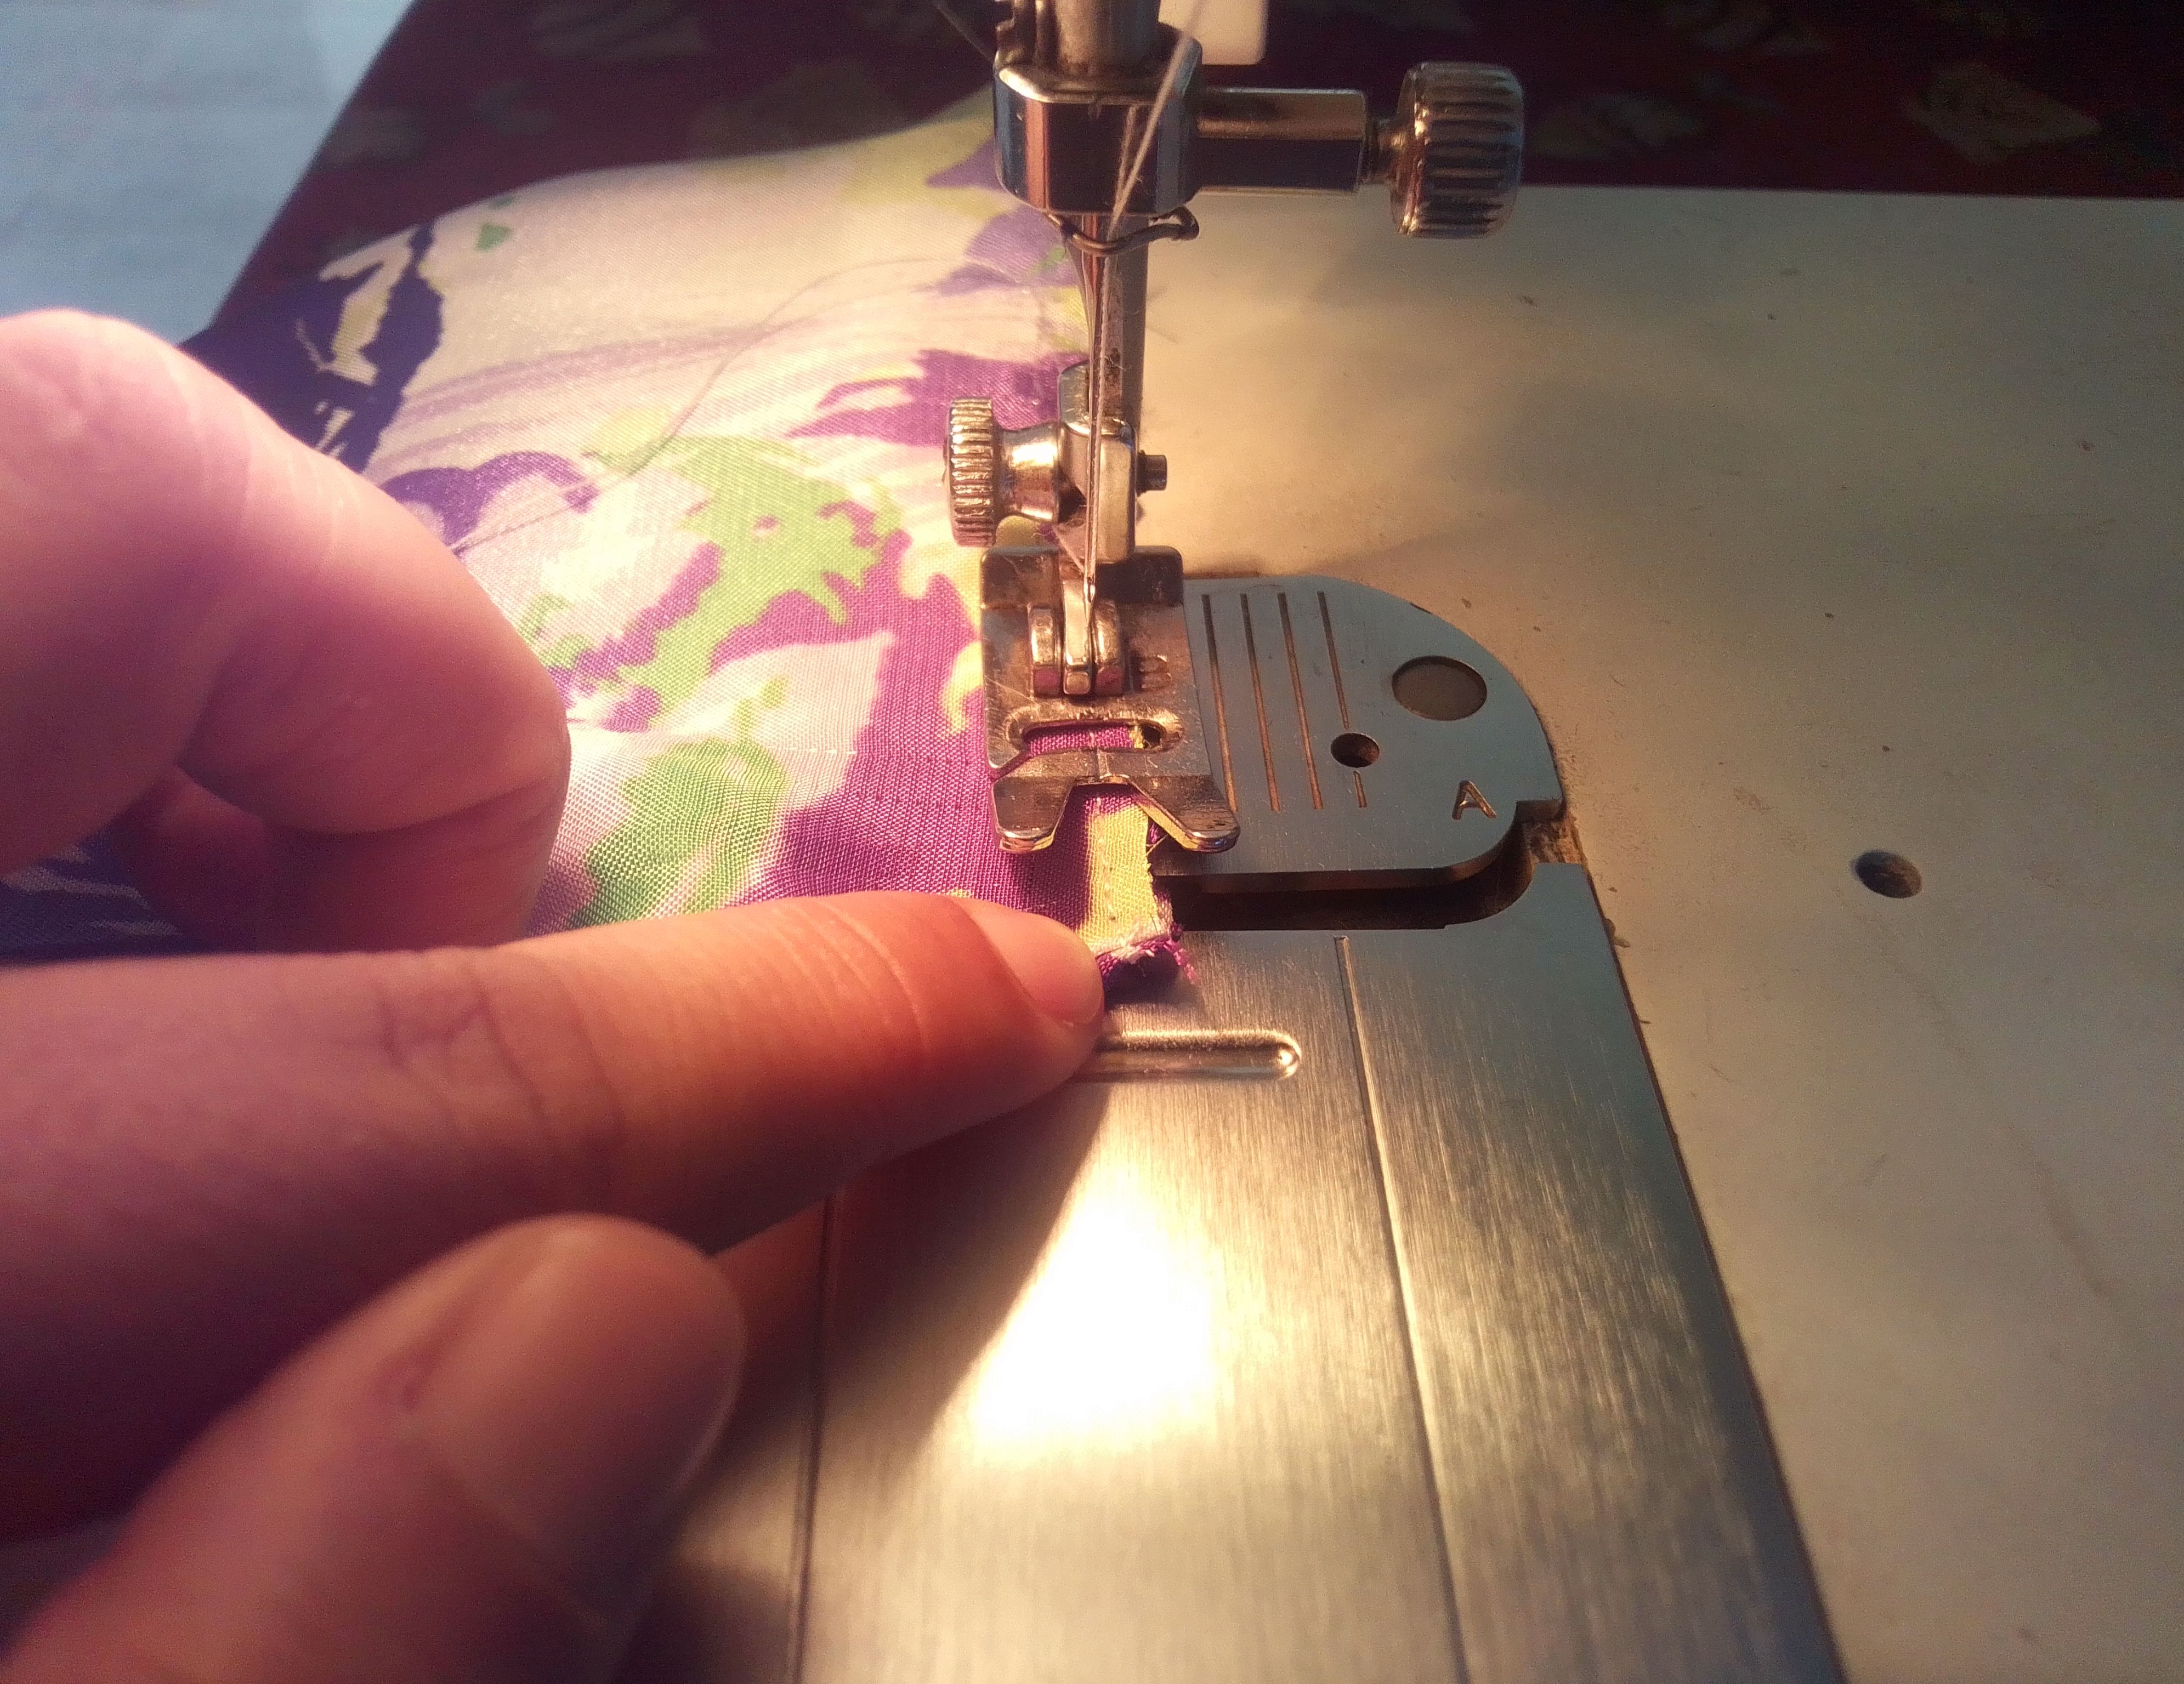
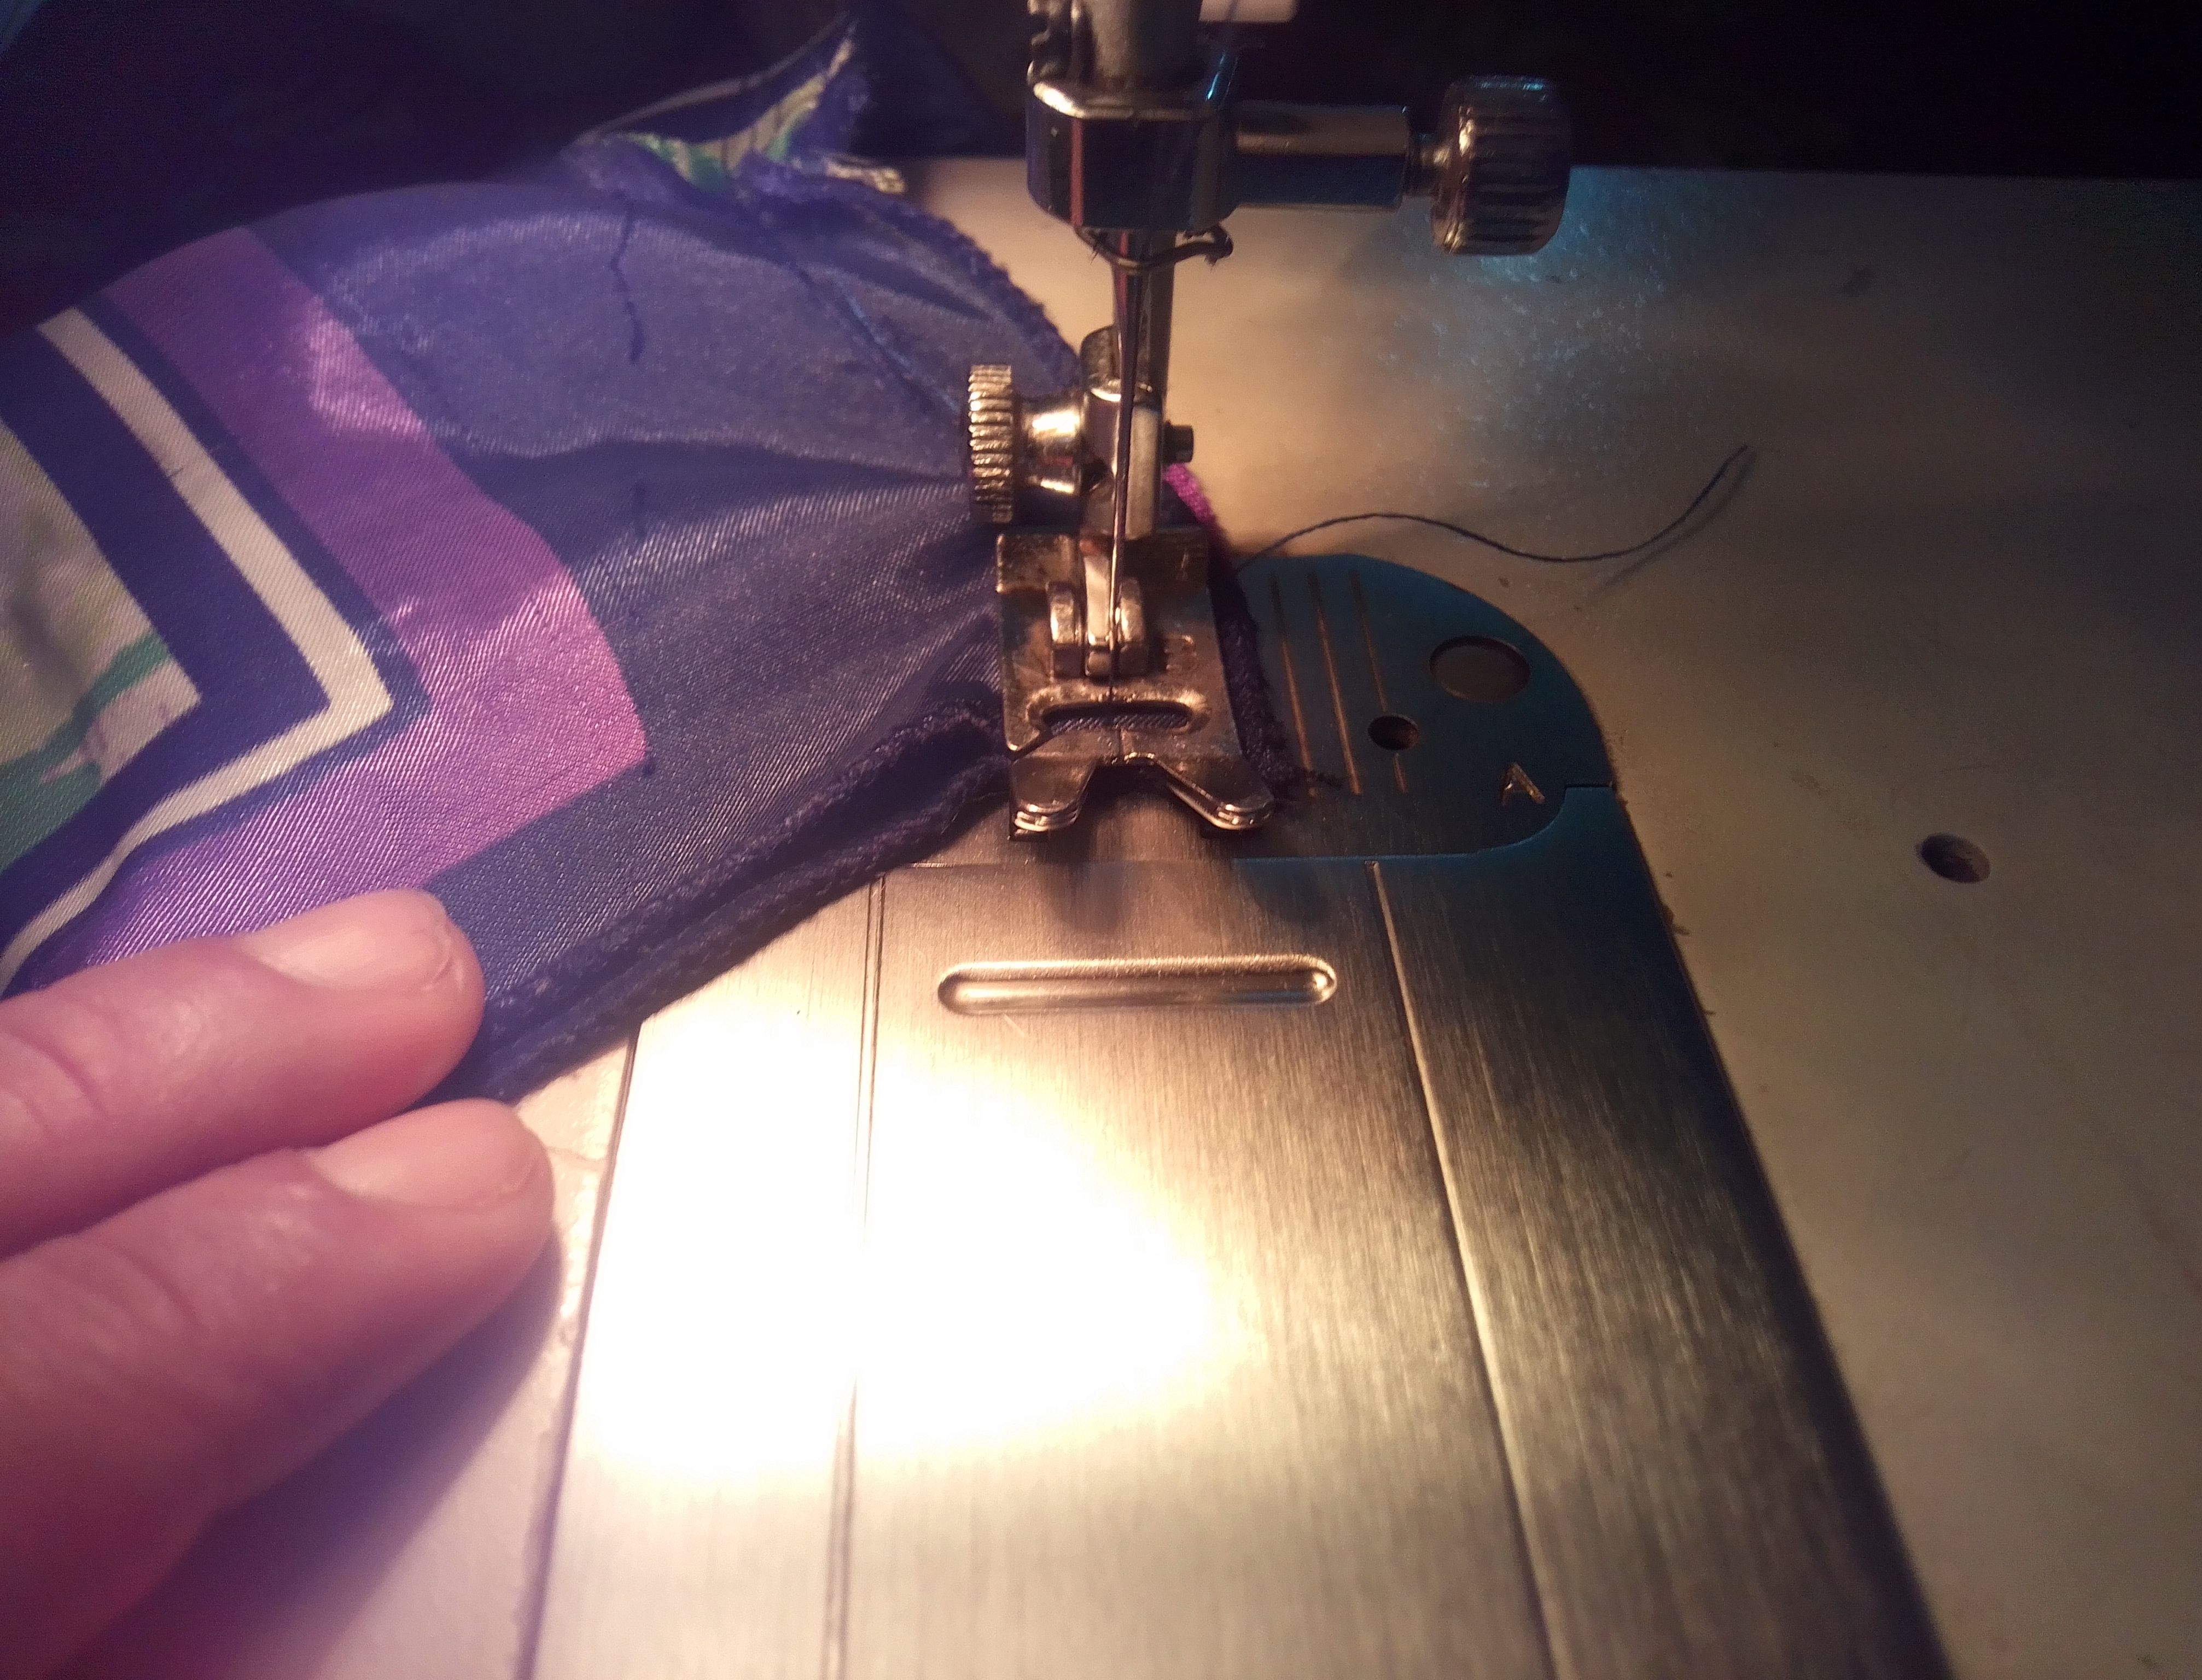
La falda de este vestido está bastante amplia, así que corte dos rectángulos para armar las parte inferior de la blusita. Hice costura recta para cerrar los cortes de las piezas de arriba y pasé doble pespunte en ambas piezas. Luego haré una pequeña puntada a mano para posicionarlas al final.
Step 02
The skirt of this dress is quite wide, so I cut two rectangles to make the bottom part of the blouse. I made a straight seam to close the cuts of the pieces above and double stitched both pieces. Then I will make a small hand stitch to position them at the end.
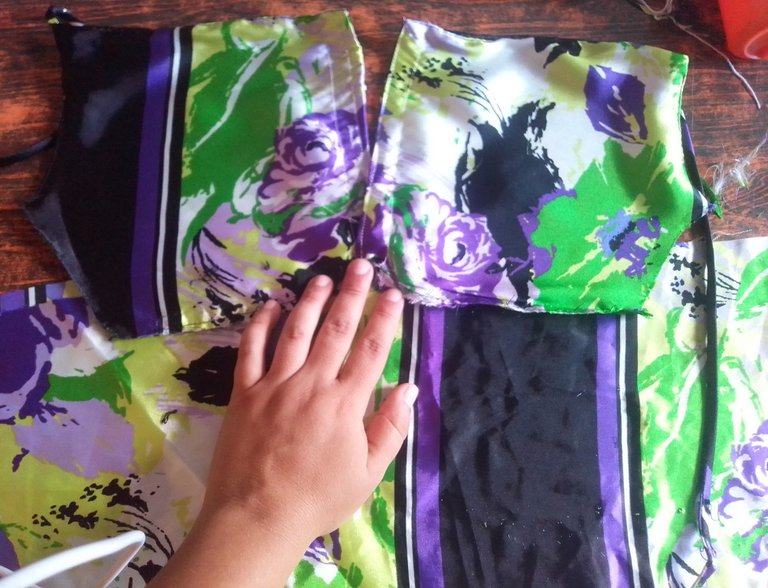
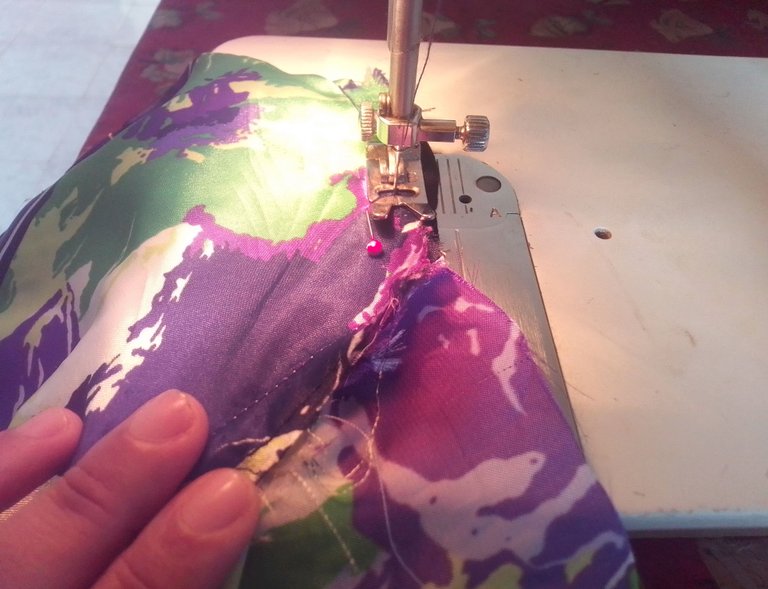
Paso 03
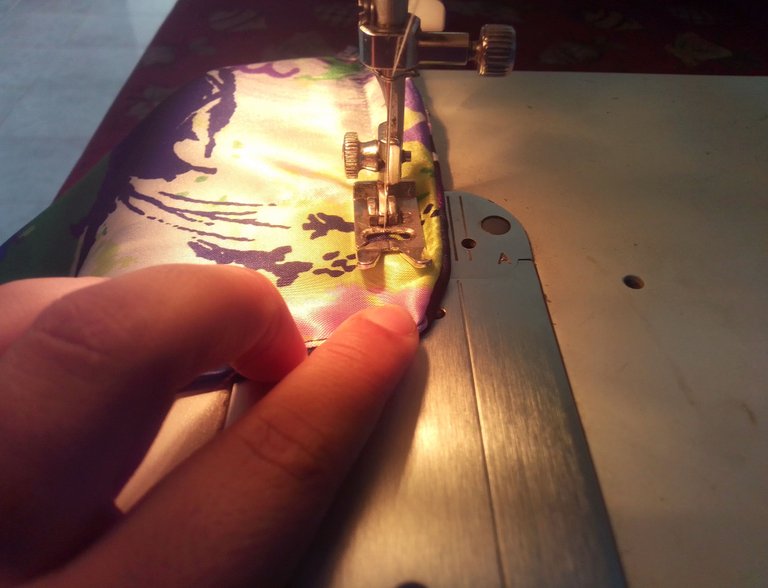
Armo la parte delantera uniendo con costura un rectangulo a esta pieza superior creando pliegues en él.
Step 03
I put together the front part by sewing a rectangle to this top piece, creating folds in it.
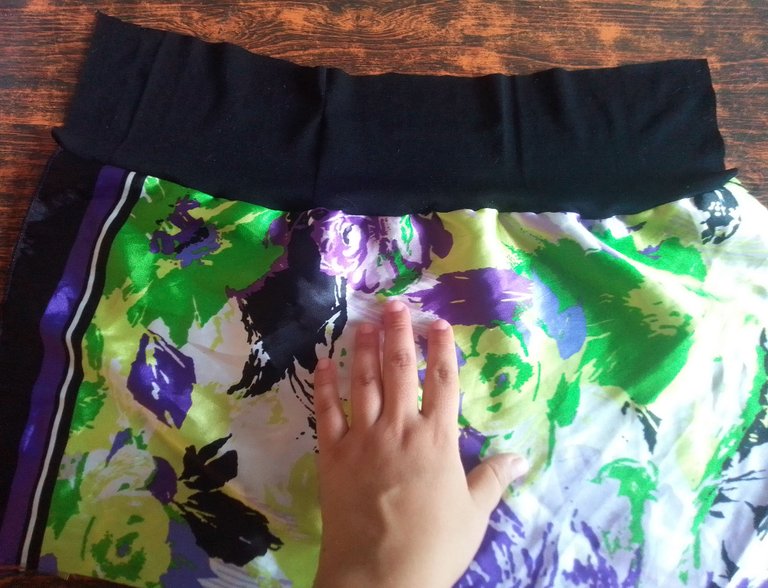
Paso 04
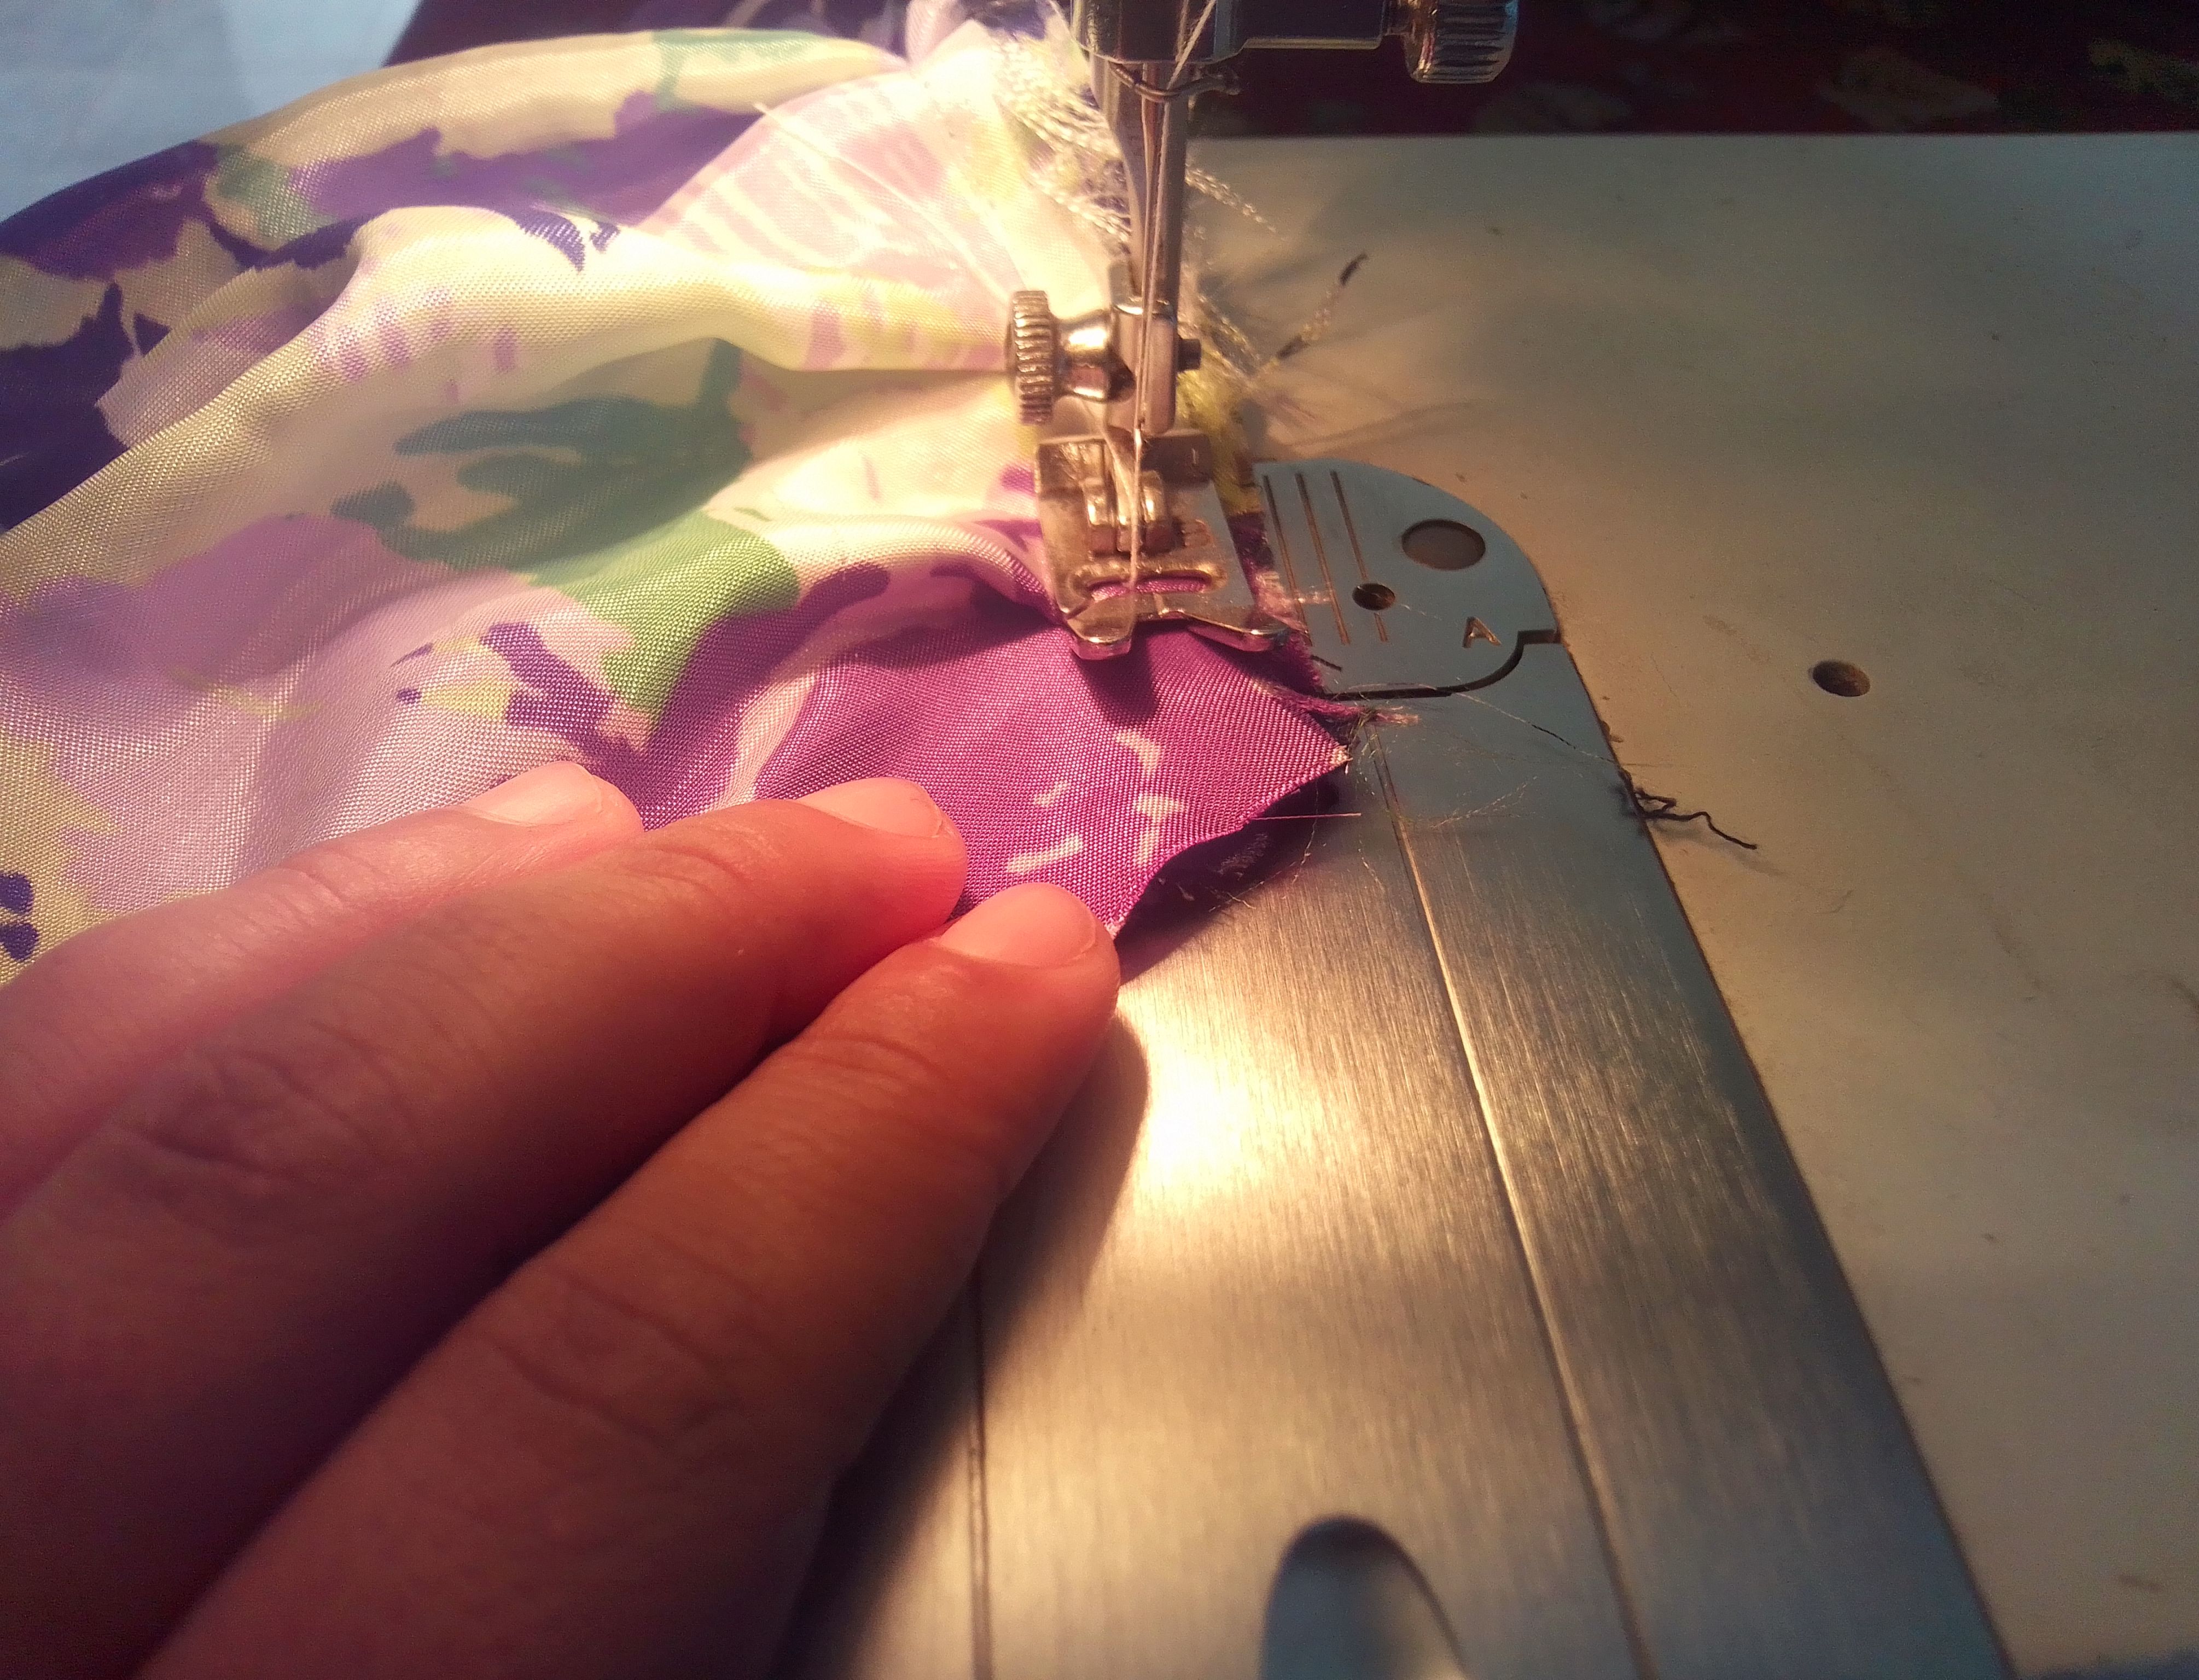
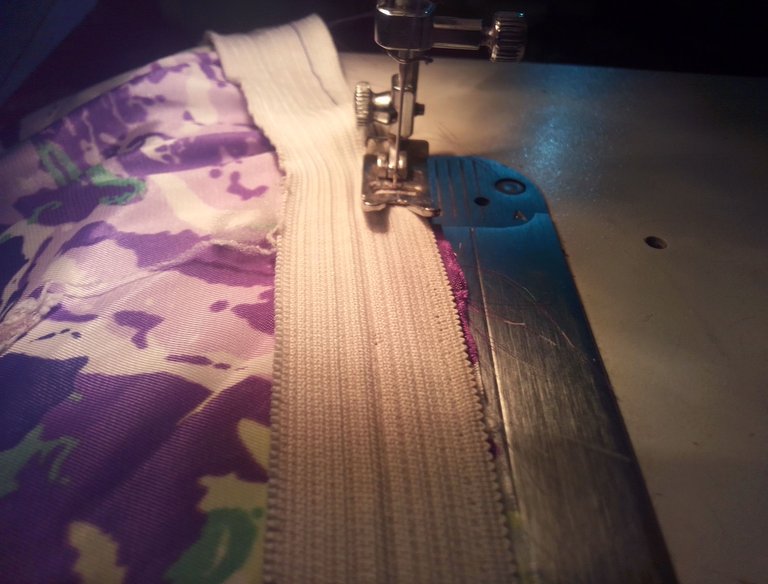
Con está parte lista, procedo a hacer la parte posterior, de una tela flexible corto una pieza rectangular más pequeña y uno al otro rectangulo de tela estampada, creando los mismo pliegues. En la parte superior voy a hacer un dobladillo para introducir una goma fina y así ajustar la blusita.
Step 04
With this part ready, I proceed to make the back part, from a flexible fabric I cut a smaller rectangular piece and one rectangle of printed fabric to the other, creating the same folds. At the top I am going to make a hem to insert a thin elastic band and thus adjust the blouse.
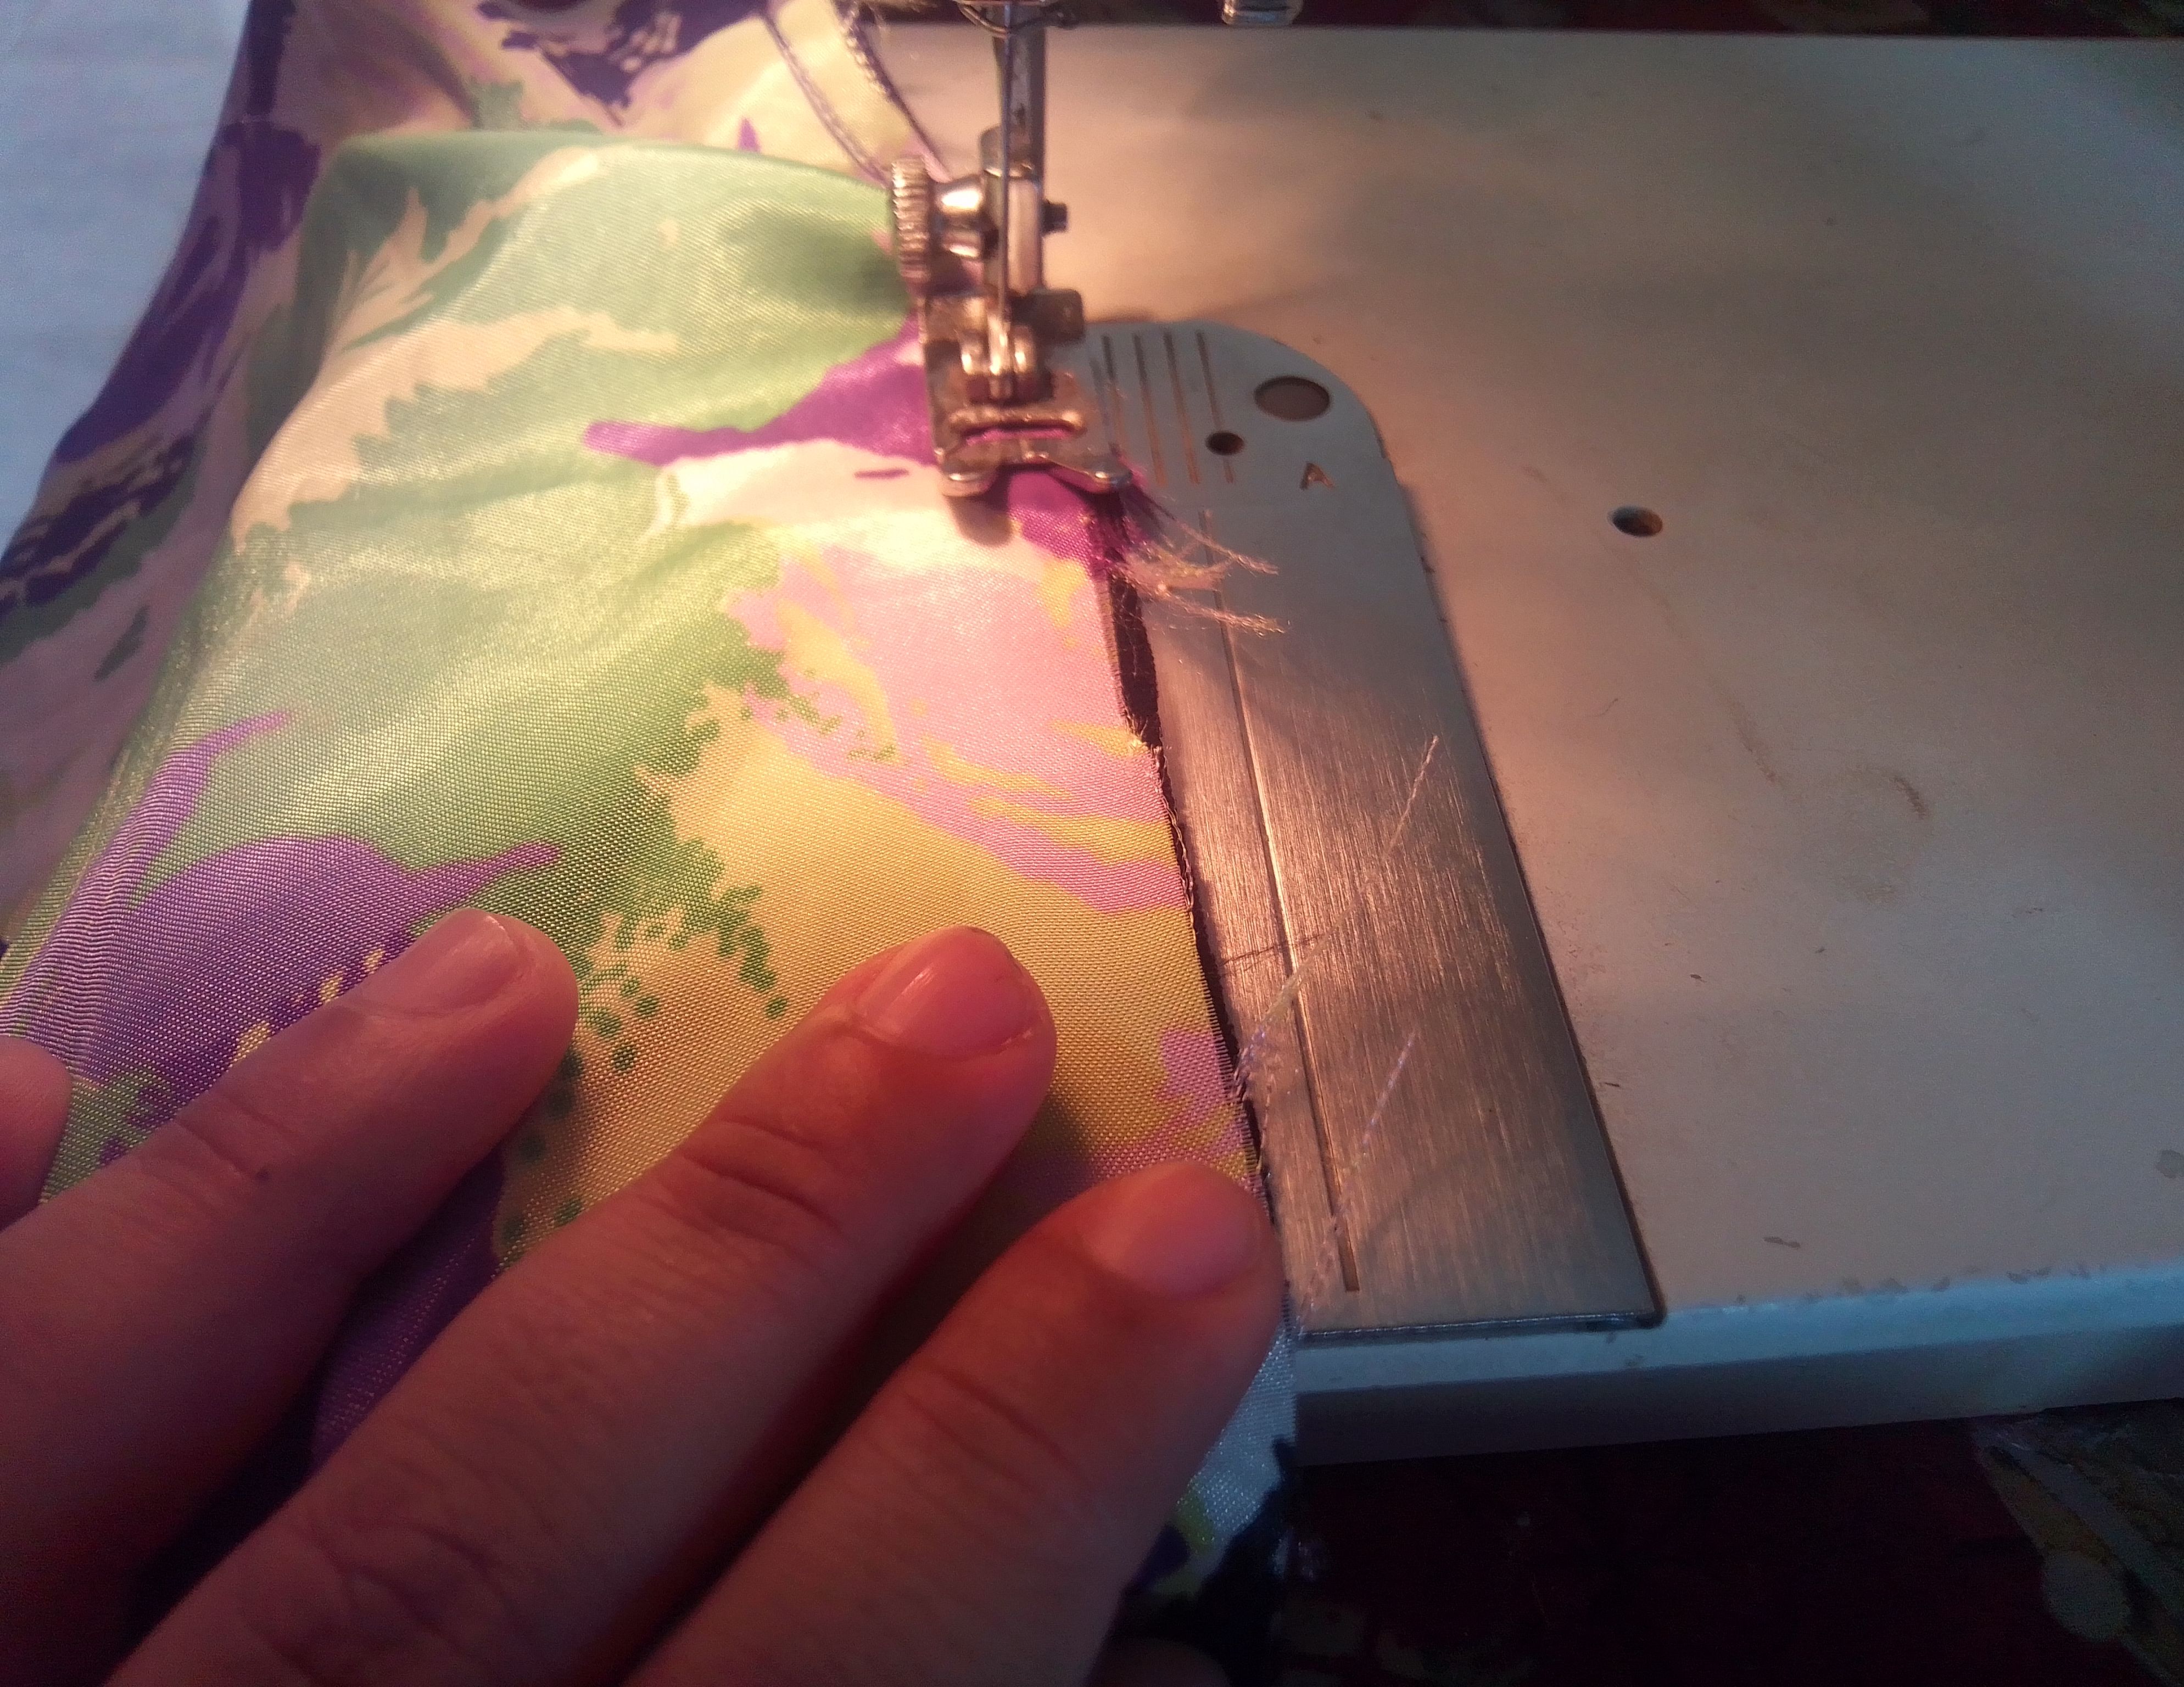
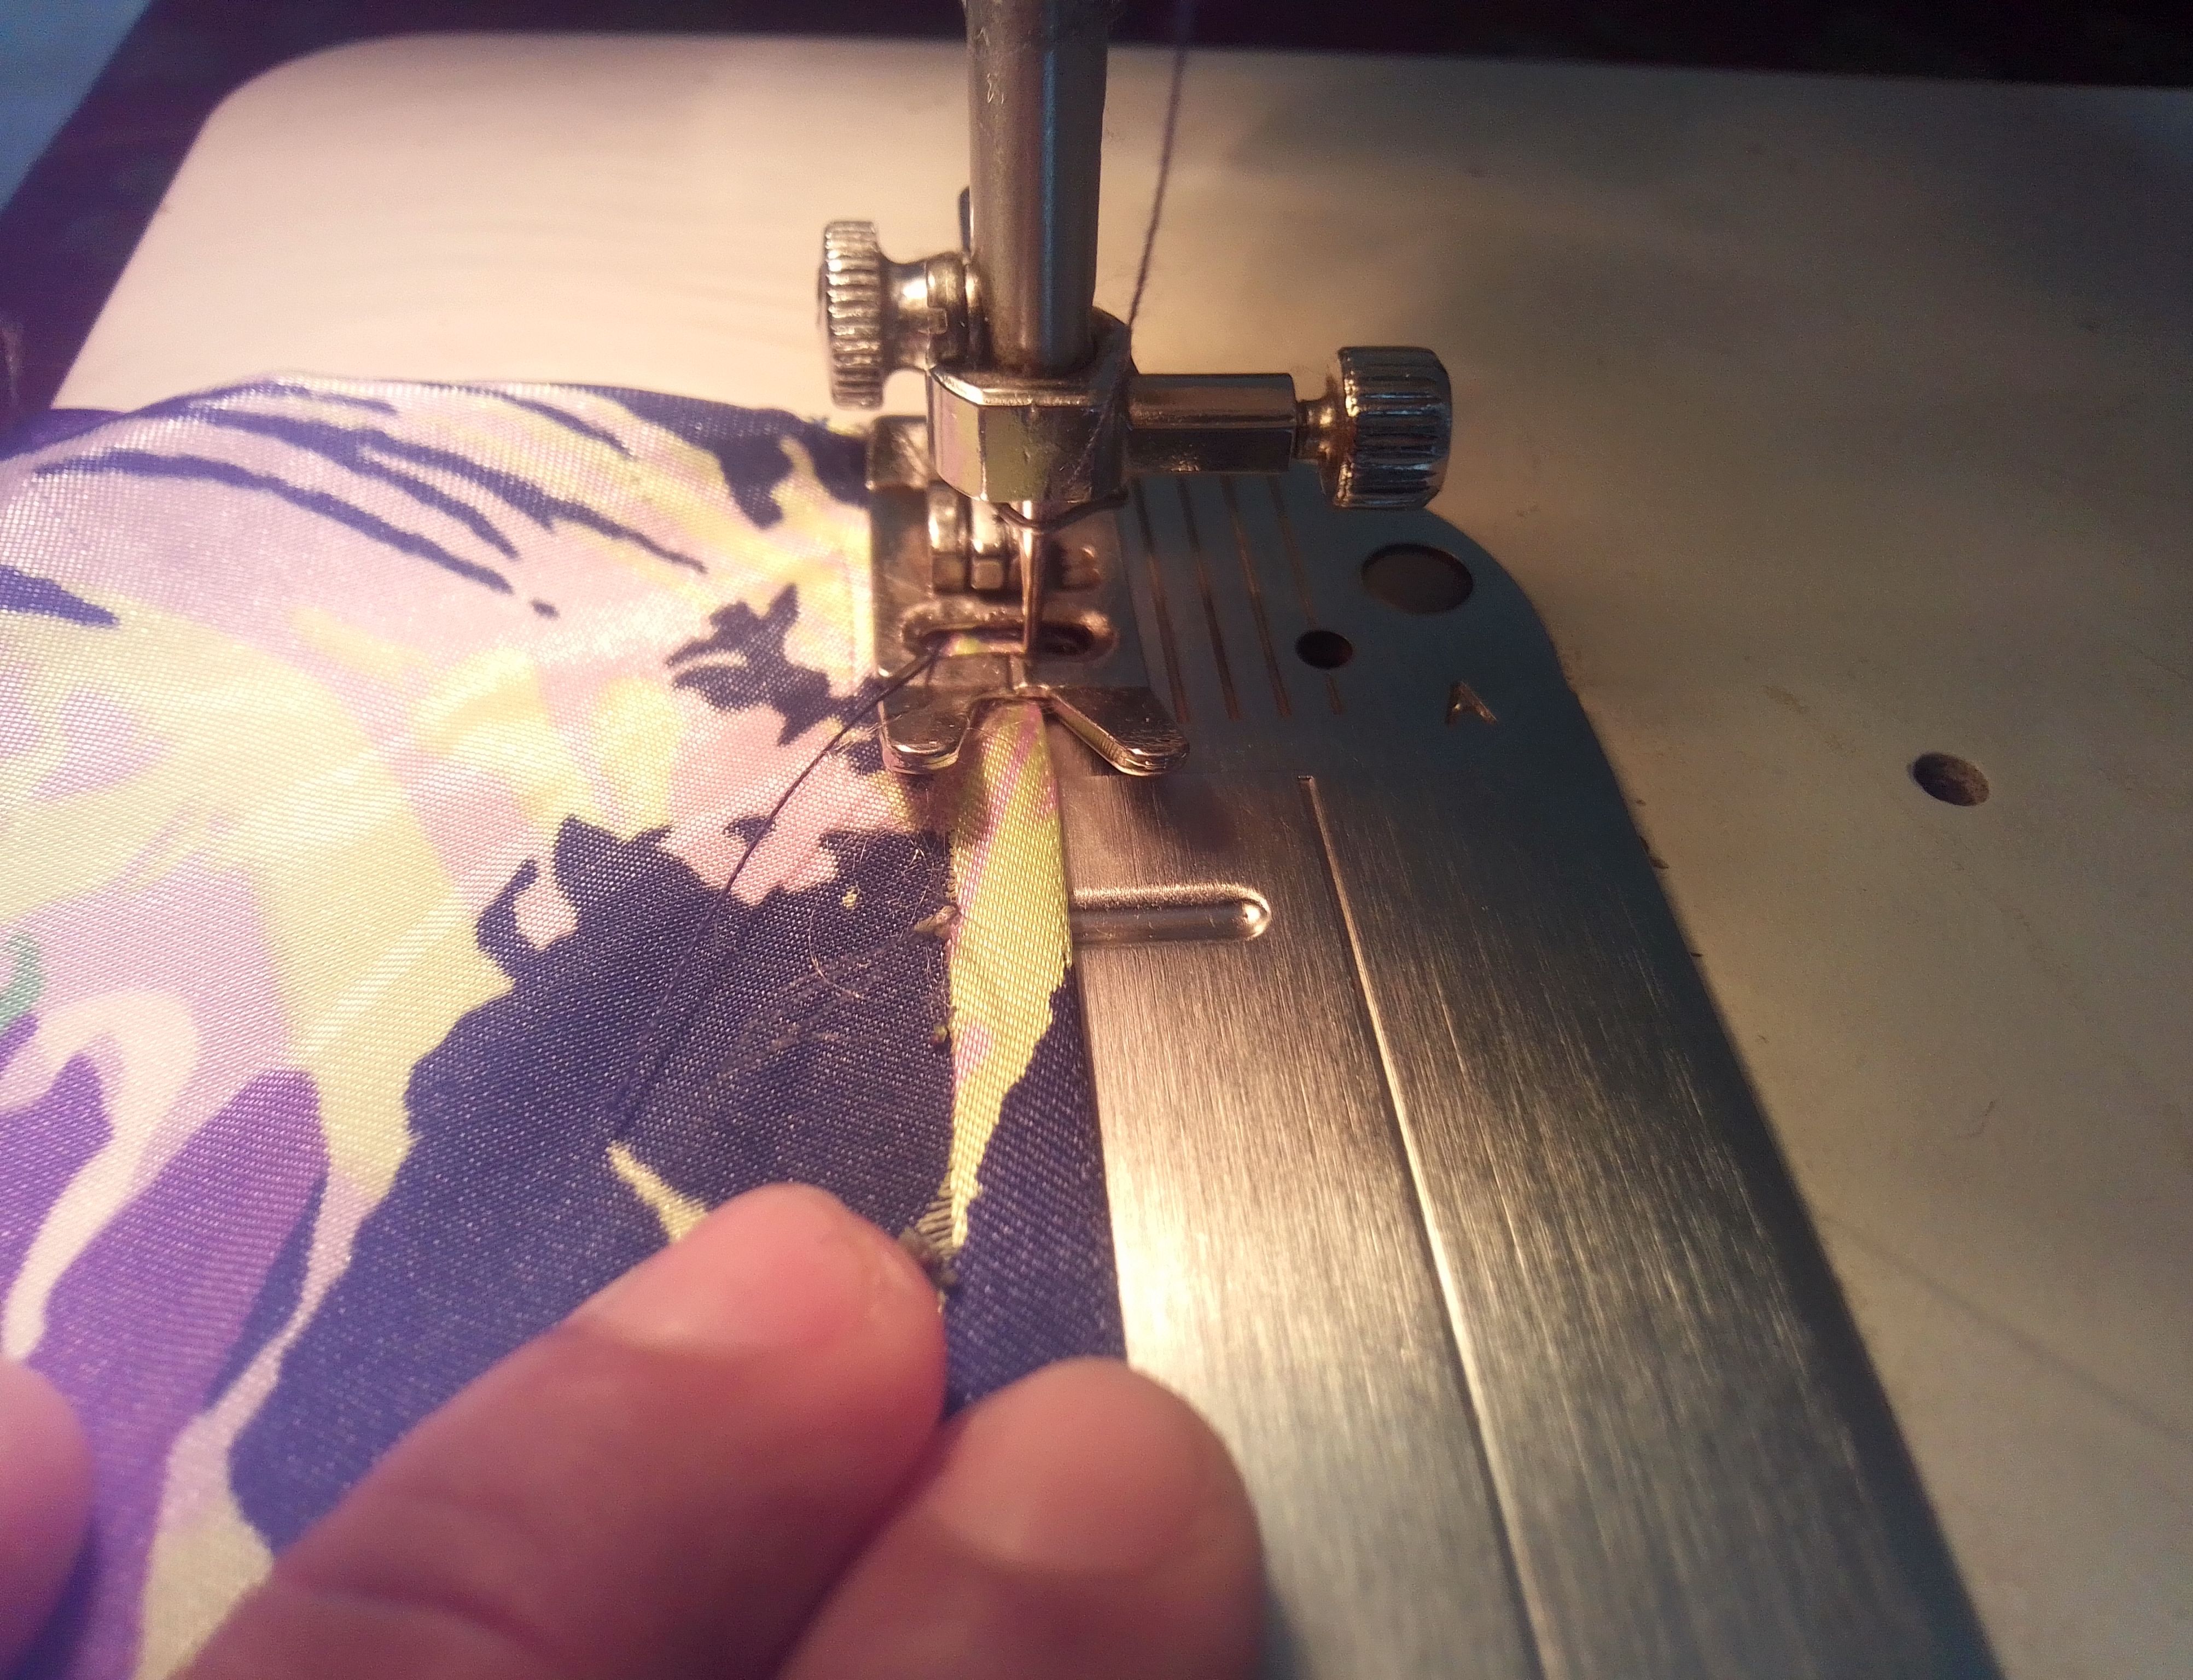
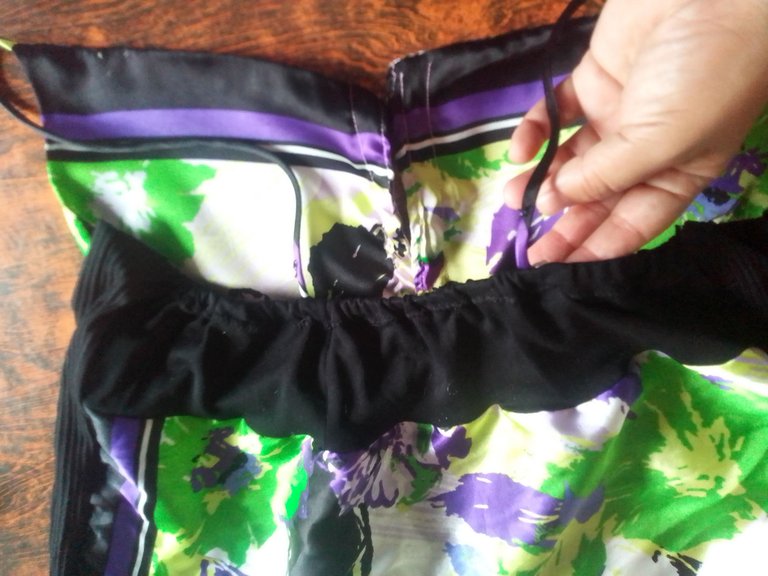
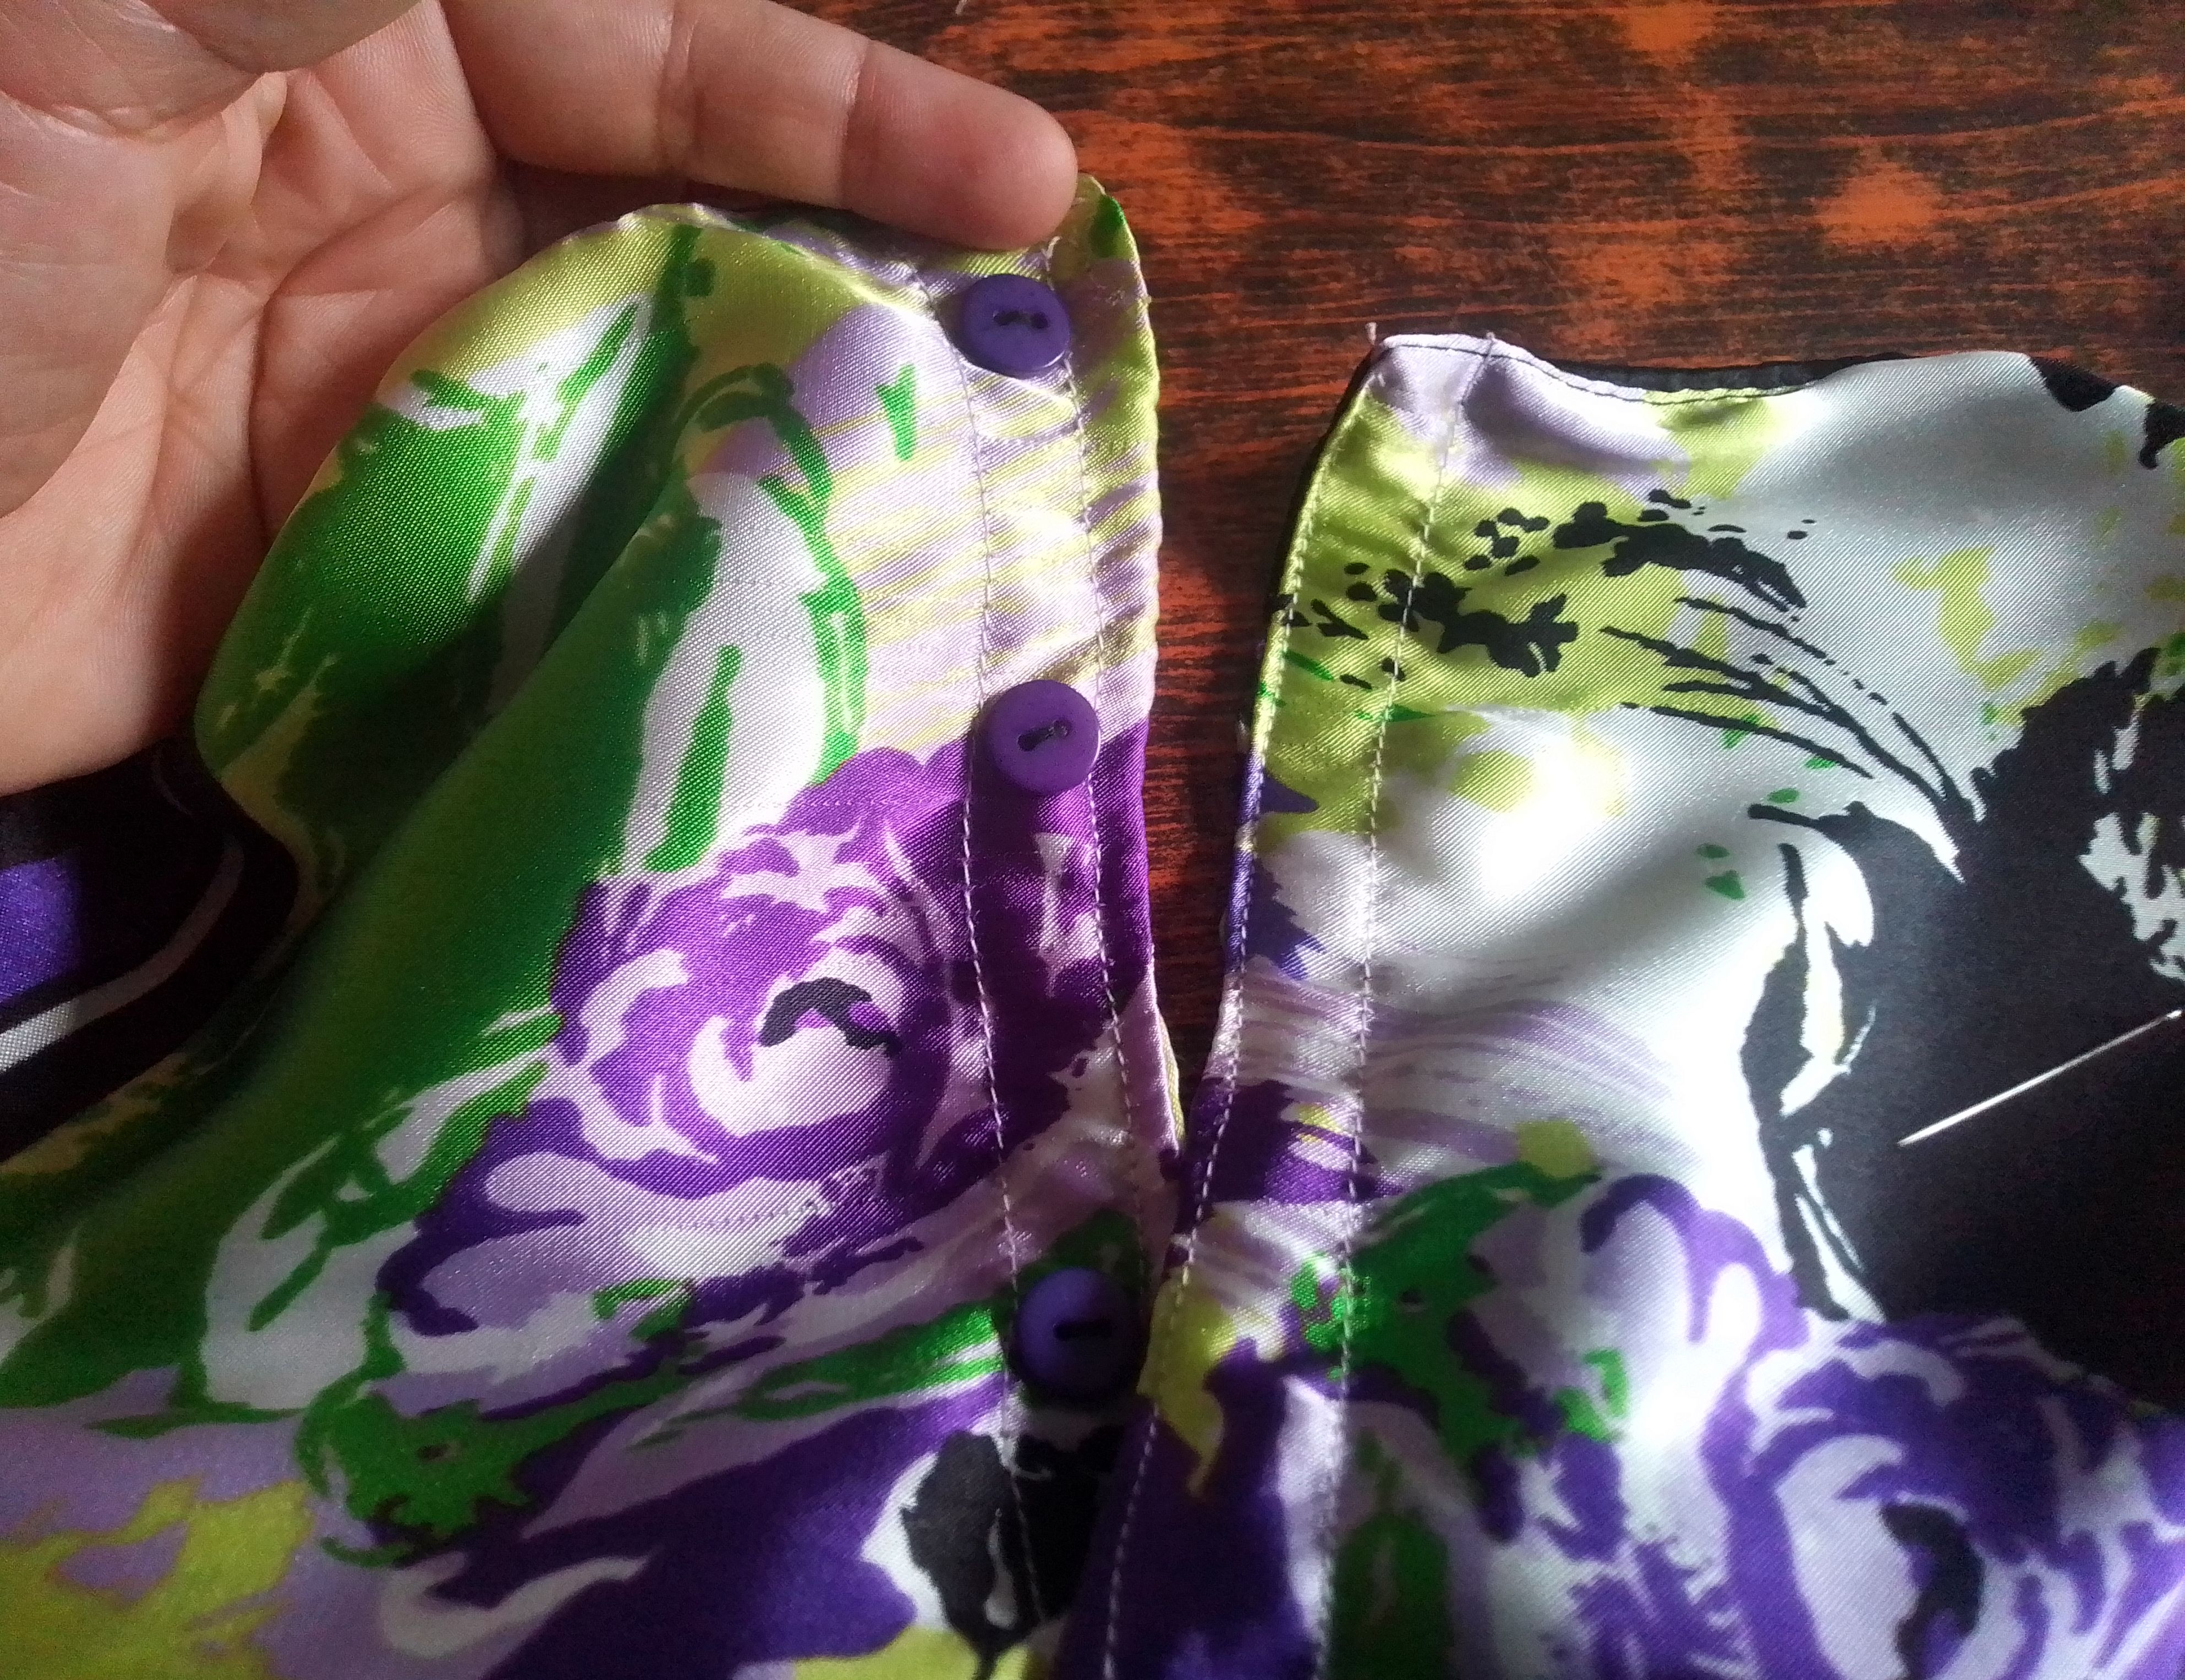
Paso 05
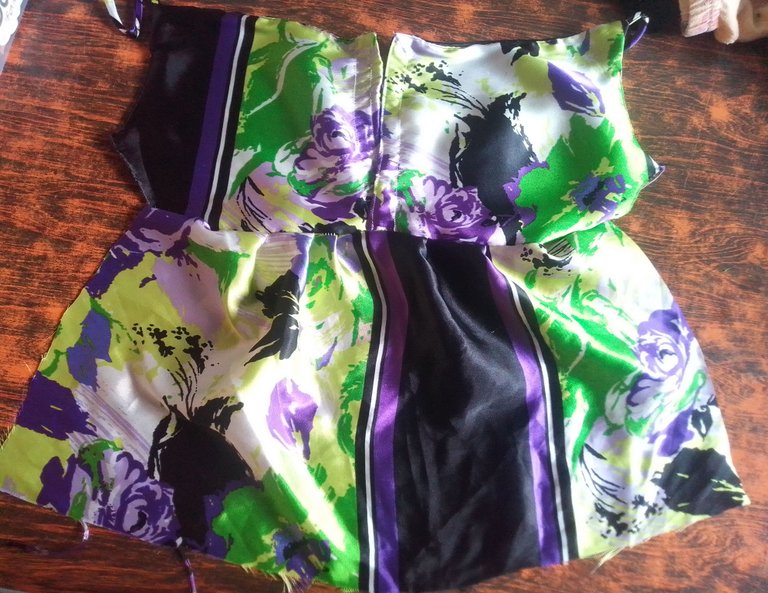
Acá voy a unir las piezas con costura en ambos laterales, haré zigzag en en la parte inferior para la dobladillo, voy a ubicar y a coser los tiros en la parte trasera y también voy a colocar tres botones en la abertura delantera con abriré sus ojales.
Step 05
Here I am going to join the pieces with a seam on both sides, I will zigzag at the bottom for the hem, I am going to locate and sew the shots on the back and I am also going to place three buttons on the front opening with open eyelets.
Paso 06
De la amplia falda también corte las piezas que conforman el short corto, partes enteras que tienen parte delantera y trasera.
Step 06
From the wide skirt I also cut the pieces that make up the short shorts, whole parts that have a front and back.
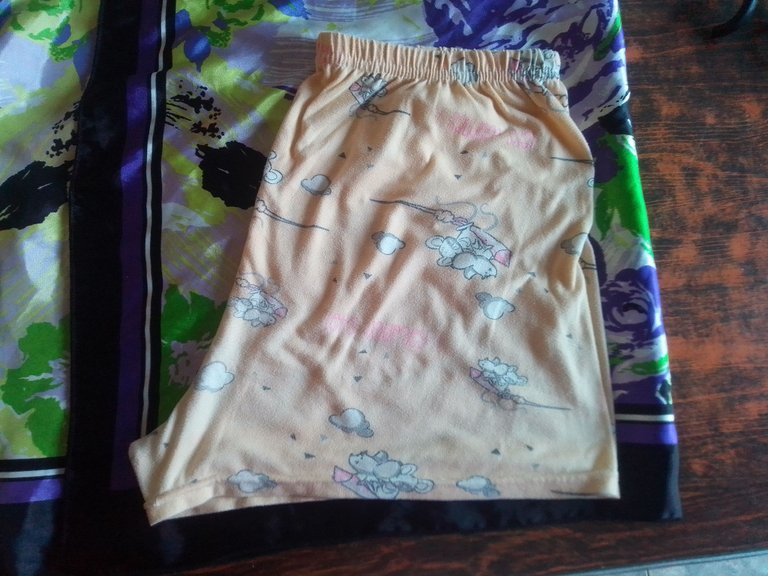
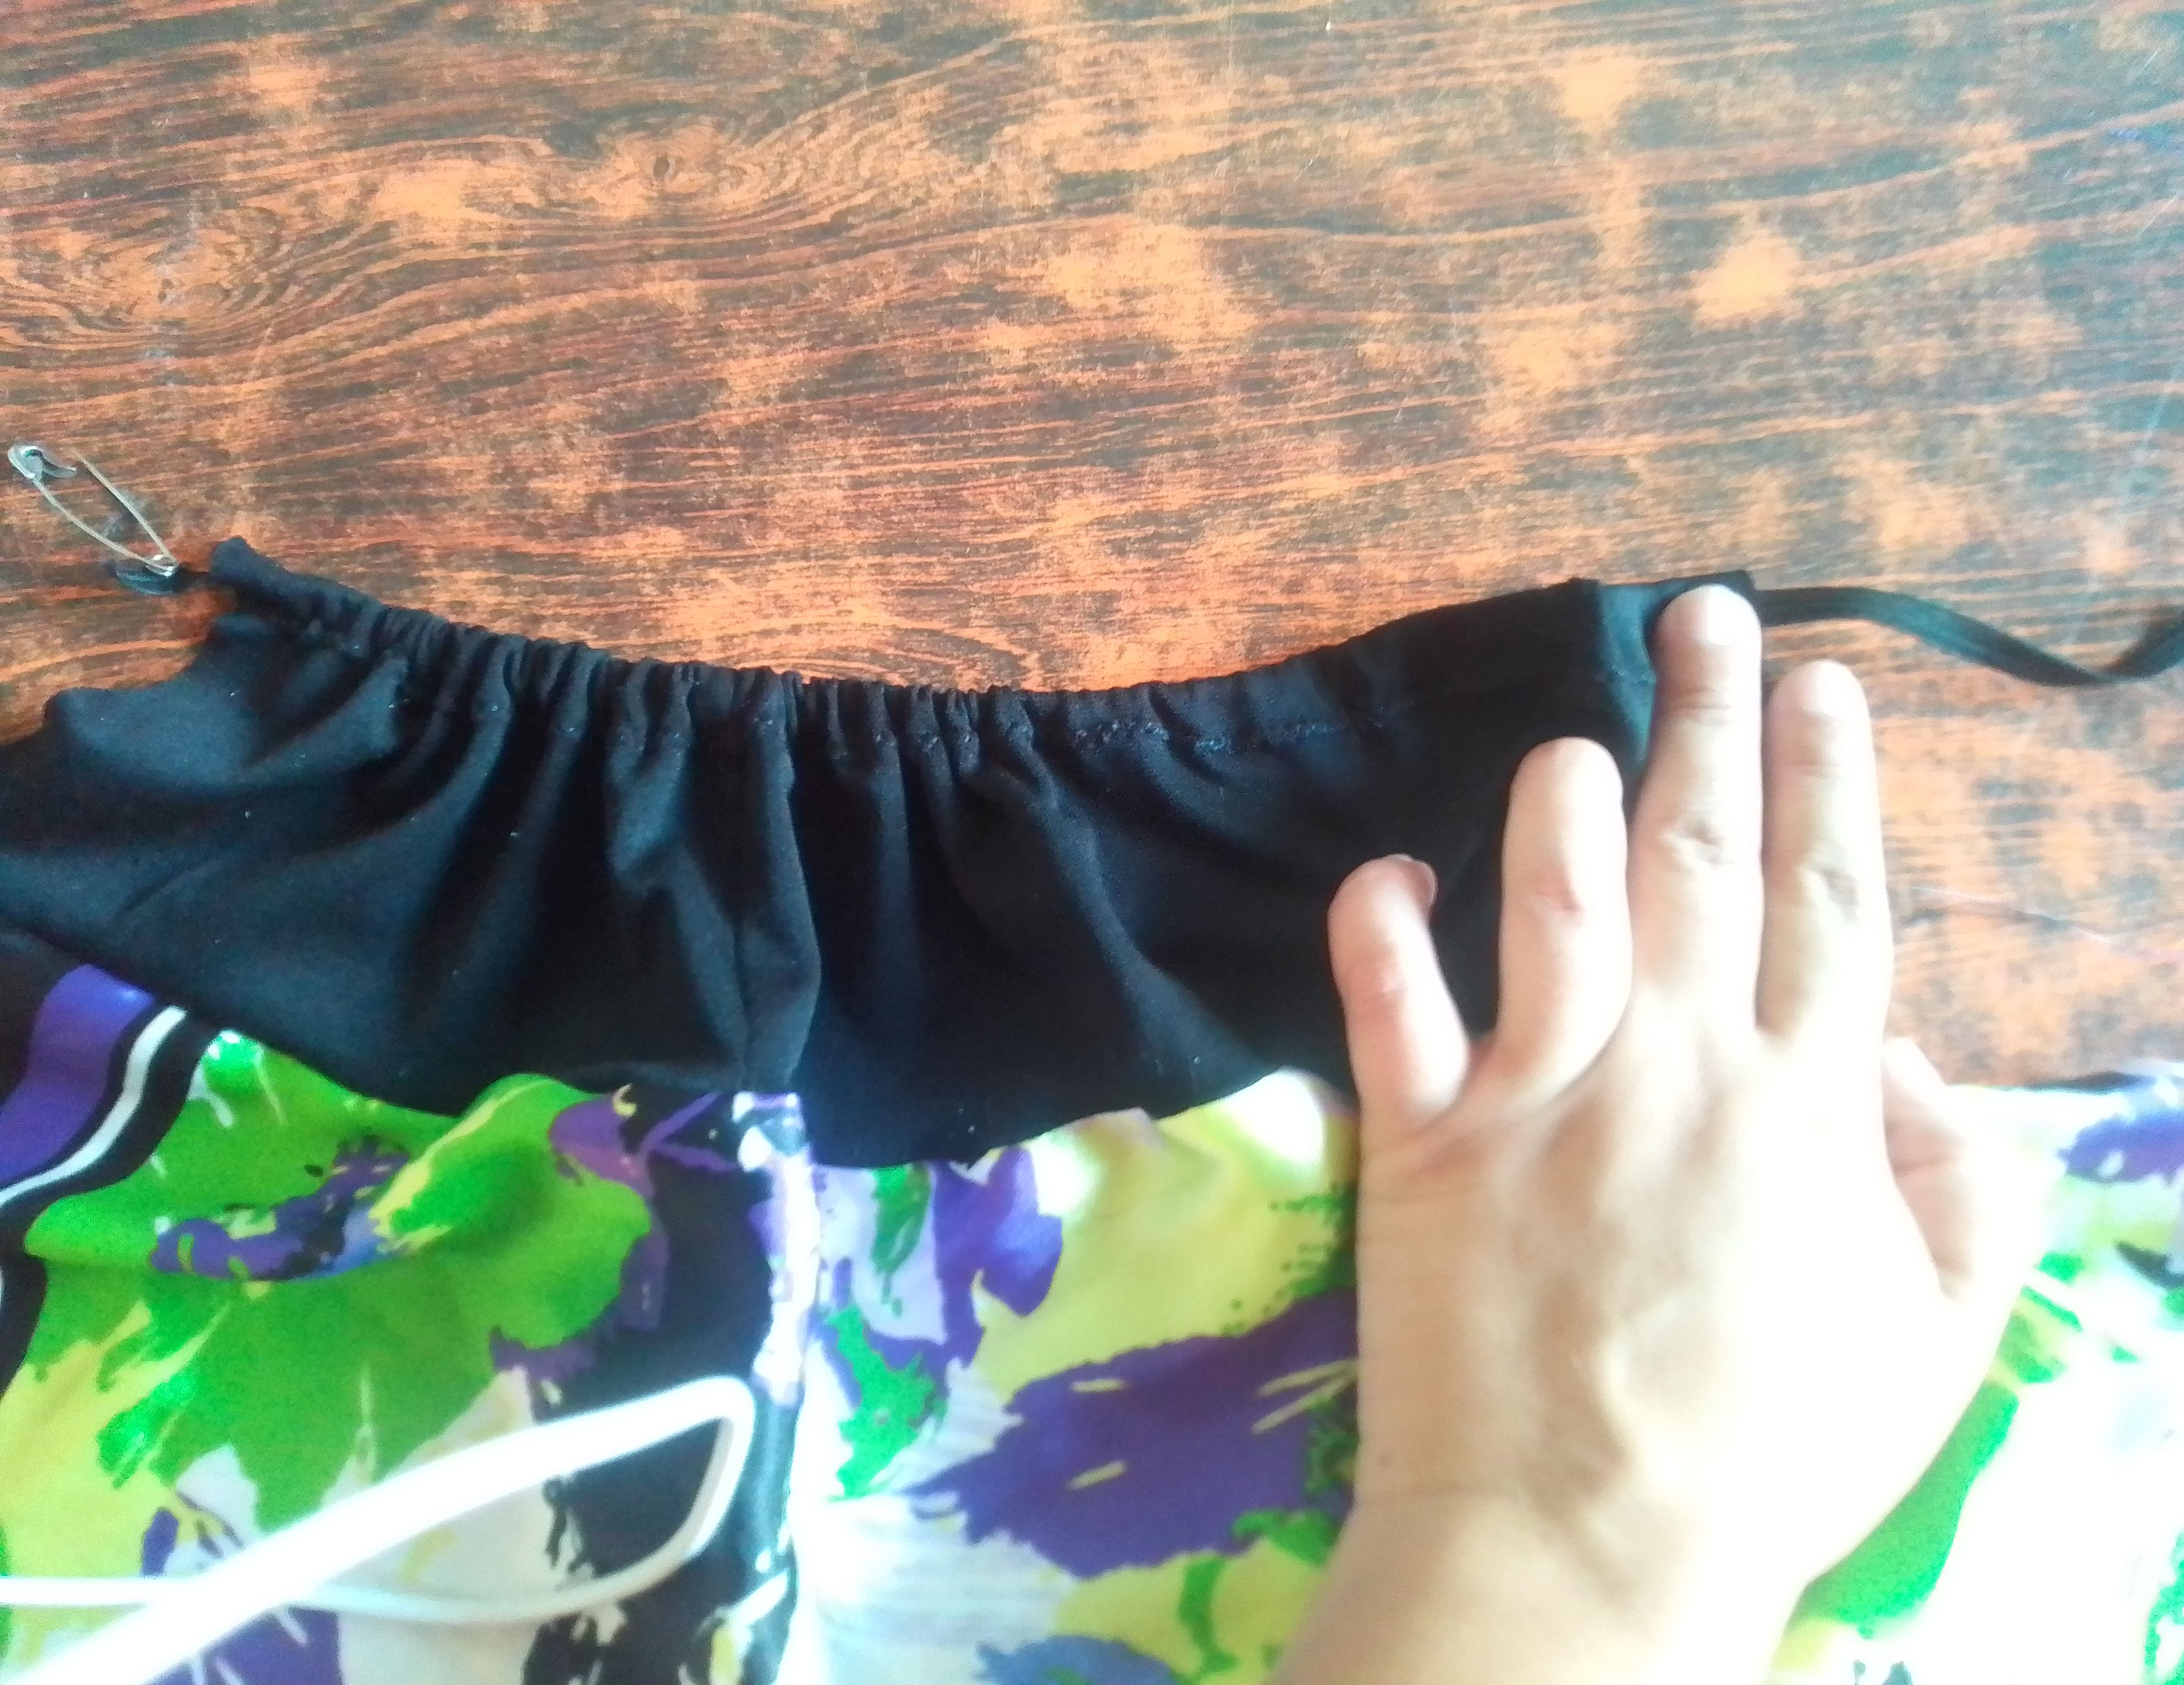
Paso 07
Voy a coser a unir con costura desde la punta de la pretina hasta abajo y luego la costura curva de las entrepiernas. Pondré mi elástica en la y paso costura para fijar y luego doblo hacia adentro y vuelo a pasar costura. Introduzco un cordón para ajustarlo más.. No podía faltar un accesorios, así que cree una scrunchie al estilo coquette muy moderno.
Step 07
I'm going to sew the seam together from the tip of the waistband to the bottom and then the curved seam of the crotches. I'll put my elastic on it and pass the seam to secure it and then I fold it in and fly to pass the seam. I introduce a cord to adjust it more... I couldn't miss some accessories, so I created a very modern coquette-style scrunchie.

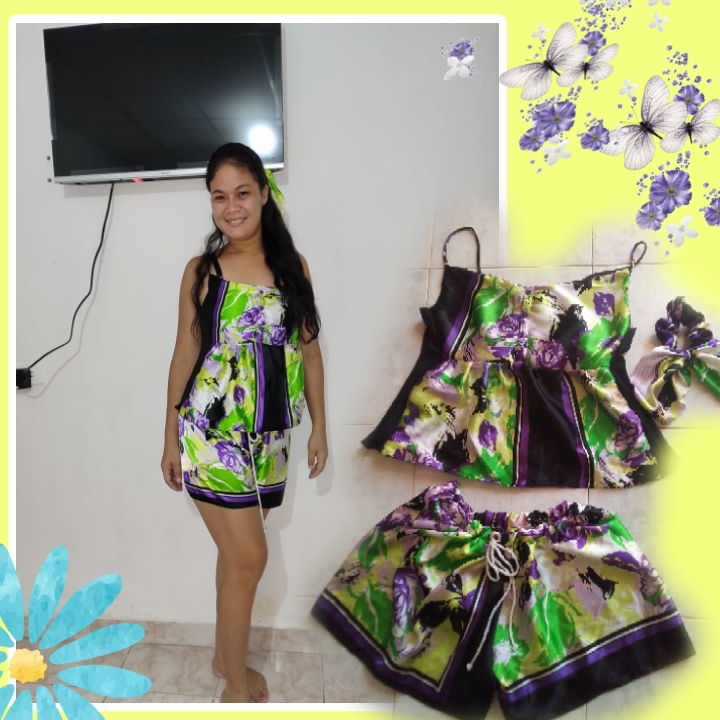
🌸Resultado!🌸
Este trabajo me tomó algo de tiempo elaborarlo pero estoy feliz con el resultado, de verdad es muy comoda, puedo disfrutar de su frescura y suavidad mientas la llevo puesta.
This work took me some time to prepare but I am happy with the result, it is really very comfortable, I can enjoy its freshness and softness while I wear it.
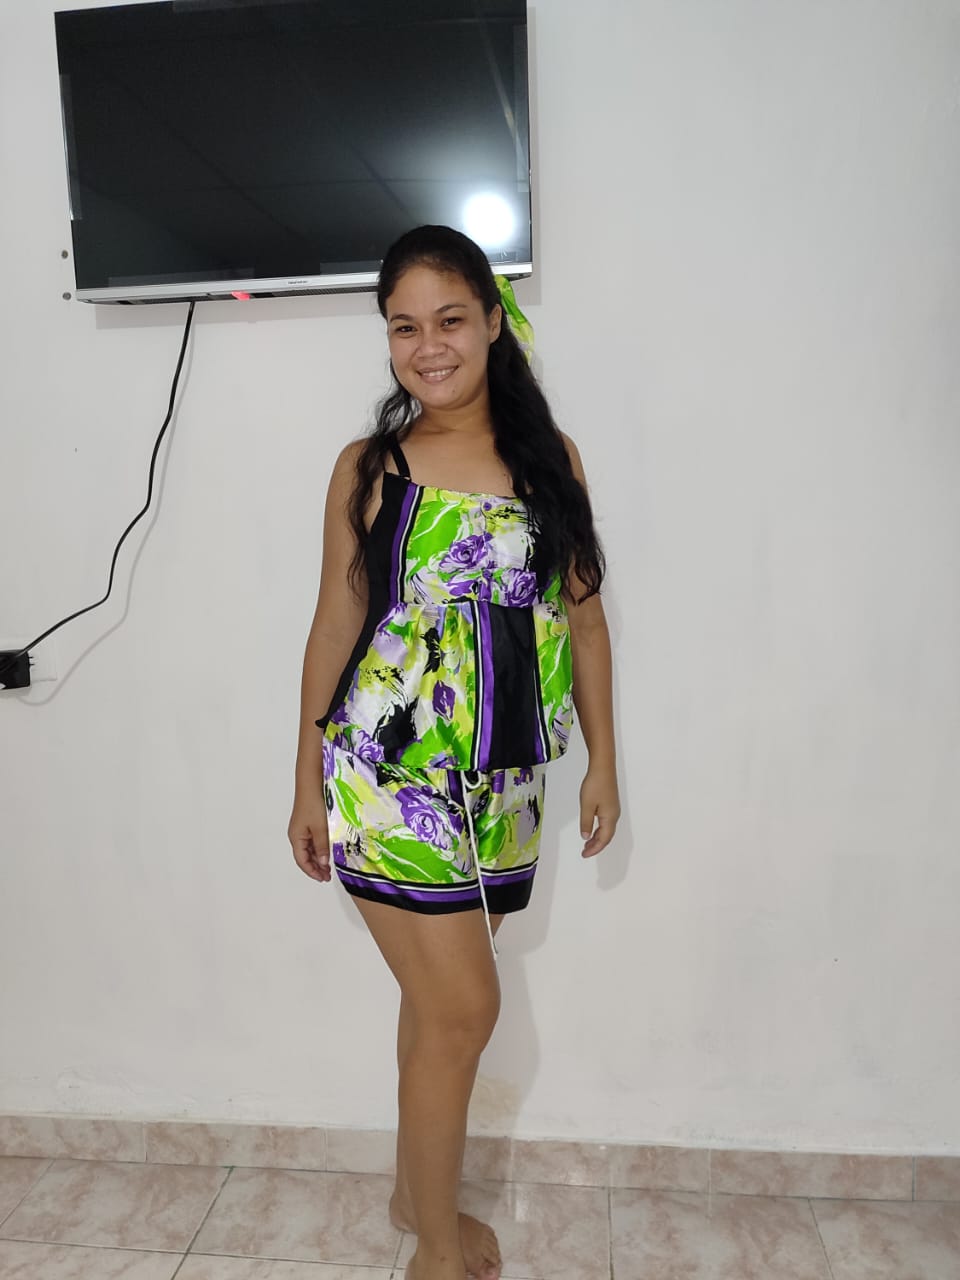
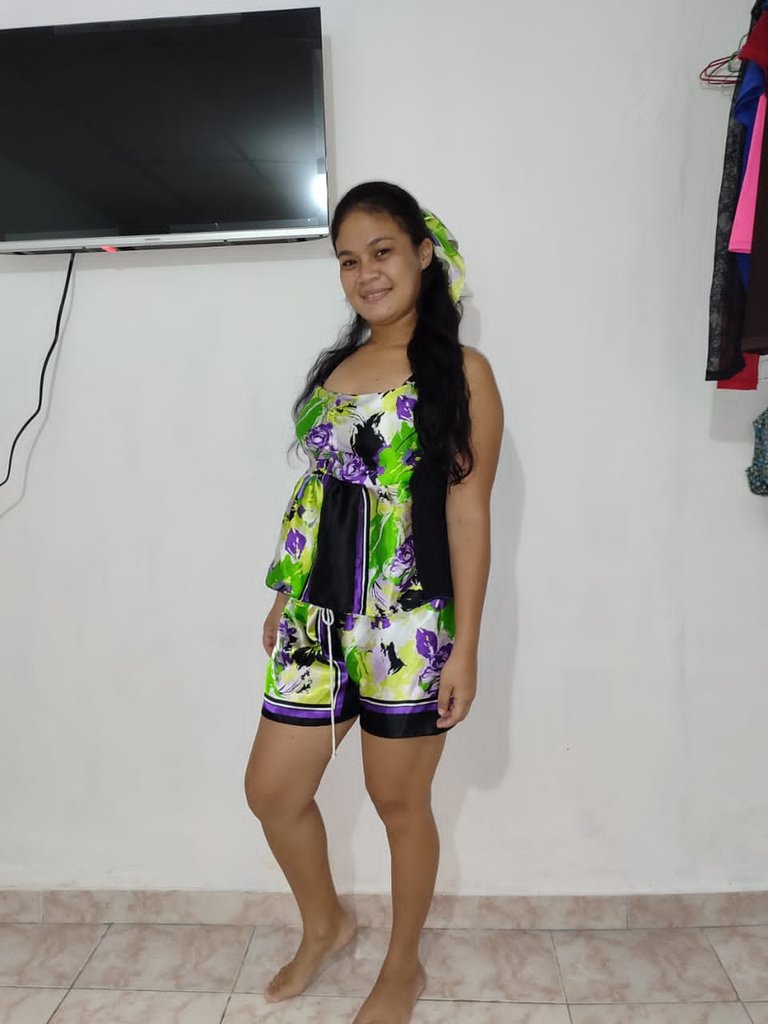
Podemos encontrarnos muchas ventajas al transformar una prenda, espero te guste.. Gracias por ver, leer y apoyar este proyecto, deja tu comentario oara saber que piensas de él... Dios le guarde y le bendiga, hasta pronto!
We can find many advantages when transforming a garment, I hope you like it... Thank you for watching, reading and supporting this project, leave your comment or let me know what you think of it... May God preserve you and bless you, see you soon!