Hello my co needleworkers.
Happy Monday, how do you spend your weekend, i hope it ways great. I am happy to share this beautiful project you guys and i know you will really love it.
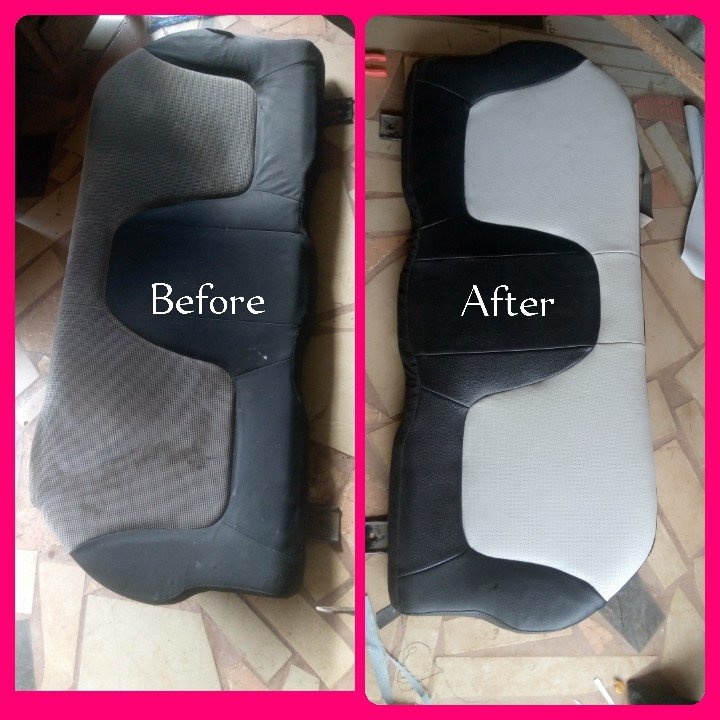
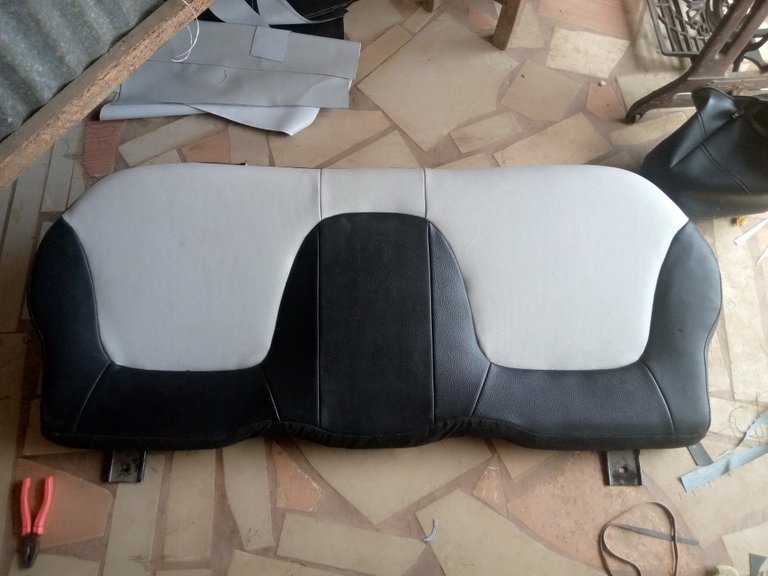
Looking at the picture above you can see the is a very big difference from the old seat , is it not beautiful. Please let appreciate my hand work is not easy.
I really take my time to work on this seat , because this is my first time working for the owner of this seat and i was recommended by a customer of mind and He please me to do a clean work for them. And Glory be to God i have completed the work and the have pick it up and the owner give me a hand shake for doing such a great job for them.
In my last post here i share the beginning of this project and i ask someone to suggest the key the car the owns this seat, this seat is for Hilux.
Here are the finished work inside car
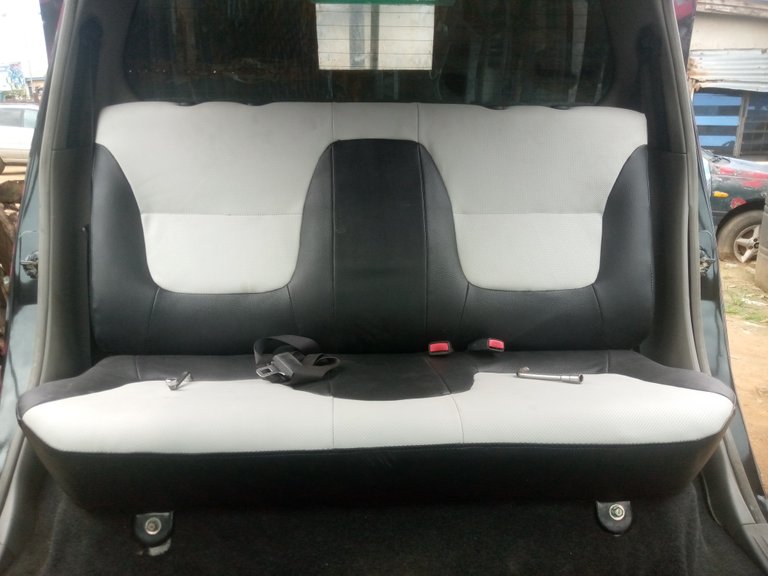
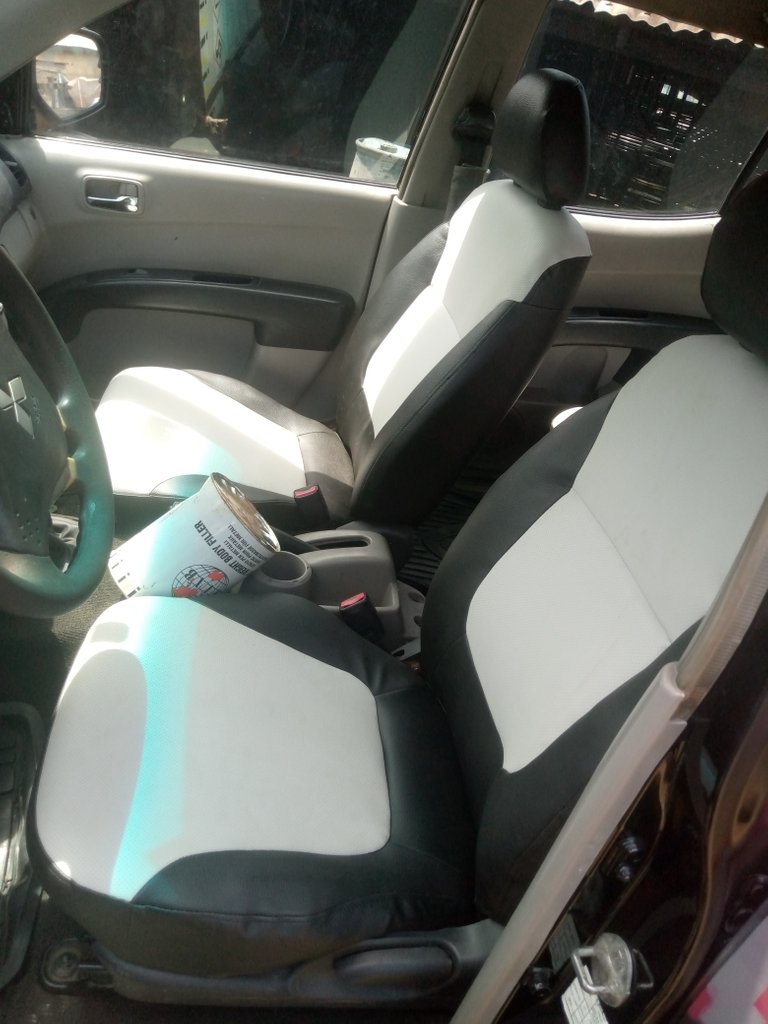
I am sharing this project because since i dont have much work i took my time to arrange a step by step of this project in wish going through this post you will able to sew a car seat by your selp. I will be using picturs to explain my steps for clear understanding. To tell you a truth, to learn this worj cost alot of money and see you guys learning for free, that is why you need to support this project to encourage me more.
Let get started
Material/Tools needed
- sewing machine
- black thread
- set of spanners
- hand needle
- black and Ash leather
- roof material
- pliar
- chalk
- scroll drivers. Etc
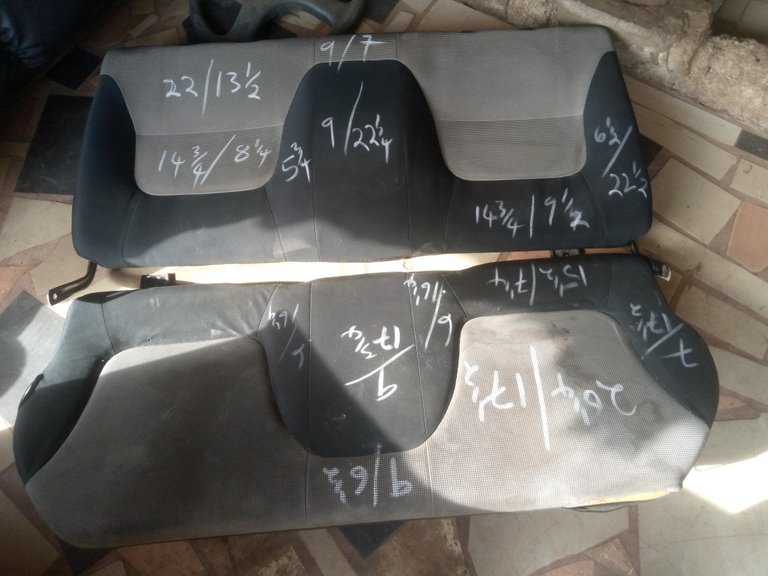
Here is the seat before
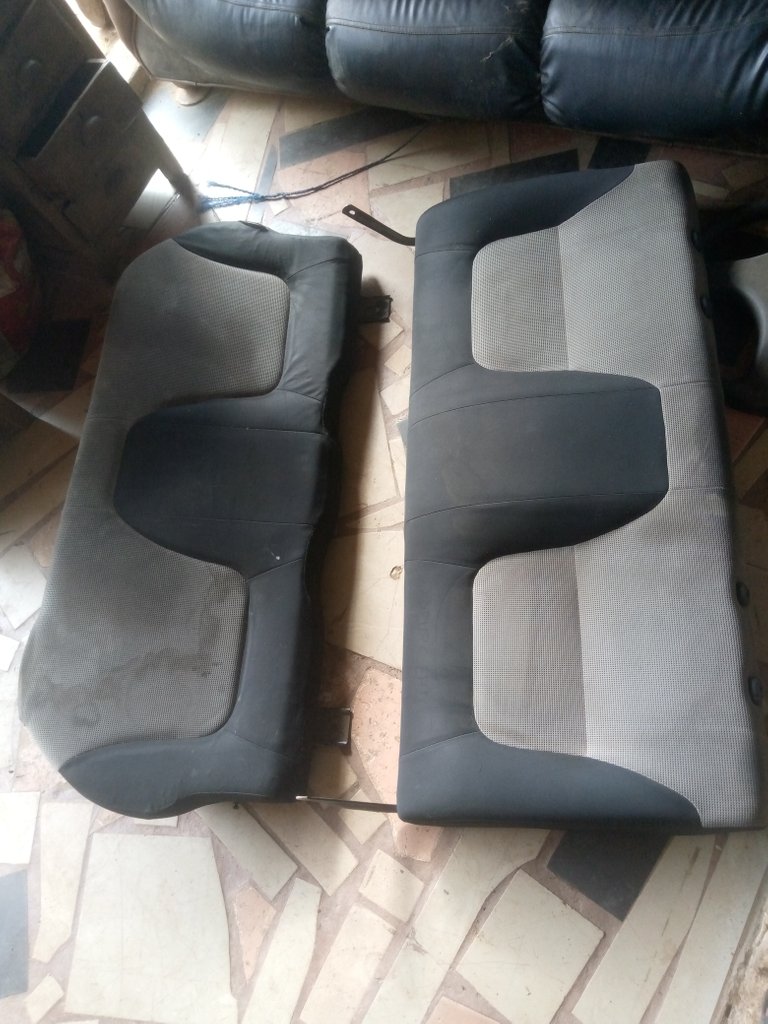
Here is the seat after
Firstly since this is the back seat, you don't need to loose any because the are on their own, so i took the vertical and the horizontal length if the seat and then write it down.
We are going to make use of two different leather looking at the design..
So without taking more time i transfer the measurement to the new leather and then use chalk and long ruler to mark it out .
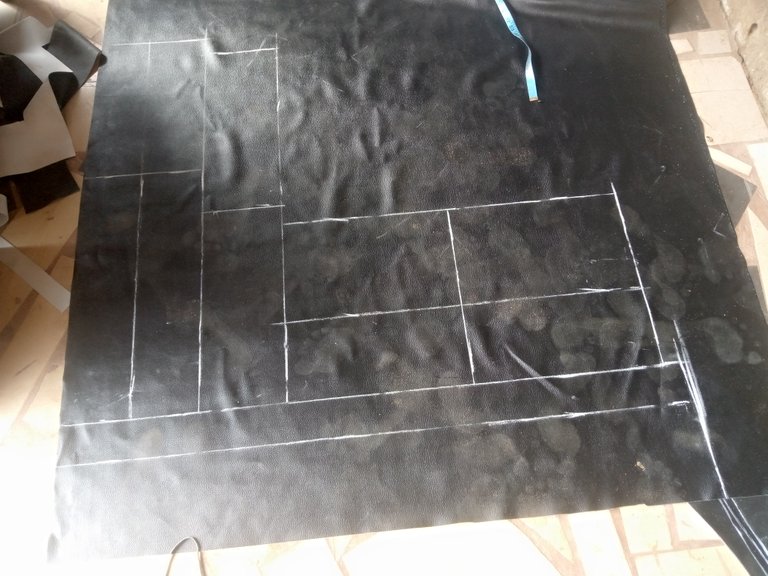
After then i use scissors to cut them out
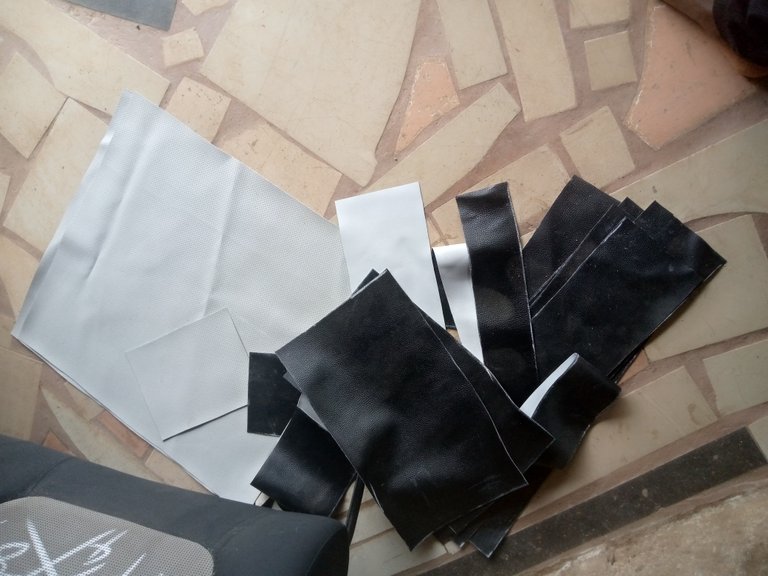
This is where the screat is this my work, to form a pattern. And this is very simple to do it, just place the cut material on the old seat and then draw out the pattern carefully and exactly. See photo below 👇👇
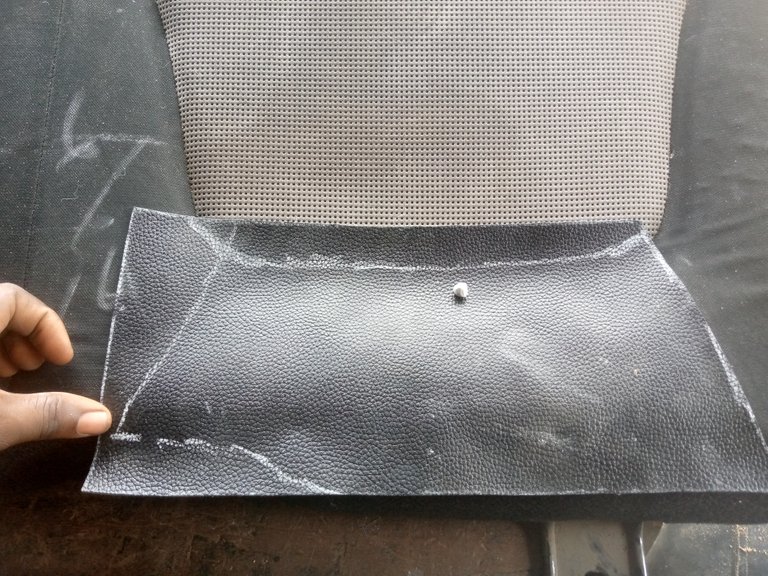
Do same to form the pattern all through and then shape it out. Hope you understand.
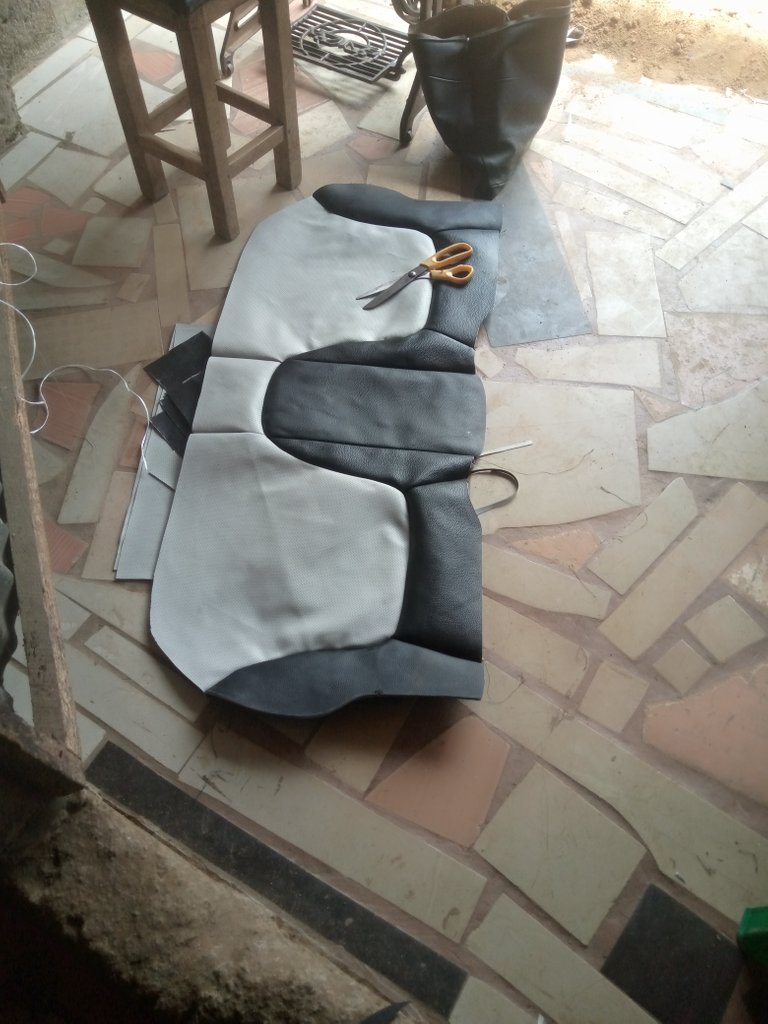
Here are the patterns
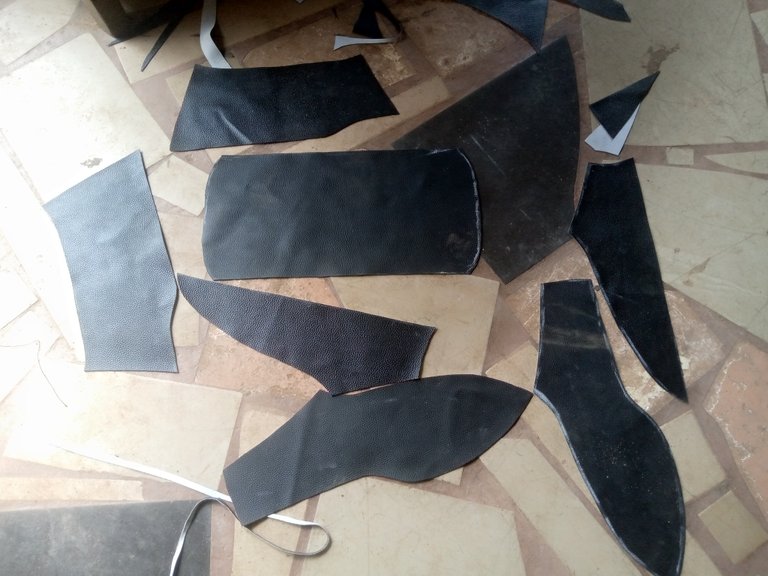
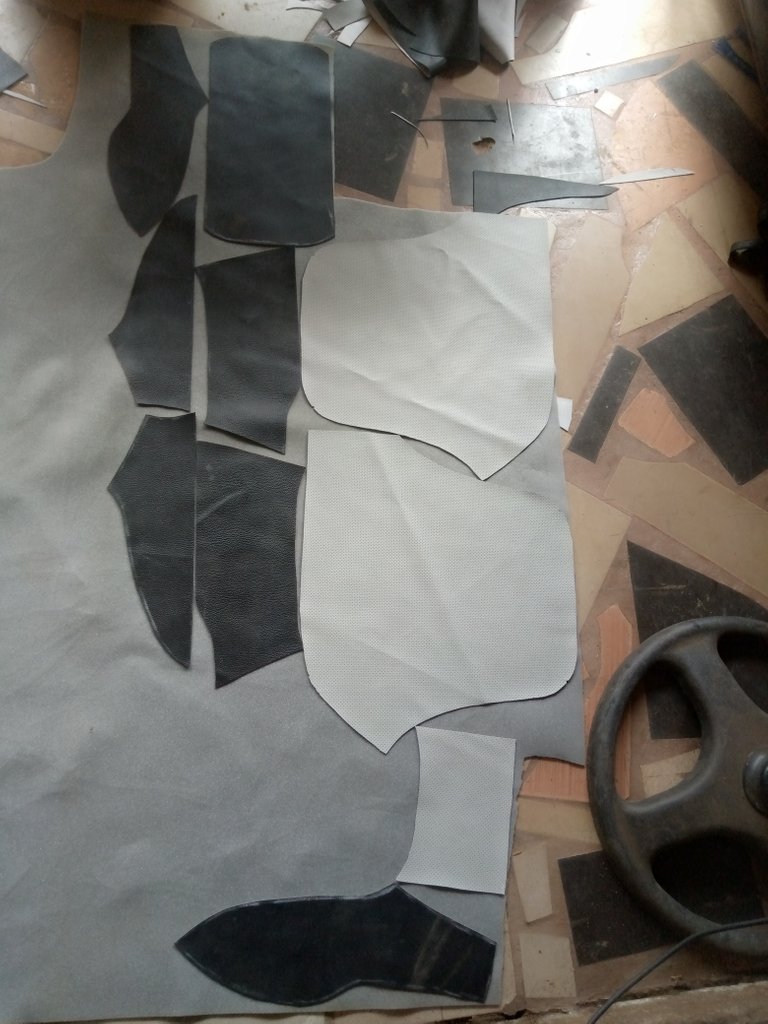
To make the leather think and smooth, i then place it on a roof material
Then gum them together
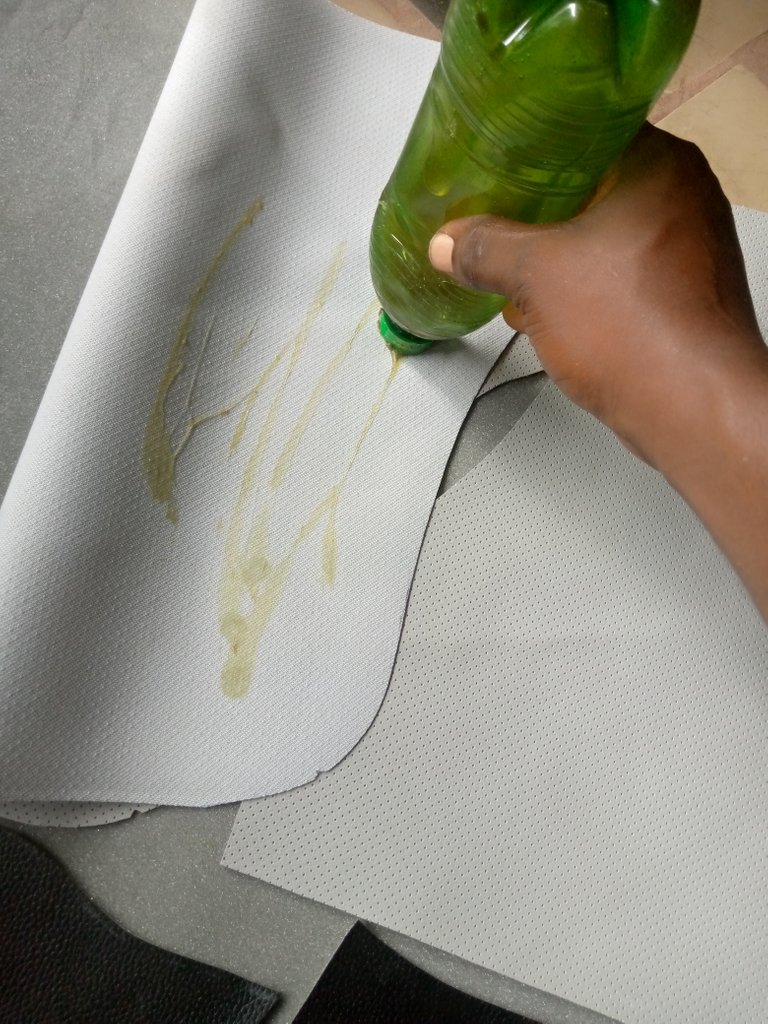
After that i then cut it out for sewing process
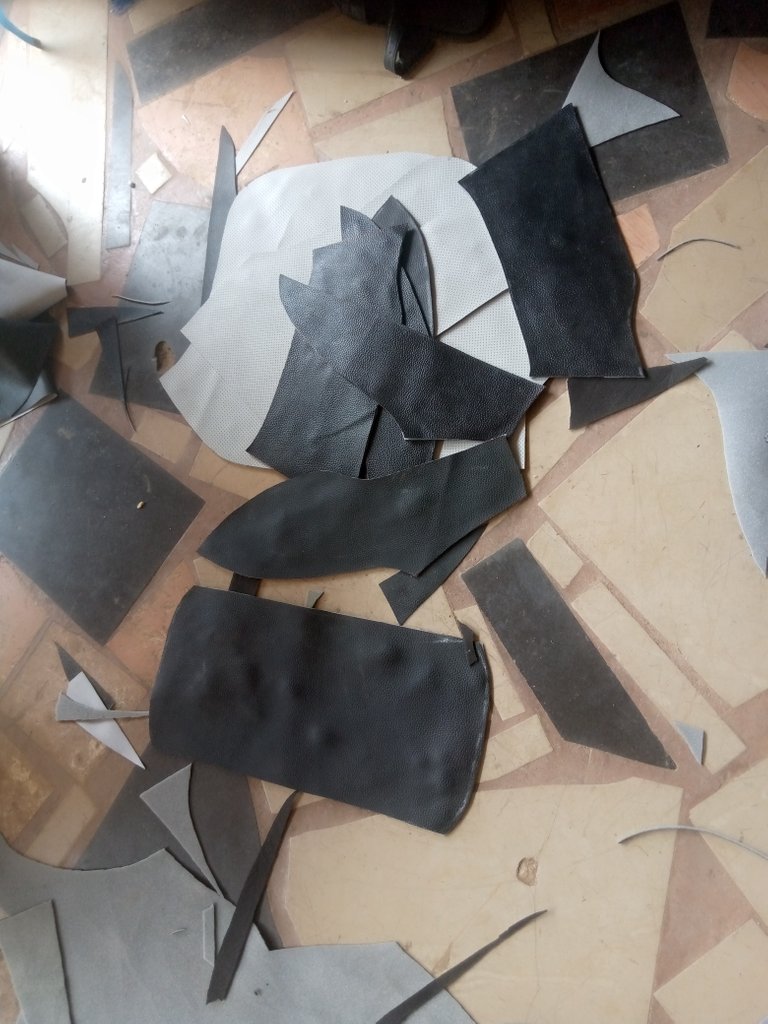
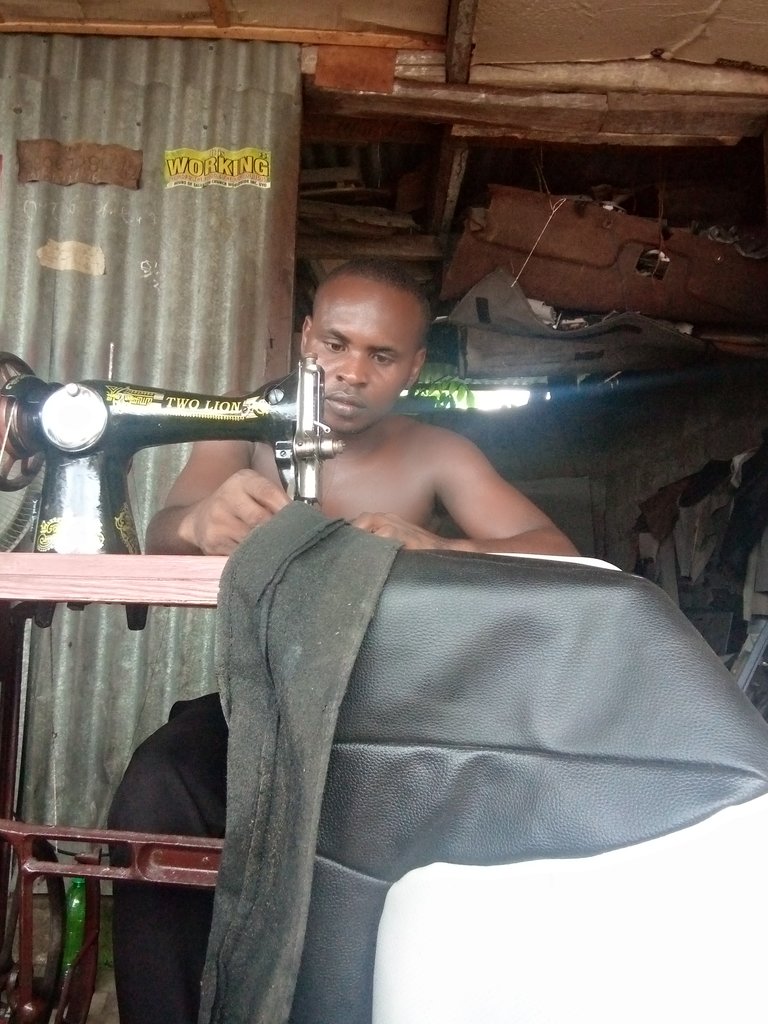
To proceed, i then use a sewing machine to sew those pattern together.
And here is how it look like.
Then i proceed to sew the side too.
Finally the seat cover is now ready
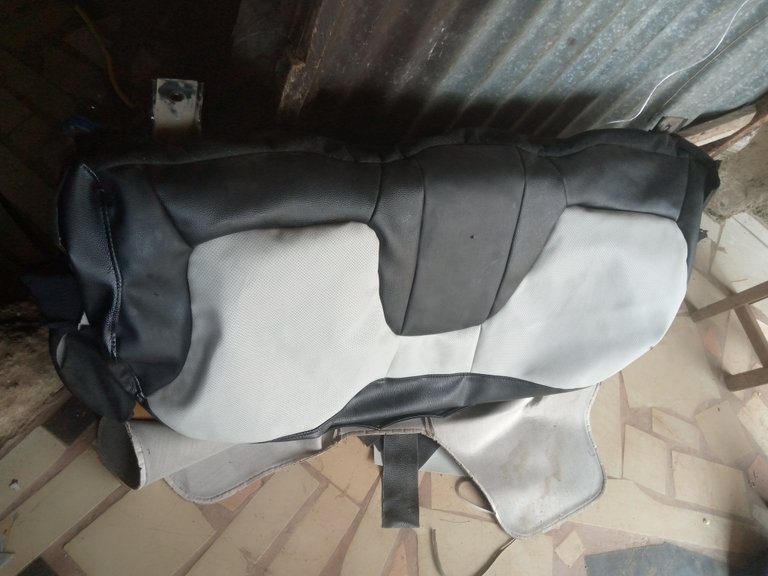
Then i clip the new seat cover to the old seat.
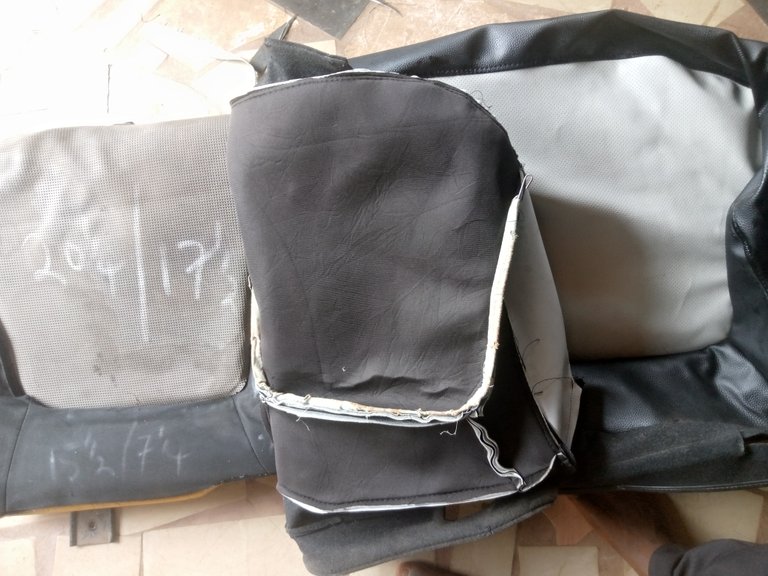
**Here is what i gotten at the end.
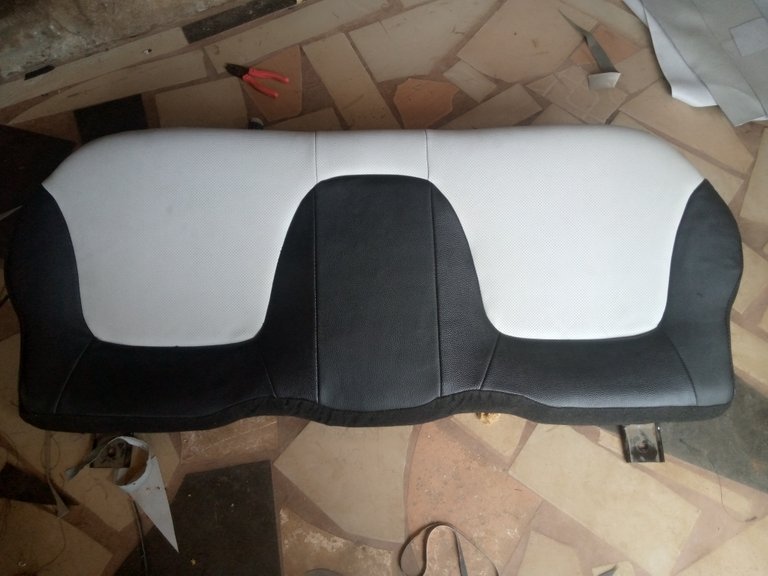
I then tight it to the car.
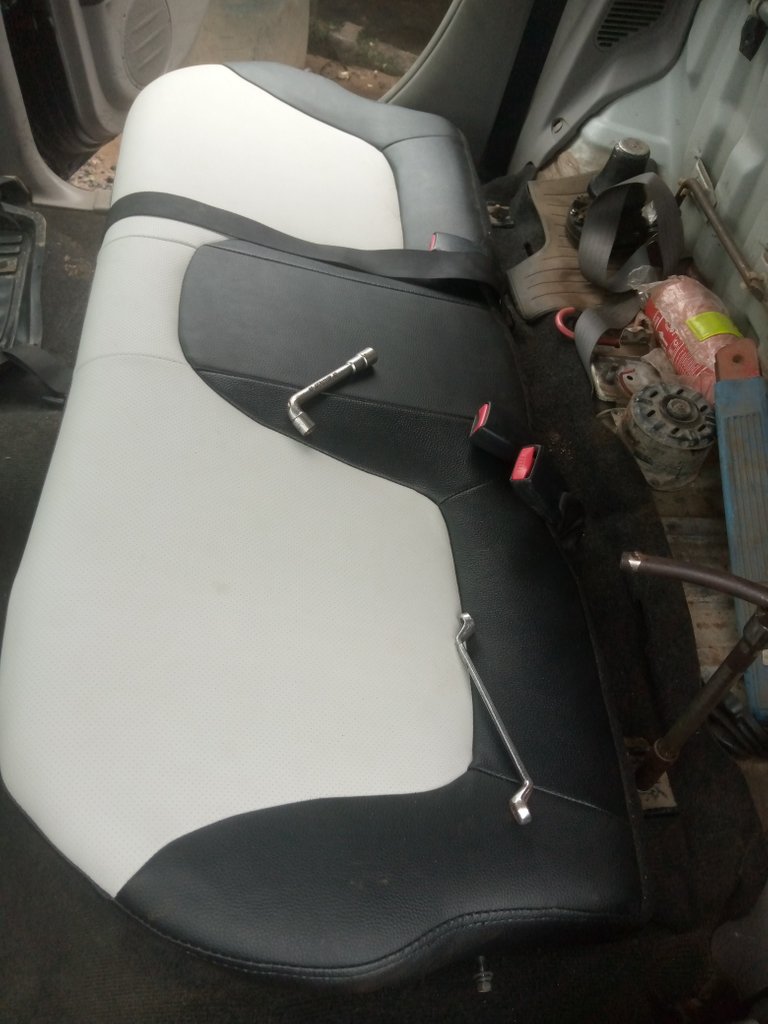

How do you see that. Hope it look beautiful.
Please let do well to comment in each other post because to me i Alway feel special when someone comment on my post.
Thanks everyone for your time, if you have any thing you want me to help you chat me up.
This work is original work done by me and all photos are mind . Support you boy na.