Hello my co needle workers.
I am so happy to be here once again today, being Thursday, to share with you all my beautiful hand work on the upholstery of a car seat. .
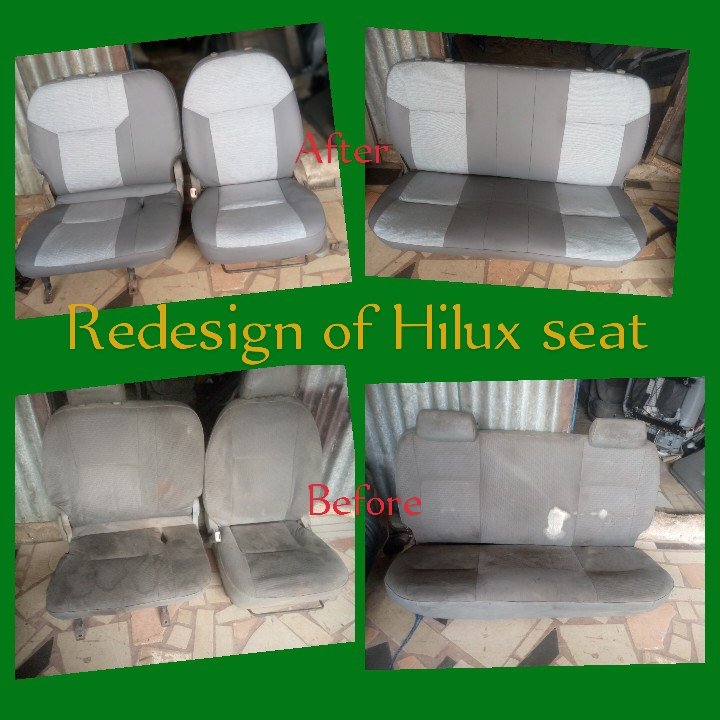
Firstly of all, I want to apologize for not posting the finished work since I got through with it two weeks ago, but the device I used to take photos of it got spoiled, and there was no way to get the pictures other than to repair the phone. I really thank God that the phone is now okay, although I had to change the phone screen twice because the first one they put on was fake and only lasted for one day, so I had to get another one, which took them one week to deliver to me. And I was very angry about it because I knew what I lost here.
Before we proceed, I will love to know how you are all doing. I hope you all are doing well and that, for me, everything is moving smoothly.
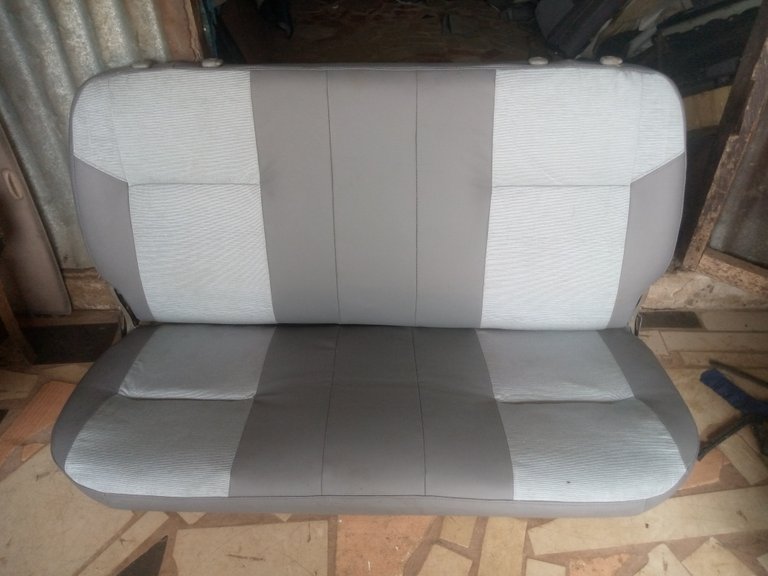
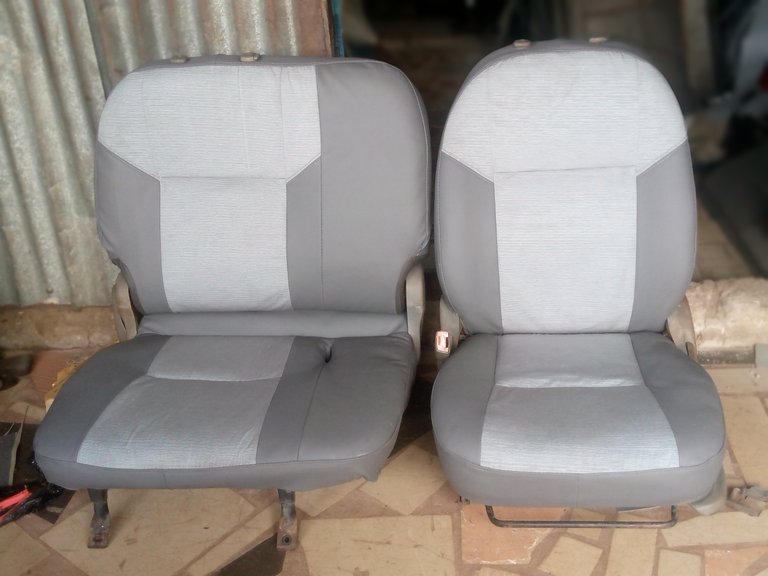
Back to business for today. I have posted the beginning of this project, which was the back seat, and the outcome was amazing. Now today I will post about the process of assembling the remaining two seats, which make it a complete Hilux seat.
Here is the finished work.
Here are the seats before
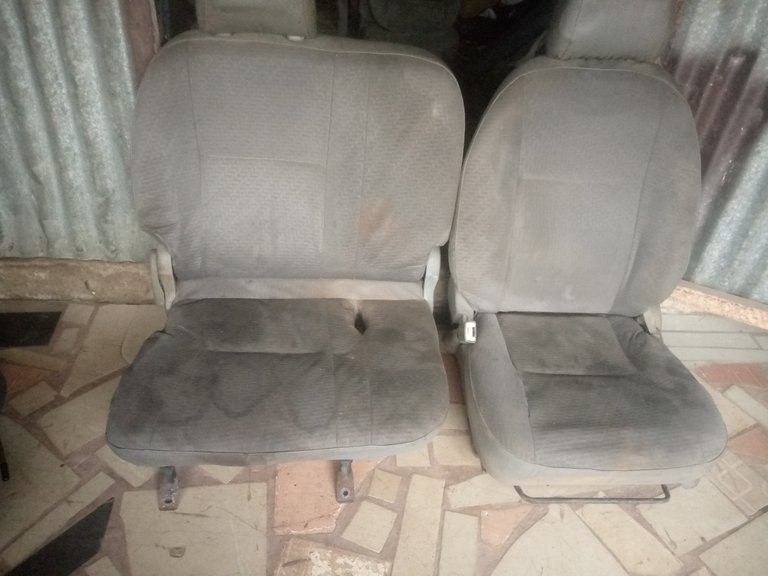
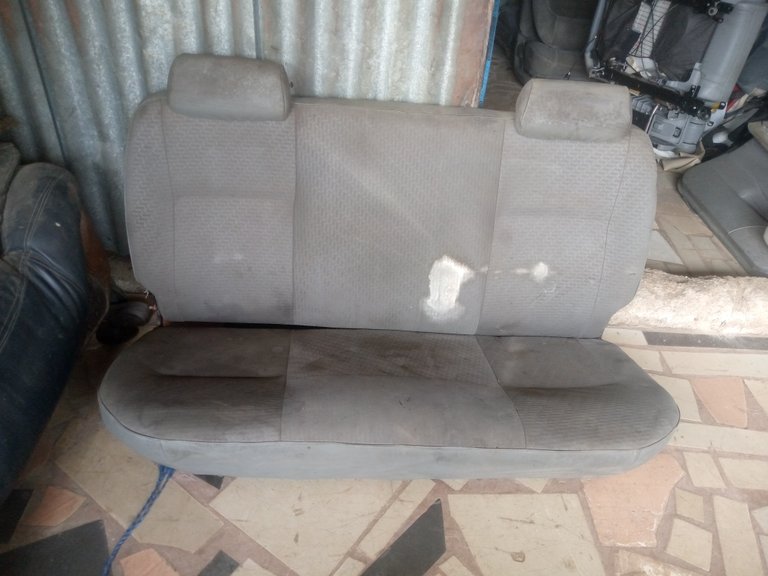
If you compare the two seats, you will see a very big difference, both in the fabric combinations and the design itself.
As I mentioned before, this seat was designed by me. The owner and I just met to give him something beautiful, and I promised to deliver the work clear for him. To God be the glory, he was very happy with the finishing work, and because of how beautiful the seat is, he promised to bring his friends for me to work for, and he even gave me extra money to bear.
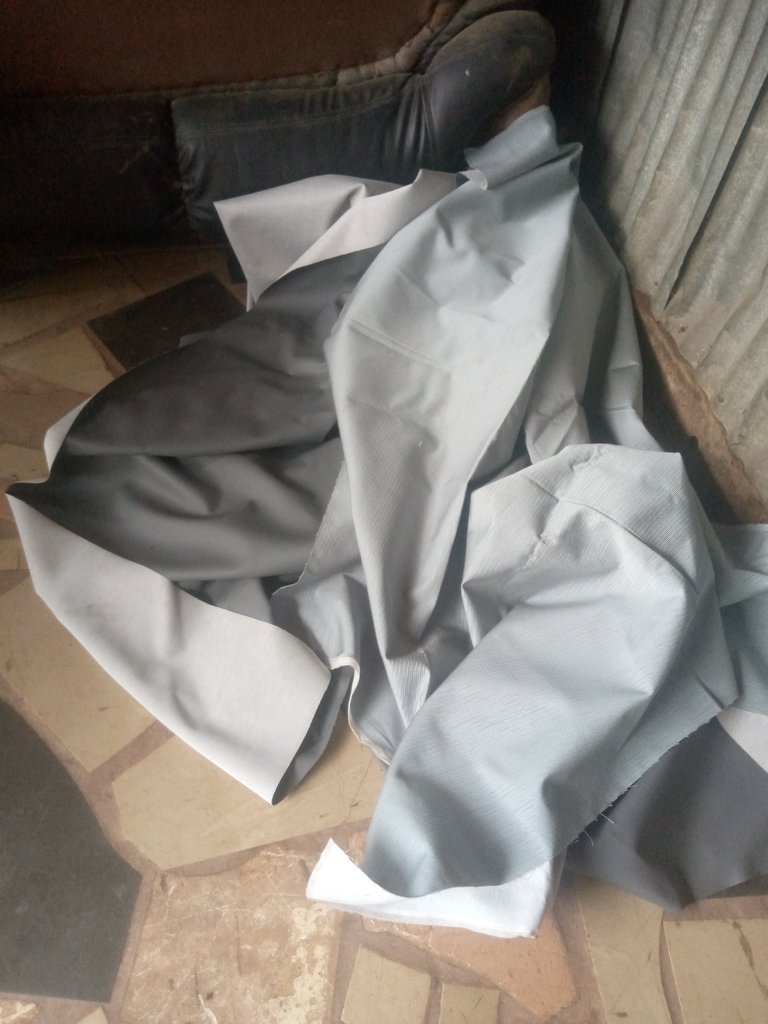
Here is the fabric I was using for the work.
As you can see, there are two fabrics there, one in the center and the other on the remaining side.
To begin the process, I will be using one of the front seats to show how I make the seat come out so beautiful for you to see that there is no magic.
Firstly, I remove the seat for easy access to whatever work I choose to do.
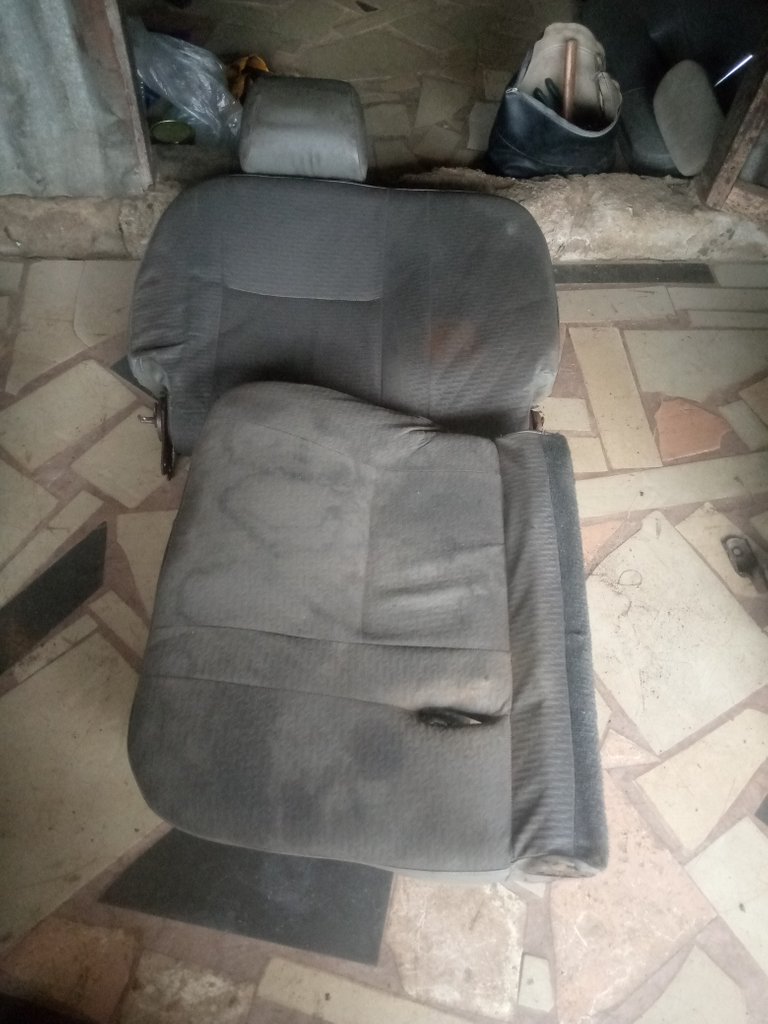
After loosing the seat, I then make use of sewing tape and chalk to measure the vertical length and the horizontal length of each joining on the seat.
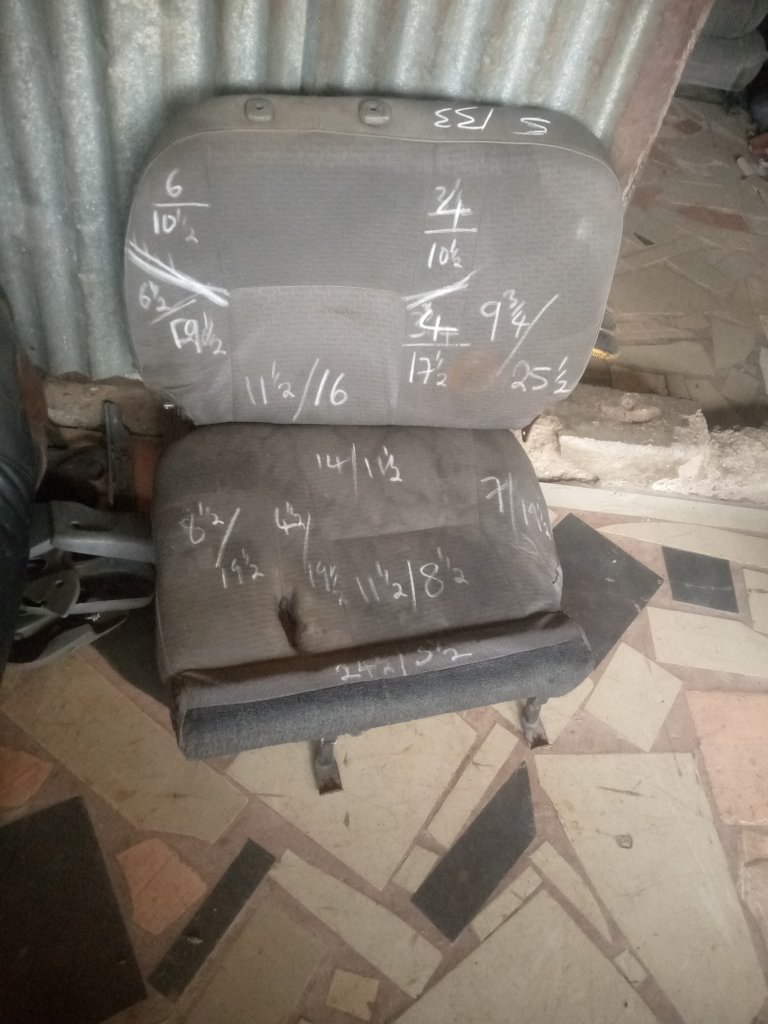
After taking the measurement, I then transfer the measurement to the new fabric.
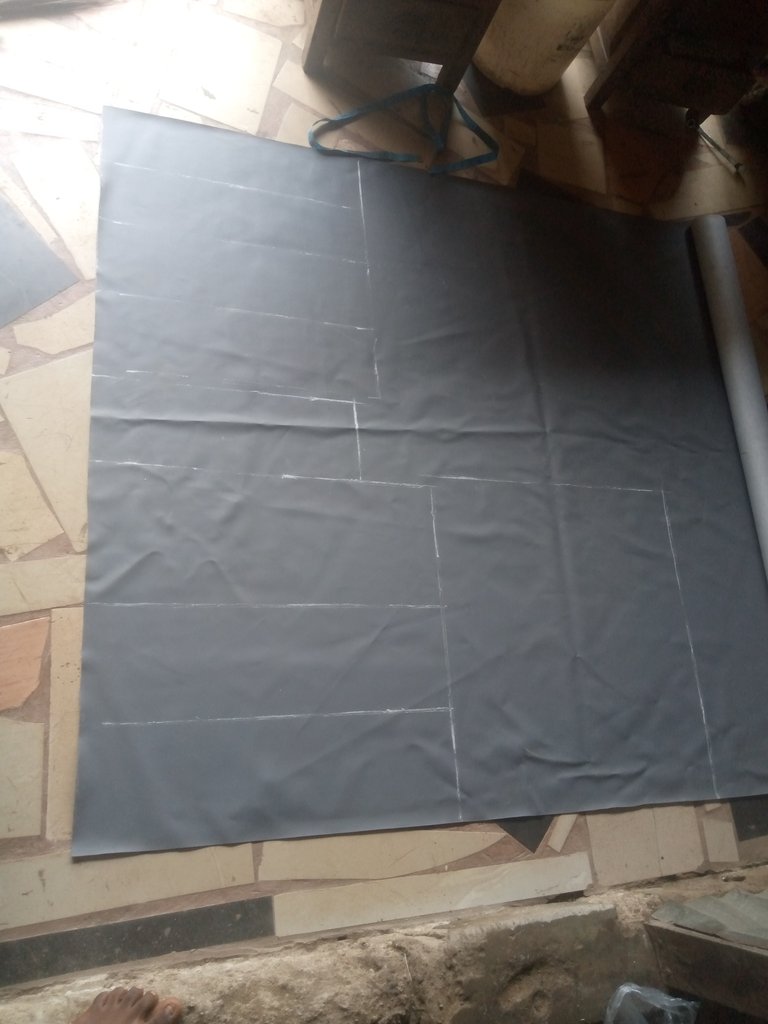
Then use scissors to cut it out, following the line I draw.
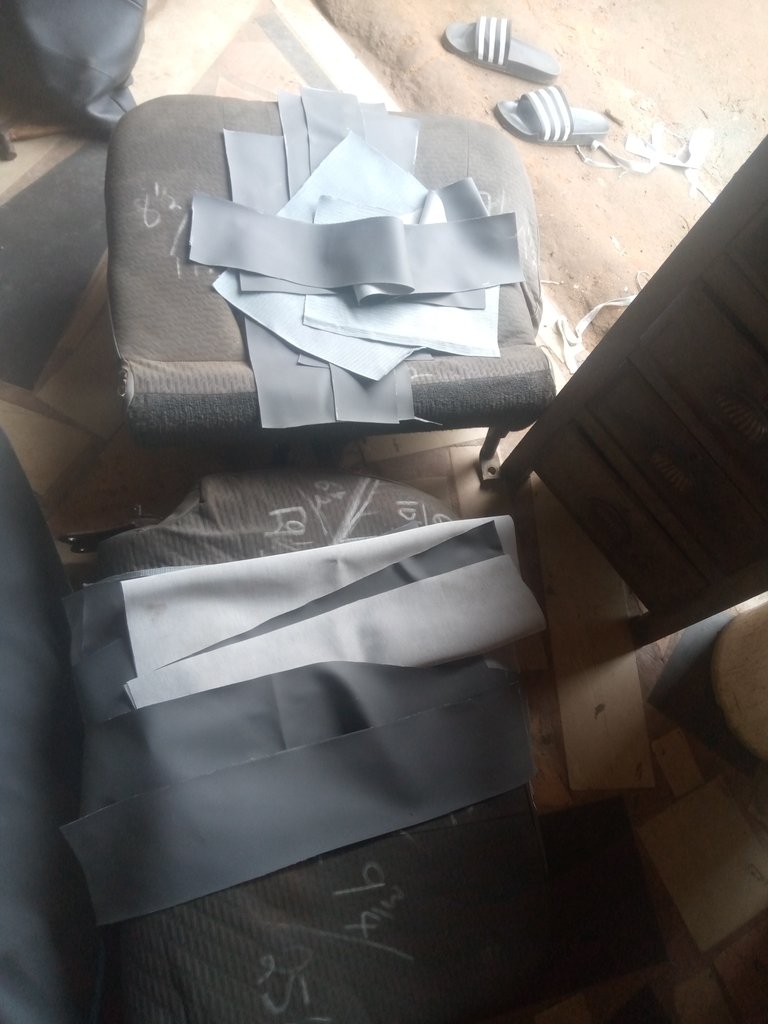
After cutting the new fabric out, I then place it in its position on the seat while I draw out the pattern, or trace it out, or whatever. After getting the seat pattern, I then place it on a roof material and then gum it together to make it stronger and smoother.
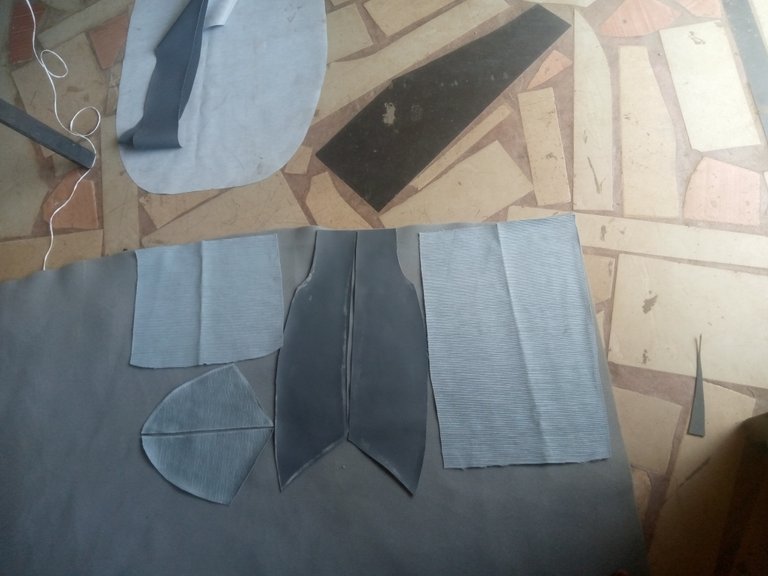
After gumming it, I cut them out for the sewing process.
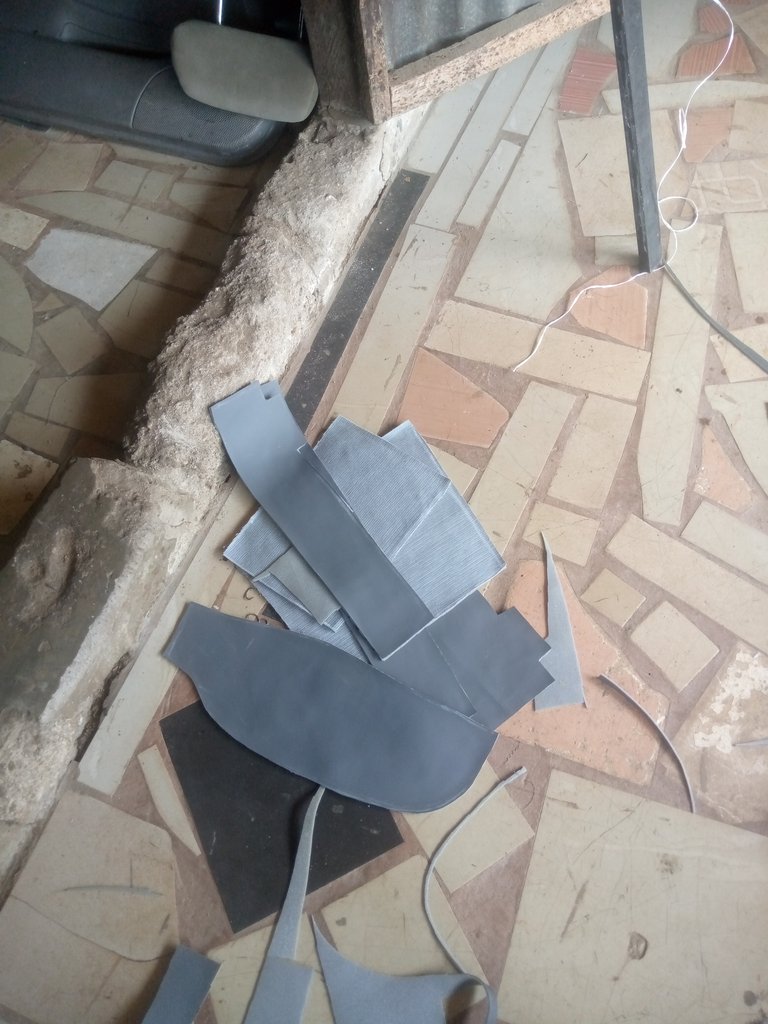
I then use a sewing machine and carefully join those patterns together using the old seat as a reference and also the way you design it. This is a very simple process, just like sewing clothes.
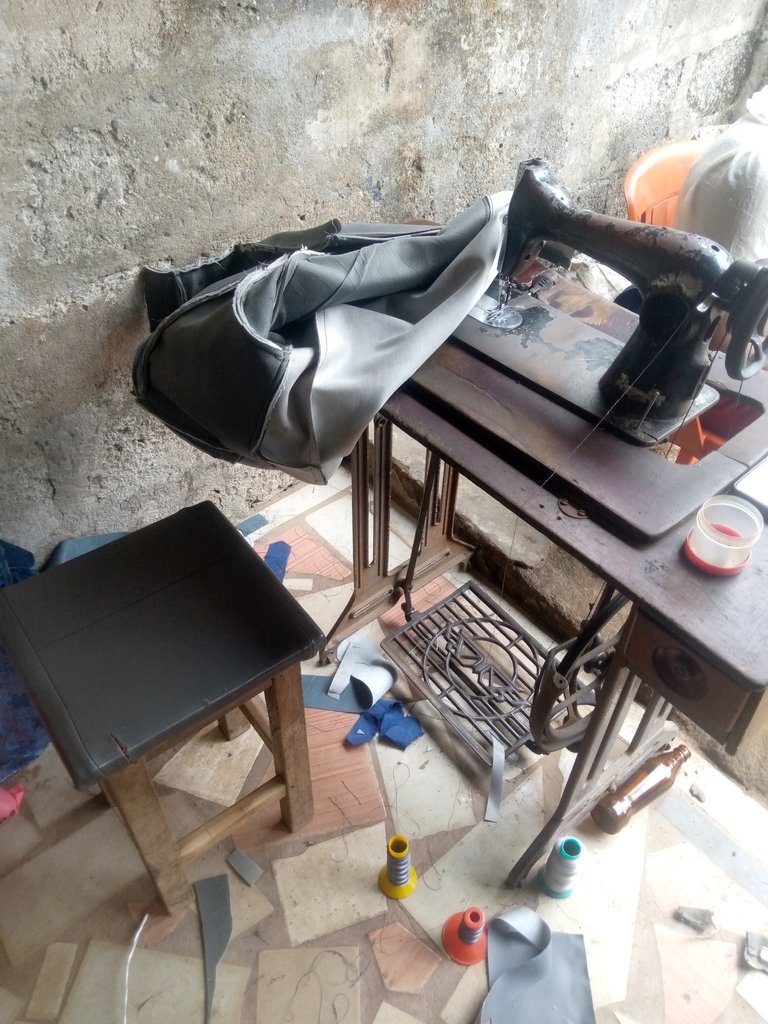
done sewing it.
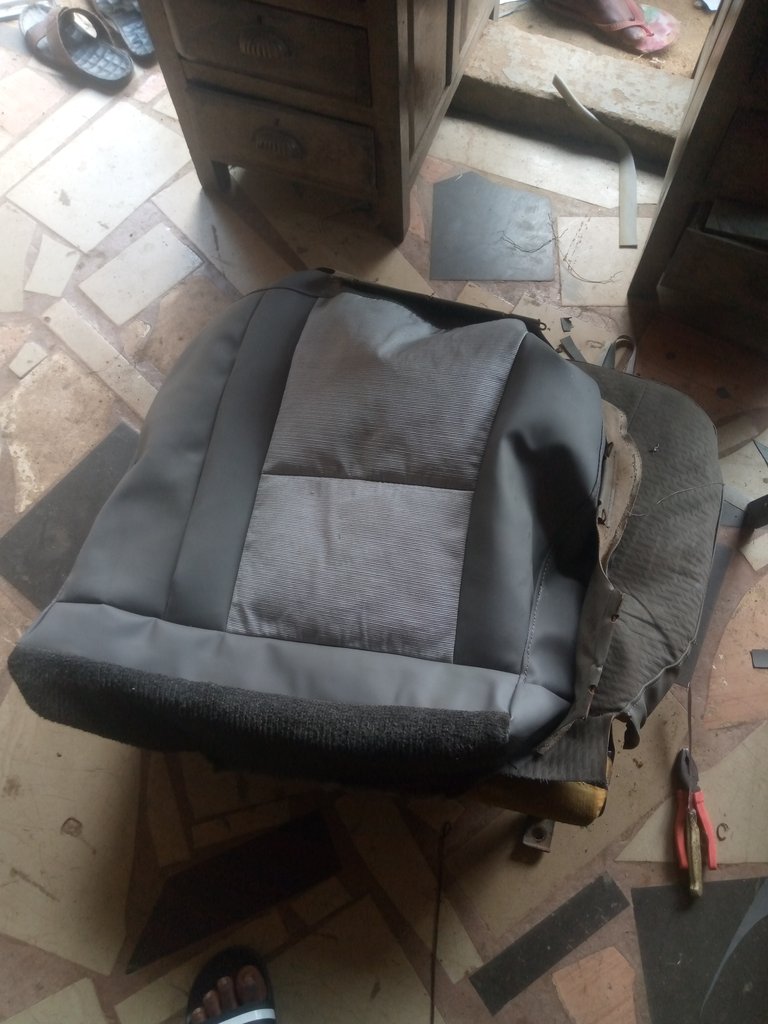
I then clip the finished sewn seat cover to the old seat so that it will be strongly joined to the form and also allow the seat cover to be in its position while the design comes out.
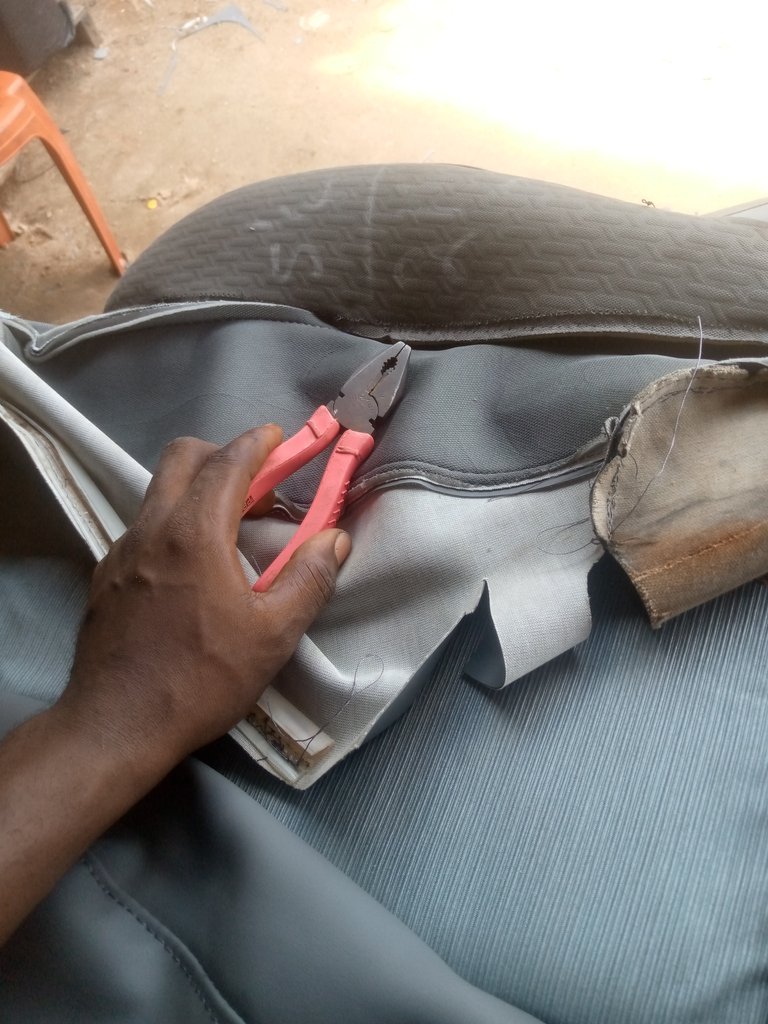
I finally covered both the main seat and the back seat.
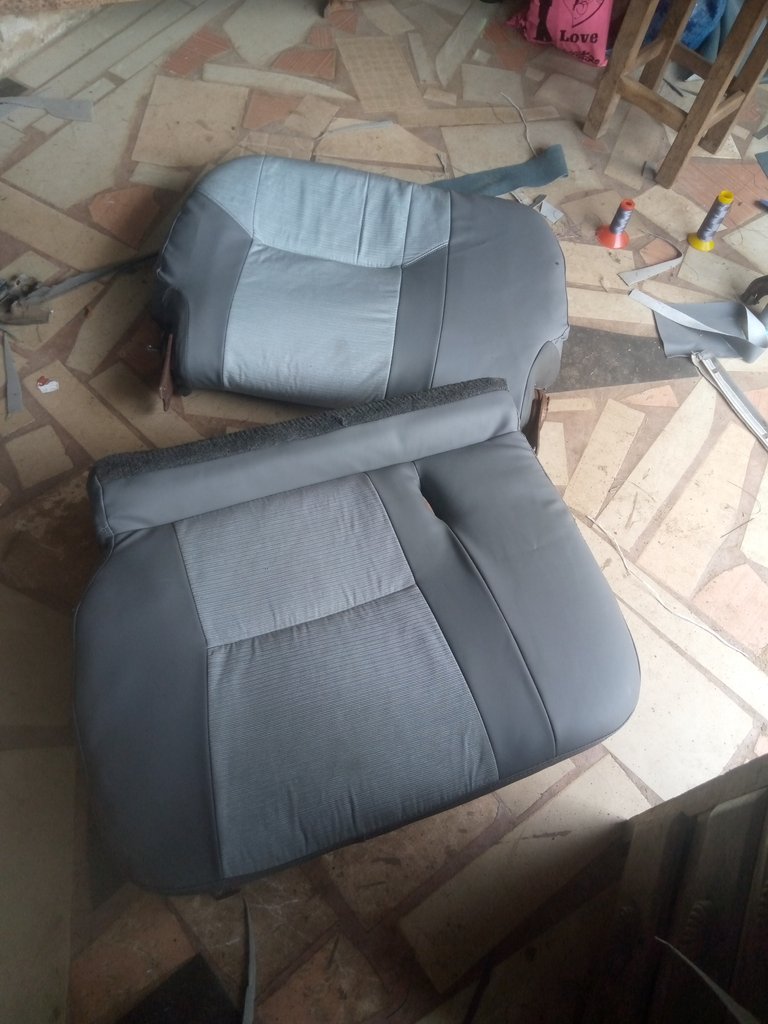
After covering it, I then tied it back as I had done before.
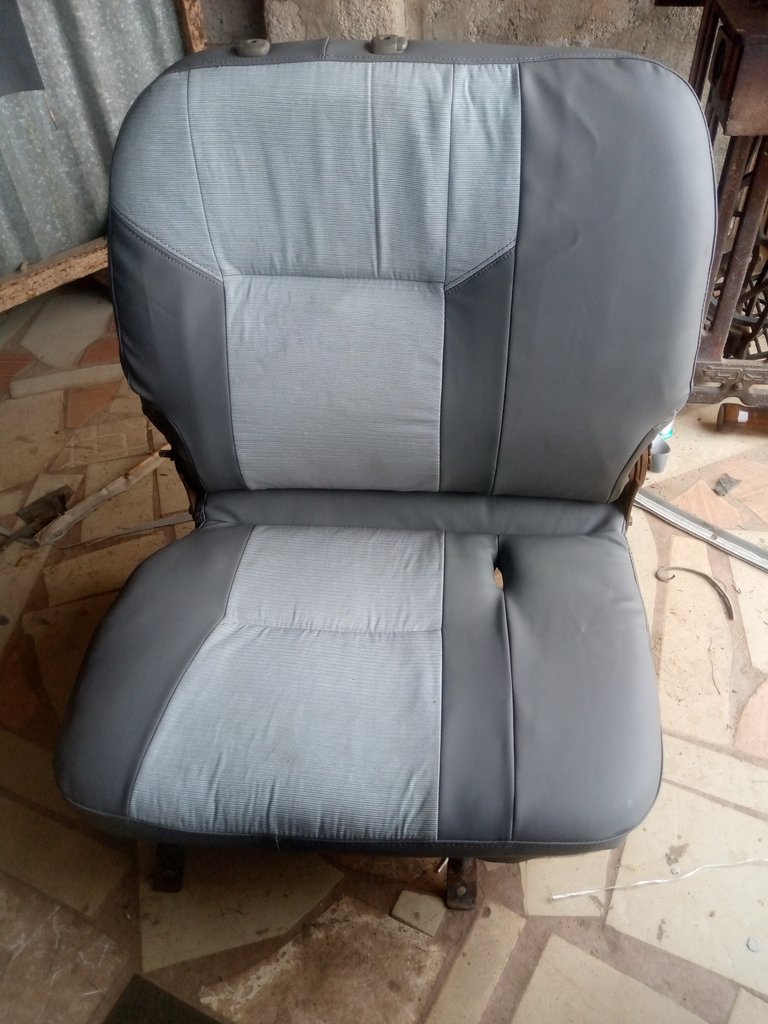
I follow the same process to achieve other goals, and everything comes out smooth, as you can see.
I will love for you guys to rate this finish work in a comment box so that I know how it looks. I always feel so happy to read a comment from you guys.
I am happy to be among you guys that is why I will never fail to acknowledge this special people @crosheille @lauramica @marblely @kattycrochet @needleworkmonday which contribute to the growth of this community and also all active members @mattsanthonyit . May God bless you all and give you guys long life amen.
Thanks so much for stopping by; I love you all.