
Spanish
( )
)
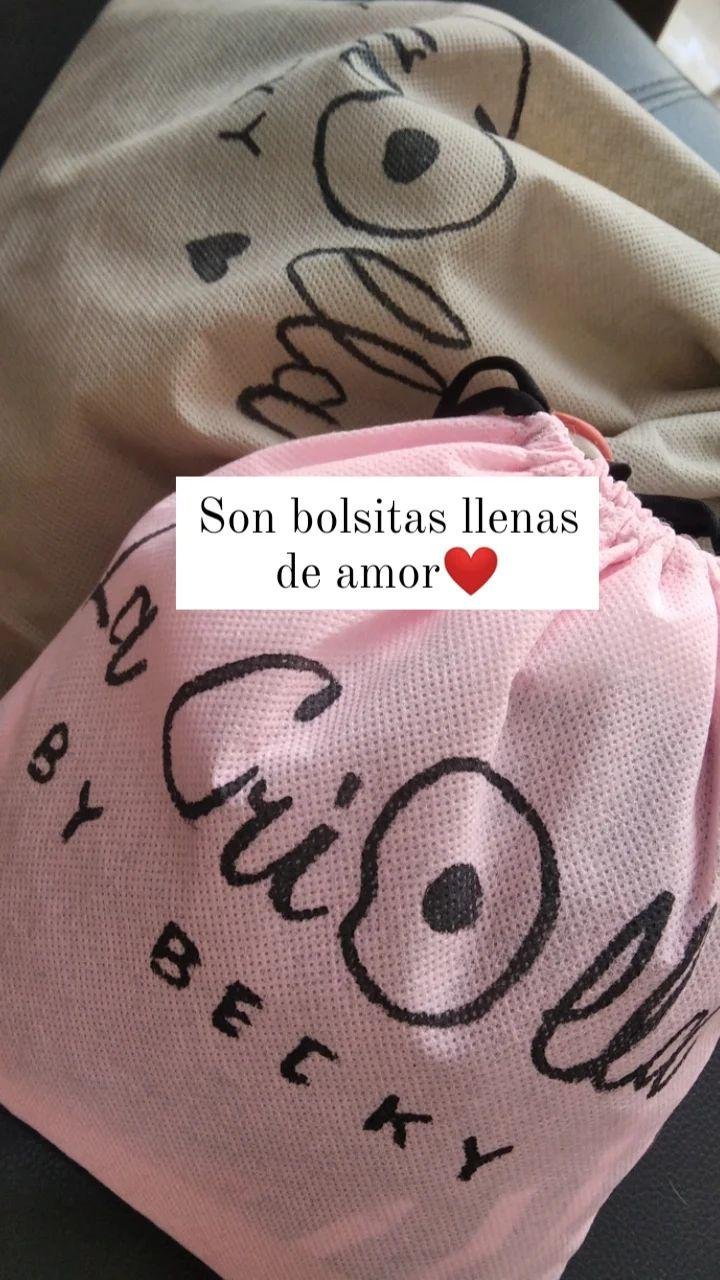
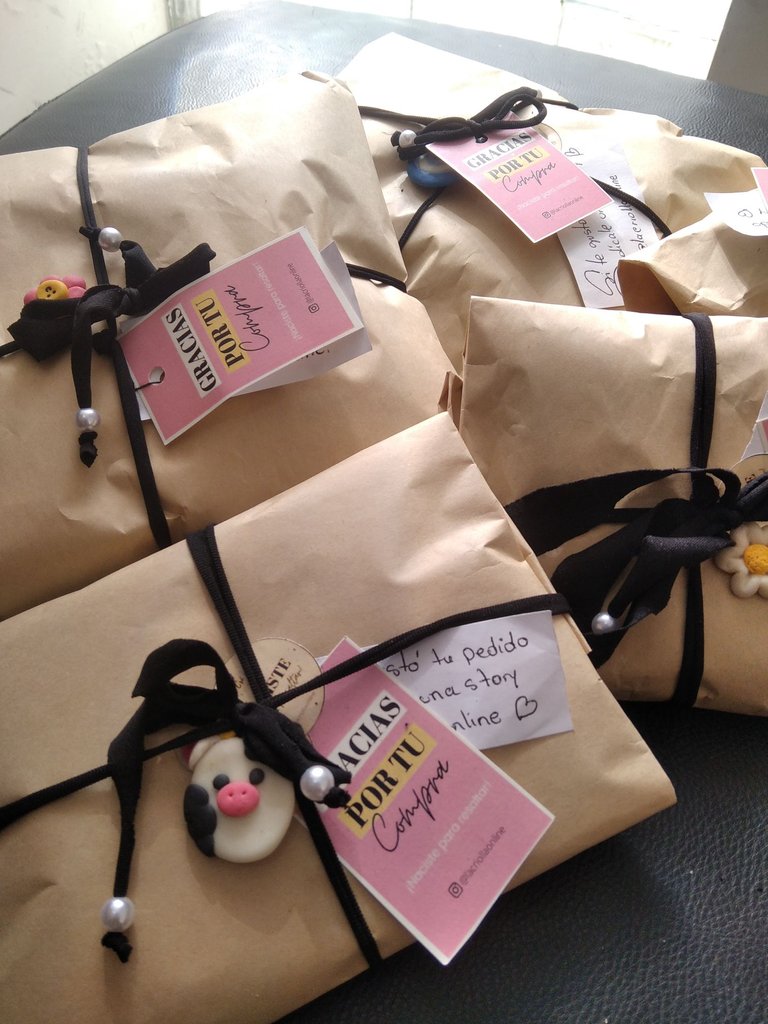
Hola hola gente bonita de hive, paso por aquí un avez más después de una semana desaparecida, por problemas de internet y electricidad. Está vez les quiero mostrar estás bolsitas de POP que realicé para entregar mis pedidos, anteriormente tenía otro empaque:
Pero me parecía que no era tan amigable con el medio ambiente a pesar de ser muy bonito, entonces encontré está idea, más ecológica y práctica, porque antes me tomaba mucho tiempo el empacado.
Solo vas a necesitar tela POP del color que más te guste, máquina de coser o (aguja e hilo) pinturas y pincel.
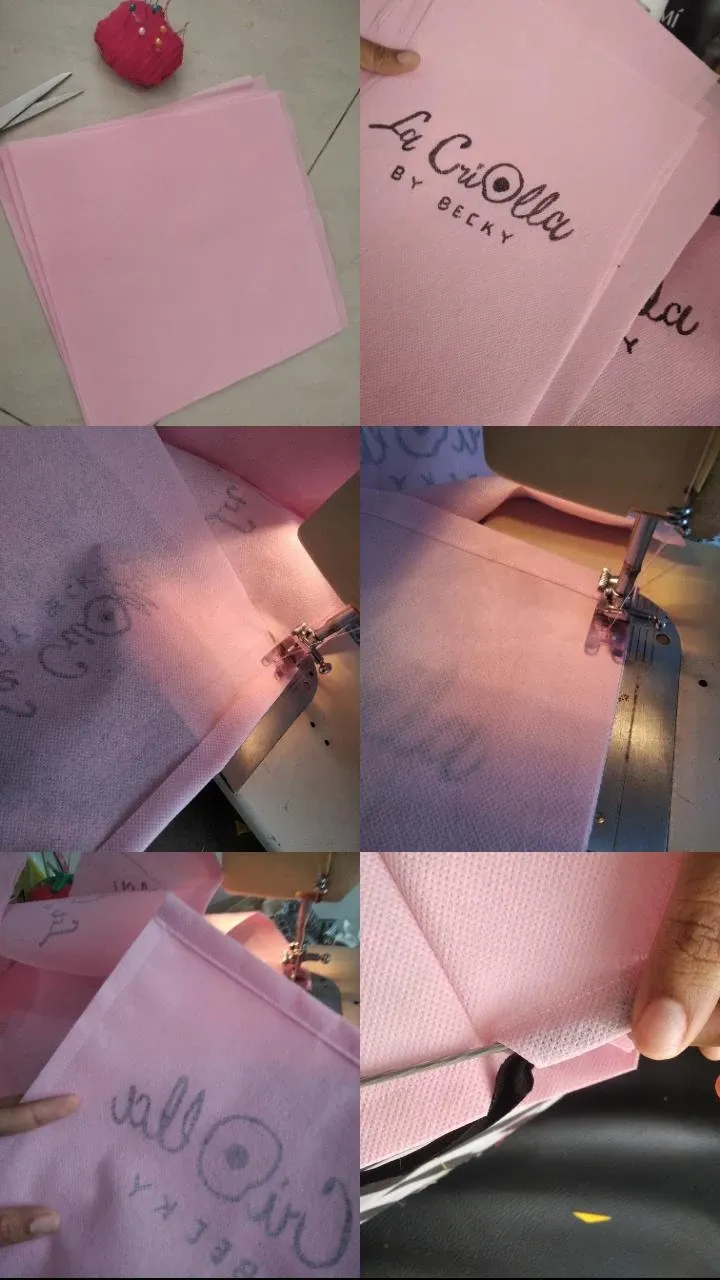
Paso 1:
Cortar cuadros del tamaño que más te guste.
Paso 2:
Pintar el logo o algún mensaje con pintura acrílica y un pincel delgado.
Paso 3:
Doblar los dos extremos y coser dejando un espacio para meter la cinta.
Paso 4:
Unir con alfileres para que queden parejos, y coser laterales.
Paso 5:
Cose hasta la costura de arriba, dejando los bordes libre.
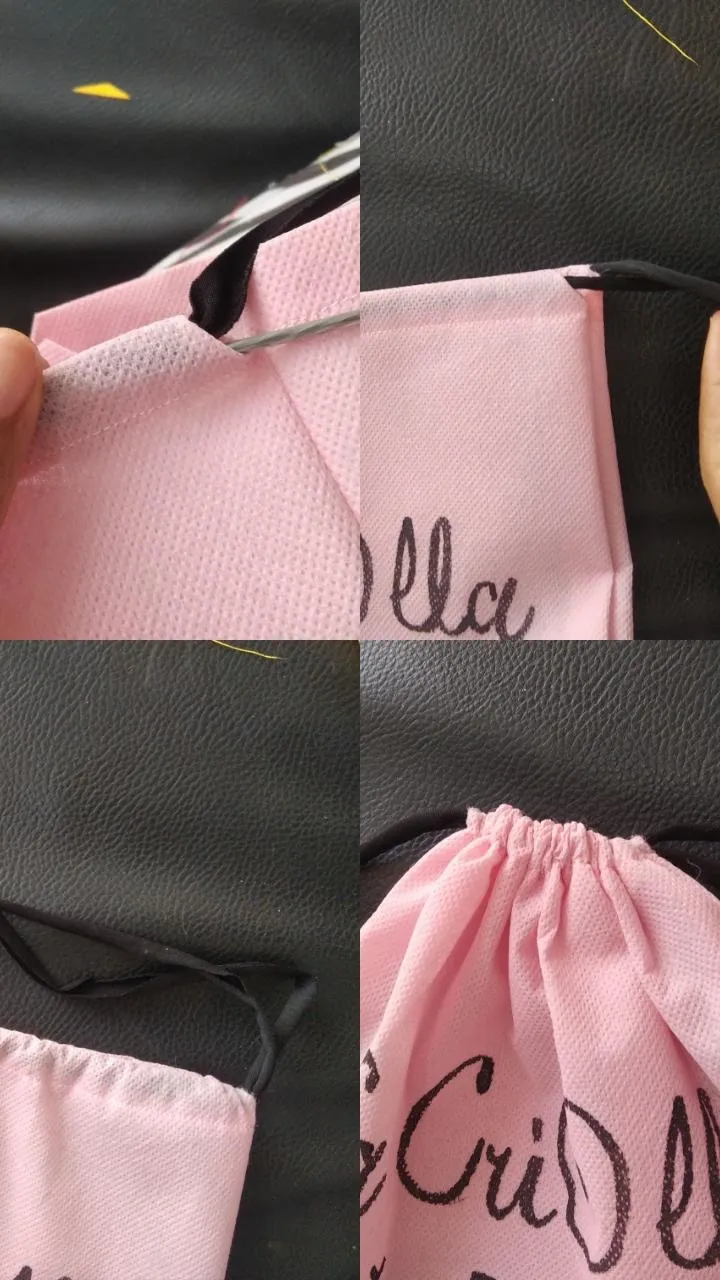
Paso 6:
Meter dos trenzas o cintas una de cada lado para que al estirarlas la bolsita cierre.
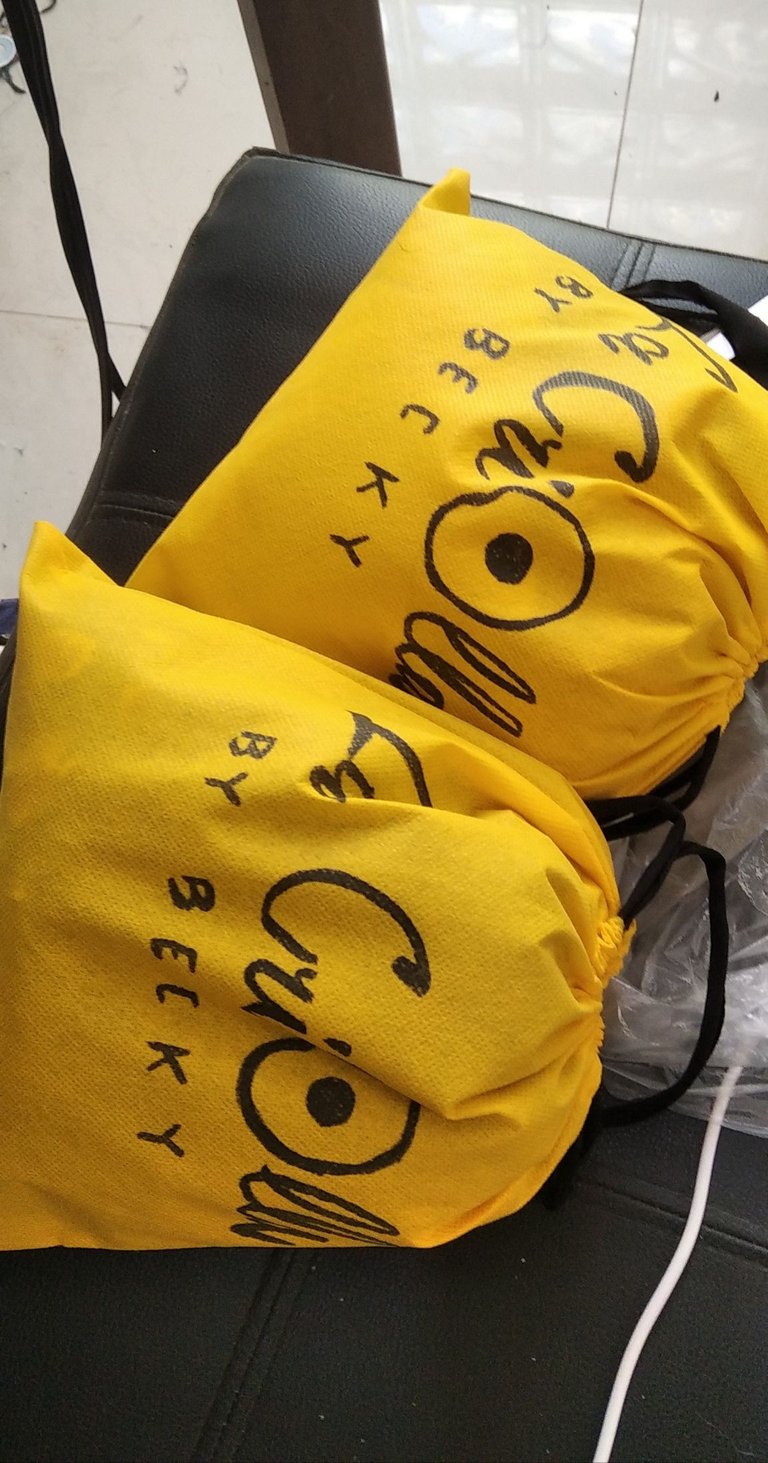
Y así quedaron mis bolsitas lista para entregar mis pedidos. Me gustó mucho esta idea, siento que mis clientes le pueden dar otro uso, y no solo desechar el papel como las envolturas anteriores.
Dime qué te pareció está idea en los comensales, hasta aquí mi post de hoy, espero poder escribirles más seguido, nos vemos en un próximo post♥️🦋
( )
)
English
( )
)
Hello hello beautiful people of hive, I stop by here once again after being missing for a week, due to internet and electricity problems. This time I want to show you these POP bags that I made to deliver my orders, previously I had other packaging:
But it seemed to me that it was not so environmentally friendly despite being very pretty, so I found this idea, more ecological and practical, because before it took me a lot of time to pack.

You will only need POP fabric in the color you like the most, a sewing machine or (needle and thread) paints and a brush.

Step 1:
Cut pictures of the size you like best.
Step 2:
Paint the logo or a message with acrylic paint and a thin brush.
Step 3:
Fold the two ends and sew, leaving a space to insert the ribbon.
Step 4:
Join with pins so that they are even, and sew the sides.
Step 5:
Sew up to the top seam, leaving the edges free.
Step 6:
Insert two braids or ribbons, one on each side so that when you stretch them, the bag closes.
And so my bags were ready to deliver my orders. I really liked this idea, I feel that my clients can give it another use, and not just throw away the paper like the previous wrappers.

Tell me what you thought of this idea in the diners, that's it for my post today, I hope to be able to write to you more often, see you in a next post♥️🦋
( )
)
