Feliz y bendecido día queridos amigos de NEEDLEWORKMONDAY, espero que tengais un día maravilloso ❤️
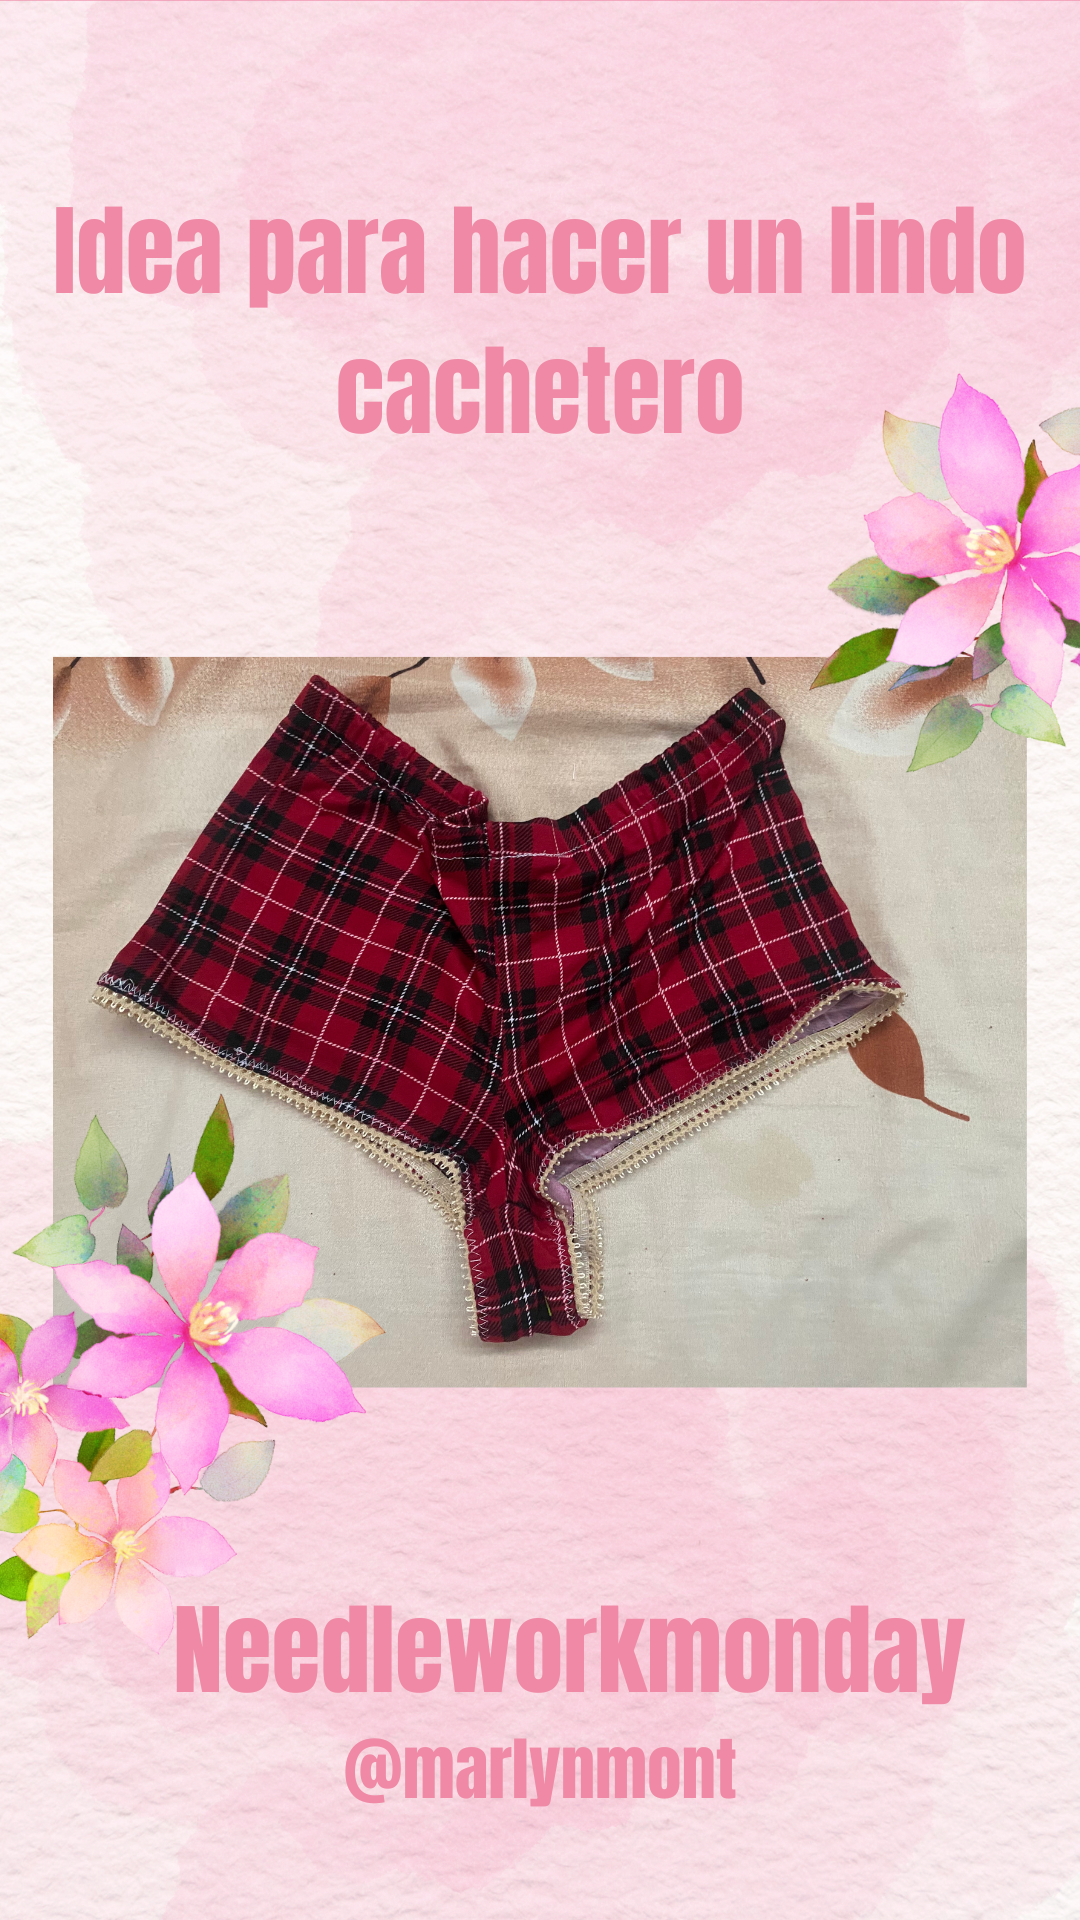
Hoy quiero compartir una idea sencilla para hacer un lindo cachetero, esta es una prenda femenina la cual podemos hacer en diferentes tipos de tela elástica, el procedimiento es bastante sencillo, ven y te muestro este paso a paso:
Happy and blessed day dear friends of NEEDLEWORKMONDAY, I hope you have a wonderful day ❤️
Today I want to share a simple idea to make a cute cheeky top, this is a feminine garment that we can make in different types of elastic fabric, the procedure is quite simple, come and I will show you this step by step:
MATERIALES
MATERIALS
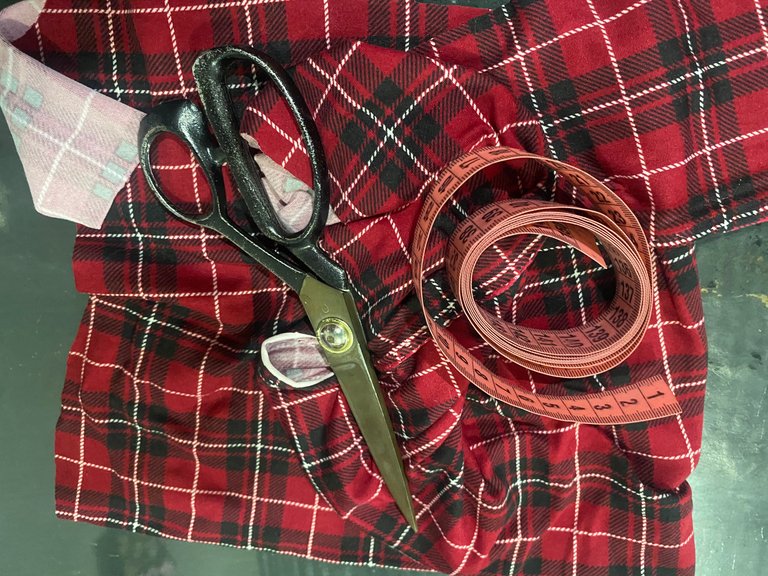
Este cachetero es bastante sencillo, el diseño lo podemos modificar de varias maneras y lo podemos hacer personalizado para la talla de la persona a la que lo vamos a hacer, los materiales a utilizar son muy pocos, en mi caso voy a utilizar un retazo de tela microdurazno que me quedó de otro proyecto, aquí te dejo la lista de los materiales a utilizar:
- 1/4 de tela elástica aproximadamente
- Hilo
- cinta métrica
- Elástico de pantys o sencillo, en mi caso voy a utilizar dos tipos de elástico, uno para la cintura y el otro modelo para las piernas de mi cachetero
- máquina de coser
This cheeky is quite simple, we can modify the design in several ways and we can make it personalized for the size of the person we are going to make it for, the materials to use are very few, in my case I am going to use a scrap of micropeach fabric that I had left over from another project, here is the list of materials to use:
- 1/4 of elastic fabric approximately
- Thread
- tape measure
- Elastic from pantyhose or simple, in my case I am going to use two types of elastic, one for the waist and the other model for the legs of my cheeky
- sewing machine
PASO A PASO
STEP BY STEP
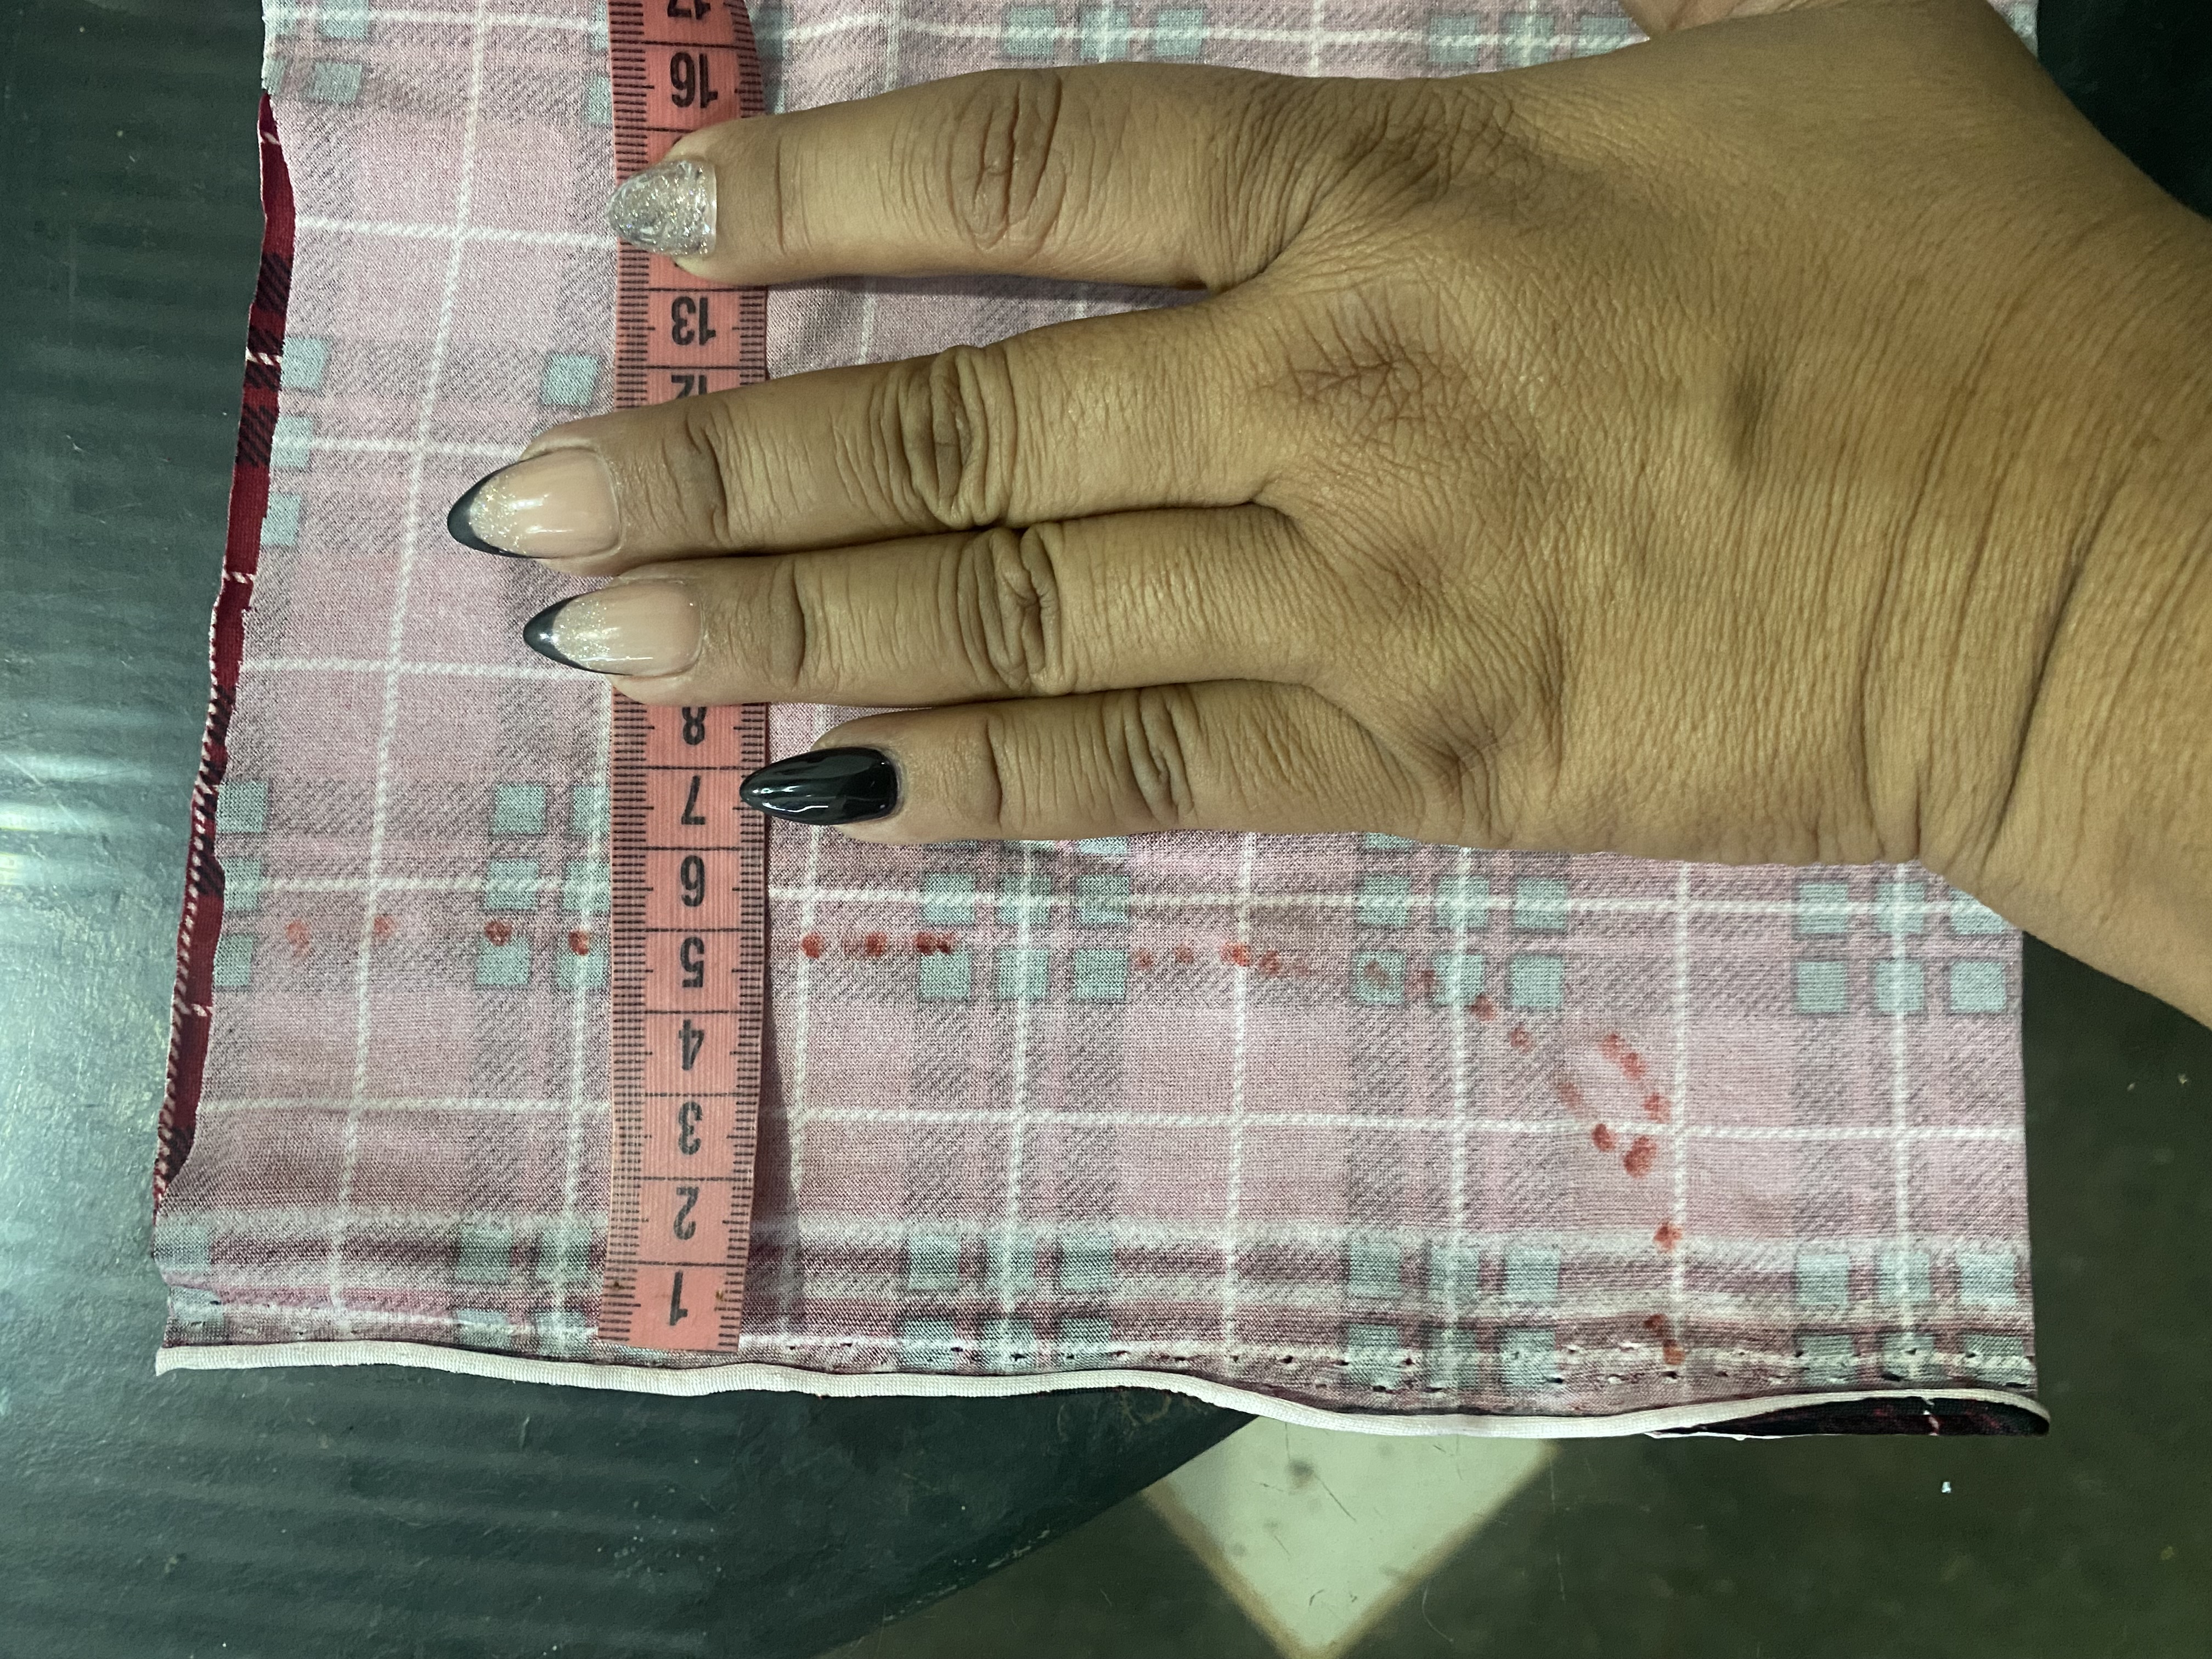
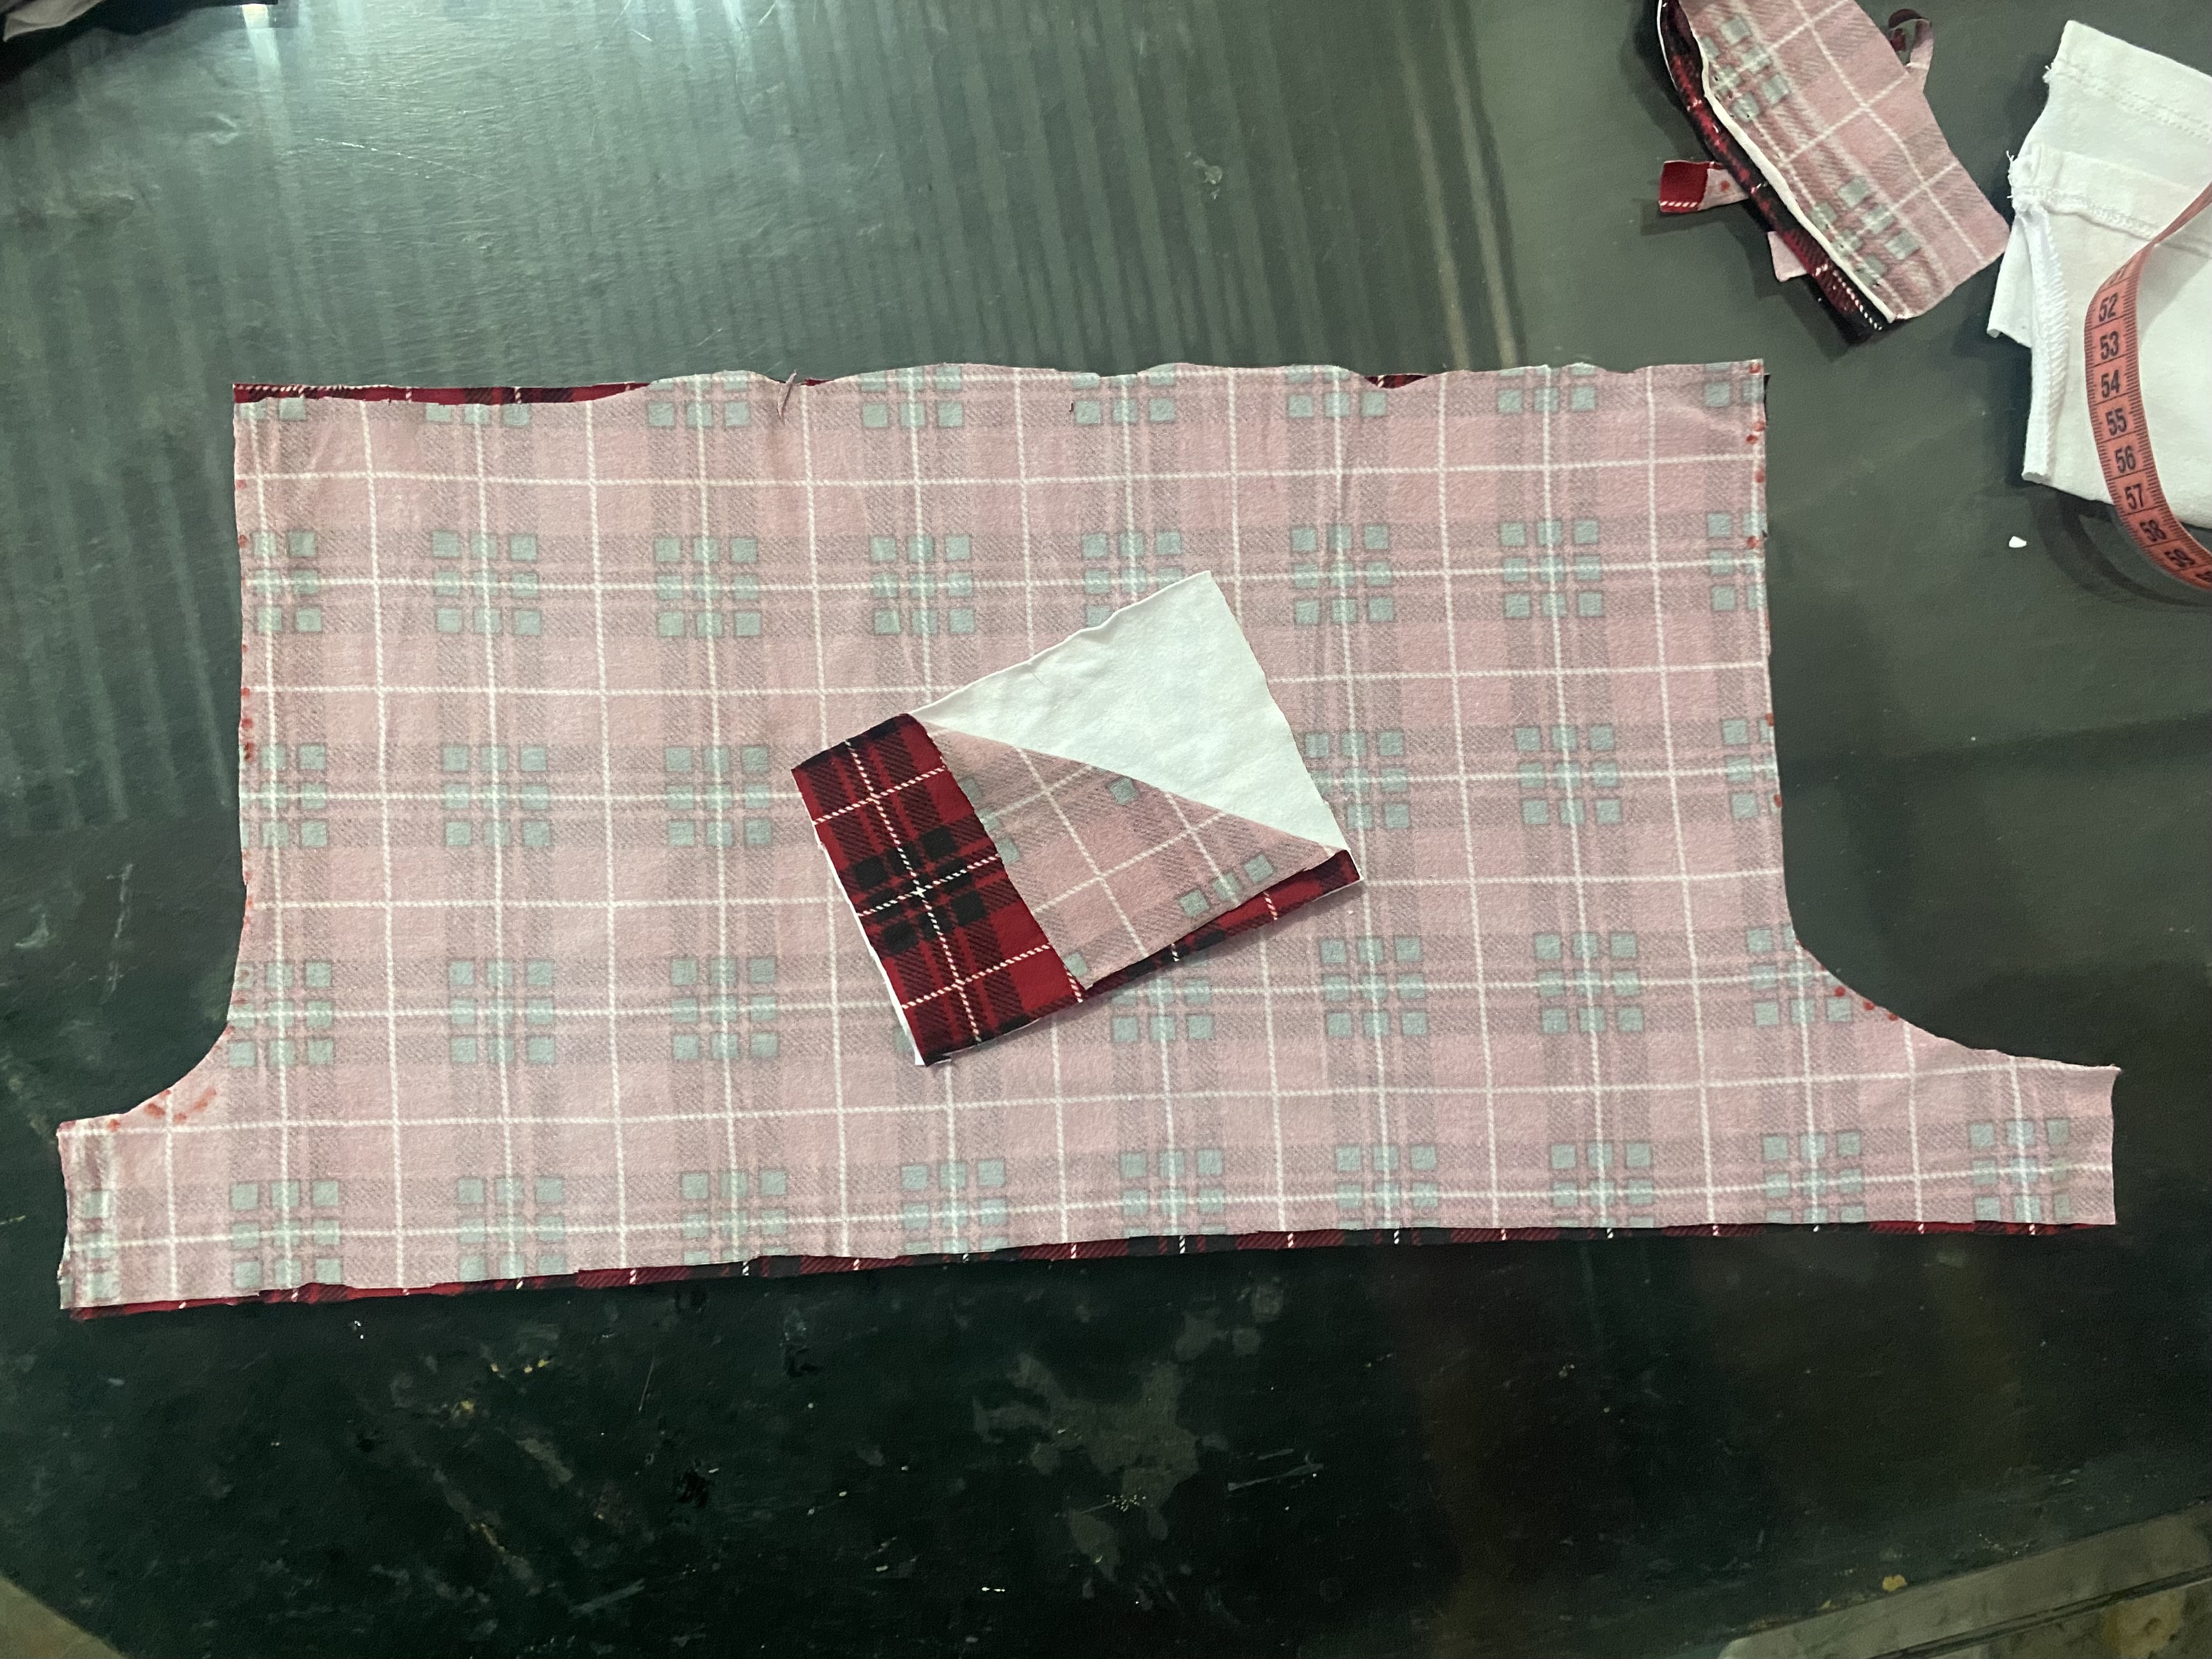
Para comenzar vamos a dibujar directamente en la tela, utilizaremos unas medidas base, yo me guiaré por las siguientes medidas: cadera 120 cm, si la tela es bastante elástica le vamos a restar aproximadamente de 10 a 15 cm, yo le voy a restar 15 cm a la medida de cadera ya que la tela es bastante elástica, esta me quedará de 105 cm la cual dividiremos en dos que será de 52,5 cm, esta medida la utilizaremos para la medida total de ancho de nuestro cachetero.
To start we are going to draw directly on the fabric, we will use some base measurements, I will be guided by the following measurements: hip 120 cm, if the fabric is quite elastic we will subtract approximately 10 to 15 cm, I am going to subtract 15 cm from the hip measurement since the fabric is quite elastic, this will be 105 cm which we will divide in two which will be 52.5 cm, we will use this measurement for the total width of our cheek pads.
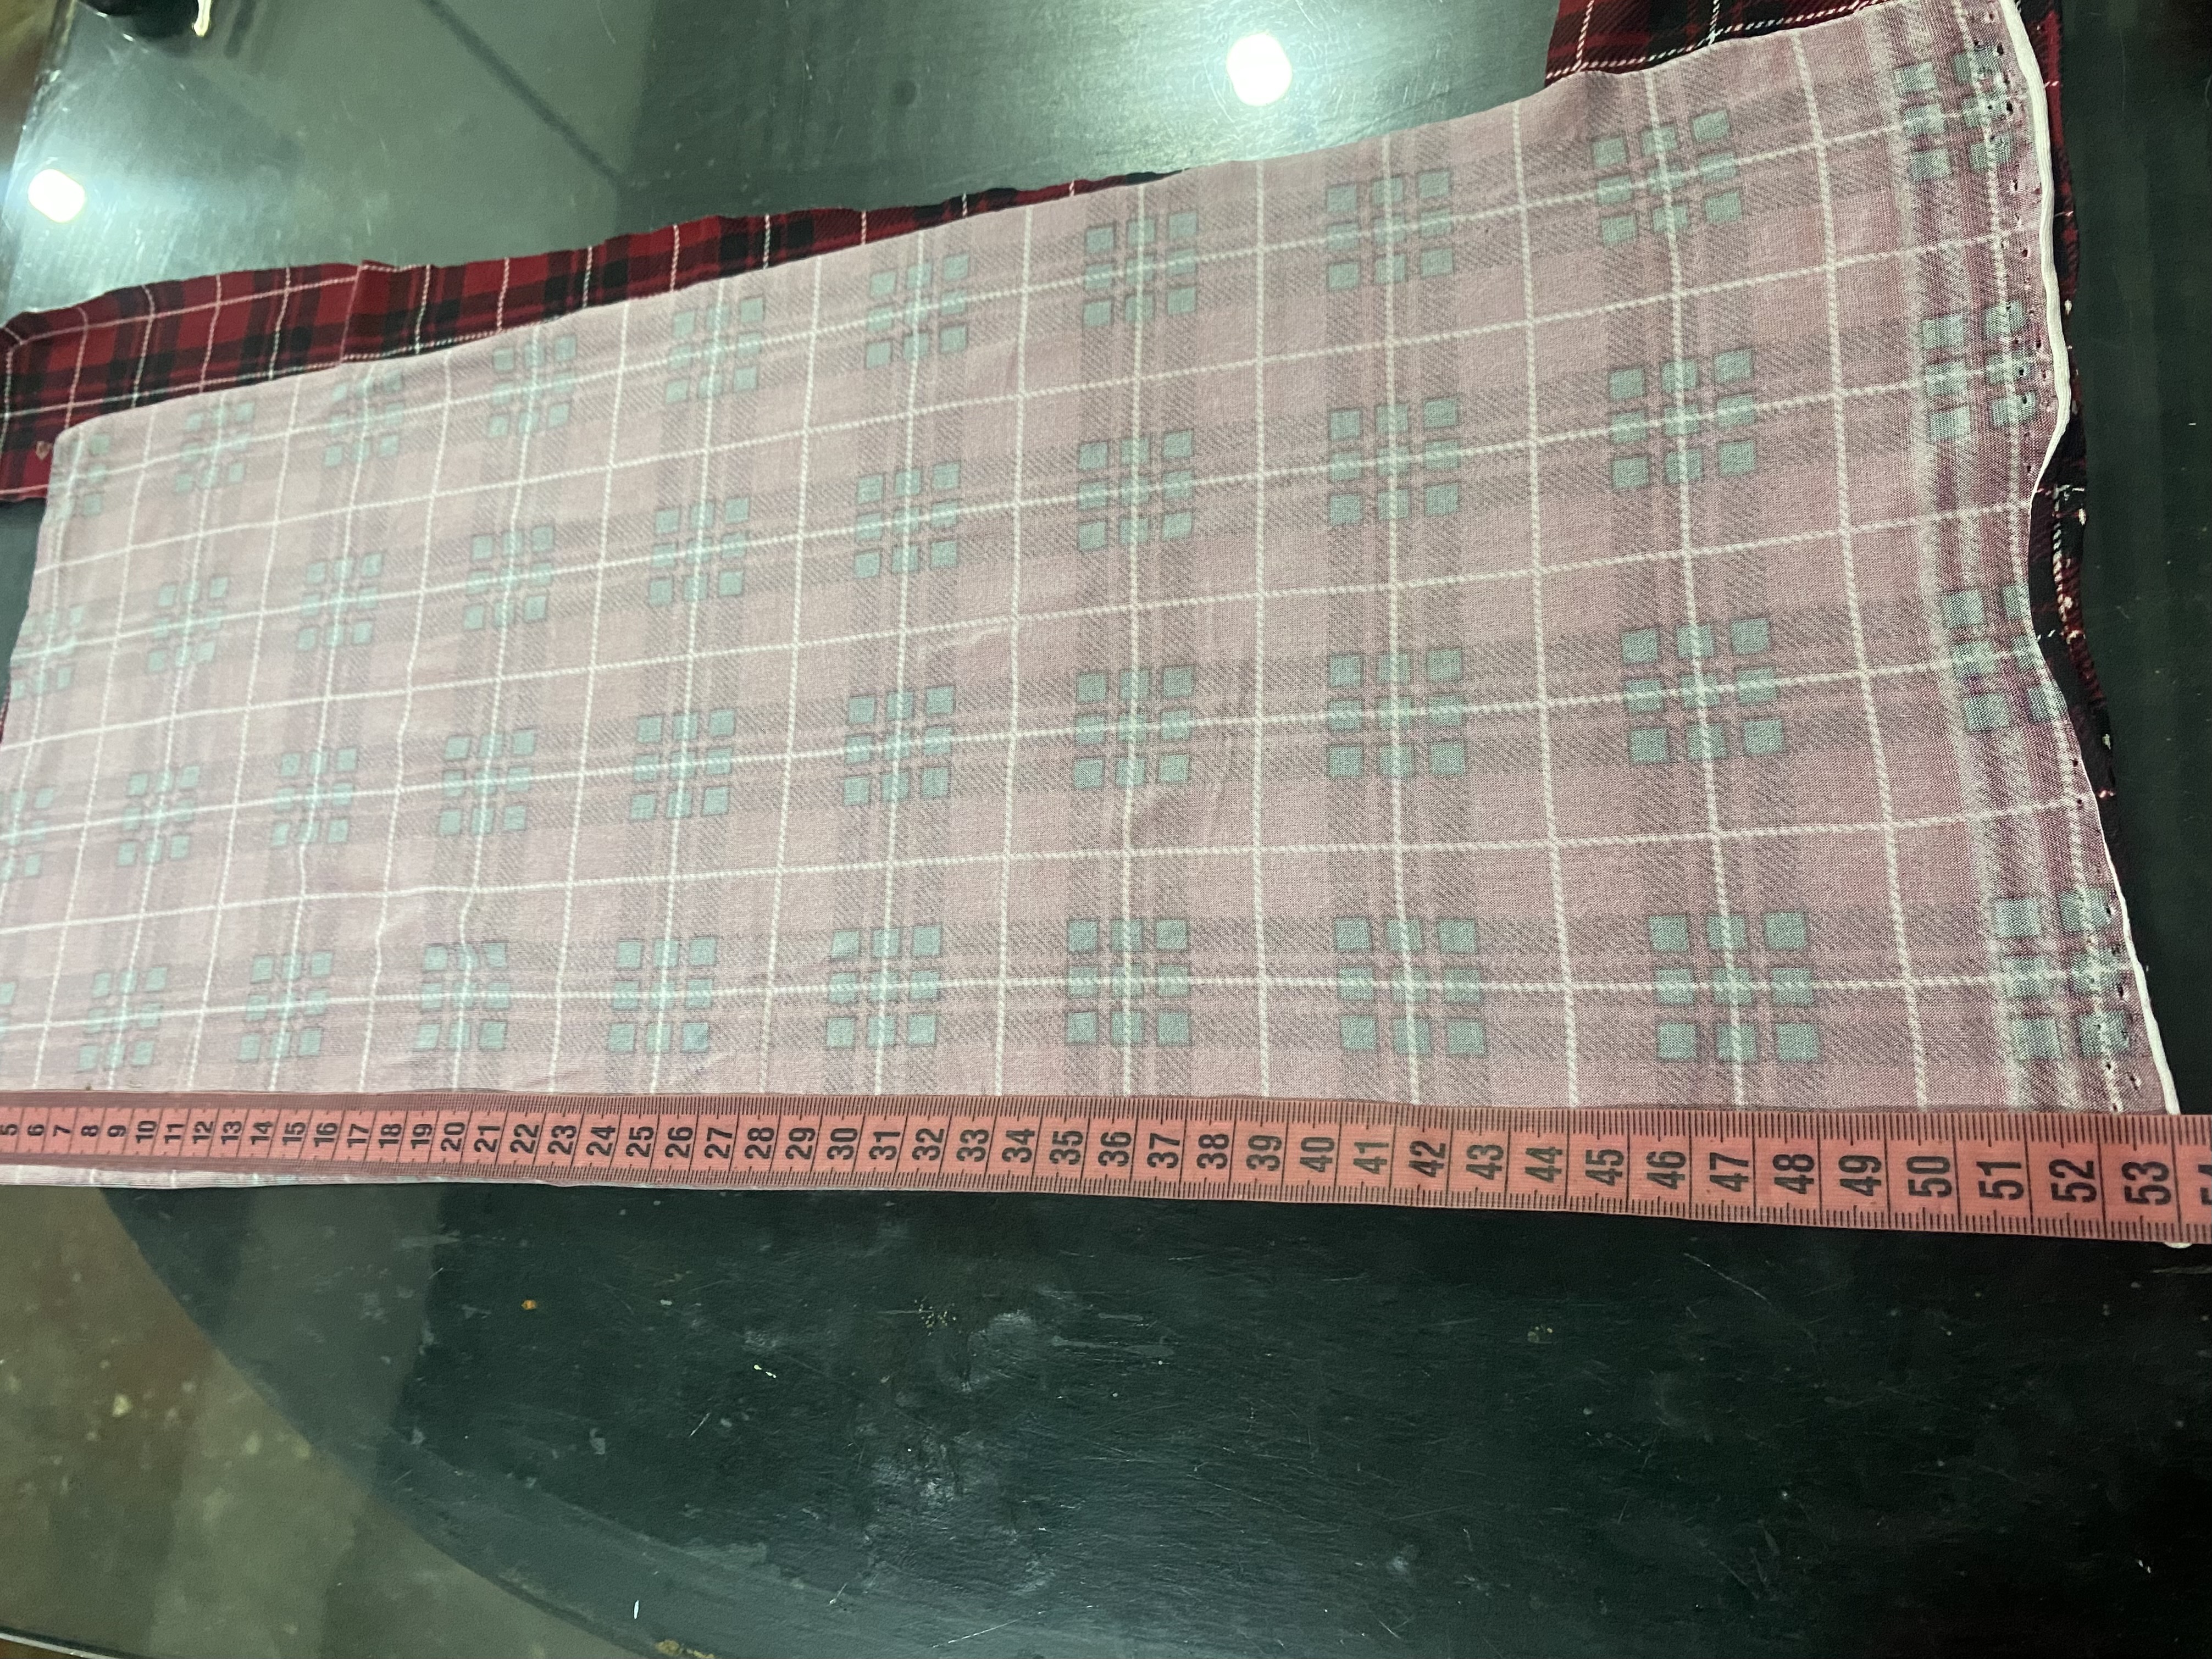
Para la altura de nuestro cachetero tomaremos en cuenta el tipo de elástico que le vamos a colocar, al mío le colocaré en la cintura un elástico de 1 cm y medio de ancho es por esto que le dejaré de altura 22 cm.
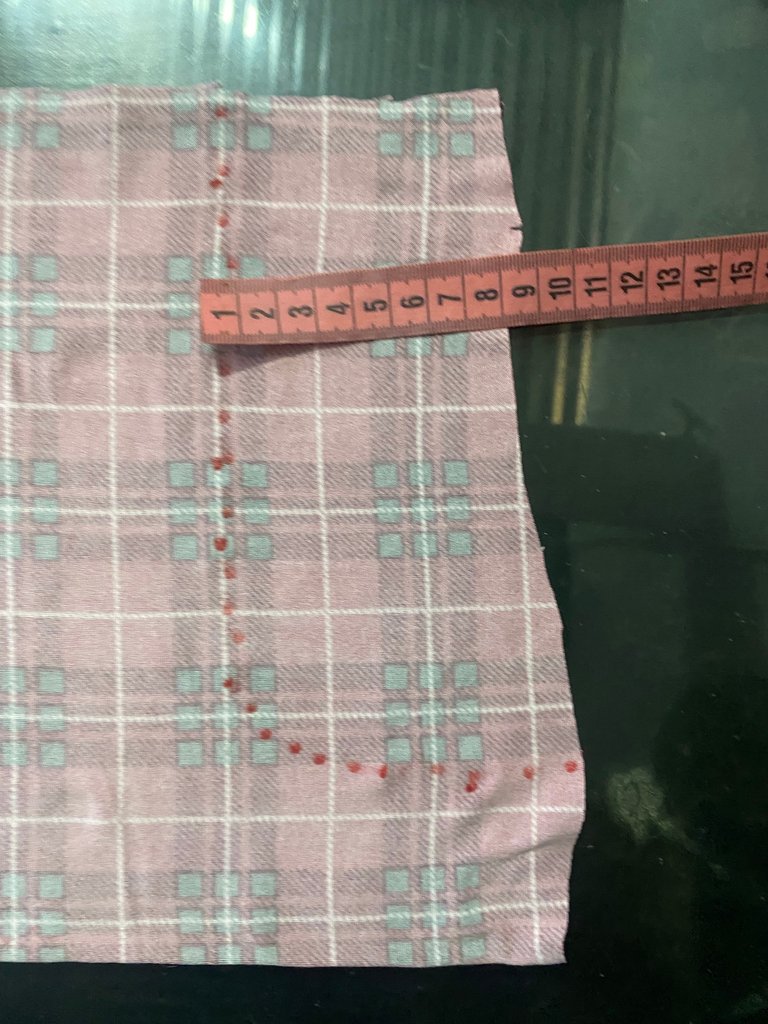
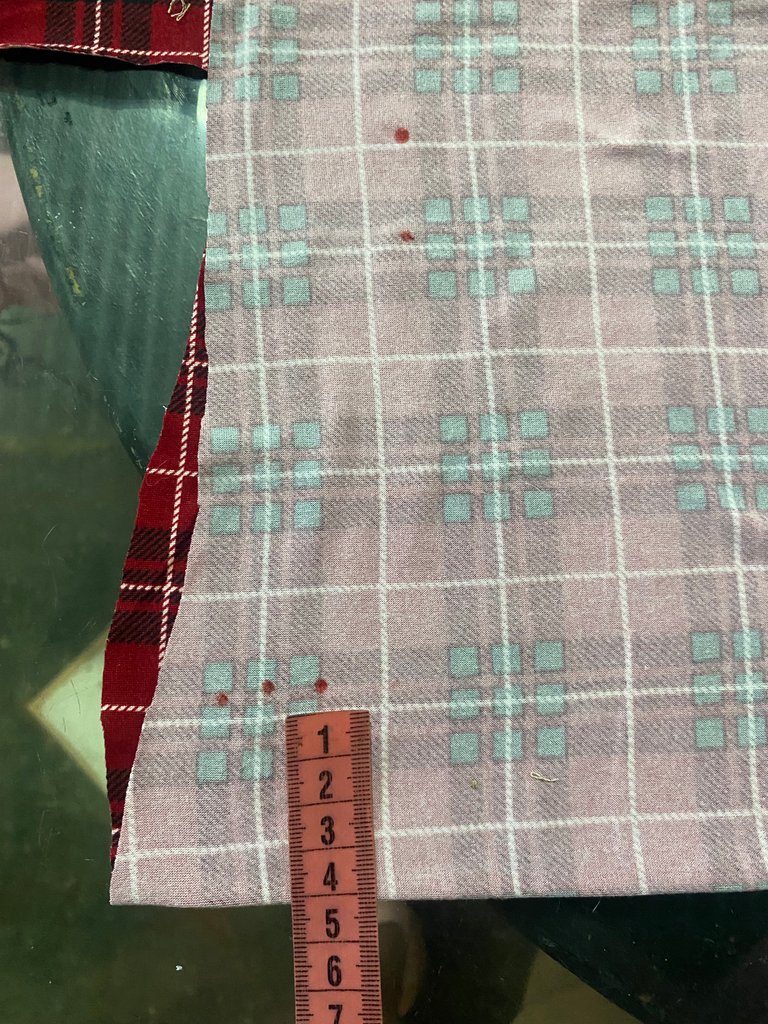
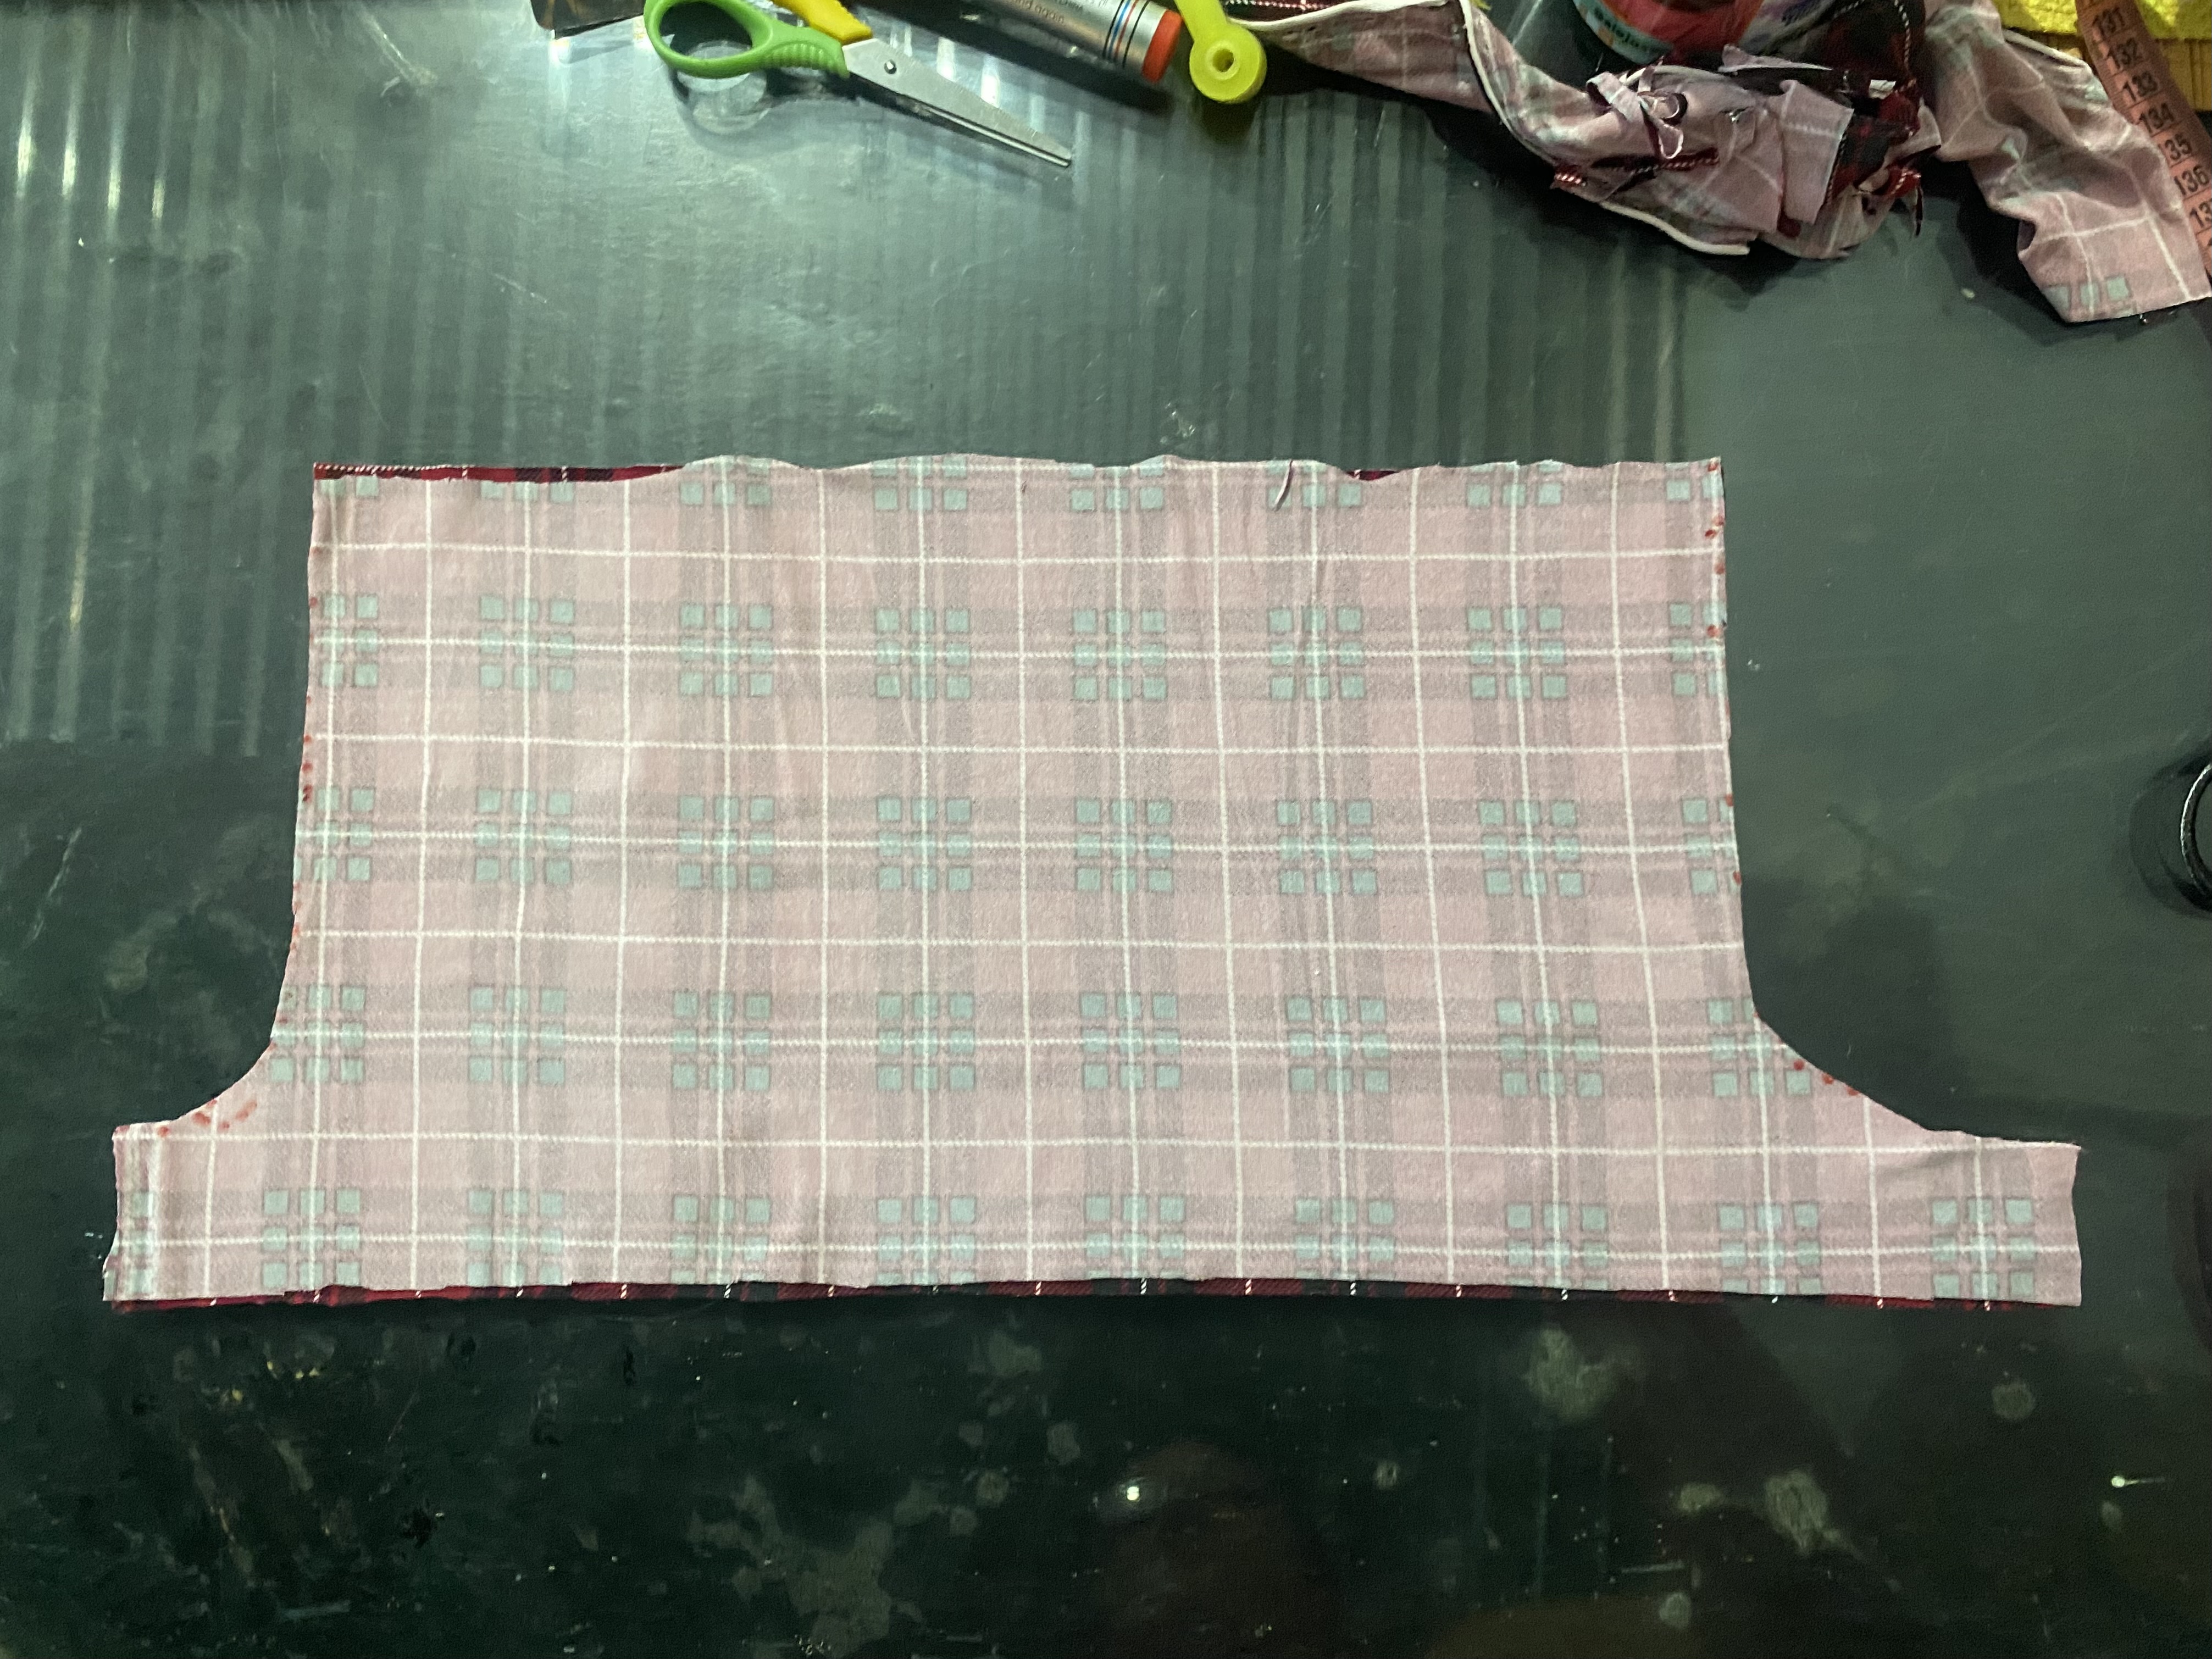
Luego vamos a dibujar la curva del tiro delantero y trasero, para la curva delantera vamos a marcar 5 cm Hacia adentro y del ruedo hacia arriba 4 cm, para la parte de atrás vamos a marcar 8 cm hacia adentro y 4 cm del ruedo hacia arriba y hacemos la curva, debe quedar como les muestro en mi imagen, una sugerencia la misma altura que le des al fundillo en la parte delantera debe ser igual a la que le des en la parte de atrás para que pueda coincidir.
For the height of our pant we will take into account the type of elastic that we are going to put on it, I will put a 1.5 cm wide elastic on the waist of mine, which is why I will leave it 22 cm high.
Then we are going to draw the curve of the front and back hem, for the front curve we are going to mark 5 cm inwards and 4 cm from the hem up, for the back we are going to mark 8 cm inwards and 4 cm from the hem up and we make the curve, it should look like I show you in my image, a suggestion the same height that you give to the bottom in the front should be the same as the one you give it in the back so that it can match.
 |  |
|---|---|
 |  |
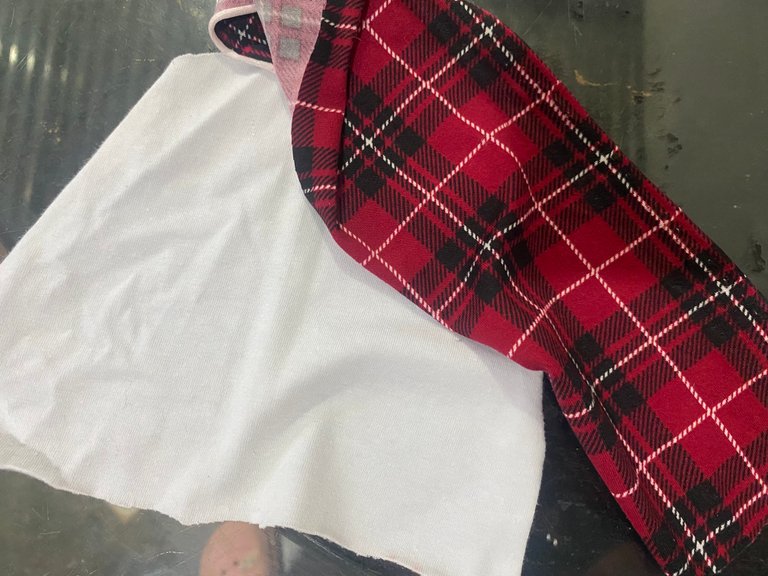
Para el fundillo vamos a cortar dos rectángulos de tela, uno en la tela de nuestro cachetero y otro en algodón blanco o del color que tengas a la mano, las medidas serán de 8 cm de ancho por 12 cm de largo, esto va a depender también de la talla a la cual vayas a hacer, la mía es aproximadamente talla XL
For the gusset we are going to cut two rectangles of fabric, one in the fabric of our cheek pad and another in white cotton or whatever color you have on hand, the measurements will be 8 cm wide by 12 cm long, this will also depend on the size you are going to make, mine is approximately size XL
 |  |
|---|
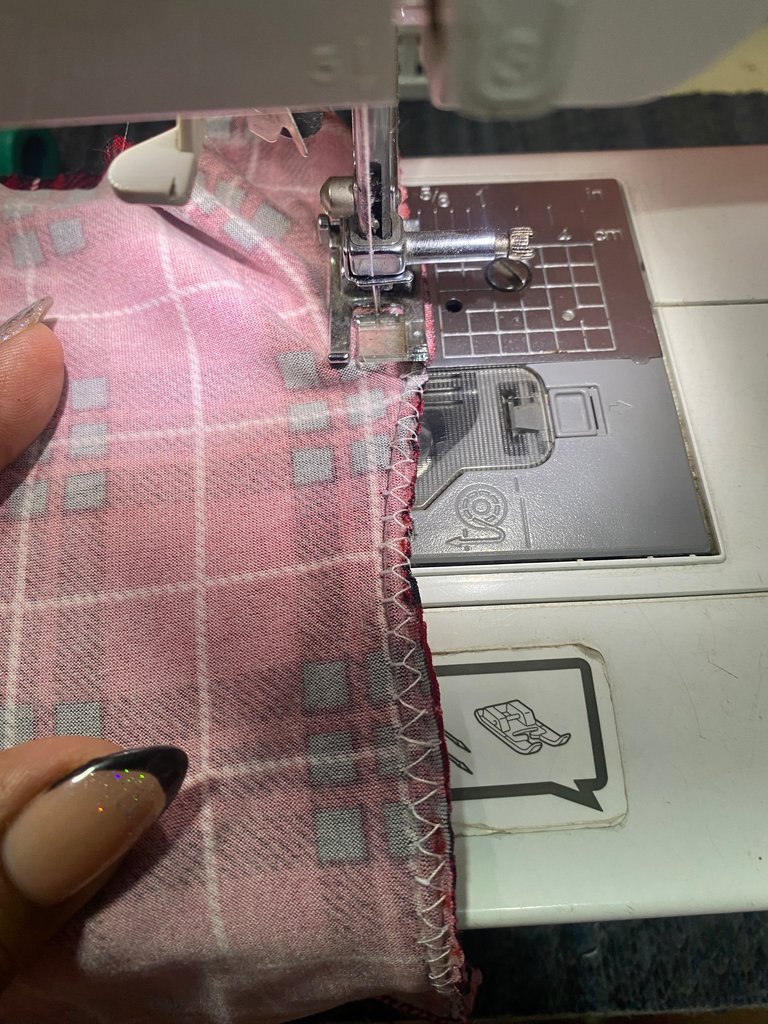
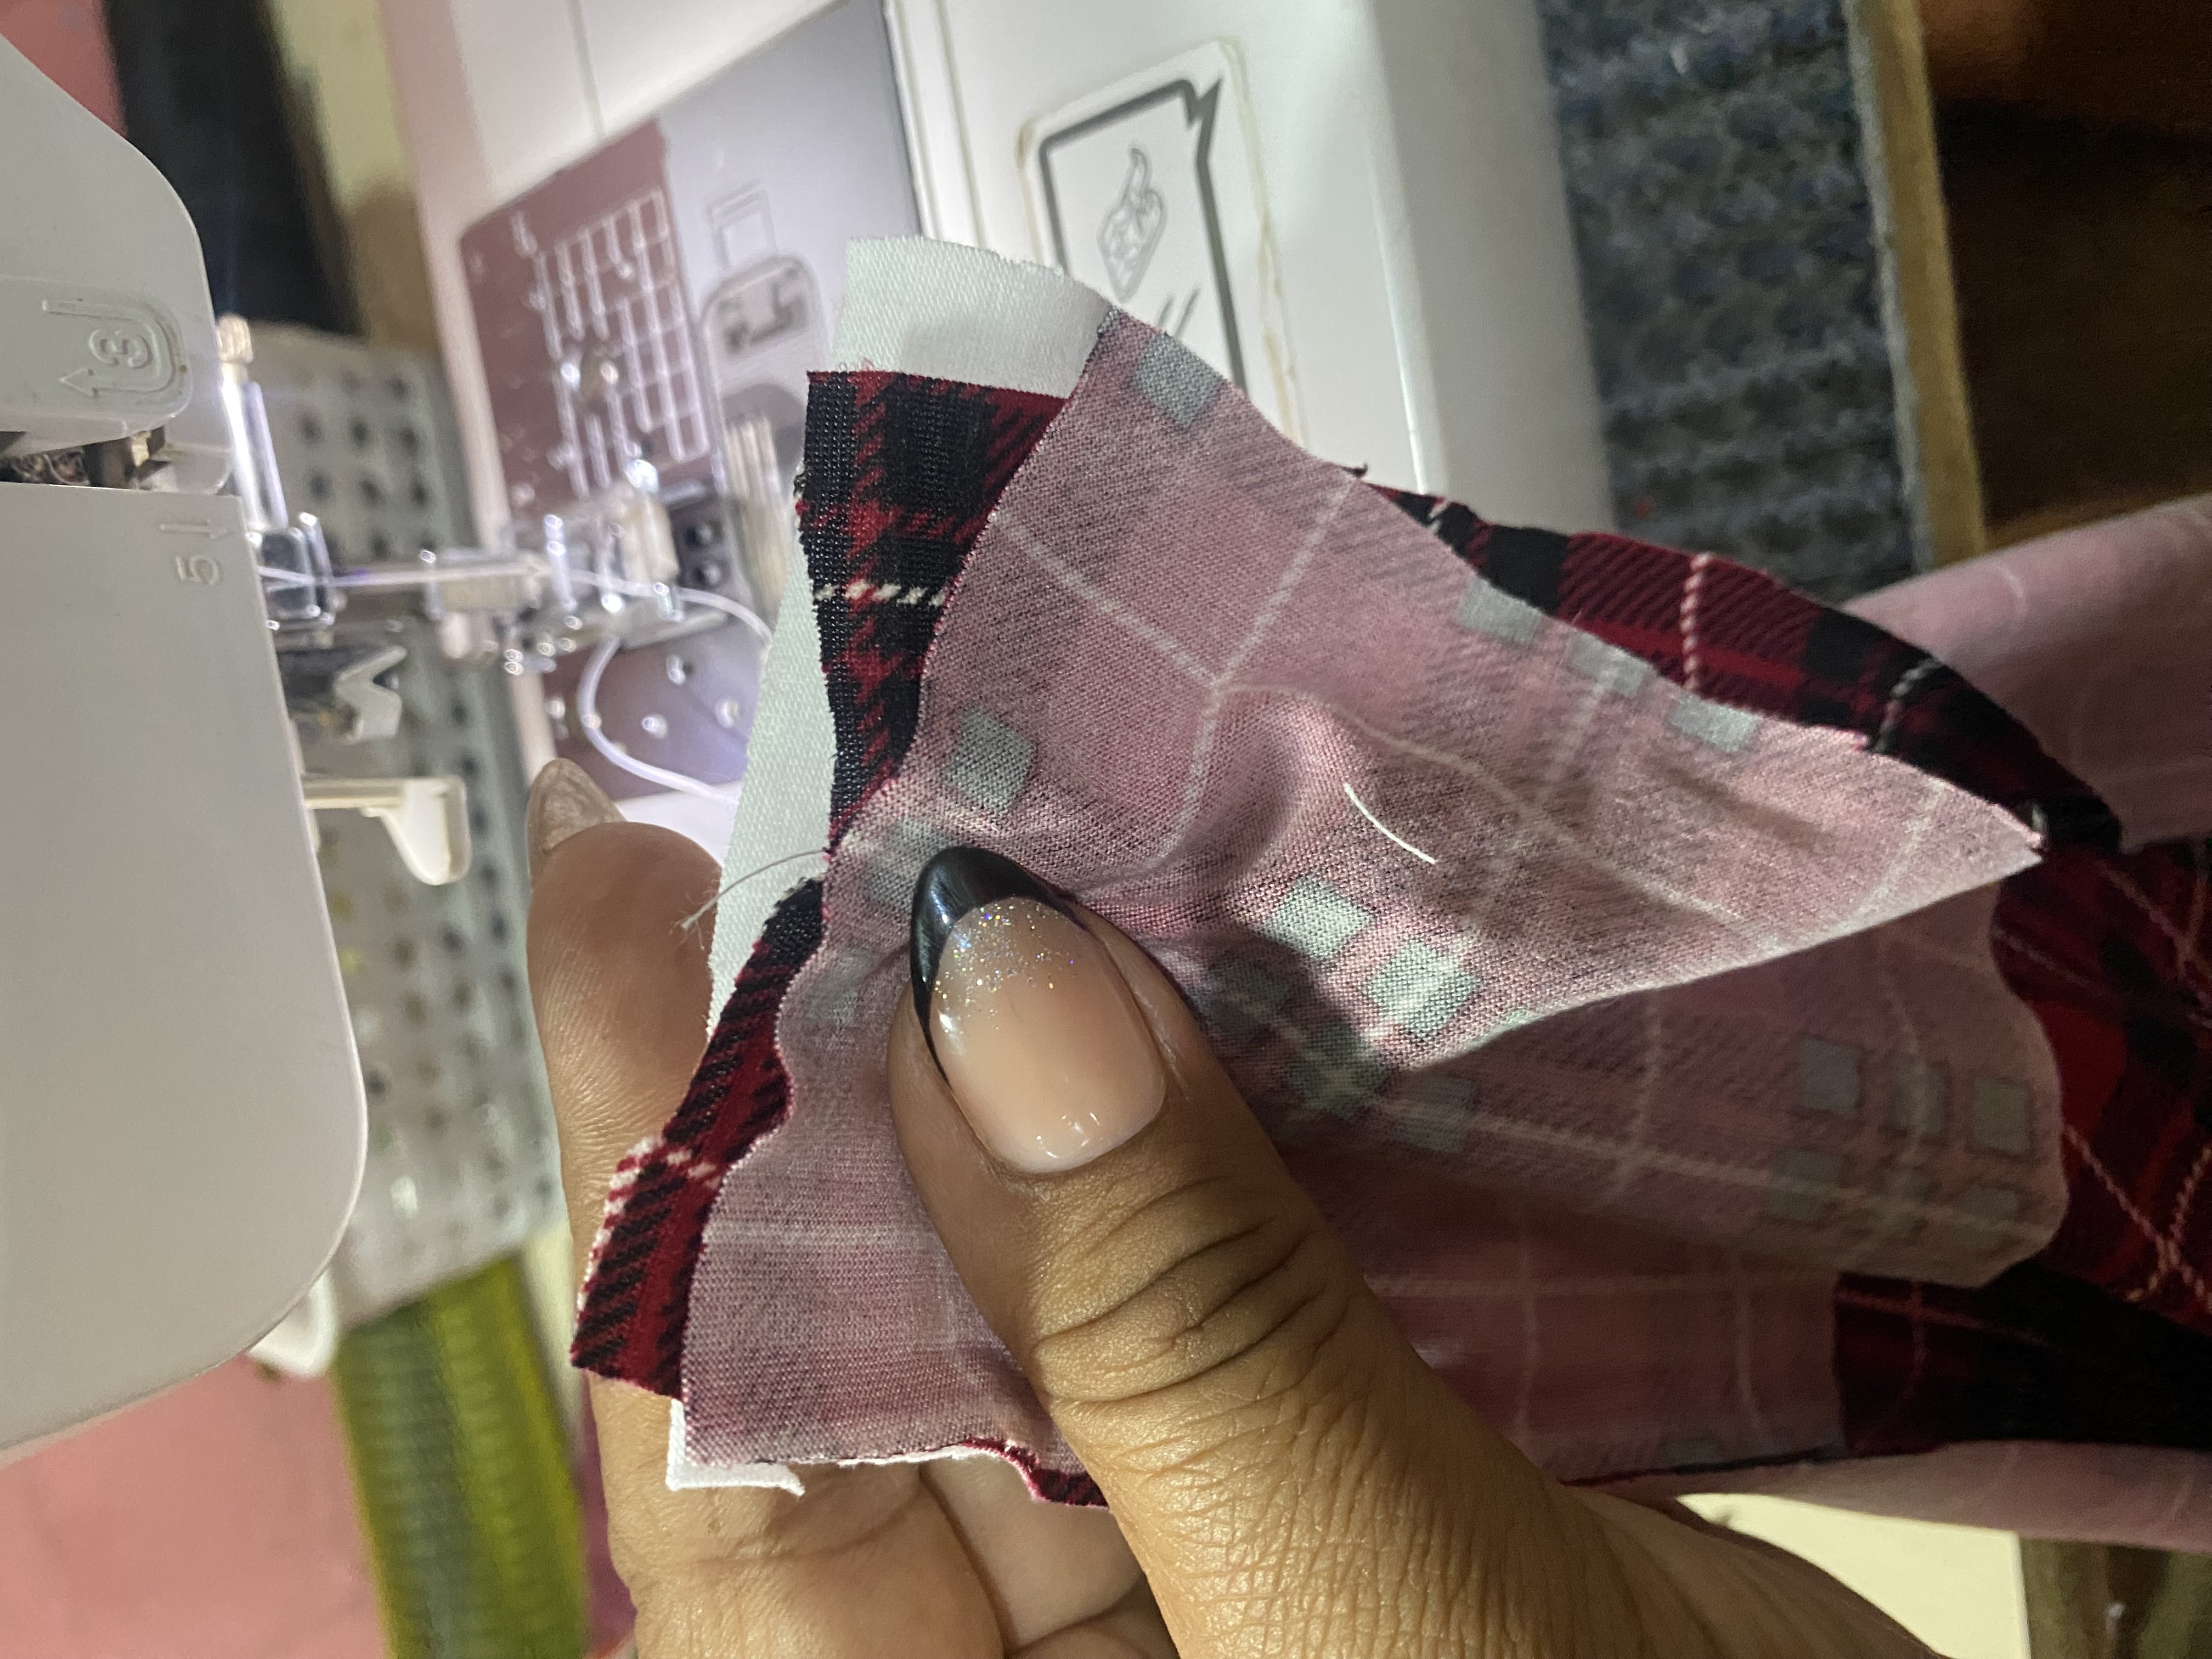
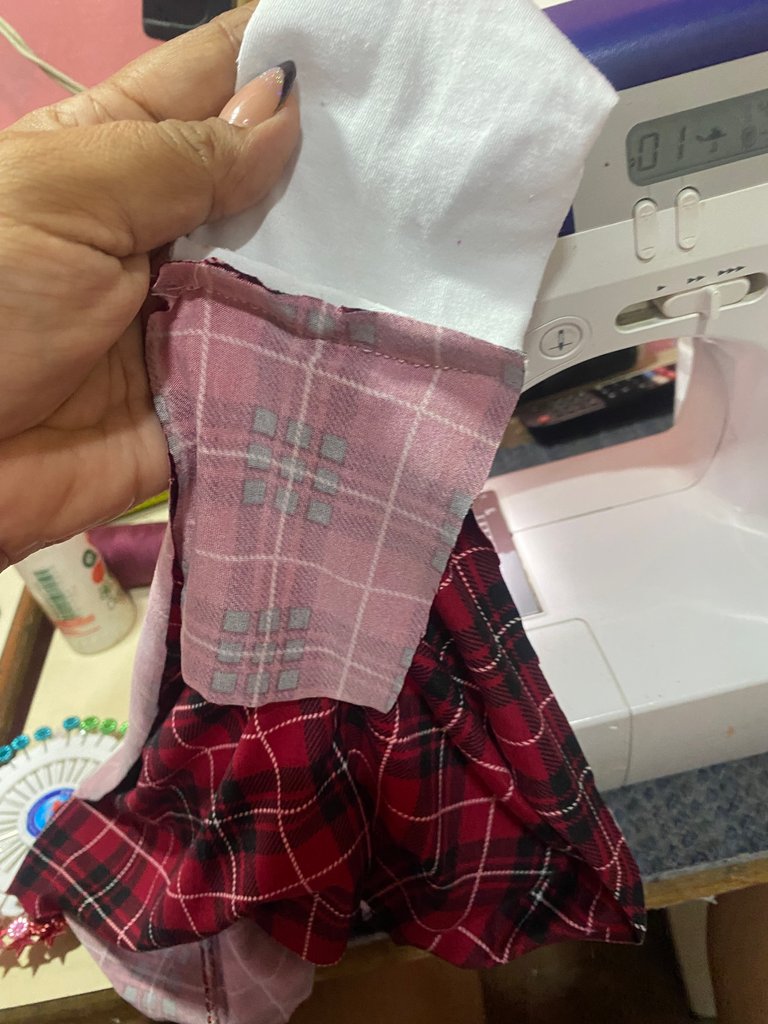
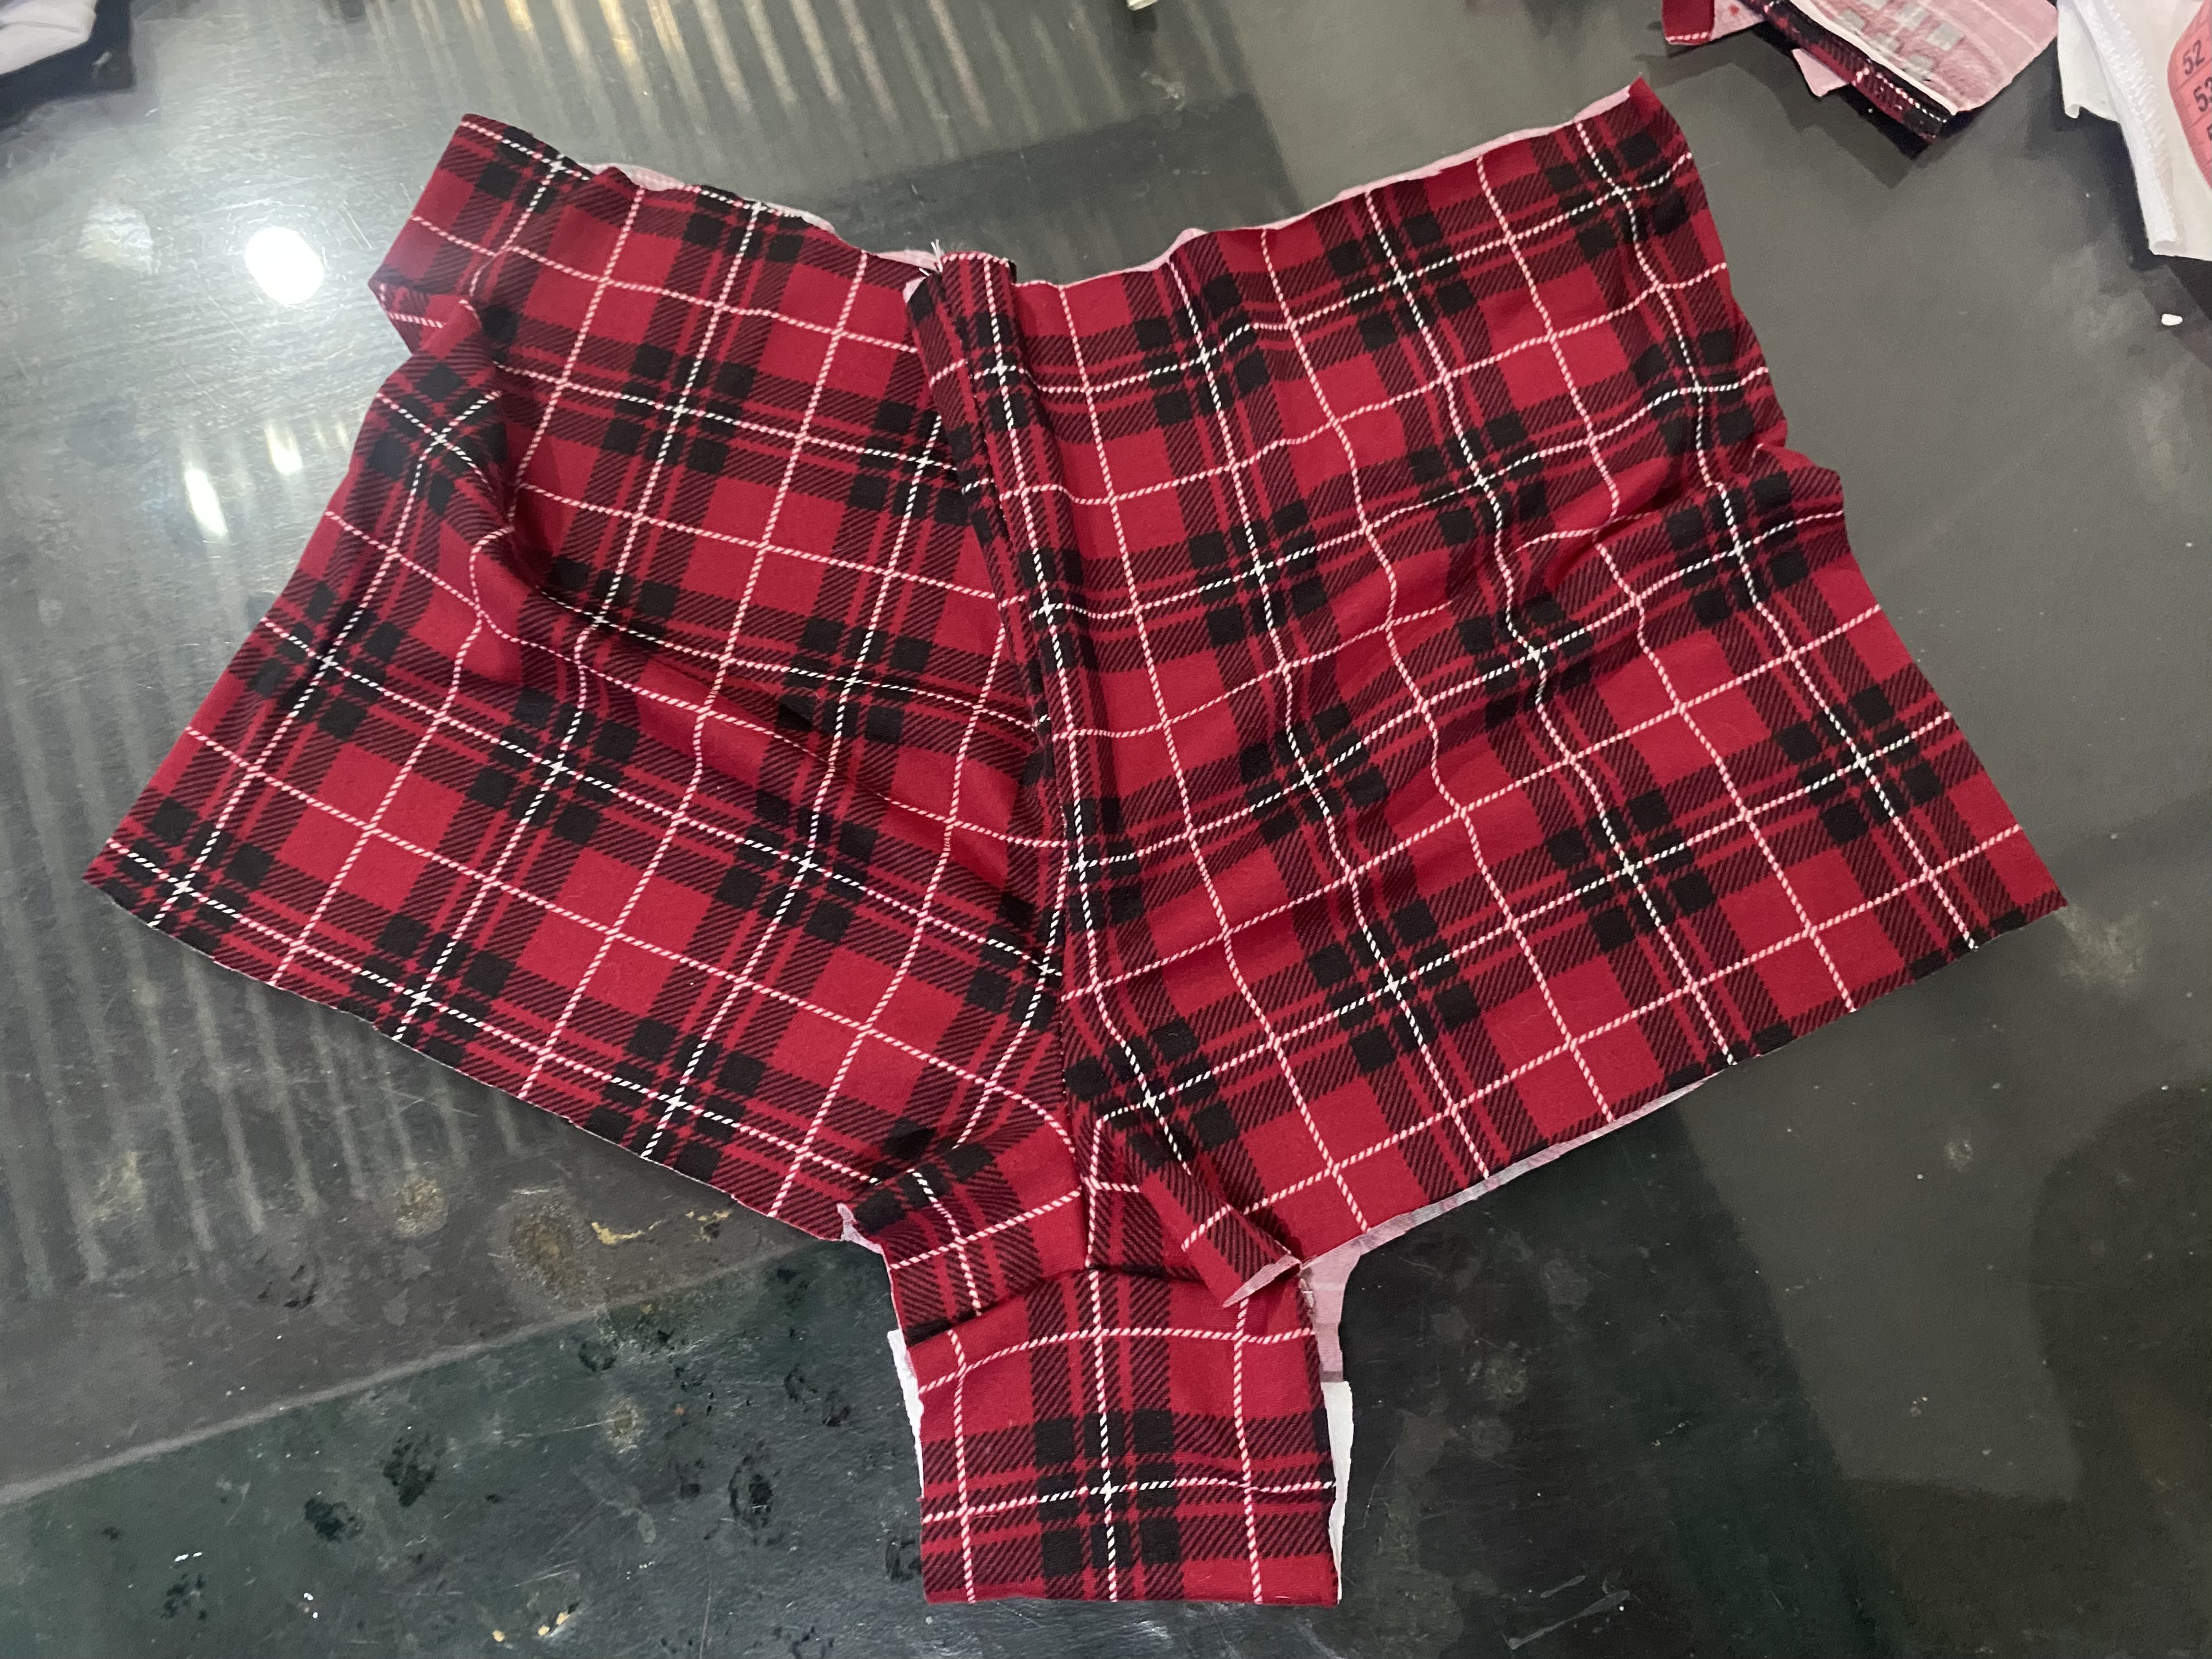
Ahora comenzaremos el ensamblaje de nuestro cachetero, vamos a pasar costura por el tiro delantero y el tiro trasero, yo le paso costura recta y también zig zag para que quede mejor, luego abrimos y le vamos a colocar el fundillo colocando ambas telas una por dentro y una por fuera y le pasamos costura por la parte interna en mi imagen les muestro como debe quedar.
Now we will begin assembling our cheek pads. We will sew the front and back hems. I will sew a straight seam and also a zigzag seam so that it looks better. Then we will open it and place the gusset, placing both fabrics, one on the inside and one on the outside. We will sew the inside. In my image I will show you how it should look.
 |  | |
|---|---|---|
 |  |
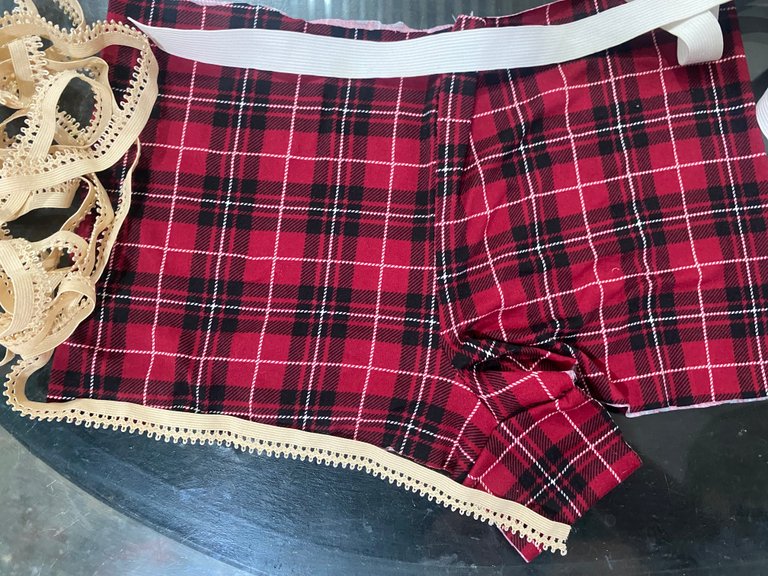
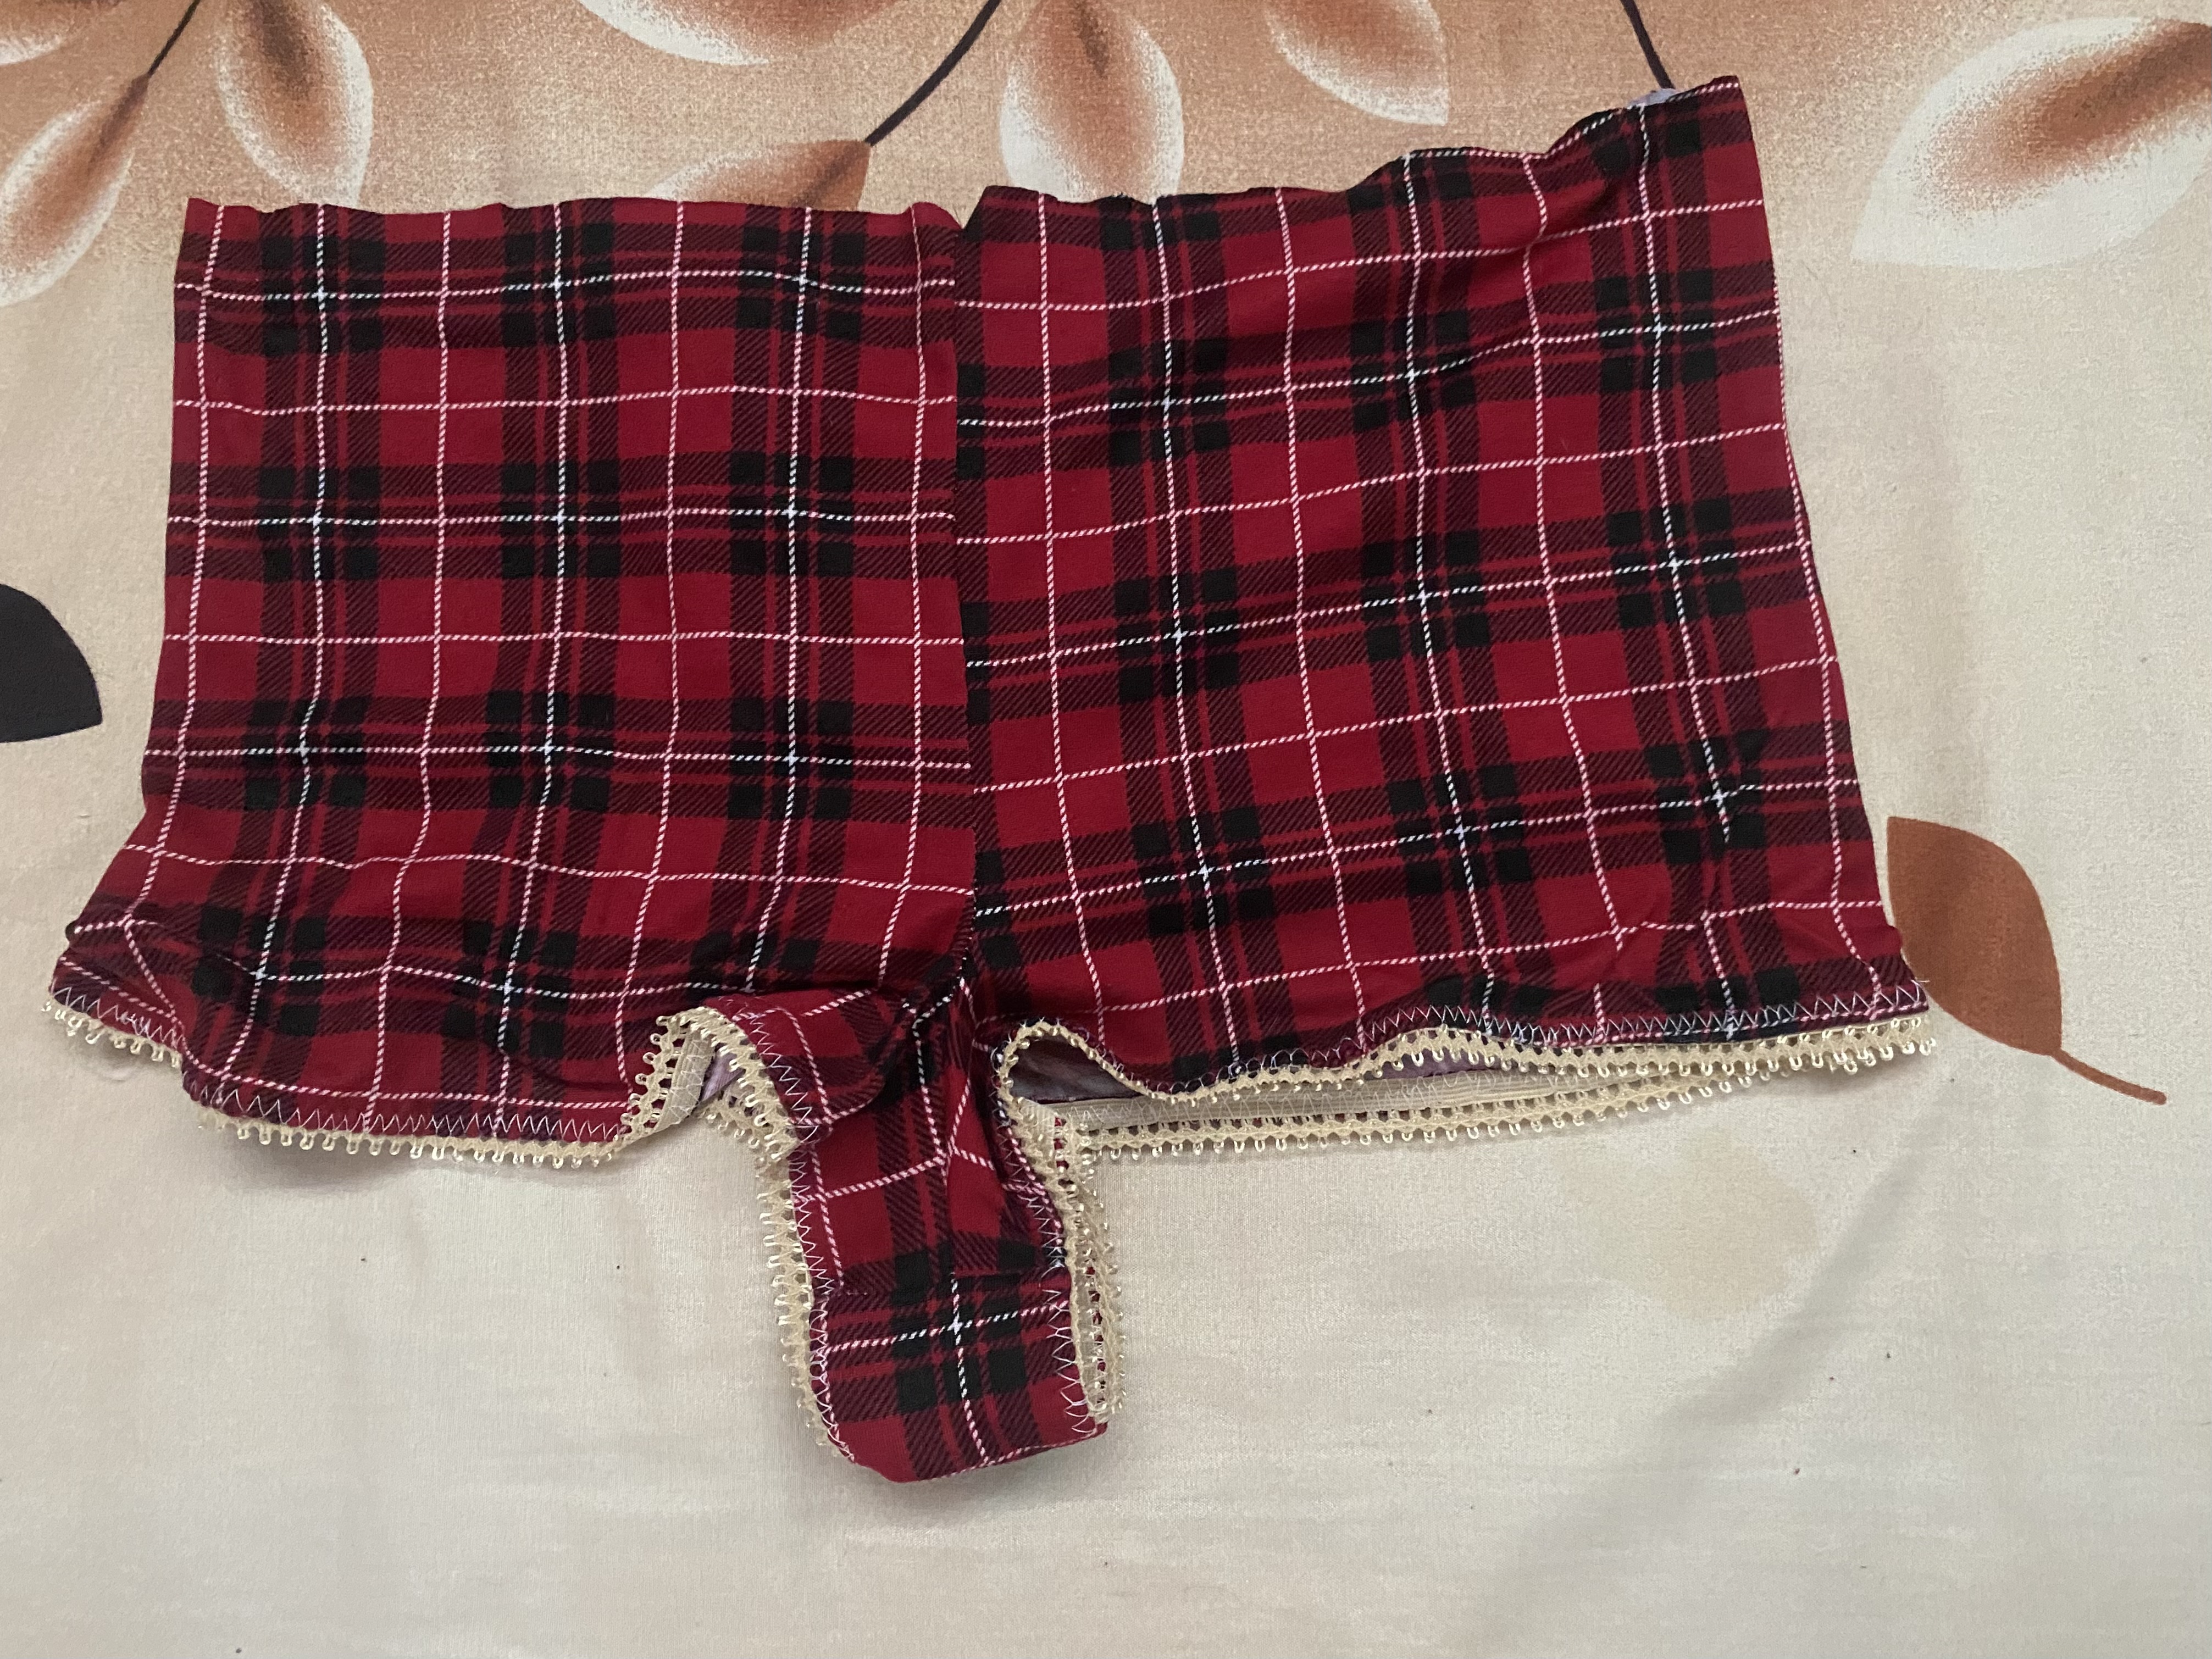
En este paso procederemos a colocarle el elástico, se puede utilizar elástico de pantys, sesgo elástico o con la misma tela puedes hacerle la orilla, en mi caso estoy utilizando el elástico de pantys, éste me ha gustado mucho, ya me he hecho varias pantys con este elástico y no se daña con facilidad , para la cintura utilizaré elástico común.
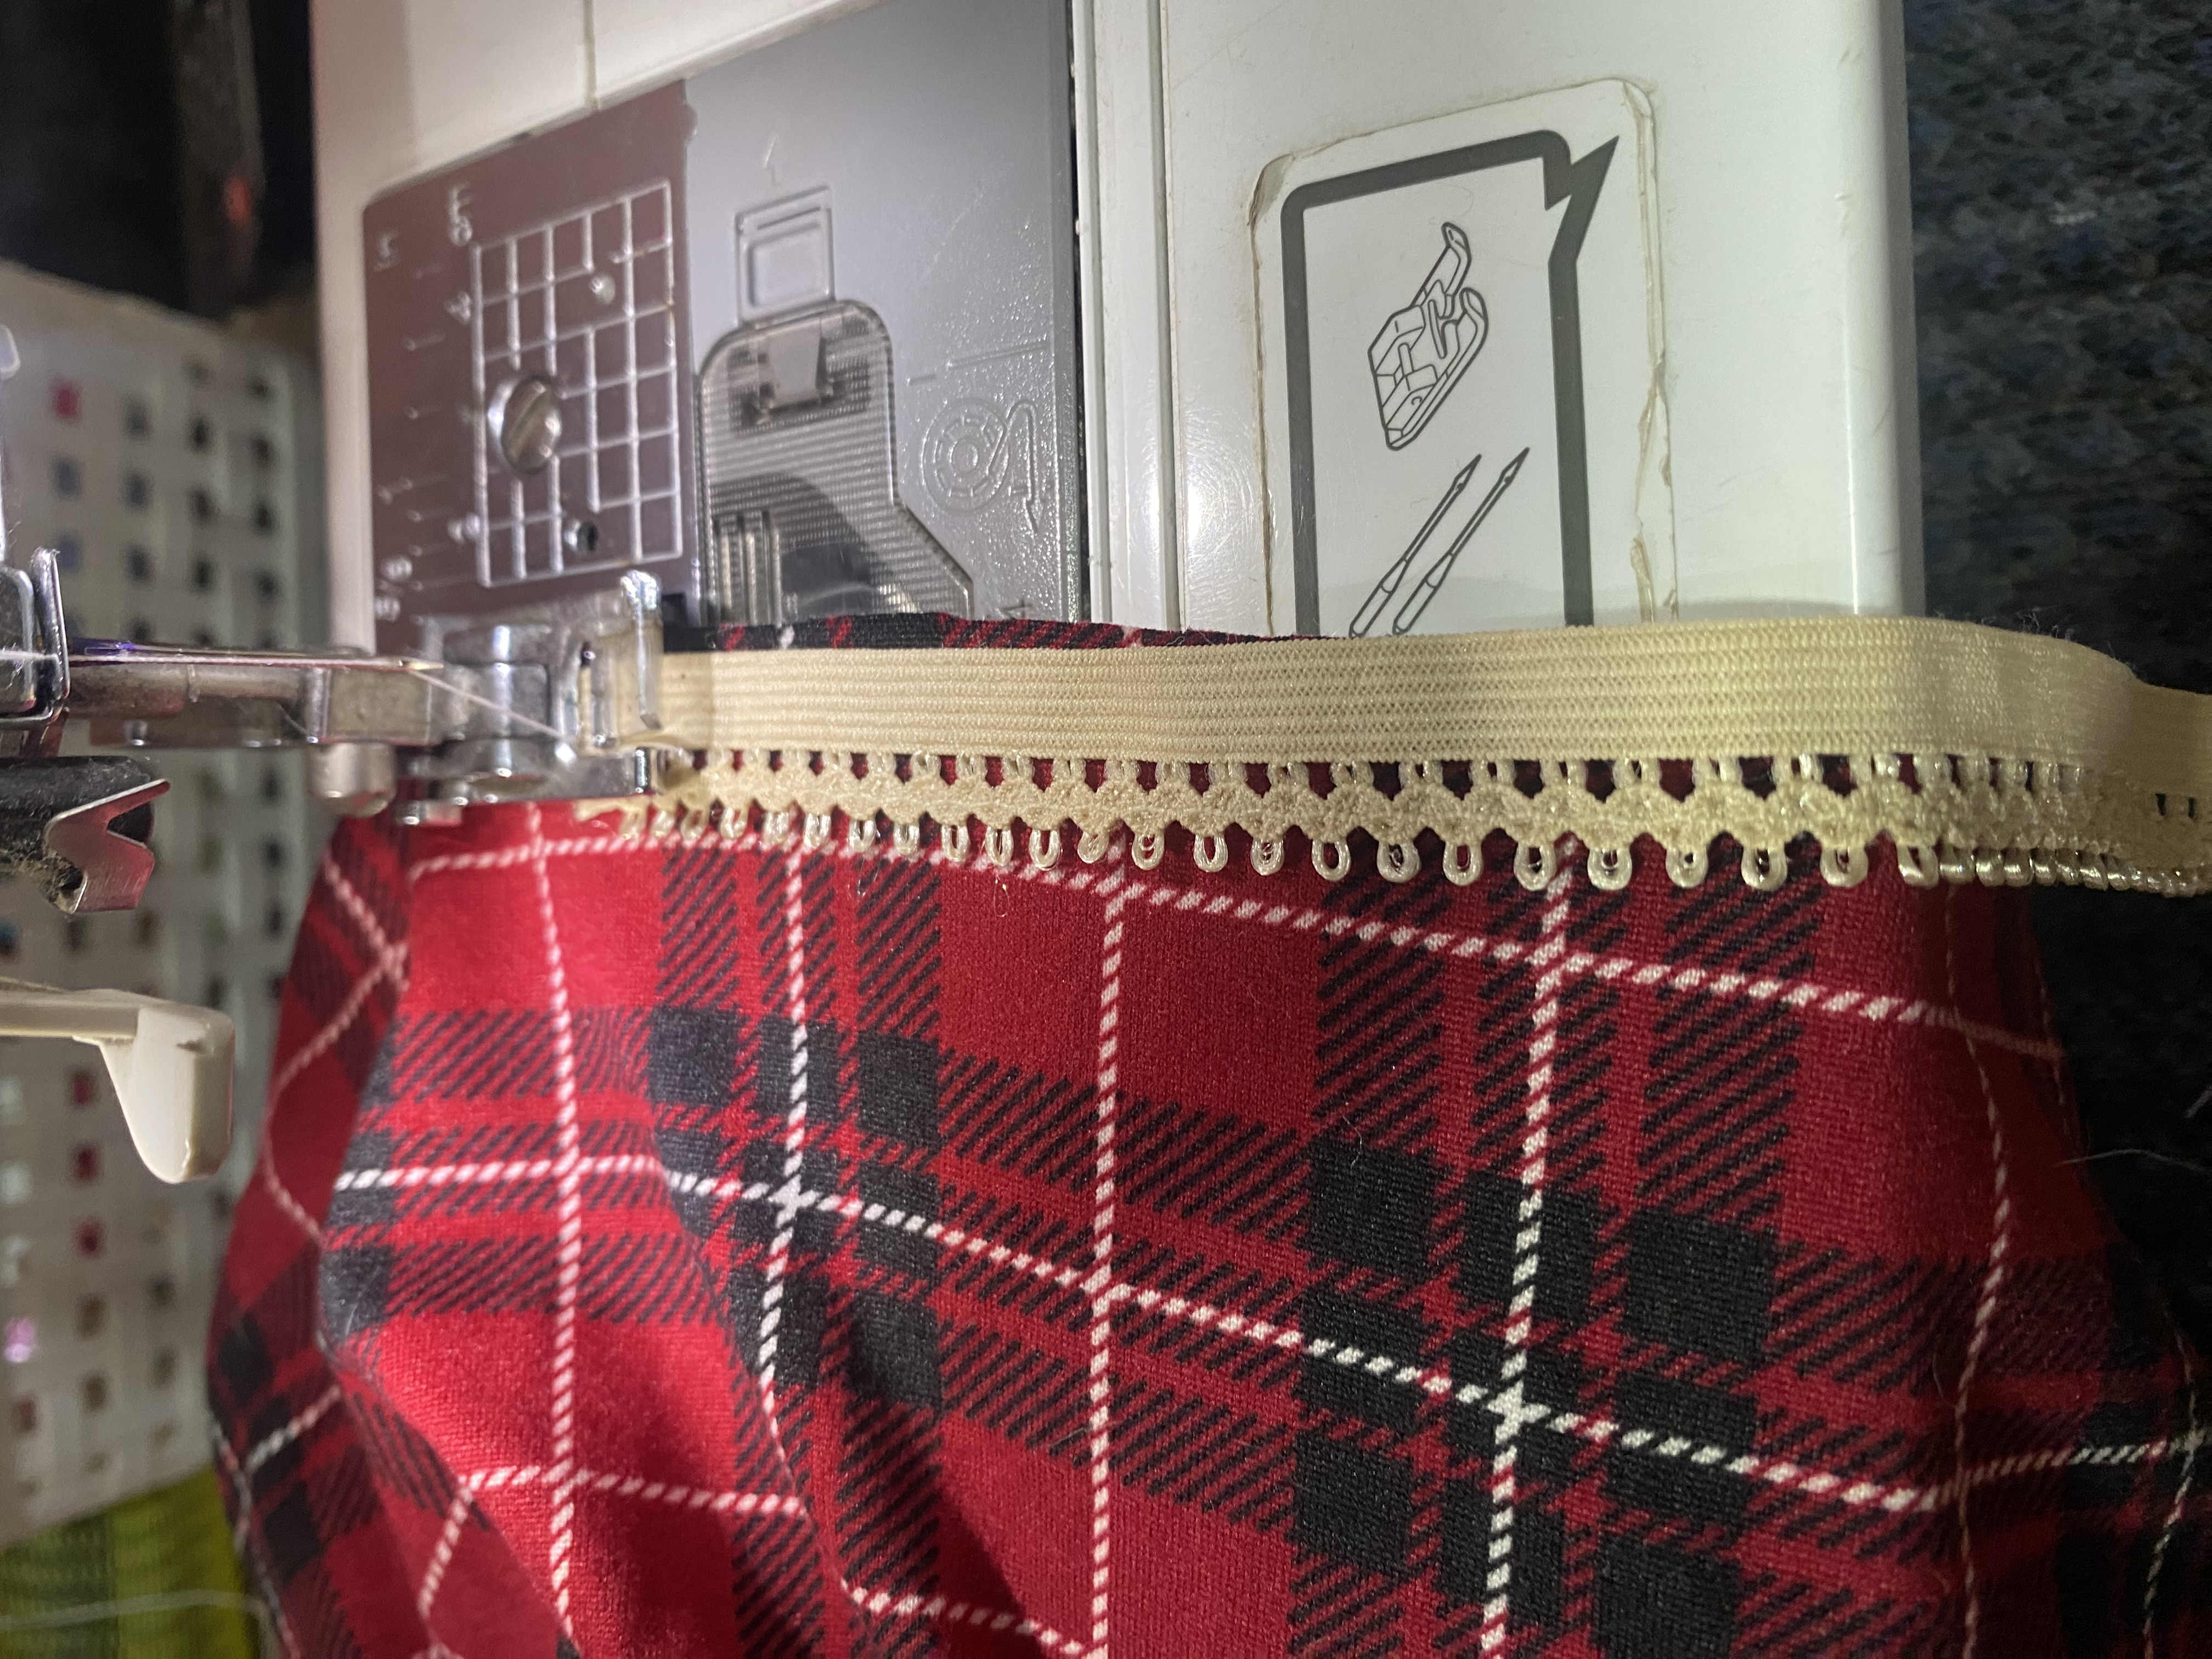
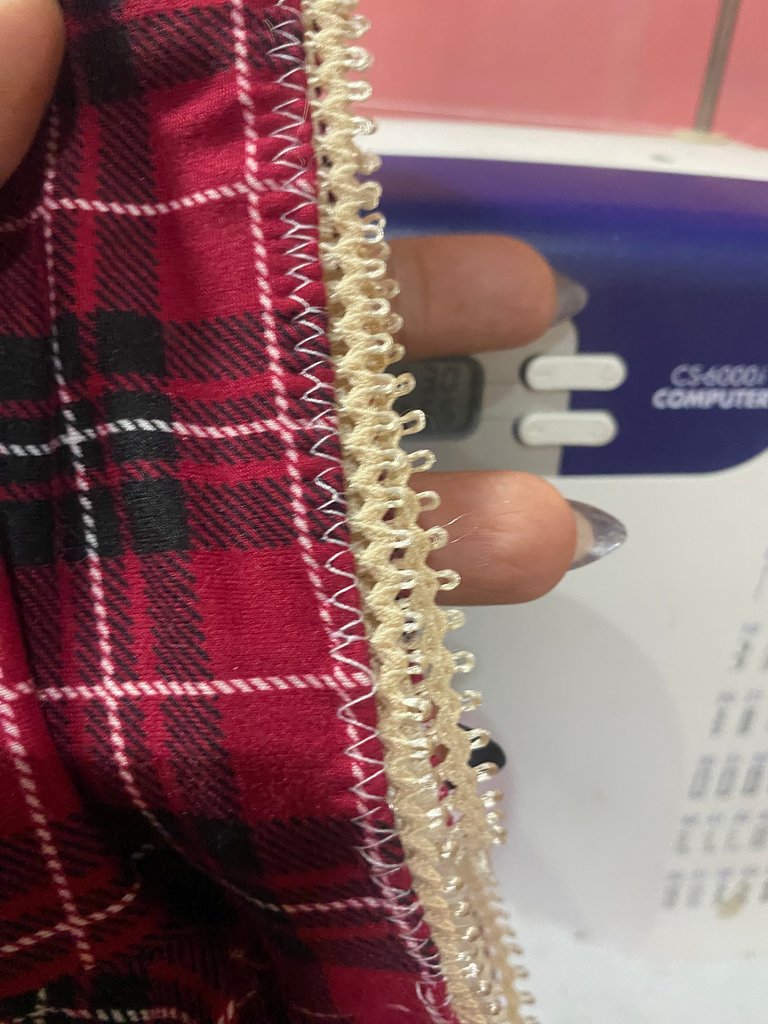
El elástico de las piernas se lo vamos a colocar casi a la misma medida del ancho que nos dio es muy poco lo que lo voy a estirar ya que no quiero que me quede ajustado, este tipo de elástico se coloca en la orilla del lado derecho como si estuviera al revés luego se dobla y se le pasa costura en zig zag y así quedará decorativo
In this step we will proceed to place the elastic, you can use panty elastic, elastic bias or with the same fabric you can make the edge, in my case I am using panty elastic, I liked it a lot, I have already made several pantyhose with this elastic and it does not get damaged easily, for the waist I will use common elastic.
We are going to place the elastic on the legs almost at the same width measurement that we were given, I am going to stretch it very little since I do not want it to be tight, this type of elastic is placed on the edge of the right side as if it were upside down, then it is folded and a zigzag stitch is sewn through it and it will be decorative.
 |  |
|---|---|
 |  |
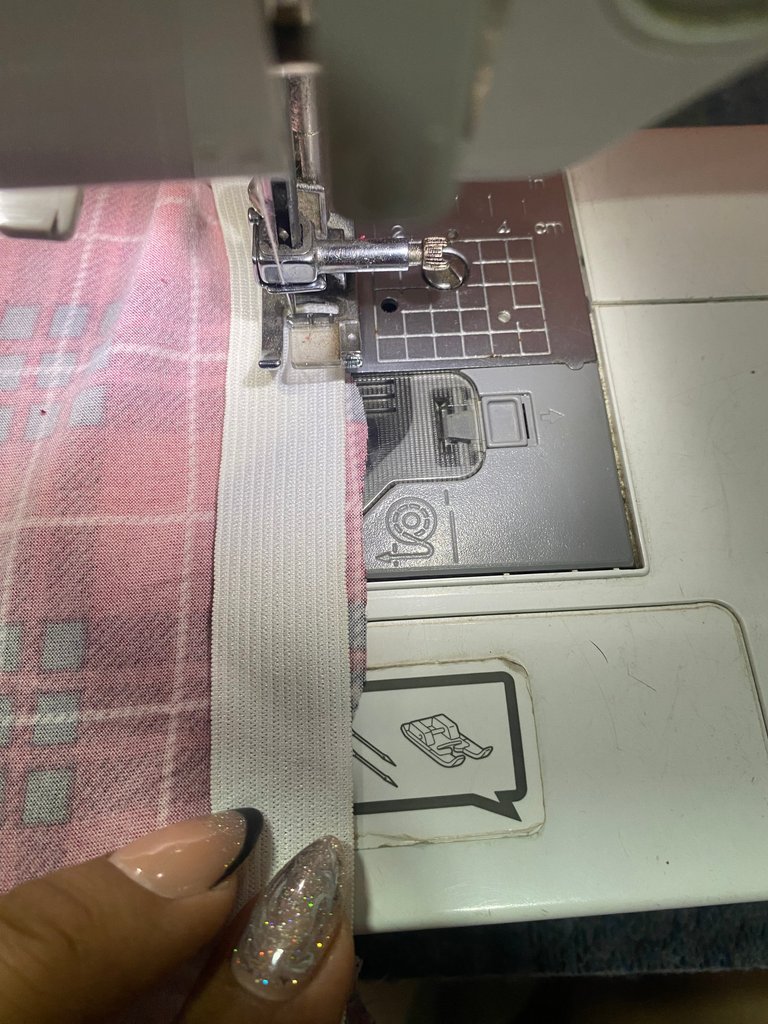
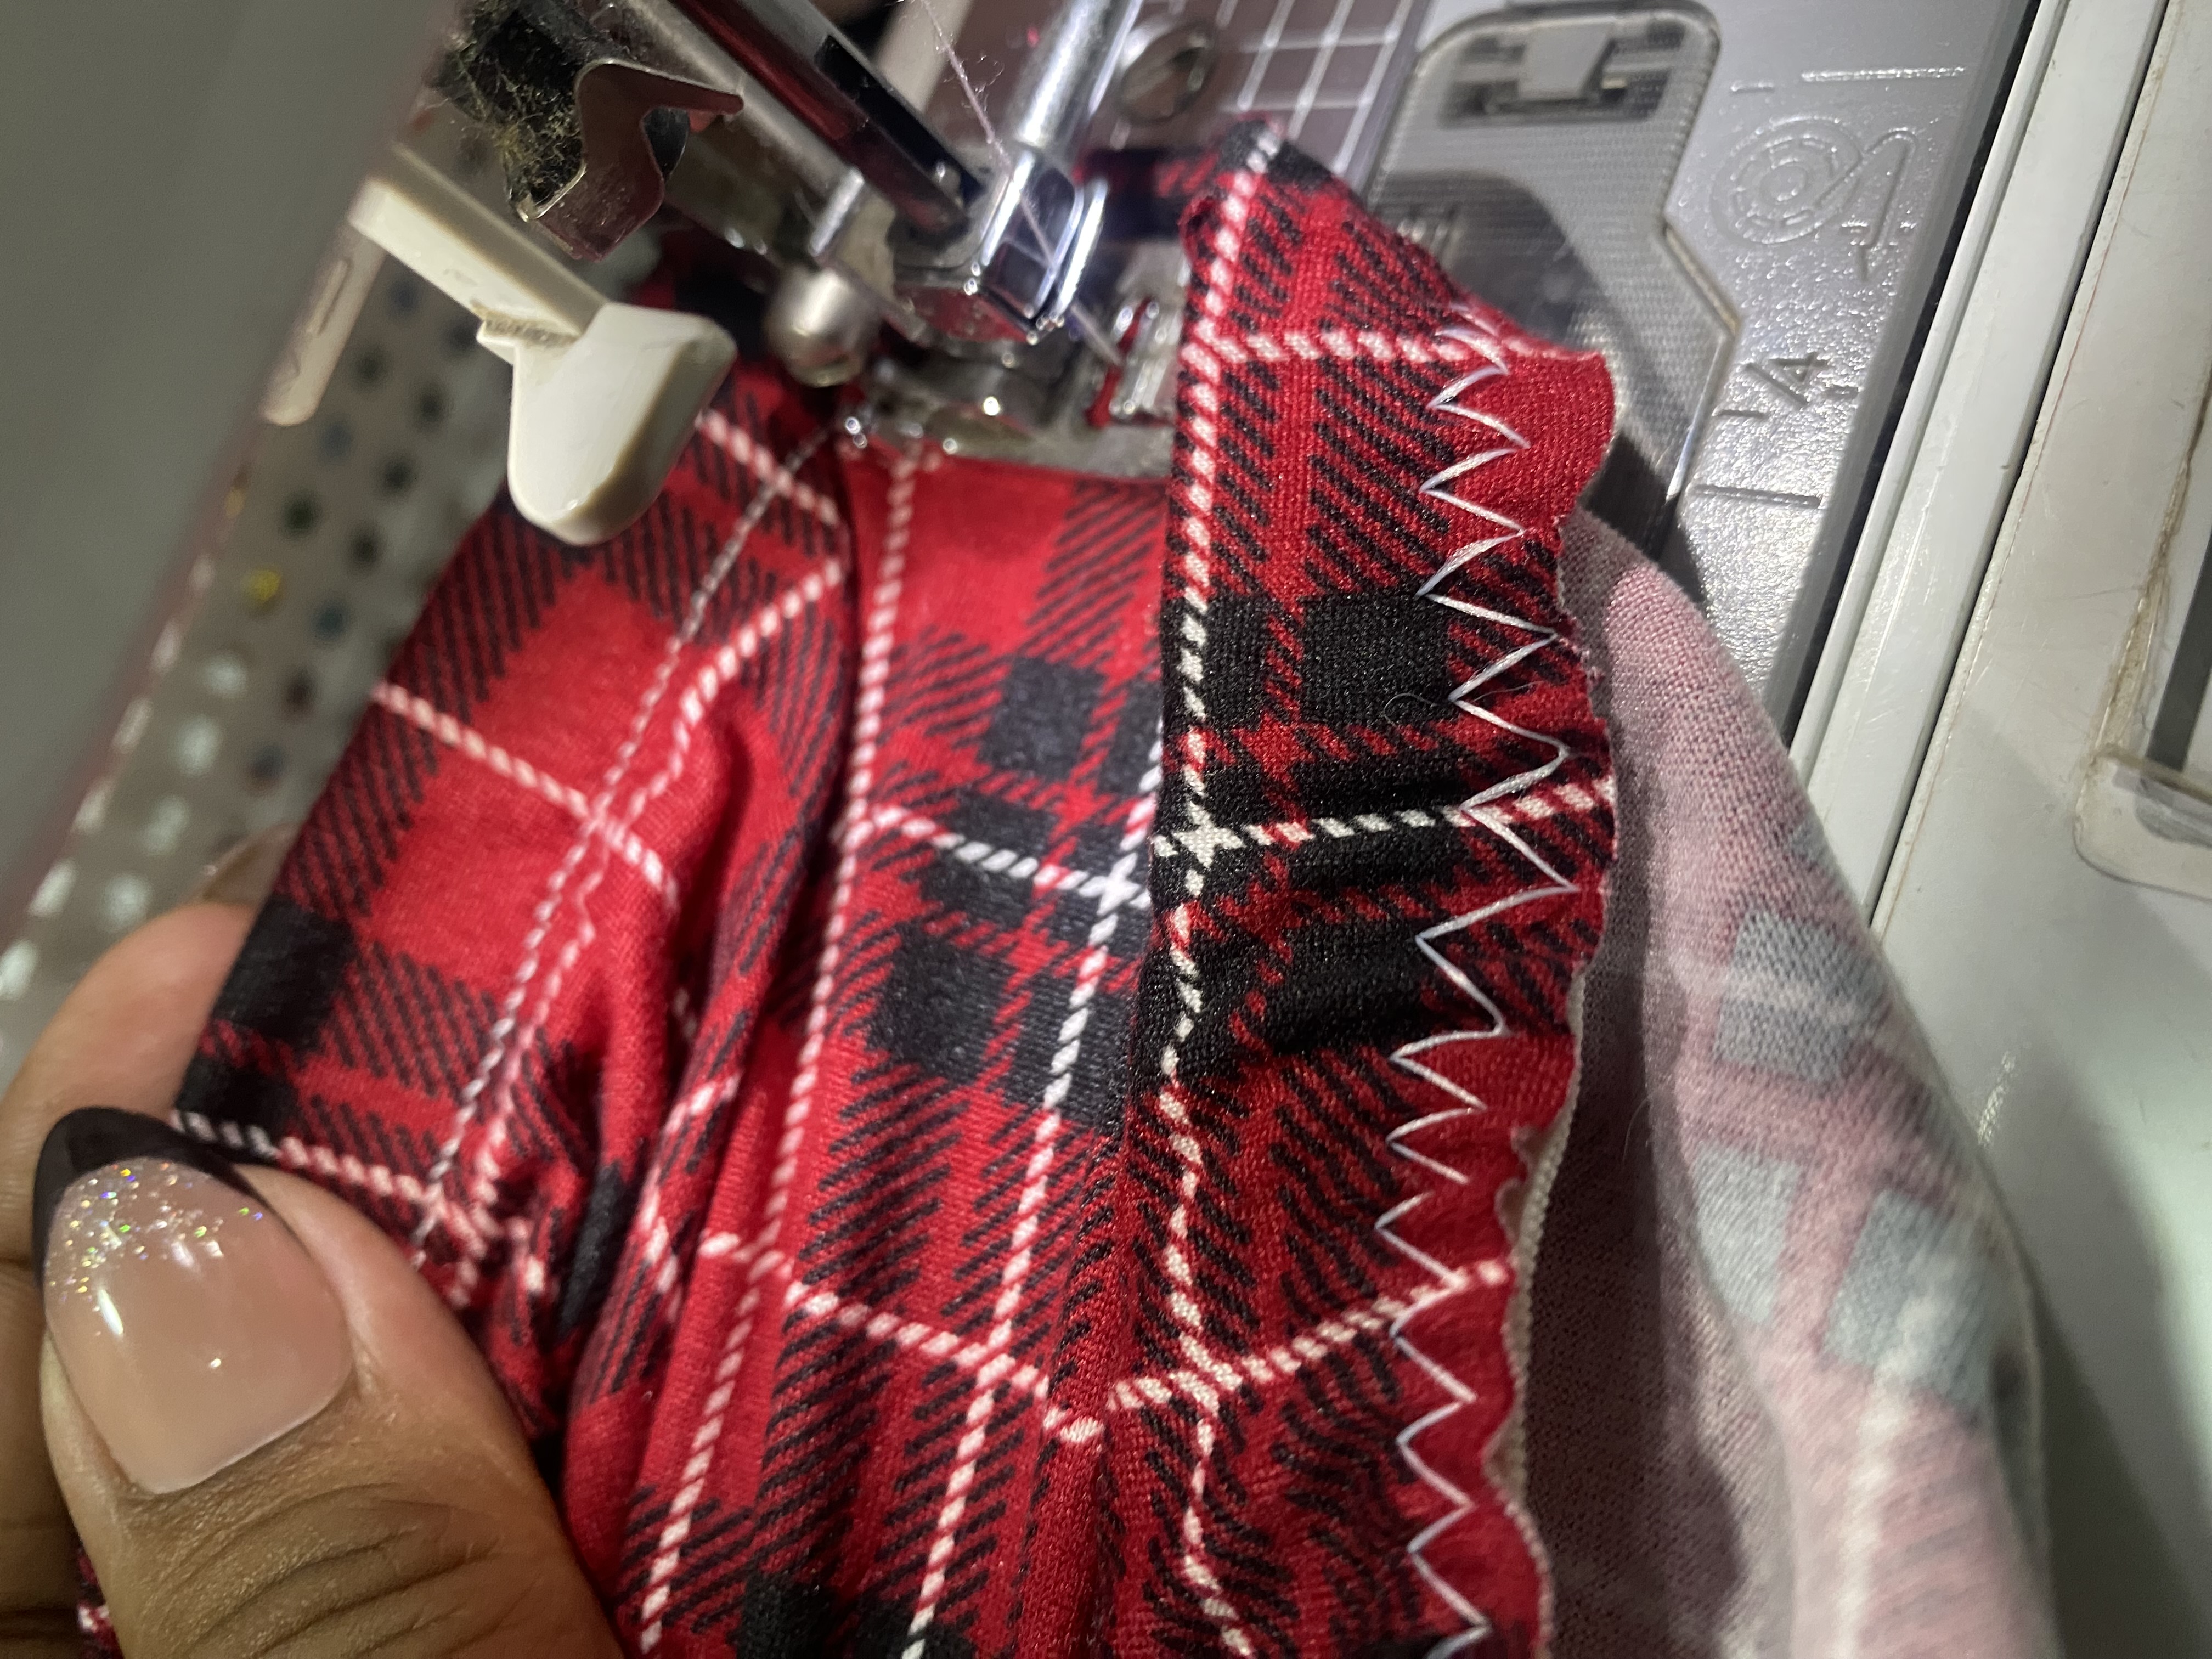
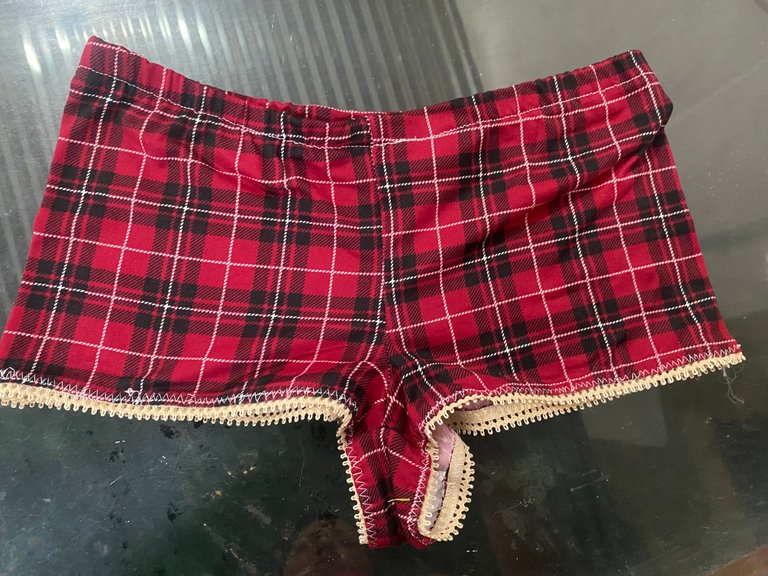
Y como último paso vamos a coser el elástico de la cintura éste lo vamos a colocar por la parte interna y le pasamos costura en zig zag, luego doblamos y pasamos costura recta por el lado de afuera, y así ya está listo este lindo cachetero para lucir hermosas ☺️🪡🧵❤️
And as a last step we are going to sew the elastic waistband, we are going to place it on the inside and we will sew it in a zigzag stitch, then we fold it and sew a straight stitch on the outside, and this cute cheeky is ready to look beautiful ☺️🪡🧵❤️
 |  |
|---|---|
 |
Espero que les haya gustado este procedimiento para hacer un lindo cachetero, si deseas modificarlo puedes hacerlo a la medida de tu cadera, la altura puede ser tambien de 16 o 18 cm si lo deseas más angosto de igual manera te quedará hermoso, si es una talla más pequeña el fundillo también debe ser más corto de aproximadamente 8 cm, eso es todo por hoy me despido deseándoles muchos éxitos y bendiciones
I hope you liked this procedure to make a nice pant, if you want to modify it you can make it to the size of your hip, the height can also be 16 or 18 cm if you want it narrower it will still look beautiful on you, if it is a smaller size the bottom should also be shorter by approximately 8 cm, that's all for today I say goodbye wishing you much success and blessings

