Saludos queridos amigos de NEEDLEWORKMONDAY 🪡🧵❤️
Actualmente están muy de moda las faldas Short deportiva y hoy quiero mostrarles cómo confeccionar este tipo de faldas, te imaginas ir al gimnasio o a hacer deporte luciendo un hermoso Outfit hecho por tus propias manos, ven y te muestro como la hice:
Greetings dear friends of NEEDLEWORKMONDAY 🪡🧵❤️
Currently, sports short skirts are very fashionable and today I want to show you how to make this type of skirt. Can you imagine going to the gym or doing sports wearing a beautiful outfit made by your own hands? Come and I will show you how I made it:
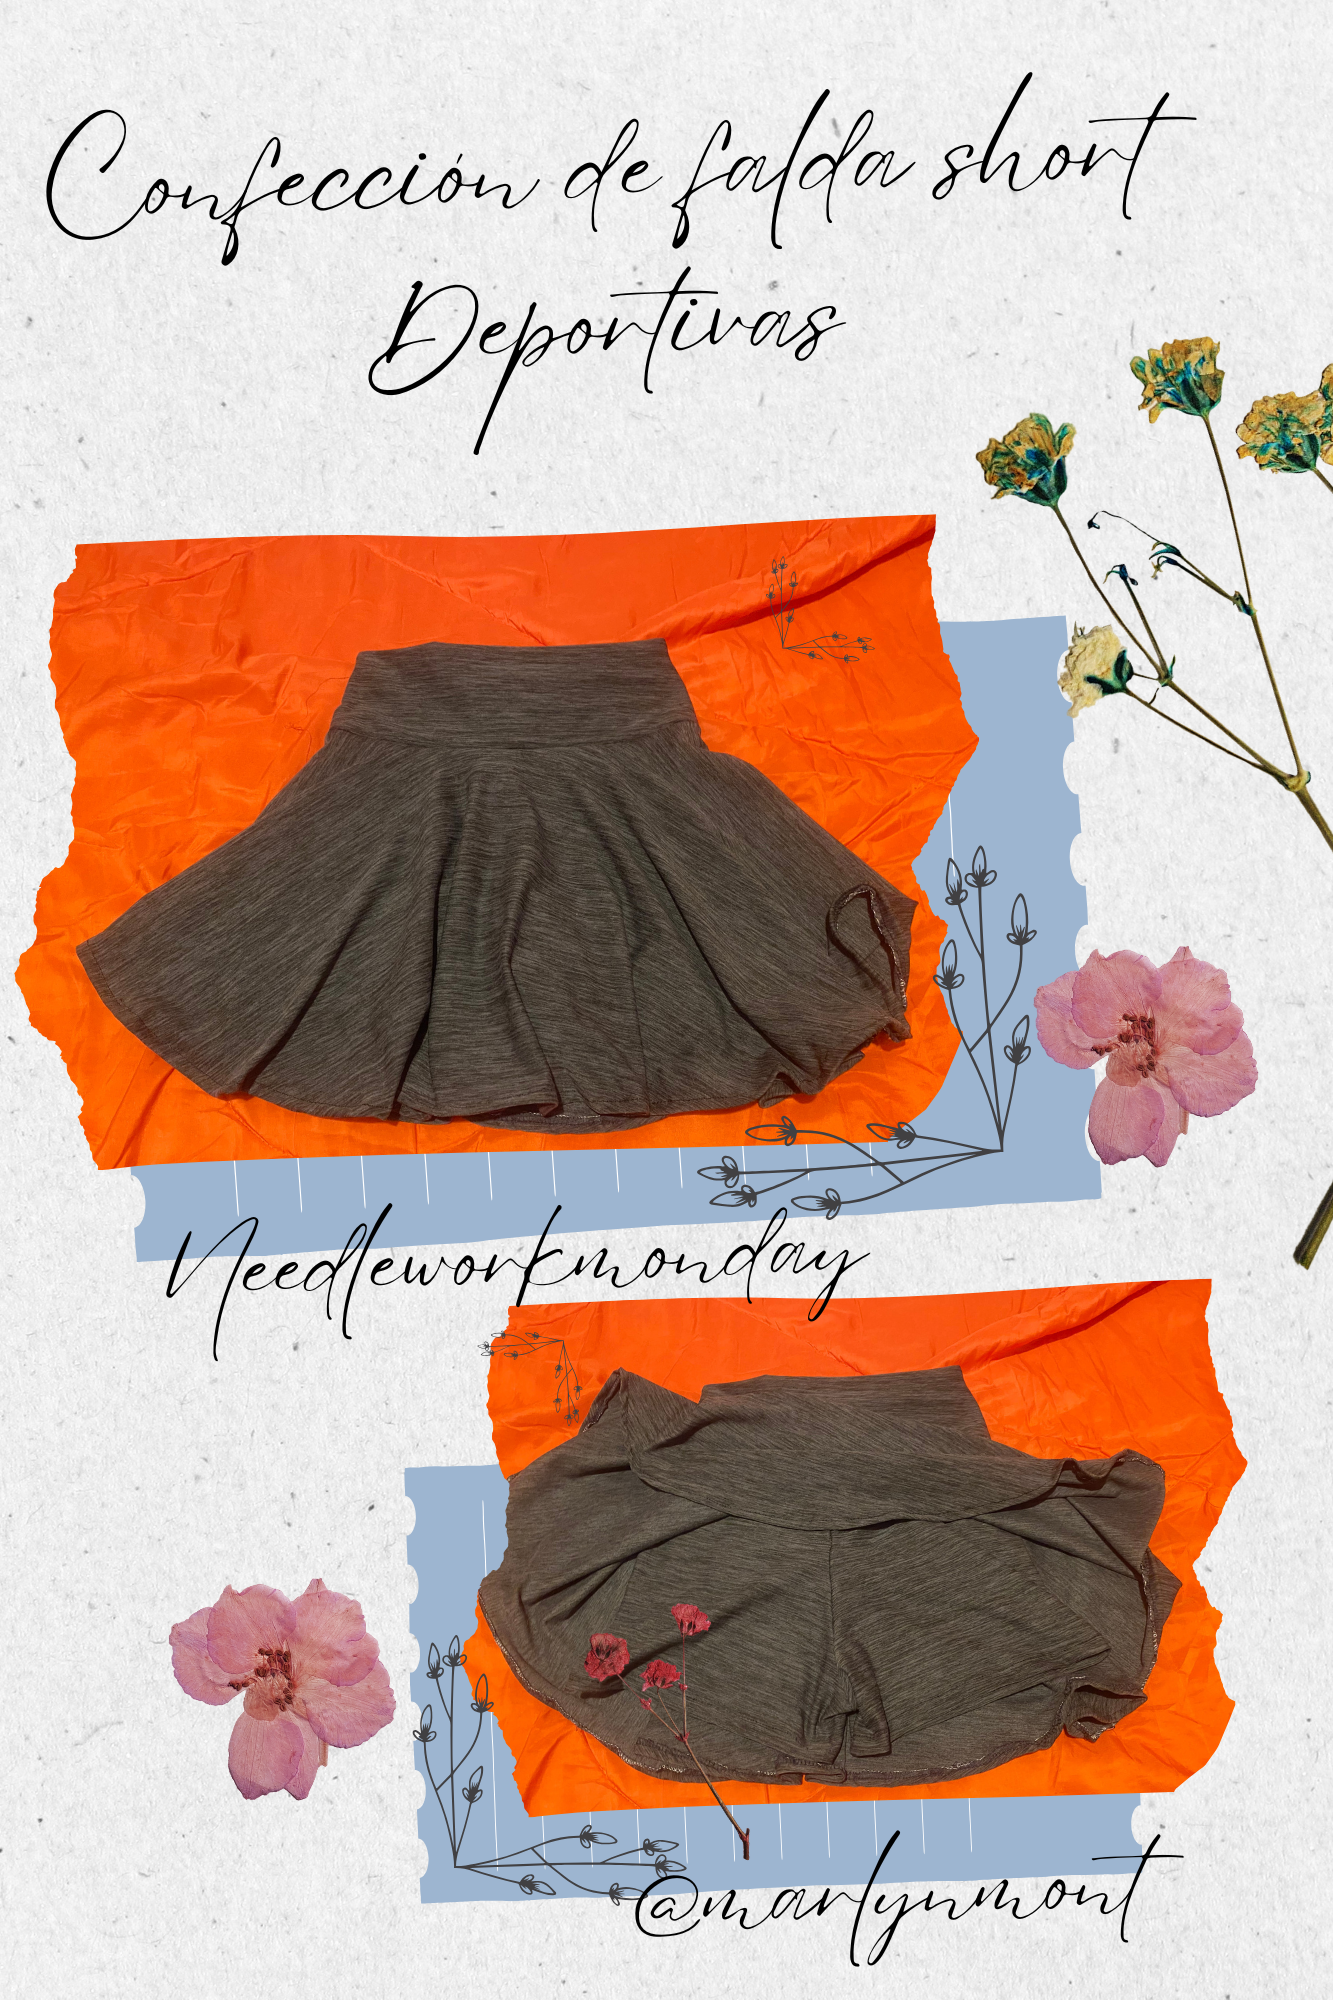
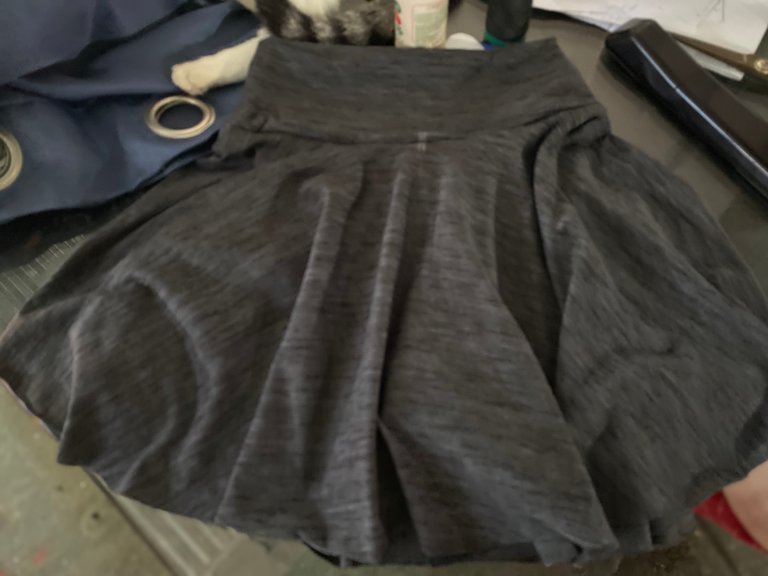
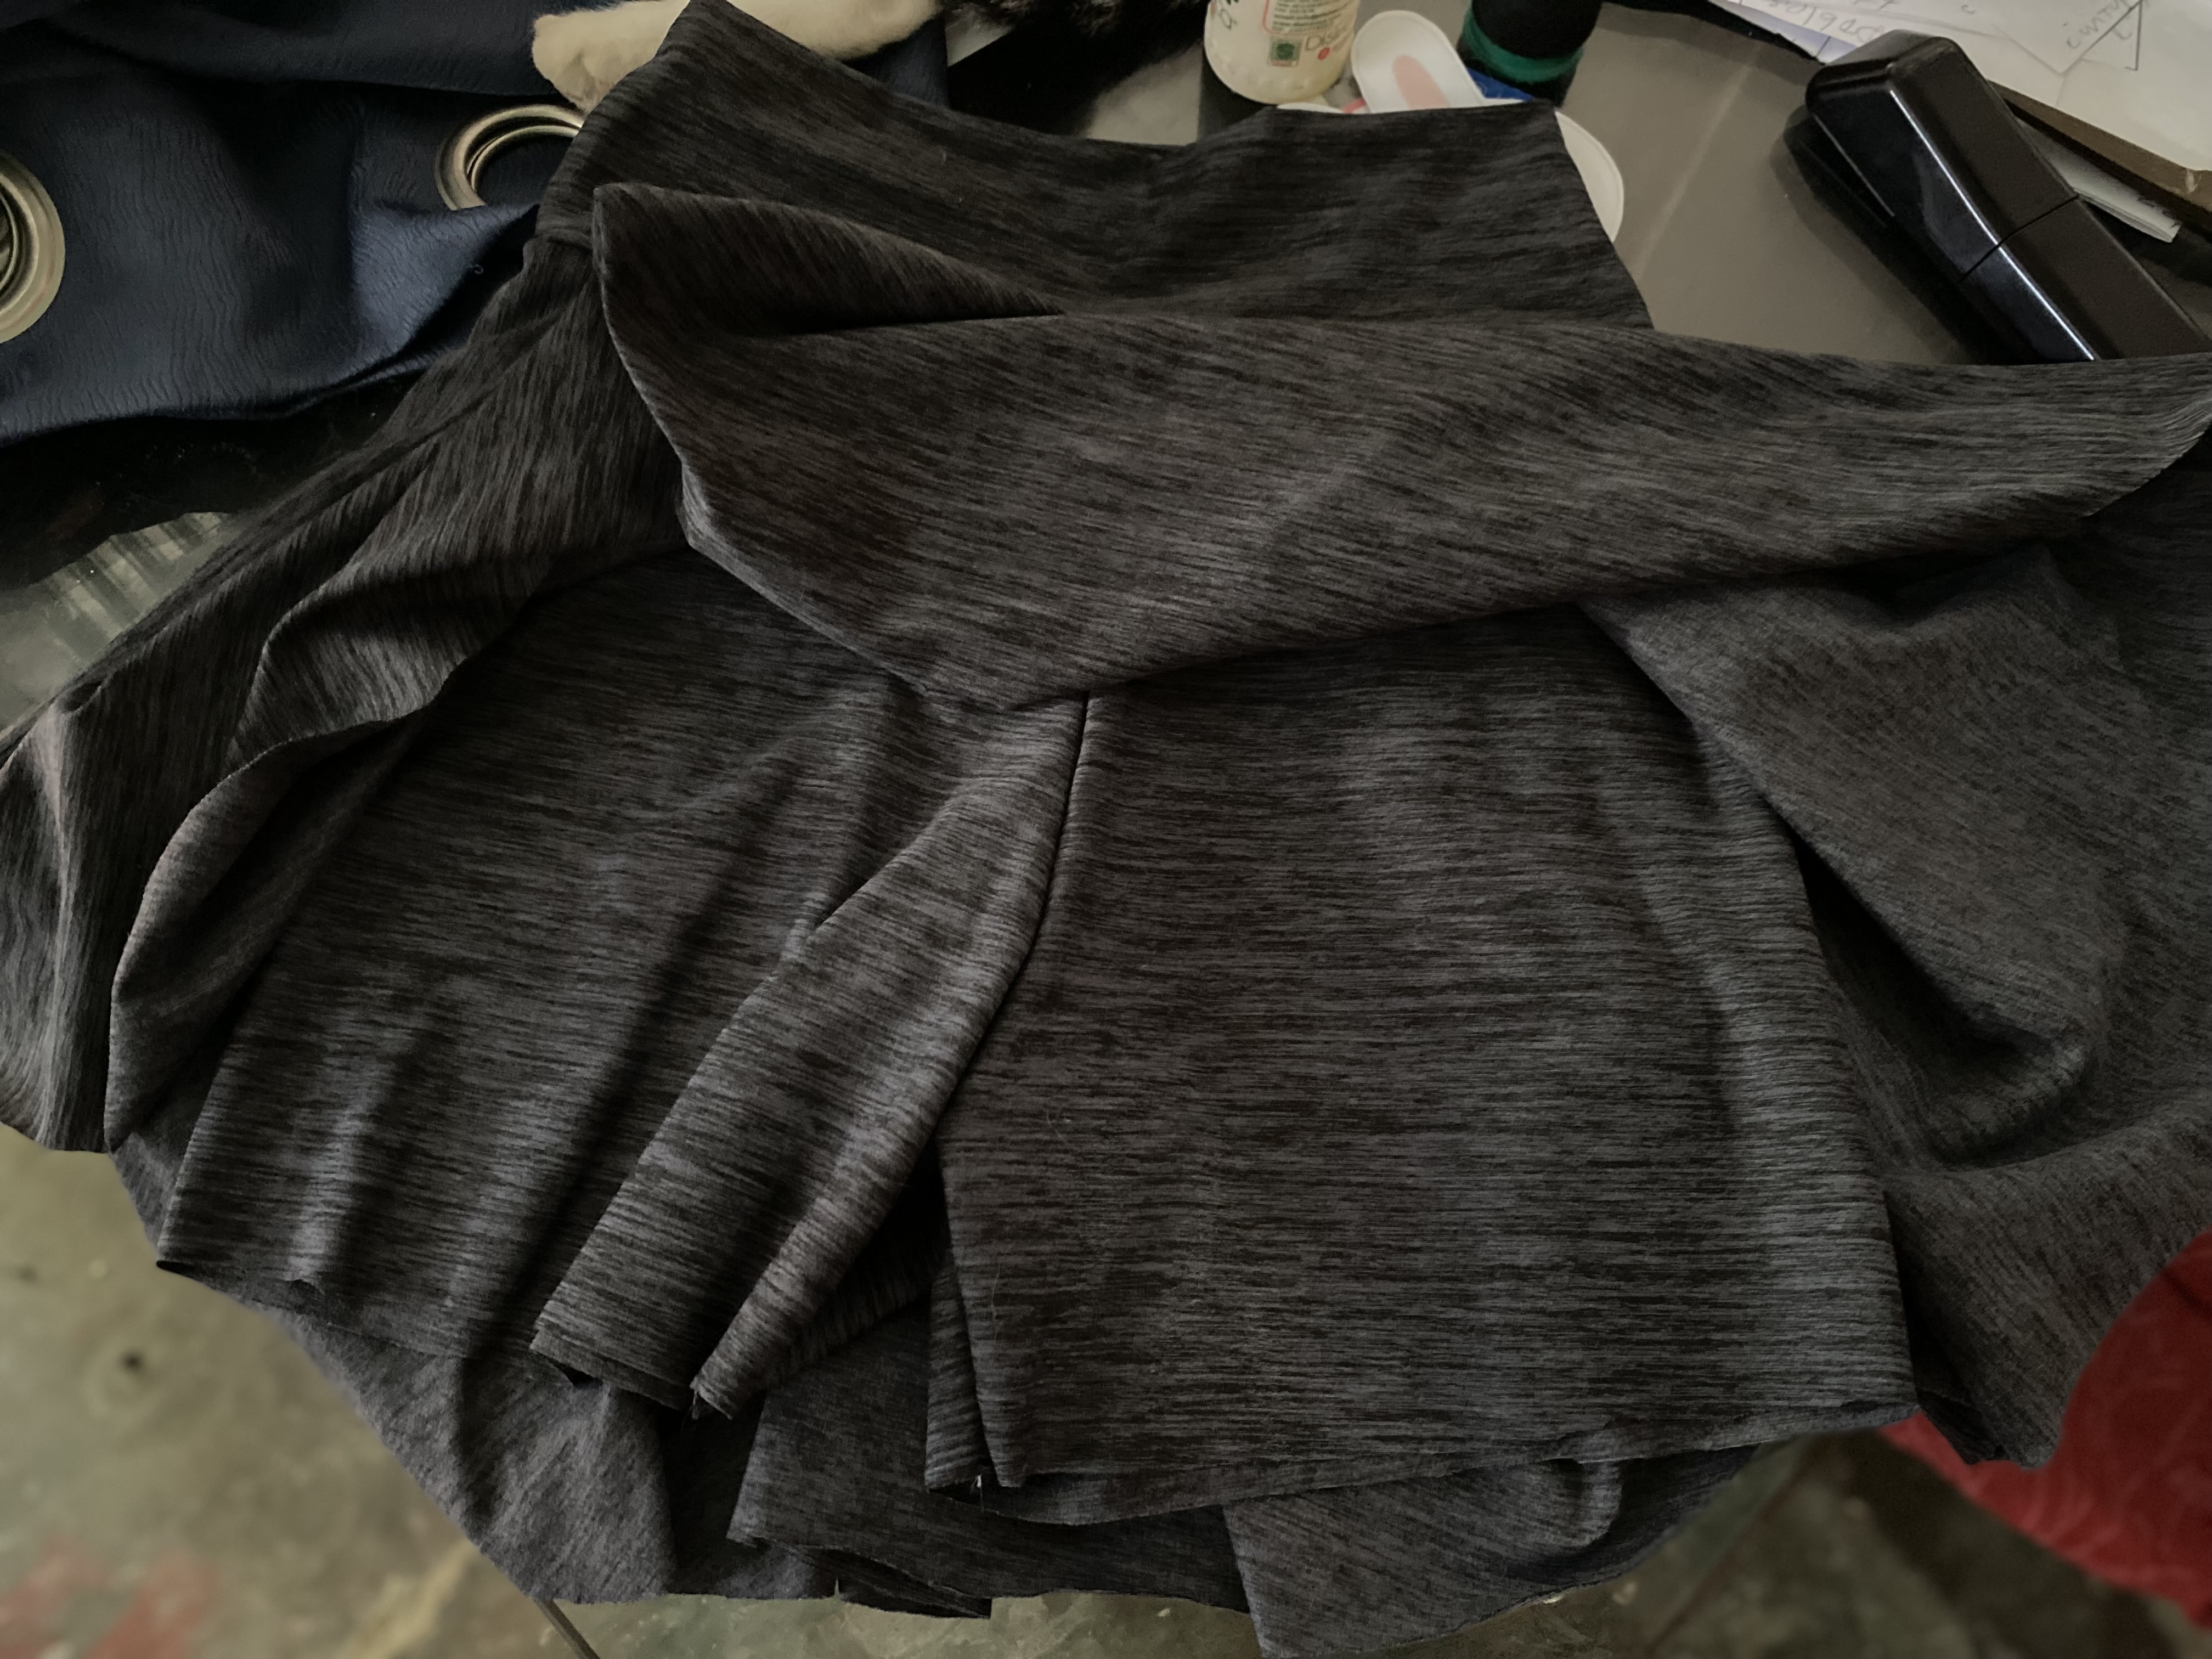
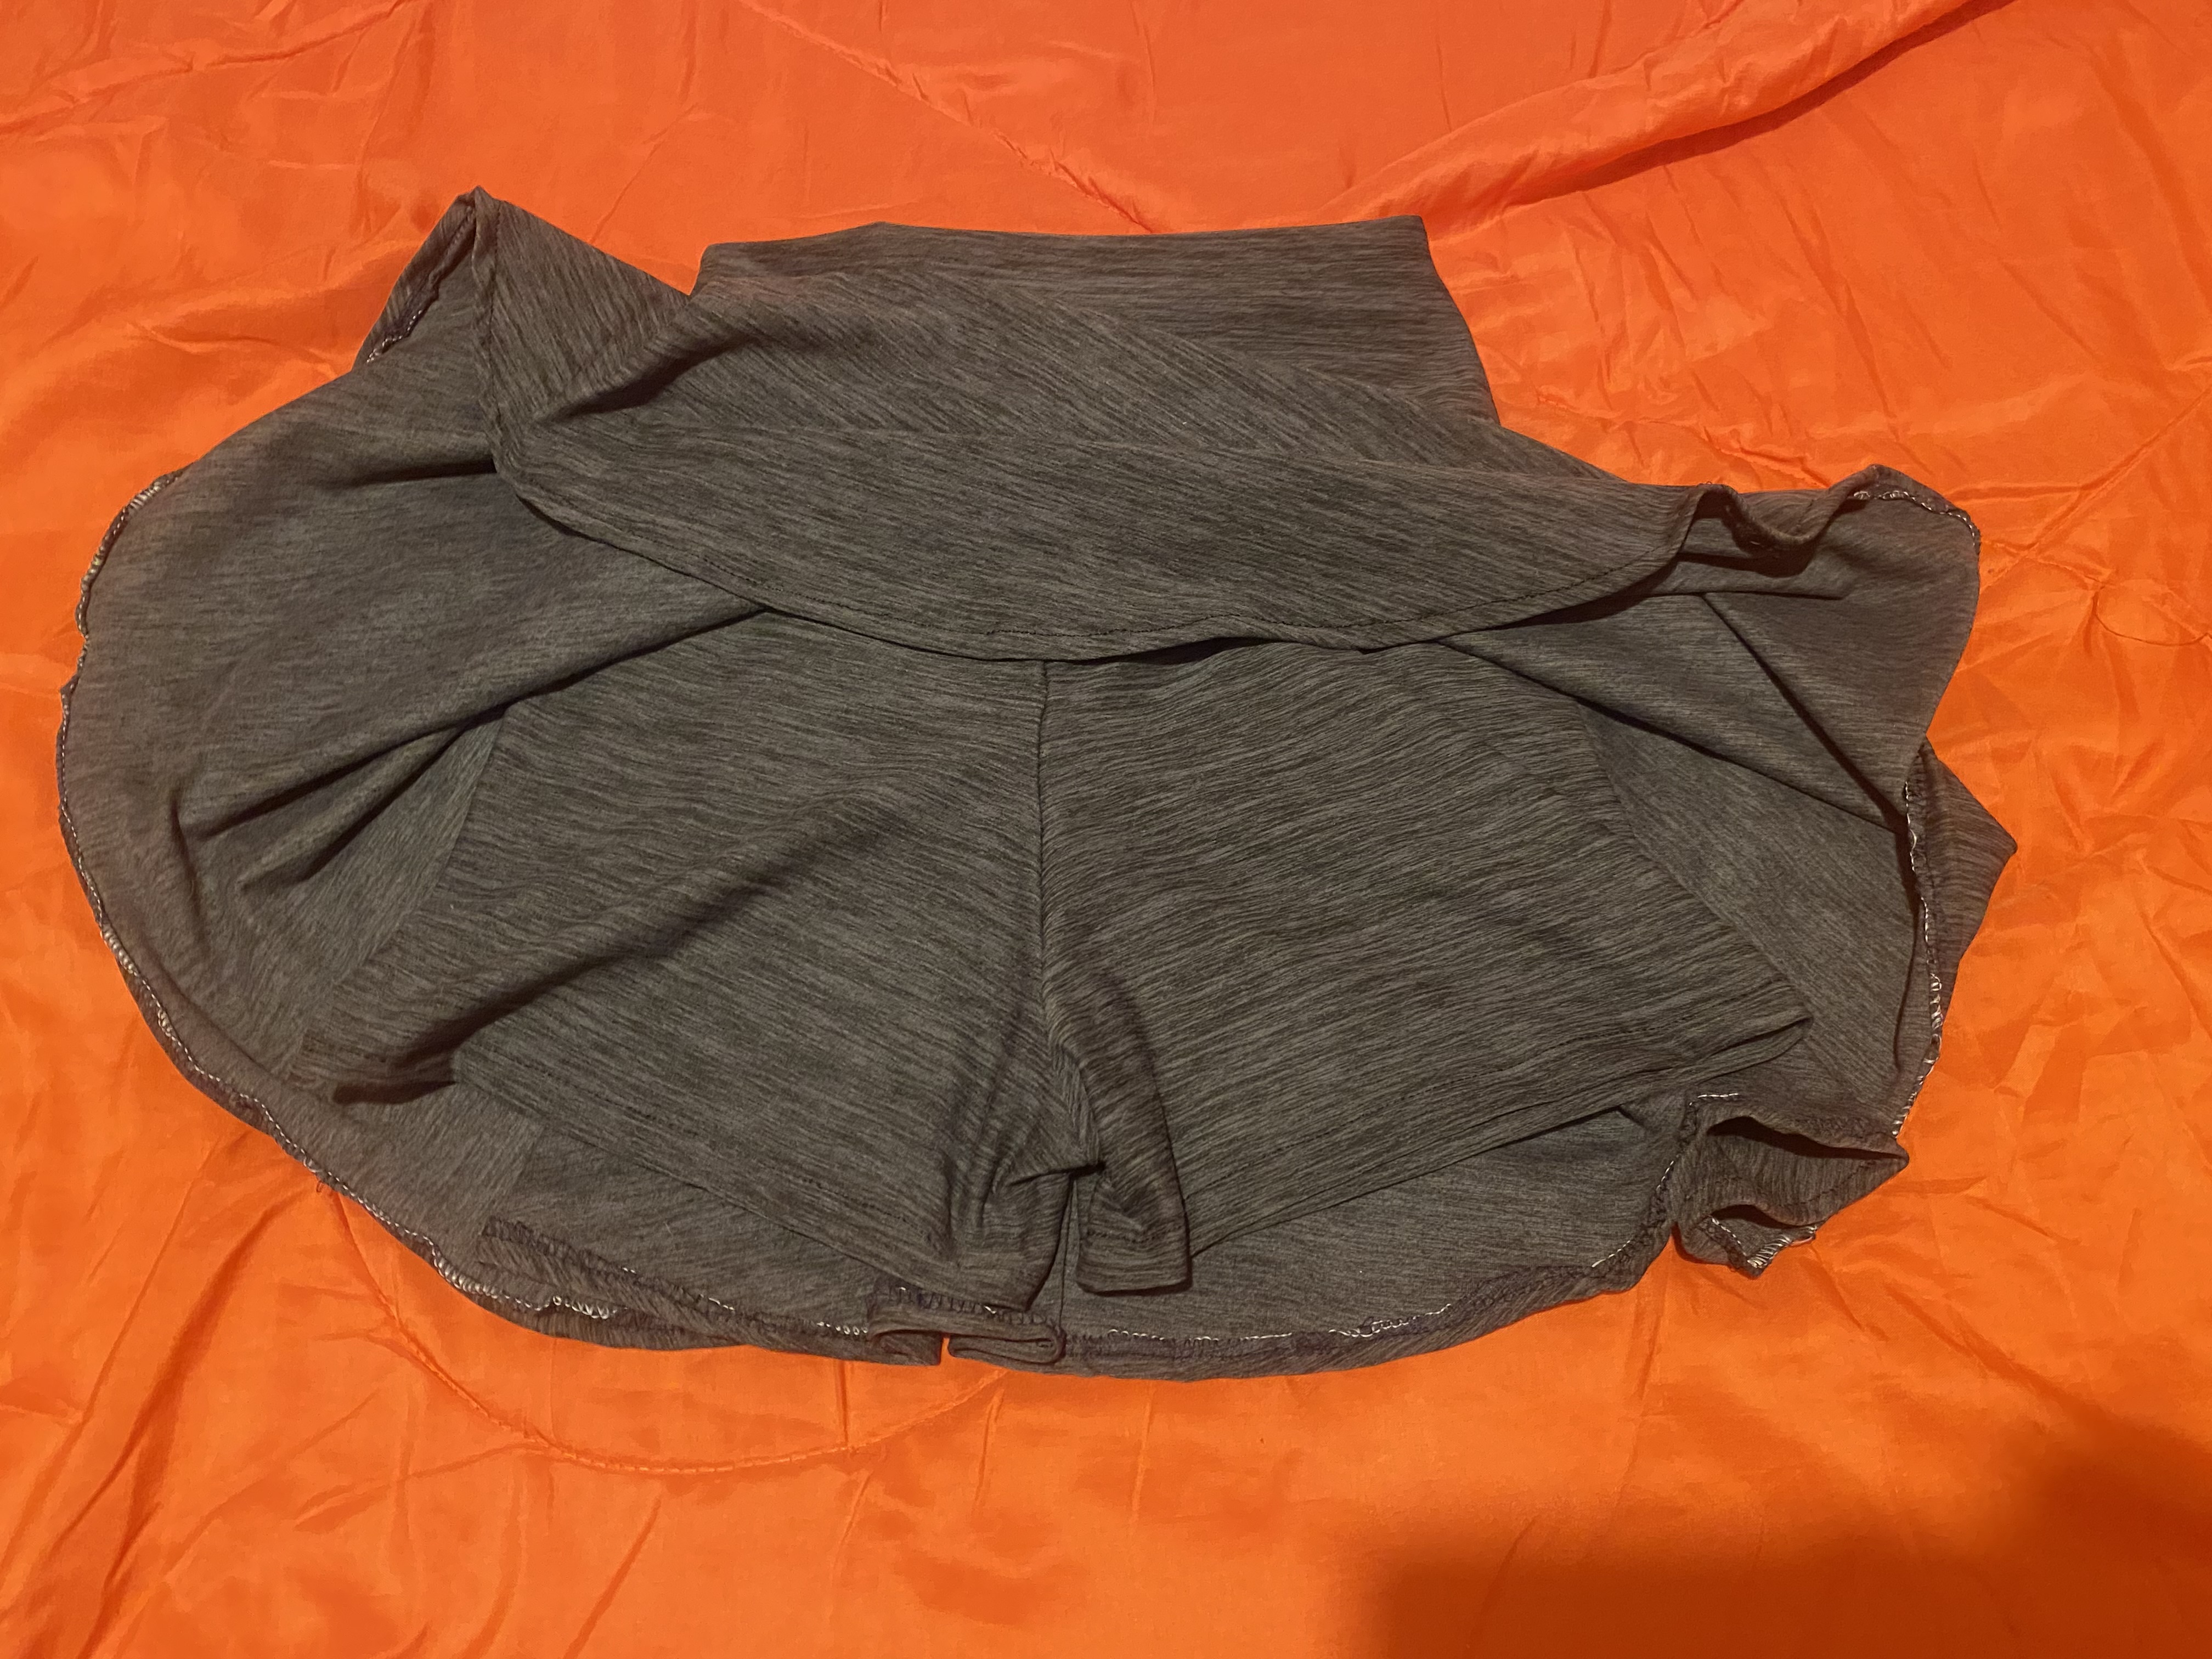
Hace un tiempo mi hija me pidió una falda parecida a estas que están muy de moda, ella la quería que fuera completamente circular, pero que no llevara pliegues en la cintura, para ese entonces (un poco más de 2 años) esta falda la utilizó muchísimo y hasta la actualidad aún la utiliza para sus outfits, esta la utilizaré para poder guiarme y hacer esta hermosa falda deportiva, con la diferencia de que este modelo nuevo lleva Short por debajo de la falda.
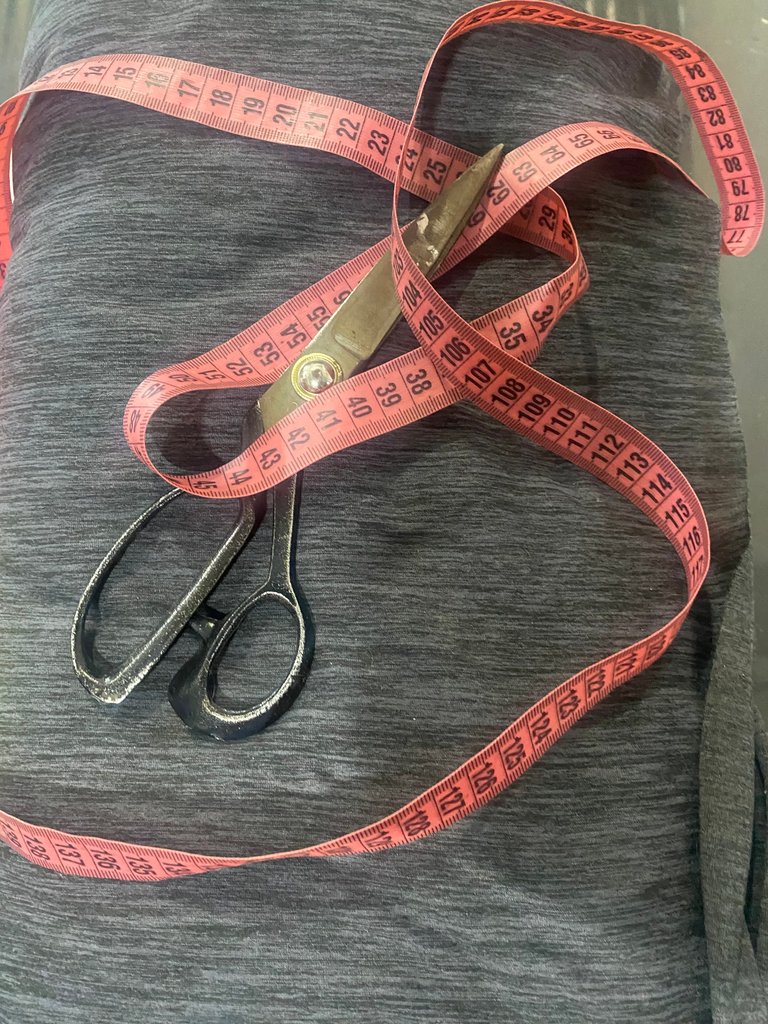
Para la confección de esta falda vamos a utilizar tela elástica, puede ser de cualquier tipo, en mi ciudad las más usadas son nombradas de esta forma, muselina siendo una de las más económicas, micro durazno es un tipo de algodón y es muy usado para todo tipo de prendas, y en mi caso estoy usando una llamada Lululemon.
La cantidad de tela a utilizar variará de acuerdo a la talla que vayas a hacer, yo estoy haciendo una talla S/M para esto ocuparé aproximadamente 1 m de tela, también voy a desempolvar mi máquina Overlook, esta tengo mucho tiempo sin usarla y he decidido sacarla nuevamente ya que este tipo de telas quedan mejor con este tipo de costura.
A while ago my daughter asked me for a skirt similar to these that are very fashionable, she wanted it to be completely circular, but without pleats at the waist, at that time (a little more than 2 years) she used this skirt a lot and to this day she still uses it for her outfits, I will use it to guide me and make this beautiful sports skirt, with the difference that this new model has shorts under the skirt.
To make this skirt we are going to use stretch fabric, it can be any type, in my city the most used ones are named this way, muslin being one of the cheapest, micro peach is a type of cotton and is widely used for all types of garments, and in my case I am using one called Lululemon.
The amount of fabric to use will vary according to the size you are going to make, I am making a size S/M for this I will use approximately 1 m of fabric, I am also going to dust off my Overlook machine, I have not used it for a long time and I have decided to take it out again since this type of fabric looks better with this type of stitching.
 |  |
|---|
PASO A PASO
STEP BY STEP
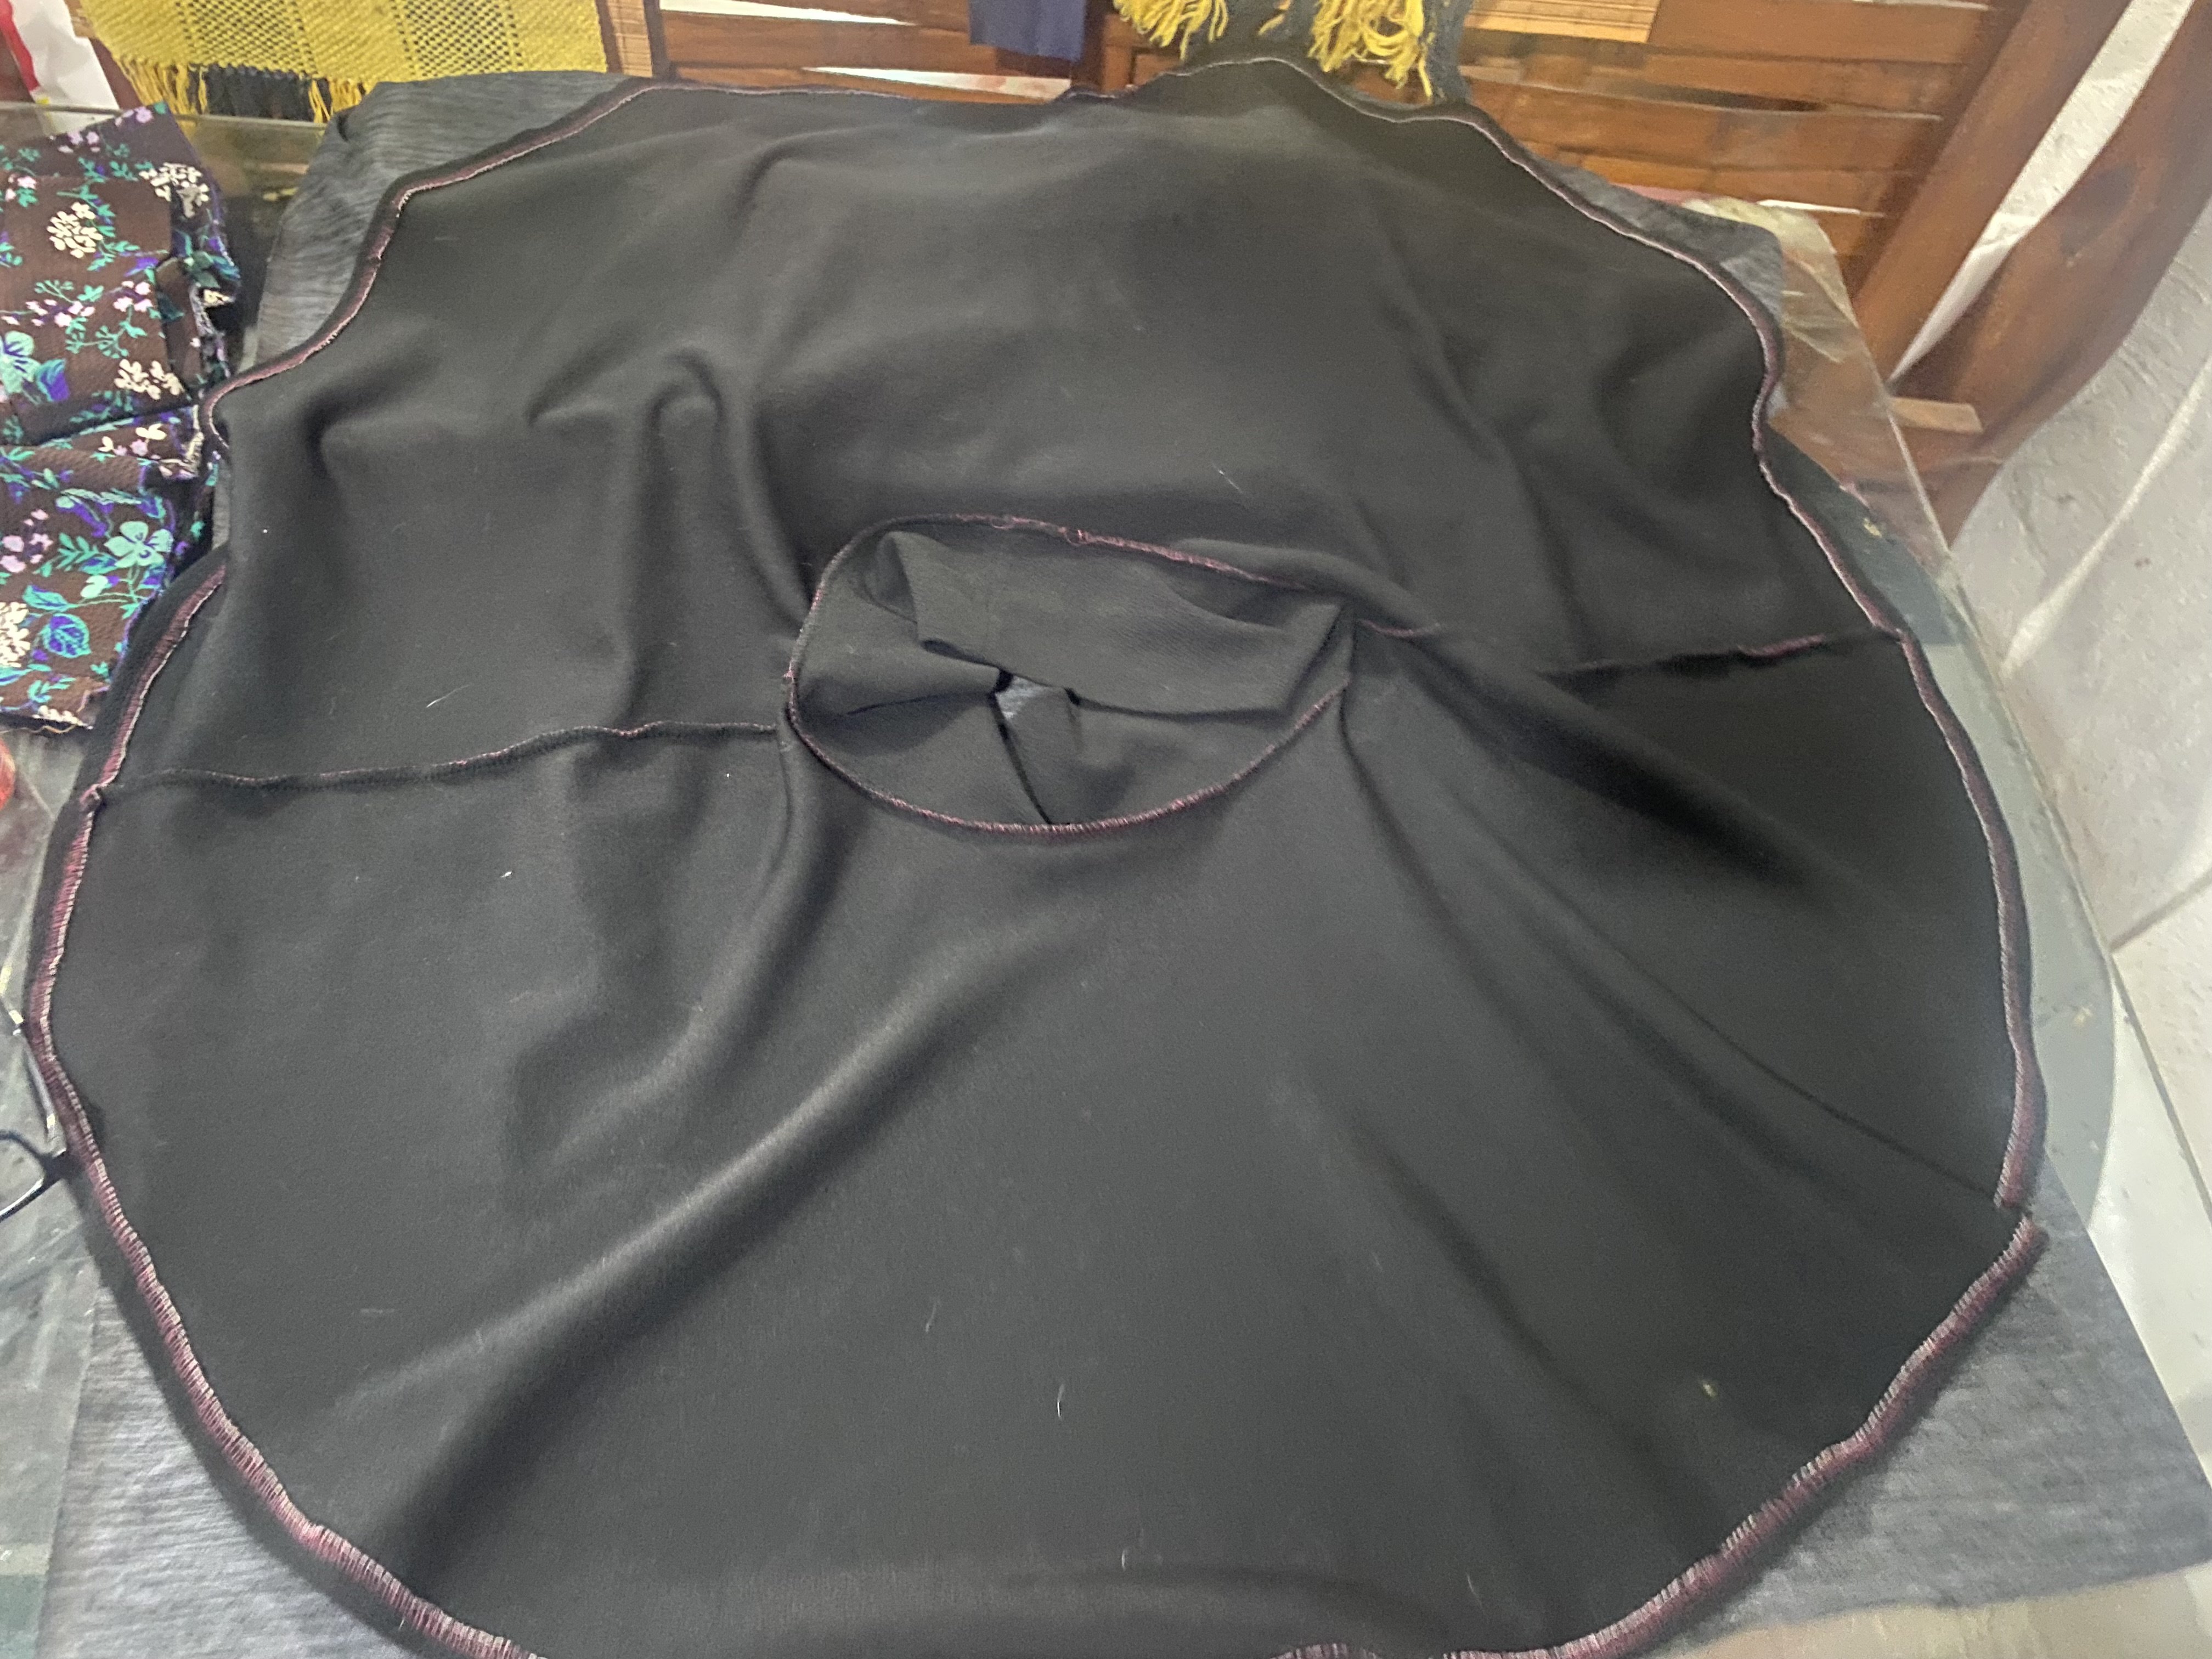
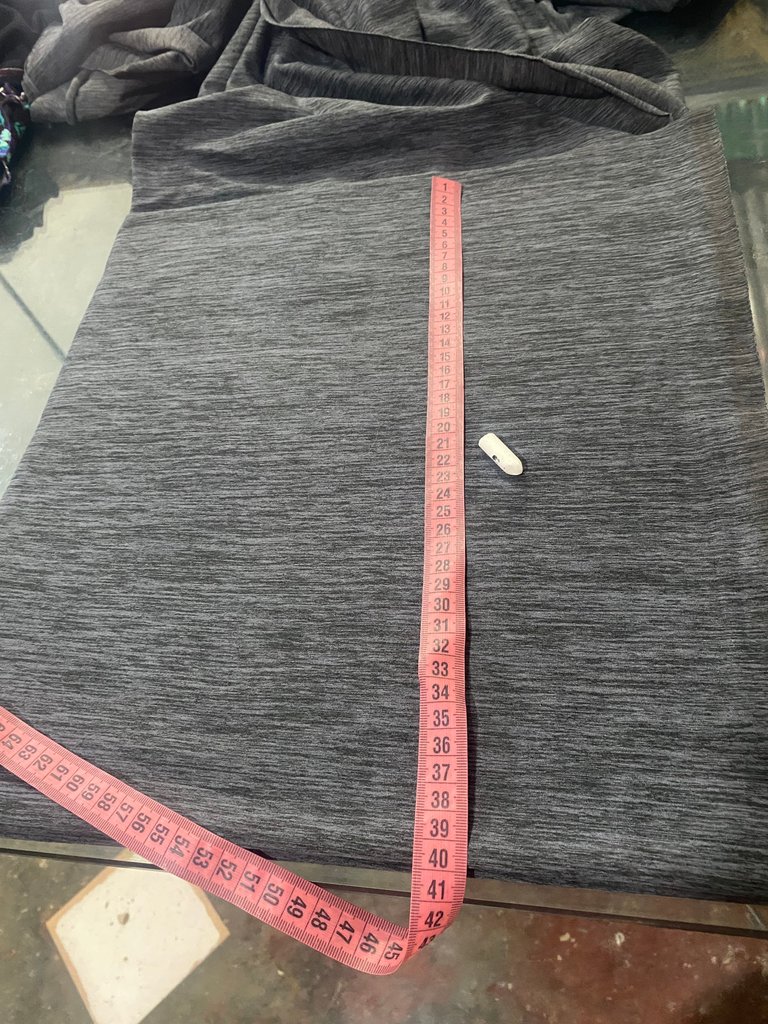
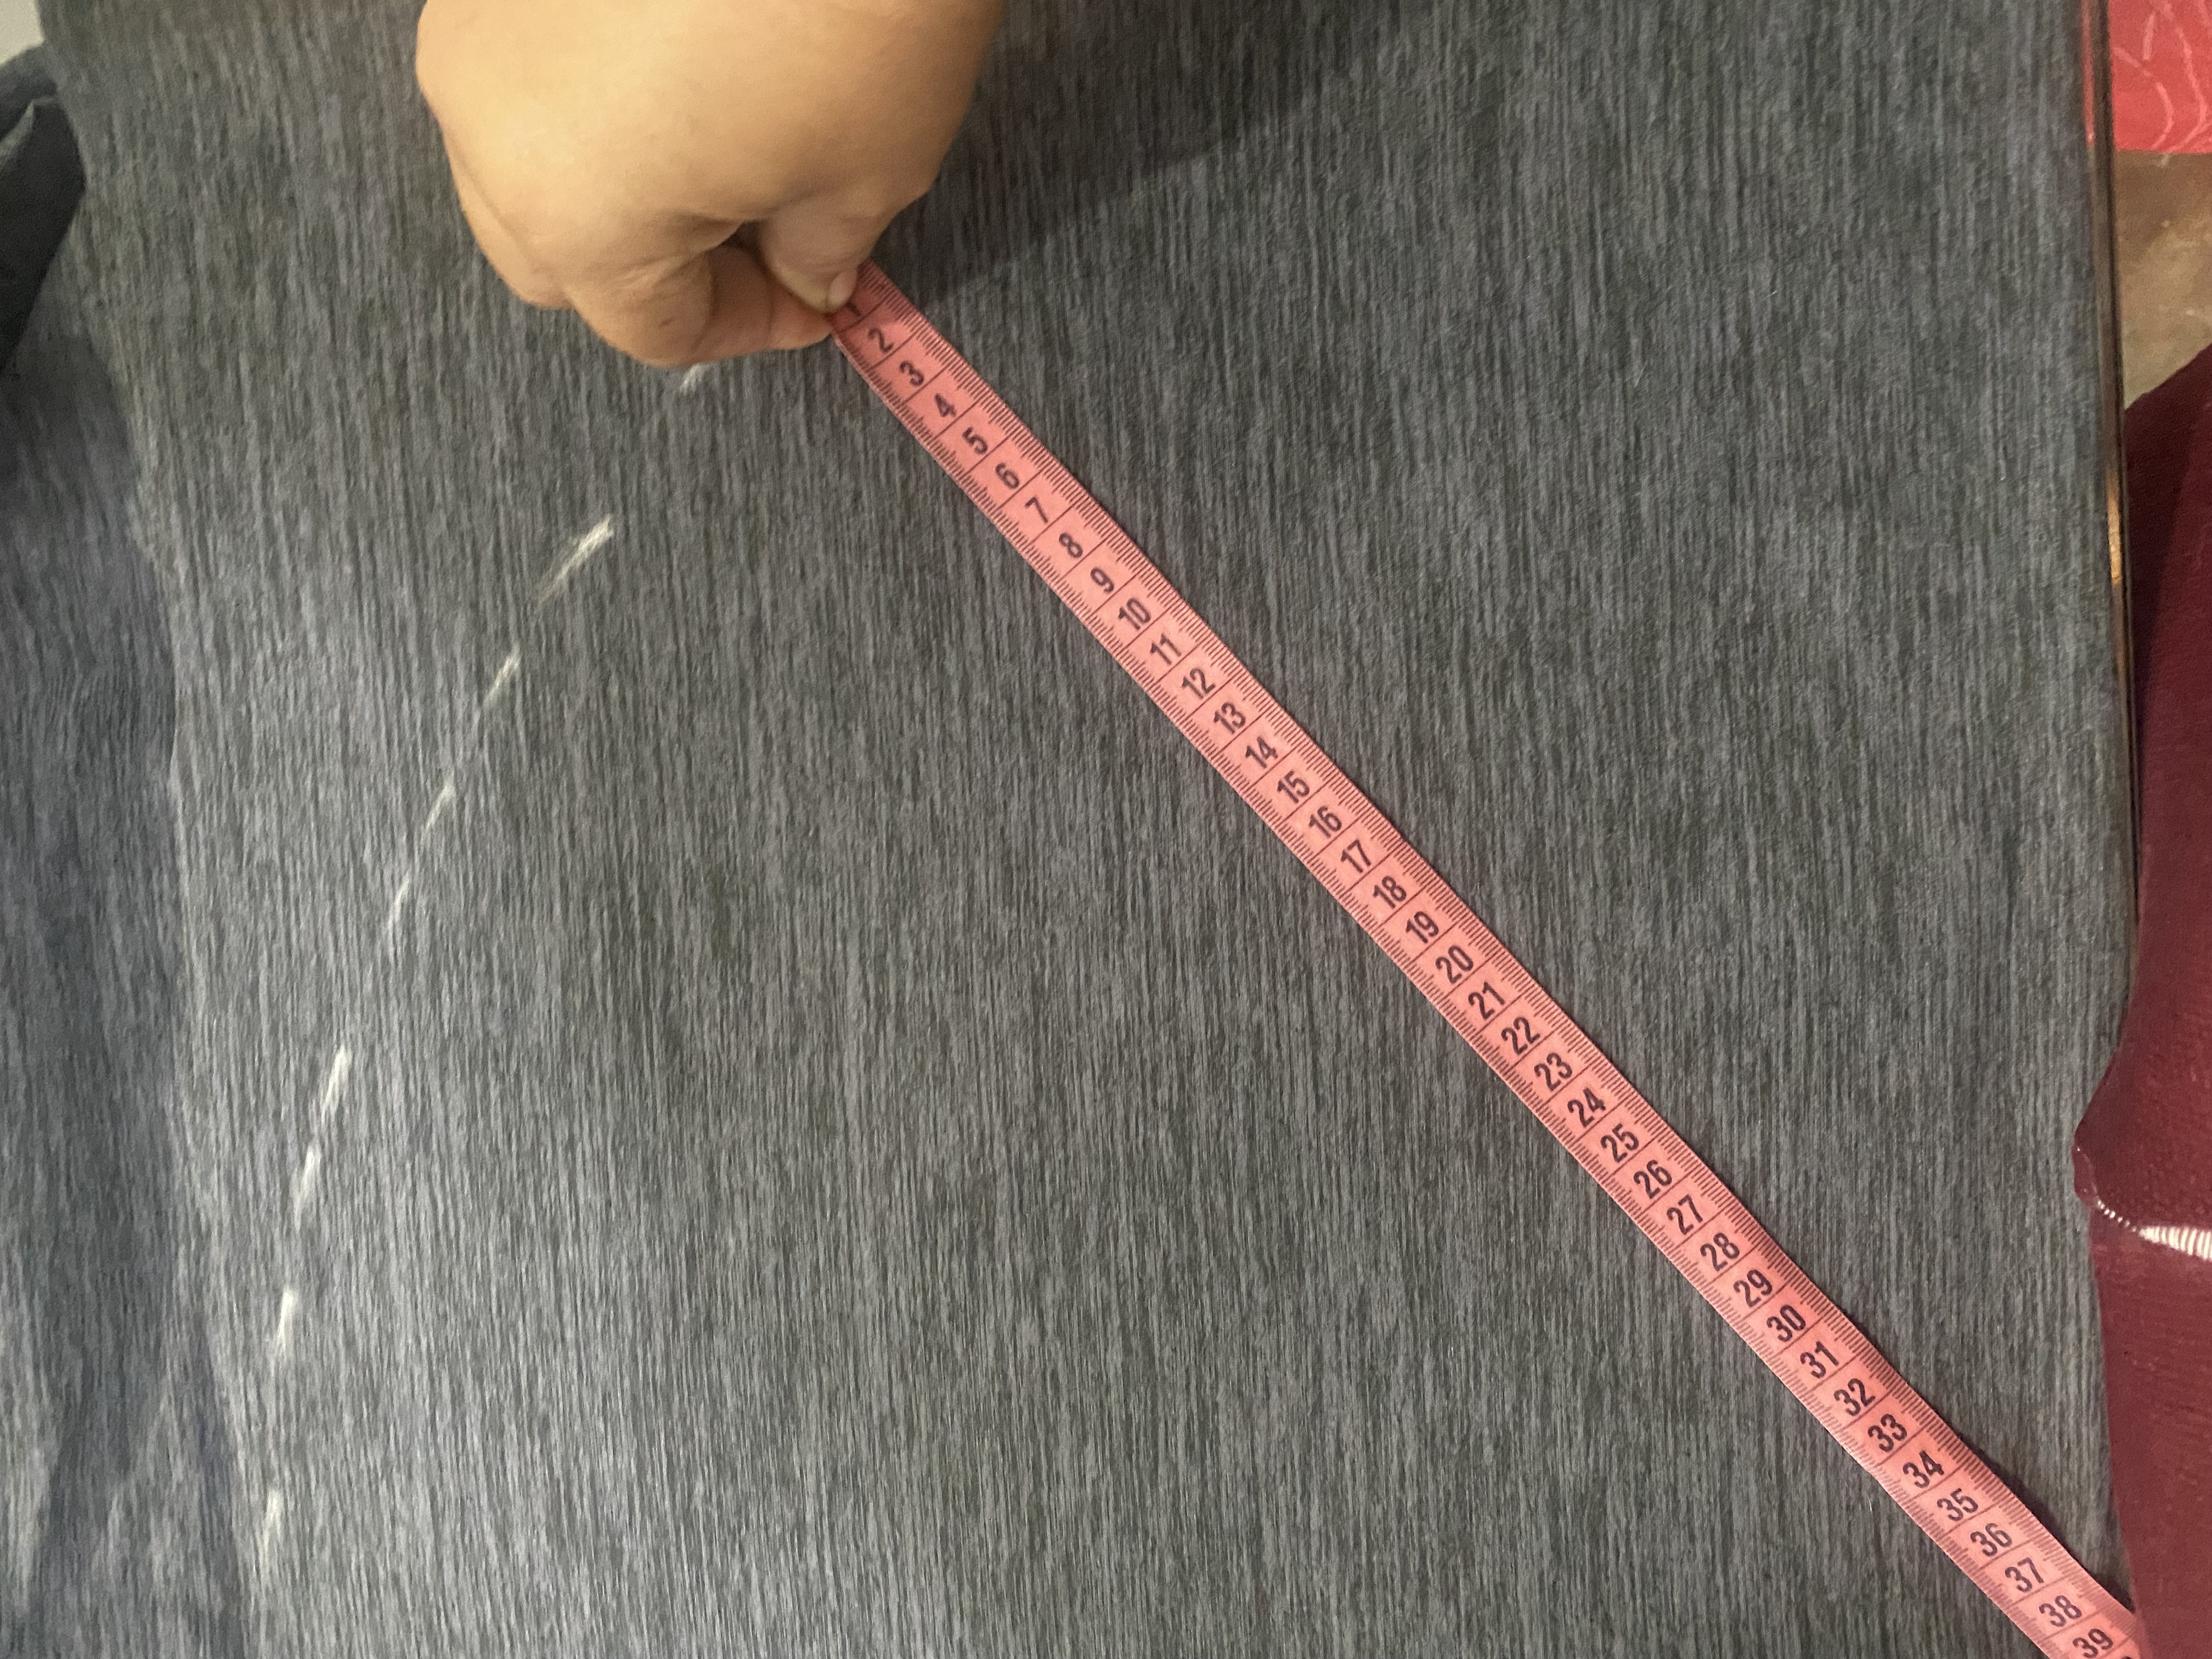
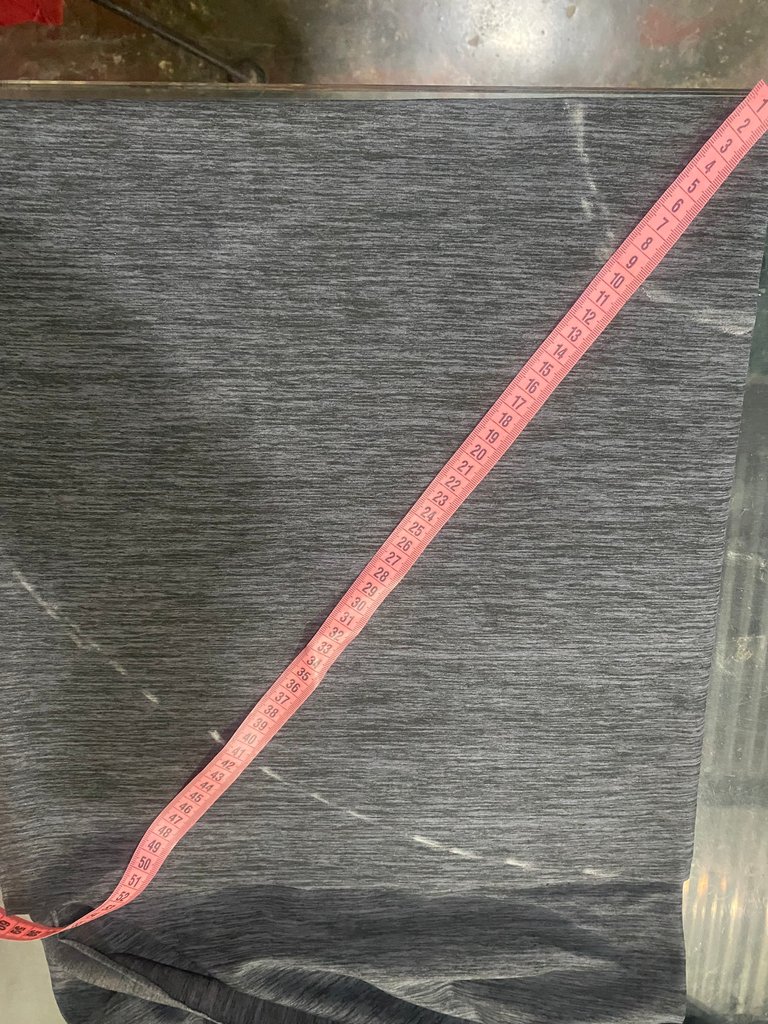
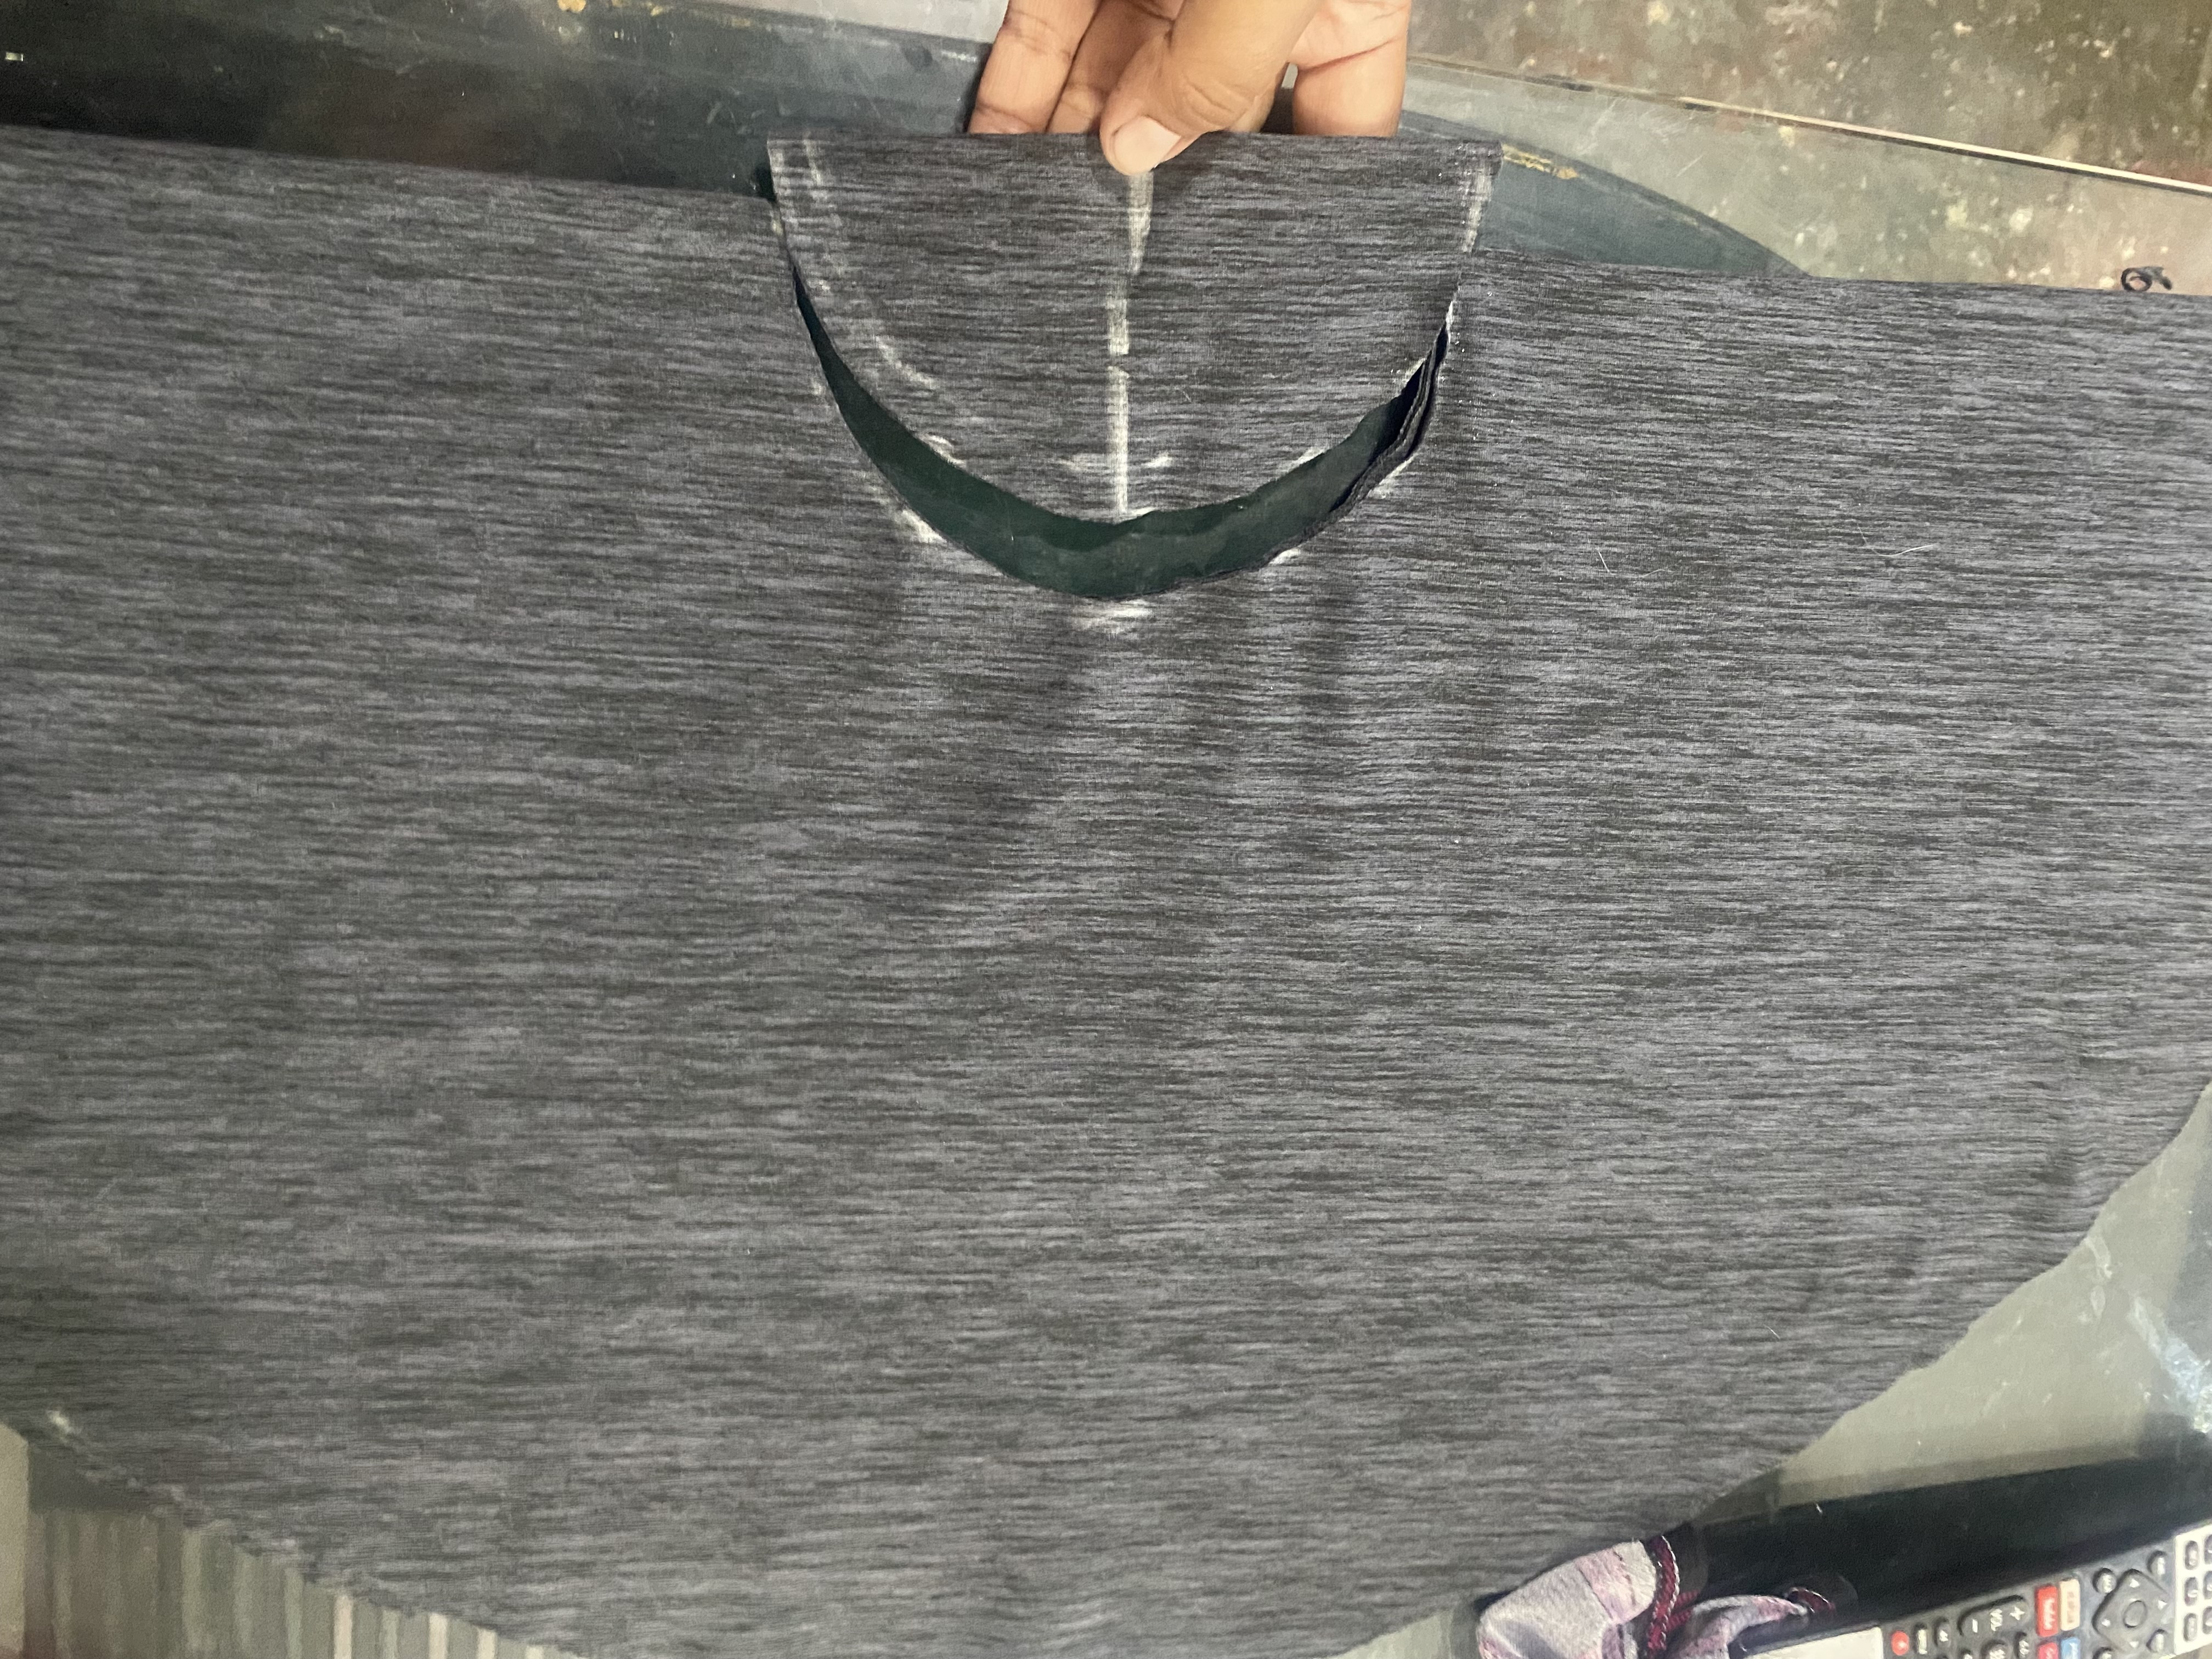
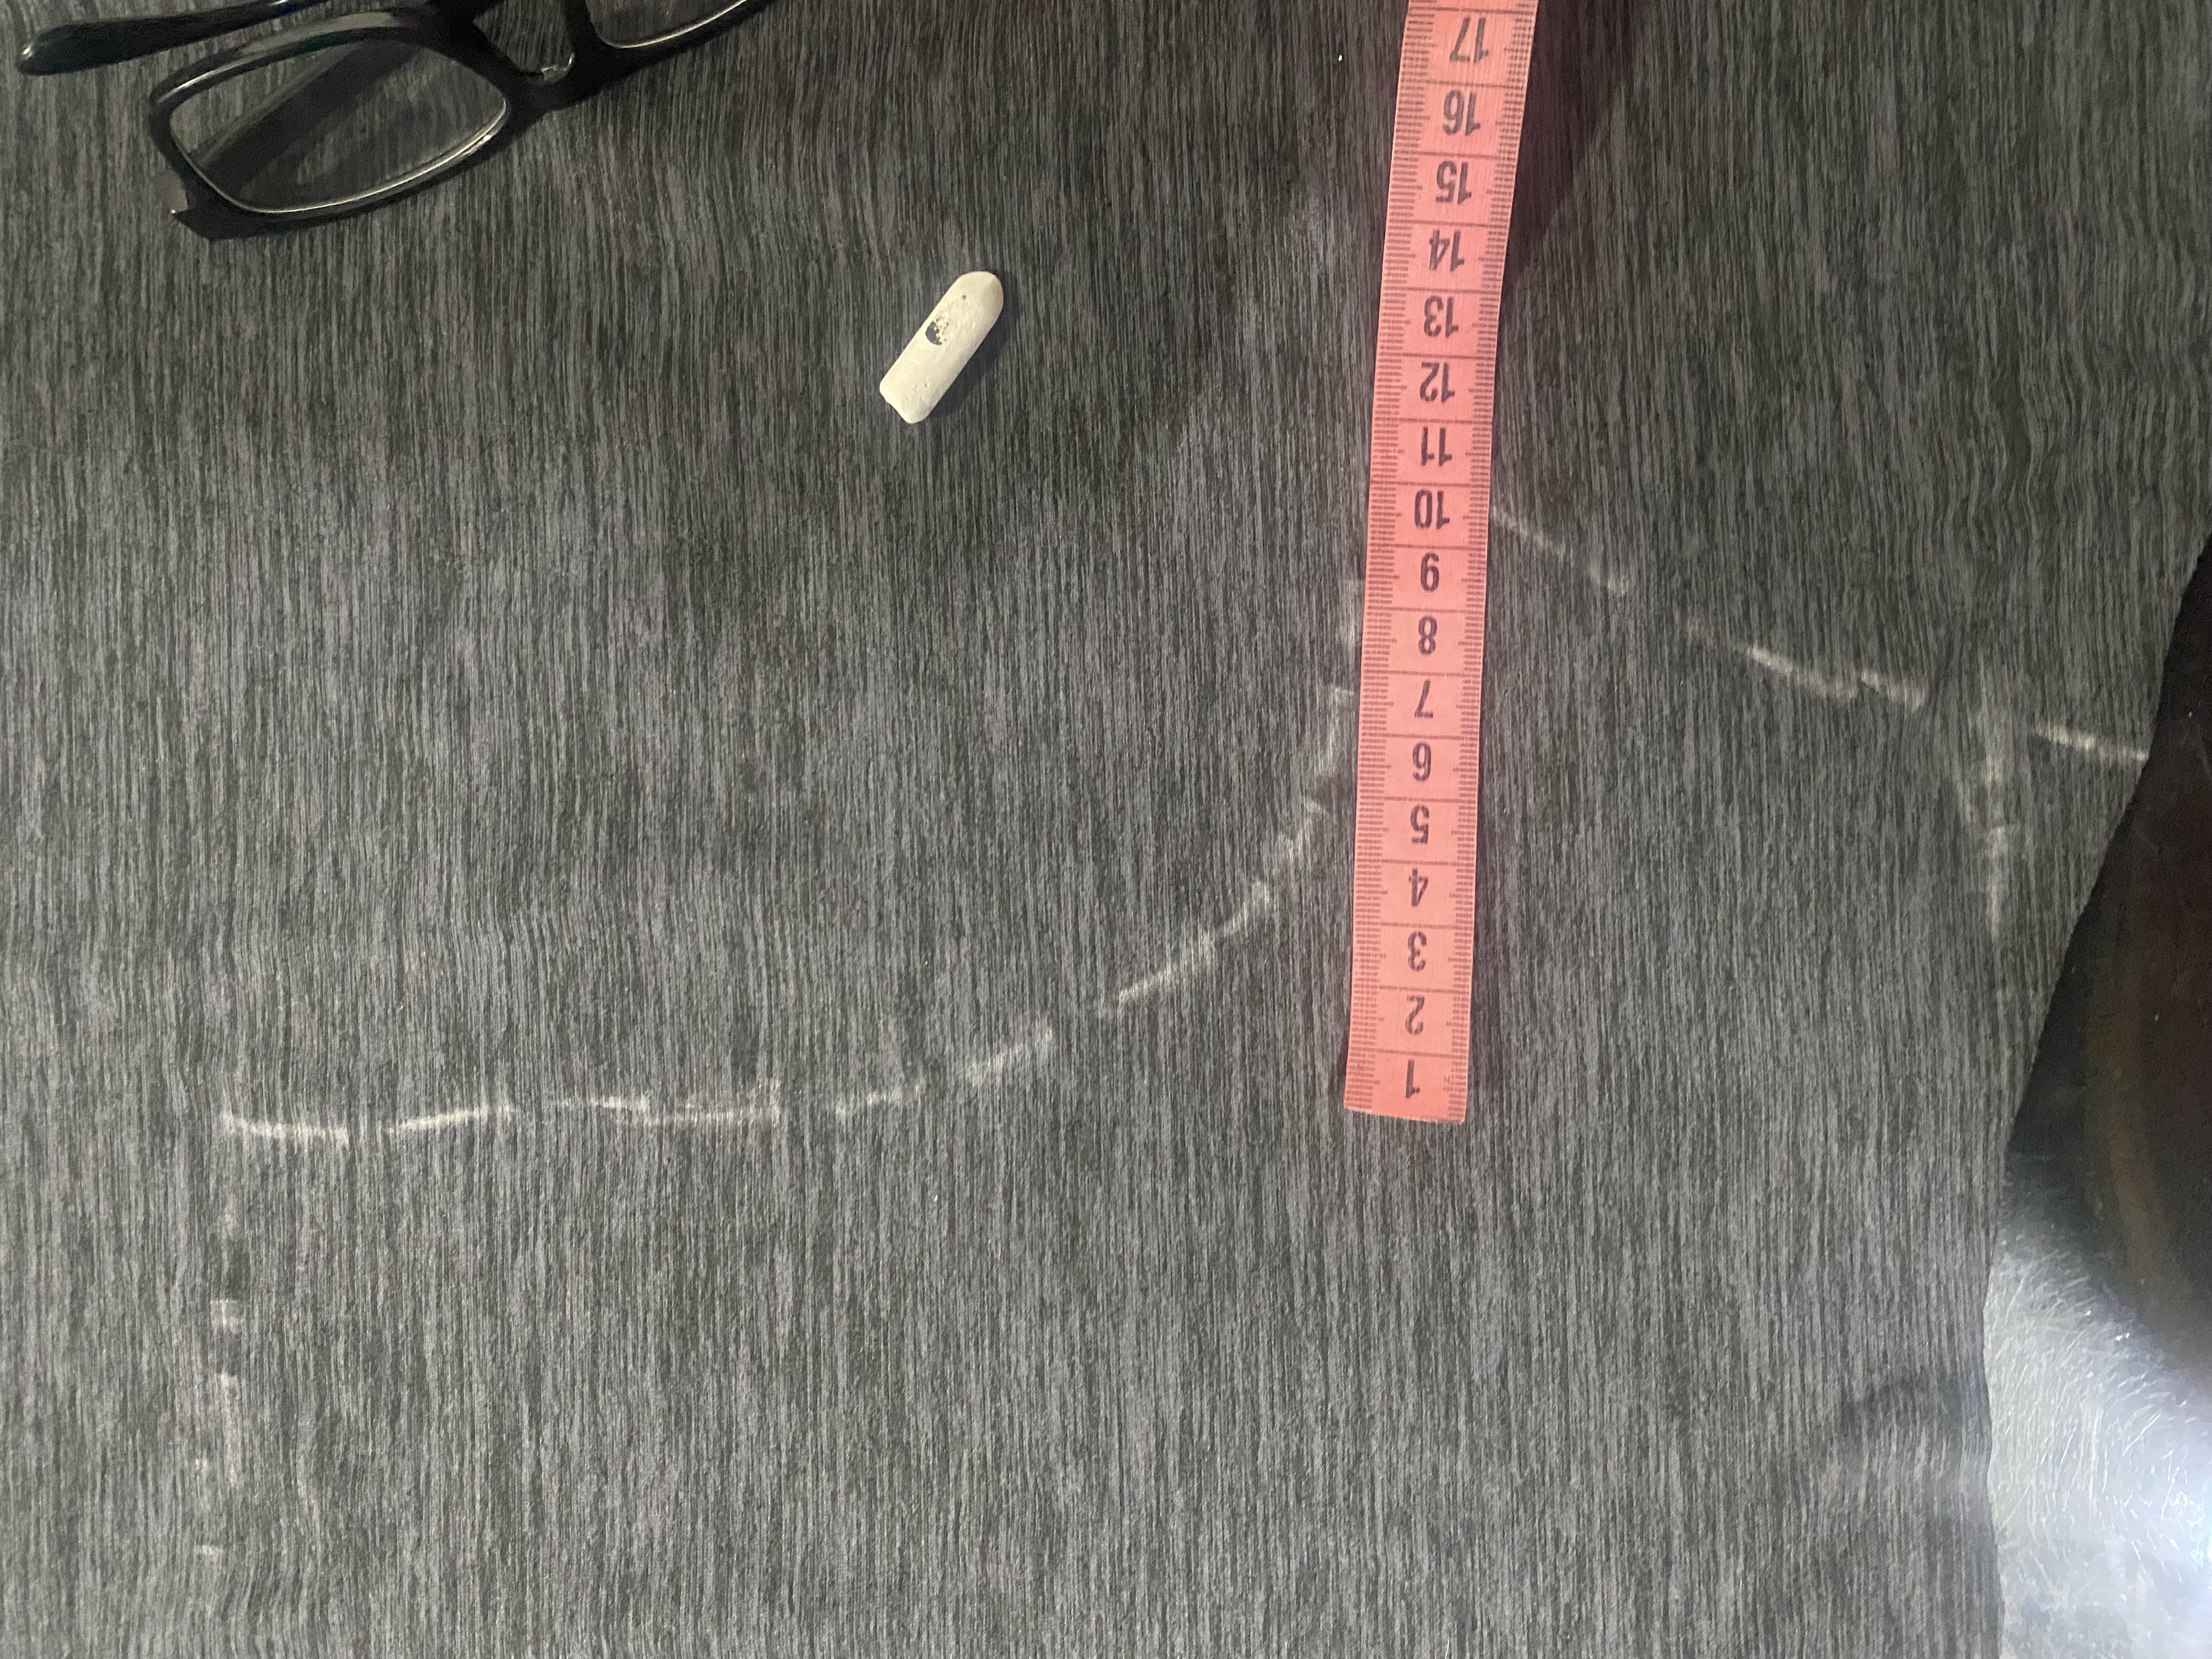
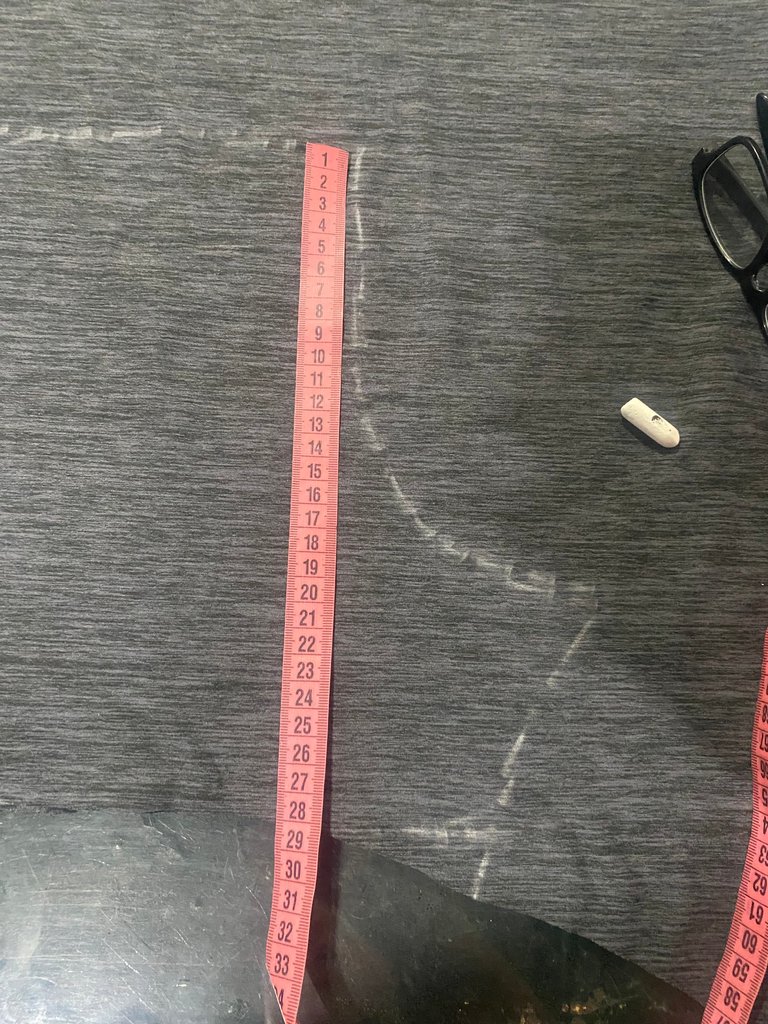
La falda la voy a dibujar directamente sobre la tela, doblaremos la tela en cuatro partes a la mitad y luego nuevamente a la mitad ocupando un espacio aproximado de 40 cm formando como un cuadrado, Ayudándonos con la cinta métrica dibujamos un semi círculo guiándonos con la medida de 40 cm, así haremos la circunferencia para la orilla de la falda, para la cintura hacemos otro semi círculos de aproximadamente 7cm, en mi imagen les muestro como debe quedar.
I am going to draw the skirt directly on the fabric, we will fold the fabric in four parts in half and then in half again, occupying an approximate space of 40 cm, forming a square. Using the measuring tape, we draw a semi-circle, guiding ourselves with the measurement of 40 cm. This will make the circumference for the edge of the skirt. For the waist, we will make another semi-circle of approximately 7 cm. In my image I show you how it should look.
 |  |
|---|---|
 |  |
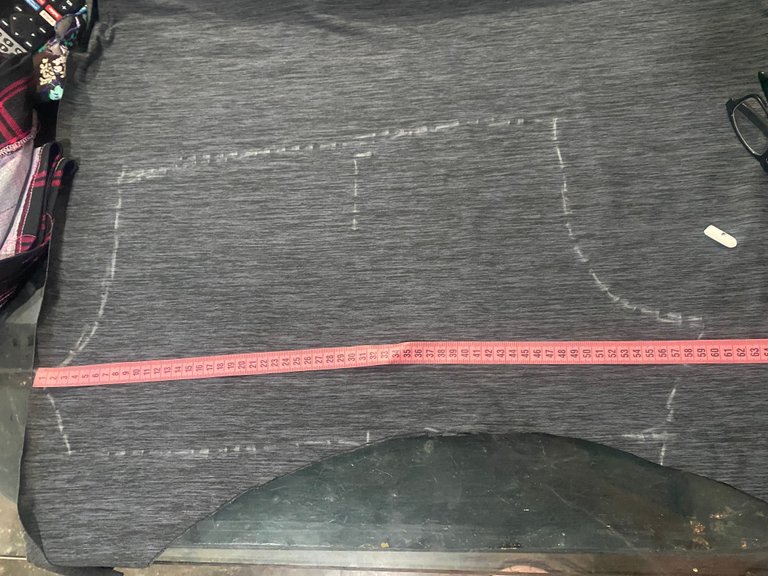
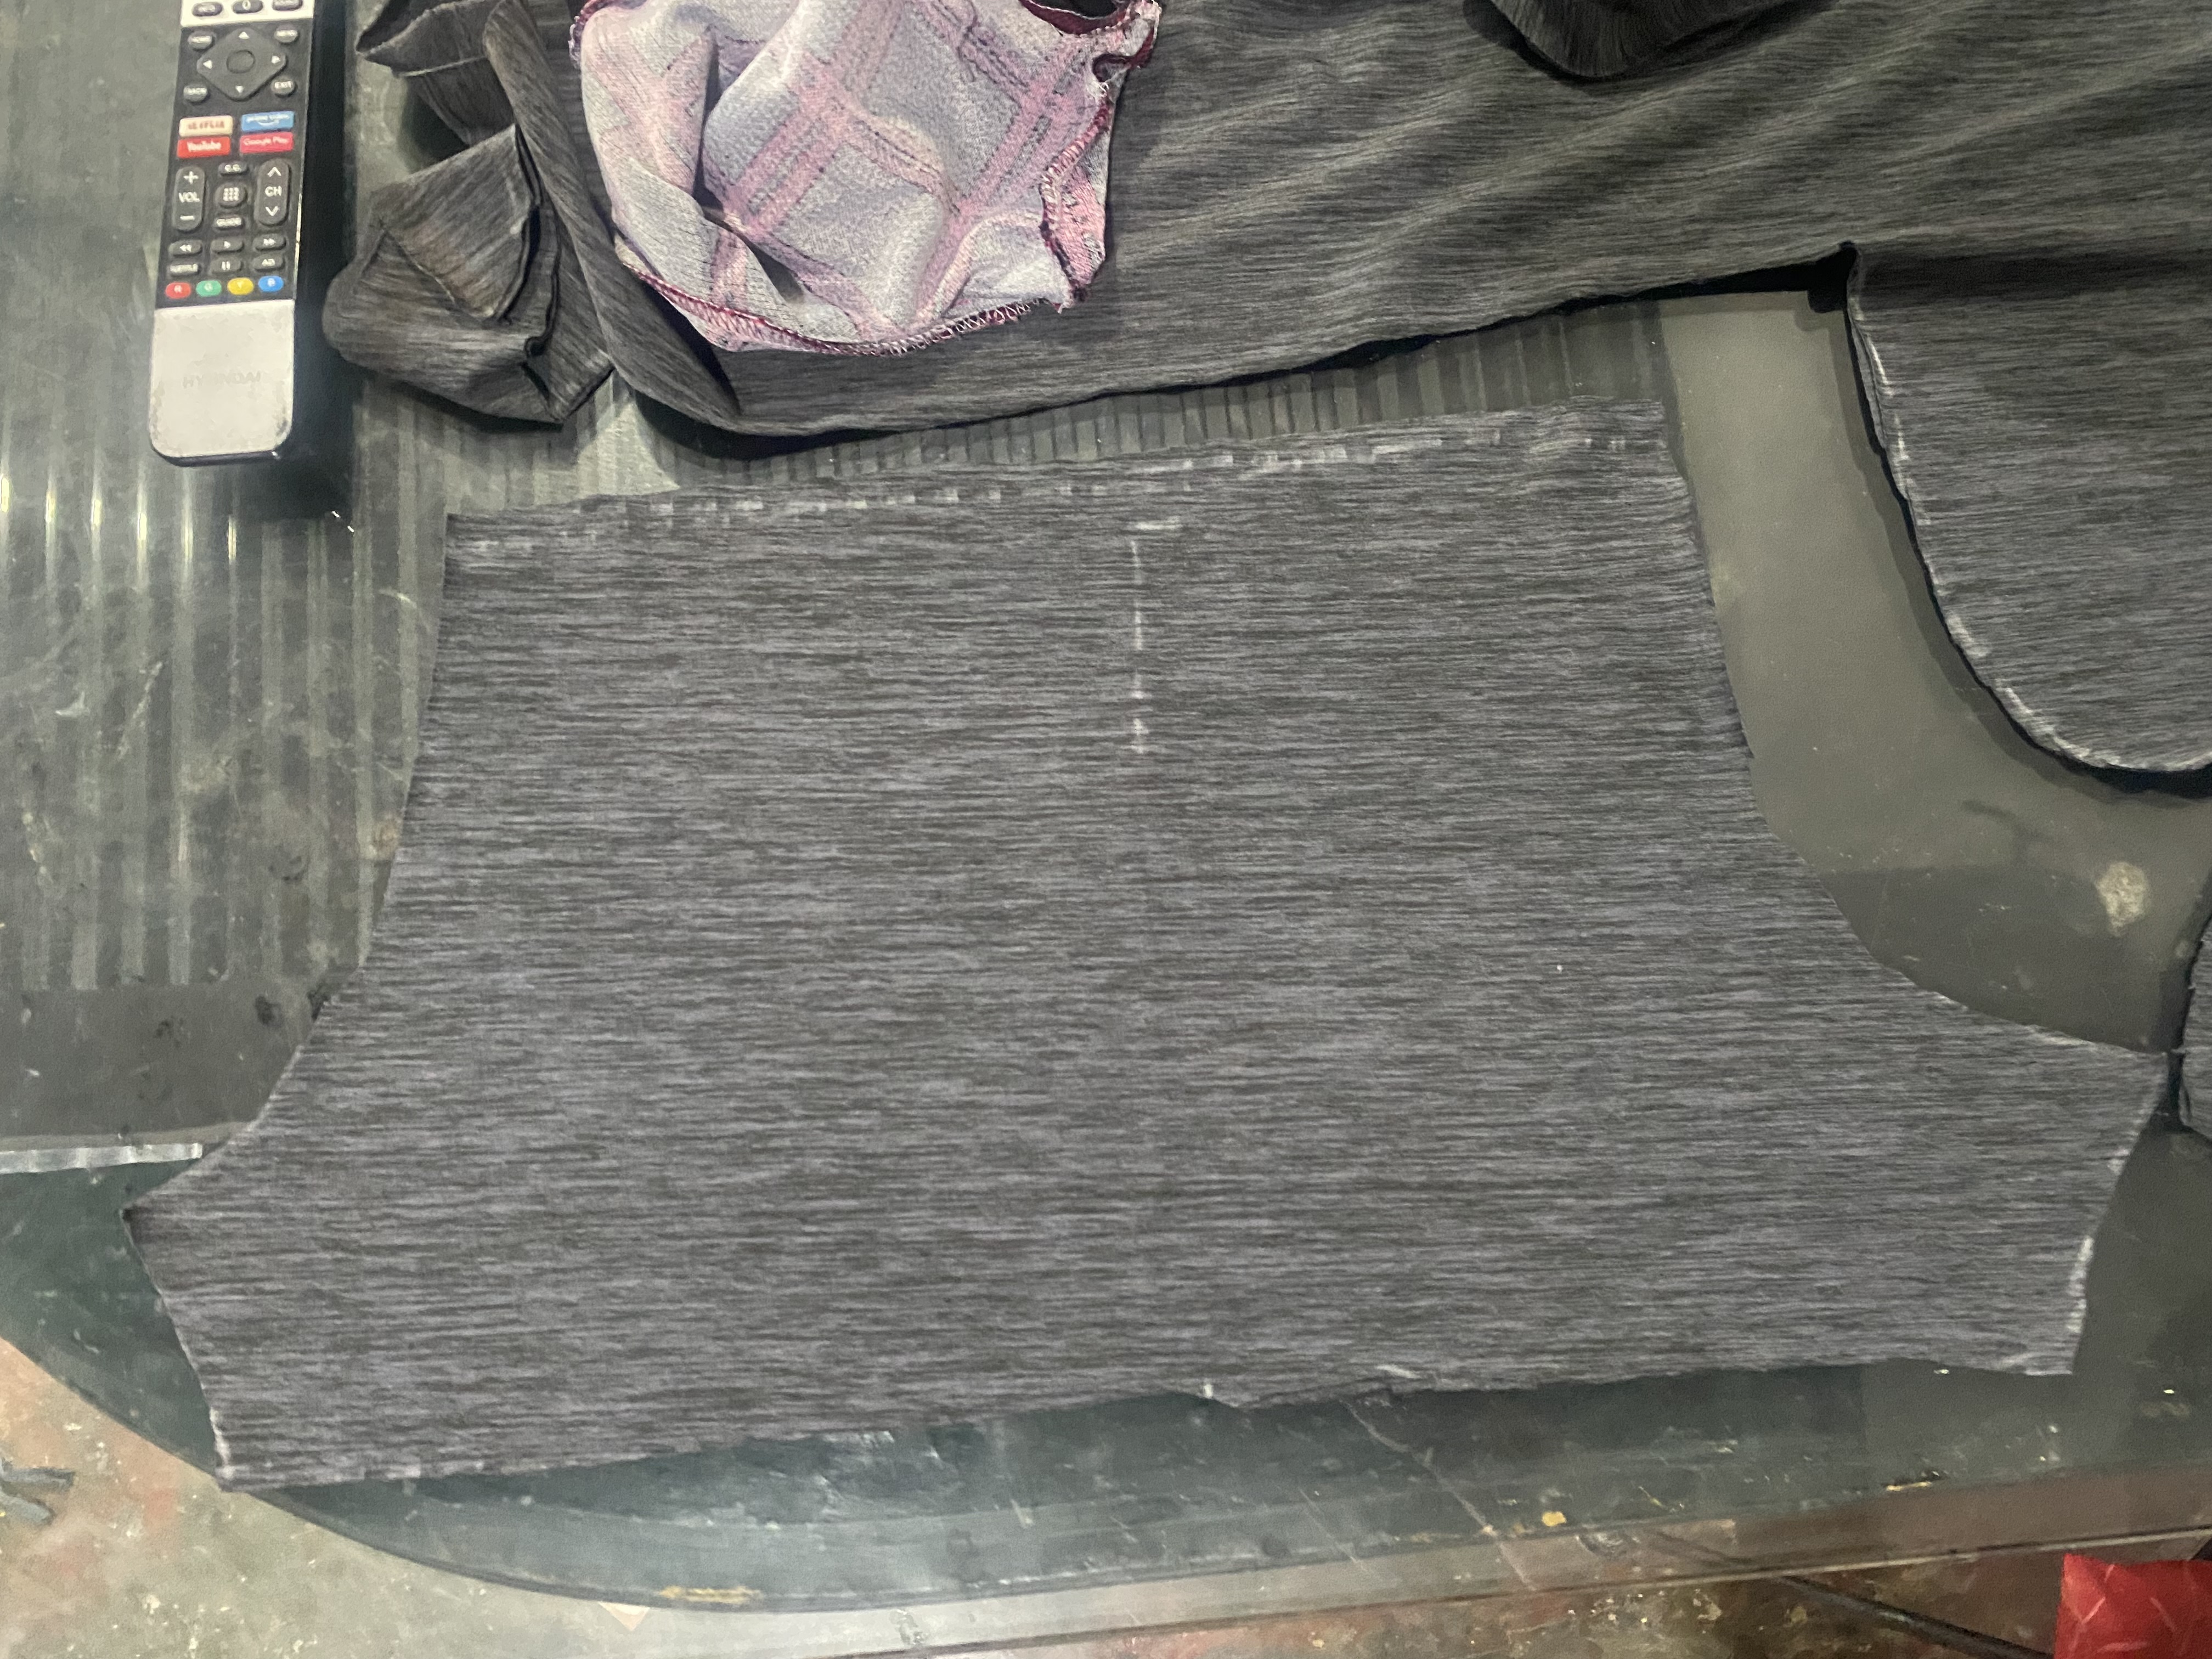
Para dibujar el Short acá te dejo las medidas que yo utilizaré: de la punta de fundillo delantero a fundillo trasero seran 59 cm, en el ruedo una distancia de 52 cm y en la cintura 42 cm, en la parte trasera tiene un elevación de 29 cm con una distancia de 10 cm que sería lo ancho del fundillo
To draw the Shorts here are the measurements that I will use: from the tip of the front seam to the back seam it will be 59 cm, at the hem a distance of 52 cm and at the waist 42 cm, at the back it has a rise of 29 cm with a distance of 10 cm which would be the width of the seam.
 |  |
|---|---|
 |  |
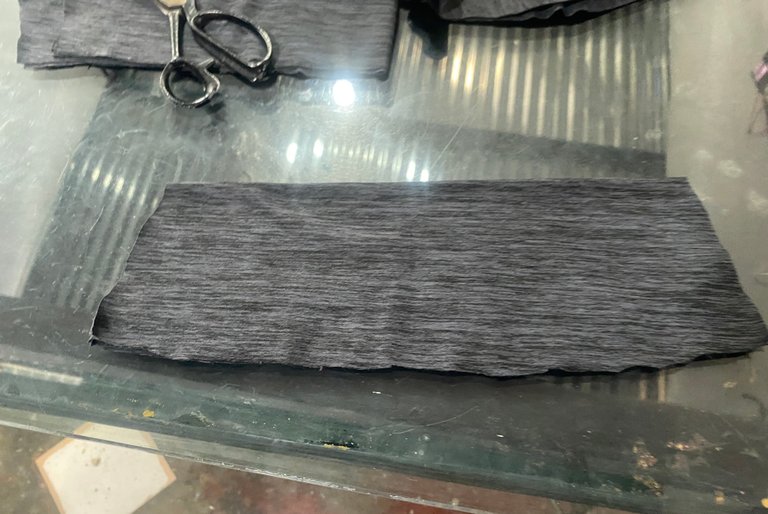
La cintura de la falda la cortaremos en dos partes doblaremos la tela a la mitad de 10 cm de alta, cortando en los extremos en diagonal dejando un espacio de 2 cm, el ancho de la cintura la cortaremos acorde al ancho de nuestra falda en mi caso mide 32 centímetros en la parte superior y 36 cm en la inferior (en el ruedo)
We will cut the waist of the skirt in two parts, we will fold the fabric in half 10 cm high, cutting the ends diagonally leaving a space of 2 cm, the width of the waist will be cut according to the width of our skirt, in my case it measures 32 centimeters at the top and 36 cm at the bottom (at the hem)
Ahora vamos al ensamblaje de esta linda falda, comenzaremos uniendo por los costados las dos piezas de la cintura, le pasamos costura en ambos extremos, en mi imagen te muestro como debe quedar
Now we are going to assemble this pretty skirt, we will start by joining the two waist pieces on the sides, we will sew at both ends, in my image I show you how it should look

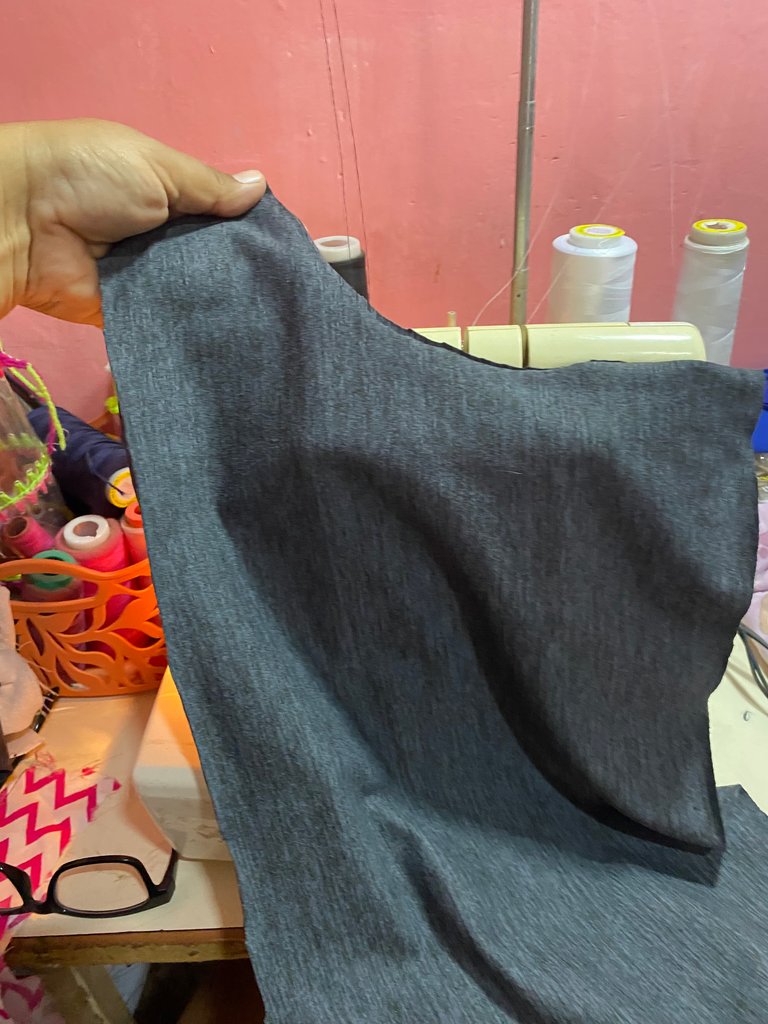
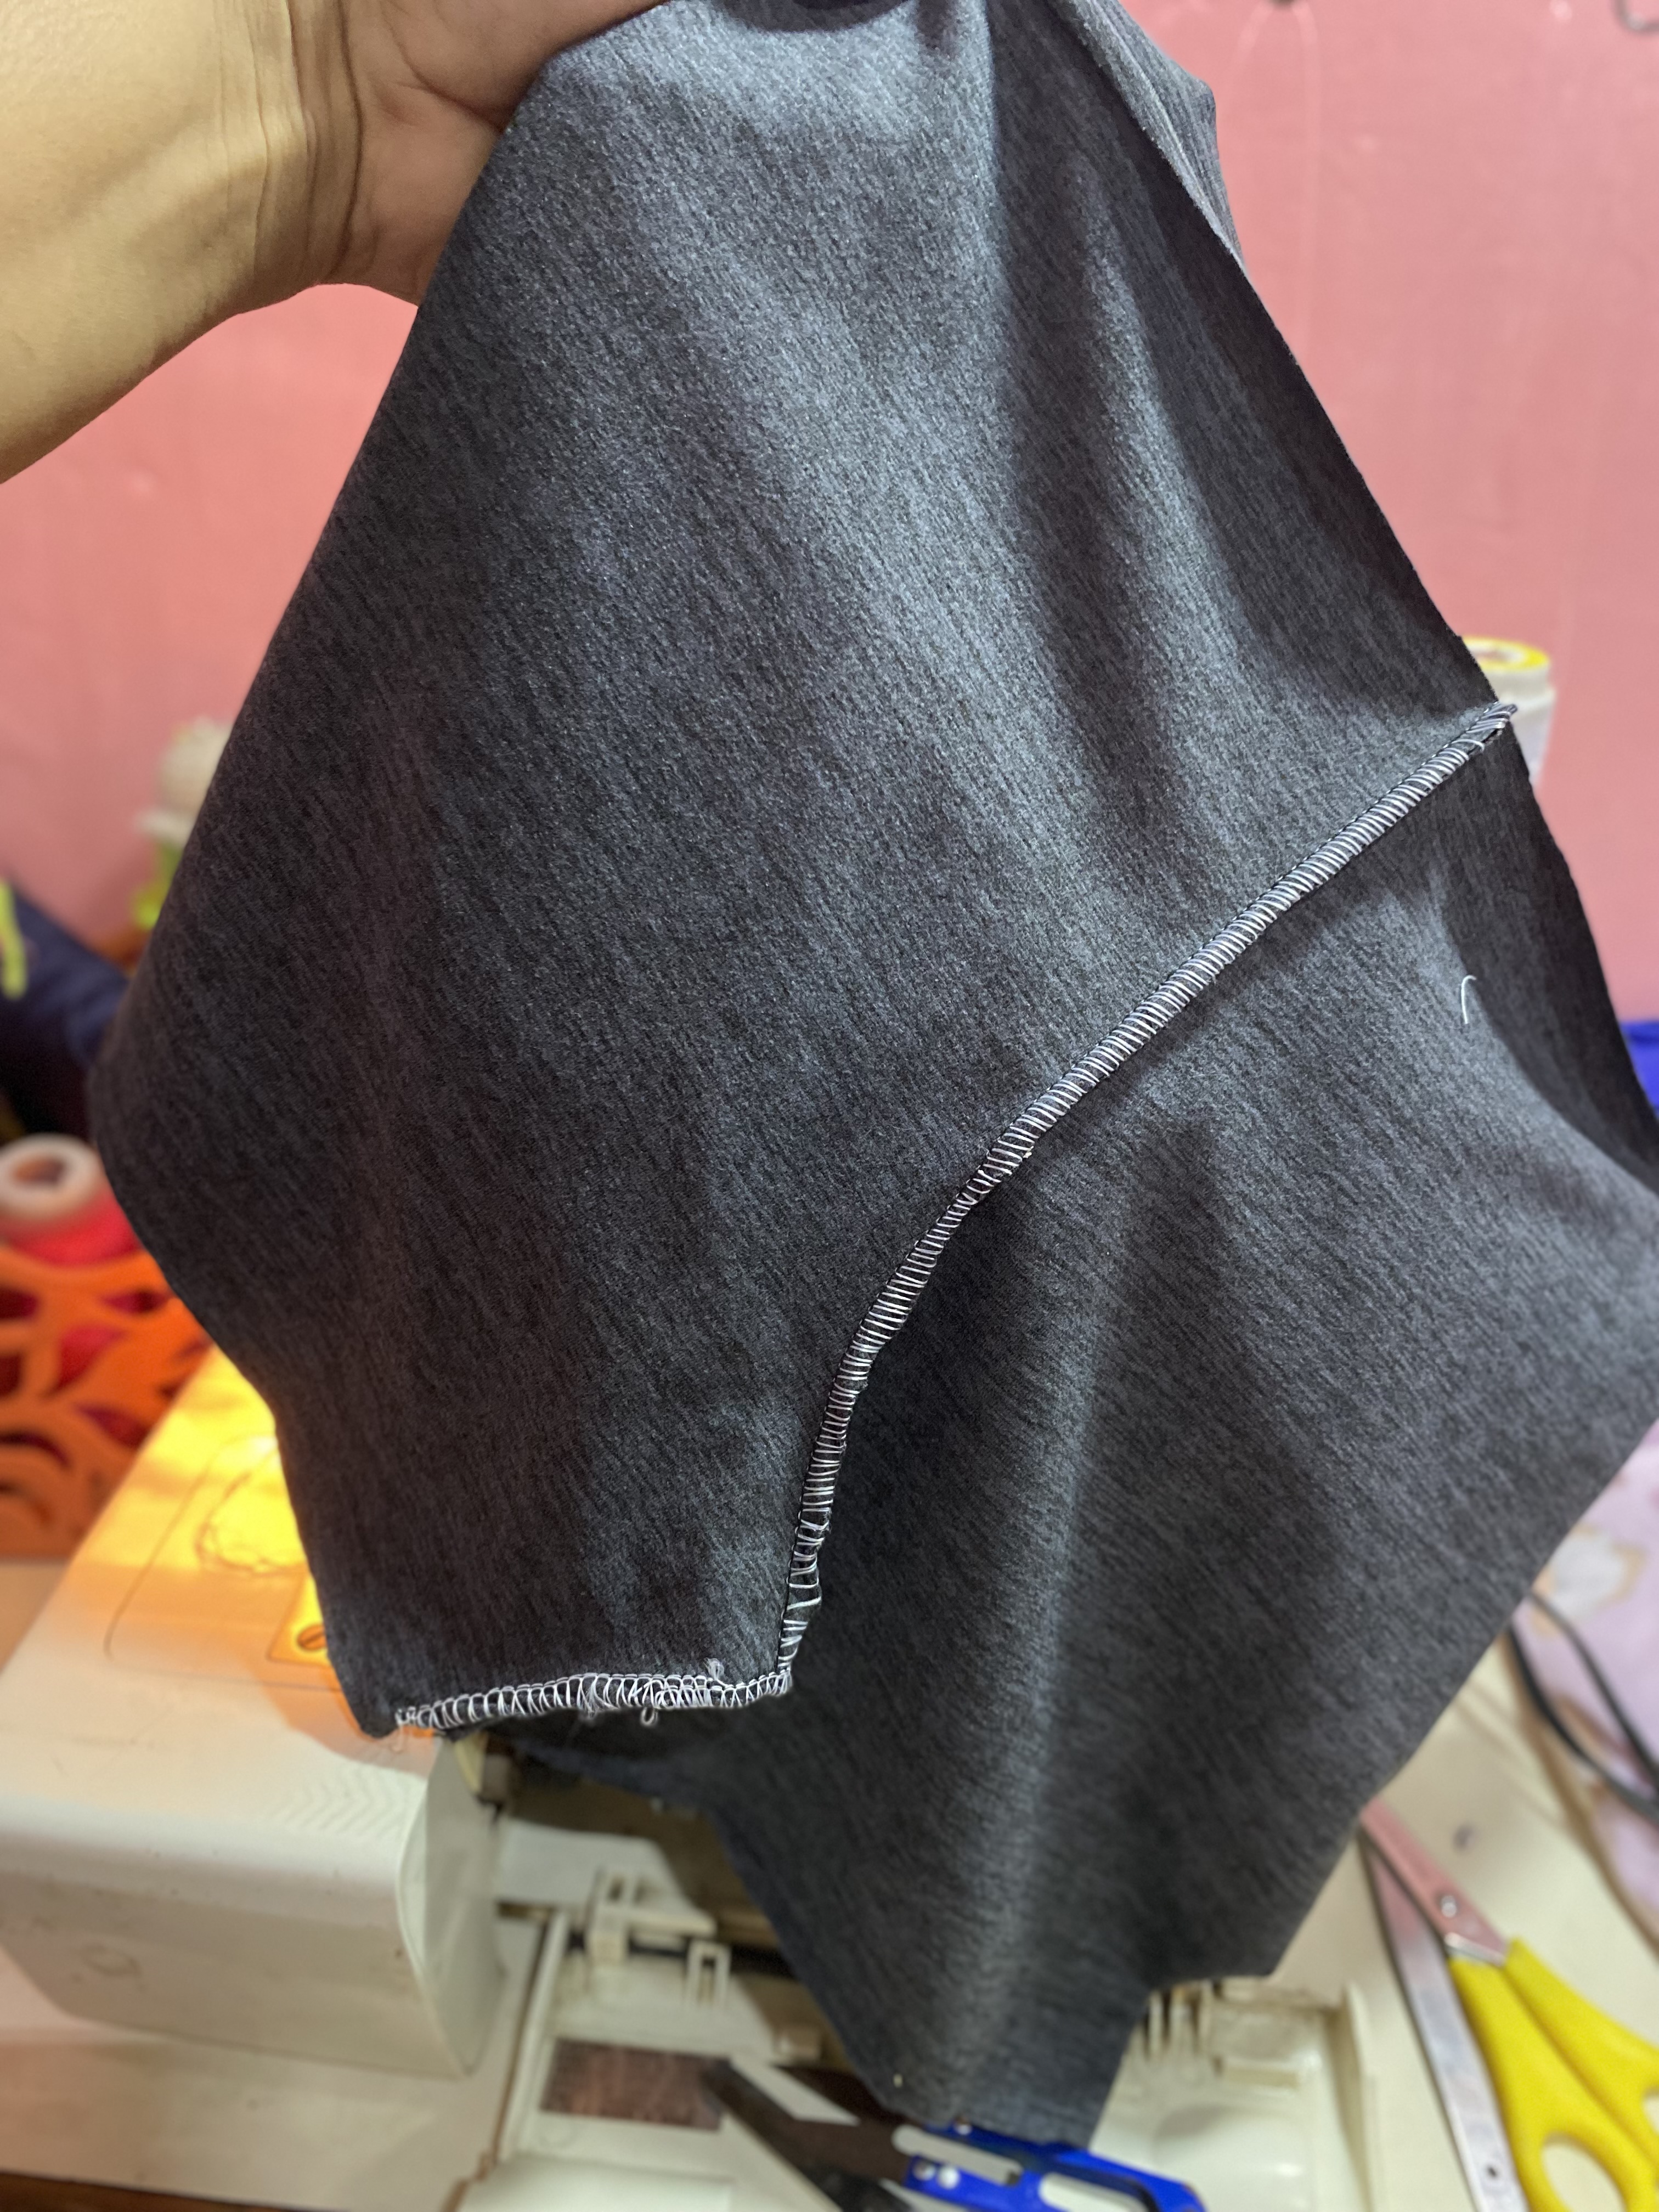
Continuaremos cosiendo el Short de nuestra falda, le pasaremos costura en los tiros delanteros y traseros, luego unimos en la parte inferior o entrepierna
We will continue sewing the shorts of our skirt, we will sew the front and back hems, then we will join at the bottom or crotch.
 |  |
|---|
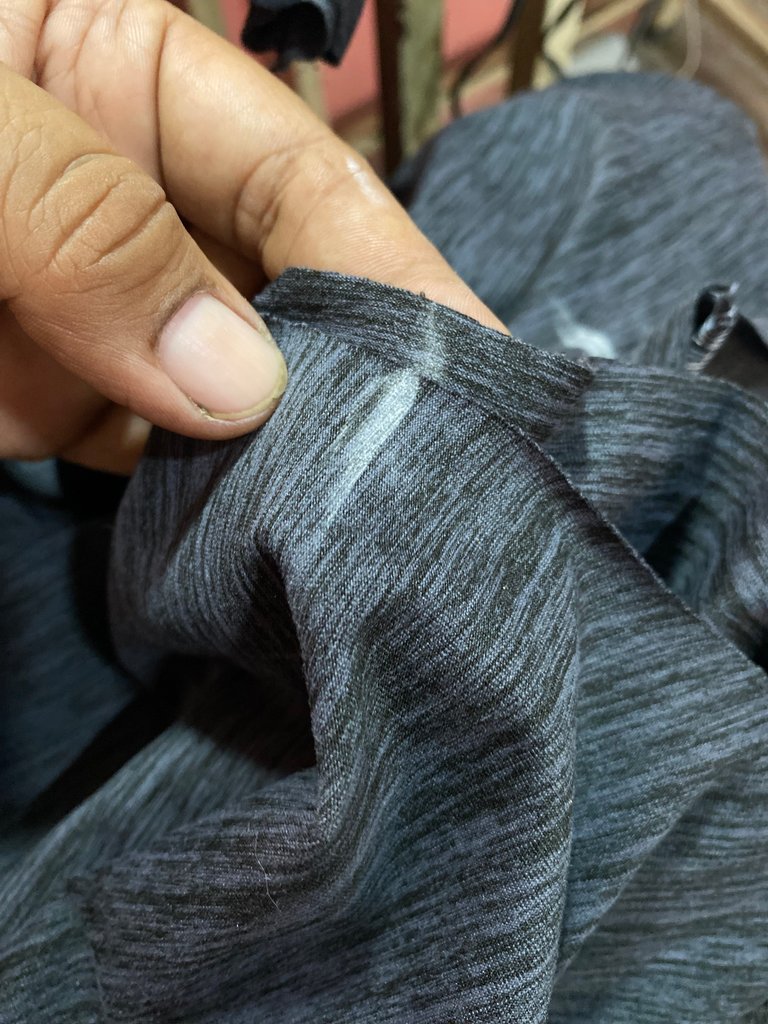
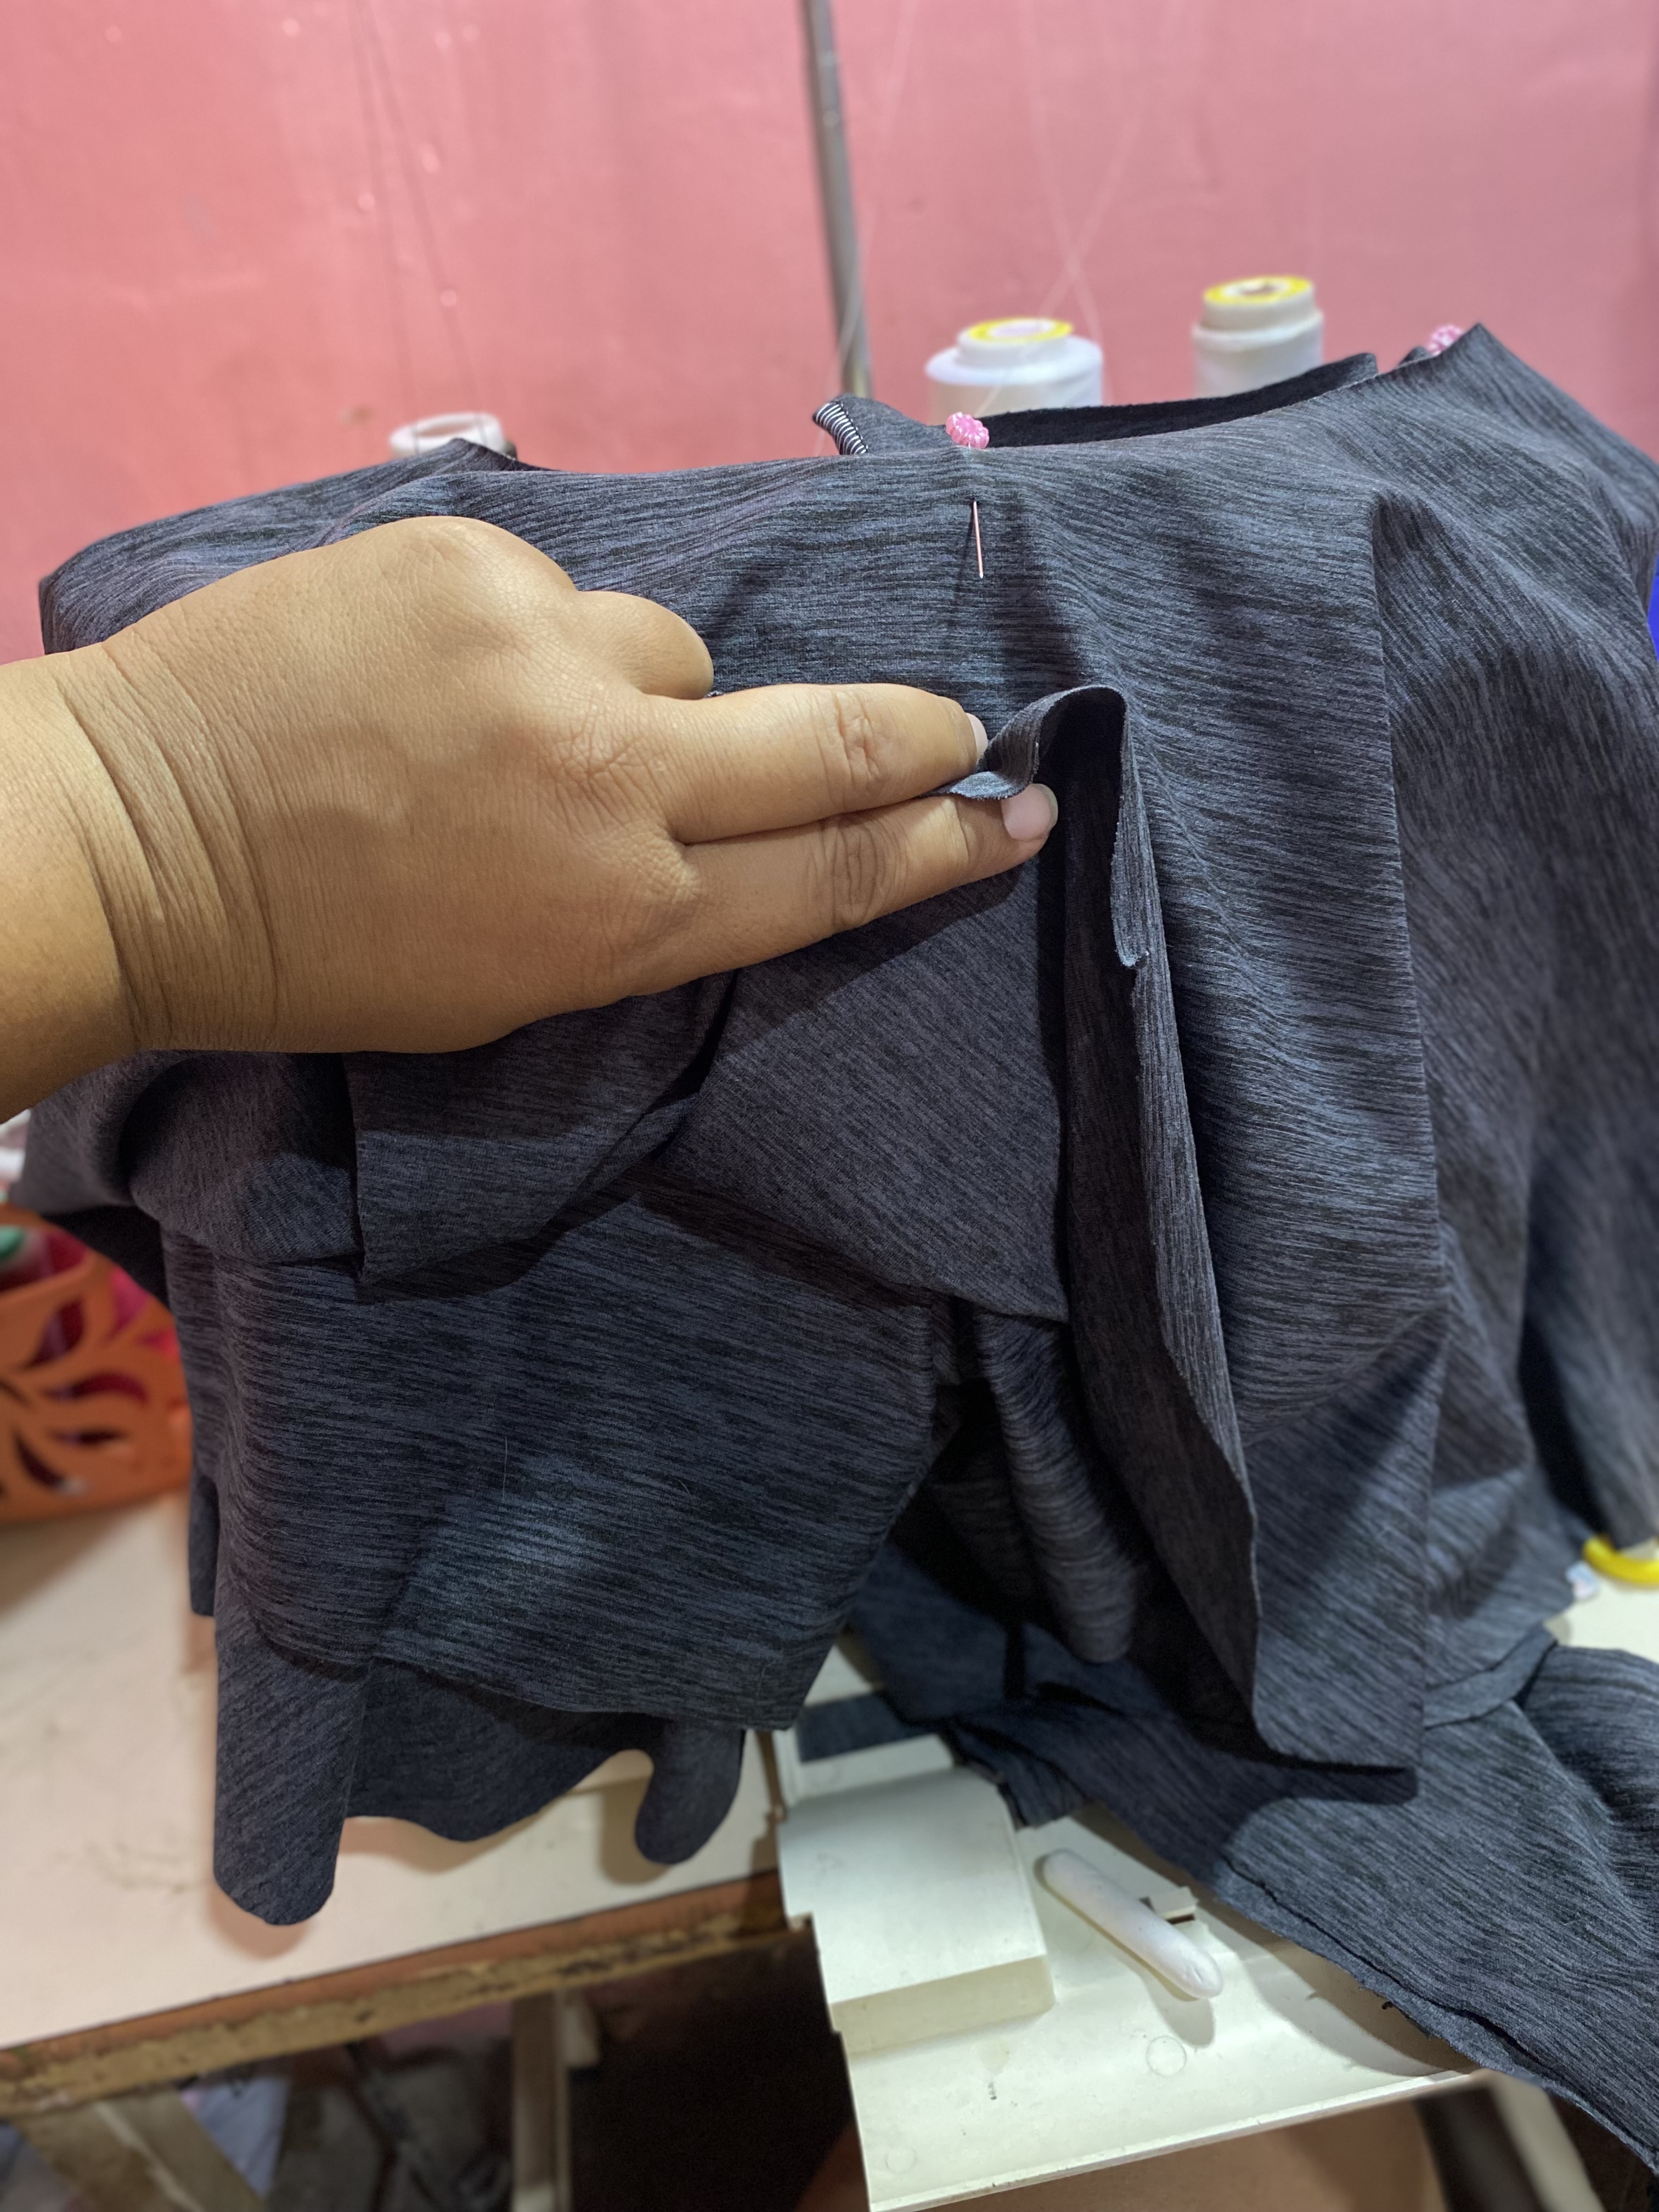
Luego vamos a unir nuestras tres piezas, la cintura, la falda y el Short, colocaremos primero el Short, por encima le colocamos la falda marcamos previamente en 4 partes para poder colocar a la medida justa en nuestro Short, luego colocamos la cintura con la parte más ancha con nuestra falda, igual vamos a hacer marcas para guiarnos y que todo nos quede bien
Then we are going to join our three pieces, the waist, the skirt and the shorts, we will place the shorts first, on top we place the skirt we previously marked in 4 parts to be able to place the right measurement on our shorts, then we place the waist with the widest part with our skirt, we are also going to make marks to guide us and so that everything fits us well.
 |  |
|---|
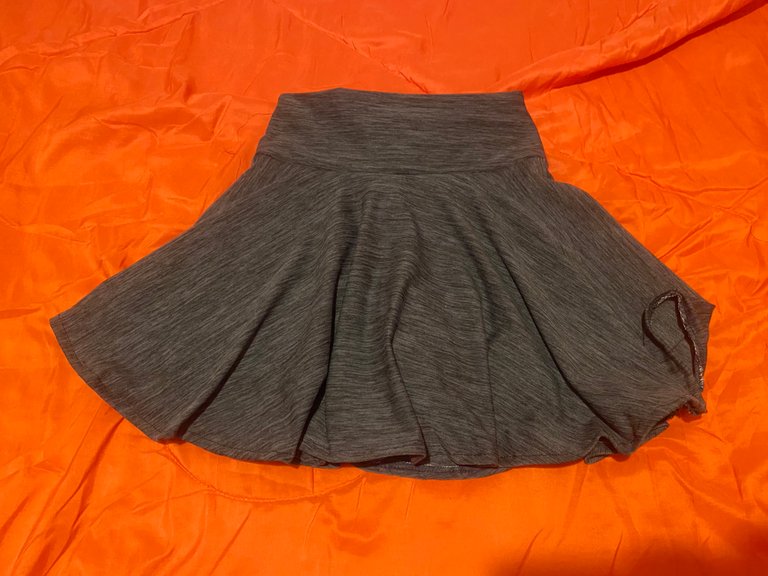
He visto este tipo de faldas en la calle que no les hacen ruedo, en mi caso quise hacérselo y me parece que se ve bien, pero igual se logra ver bien también sin ruedo, ya es a gusto de cada quien, y así está finalizada esta linda falda Short deportiva, espero les haya gustado esta tutorial
I have seen this type of skirts on the street that do not have a hem, in my case I wanted to do it and I think it looks good, but you can also look good without a hem, it is up to each person's taste, and this is how this beautiful sports short skirt is finished, I hope you liked this tutorial
 |  |
|---|---|
 |  |


 Follow