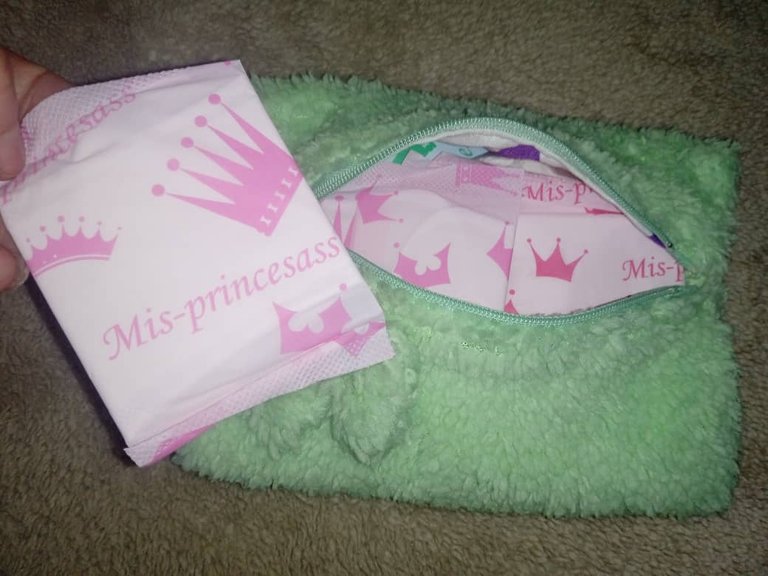
Hola estimados amigos de la comunidad de Needleworkmonday, es un gusto compartir mi nuevo proyecto con todos ustedes, para esta ocasión un hermoso bolsito multiusos con tela felpa Sherpa, muy parecida a la de peluche, es de textura muy suave como la lana, el bolsito lo hice para guardar toallas sanitarias y llevar en el bolso a dónde vaya, ya que es importante ante cualquier eventualidad 😉
Hello dear friends of the Needleworkmondaycommunity, it is a pleasure to share my new project with all of you, for this occasion a beautiful multipurpose bag with Sherpa plush fabric, very similar to stuffed animal, it has a very soft texture like wool, the I made a small bag to store sanitary towels and carry in my bag wherever I go, since it is important in case of any eventuality 😉

Diy: Hermoso Bolsito Multiusos con tela felpa Sherpa👝
Materiales
- Tela de felpa Sherpa rectángulo de 25x20 cm y otro de 12x5 cm
- Tela estampada para forro rectángulo de 25x20cm
- Cierre de 20 cm
- Tijera
- Hilo de coser
- Aguja
- Cinta metrica
Diy: Beautiful Multipurpose Bag with Sherpa plush fabric👝
Materials
- Rectangle Sherpa plush fabric of 25x20 cm and another of 12x5 cm
- Printed fabric for 25x20cm rectangle
- lining 20cm closure
- Scissors
- Sewing thread
- Needle
- Measuring tape

Paso a Paso
Paso 1
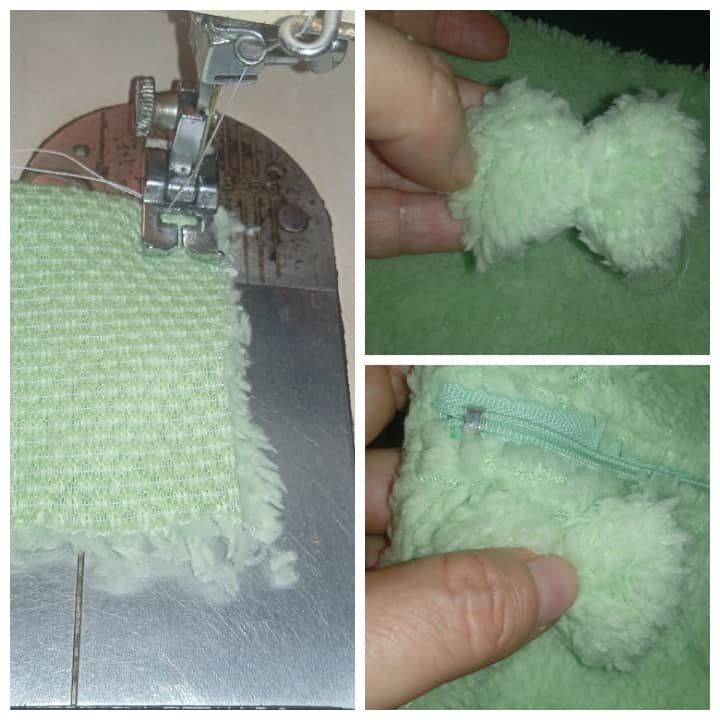
Primero vamos a colocar el cierre al revés por el lado derecho de la tela de felpa, cosemos el cierre en ambos extremos, volteamos y pasamos la costura por el alrededor del cierre, de modo que quede más resistente.
Step by Step
Step 1
First we are going to place the zipper upside down on the right side of the plush fabric, we sew the zipper on both ends, turn it over and pass the seam around the zipper, so that it is more resistant.

Paso 2
Seguidamente vamos a coser el forro, para ello lo colocamos la tela por el derecho, haciendo un dobladillo y cosiendo en los extremos del cierre, recordemos que es un forro, por ende va por el revés de la felpa.
Step 2
Next we are going to sew the lining, to do this we place the fabric on the right side, hemming it and sewing at the ends of the closure, remember that it is a lining, therefore it goes on the wrong side of the plush.

Paso 3
Luego lo dejamos por el lado del forro y doblamos de modo que el cierre quede a unos 8 cm del centro y pasamos la costura simple por ambos extremos, también pasamos la costura en zigzag y recortamos el excedente de tela.
Step 3
Then we leave it on the lining side and fold it so that the closure is about 8 cm from the center and we pass the simple seam on both ends, we also pass the zigzag seam and trim the excess fabric.

Paso 4
Luego abrimos el cierre y volteamos, así está listo el bolsito.
Step 4
Then we open the zipper and turn it over, so the bag is ready.

Paso 5
Por último, para darle un detalle, tomamos el otro rectángulo de tela de felpa y ponemos por el revés, cosemos por el alrededor, procurando dejar una pedacito sin coser, volteamos, arruchamos y cosemos por el centro de modo que quede un lacito, y cosemos a un lado del bolsito y listo, para guardar lo que desees.
Step 5
Finally, to give it a detail, we take the other rectangle of plush fabric and put it on the wrong side, we sew around it, trying to leave a little piece unsewn, we turn it over, we wrinkle it and we sew it in the center so that there is a little bow, and We sew to one side of the bag and that's it, to store whatever you want.


Hermoso proyecto! 👝
Beautiful project! 👝


Hasta aquí mi Proyecto de este día, espero les haya gustado, muchas gracias por el apoyo brindado. Saludos 👝
So Project for this day, I hope you liked it, thank you very much for the support. Greetings 👝
Todas las imágenes son de mi autoria por @mariarodriguez, tomadas especialmente para esta publicación.
All images are my own by @mariarodriguez, taken especially for this publication.

