¡Hola queridos usuarios de Hive ✨💕!
Hi dear Hive users ✨💕!
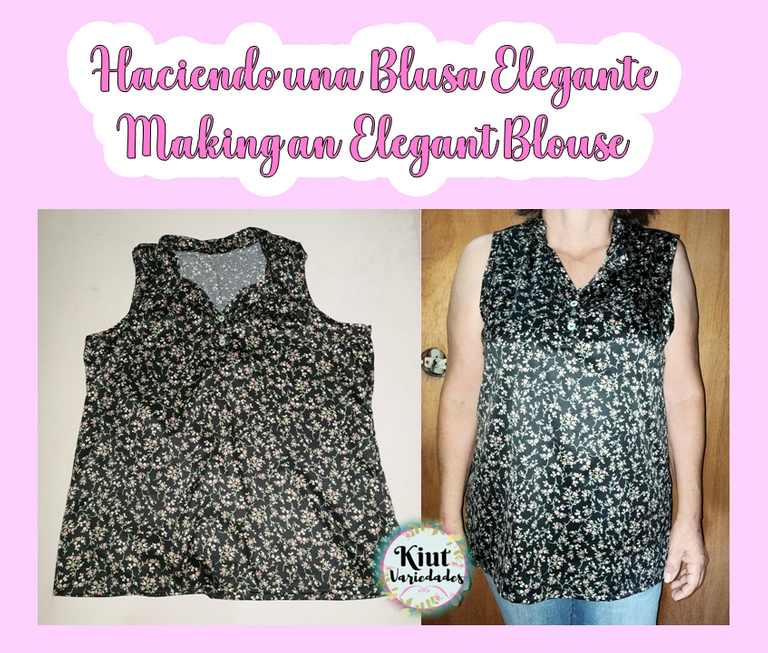
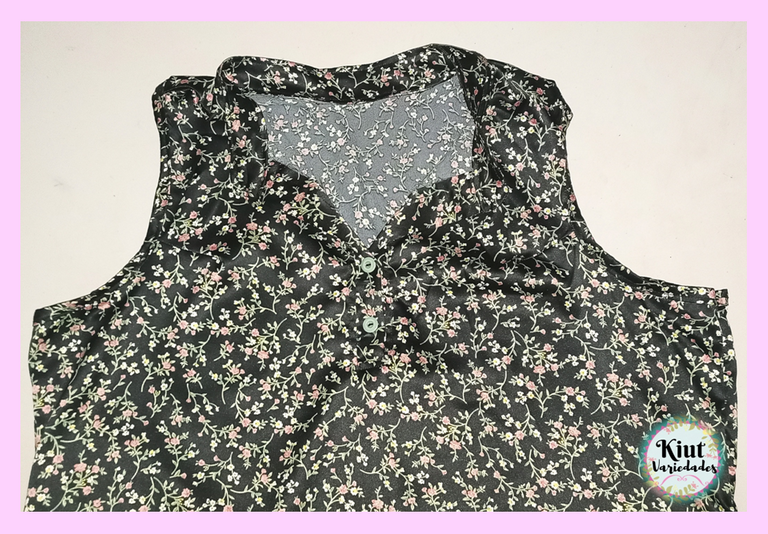
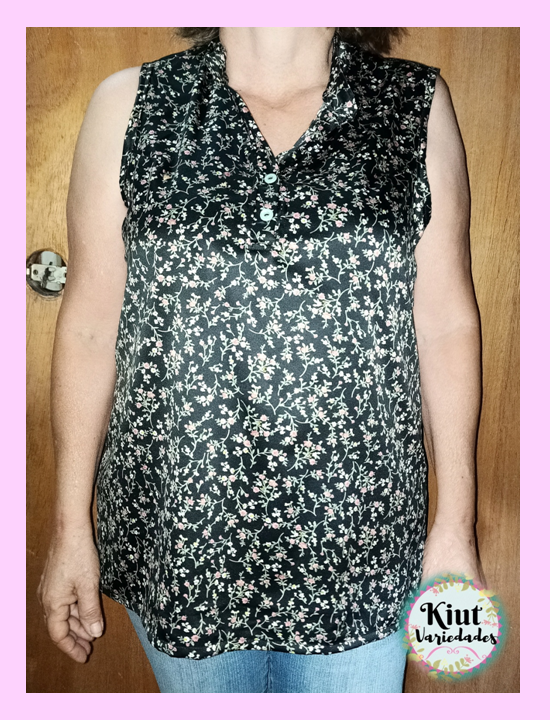
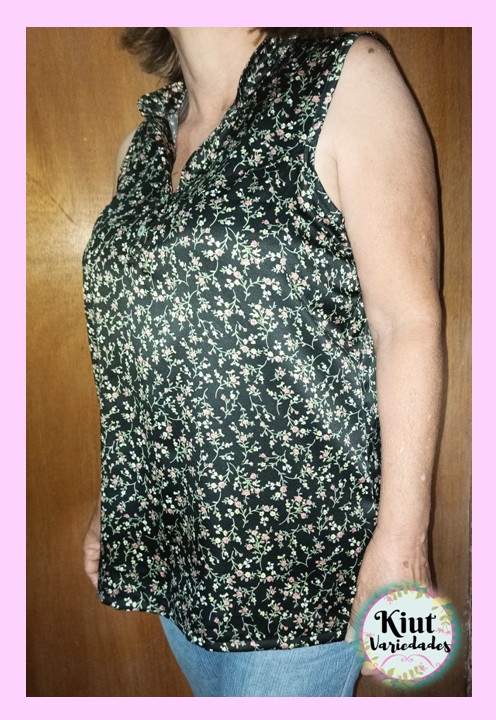
Tenemos aquí la primera publicación de costura del año y es que hace días mi mama me mostró un modelo de blusa y me pidió que lo recreara, esto es exactamente lo que les mostrare el día de hoy, normalmente siempre suelo hacer una publicación de parones y posteriormente una de confección pero la verdad los parones son muy sencillo así que decidí hacer todo en la misma publicación, así sin más que agregar vamos a ello.
We have here the first sewing publication of the year and is that days ago my mom showed me a blouse model and asked me to recreate it, this is exactly what I will show you today, normally I always do a publication of patches and then one of confection but the truth is that the patches are very simple so I decided to do everything in the same publication, so without more to add let's go to it.

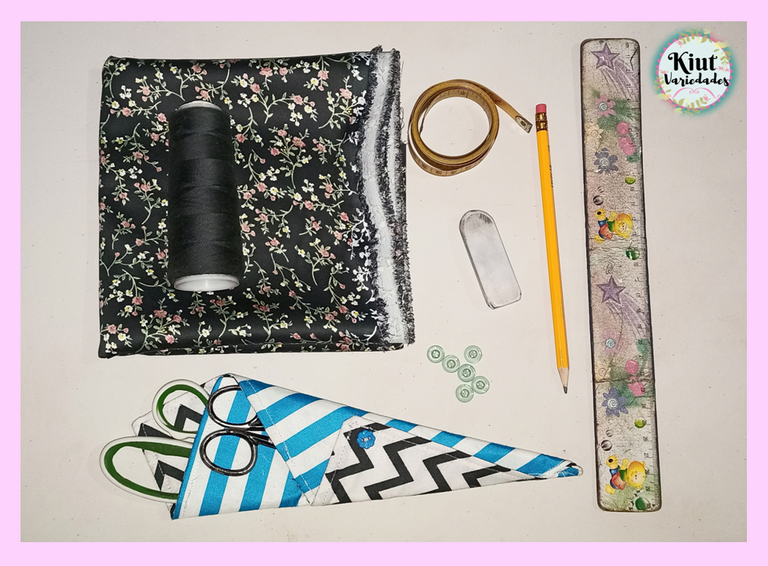
👚 MATERIALES || MATERIALS 👚
- Tela para Blusa no Elástica (en este caso utilicé Chiffon)
- Patrones Básicos de Blusa para Dama.
- Papel.
- Reglas de Patronaje.
- Lápiz o Marcador.
- Cinta Métrica.
- Botones.
- Hilo.
- Tijeras de Papel y Tijeras de Tela.
- Máquina de coser y Aguja.
- Non Stretch Blouse Fabric (in this case I used Chiffon)
- Basic Blouse Patterns for Ladies.
- Paper.
- Pattern Rulers.
- Pencil or Marker.
- Tape measure.
- Buttons.
- Thread.
- Paper Scissors and Fabric Scissors.
- Sewing Machine and Needle.

👚 COMENCEMOS || LET'S GET STARTED 👚
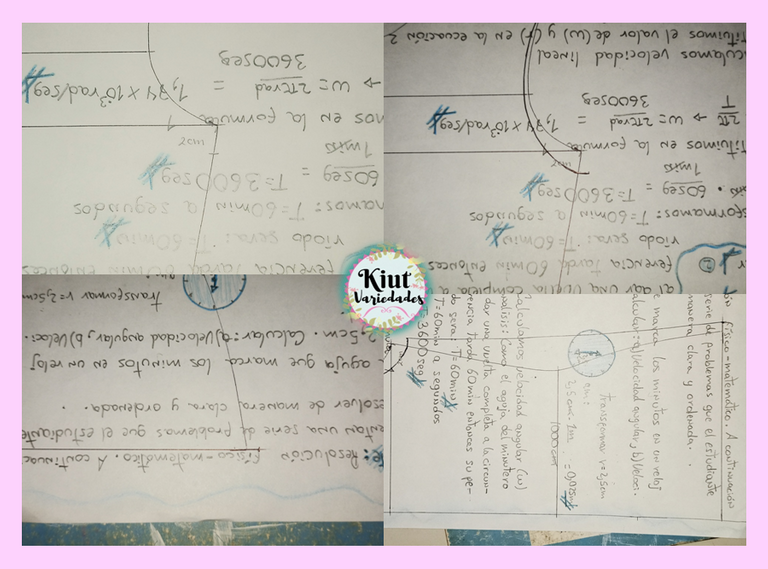
Empecé haciéndole unas pequeñas transformaciones al patrón básico para lo cual lo transferí a otro papel. Baje 1cm en la sisa y elimine 2cm en el hombro para formar una nueva curva de sisa, además añadí 2m en el costado del patrón, pero para esto los agregue en la parte de sisa y en la cadera para posteriormente formar una línea no tan curveada un poco en corte A. Lo mismo hice en la espalda dando además en ambos patrones el largo deseado de la blusa.
I started by making some small transformations to the basic pattern by transferring it to another paper. I lowered 1cm in the armhole and eliminated 2cm in the shoulder to form a new armhole curve, I also added 2m in the side of the pattern, but for this I added them in the armhole part and in the hip to later form a not so curved line a little bit in A cut. I did the same on the back, giving in both patterns the desired length of the blouse.
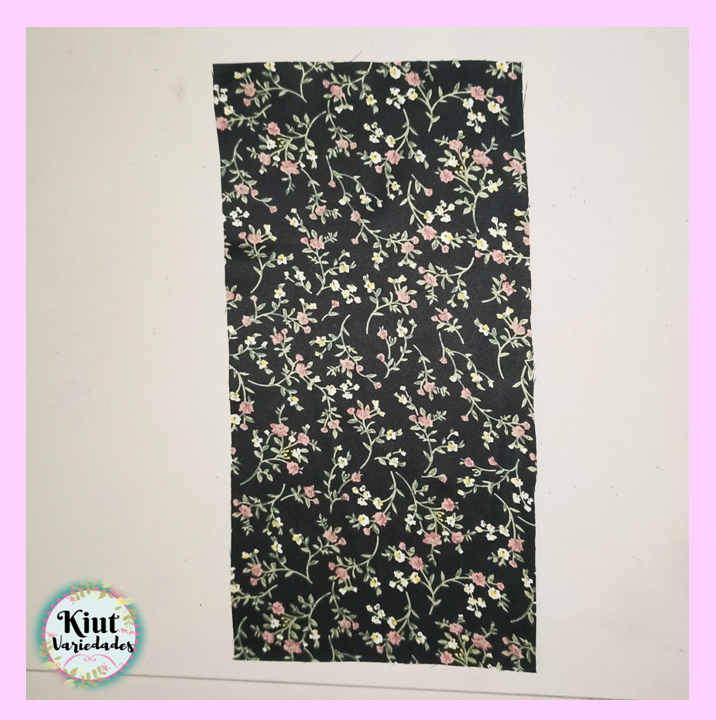
El patrón del cuello lo explique detalladamente en esta publicación. Como el escote de esta blusa será como el de las chemise, cortaremos un rectángulo de 13cm de ancho por 26cm de largo.
The collar pattern is explained in detail in this publication. As the neckline of this blouse will be like the chemise, we will cut a rectangle of 13cm wide by 26cm long.
A la blusa le comencé cosiendo la aletilla del escote, para ello tomamos la pieza de la aletilla y por la parte del revés dibujamos en el centro un rectángulo de 2cm de ancho por 19m de largo y la línea central de este rectángulo se hace coincidir con el centro de la pieza delantera de la blusa y cosemos por las dos líneas laterales cuidando que la costura acabe justo en el punto indicado.
I started sewing the neckline flap to the blouse, for this we take the piece of the flap and on the back side we draw in the center a rectangle of 2cm wide by 19m long and the central line of this rectangle is made to coincide with the center of the front piece of the blouse and we sew along the two lateral lines taking care that the seam ends just at the indicated point.
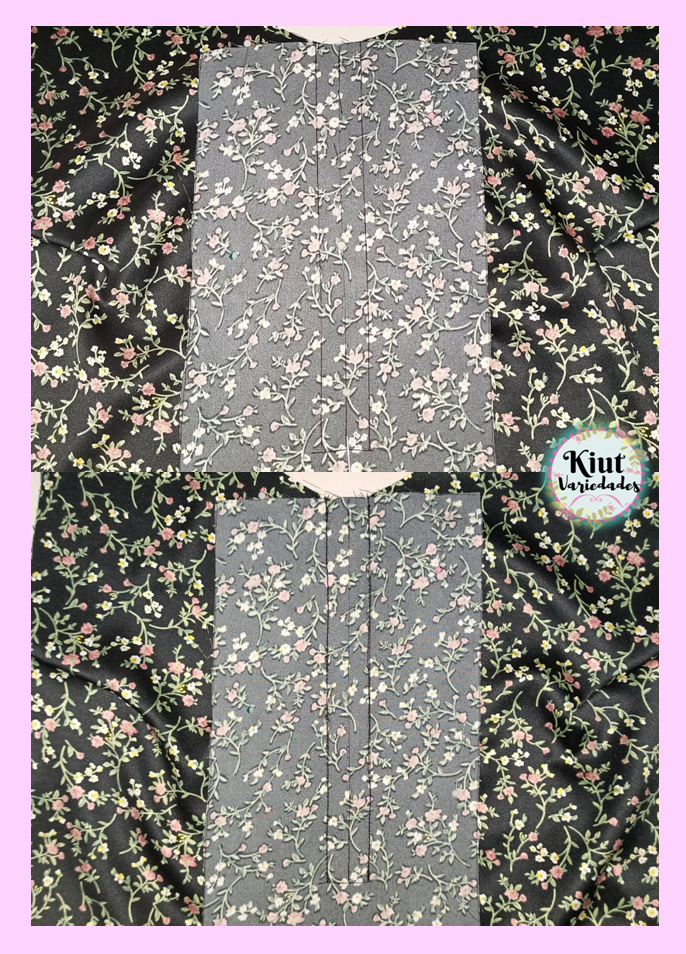
Cortaremos justo por la línea central hasta 2cm antes del final pues allí cortaremos en diagonal para formar un triangulo, luego por la misma línea central terminamos de cortar solamente la aletilla.
We will cut just along the center line until 2cm before the end because there we will cut diagonally to form a triangle, then along the same center line we finish cutting only the flap.
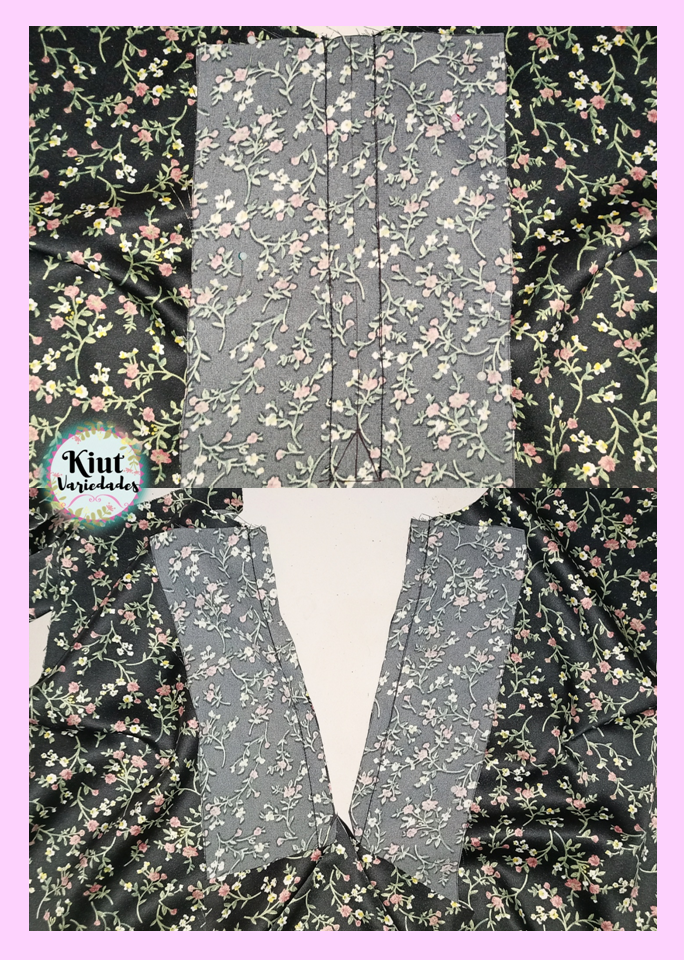
Doblamos la aletilla a 2cm de la costura y la introducimos dentro del espacio que se formo en el escote, la sujetamos con alfileres y por la parte interna cosemos el triangulo que se formo cuando cortamos anteriormente, luego daremos una costura de asentamiento por toda la orilla.
Fold the flap 2cm from the seam and insert it inside the space formed in the neckline, pin it and sew the triangle formed when we cut previously, then we will sew a seam of settlement along the edge.
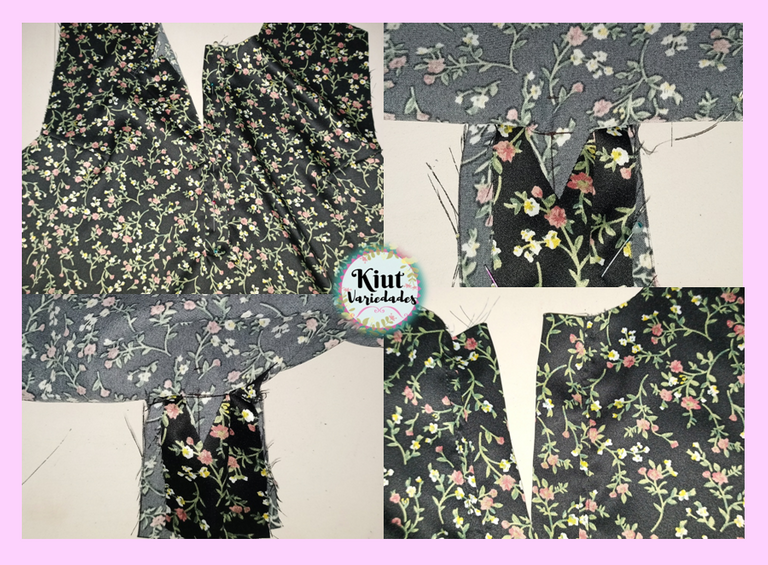
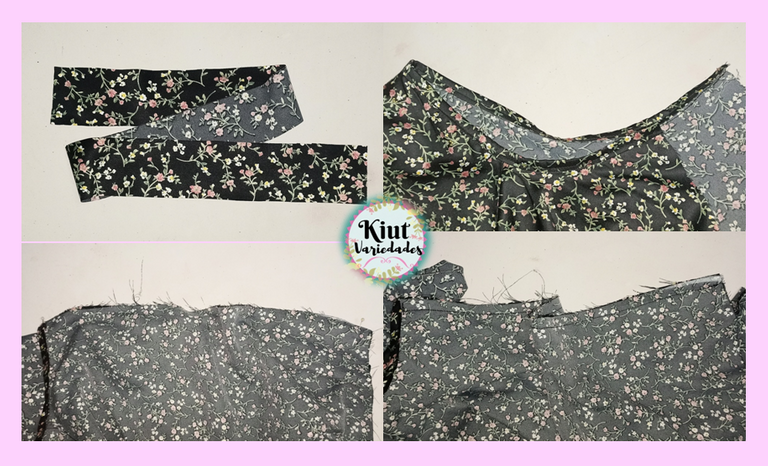
Luego de esto uní las piezas de delantero y espalda por los hombros como normalmente lo hago pero antes de pasarme a unir los costados cosí primero las sisas para lo cual corte dos tiras de sesgo. Después de esto cosí los costados de la blusa.
After this I joined the front and back pieces at the shoulders as I normally do but before joining the sides I first sewed the armholes for which I cut two bias strips. After that I sewed the sides of the blouse.
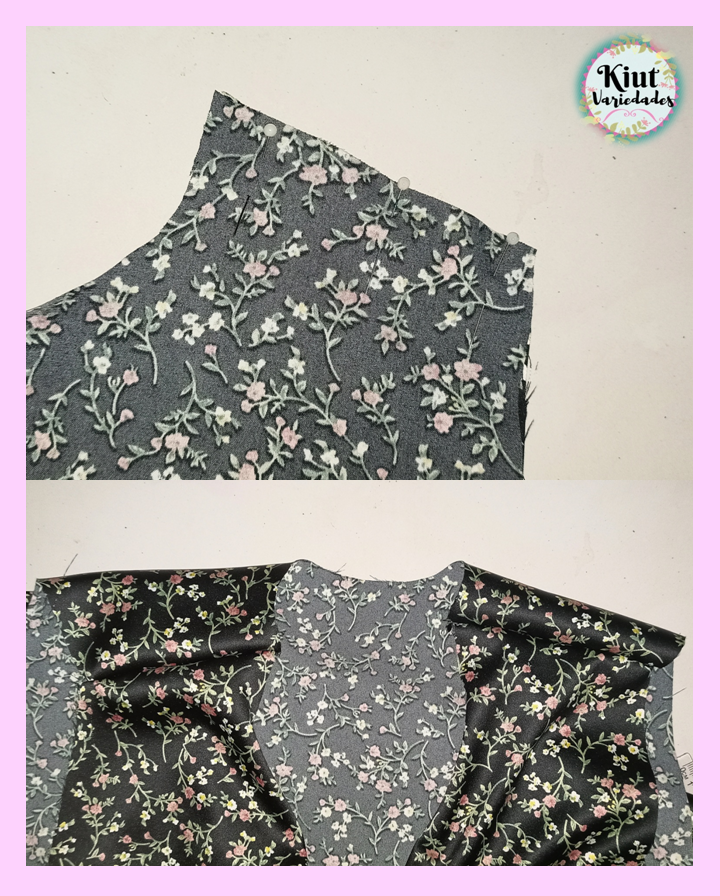
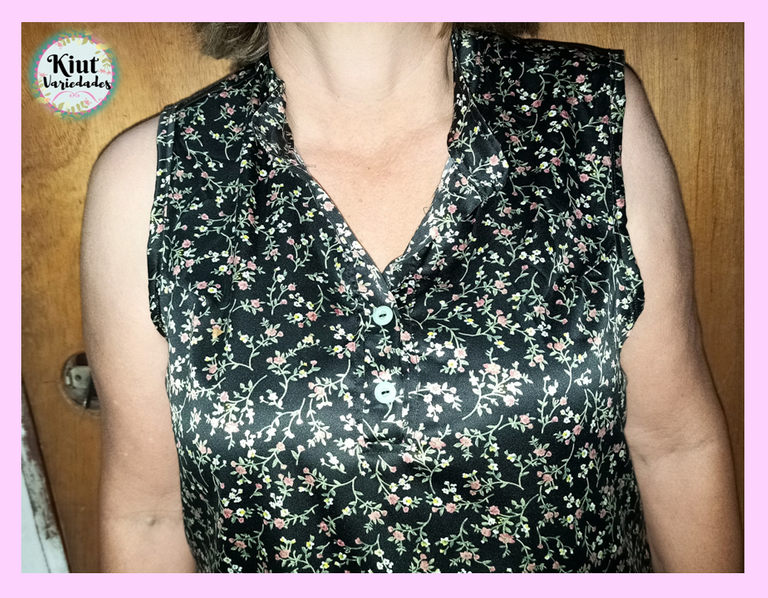
Ya casi para terminar toca coser el cuello, tomamos las piezas del cuello y enfrentado los derechos de tela cosemos por toda la orilla dejando 2cm sin coser en cada extremo, hacemos unos piquetes en las curvas del cuello y volteamos.
We take the neck pieces and facing the right sides of the fabric we sew all around the edge leaving 2cm unsewn at each end, we make a few picks in the curves of the neck and turn it over.
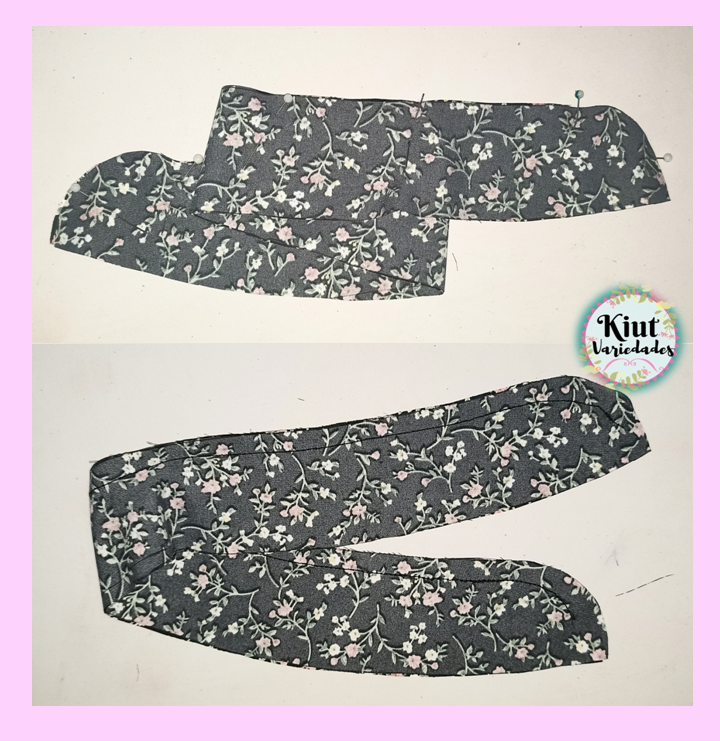
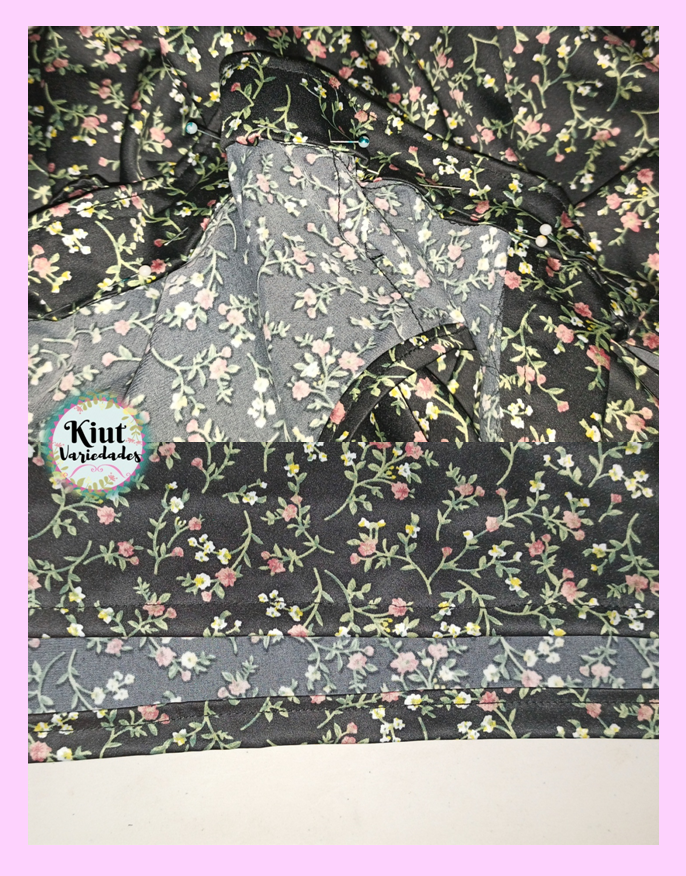
Hacemos una costura de asentamiento por toda la orilla menos en los 2cm que dejamos sin coser, luego lo uní a la blusa como si fuese un sesgo. Y finalmente termine con el ruedo de la blusa.
We make a seam allowance all around the edge except for the 2cm that we left unstitched, then I joined it to the blouse as if it were a bias binding. And finally I finished with the hem of the blouse.


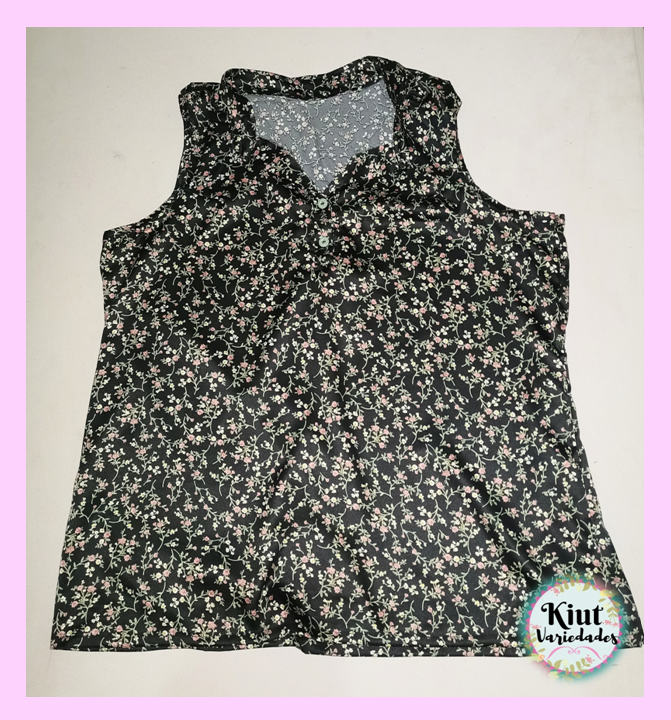

Te invito igual que siempre a que intentes este proyecto por tu cuenta y me cuentes en los comentarios 👇 como es tu experiencia.
I invite you as always to try this project on your own and tell me in the comments 👇 how is your experience.



Síguenos en todas nuestras redes sociales… || Follow us on all our social networks ...
Facebook:KiutVariedades
Instagram:@Kiut_variedades
Twitter:@Kiut_variedades