¡Hola queridos usuarios de Hive ✨💕!
Hi dear Hive users ✨💕!
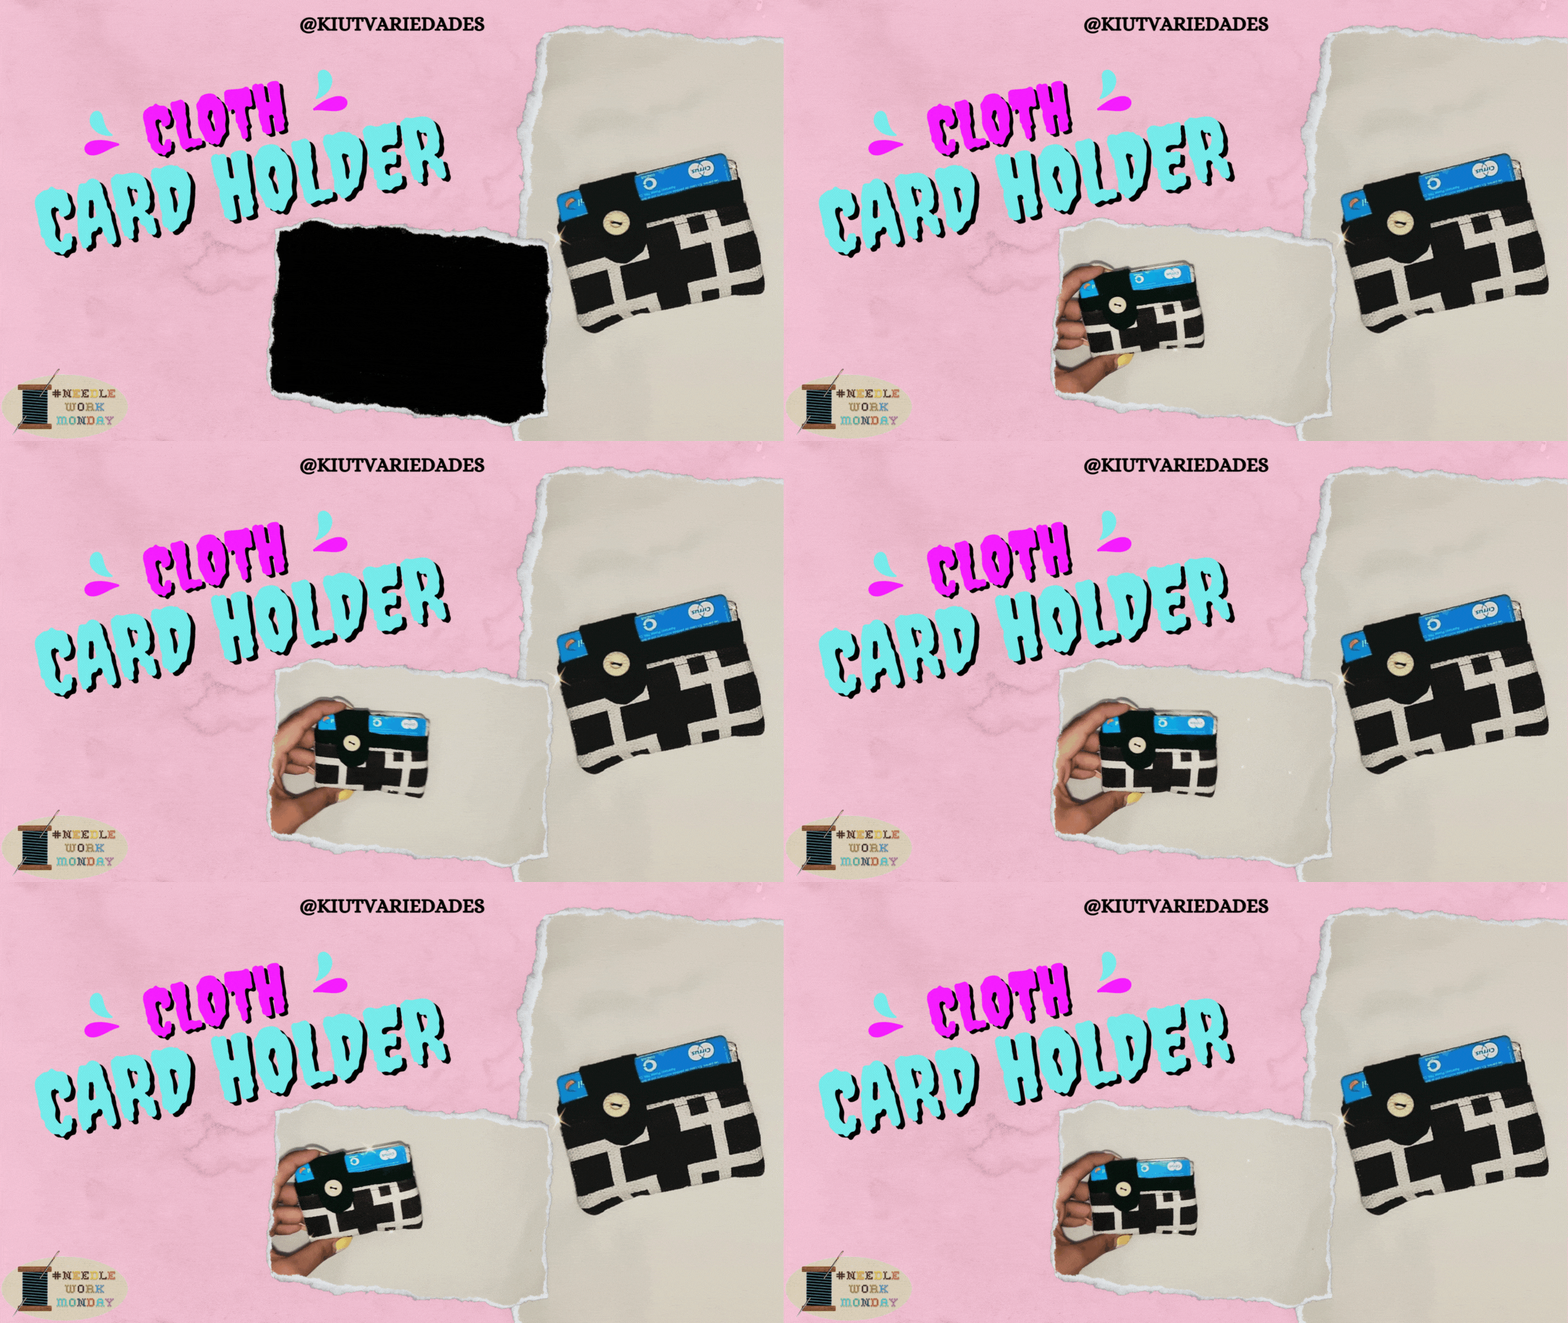
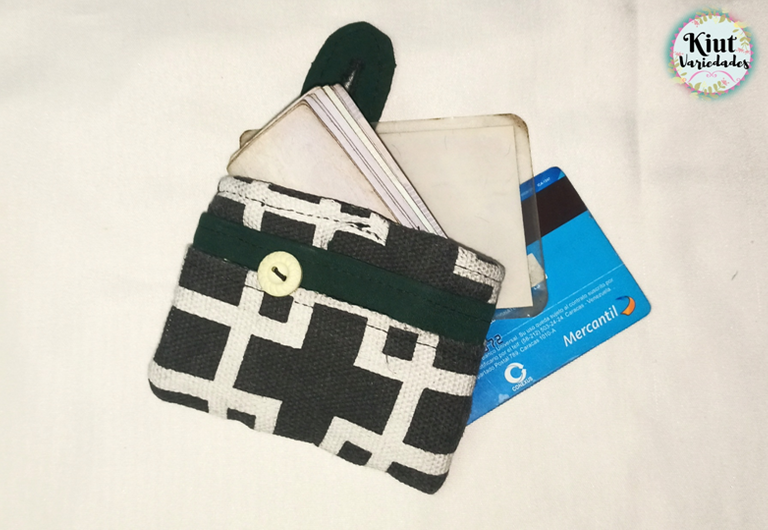
De nuevo y después de varios días regreso con una manualidad de costura que se realiza de manera rápida y sencilla, además que resulta un proyecto de muchísima utilidad, personalmente soy de las personas que le encanta ahorrar espacio en las mochilas y siempre busca llevar las cosas en estuches de tamaño justo, y es por ello que desde hace días he buscado modelos de tarjeteros o portatarjetas que me permitan ahorrarme el espacio de un monedero y justo éste es el proyecto que les traigo el día de hoy 💕.
Once again and after several days I come back with a sewing craft that is quick and easy to make, and it is also a very useful project, personally I am one of those people who love to save space in backpacks and always try to carry things in cases of just the right size, and that is why for days I have been looking for models of card holders or card holders that allow me to save the space of a purse and this is the project that I bring you today 💕.

💳 MATERIALES || MATERIALS 🧵
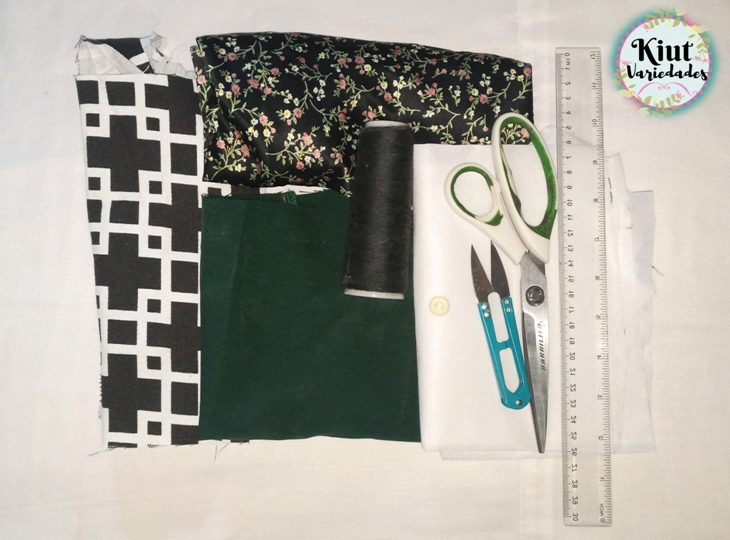
- 3 estampados o colores de tela, preferiblemente tela no elástica.
- Entretela.
- 1 botón.
- Tijera de tela e hilo.
- Máquina de coser o aguja.
- 3 prints or colors of fabric, preferably non-elastic fabric.
- Interlining.
- 1 button.
- Fabric scissors and thread.
- Sewing machine or needle.

💳 COMENCEMOS || LET'S GET STARTED 🧵
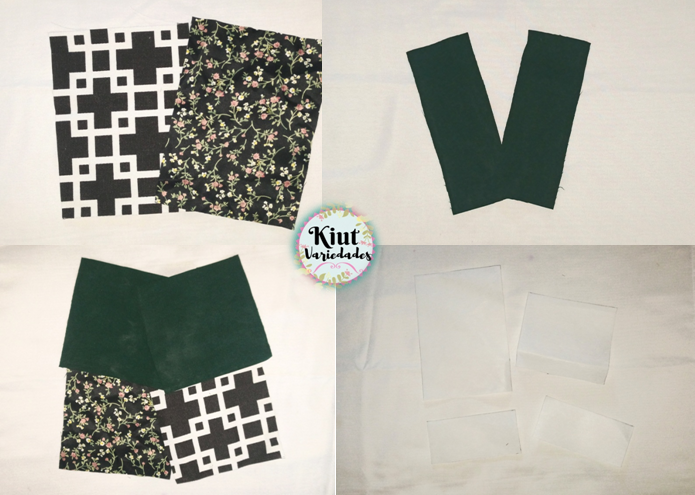
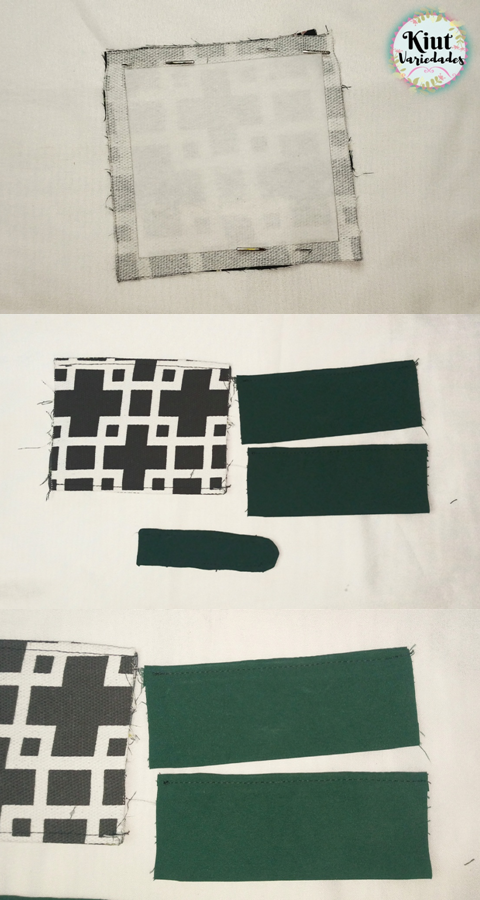
Lo primero con lo que comenzamos es cortando todas las piezas en las telas respectivas, para ello vamos a elegir cuál de las tres telas queremos que sea la más visible y cual podría funcionar de forro, cortaremos en cada una de ellas 1 rectángulo de 17 x 12,5cm, además cortaremos 4 piezas de 12 x 12,5 cm que serán distribuidas así: 1 en la tela externa, 1 en el forro y 2 en la tercera tela que se aconseja sea unicolor.
Además, vamos a cortar 2 rectángulos de 4,5 x 12 cm en la tela unicolor, cortamos también las piezas de entretela, un rectángulo de 10,5 x 15 cm, una pieza de 10,5 x 10 cm, dos rectángulos 10,5 x 5 cm y un rectángulo de 2,5 x 10 cm.
The first thing we start with is cutting all the pieces in the respective fabrics, for this we will choose which of the three fabrics we want to be the most visible and which could work as lining, we will cut in each of them 1 rectangle of 17 x 12.5 cm, we will also cut 4 pieces of 12 x 12.5 cm that will be distributed as follows: 1 in the outer fabric, 1 in the lining and 2 in the third fabric which is advised to be unicolor.
In addition, we will cut 2 rectangles of 4.5 x 12 cm in the unicolor fabric, we will also cut the interlining pieces, a rectangle of 10.5 x 15 cm, a piece of 10.5 x 10 cm, two rectangles of 10.5 x 5 cm and a rectangle of 2.5 x 10 cm.
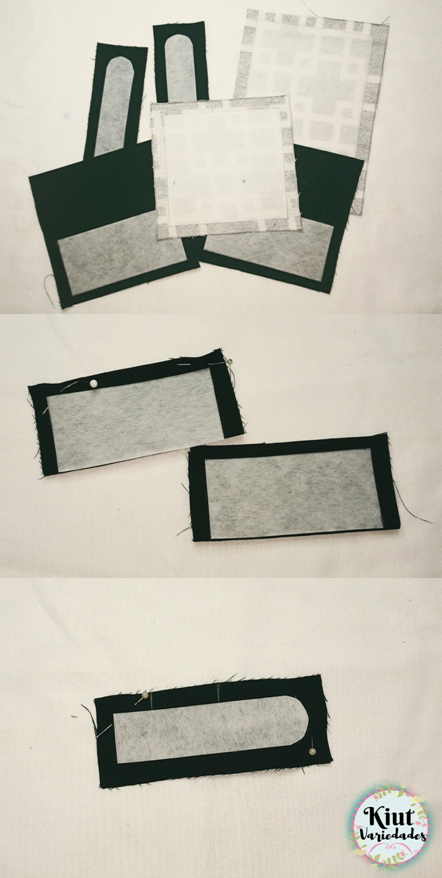
Unimos las piezas de entretela con las telas respectivas, la pieza de entretela más grande ira con la pieza externa más grande, la pieza de 10,5 x 10 cm va con el rectángulo de 12 x 12,5 cm, los dos rectángulos más pequeños van con las otras piezas unicolores y la última tira de entretela (a la cual le vamos a redondear un extremo) va con uno de los rectángulos de 4,5 x 12 cm. Ahora si empieza la costura, tomamos las piezas unicolores (que serán bolsillos) las doble a la mitad y las cosí por el largo dejando los laterales abiertos para dar la vuelta, tomé las pequeñas tiras y enfrentando los derechos cosí por todo el alrededor dejando un pequeño espacio abierto.
We join the interlining pieces with the respective fabrics, the larger interlining piece will go with the larger outer piece, the 10.5 x 10 cm piece goes with the 12 x 12.5 cm rectangle, the two smaller rectangles go with the other unicolor pieces and the last interlining strip (which we are going to round one end) goes with one of the 4.5 x 12 cm rectangles. Now the sewing begins, we take the unicolor pieces (which will be pockets) fold them in half and sew them along the length leaving the sides open to turn around, I took the small strips and facing the right sides I sewed all around leaving a small open space.
Tomé los rectángulos de 12,5 x 12 cm y enfrentando el derecho de la tela externa con el forro, cosí los dos largos dejando aquí también los laterales abiertos. Voltee todas las piezas, en los bolsillos unicolores realice una costura de asentamiento en el lado donde acabo de coser, en la pequeña tira que va a cerrar el tarjetero le di una costura por todo el contorno, y en la última pieza daré dicha costura en ambas costuras previas.
I took the 12.5 x 12 cm rectangles and facing the right side of the outer fabric with the lining, I sewed the two lengths, leaving the sides open here as well. Turn all the pieces over, on the one-color pockets I sewed a seam allowance on the side where I just sewed, on the small strip that will close the card holder I sewed a seam all the way around, and on the last piece I will sew the same seam on both previous seams.
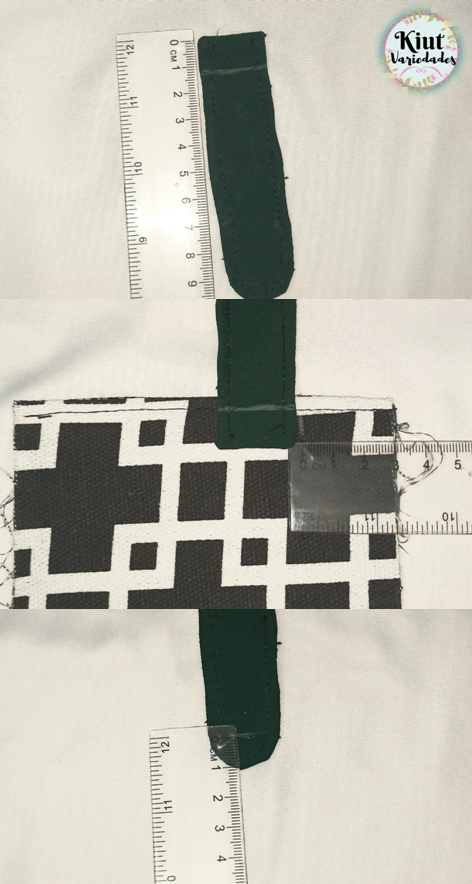
Es importante que todas estas costuras las vayamos planchando para que el acabado sea mejor. En la tira de cierre vamos a medir 1,5 cm desde la parte plana hacia adentro y hacemos una línea, en la pieza más grande de bolsillo vamos a medir 3cm hacia adentro de la pieza y ubicaremos en esta marca la tira anterior alineando la línea que le hicimos a esta pieza con la costura. En el extremo de la tira de cierre vamos a medir 1cm hacia adentro y ahí marcare el largo del ojal para el botón, y haré estas costuras.
It is important that all these seams are ironed for a better finish. On the closing strip we will measure 1.5 cm from the flat part inwards and make a line, on the larger pocket piece we will measure 3cm inwards from the piece and we will place the previous strip on this mark, aligning the line we made on this piece with the seam. At the end of the closing strip we will measure 1cm inwards and there we will mark the length of the buttonhole for the button, and we will make these seams.
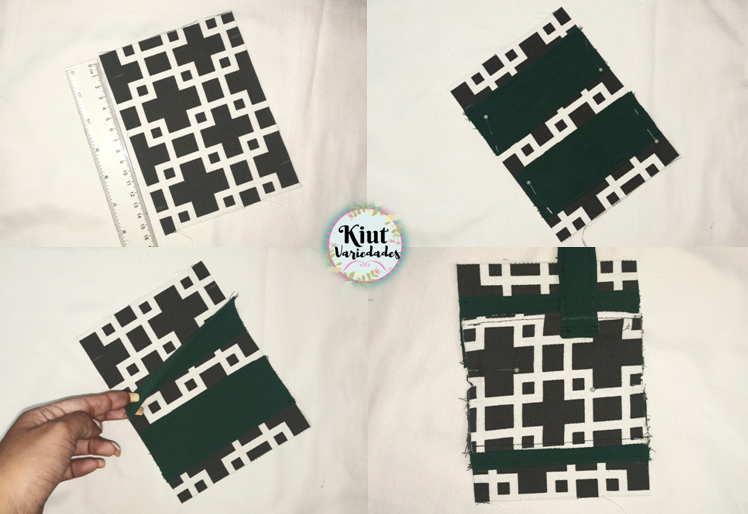
Tomé la pieza principal del tarjetero y medí 2,3 cm del borde de la tela había abajo en cada extremo, en esas marcas ubicaremos los bolsillos unicolores y cosí en la parte inferior de dichos bolsillos. Tome esta pieza y la doble a la mitad para ubicar el centro, tome la otra pieza del bolsillo y también ubique el centro, las uní y pase una costura recta.
I took the main piece of the card holder and measured 2.3 cm from the edge of the fabric to the bottom at each end, on those marks we will place the one-color pockets and I sewed on the bottom of those pockets. Take this piece and fold it in half to locate the center, take the other pocket piece and also locate the center, join them together and sew a straight seam.
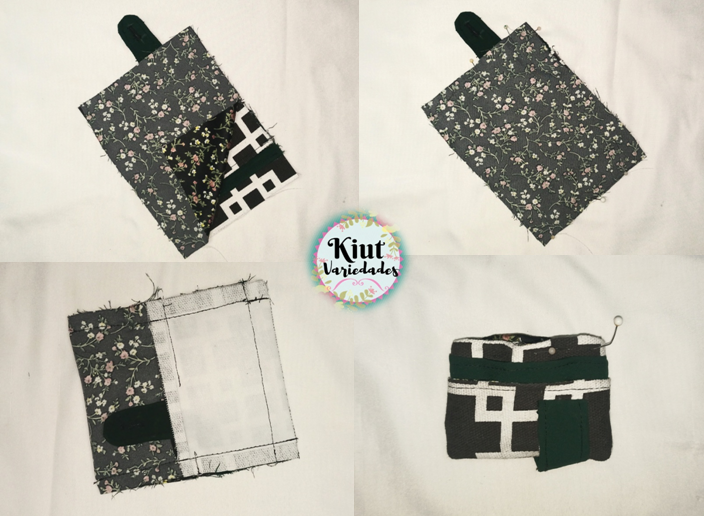
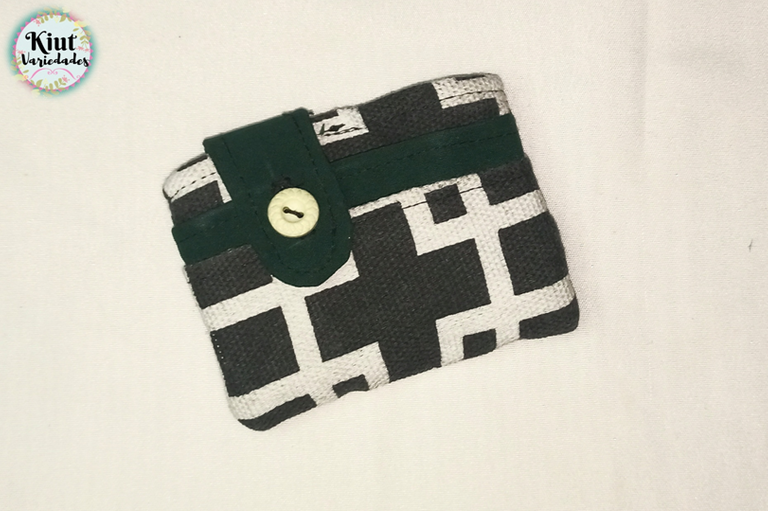
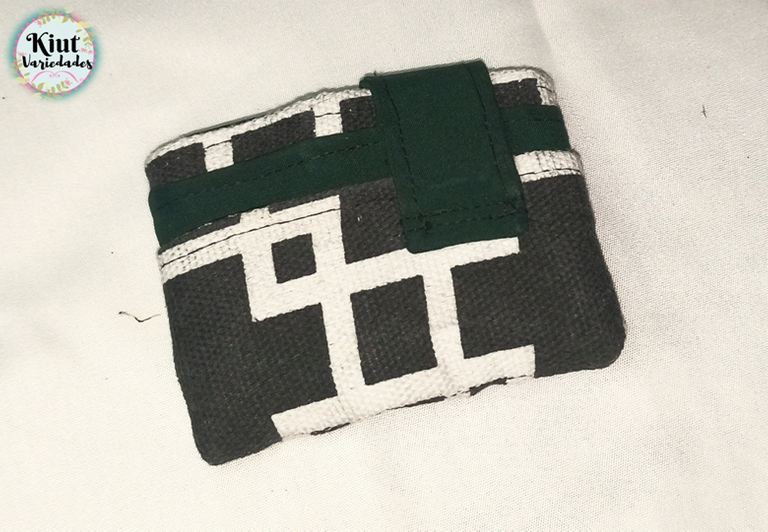
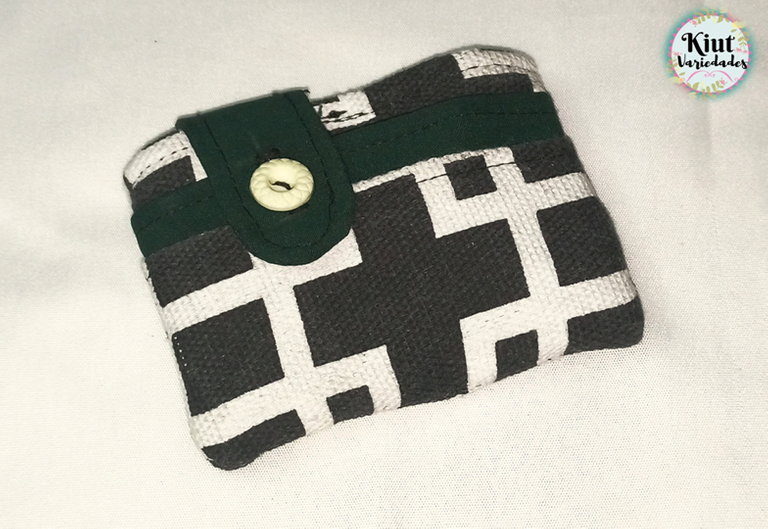
Tomé la pieza del forro y enfrentado el derecho cosí la parte inferior y superior, pero dejando un espacio sin coser que en mi caso fue donde se encontraba la tira para cerrar. Los laterales hasta este momento están abiertos, por lo que se debe abrir la pieza para que cada tela quede de un lado y poder coser esta parte, cuando esto esté terminado le damos la vuelta por el espacio abierto. En la parte superior damos una costura de asentamiento final y ubicamos el botón.
I took the lining piece and facing the right side I sewed the bottom and top, but leaving a space without sewing that in my case was where the strip was to close. The sides up to this point are open, so you have to open the piece so that each fabric is on one side and you can sew this part, when this is finished we turn it around by the open space. At the top we give a final sewing seam and place the button.


Te invito igual que siempre a que intentes este proyecto por tu cuenta y me cuentes en los comentarios 👇 como es tu experiencia.
I invite you as always to try this project on your own and tell me in the comments 👇 how is your experience.



Síguenos en todas nuestras redes sociales… || Follow us on all our social networks ...
Facebook:KiutVariedades
Instagram:@Kiut_variedades
Twitter:@Kiut_variedades

