¡Hola queridos usuarios de Hive ✨💕!
Hi dear Hive users ✨💕!
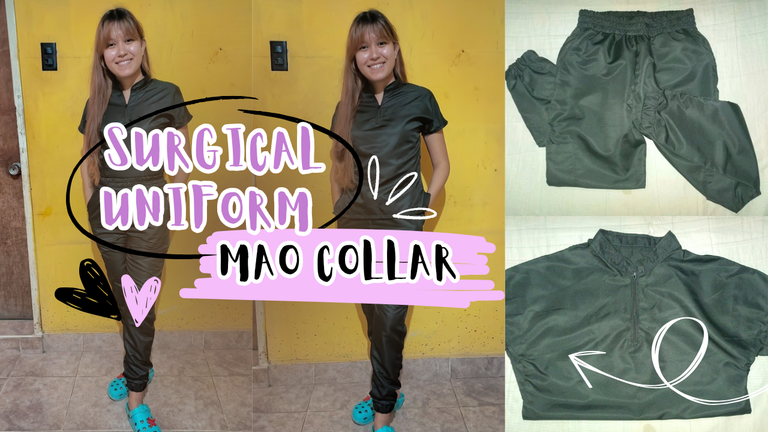
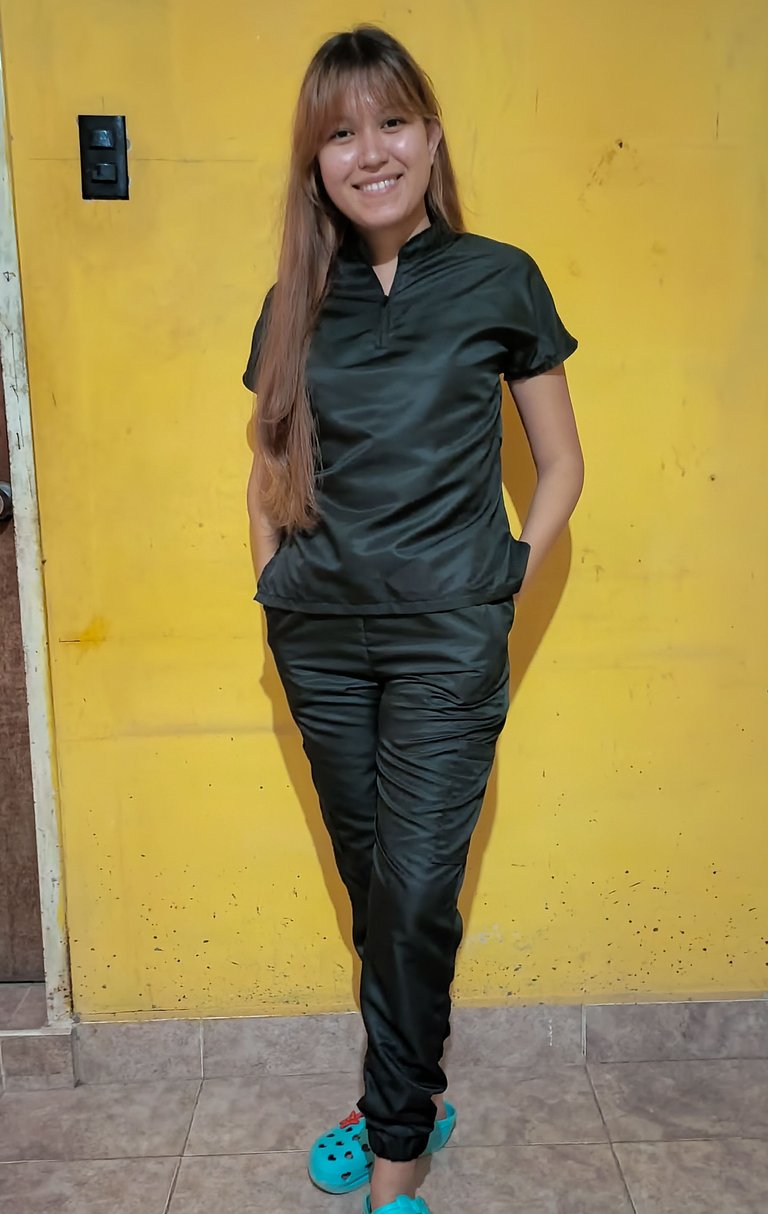
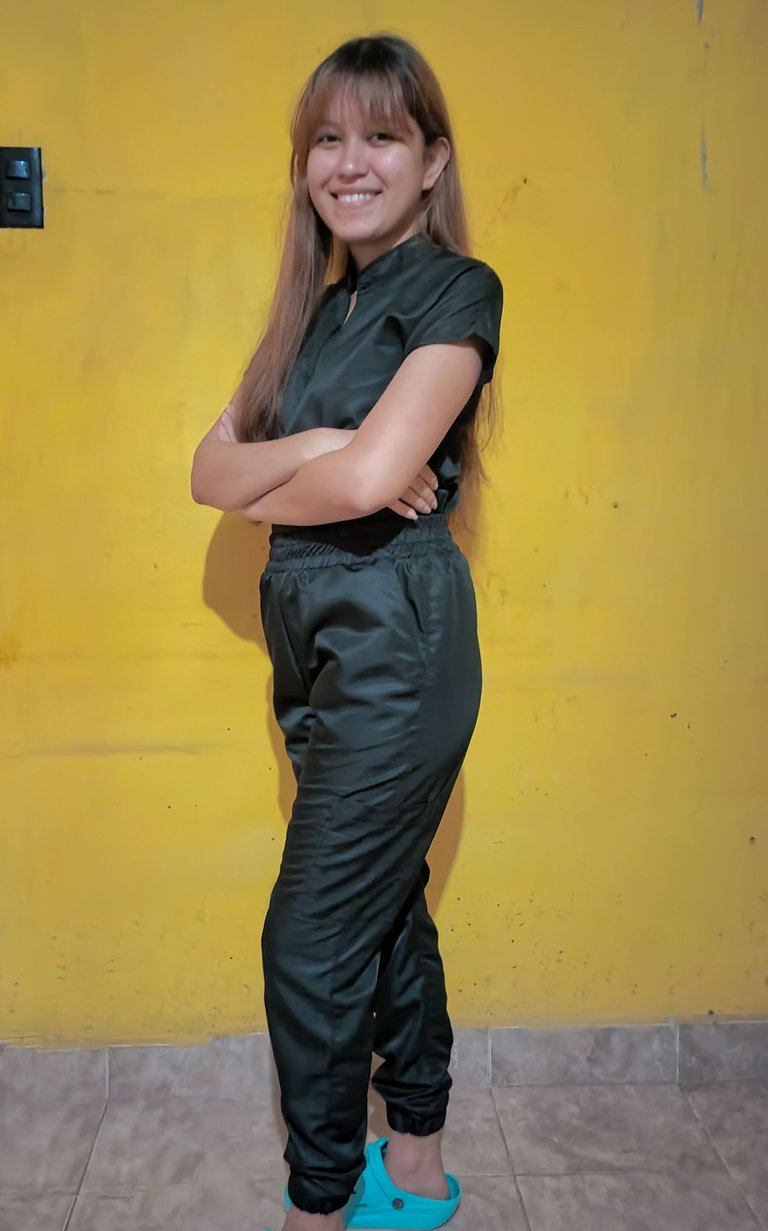
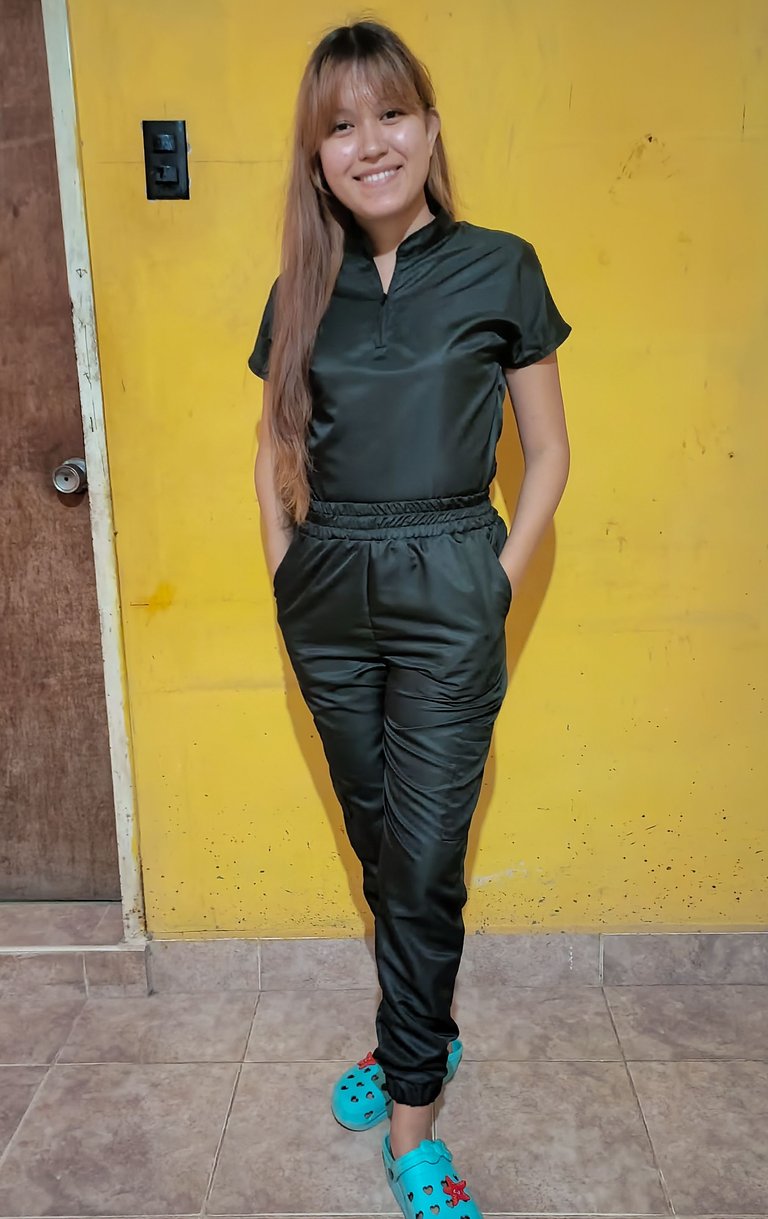
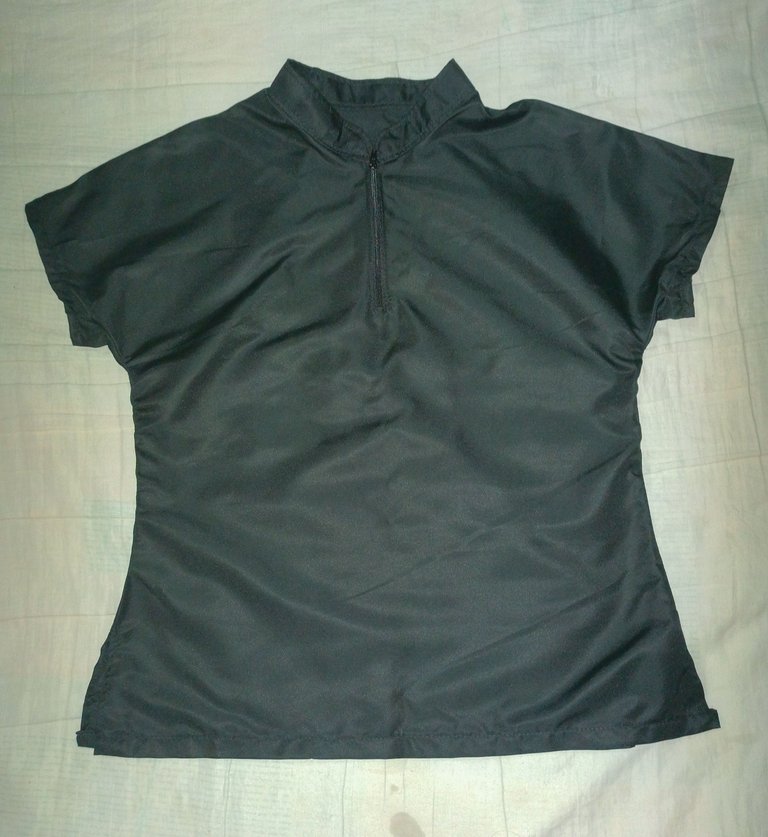
¡Hola Hola Comunidad! ✨, de manera imprevista me ha tocado regresar al mundo de la costura 🤣, al menos de manera momentánea, y es que inicialmente yo no tenía planeado hacer éste uniforme, pues se supone que realmente mi grupo de compañeros y yo íbamos a mandar a hacerlo, y de hecho contáctamos con una tienda y fuimos a medirnos los uniformes y todo, pero de un momento a otro nos cancelaron el pedido y nos dejaron sin muchas opciones que tomar, así que viendo toda ésta situación yo preferí mejor solucionar por mi parte y desempolvar (literalmente) mis utencilios de costura, y como era una oportunidad que no podía perder, es por esa razón que hoy les traigo por aquí la confección de éste hermoso uniforme quirúrgico 💕🪡.
Hello Hello Community! ✨, unexpectedly I have had to return to the world of sewing 🤣, at least momentarily, and is that initially I had not planned to make this uniform, because my group of colleagues and I were actually supposed to send to do it, and in fact we contacted a shop and went to measure the uniforms and everything, but from one moment to another they cancelled the order and left us without many options to take, so seeing all this situation I preferred to solve by myself and dust off (literally) my sewing tools, and as it was an opportunity that I couldn't miss, is for that reason that today I bring you here the making of this beautiful surgical uniform 💕🪡.

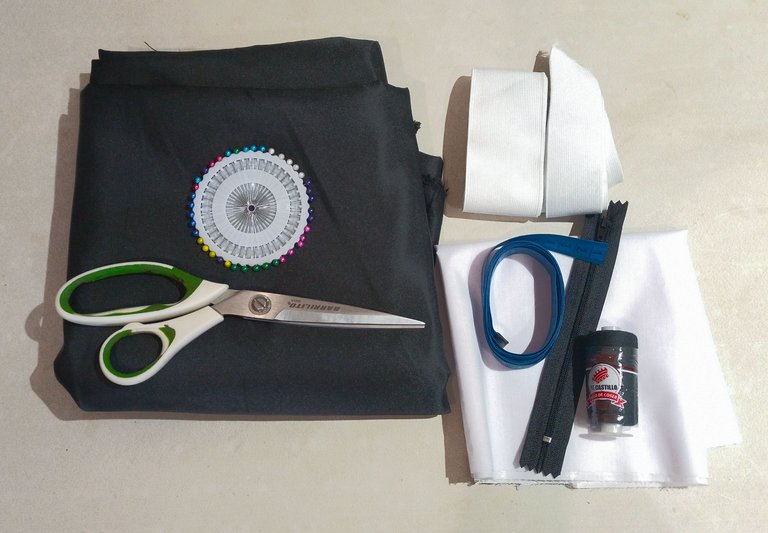
👩🏻⚕️ MATERIALES || MATERIALS 🧵
- 2 metros de tela antifluidos (en mi caso estoy usando microfibra).
- 1 cierre de 15cm.
- Entretela.
- Goma elástica de 5cm de grosor.
- Goma elástica de 3,5cm de grosor.
- Hilo del color de la tela
- Utensilios de costura (cinta metrica, tijeras, alfileres, entre otros).
- Patrones.
- 2 metres of anti-fluid fabric (in my case I am using microfibre).
- 1 zip of 15cm.
- Interlining.
- 5cm thick rubber band.
- 3.5cm thick elastic band.
- Thread in the colour of the fabric
- Sewing tools (measuring tape, scissors, pins, etc.).
- Patterns.
👩🏻⚕️ MANOS A LA AGUJA || HANDS ON THE NEEDLE 🧵
En ésta ocasión, así como en la anterior oportunidad que les traje la confección de un uniforme quirúrgico, no me detendré a explicar el patronaje de ésta pieza, pues muchos de los elementos que utilizaré para ésta confección ya los he explicado en anteriores ocasiones, por lo que al final del post dejaré una lista de las publicaciones que puedes consultar para el patronaje 💕.
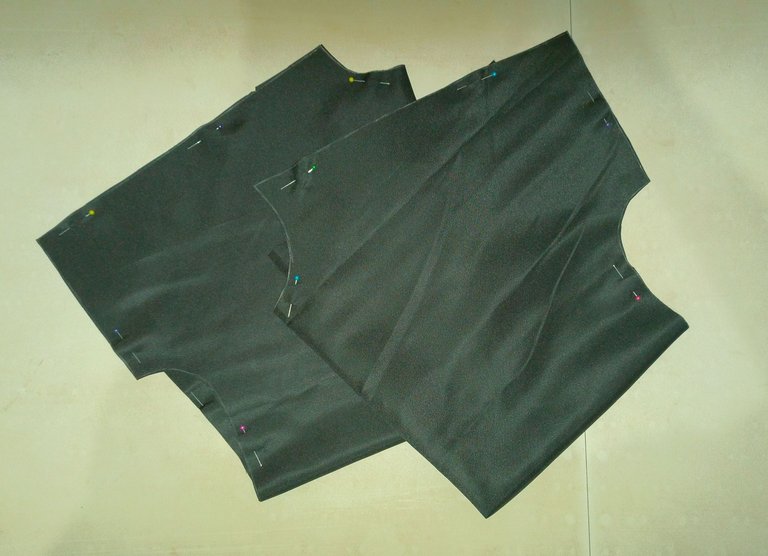
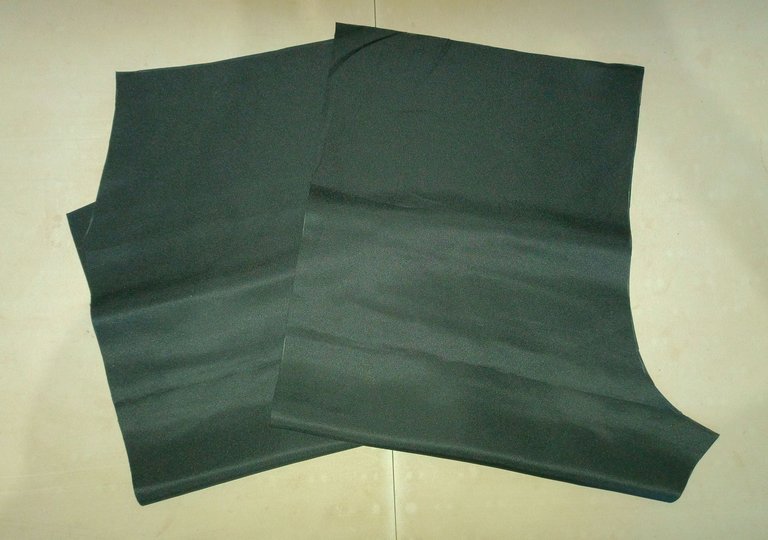
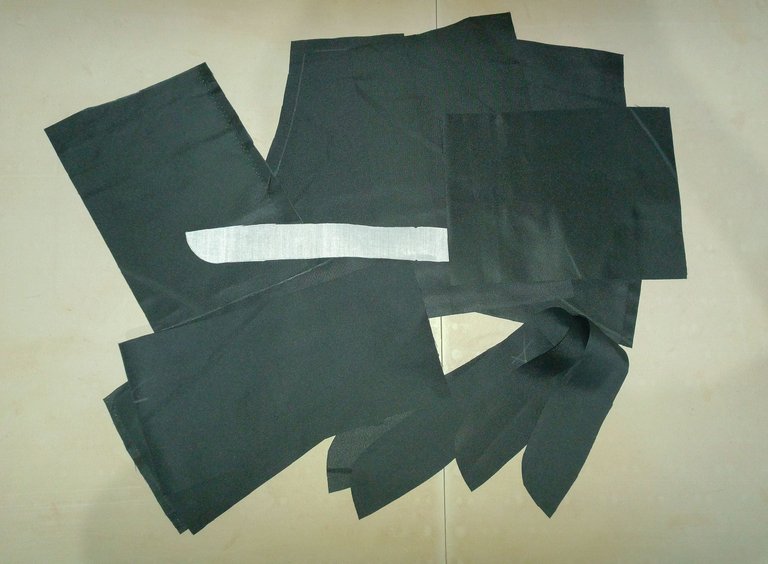
Dicho ésto, la confección arranca obviamente con el corte de todas las piezas, para ésto hay que tener en cuenta que estoy realizando un modelo de uniforme cuello mao (o también conocido como cuello neru) con manga japonesa, pantalón tipo jogger cargo, así que las piezas que deberíamos tener son: delantero y espalda de la blusa (que ya incluye las mangas), 2 piezas del patrón del cuello en la tela principal y 1 en la entretela, delantero y espalda del pantalón, dos rectángulos de 24cm x 16 cm (para los bolsillos laterales), y dos pares de piezas del bolsillo interno del pantalón, además de 1 pieza para la pretina (que debe tener la medida del contorno de cintura del patrón x 13cm de grosor) y 2 piezas para el acabado del tobillo (la cual debe tener el contorno del tobillo del patrón x 10cm de grosor).
On this occasion, as in the previous opportunity that I brought you the making of a surgical uniform, I will not stop to explain the pattern of this piece, because many of the elements that I will use for this garment I have already explained in previous occasions, so at the end of the post I will leave a list of the publications that you can consult for the pattern 💕.
Having said that, the tailoring obviously starts with the cutting of all the pieces, for this you have to take into account that I'm making a mao collar uniform model (or also known as neru collar) with japanese sleeves, cargo jogger trousers, so the pieces we should have are: front and back of the blouse (which already includes the sleeves), 2 pieces of the collar pattern in the main fabric and 1 in the interlining, front and back of the trousers, two rectangles of 24cm x 16 cm (for the side pockets), and two pairs of pieces for the inner trouser pocket, plus 1 piece for the waistband (which should measure the waist circumference of the pattern x 13cm thick) and 2 pieces for the ankle finish (which should measure the ankle circumference of the pattern x 10cm thick).
 |  |
|---|
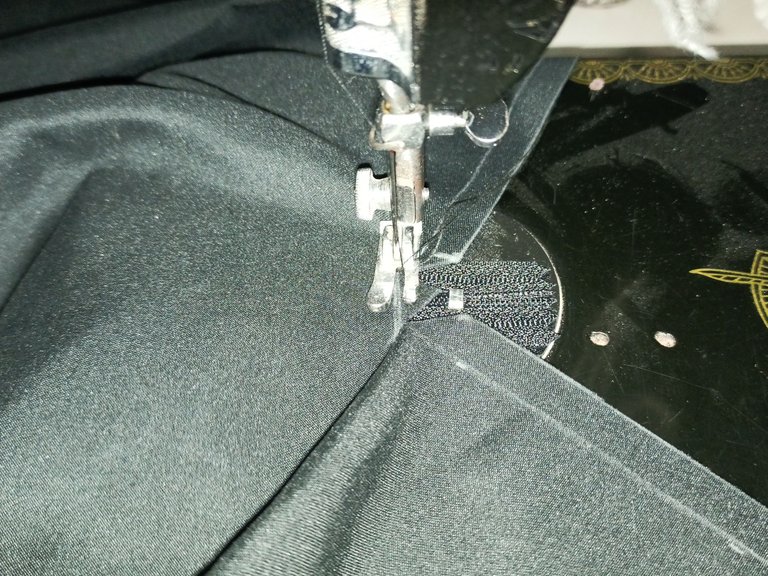
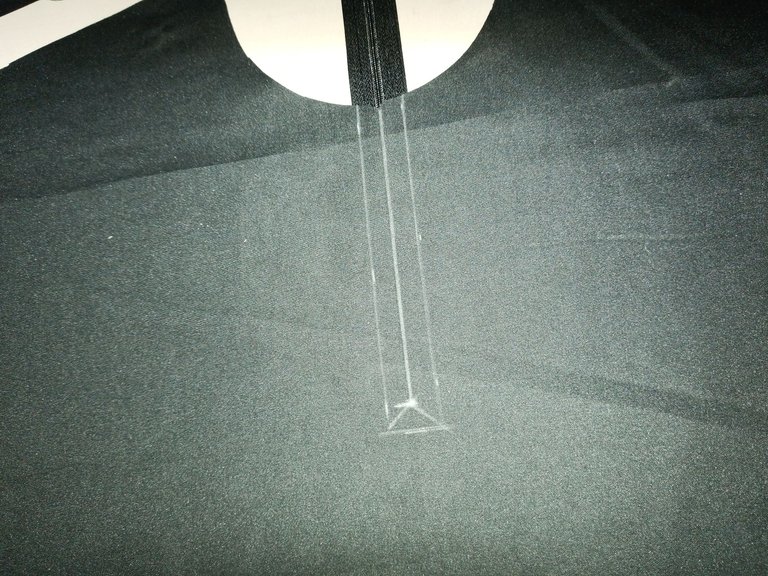
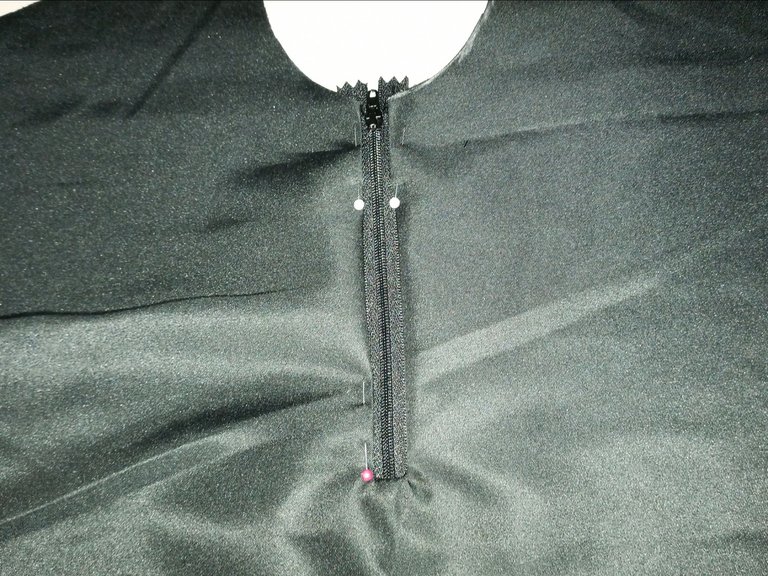
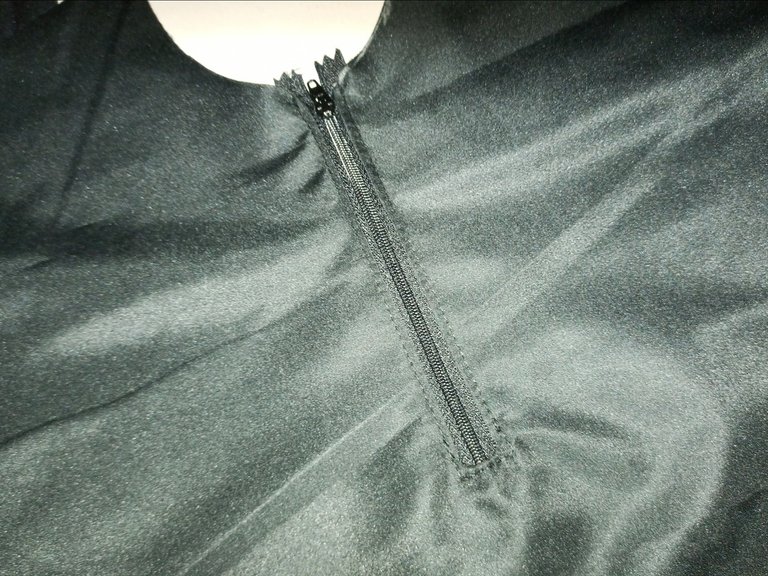
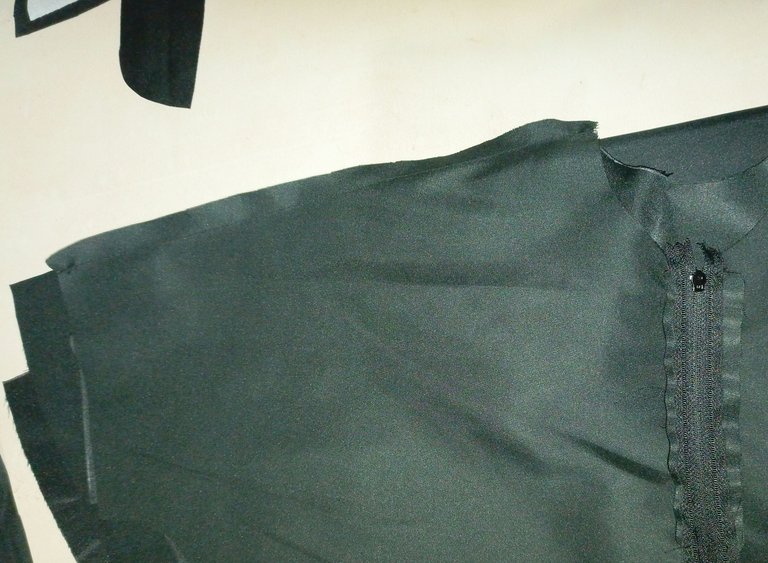
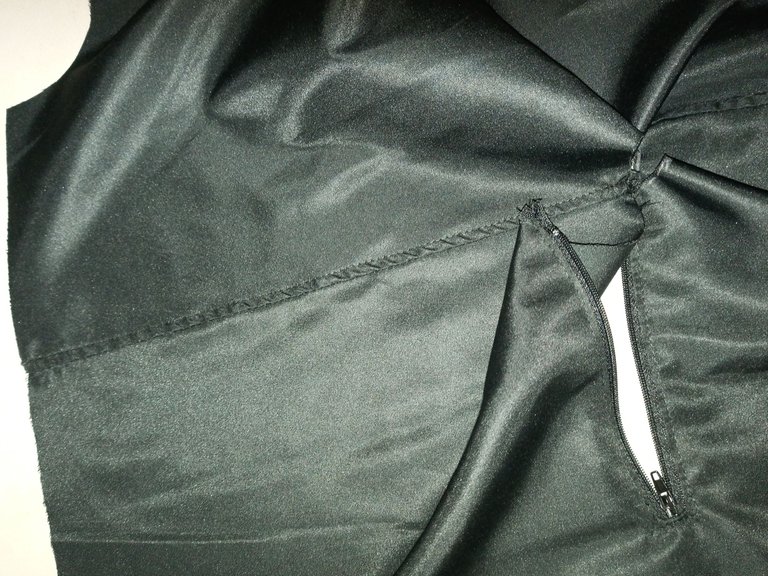
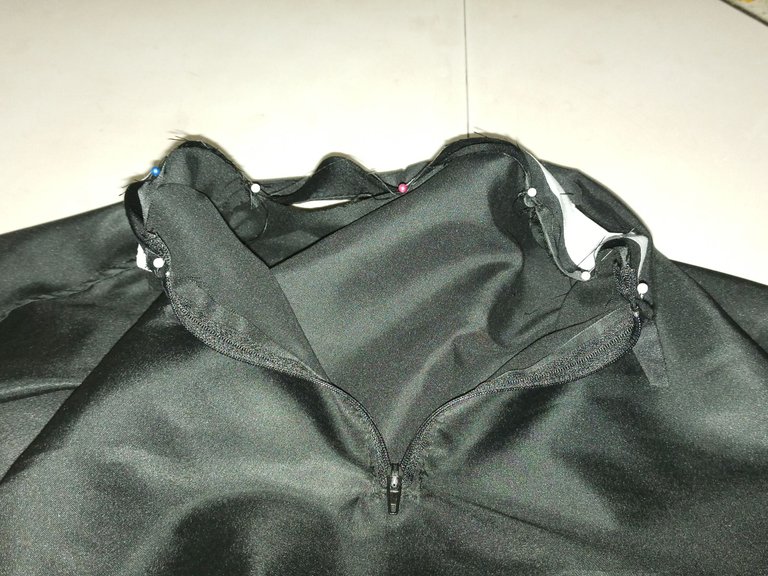
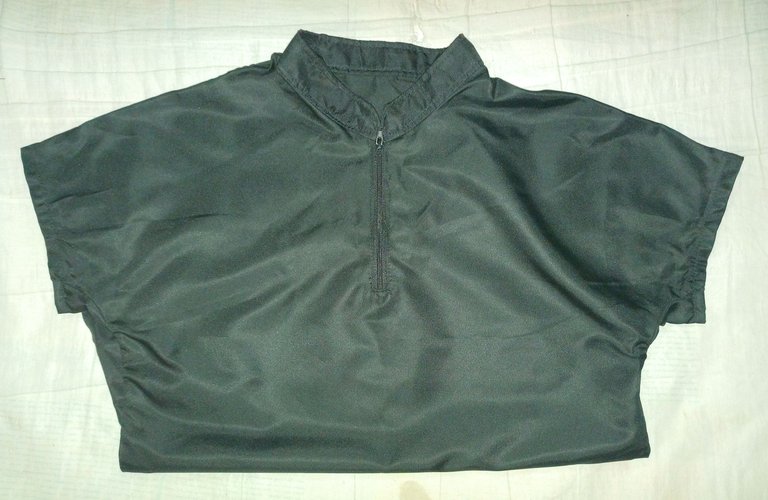
Comenzamos con la confección de la blusa, específicamente con la costura del cierre que irá en la parte delantera y que formará parte del cuello. Para ello hacemos un corte central de 12cm de largo y al final de éste corte hacemos un piquete de aproximadamente 1cm o menos para formar ese triángulo que se ve en la foto. El cierre lo coseremos directamente (sin alfileres) para eso se posiciona el final del cierre en la maquilla en dirección a la parte interna de la misma, y encima colocamos la pieza de la blusa con el derecho enfrentado al cierre, y se cose justamente el triángulo que obtuvimos con el corte. Al dar la vuelta lo que se hace es introducir el cierre por el espacio que se ha creado, y con ayuda de alfileres acomodar y doblar la tela de la abertura.
We start with the making of the blouse, specifically with the seam of the zip that will go in the front and that will be part of the collar. To do this, we make a central cut of 12cm long and at the end of this cut we make a picket of approximately 1cm or less to form the triangle that you can see in the photo. We will sew the fastener directly (without pins) for this we position the end of the fastener on the seam in the direction of the inside of it, and on top we place the piece of the blouse with the right side facing the fastener, and we sew just the triangle that we obtained with the cut. When you turn the blouse over, insert the zip through the space you have created, and with the help of pins, fold the fabric of the opening.
 |  |
|---|
 |  |
|---|
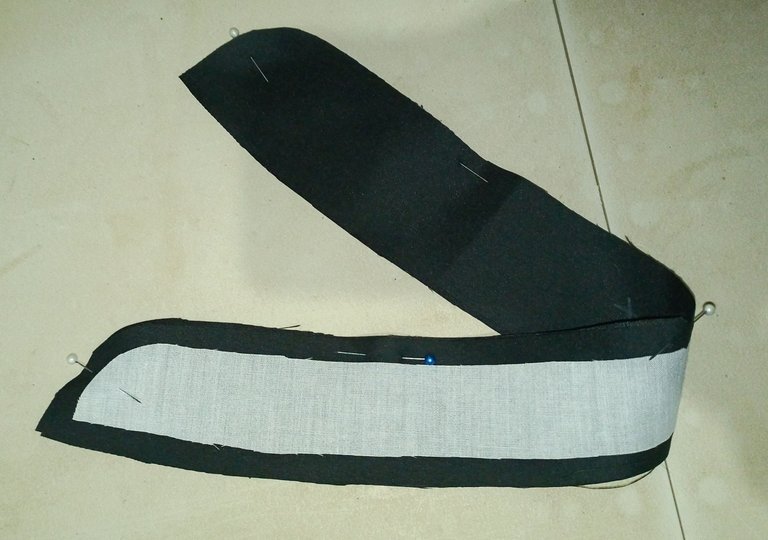
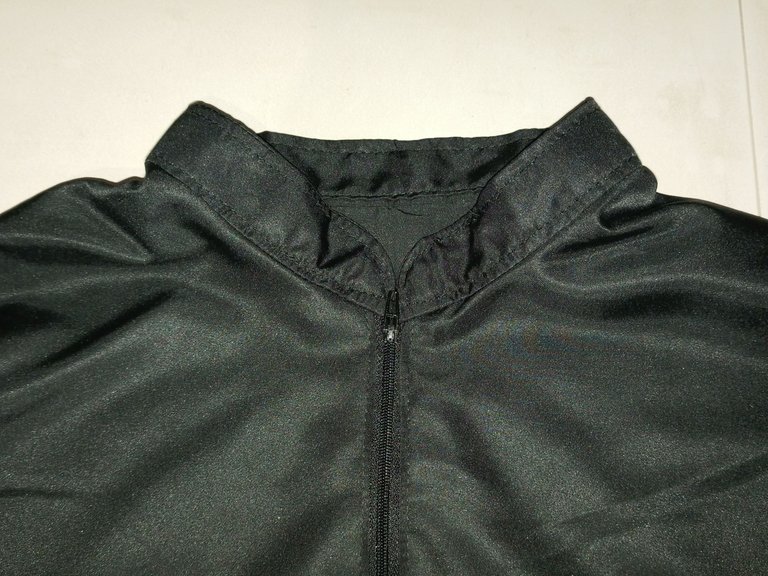
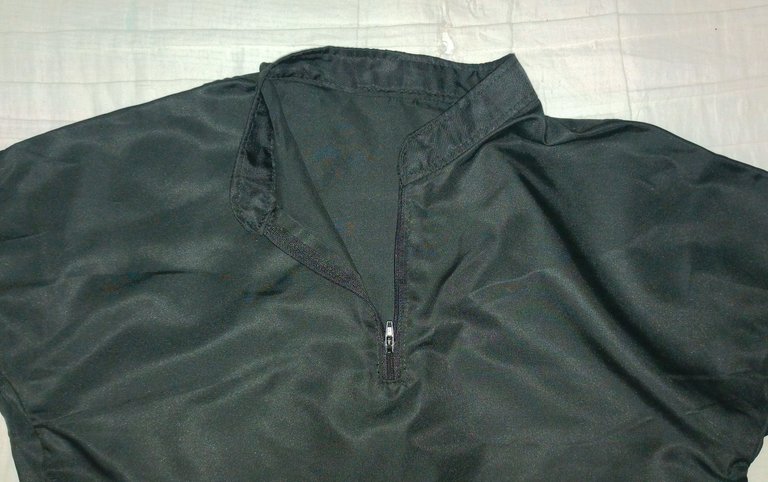
Luego de esto se deben coser las dos piezas de la blusa por los hombros, dando después una costura de asentamiento. Posteriormente armé la pieza del cuello, pegando la entretela con ayuda de la plancha y uniendo ambas piezas enfrentando el derecho de telas y dejando espacios sin coser en cada extremo de aproximadamente 2cm, hice piquetes y al dar la vuelta planche el cuello para obtener mejores resultados. Posterior a ésto me pase a unirlo a la blusa, igual que en otras oportunidades, primero una de las caras del cuello y luego al dar la vuelta doblo y acomodo la otra cara del cuello para esconder la costura anterior y dar una puntada de asentamiento en todo el cuello.
After this, the two pieces of the blouse should be sewn together at the shoulders, giving then a seam allowance. Afterwards I assembled the collar piece, gluing the interlining with the help of the iron and joining both pieces facing the right sides of the fabrics and leaving spaces of approximately 2cm at each end without sewing, I made picks and when turning over I ironed the collar to obtain better results. After this I joined it to the blouse, just like in other opportunities, first one side of the collar and then when I turn around I folded the other side of the collar to hide the previous seam and give a settling stitch on the whole collar.
 |  |
|---|
 |  |
|---|
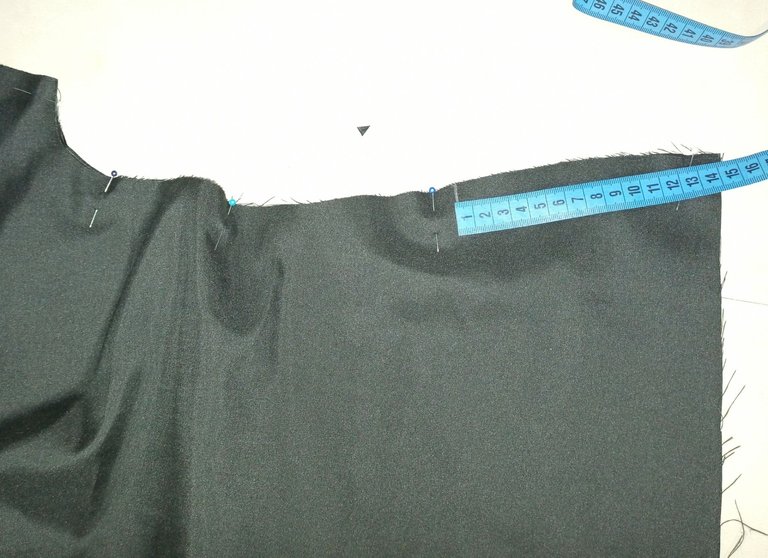
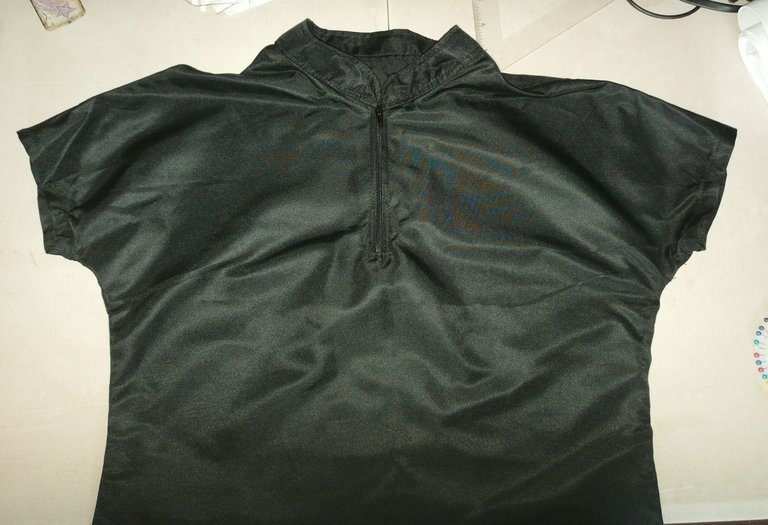
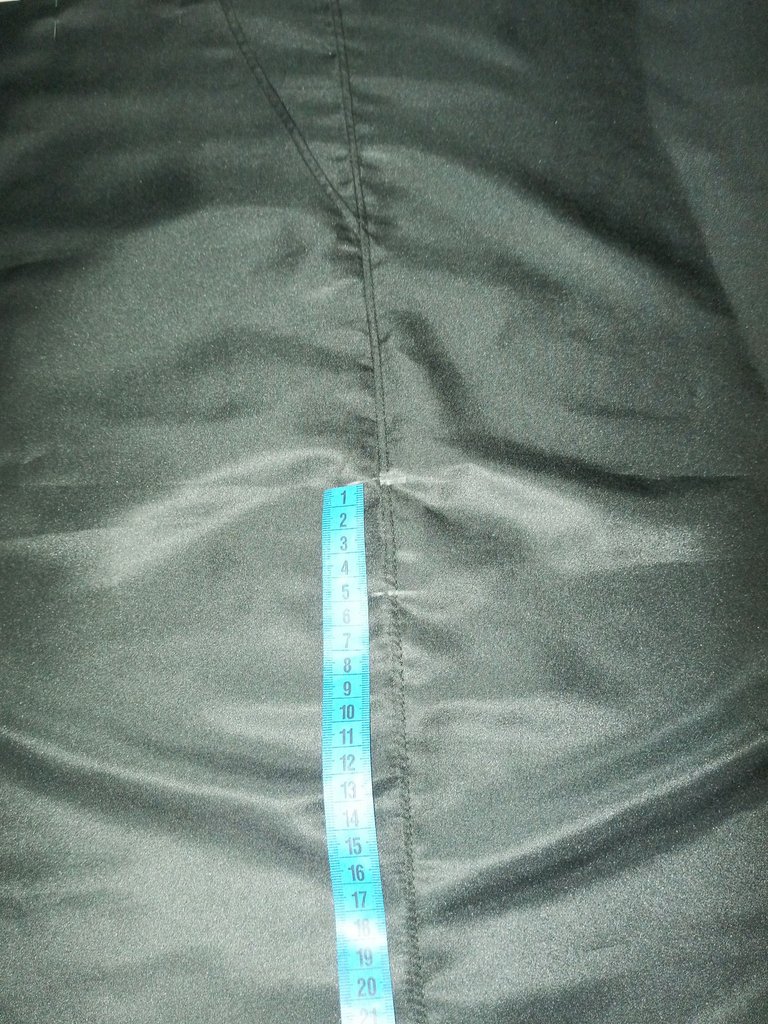
Ahora toca coser los costados de la blusa, para eso primero medi 14cm desde la parte inferior y realicé allí una marca, luego cosi todo el costado hasta la marca que había realizado. Planche 1cm a cada lado de ésta abertura que se generó y cosi al borde de la tela formando un rectángulo, así se creo la abertura al final de la blusa, la cual se hace en ambos lados. Después de esto hice los ruedos de las mangas y el de la parte inferior.
Now it's time to sew the sides of the blouse, so first I measured 14cm from the bottom and made a mark there, then I sewed all the way up to the mark I had made. I ironed 1cm on each side of this opening and sewed to the edge of the fabric forming a rectangle, thus creating the opening at the end of the blouse, which is made on both sides. After this I made the sleeve hems and the bottom hem.
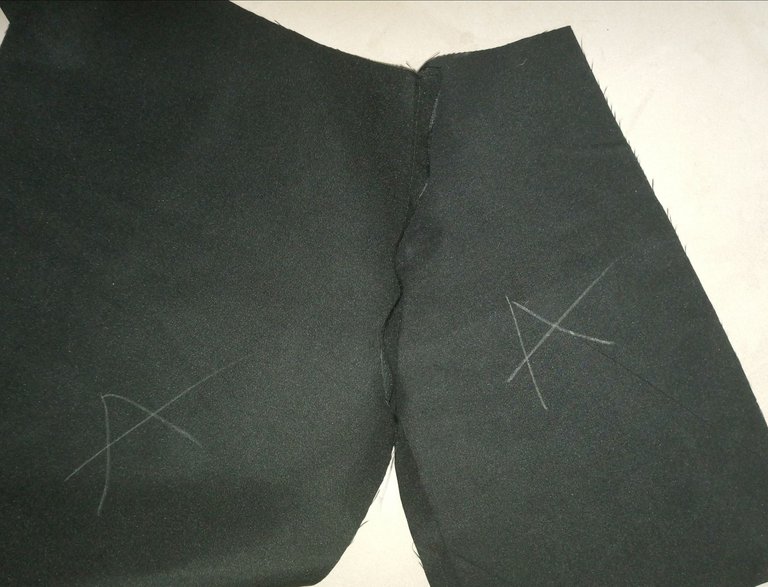
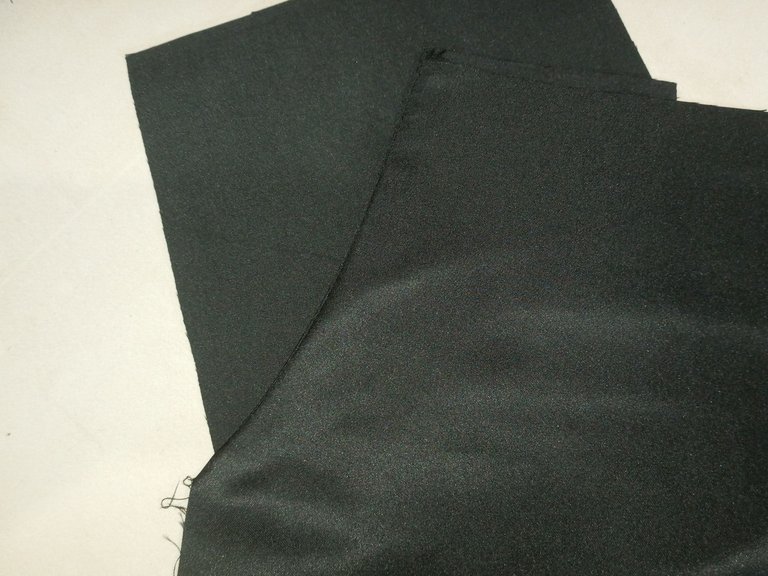
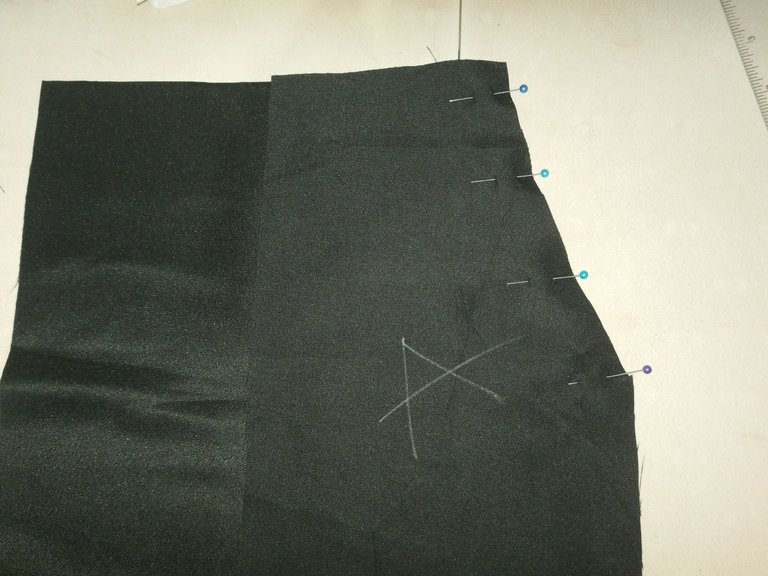
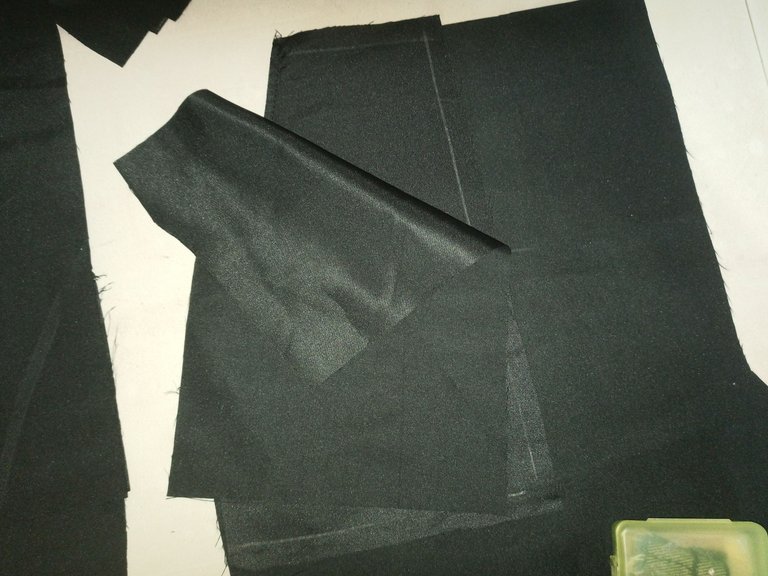
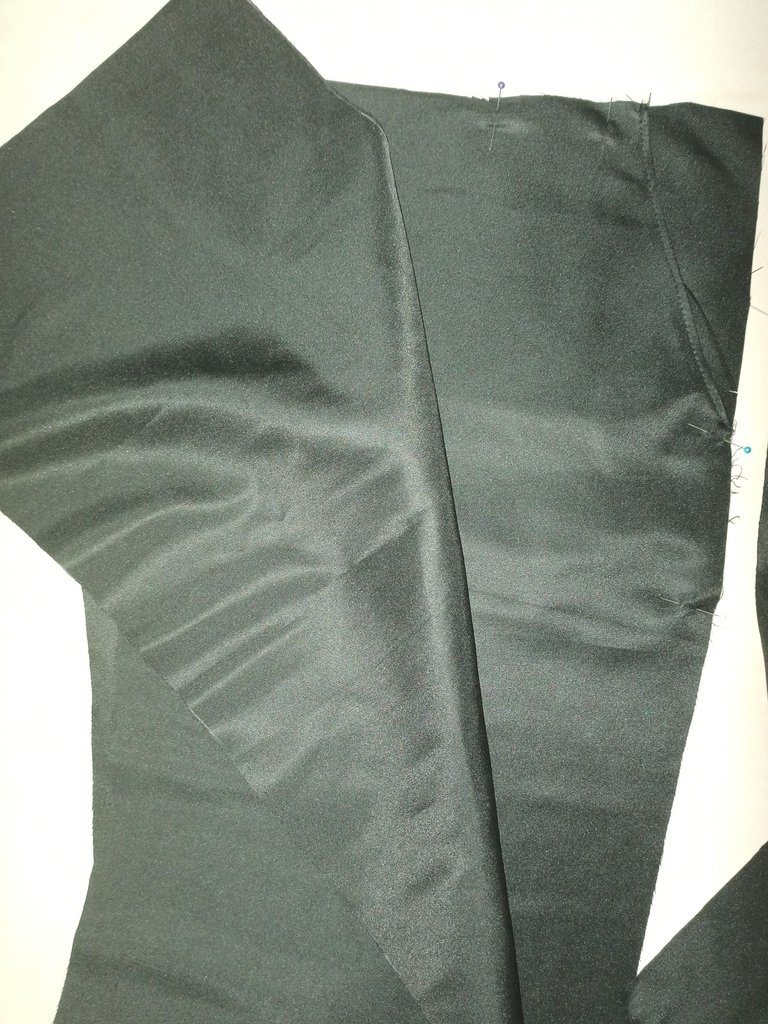
Ahora vamos con el pantalón, en el lo primero que cosi fue el bolsillo interno, para ello enfrente cada delantero con la pieza respectiva del bolsillo (la que tiene la curva del bolsillo) y luego realicé costura de asentamiento, voltee la pieza y enfrenté el derecho de tela de los bolsillos con la segunda pieza y cosi alrededor de las mismas. Luego de ésto cosi delantero y espalda del pantalón por la línea del costado, a ésto también le dí costura de asentamiento.
Now let's go to the trousers, the first thing I sewed was the inside pocket, for this I faced each front with the respective pocket piece (the one with the pocket curve) and then I sewed a seam allowance, I turned the piece over and faced the right side of the pockets with the second piece and sewed around them. After this I sewed the front and back of the trousers along the line of the side, this was also sewn with a seam allowance.
 |  |
|---|
 |  |
|---|
 |  |
|---|
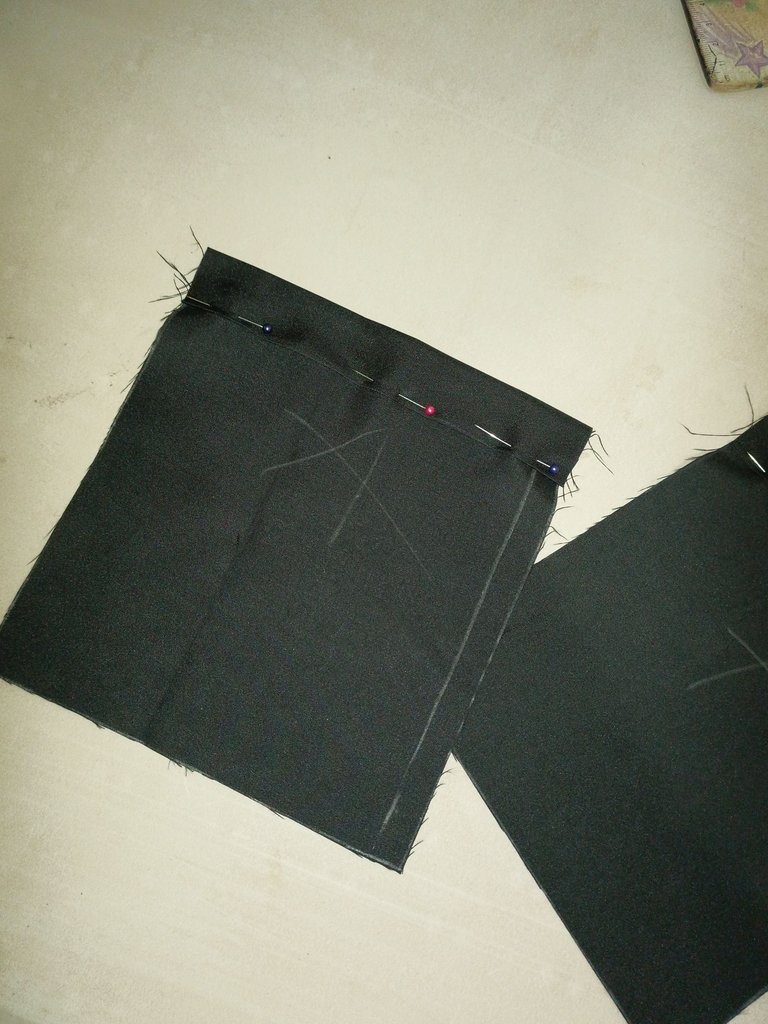
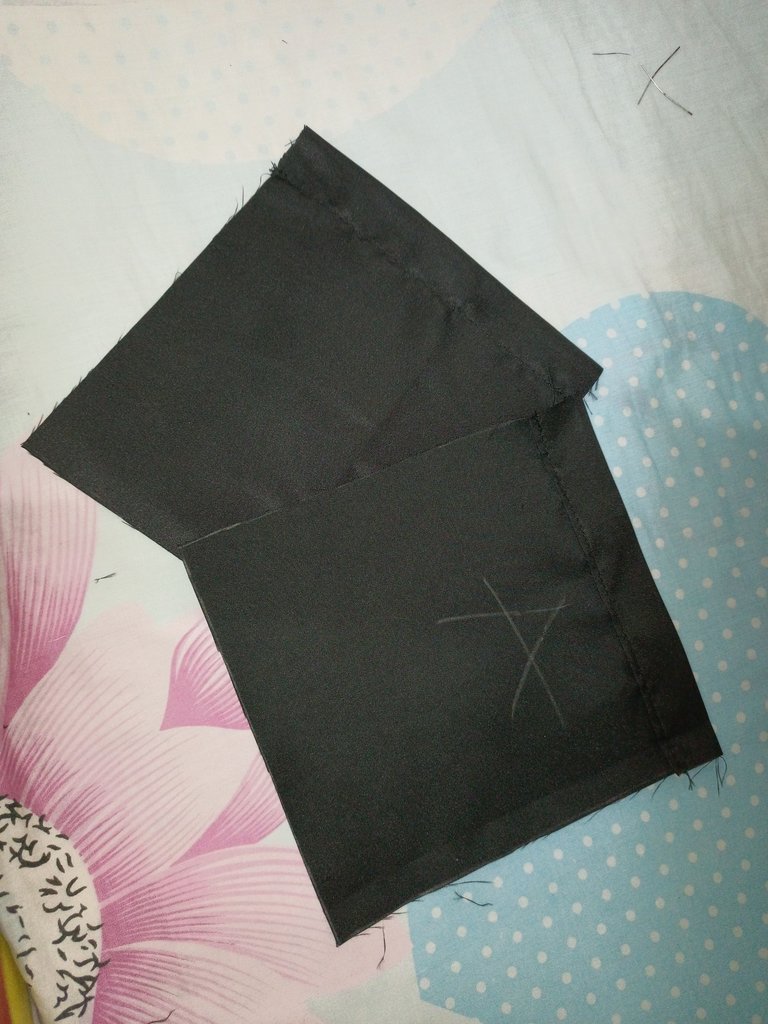
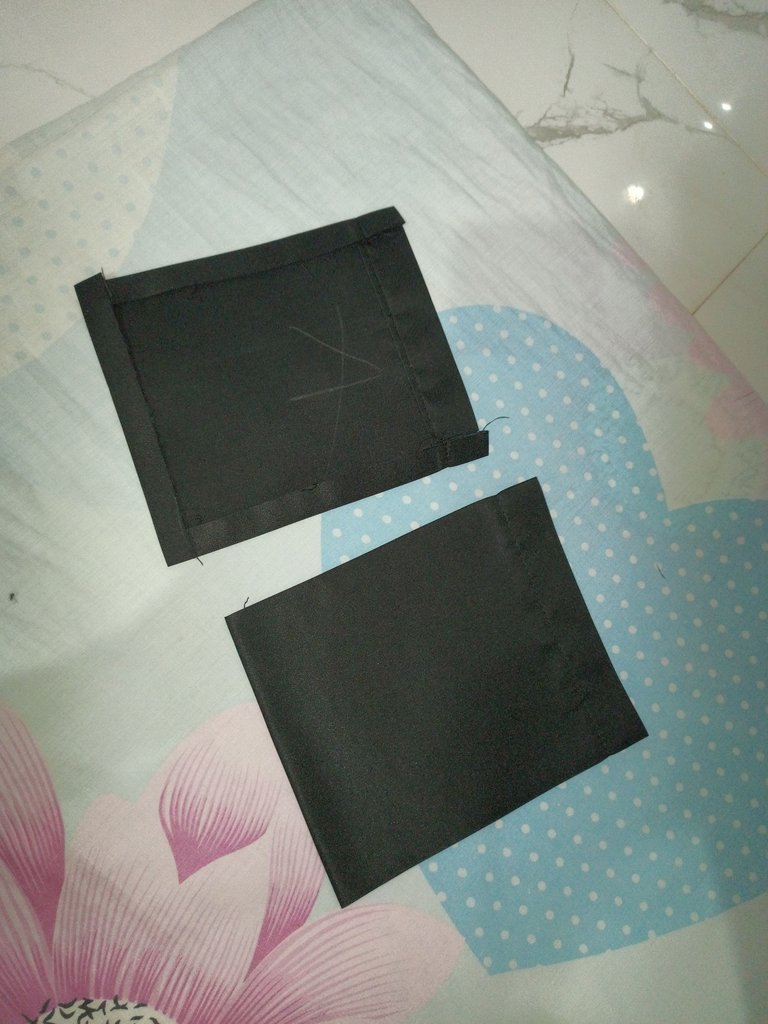
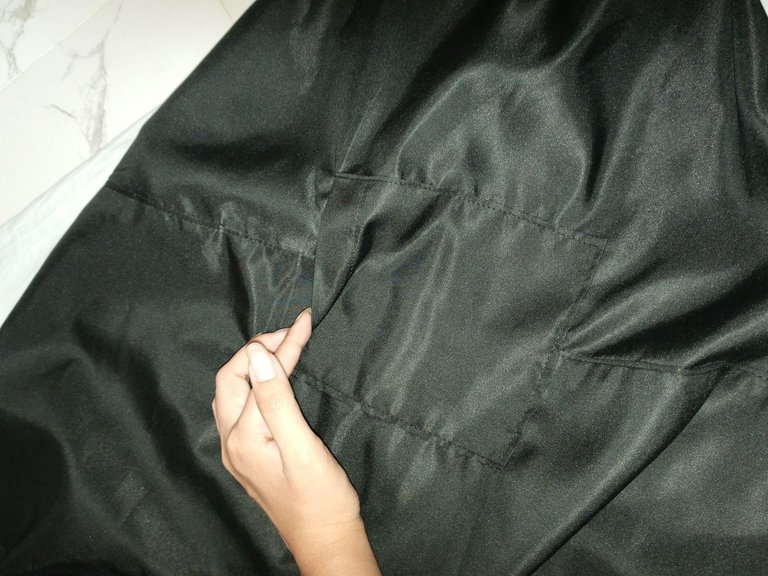
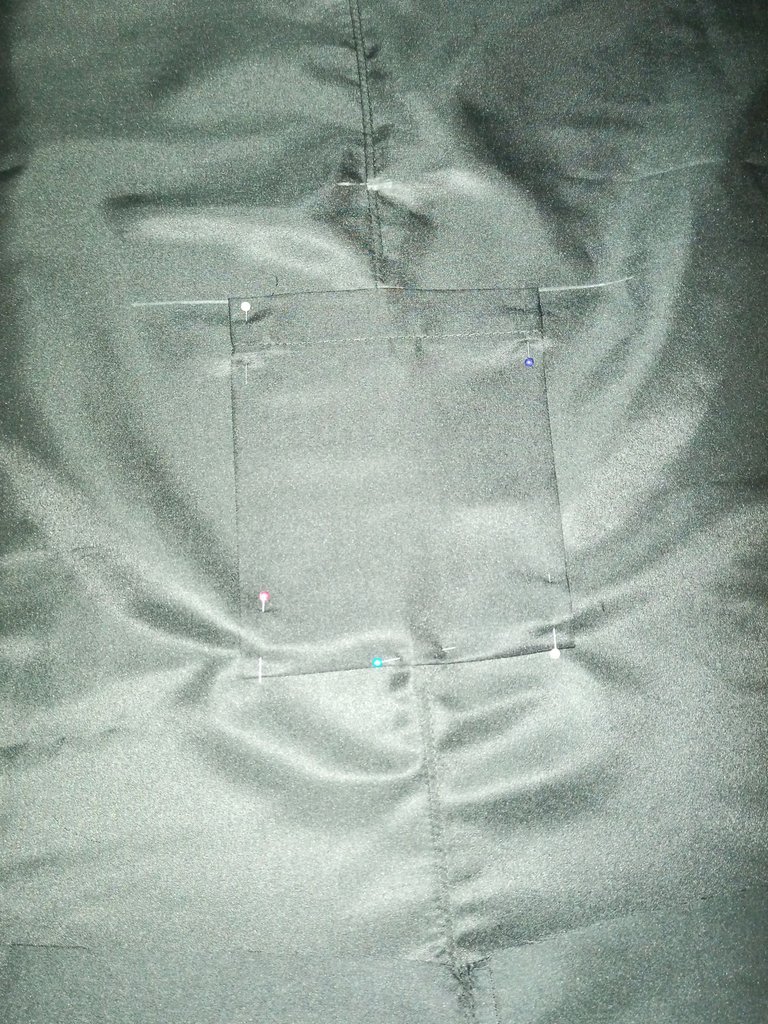
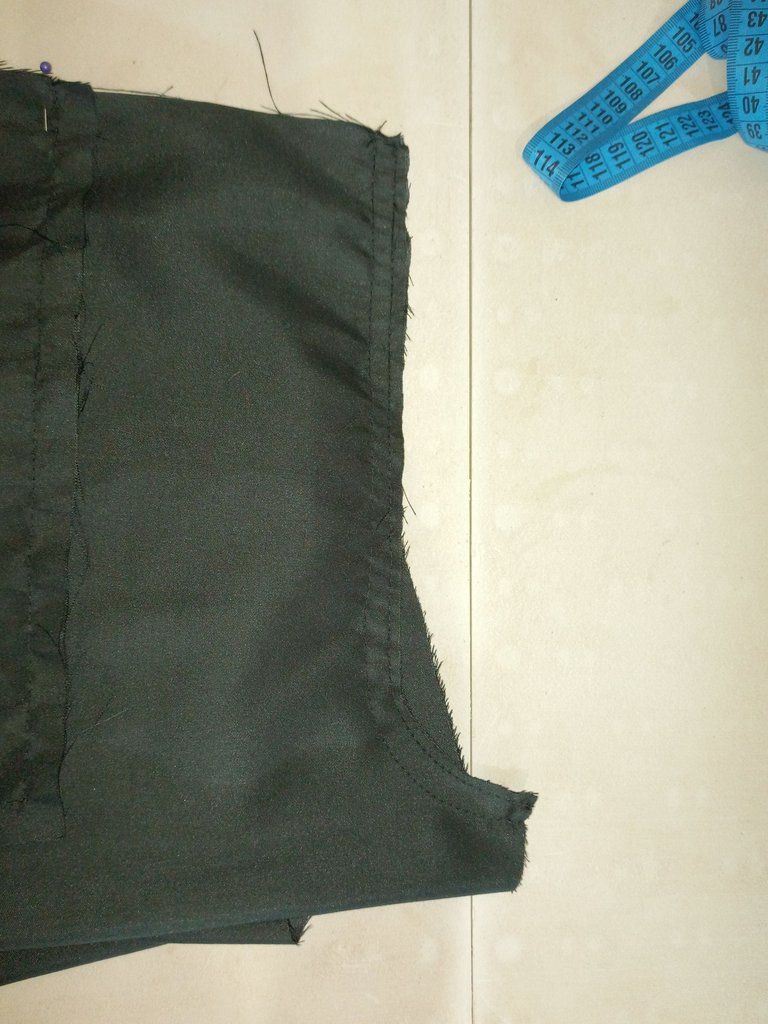
Con los costados unidos es momento de coser los bolsillos laterales, para ello ubiqué el final del bolsillo interno y de allí medi 5cm y es en ese punto donde ubicare los bolsillos. Pero primero tomé los dos rectángulos que corresponden a éstas piezas y les realicé un ruedo de 4cm, para ellos primero medi los 4cm, planche y después planche 1cm en el borde, formando así el ruedo que será la parte superior del bolsillo. Además planche 1cm en los 3 lados del bolsillo para ayudarme al momento de coserlos al pantalón.
With the sides together it's time to sew the side pockets, for this I located the end of the inner pocket and from there I measured 5cm and it's at that point where I will place the pockets. But first I took the two rectangles that correspond to these pieces and made a 4cm border, for them I first measured the 4cm, ironed and then ironed 1cm on the edge, thus forming the border that will be the top of the pocket. I also ironed 1cm on the 3 sides of the pocket to help me when sewing them to the trousers.
 |  |
|---|
 |  |  |
|---|
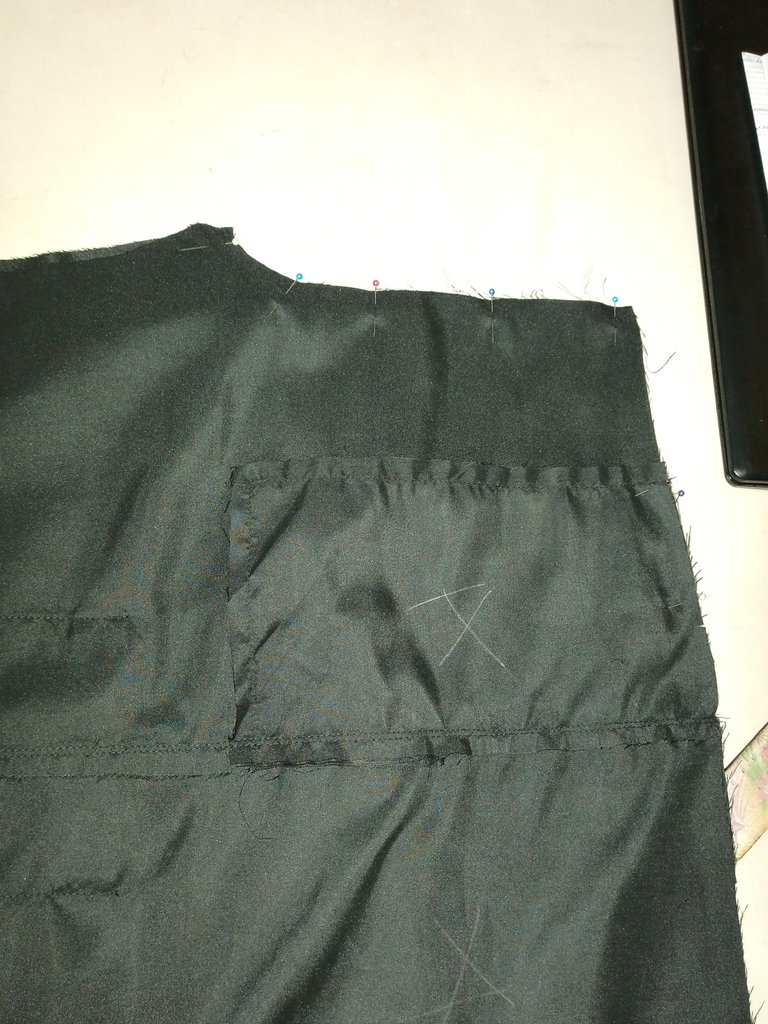
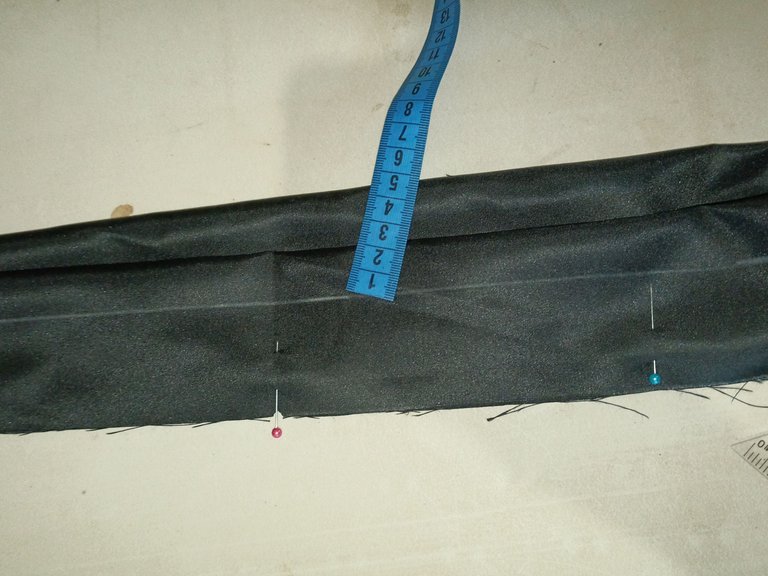
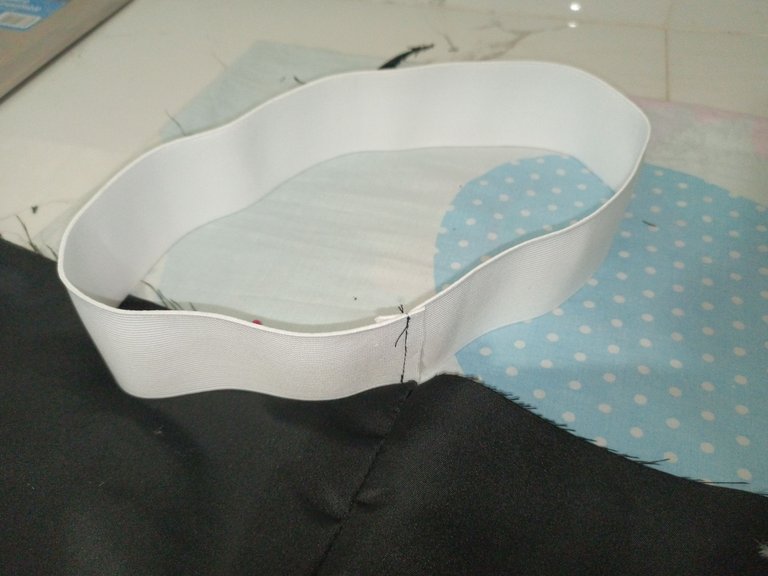
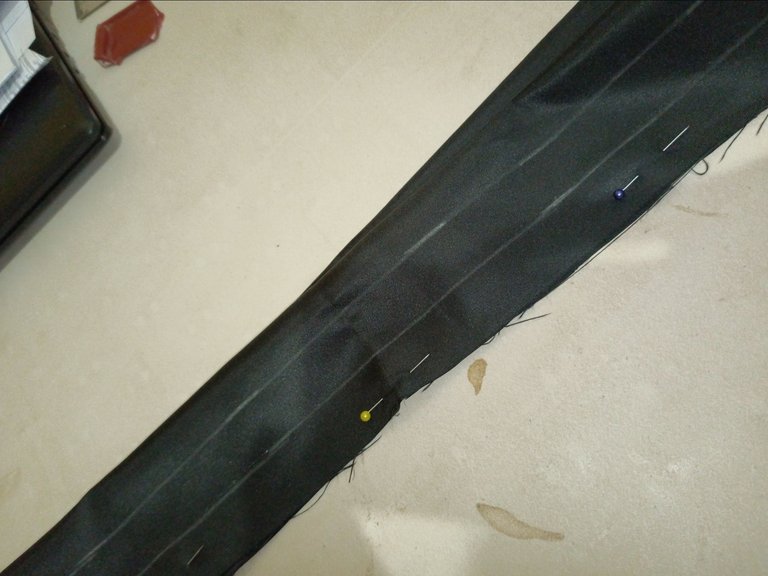
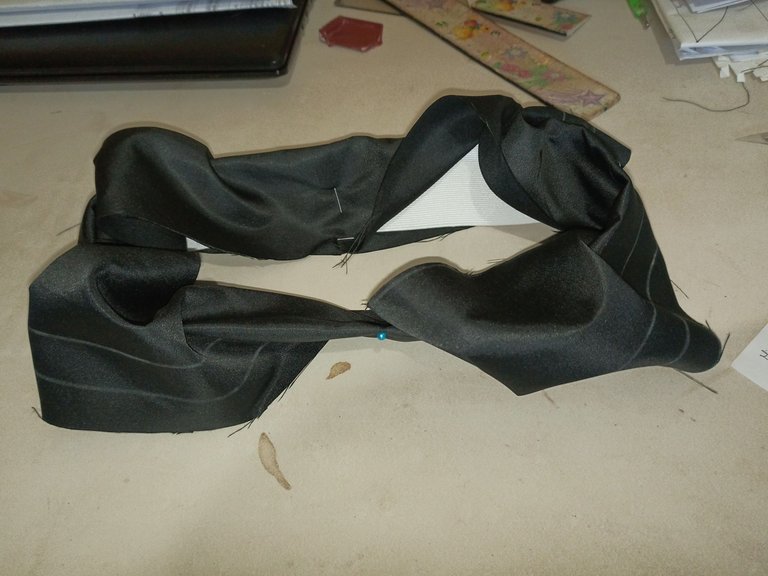
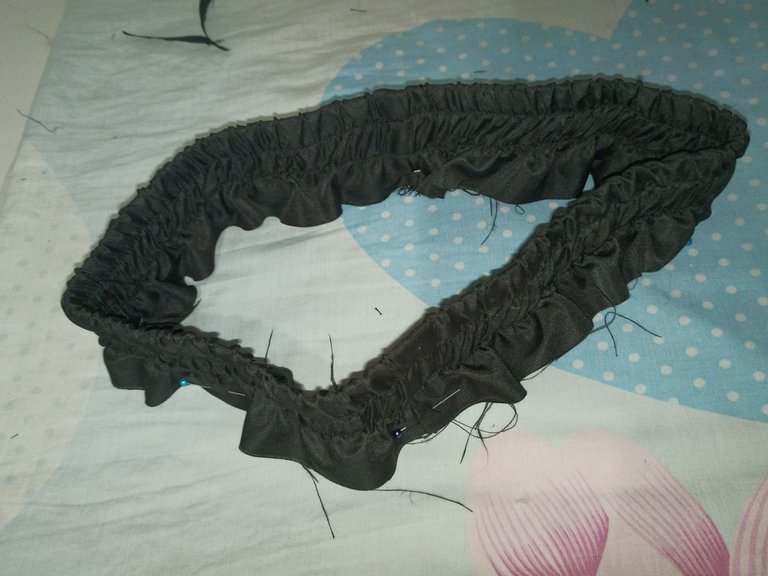
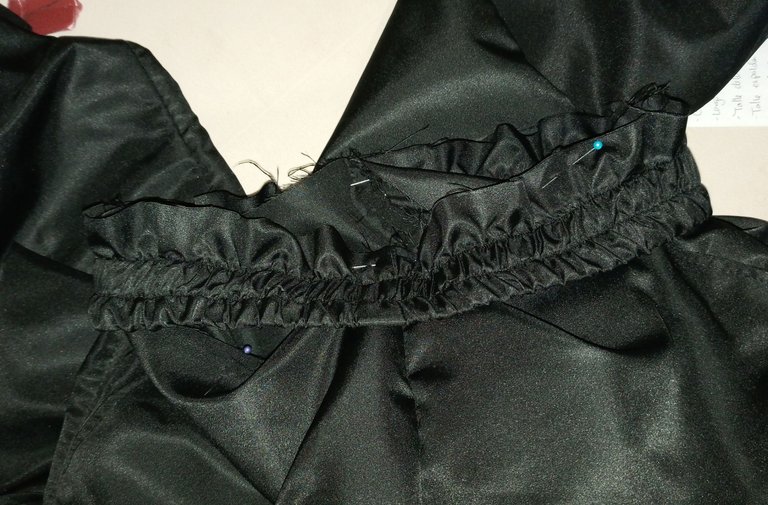
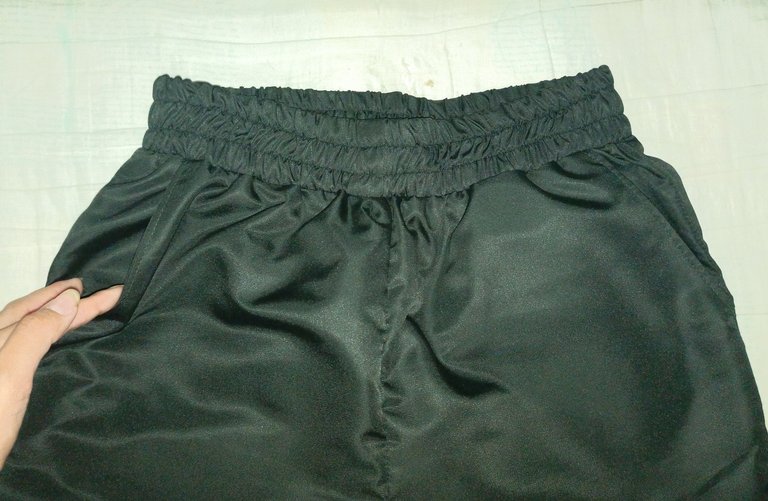
Cosi los tiros delanteros y espalda y luego terminé de unir el pantalón por la línea interna del mismo, quedando así listo para la pretina. Para ésto corte la goma de 5cm de grosor con mi respectiva medida de cintura y la cerré, tomé la pieza de la pretina y también le hice una costura para cerrarla y obtener un círculo, la doble a la mitad de modo que cubra la goma y marque dos líneas en todo el alrededor, la primera a 1.5cm del borde de la tela y la segunda a 1.5cm de la linea anterior, y cosi estirando la goma por esas dos líneas, cuando tuve la pieza lista la uni al pantalón cosiendo sin tocar la goma.
I sewed the front and back straps together and then finished joining the trousers along the inside line of the trousers, ready for the waistband. For this I cut the 5cm thick elastic with my waist measurement and closed it, I took the waistband piece and also made a seam allowance to close it and get a circle, folded it in half so that it covers the elastic and marked two lines all the way around, the first 1.5cm from the edge of the fabric and the second 1.5cm from the previous line, and I sewed stretching the elastic along those two lines, when I had the piece ready I attached it to the trousers sewing without touching the elastic.
 |  |
|---|
 |  |
|---|
 |  |
|---|
 |  |
|---|
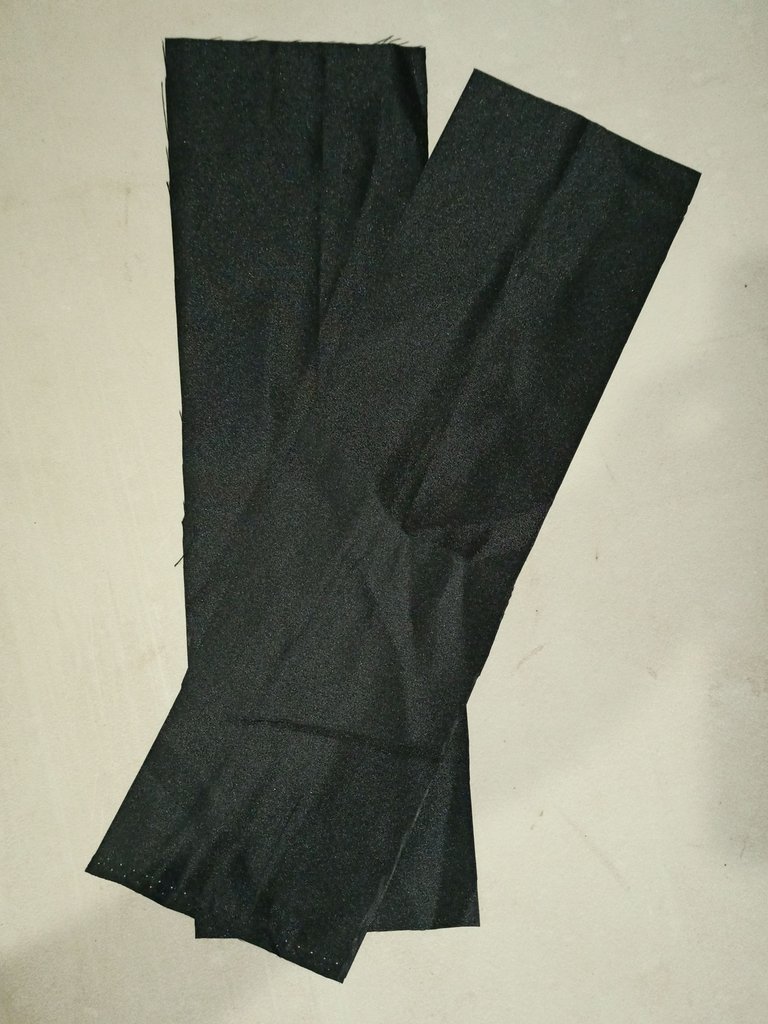
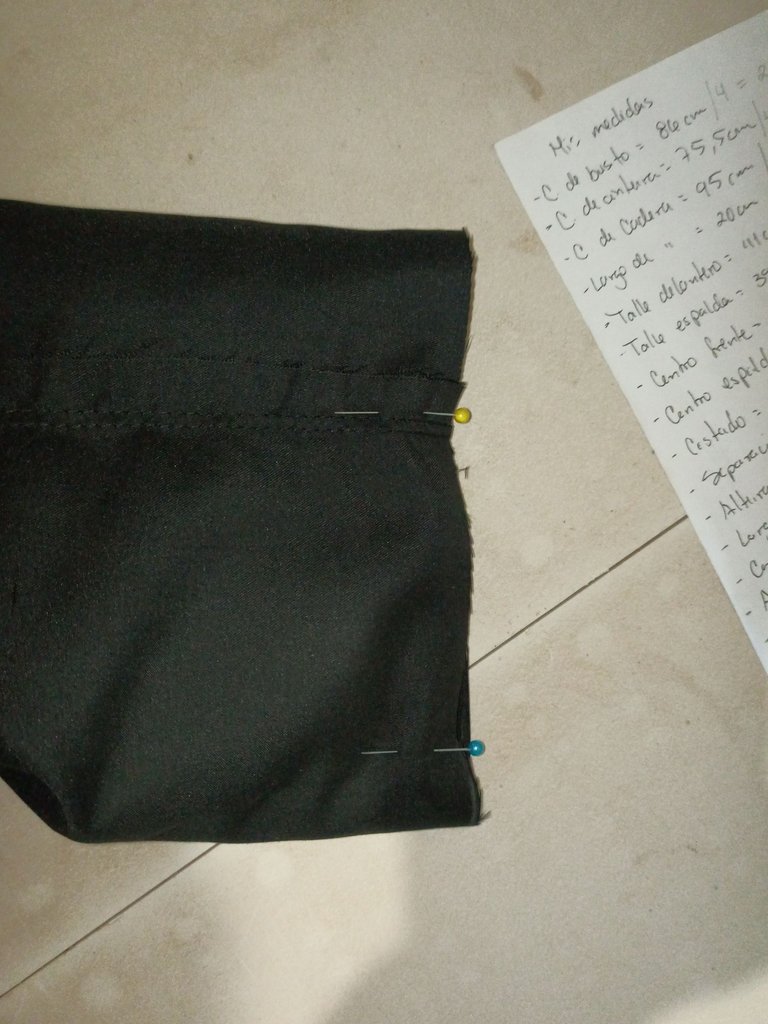
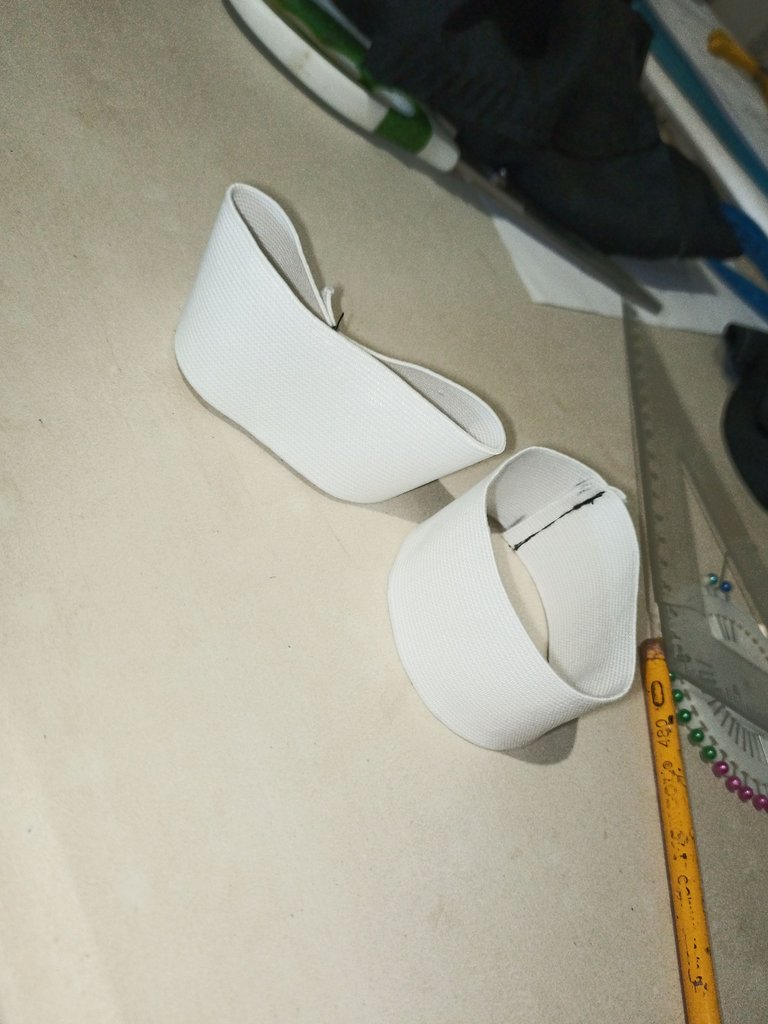
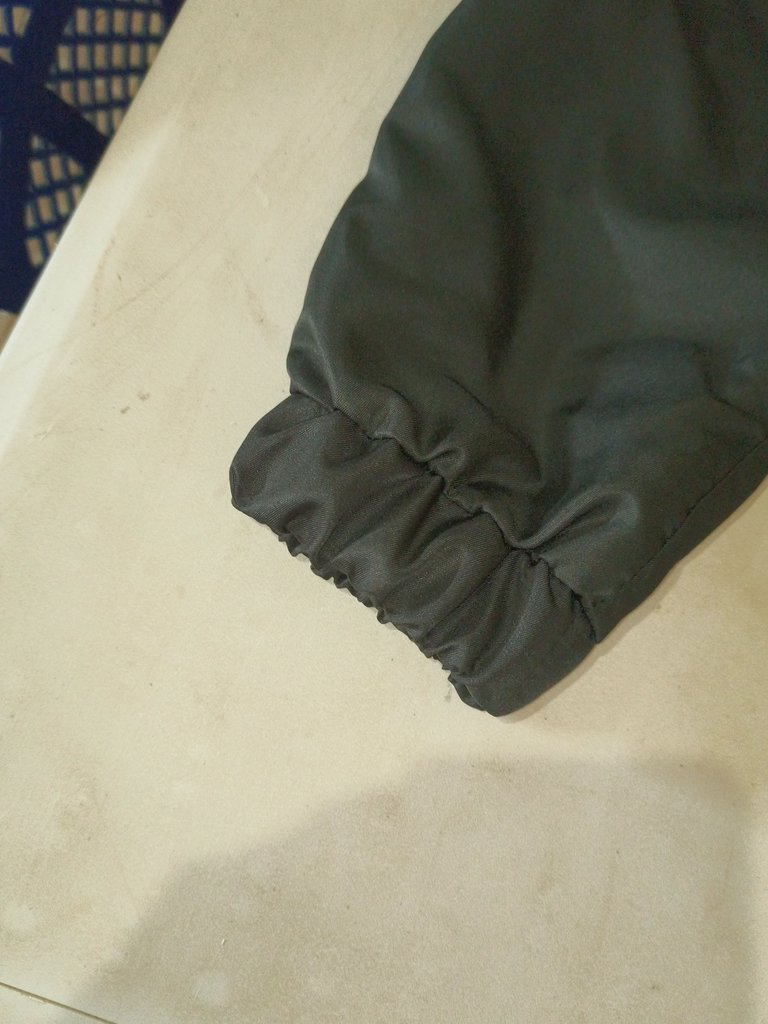
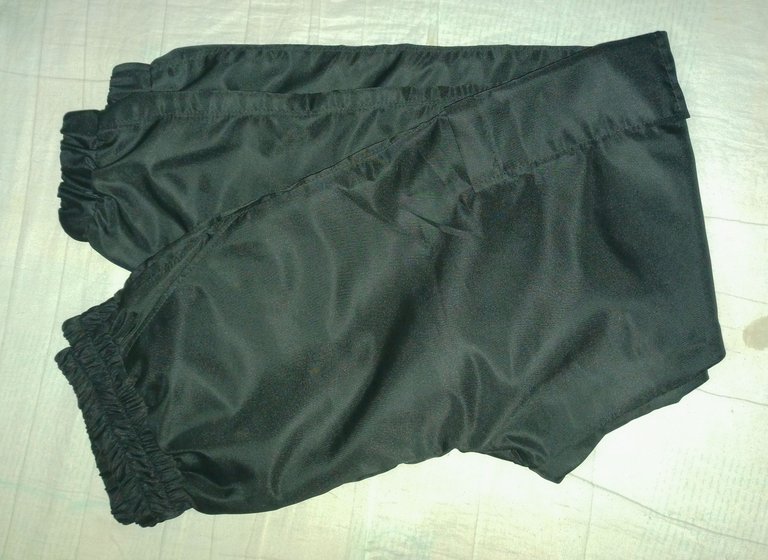
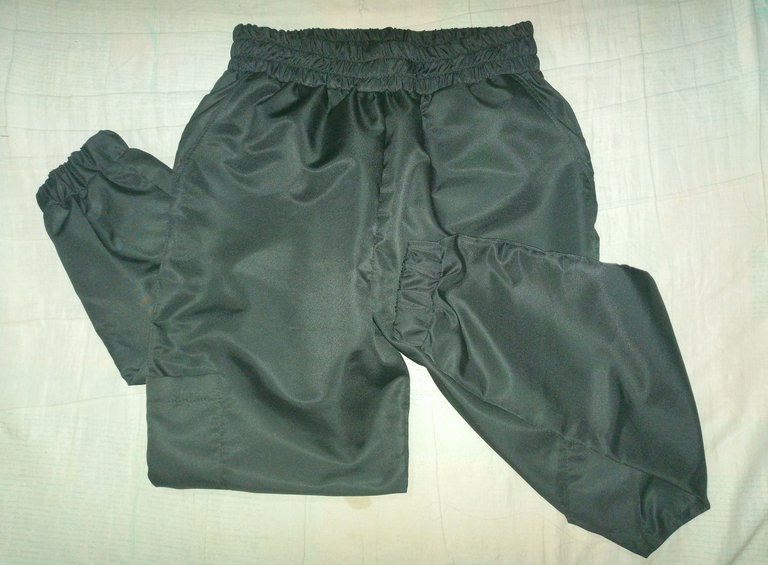
En éste punto me medi el pantalón para ver cómo me quedaba de largo y si tenía que quitar tela, es importante tener en cuenta que al ser jogger, el pantalón te debe llegar justo al tobillo (quizás un poquito más abajo), para que al momento de añadir la goma quede un poco de tela que le dé movilidad al pantalón. La goma la corte con las medidas respectivas de mis tobillos, y las cosi de forma similar a la pretina, solo que sin hacerle las dos líneas de engomado.
At this point I measured the trousers to see how long they were and if I had to remove fabric, it's important to take into account that as they are joggers, the trousers should reach just to the ankle (maybe a little bit lower), so that when adding the elastic there is a little bit of fabric left to give mobility to the trousers. I cut the elastic with the respective measurements of my ankles, and sewed them in a similar way to the waistband, but without the two rubber lines.
 |  |
|---|
 |  |
|---|

 |  |
|---|
 |  |
|---|

Instagram Personal:@susijackeline
Instagram de Maquillaje:@makeup_sm22
Twitter:@kiut_variedades
| Basic Blouse Pattern for Lady | Basic Ladies Pants Pattern |
|---|---|
| Kimono Sleeve Blouse | Neru or Military Collar Blouse for Lady |
All Images are my Property
Translator DeepL