¿Cómo transformar una camisa que no usas en un top?
How to transform a shirt you don't wear into a top?
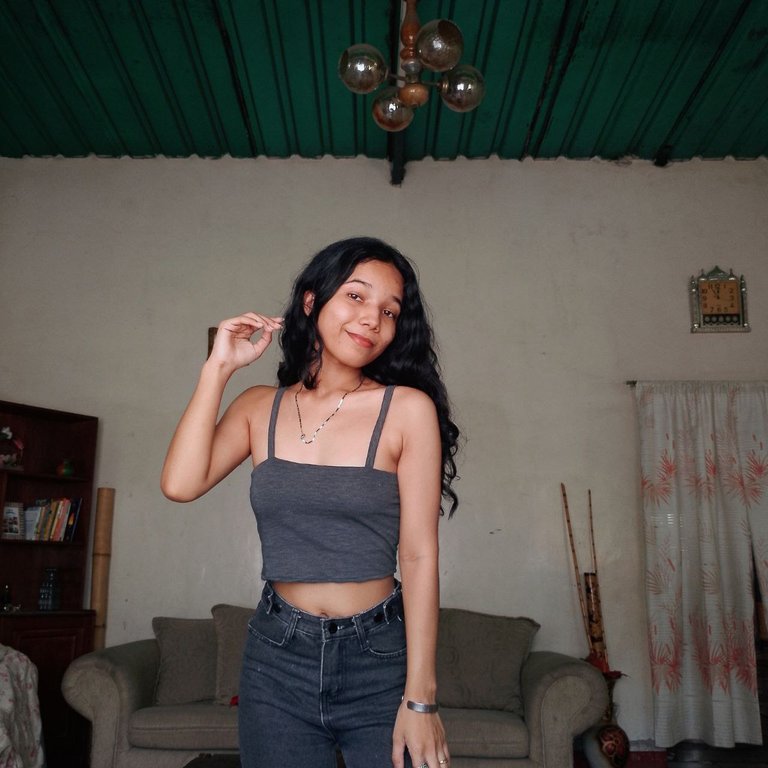
¿Te asusta la idea? A mi también pero vamos a intentarlo.
Hola amigos. Espero que se encuentren bien. El día de hoy les quiero hablar de mi experiencia con una idea que tenia rato en mi mente. Es la primera vez que le tengo tanta dedicación a la costura y me encantó.
¿Sabes? Mi mamá a veces se enoja conmigo porque yo boto o regalo cosas que no uso o no le veo utilidad. Esta ocasión no fue la excepción, hace tiempo quería darle un uso a unas camisas que no uso y nadie usa....así que me preguntaba ¿Qué otra utilidad le podría sacar provecho a una camisa que no uso? Y como también quería un top básico porque me di cuenta que no tengo (y si, también quiero probar nuevos estilos en mi armario) así que se me ocurrió la idea ya que días atrás que quería probar un estilo de costura en un pantalón y me llegó la idea de hacer un top. Si, así de cambiante puedo ser. Busqué un video en YouTube porque mi mamá sabe un poco de costura pero ella no me entendía lo que estaba diciendo (y ella sabe mucho mas que yo) y yo buscaba uno en donde me sintiera cómoda. y encontré un tutorial en donde explicaba cómo transformar un top.
Te preguntarás, ¿Qué se necesita? ¿Cómo lo hiciste? Bueno les explicaré según mi experiencia y espero que les guste y sirva de algún consejo.
English versionDoes the idea scare you? Me too, but let's give it a try.
Hello friends. I hope you are feeling well. Today I want to talk about my experience with an idea that I had in my mind for a while. It is the first time that I have so much dedication to sewing and I loved it.
You know, my mom sometimes gets mad at me because I throw away or give away things I don't use or don't see any use for. This time was no exception, some time ago I wanted to give a use to some shirts that I don't use and nobody uses .... so I wondered what other use I could get out of a shirt that I don't use? And since I also wanted a basic top because I realized I don't have one (and yes, I also want to try new styles in my closet) so I came up with the idea since days ago I wanted to try a sewing style on a pair of pants and I came up with the idea of making a top. Yes, that's how changeable I can be. I looked for a video on (YouTube)[link] because my mom knows a little bit about sewing but she didn't understand what I was saying (and she knows much more than me) and I was looking for one where I felt comfortable and I found a tutorial where she explained how to transform a top.
You may ask, what does it take, how did you do it? Well I will explain according to my experience and I hope you like it and it will serve as some advice
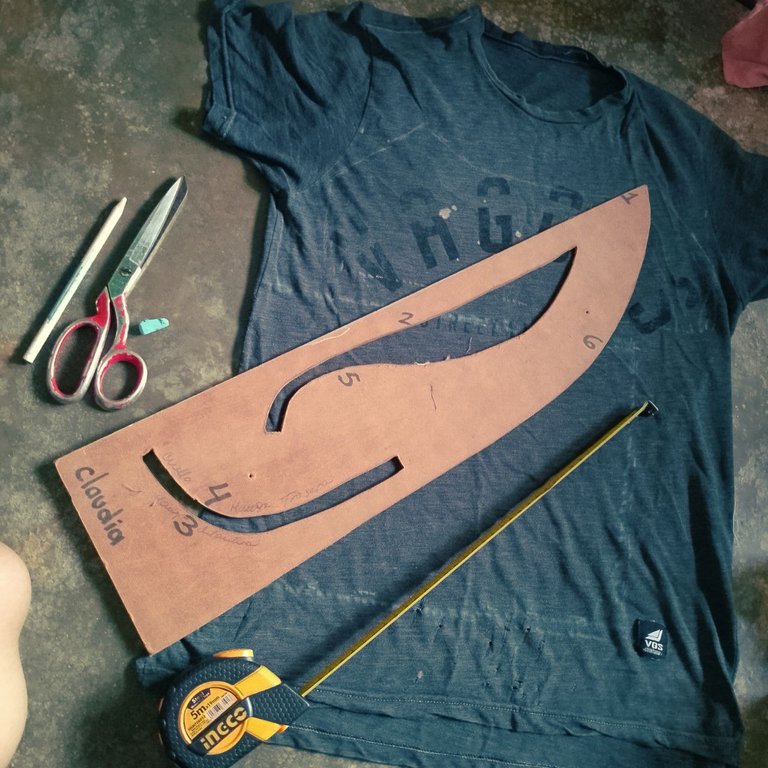
♡Materiales♡ :
- Tijera
- Lápiz o tiza (opcional)
- Hilo
- Máquina de coser
- Aguja
- Tela o en mi caso camisa (puedes elegir la que quieras y de preferencia que estire)
- Regla y/o cinta métrica
♡Tutorial paso a paso♡
Una vez que tengas la camisa o tela, lo primero que vamos a hacer es marcar con una cinta métrica o de costura que tan largo quieres el top (yo lo hice de 23 centímetros) puedes hacerlo mas largo o mas corto.
Vas a agarrar la tela en una esquina y vas a estirarla desde debajo de la axila donde comienza tu pecho hasta el otro lado y aquí tu calculas que tan ajustado o suelto lo quieres. Lo marcas con una tiza o un alfiler.
Una vez lista las dos medidas, procedemos a hacer una un rectángulo sobre la tela (si quieres guardar las medidas puedes hacerlo sobre un papel y ese será tu patrón).
♡Materials♡
- Scissors
- Pencil or chalk (optional)
- Thread
- Sewing machine
- Needle
- Fabric or in my case shirt (you can choose the one you want and preferably that stretches).
- Ruler and/or tape measure
♡Step by step tutorial♡
Once you have the shirt or fabric, the first thing we are going to do is mark with a tape measure or sewing tape how long you want the top to be (I made it 23 centimeters) you can make it longer or shorter.
You are going to grab the fabric in one corner and stretch it from under the armpit where your chest starts to the other side and here you calculate how tight or loose you want it. You mark it with a chalk or a pin.
Once you have the two measurements ready, proceed to make a rectangle on the fabric (if you want to save the measurements you can do it on a piece of paper and that will be your pattern).
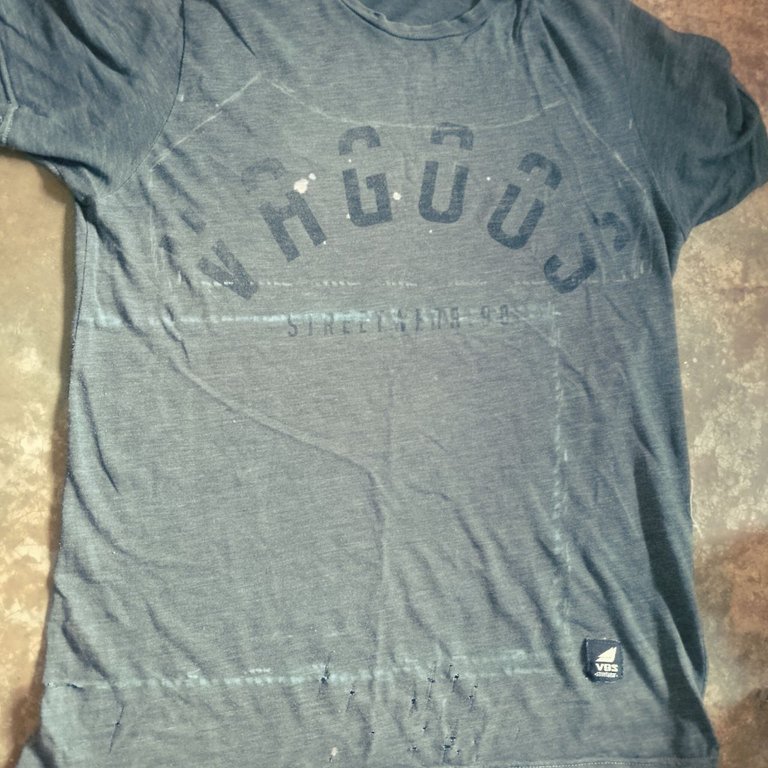
Procedemos a repetir el mismo rectángulo con las medidas que hicimos en el paso anterior pero puedes hacerlo un mas pequeño angosto. Este paso es para hacer la doble tela porque mi tela es delgada; si tienes una tela gruesa entonces no hace falta o si te gusta así, no hay problema.
Yeii, una vez que tengamos la medidas las trazamos con mucho amor y cuidado sobre la tela y procedemos a cortar con una tijera de preferencia de costura (aparte de que cortan mejor la tela, te cansas menos).
We proceed to repeat the same rectangle with the measurements we did in the previous step but you can make it a little narrower. This step is to make the double fabric because my fabric is thin; if you have a thick fabric then there is no need or if you like it that way, no problem.
Yeii, once we have the measurements we trace them with love and care on the fabric and proceed to cut with scissors, preferably sewing scissors (besides they cut the fabric better, you get less tired).
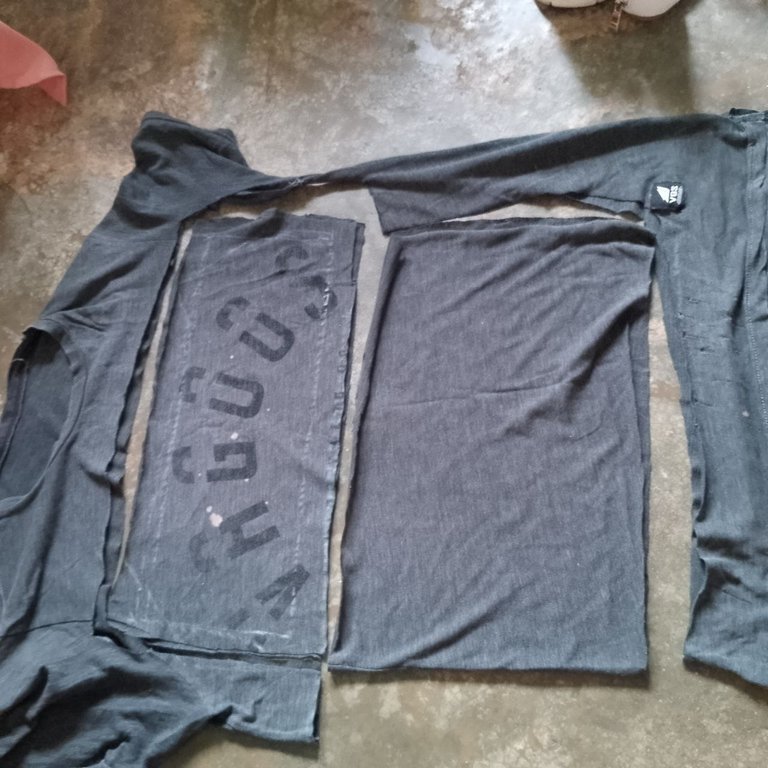
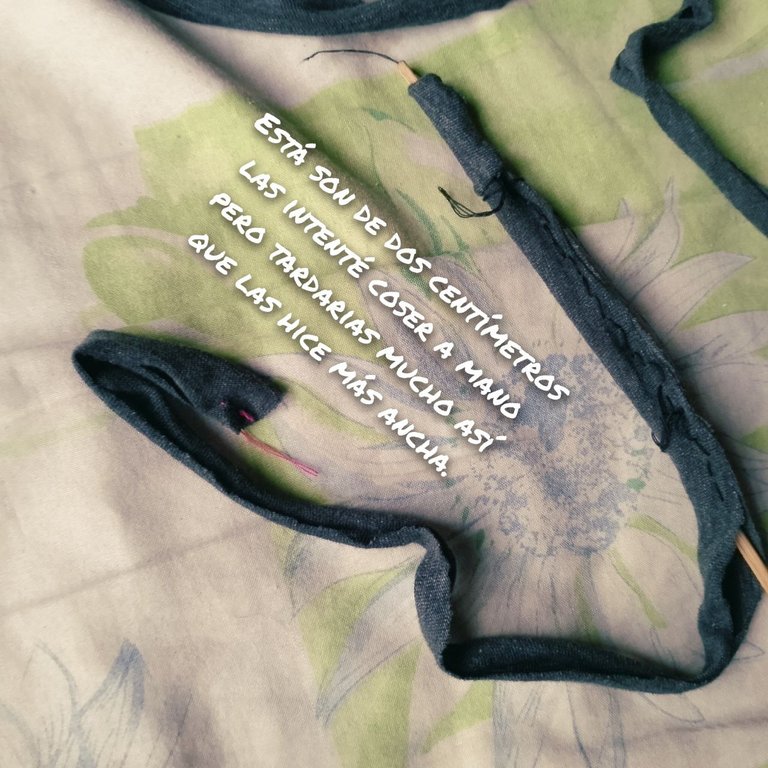
| •Muy bien, ahora procedemos a hacer las tiras, en mi caso las hice de 2 centímetros pero como la tela es muy delgada no me funcionó así que las hice como de 4 centímetros aproximadamente y el largo dependerá de que tan largo ustedes lo quieran. | • Very well, now we proceed to make the strips, in my case I made them of 2 centimeters but as the fabric is very thin it did not work so I made them about 4 centimeters approximately and the length will depend on how long you want it. |
|---|
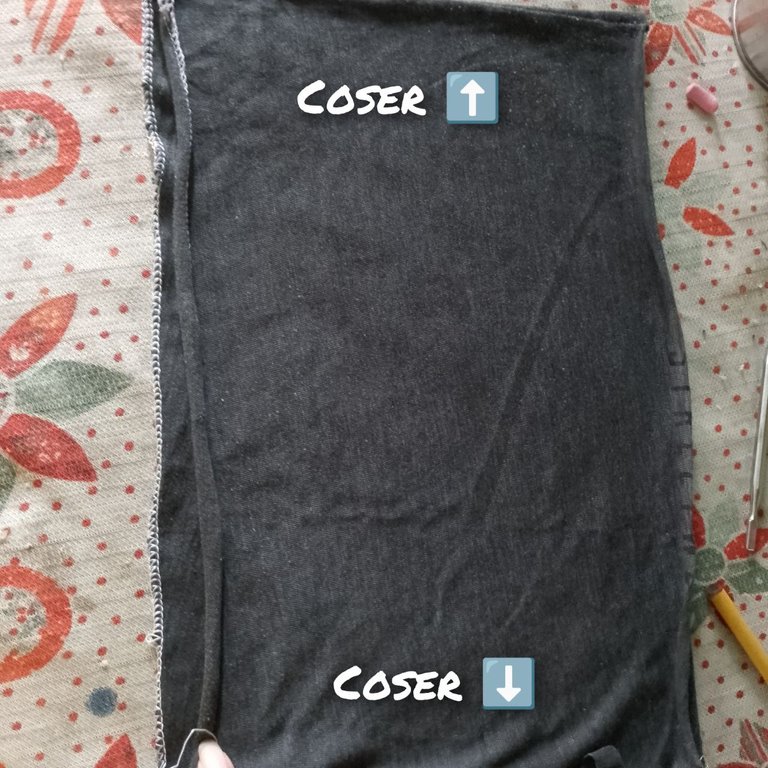
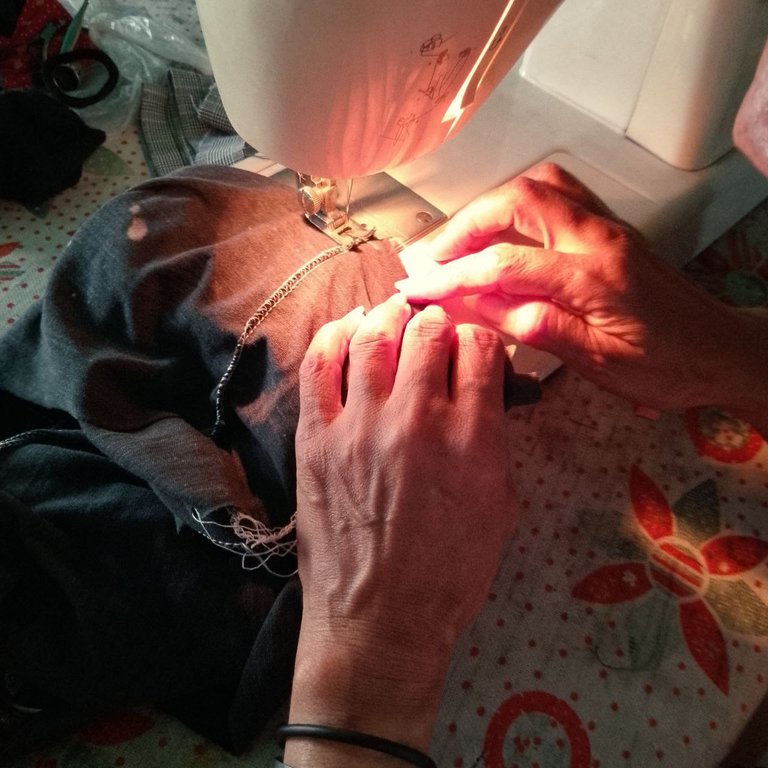
• Ahora comienza lo bueno, primero agarramos la tela principal y coseremos por los lados laterales (se cose del lado desde adentro y cosemos primero en recto y después en zig zag para tener un mejor acabado.
• Luego procedemos a hacer lo mismo con la tela va adentro de la tela principal
• Now begins the good part, first we take the main fabric and we sew on the lateral sides (we sew from the inside and sew first straight and then zig zag to have a better finish.
• Then we proceed to do the same with the fabric that goes inside the main fabric. Note: this one is 2 centimeters and I tried to sew it by hand but it would take too long so I made it wider.|
- Como les decía al principio hice las medidas de dos centímetros y no me funcionó así que tuve que volver a hacerla pero mas grande. y primero les metí un pincho, la envolví y la cosí en la esquina para asegurar la costura, luego mi madre me ayudó a coser del lado de adentro en los bordes para luego voltearlos con cuidado porque se puede descoser y no queremos eso y puedes usar un lápiz para ayudarte mejor (estoy empezando a practicar, todavía no llego a la maquina porque no la domino; piso fuerte y ya te imaginarás mi pulso jajaja
- As I was telling you at the beginning I made the measurements of two centimeters and it didn't work so I had to make it again but bigger. and first I put a skewer, wrapped it and sewed it in the corner to secure the seam, then my mother helped me to sew on the inside on the edges and then turn them over carefully because it can unpick and we don't want that and you can use a pencil to help you better (I am starting to practice, I still don't get to the machine because I don't master it; I floor hard and you can imagine my pulse hahaha).
| • Ok, esta parte es un poco confusa. Primero pones la tela principal de frente y las tiras las sujetas en la tela en la ubicación que vayas a colocarlo (si la quieres mas cerrada o mas abierta hacia las axilas) luego agarras la tela mas pequeña y la colocas encima de la otra tela principal pero del lado contrario o inverso como si la tela principal fuera un saco y la metes. | •Ok, this part is a little confusing. First you put the main fabric in front and the strips you hold them on the fabric in the location you are going to place it (if you want it more closed or more open towards the armpits) then you take the smaller fabric and place it on top of the other main fabric but on the opposite or reverse side** as if the main fabric was a bag and tuck it in. |
|---|
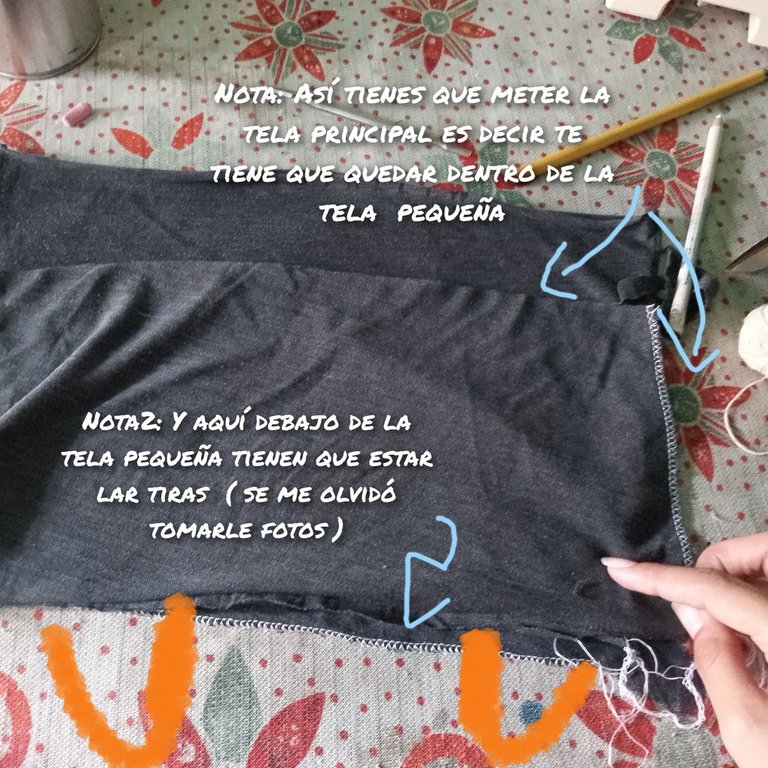
- Una vez metido lo ajustamos muy bien con mas agujas o alfiler y procedemos a coser. luego volteamos y ya está casi listo . Ahora faltaría agarrarle ruedo abajo para tener un acabado mas bonito y listo! Ya tenemos nuestro top pipirisnice.
- Once tucked in, we adjust it very well with more needles or pins and proceed to sew. then we flip it over and it is almost ready. Now we just need to sew the bottom hem to have a nicer finish and that's it! Now we have our pipirisnice top.
note: this is how you have to put the main fabric, that is to say, it has to be inside the small fabric.
note2: and here under the small fabric you have to put the strips (I forgot to take pictures).
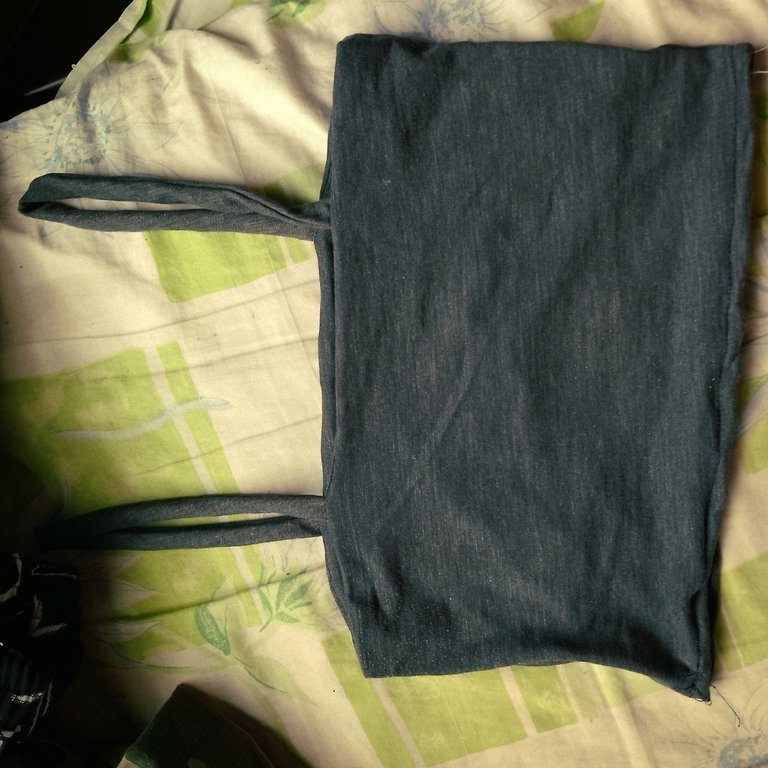
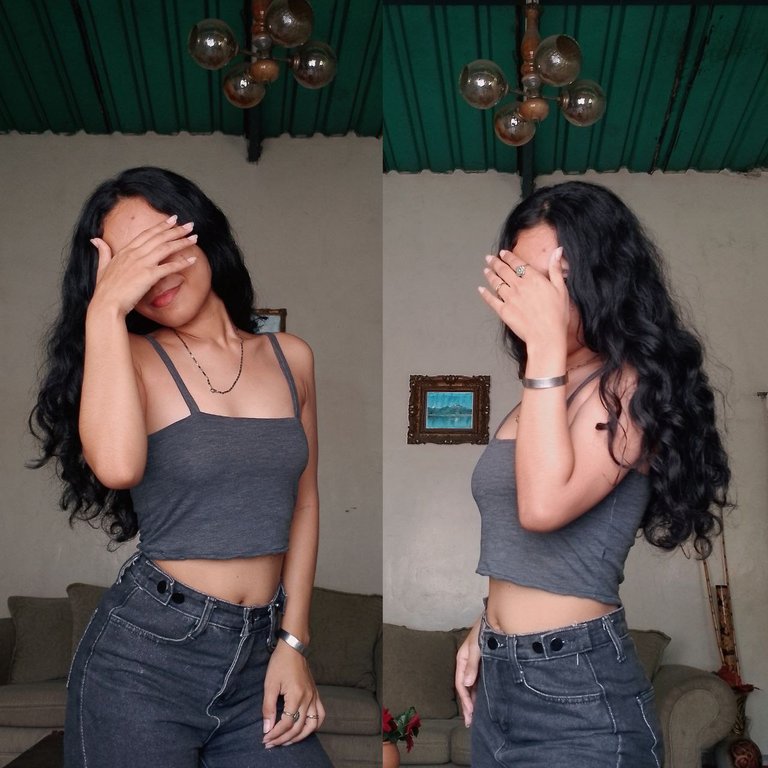
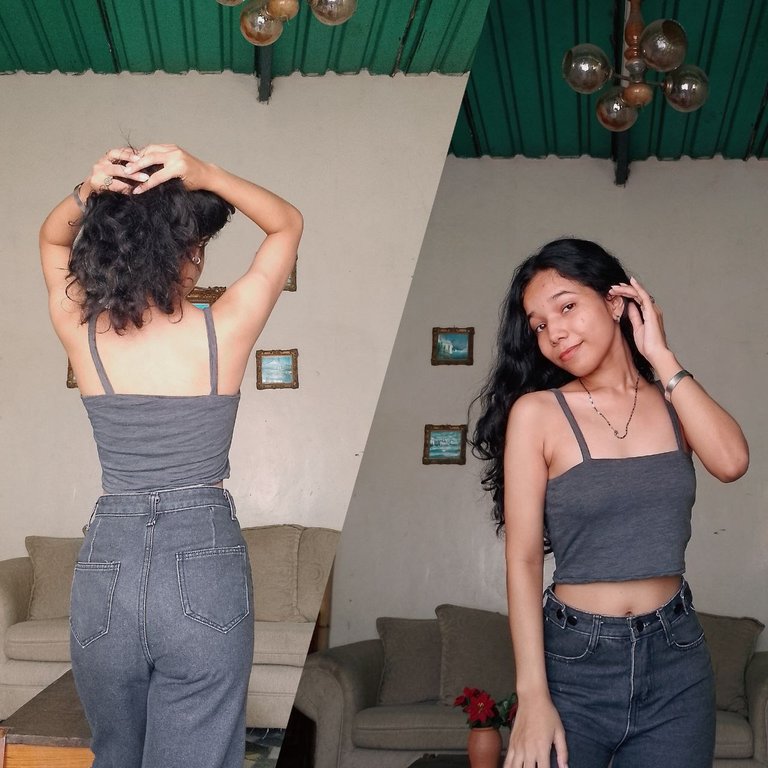
¿Y saben lo mejor? En las fotos no me puse nada abajo y no se transparenta. Es decir, amigos, ¡si funciona!
Bueno amigos, estoy super feliz de lograr esto gracias a mi madre, es una gran maestra y ayuda para mi (lo mejor es que al final nos entendimos) y al tutorial que me sacó de dudas asi que esto fue un 50/50. Espero que puedan acompañarme a seguir creciendo con este proyecto porque de verdad me gustó, fue entretenido y los invito a que tengan tiempo de calidad con sus madres. Si te gustó, puedes seguirme para ir viendo mas actualizaciones. ¡Nos vemos! ♡
And you know the best part? In the pictures I didn't wear anything underneath and it doesn't show through. I mean, folks, it works!
Well friends, I am super happy to achieve this thanks to my mother, she is a great teacher and help for me (the best thing is that in the end we understood each other) and to the tutorial that took me out of doubts so this was a 50/50. I hope you can join me to continue growing with this project because I really enjoyed it, it was fun and I invite you to have quality time with your moms. If you liked it, you can follow me to see more updates. see ya! ♡
♡Nota: Siempre añádele como 1 centímetro de mas para que cuando cosas, la costura de no te queda mas pequeña de lo que calculaste.
♡Nota2: Paciencia y si te equivocas, puedes intentarlo de nuevo.
♡Nota3: No conseguí la cinta de costura pero me las ingenie y usé la cinta métrica.
♡Note: Always add about 1 centimeter more so that when you sew, the seam allowance is not smaller than you calculated.
♡Note2: Patience and if you make a mistake, you can try again.
♡Note3: I didn't get the sewing tape but I managed to use the tape measure.
🖤✨¡Muchas gracias por leer!✨🖤
🖤✨Thank you very much for reading!✨🖤
~•~•~•~•~•~🦋♡🦋~•~•~•~•~•~
 instagram instagram |  twitter twitter |
|---|
traductor-translator deepl
logos tomados por / logos taken by pixabay
Photos of my authorship taken from telefono tecno 10c edited in Photo collage - GridArt


