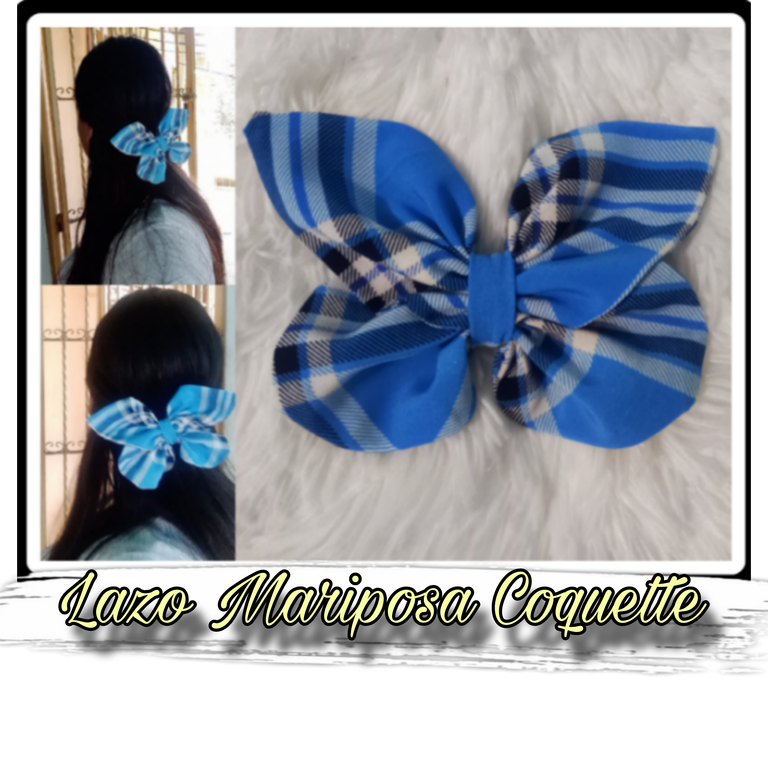
Hola, hola amigos de esta linda comunidad de #Needleworkmonday, reciban un gran saludo cargado de buenos deseos y bendiciones. Me alegra mucho estar un nuevo lunes de costura con ustedes y traeeles un nuevo tutorial, con una confección que está en tendencia y se trata de la moda o estilo Coquette, hace unos dias atrás, subí un tutorial en otra comunidad de cómo confeccionar éste tipo de lazos, pero.un estilo más clásico y hoy quise mostraerles a ustedes cómo realizar uno, pero con otro estilo, es decir, en forma de mariposa 🦋. Espero les guste.
Hello, hello friends of this beautiful community of #Needleworkmonday, receive a big greeting full of good wishes and blessings. I am very happy to be a new sewing Monday with you and bring you a new tutorial, with a confection that is in trend and it is about fashion or Coquette style, a few days ago, I uploaded a tutorial in another community of how to make this type of bows, but.a more classic style and today I wanted to show you how to make one, but with another style, ie, in the form of butterfly 🦋. I hope you like it.

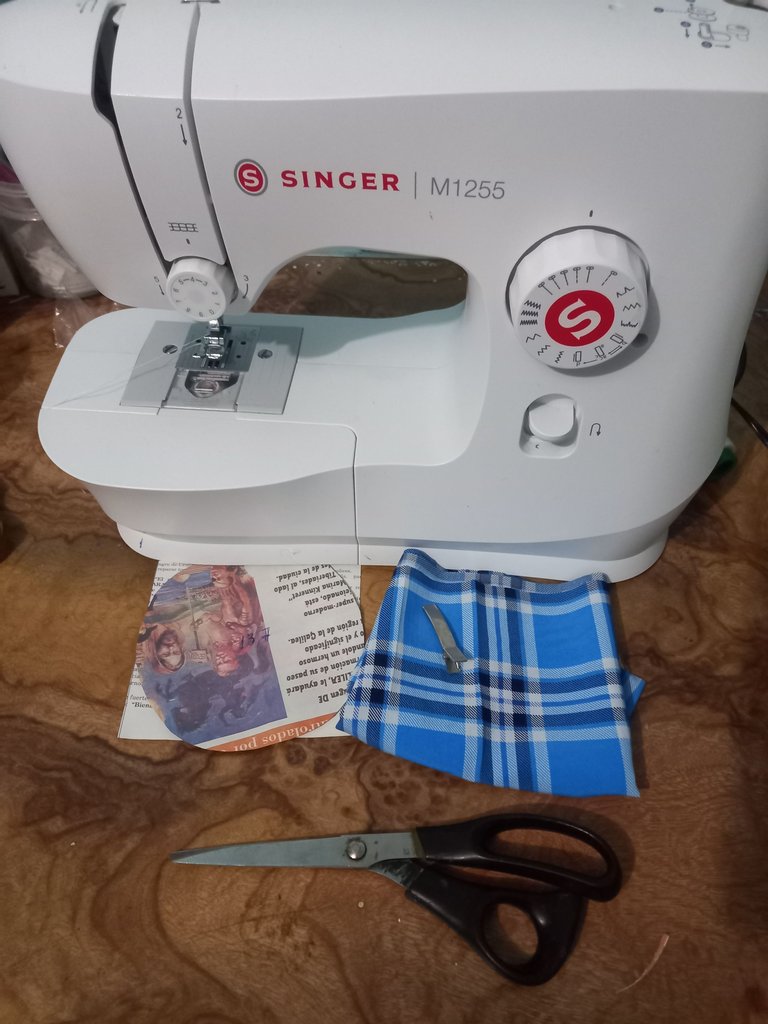
- 1/4 de metro de tela Lafayette Azul.
- Pinza o gancho para el cabello.
- Patrones (cuadrado y circulo).
- Máquina de coser.
- Tijeras.
- Hilo y aguja.
- 1/4 yard of Lafayette Blue fabric.
- Hair clip or hook.
- Patterns (square and circle).
- Sewing machine.
- Scissors.
- Thread and needle.

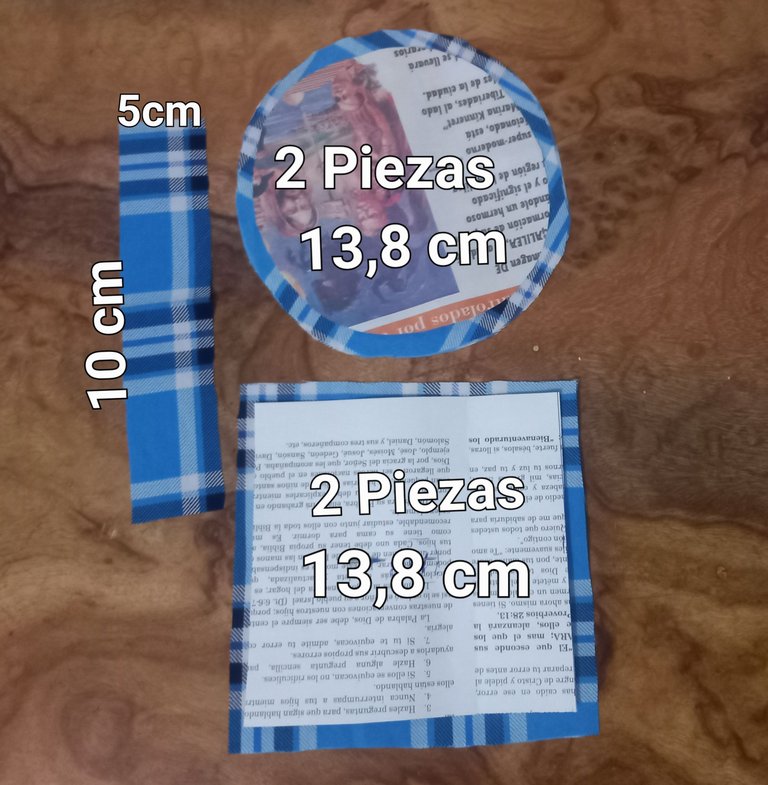
Para la confección de este lazo mariposa, lo primero que hice fue sacar 2 círculo de 13,8 cm de diámetro, dos cuadrados de 13,8 cm por cada lado y una tira de 5 cm de ancho y 10 cm de largo.
To make this butterfly bow, the first thing I did was to make two circles of 13.8 cm in diameter, two squares of 13.8 cm on each side and a strip of 5 cm wide and 10 cm long.
Después de haber sacado estas piezas, procedí a pasar costura por toda la circunferencia del círculo, dejando un pequeño espacio para desdoblar la tela e igualmente hice con el cuadrado, es decir, cosí todos sus lados y dejé un pequeño espacio sin costura para desdoblar.
After removing these pieces, I proceeded to sew all around the circumference of the circle, leaving a small space to unfold the fabric and I did the same with the square, that is, I sewed all its sides and left a small seamless space to unfold.
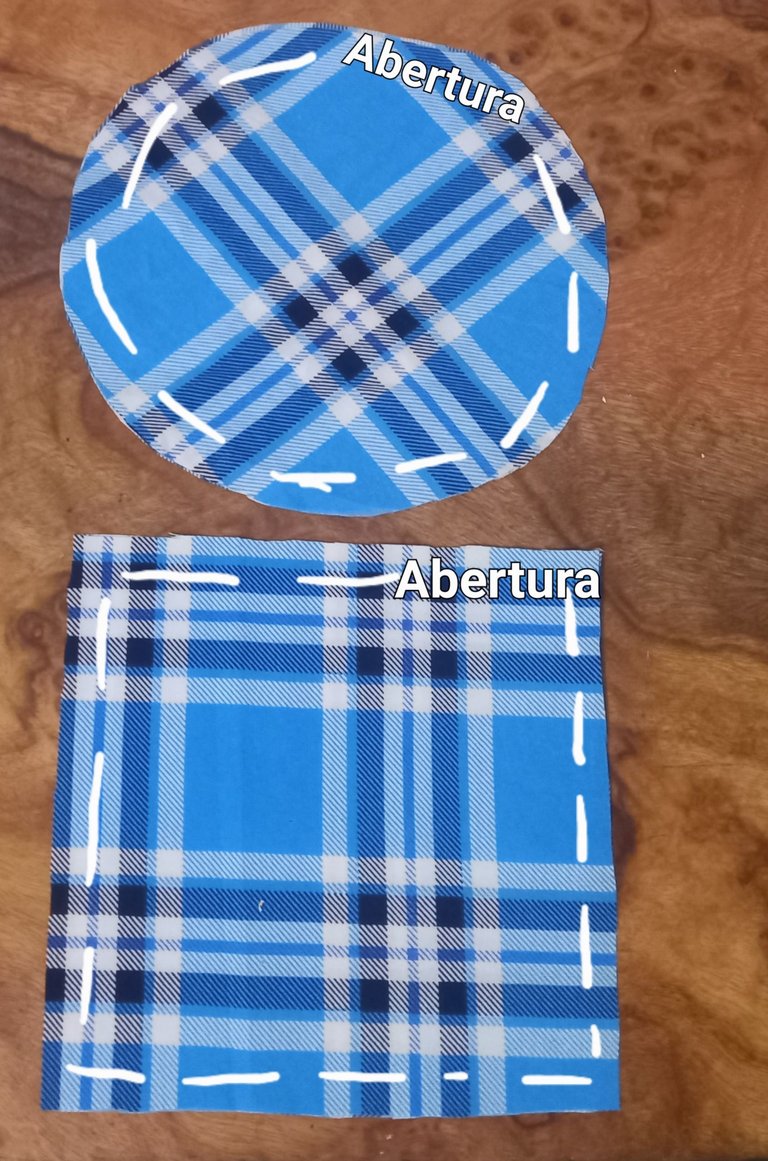
Una vez que terminé de pasar las costuras tanto al círculo como al cuadrado, procedía a desdoblar la tela y pasarle la plancha para darle un mejor acabado en los filos.
Once I finished sewing the seams on both the circle and the square, I proceeded to unfold the fabric and iron it to give it a better finish on the edges.
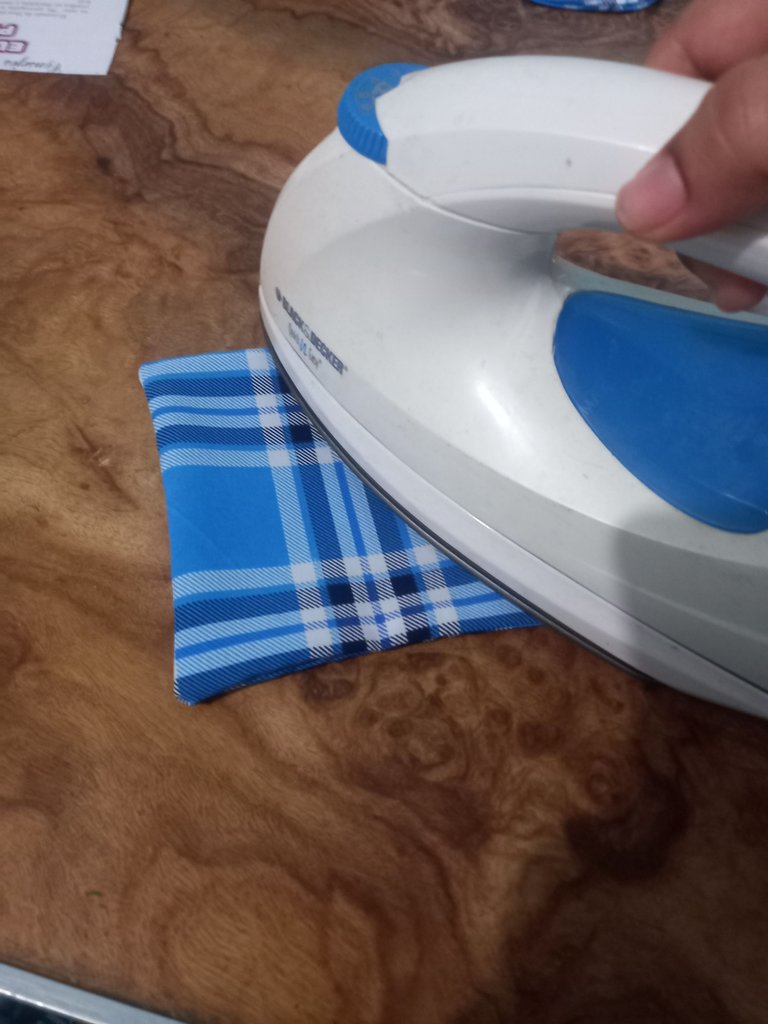
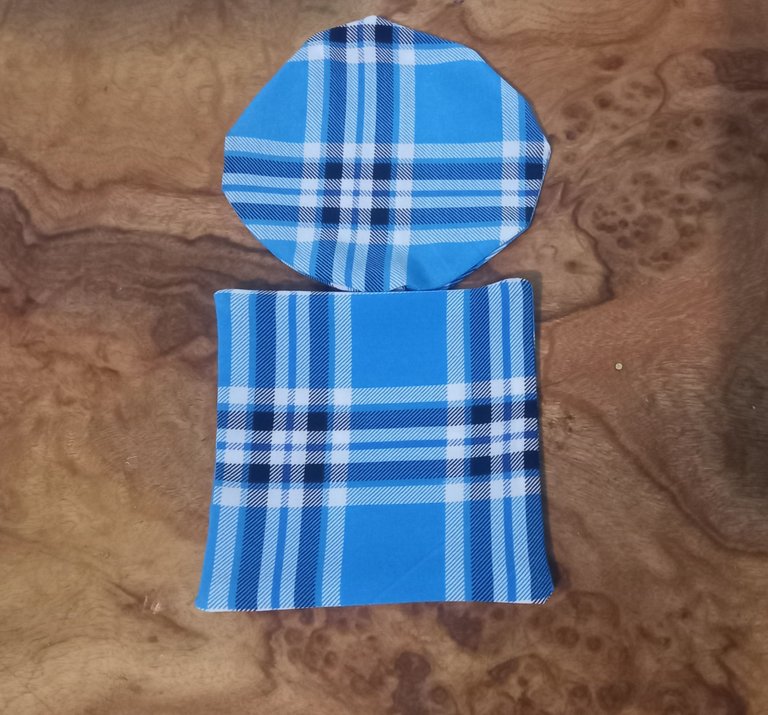
Luego, la tira de 5 cm de ancho y 10 cm de largo, le doblé sus orillas del largo hacia dentro y luego estas mismas orillas dobladas, las doblé hacia el centro con la plancha.
Then, the 5 cm wide and 10 cm long strip, I folded its long edges inwards and then these same folded edges, I folded them towards the center with the iron.
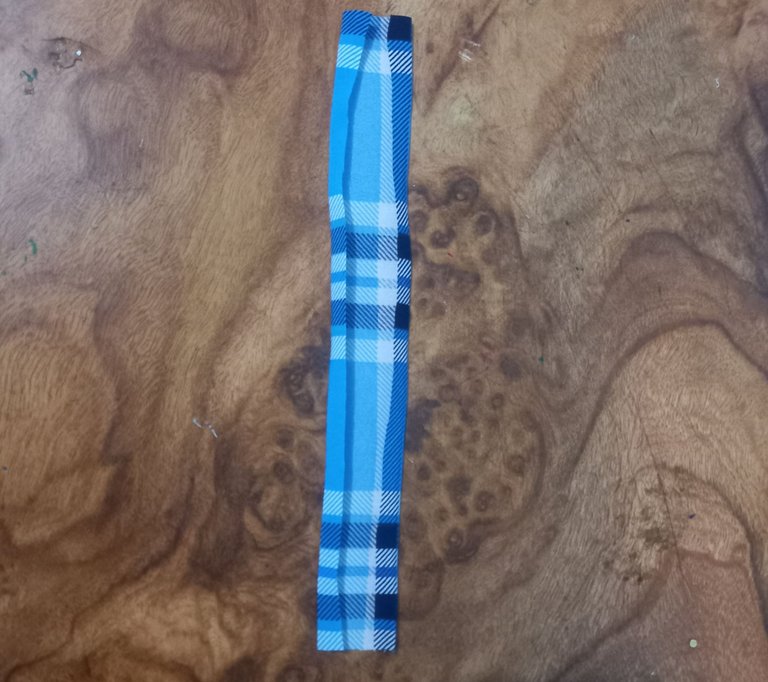
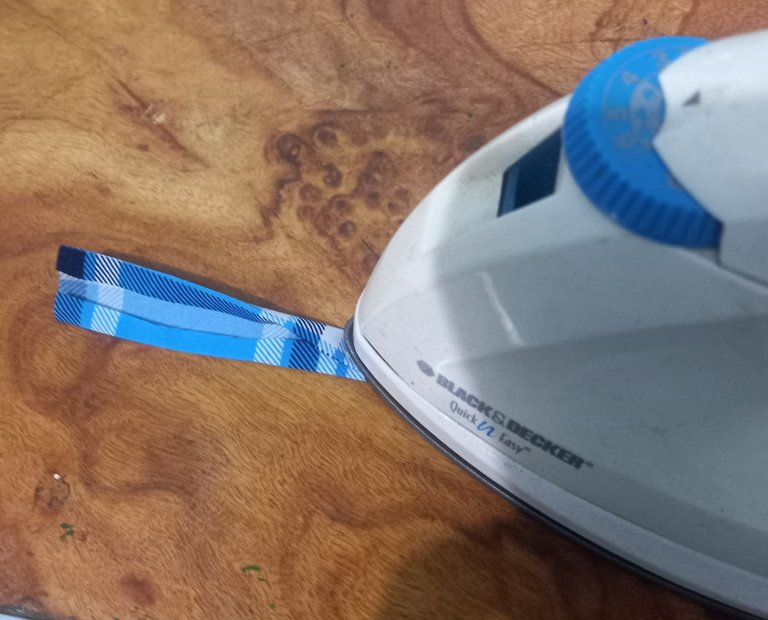
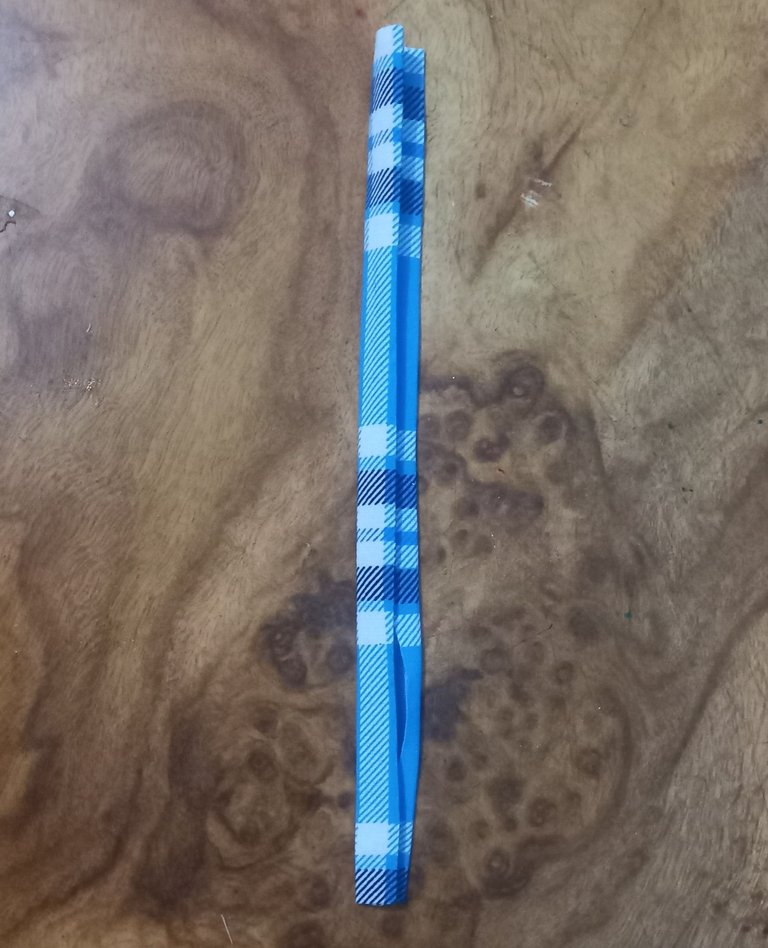
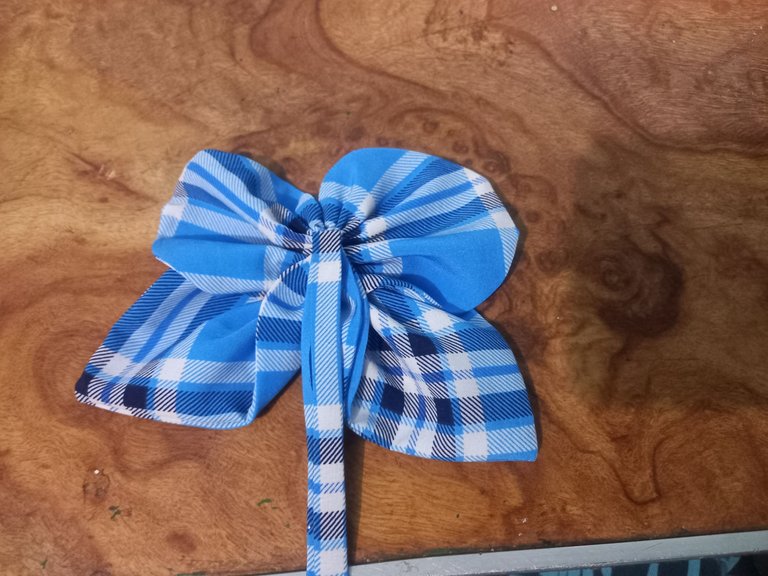
Una vez que tube todas estas piezas, procedí a armar mi lazo, haciendo una costura en hilván por el centro del círculo y cuando llegué a la mitad de éste, monte el cuadrado sobre el círculo en forma de diamante y seguí la costura para luego fruncir ambas piezas.
Once I had all these pieces, I proceeded to assemble my bow, making a basting stitch through the center of the circle and when I reached the middle of it, I mounted the square on the diamond-shaped circle and followed the stitching and then gathered both pieces.
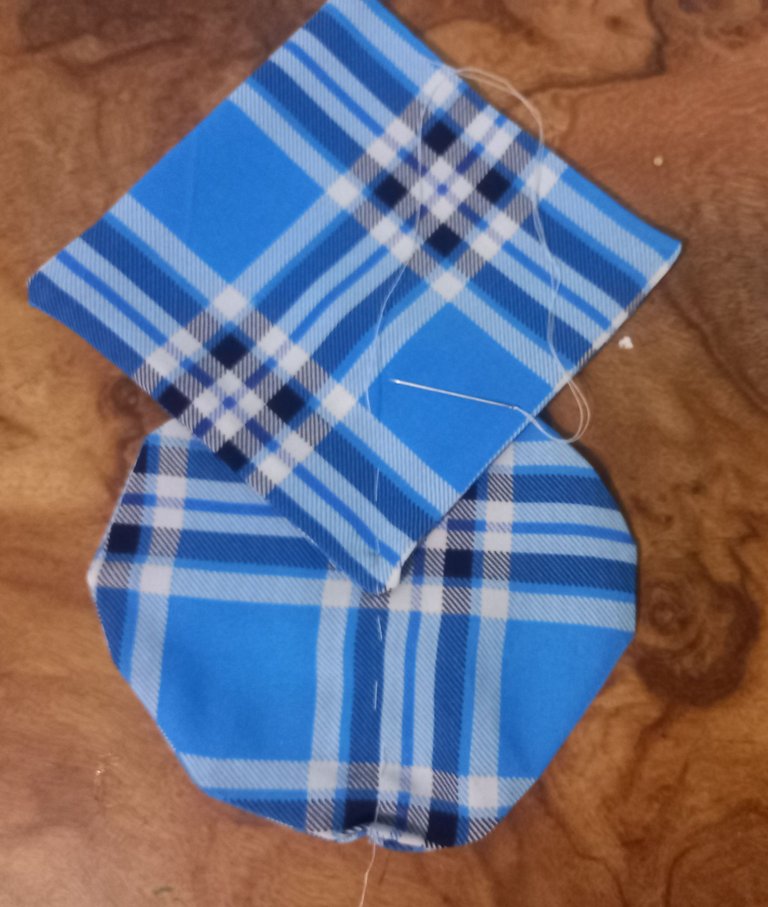
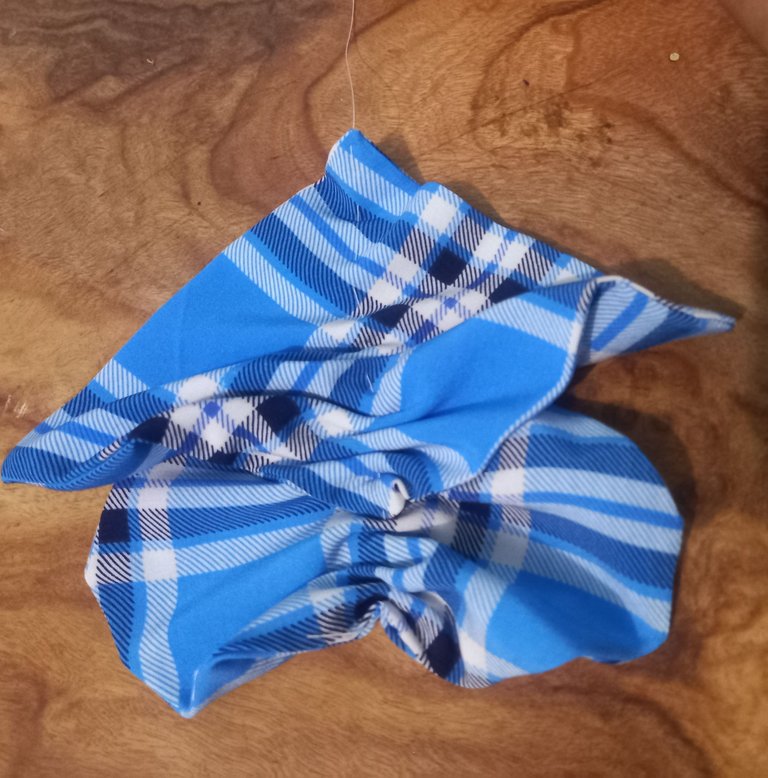
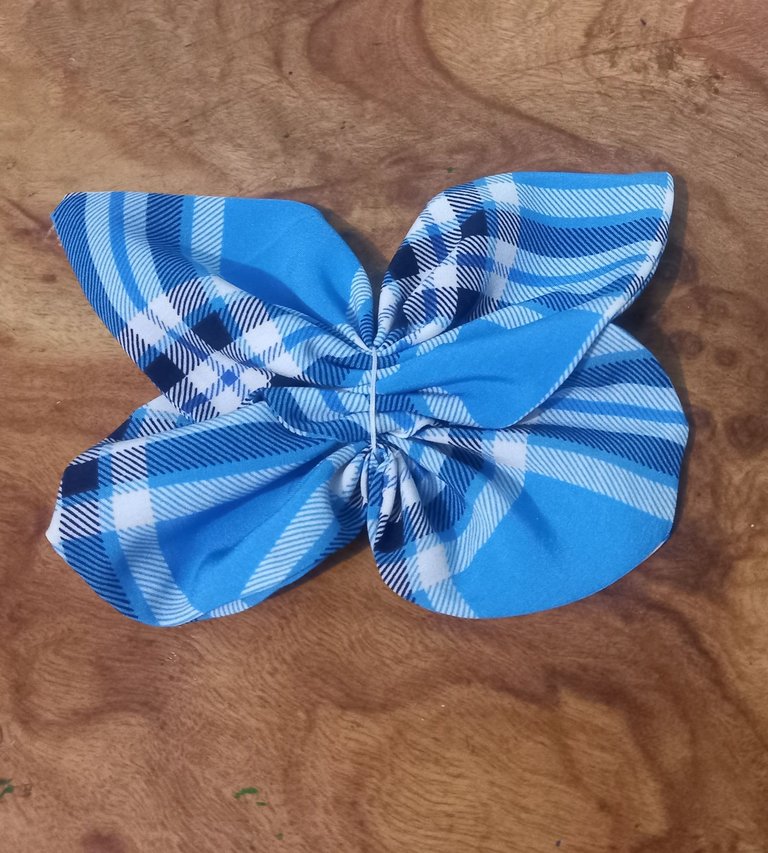
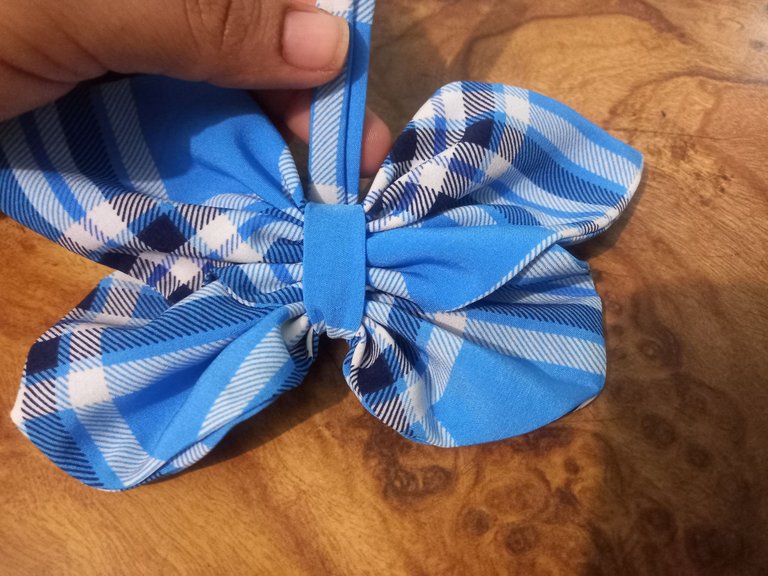
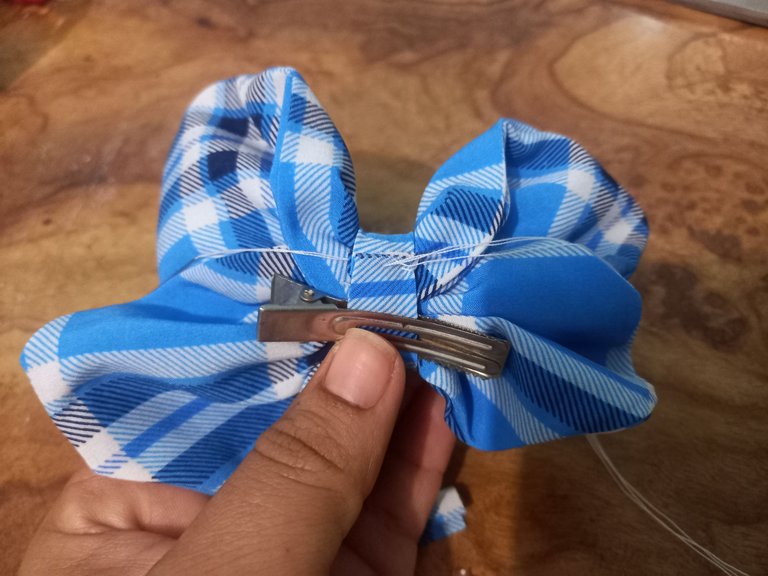
Cuando terminé de fruncir ambas piezas por el centro, procedí a colocar en la parte de atrás del lazo la cinta que realicé, está la aseguré con hilo y aguja, rodee el centro del lazo y antes de cerrar, coloqué primero la pinza y por en me medio de ésta terminé de pasar la cinta y asegure nuevamente con hilo.y aguja.
When I finished gathering both pieces in the center, I proceeded to place the ribbon I had made on the back of the bow, I secured it with thread and needle, went around the center of the bow and before closing, I placed the clamp first and in the middle of it I finished passing the ribbon and secured it again with thread and needle.

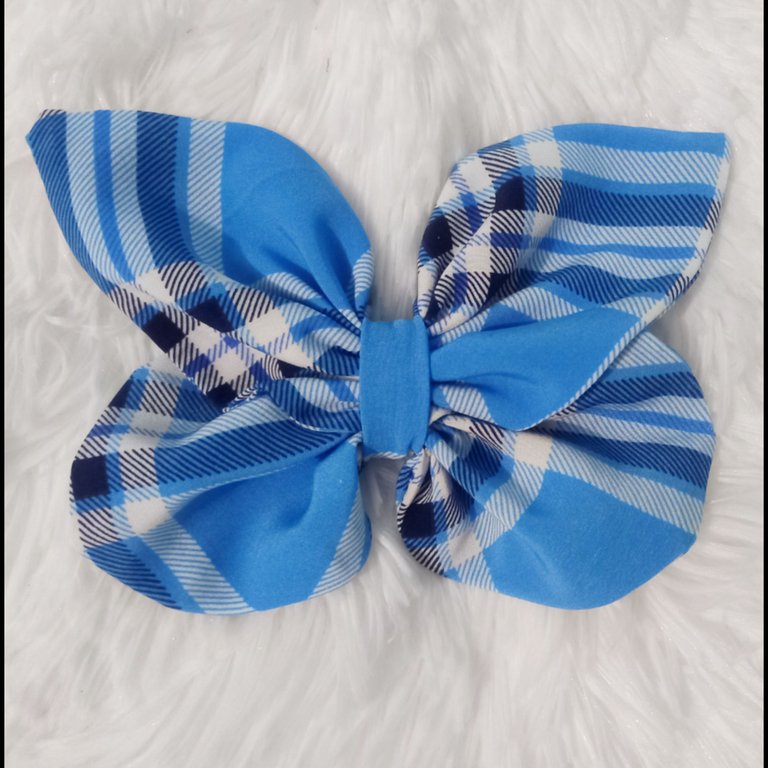
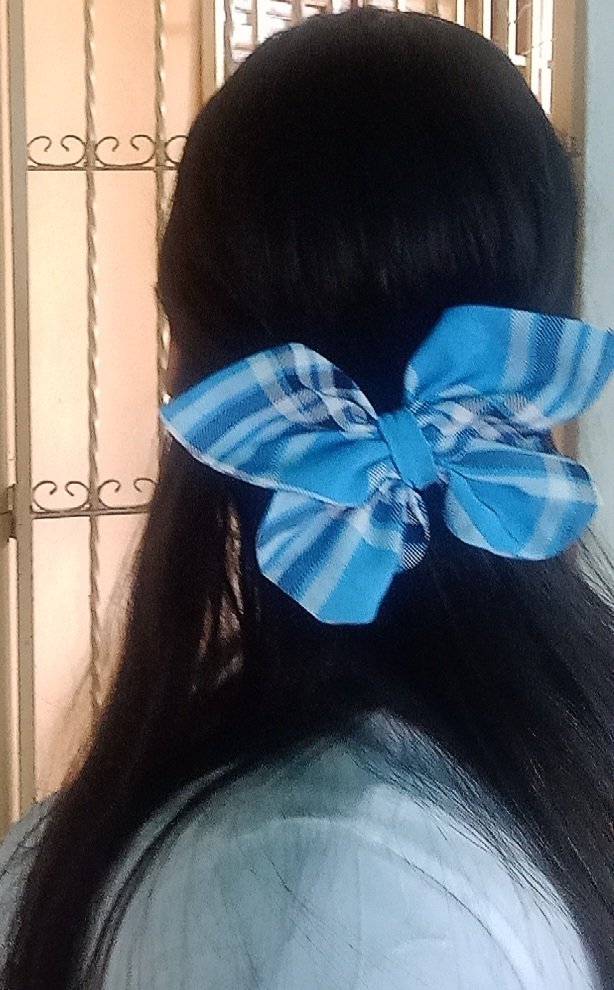
Espero que te haya gustado ésta técnica de cómo realizar un lazo coquette, en forma de mariposa, quedan muy lindos y creo puede ser una buena idea para iniciar un pequeño emprendimiento. Gracias por quedarte hasta el final de este tutorial deseo de corazón que te haya gustado y que sea de Gran utilidad
I hope you liked this technique of how to make a butterfly bow, they are very cute and I think it can be a good idea to start a small business. Thank you for staying until the end of this tutorial, I hope you liked it and that it will be very useful.
