
What's up community? I hope you are doing well today and your week is going great.... In this post I showed you that I was making a gift for a friend's baby and in that first post I told you that I was also going to make her a sachet, and as promised, I finally bring you the step by step of how to make this sachet, which took me some time to do, I hope you like it...
¿Que tal comunidad? Espero que se encuentren muy bien el día de hoy y su semana esté yendo fenomenal... En éste post les mostré que estaba haciendo un regalo para el bebé de una amiga y en ese primer post les dije que también le iba a hacer un saquito, y como oo prometido es deuda, por fin les traigo el paso a paso de como hacer éste saquito, que me tomó algo de tiempo hacer, espero que les guste...
Materials
- 80grs of baby wool (for size 3 to 6 months)
- 3mm crochet hook
- Wool needle
- Scissors
- Measuring tape
- Buttons (can be 3 or more, it's up to you)
- Needle and sewing thread.
I used a thinner thread (which was the one I got where I lived) but I leave the necessary materials to fit you better than me 😅, in this tutorial I will indicate the steps for the size of 3 to 6 months, which does not vary much from the size of 0 to 3 months.
Materiales
- 80grs de Lana bebé (para talla de 3 a 6 meses)
- Ganchillo de 3mm
- Aguja lanera
- Tijeras
- Cinta de medir
- Botones (pueden ser 3 o más, es a gusto)
- Aguja e hilo de coser.
Yo usé un hilo mas delgado (que era el que conseguía dónde vivía) pero les dejo los materiales necesarios para que les quede mejor que a mi 😅, en éste tutorial voy a indicar los pasos para la talla de 3 a 6 meses, que no varía mucho de la talla de 0 a 3 meses.
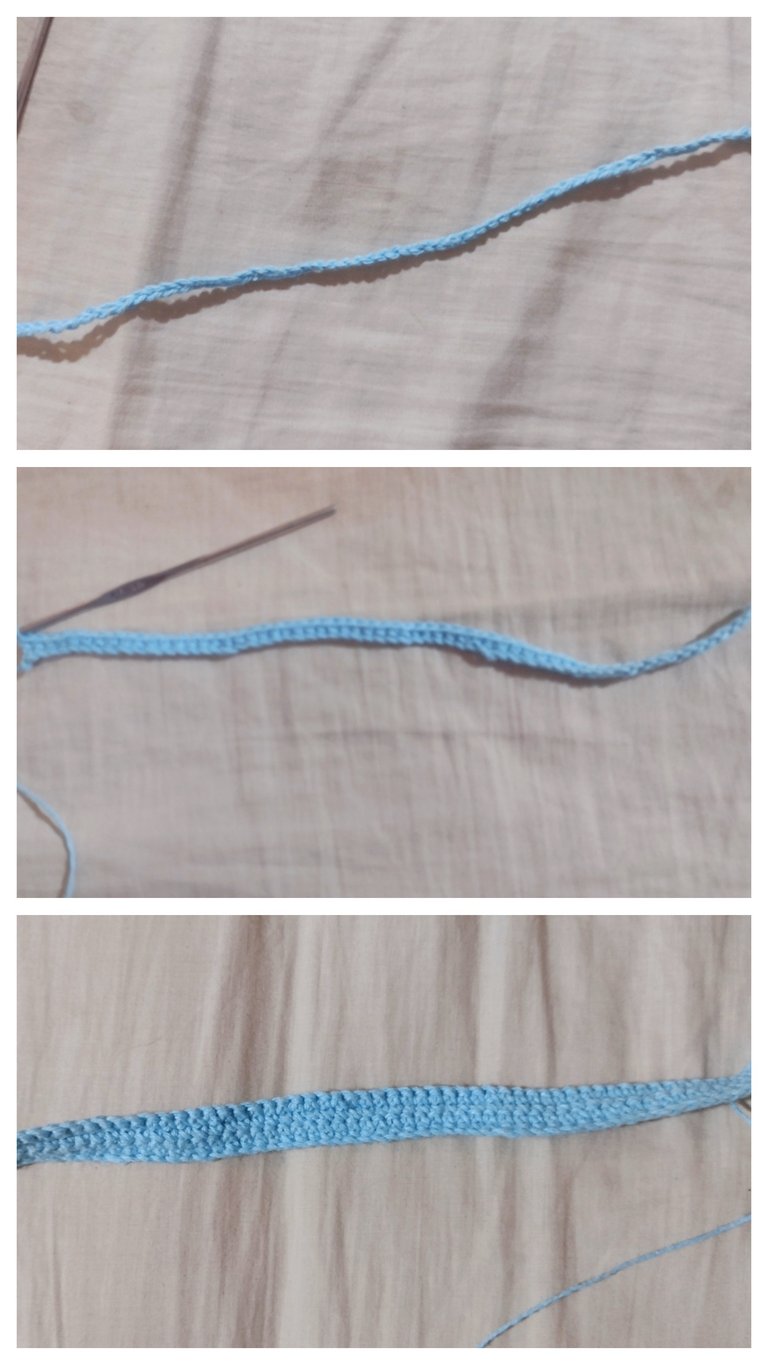
For the collar, we start by making 52 chains, then we knit 4 rows of single crochet.
Para el cuello, empezamos realizando 52 cadenas, luego hacemos 4 filas de punto bajo.
Once we have finished the 4 rows of single crochet for the collar, we lift 2 chains and knit 5 double crochet, 1 increase, 1 chain, 1 increase, 9 double crochet, 1 increase, 1 chain, 1 increase, 13 double crochet, 1 increase, 1 chain, 1 increase, 9 double crochet, 1 increase, 1 chain, 1 increase and 5 double crochet, we finish the row by knitting half double crochet in the last stitch (and so we will finish all the rows of double crochet), for the next row we lift 1 chain and knit row 2 completely in double crochet.
Una vez terminadas las 4 filas de punto bajo para el cuello, levantamos 2 cadenas y hacemos 5 puntos altos, 1 aumento, 1 cadena al aire, 1 aumento, 9 puntos altos, 1 aumento, 1 cadena al aire, 1 aumento, 13 puntos altos, 1 aumento, 1 cadena al aire, 9 puntos altos, 1 aumento, 1 cadena al aire, 1 aumento y 5 puntos altos, terminamos la fila haciendo medio punto alto en el último punto (y así vamos a terminar todas las filas de puntos altos), para la siguiente fila levantamos 1 cadena y hacemos la fila 2 completamente de puntos bajos.
For the third row we pick up two chains and knit the hail stitch, which, as I have already explained, consists of knitting a normal high stitch and then a relief stitch in front and so on.
Para la tercera fila levantamos dos cadenas y hacemos el punto granizo, que, como ya les expliqué, consiste en hacer un punto alto normal y luego un punto en relieve por delante y así sucesivamente.
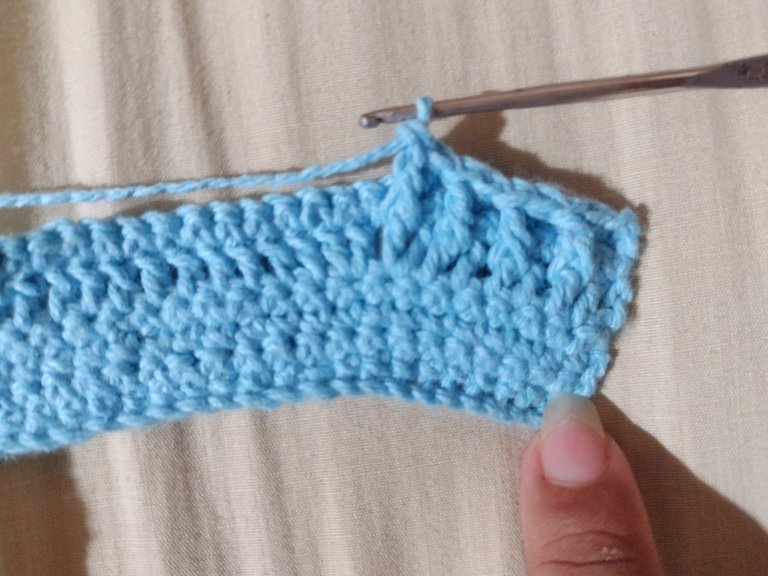
When we get to the stitch that is alone, we knit two double crochets in the same stitch, 1 chain in the air and then another two double crochets in the same stitch and we continue knitting normally, if the stitch I did before making the increases was a relief stitch in front, I will do the same in the stitch that follows after the increases, something like in mirror, and we do that in each increase.
Cuando lleguemos al punto que está sólo, hacemos dos puntos altos en el mismo punto, 1 cadena al aire y luego otros dos puntos altos en el mismo punto y seguimos tejiendo normalmente, si el punto que hice antes de hacer los aumentos fue un punto en relieve por delante, voy a hacer lo mismo en el punto que sigue luego de los aumentos, algo así como en espejo, y eso lo hacemos en cada aumento.
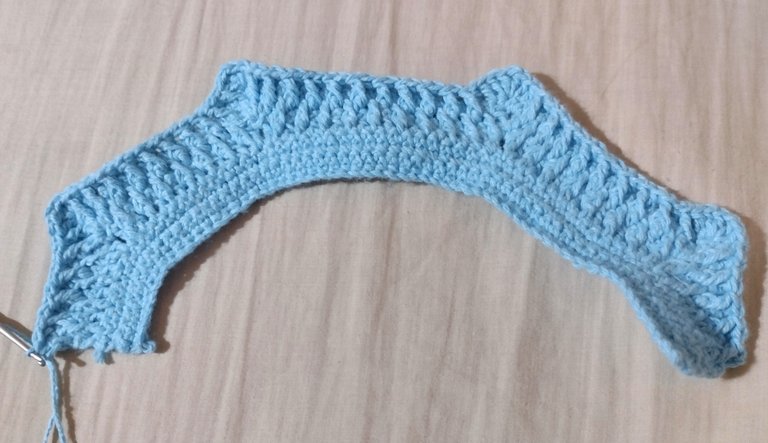
It should look something like this, and we will continue doing that until we have the size we need, in this case as it is a size 3 to 6 months, we will make 13 rows. Don't forget that for every row of double crochet, the row that follows is a single crochet, and we also have to make increases in the chain that we left in the air and as I explained in the previous tutorial, to make a good hail stitch it is necessary to pay attention to what was done in the previous row, that is, if I made a raised stitch in front, in that row I will make a normal double crochet, and so on with all the rows.
Nos debería quedar algo así, y vamos a continuar haciendo eso hasta tener la medida que necesitamos, en éste caso como es de la talla de 3 a 6 meses, vamos a hacer 13 filas. No se olviden de que por cada fila de puntos altos, la fila que le sigue es de punto bajo, y también tenemos que hacer los aumentos en la cadena que dejamos al aire y como les expliqué en el anterior tutorial, para que quede bien el punto granizo es necesario fijarse en lo que se hizo en la vuelta anterior, es decir, si hice un punto en relieve por delante, en ese punto voy a hacer un punto alto normal, y así con todas las vueltas.
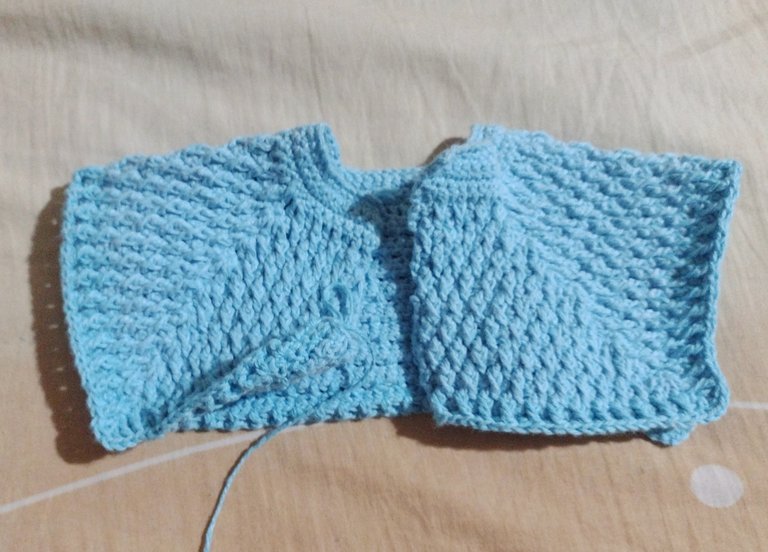
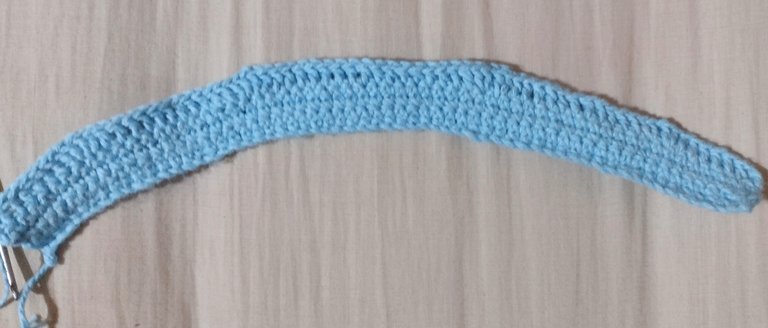
Once we have completed the rows, we should have something like this as you can see in the picture, the armhole size we are making should be 10cm, if it does not reach that size, we will have to continue making more turns, it all depends on the thickness of the thread.
Una vez que hayamos completado las filas, nos debería quedar algo asi como ven en la foto, la medida de la sisa que estamos haciendo deberia de ser de 10cm, si no llega a esa talla, tendremos que seguir haciendo más vueltas, todo depende del grosor del hilo.
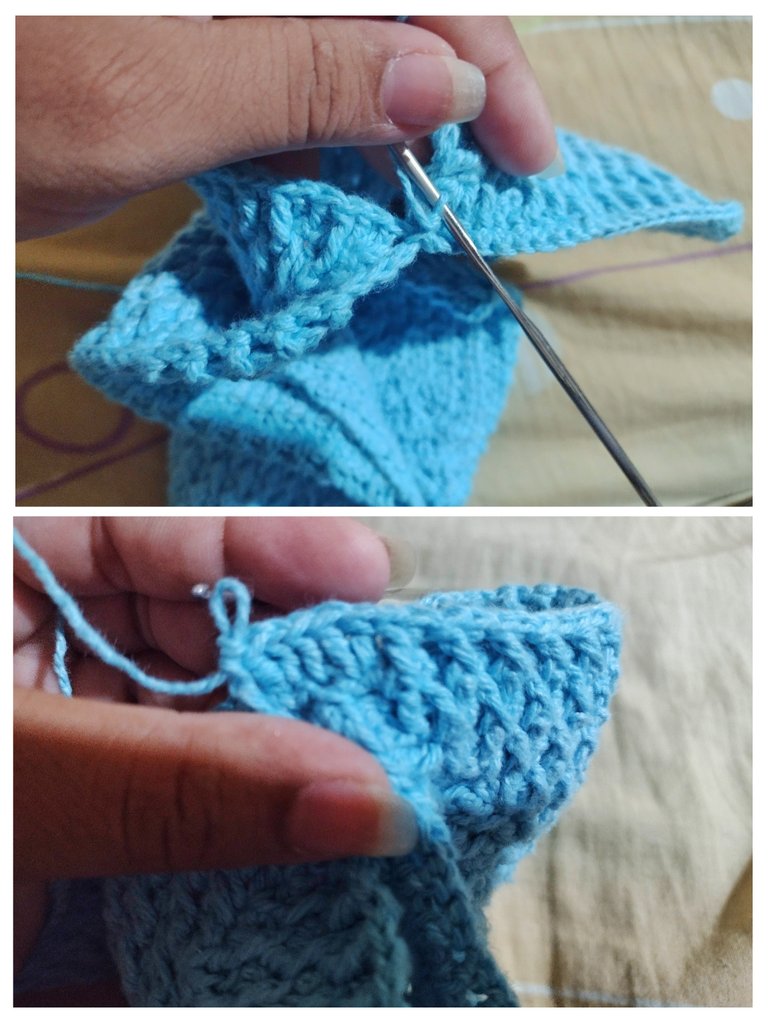
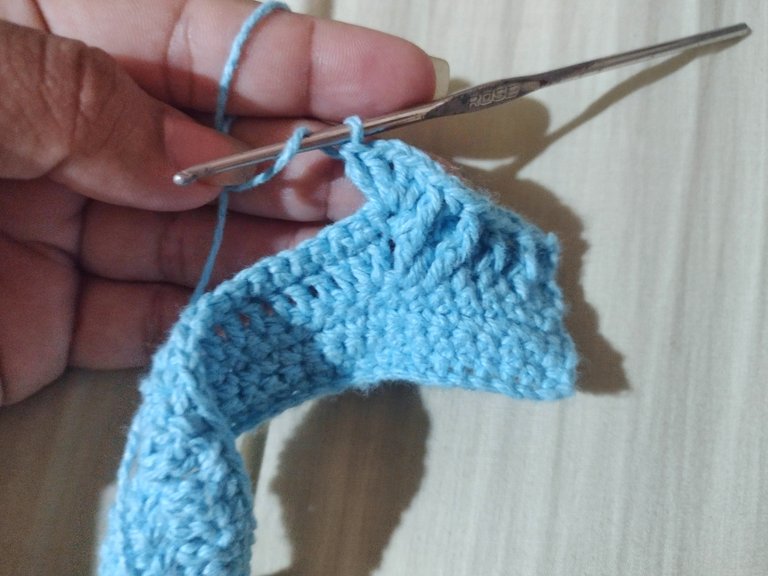
We make a row of low stitches but this time we have to join with a low stitch the chains in the air that we left in the previous row, we do that with the two ends as you can see in the picture, we make our row of hail stitch and almost to reach the point of union, we make: an increase in the point before reaching the union, a normal high stitch in the union and 1 increase in the point following the union, and we do the same with the other end.
Hacemos una fila de puntos bajos pero ésta vez tenemos que unir con un punto bajo las cadenas al aire que dejamos en la fila anterior, eso lo hacemos con los dos extremos así como ven en la foto, hacemos nuestra fila de punto granizo y casi al llegar al punto de unión, hacemos: un aumento en el punto antes de llegar a la unión, un punto alto normal en la unión y 1 aumento en el punto siguiente al de la unión, y eso hacemos igualmente con el otro extremo.
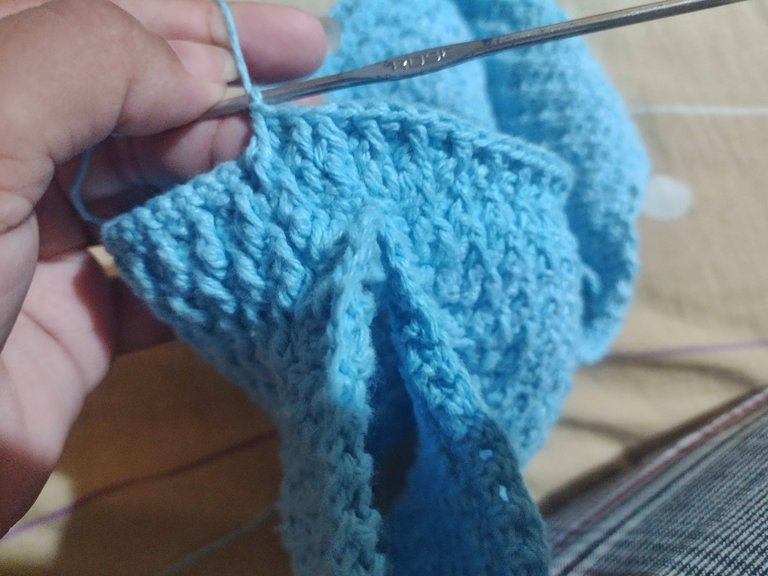
In the following rows we continue knitting in the normal hail stitch, this we do until we have the desired length.
En las siguientes filas seguimos haciendo el punto granizo normalmente, ésto lo hacemos hasta tener el largo deseado.
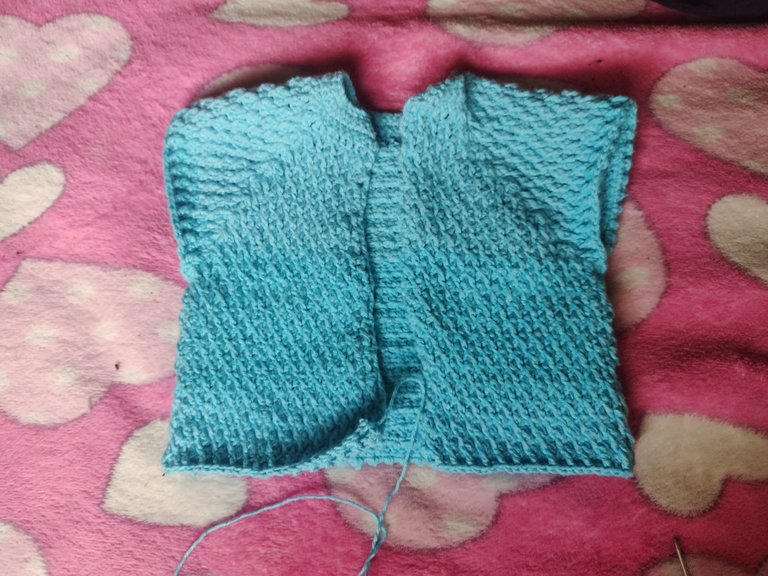
Once we have the length we want, we proceed to make the rows to place the buttons, if it is for a girl, the buttonholes must be left on the right side of the bag and if it is for a boy, the buttonholes must be left on the left side.
Una vez lo tenemos del largo que queremos, procedemos a hacer las filas para colocar los botones, si es para niña, los ojales se tienen que dejar del lado derecho del saquito y si es para niño, los ojales se tienen que dejar del lado izquierdo.
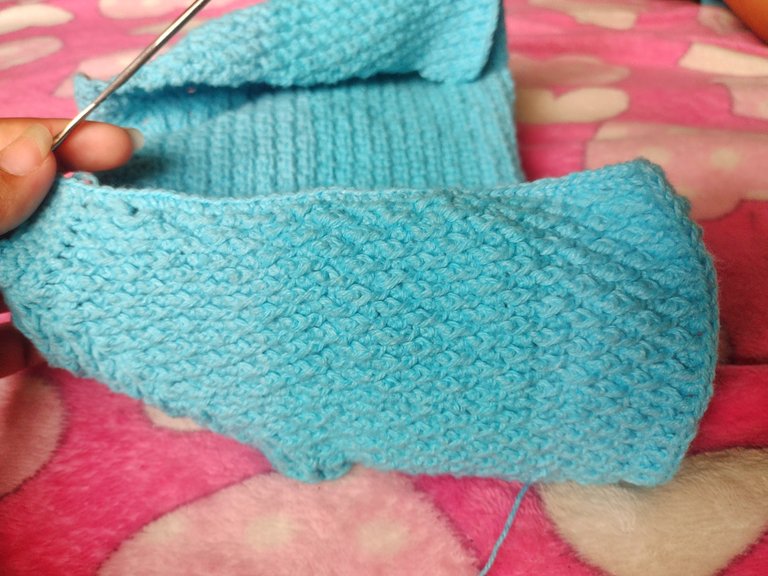
We make four rows of single crochet in each of the parts, where we leave the buttonholes, we have to pay attention to the size of the button, the buttonholes are made leaving chains in the air.
Hacemos cuatro filas de punto bajo en cada una de las partes, donde dejemos los ojales, tenemos que fijarnos del tamaño del botón, los ojales se hacen dejando cadenas al aire.
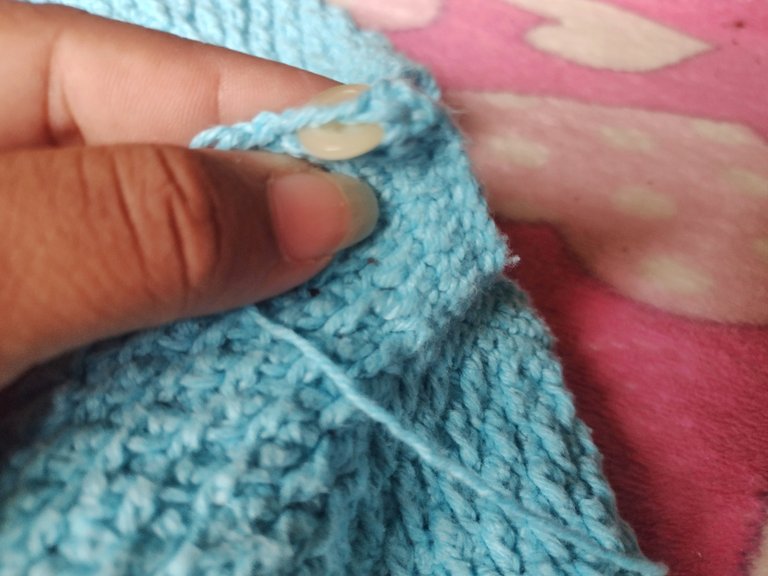
We always have to make sure that everything is the same size, because it could happen that we make fewer stitches or more stitches and it could be irregular.
Siempre nos tenemos que fijar que quede del mismo tamaño todo, porque nos podría pasar que hacemos menos puntos o más puntos y nos puede quedar irregular.
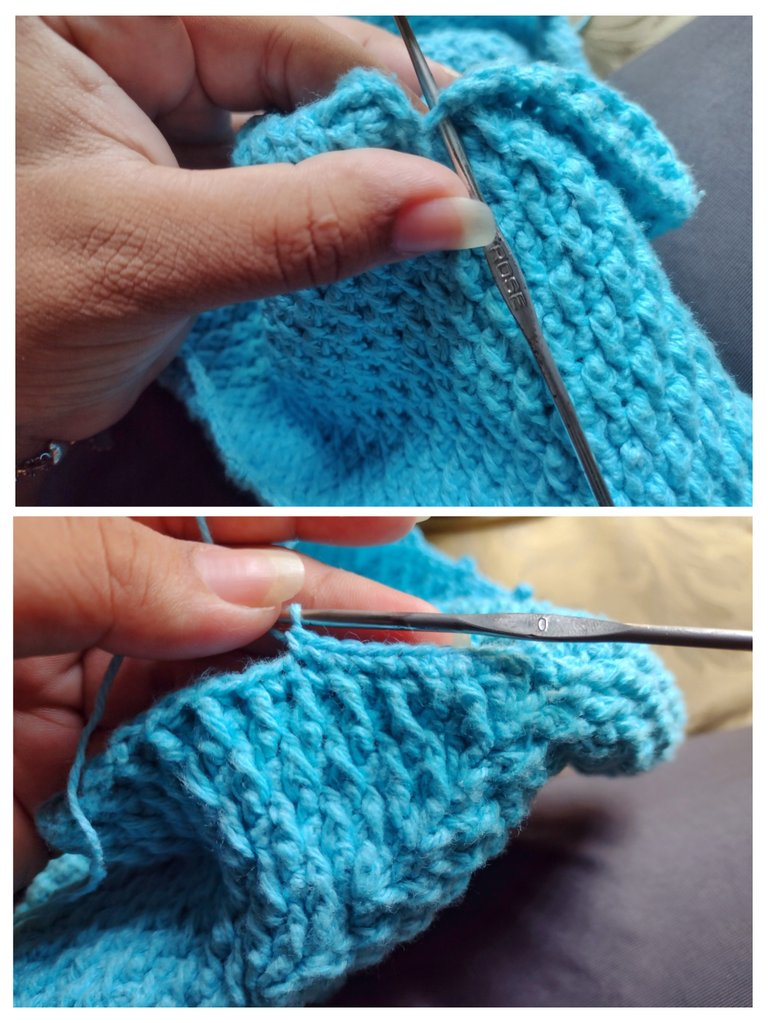
To make the sleeves, we simply introduce the yarn in the center stitch and make the row of low stitches, then we make our row of the hail stitch and so on until we have the desired length (15cm approximately).
Para hacer las mangas, simplemente introducimos el hilo en el punto del centro y hacemos la fila de puntos bajos, luego hacemos nuestra fila del punto granizo y así hasta tener el largo deseado (15cm aproximadamente).
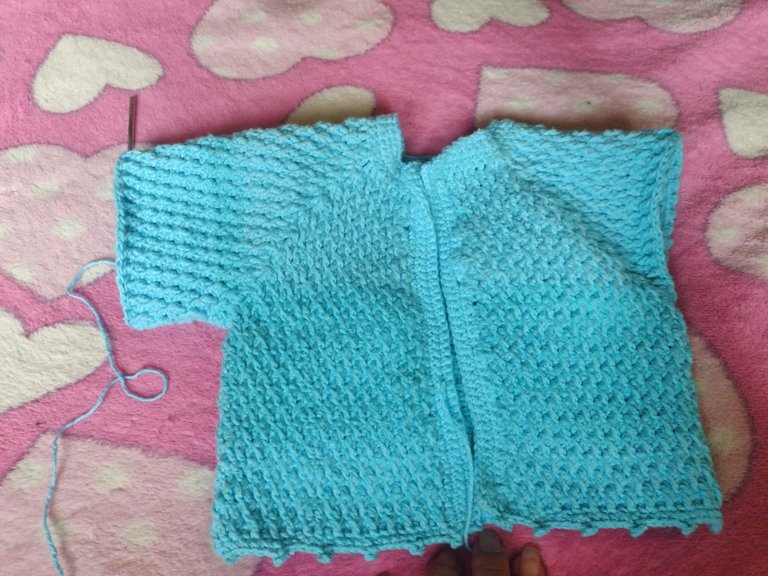
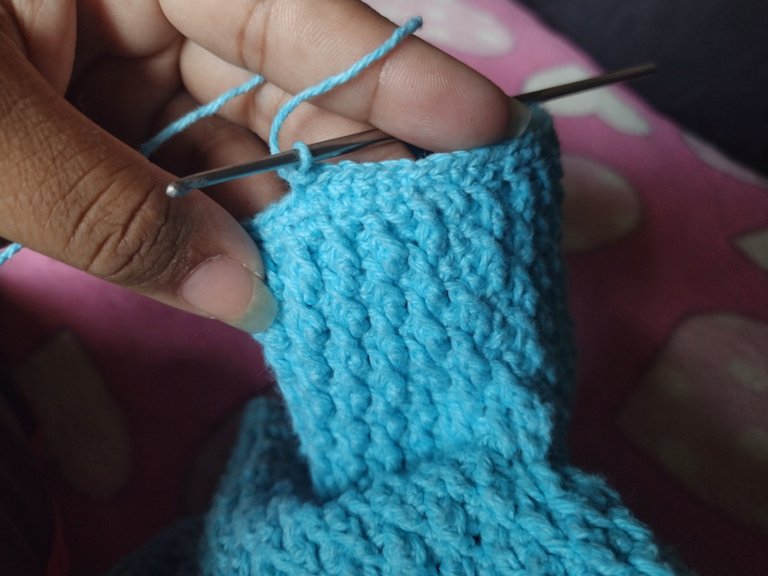
I made the sleeve a little shorter because it's hot where we live. To finish the sleeve, we knit four rows of single crochet.
Yo hice la manga un poco mas corta porque hace calor dónde vivimos. Para terminar la manga, hacemos cuatro filas de punto bajo.
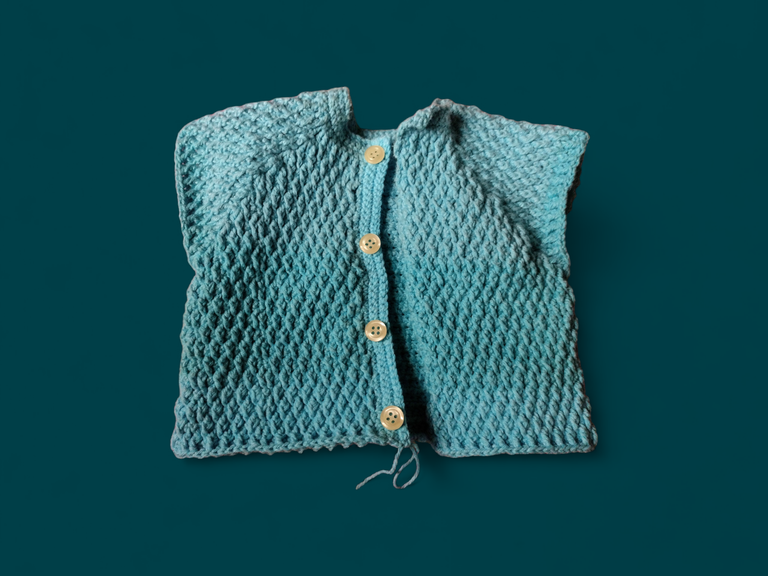
Unfortunately, among so many things, I completely forgot to take a picture of the final result, but here is a picture of more or less the result (let's imagine it has the sleeves). I was traveling from one country to another so I completely forgot and well, my friend still hasn't sent me the picture of her baby with the bag on. I hope you liked today's post anyway, sorry about the photo of the final result, the next post will be better. My friend really liked the gift. I'll say goodbye for now, thank you very much for reading and see you later in another post ❤️
Por desgracia, entre tantas cosas, se me olvidó completamente tomar foto del resultado final, pero ahí dejo una foto de mas o menos el resultado (imaginemos que tiene las mangas). Estaba de viaje de un país a otro así que por todo eso se me olvidó completamente y bueno, mi amiga aun no me envió la foto de su bebé con el saquito puesto. Espero que les haya gustado de todos modos el post de hoy perdonen lo de la foto del resultado final, el próximo post si será mejor. A mi amiga le gustó mucho el regalo. Yo por ahora me despido, muchas gracias por leerme y nos vemos luego en otro post ❤️
Cover made in Canva
Photo of the "final result" edited in Photoroom
Translated by DeepL
Portada hecha en Canva
Foto del "resultado final" editada en Photoroom
Traducido por DeepL

