Good morning everyone,
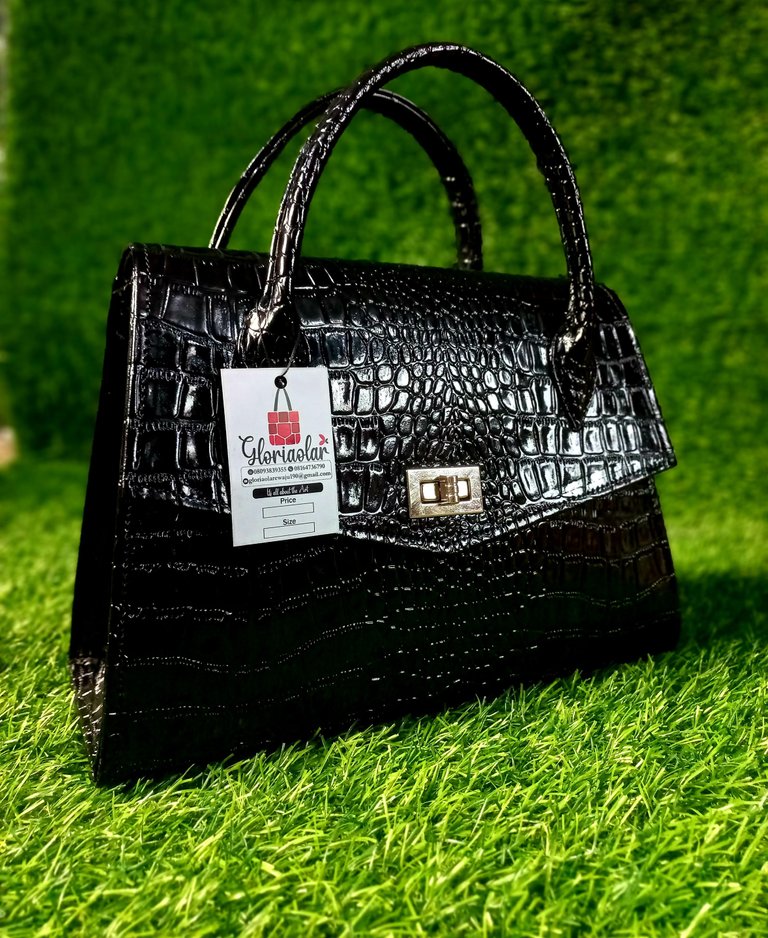
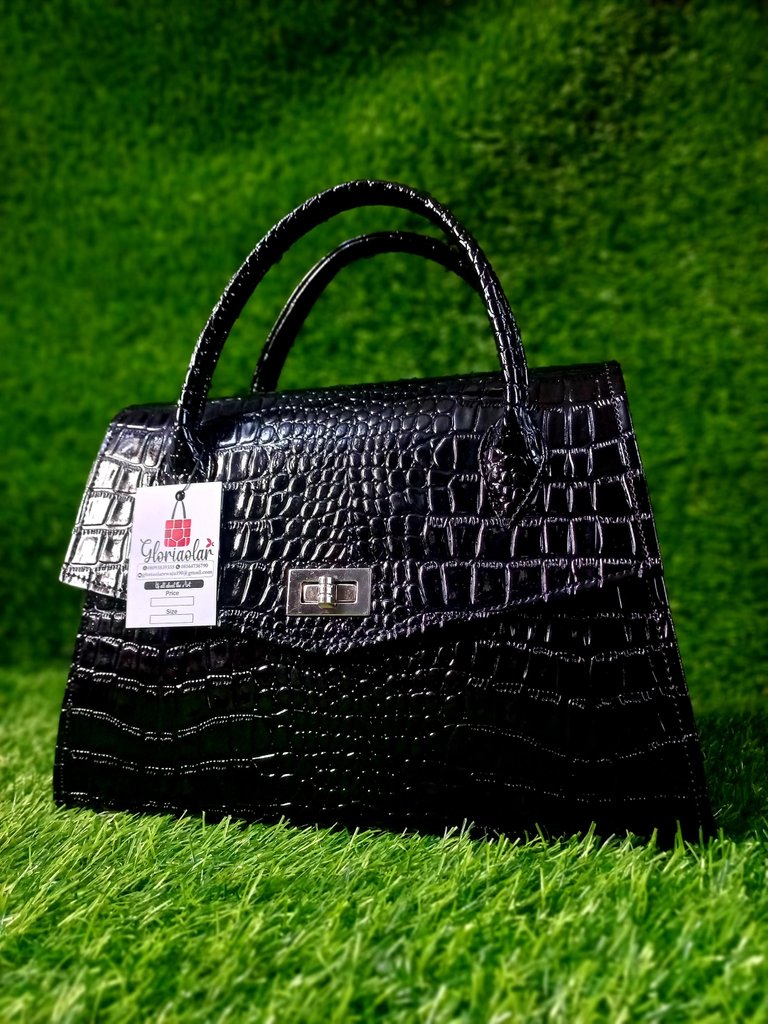
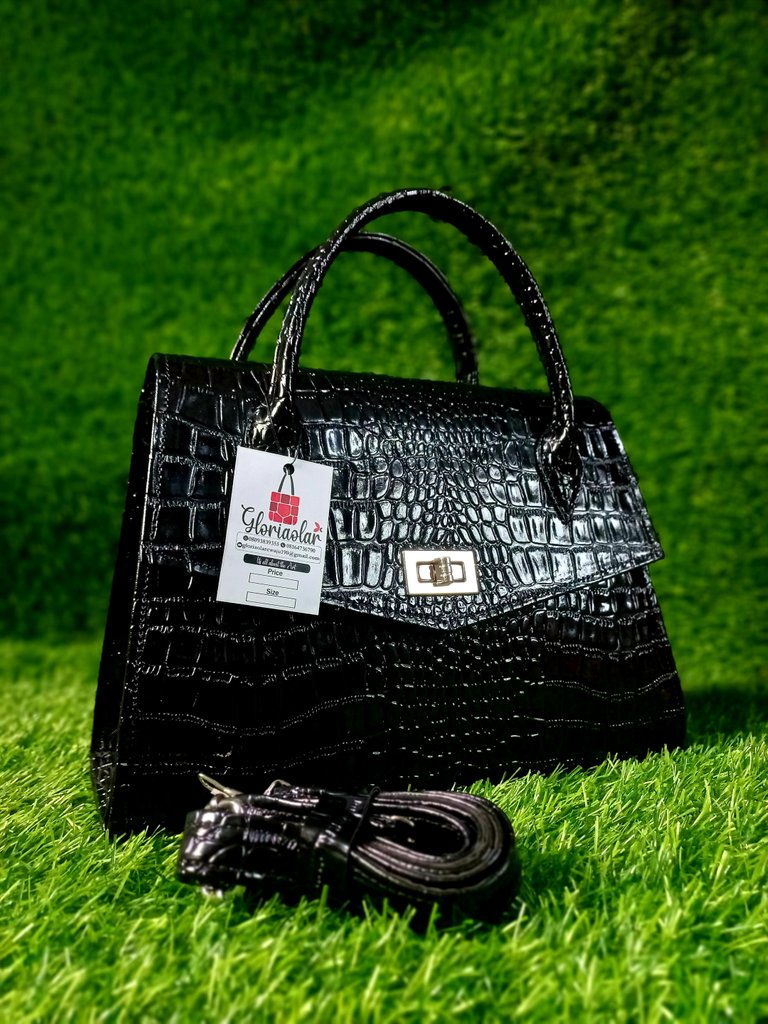
This morning I want to share with us my latest creation. I know you guys will be wondering why I name the bag "Governor's bag". Well this reason was because this was the bag the governor bought when I exhibited at my state Trade fair some months ago. Since then, I named the bag after him. This bag was one of my best seller and just few days ago, it was ordered for so I set how to create it. I don't usually have the bags on ground unless it's a new design I'm creating. What I usually do is, when people order, I ask for their choice of leather and then I create it. But hopefully soon when I'll be creating them on ground.
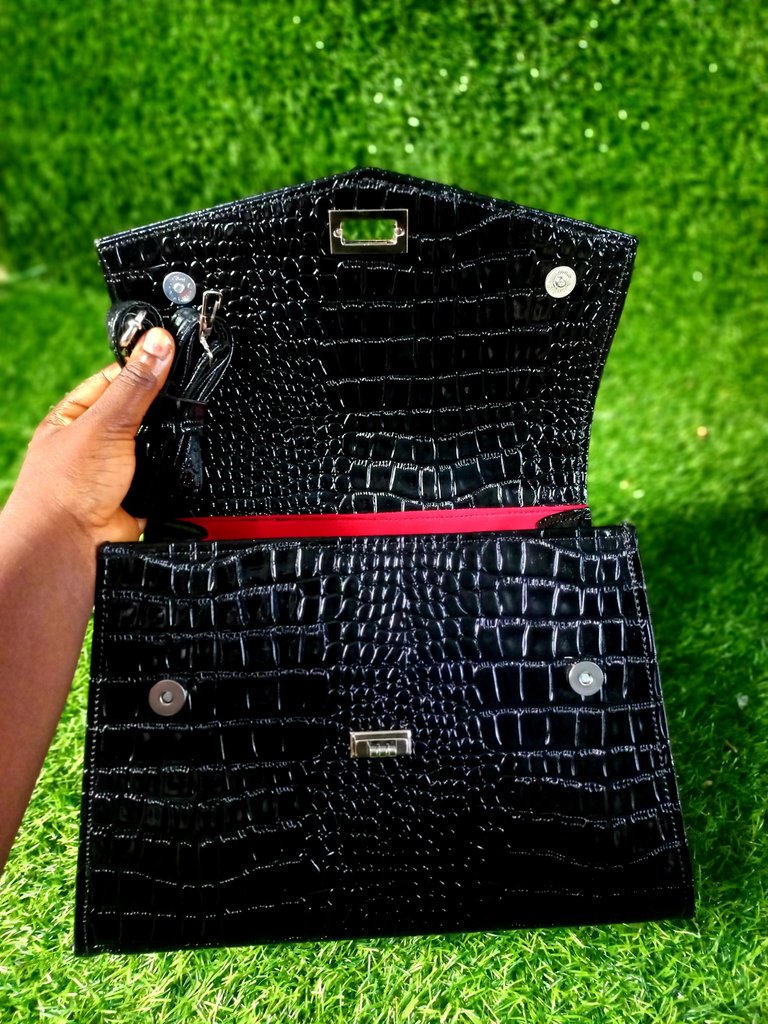
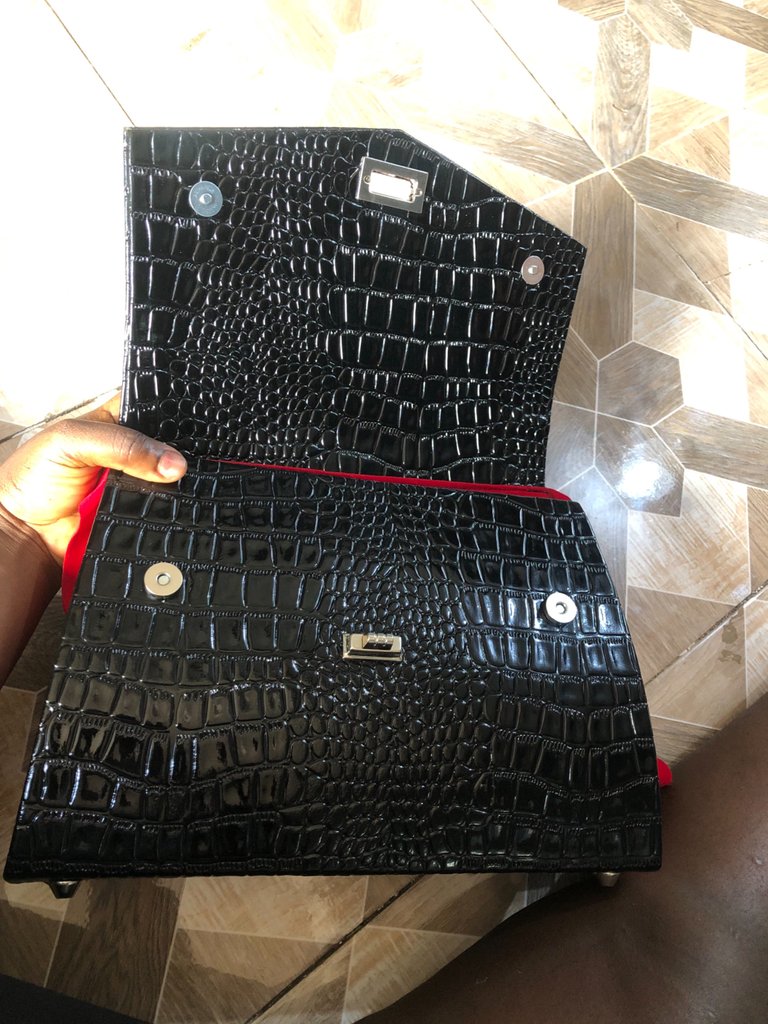
The owner of this bag requested for a glossy black leather and thankfully I have the leather on ground and so I set out to work. I am actually impressed with the finishing. I did a little improvisation to the bag though. I noticed it'll be nice to add magnets with the bag lock so as to hold the bag well. In my previous designs I use bag lock alone but I realize, since its a big bag it'll be OK to add magnets to it so it'll be able to hold the bag more firmly. You can see that in the picture below.
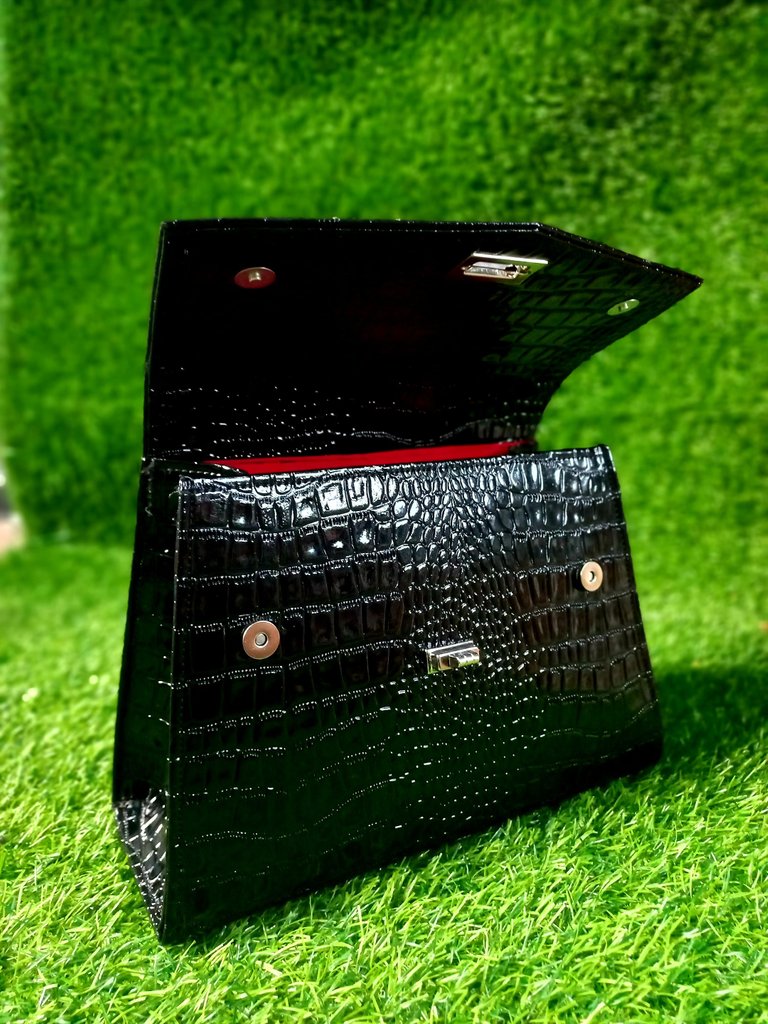
Below I'll be explaining how I got the bag done.
MATERIALS USED
- Glossy black leather
- Oketex fibre
- Red suade material
- Zip and zip head
- Bottom pin
- Chip-board
- Leather glue
- Maco 2
- Bag lock
- Magnet
- Anchor
- D rings
- Tagging pins
- Gum
PROCESS
- The first thing I did was to create the pattern cus I added 0.5inches to the original measurements I was using before which meant I'd need to create a new pattern which I did. The process will be explained in another post.
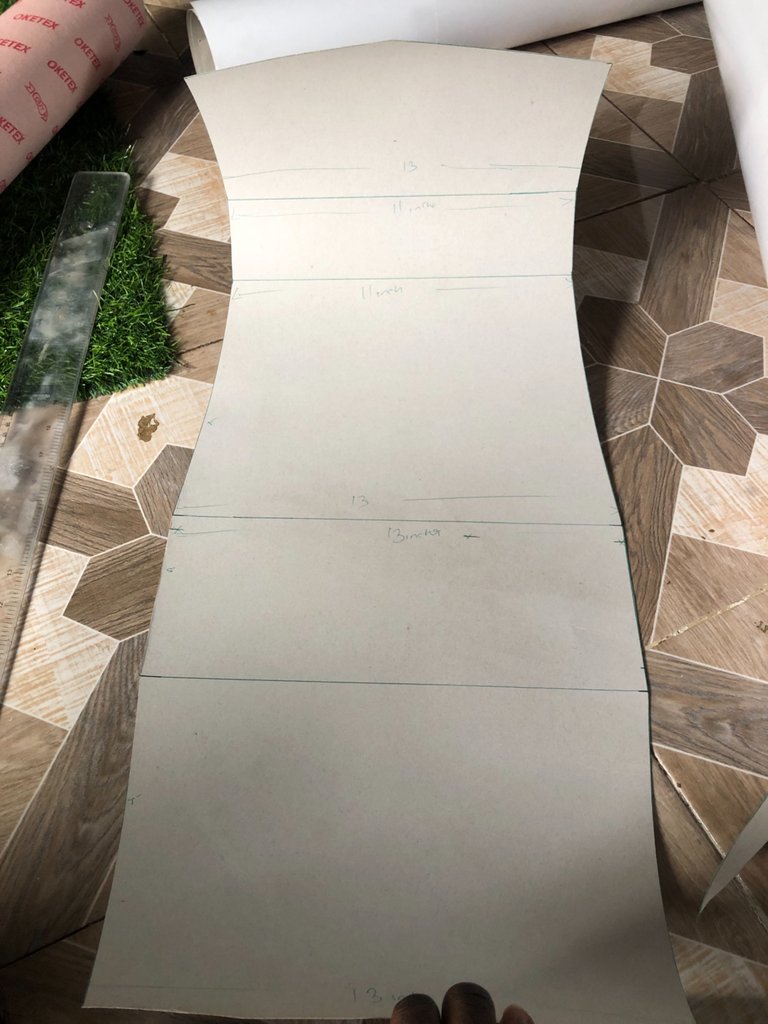
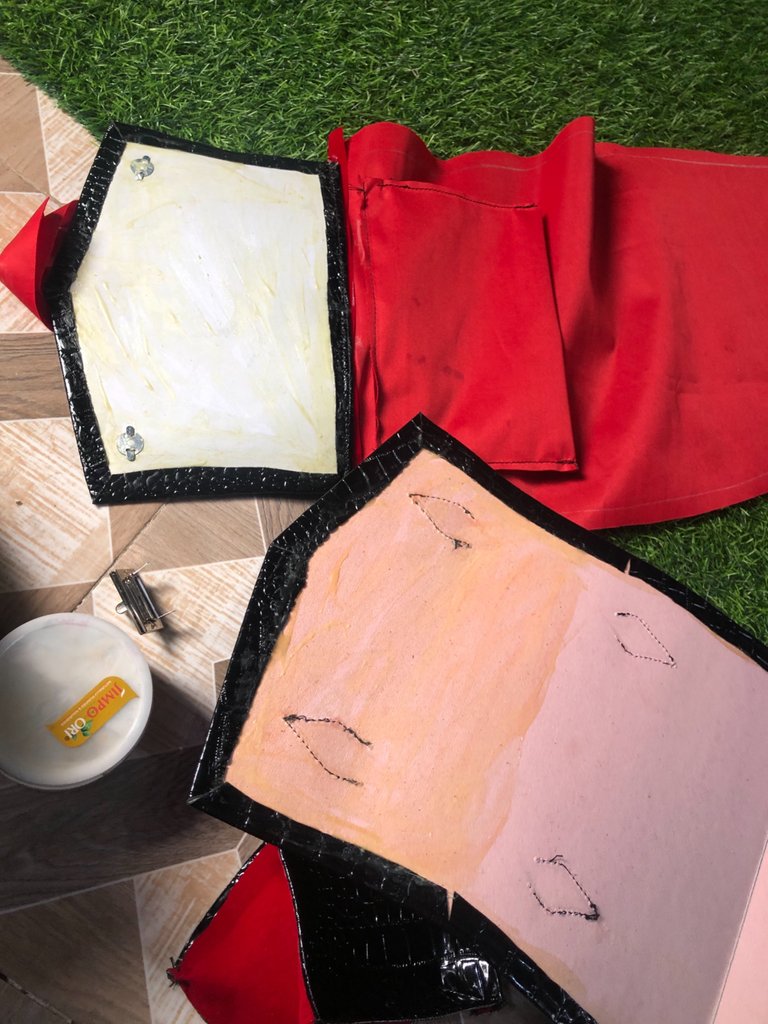
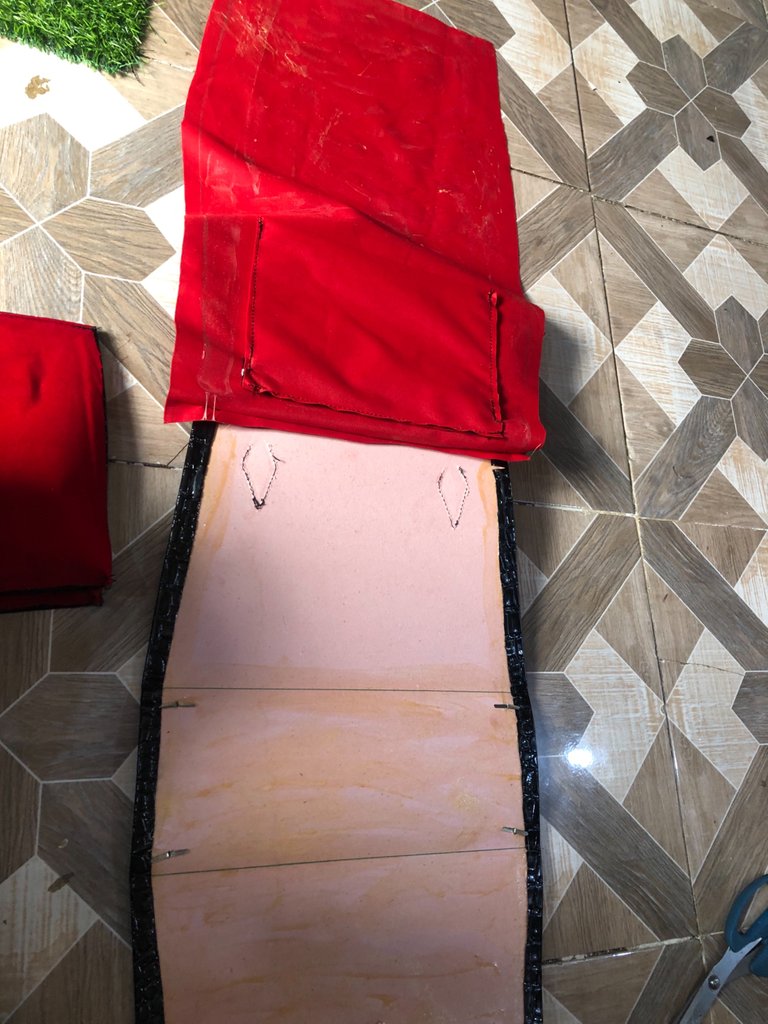
- After that, I marked and cut out the pattern on the leather and fibre. Next I gum them together that is fibre and leather for the main body of the bag, chiboard and leather for the sides and maco and leather for the shorter handle.
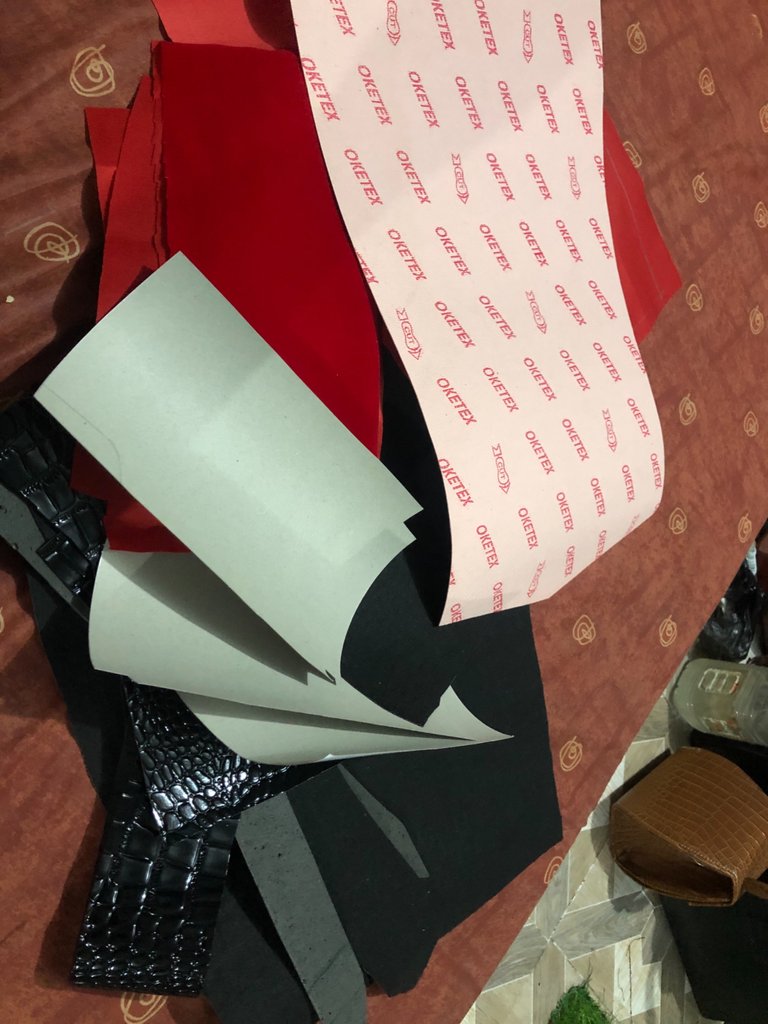
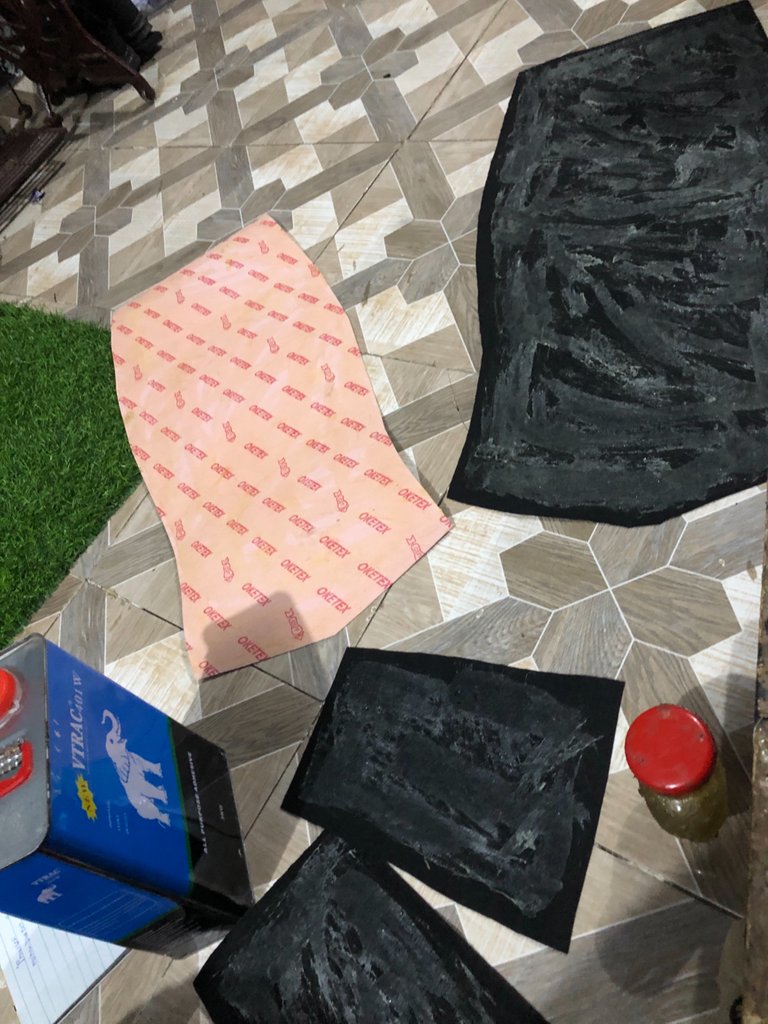
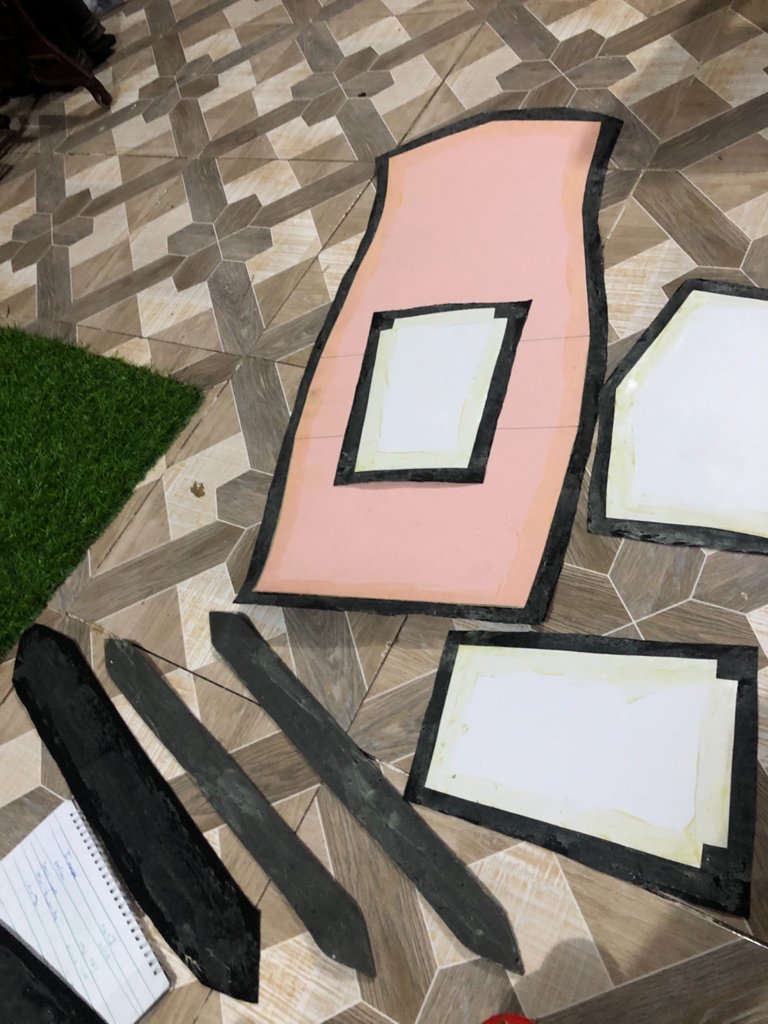
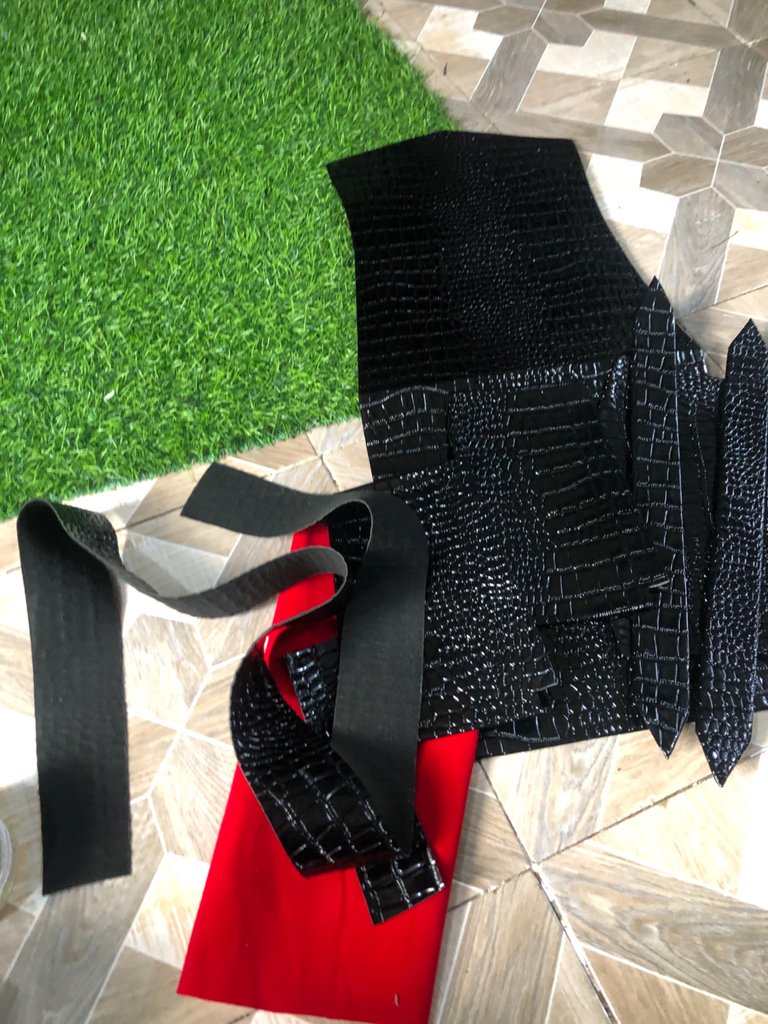
Next I attached the D rings to the sides, gum it with its respective lining. Next I sew the longer rope, sew the inner pocket to the lining and to the upper leather lining. Next I sew the shorter handle with the main body of the bag.
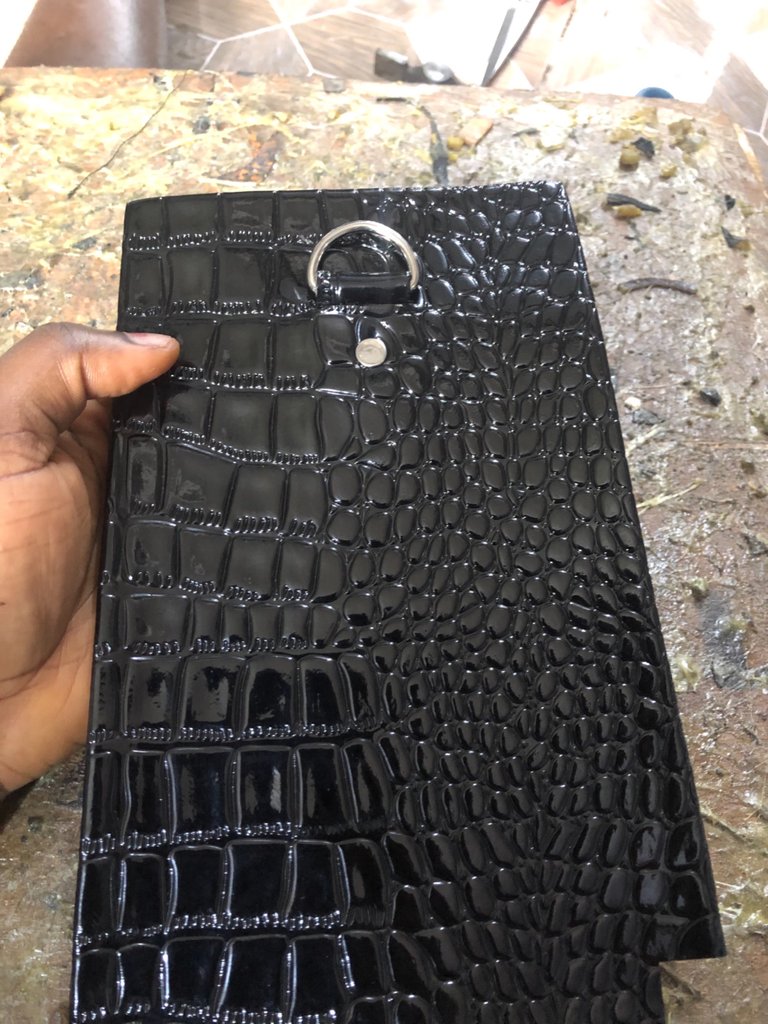
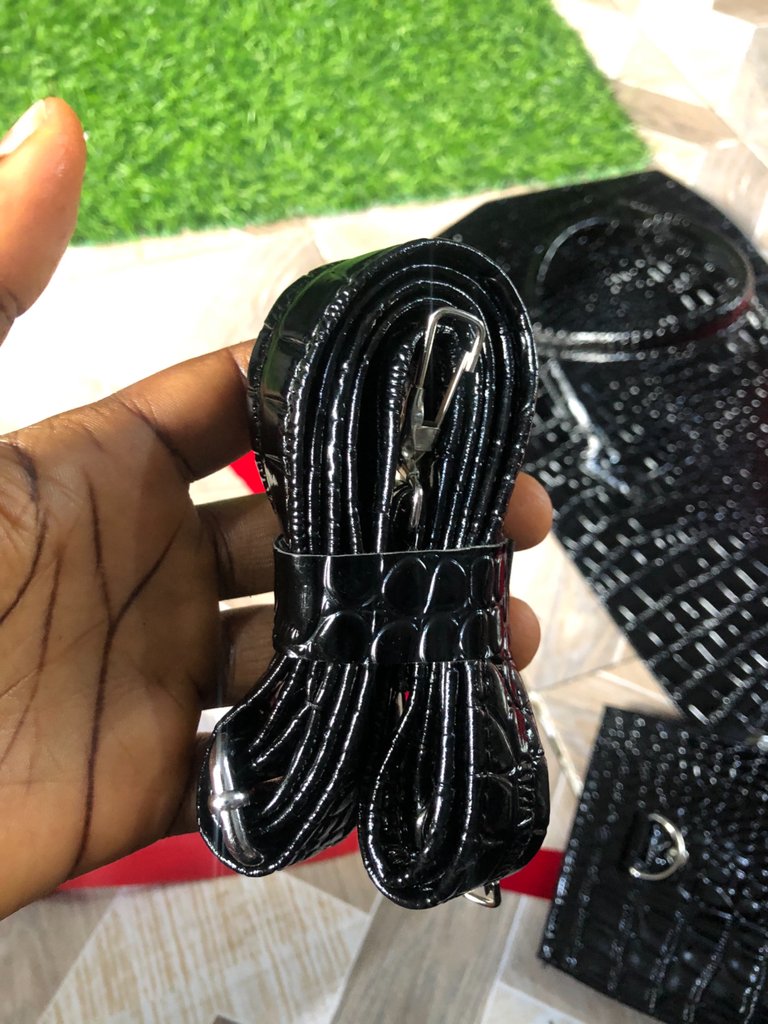
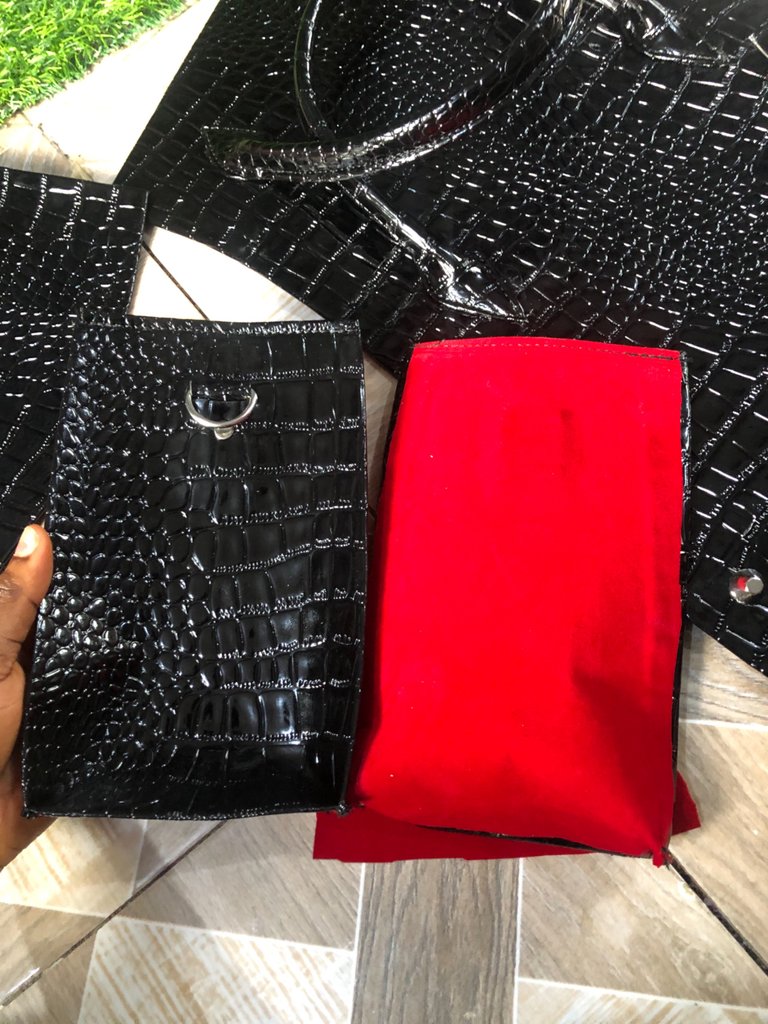
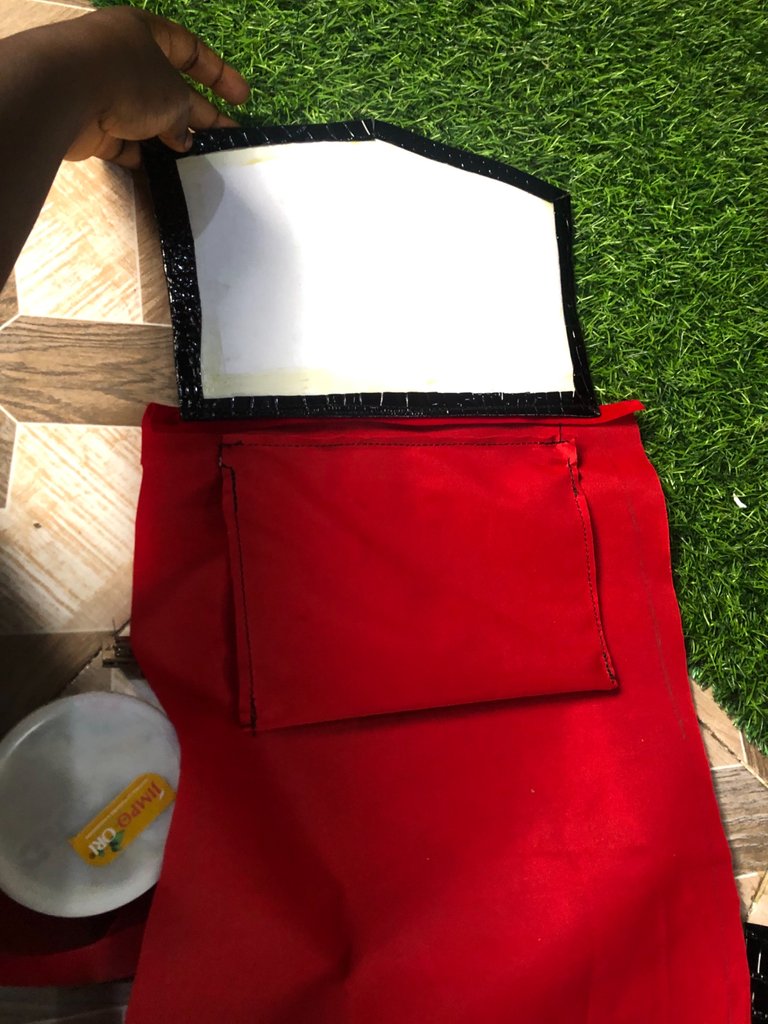
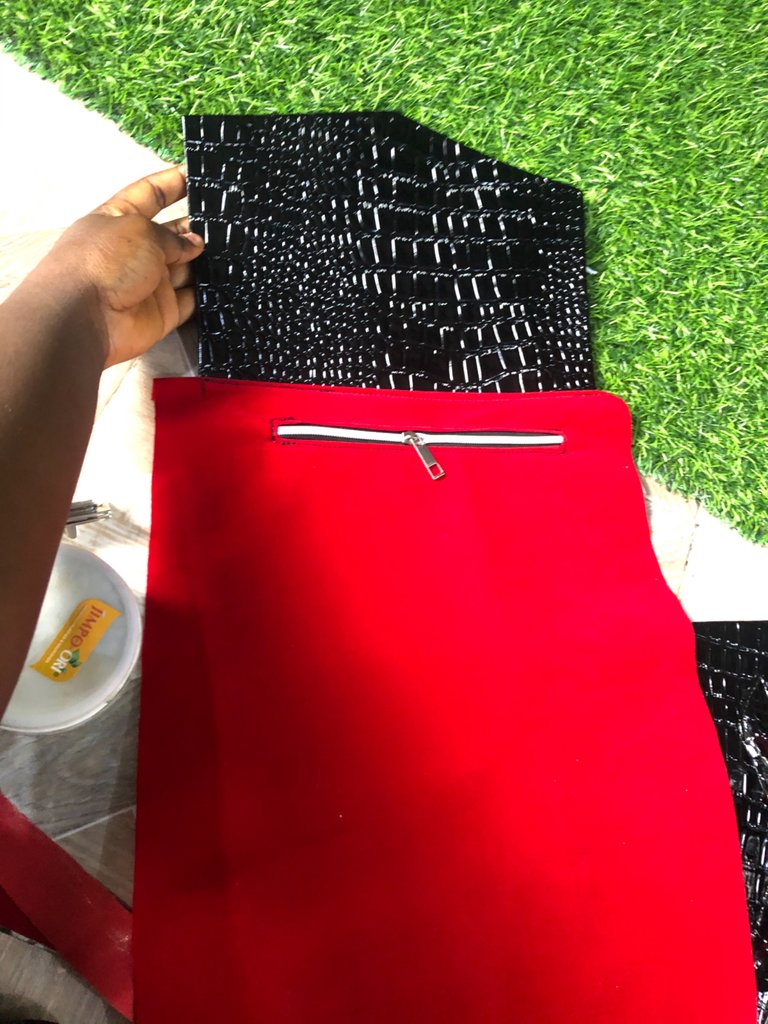
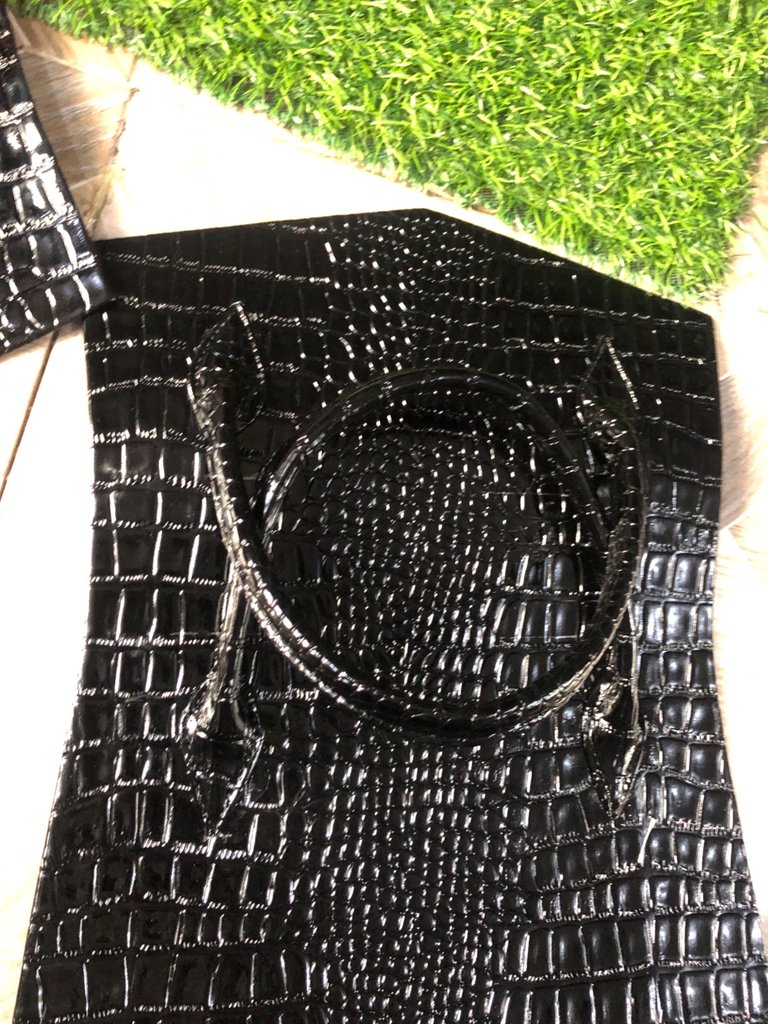
- Here I gummed the upper part of the lining, fixed the bag lock and magnets and I gummed the rest of the lining. After that, I sew the sides to the main body of the bag.
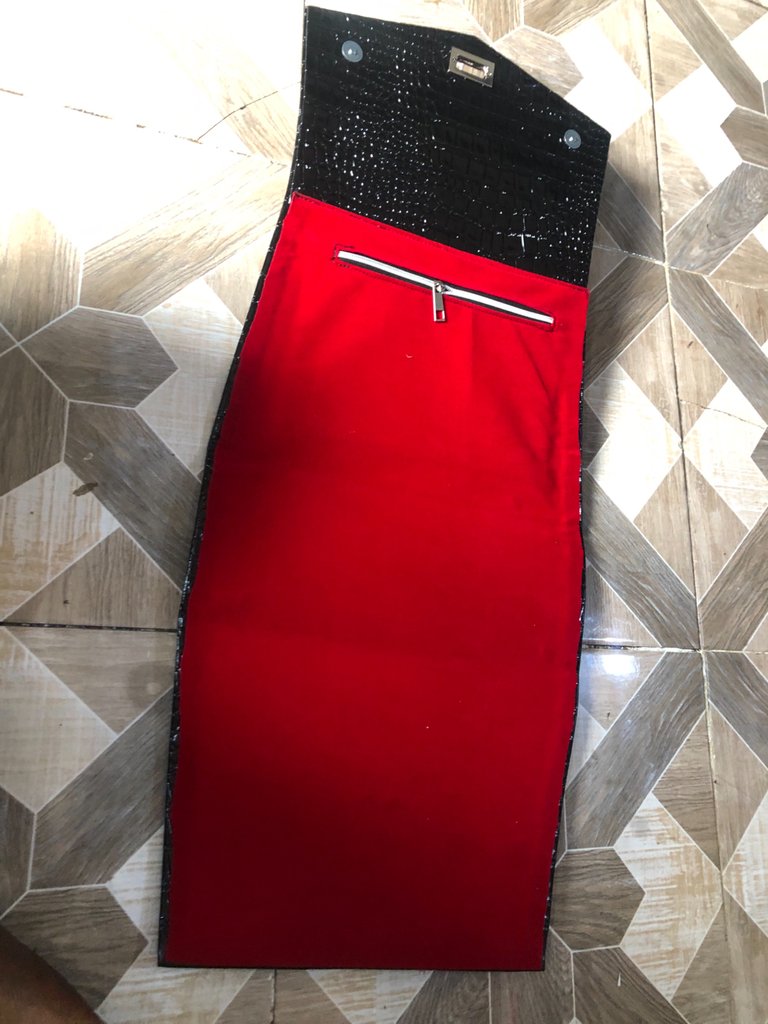
FINAL LOOKS
