
Editado en Canva || Edited in canva

Hello, hello 👋 my dear friends of Hive, happy Monday and happy start of the week to all.
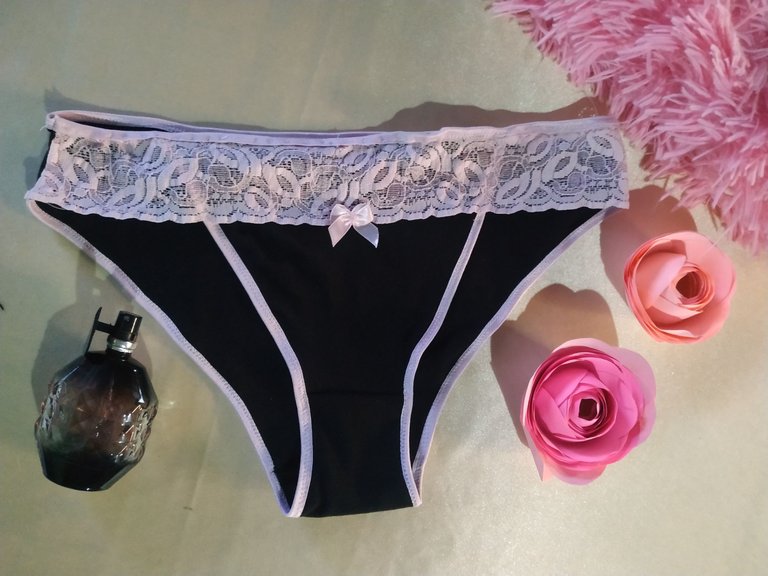
This weekend I wanted to get back to making more lingerie and looking for patterns on the internet, I came across this beautiful panty with lace waistband, this design caught my attention and without thinking about it, I got down to work with it. I must say that the process was quite simple, even I could make two pantyhose of different colors and different sizes, one size S and one size M.
Here I leave you the link where you can download the molds and that you too are encouraged to do it, remember that when working with underwear, we do not need a lot of fabric and we can also make it with different stretch fabrics that will mold very well, the important thing is to have patience and dedication as we are working with small garments, all this will make that in the end we achieve a good result.

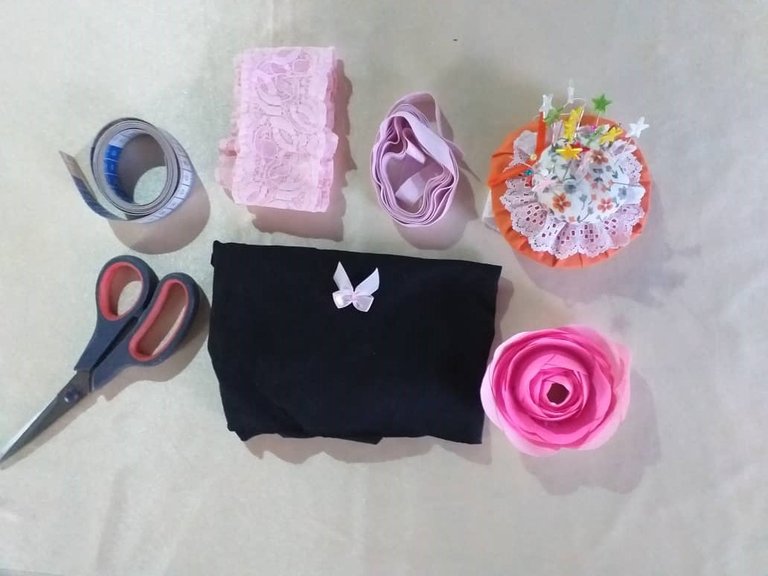
- Cotton fabric.
- Elastic bias.
- Elastic lace 5 cm wide.
- Scissors.
- Needles and pins.
- Measuring tape.
- Decorative ribbon.
- Molds.
- Threads.
- Homemade Singer sewing machine.
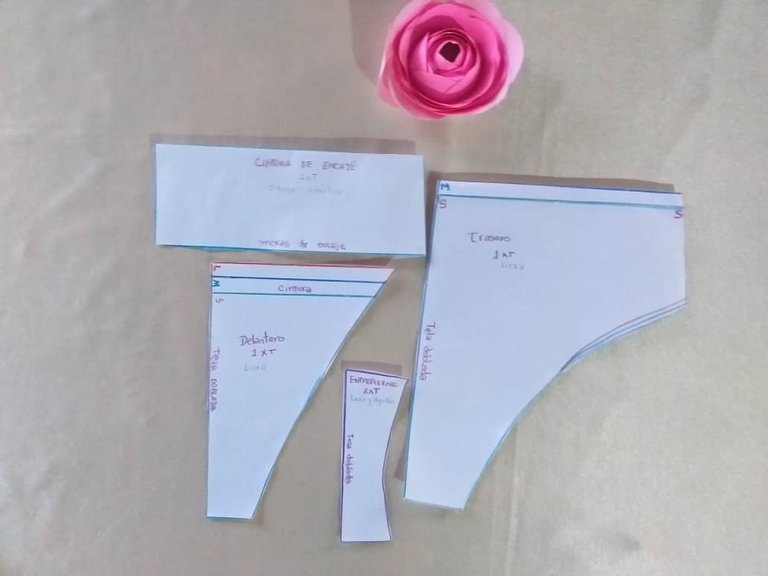

As a first step we are going to place the molds on our elastic cotton fabric. We cut flush with each pattern so that we have all the pieces. We proceed to do the same with the lace.
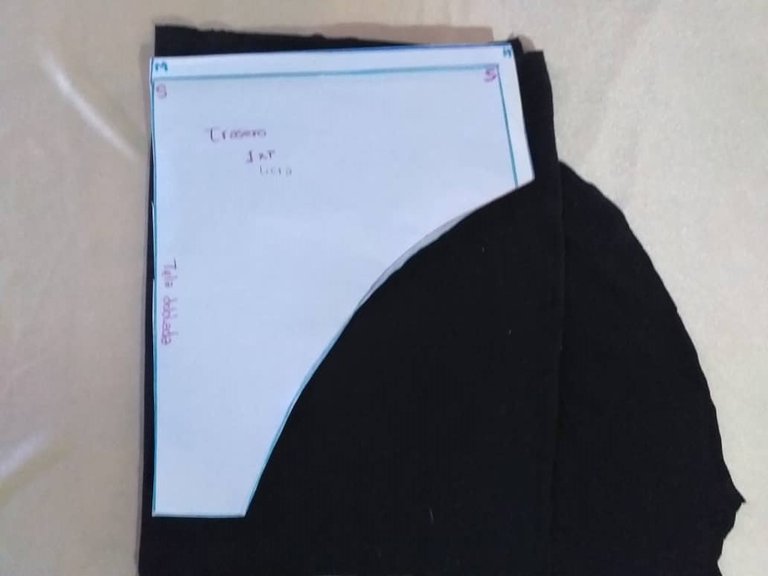
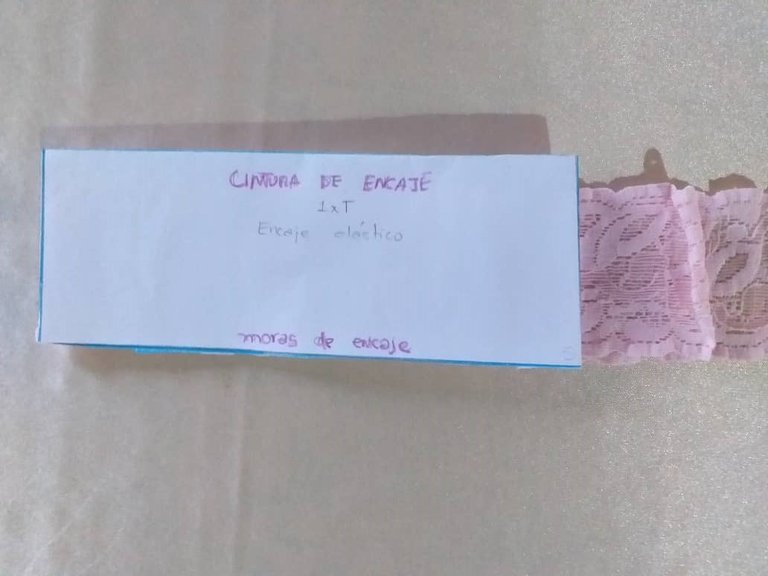
We should be left in cotton fabric, a front piece, a back piece, two pieces of reinforcement.
At the waist only one piece of elastic lace, for this part I must say that the width of the lace can vary, I used 5 cm because it was the one I had available, but if you have one whose length in width is greater you can use it without any problem, even I must say that it is much prettier this way.

We are going to join the front and the back with the help of the reinforcement. We join the back with the crotch from which we cut two pieces, we will place it in such a way that the seam is hidden.
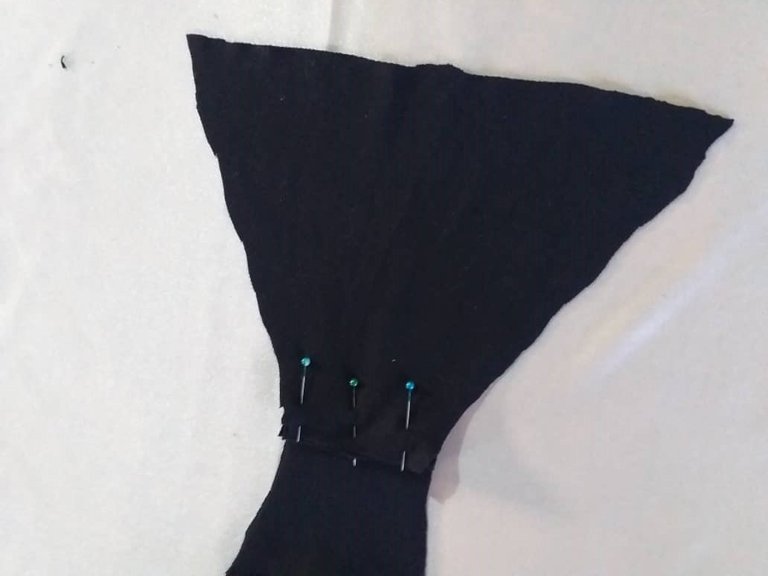
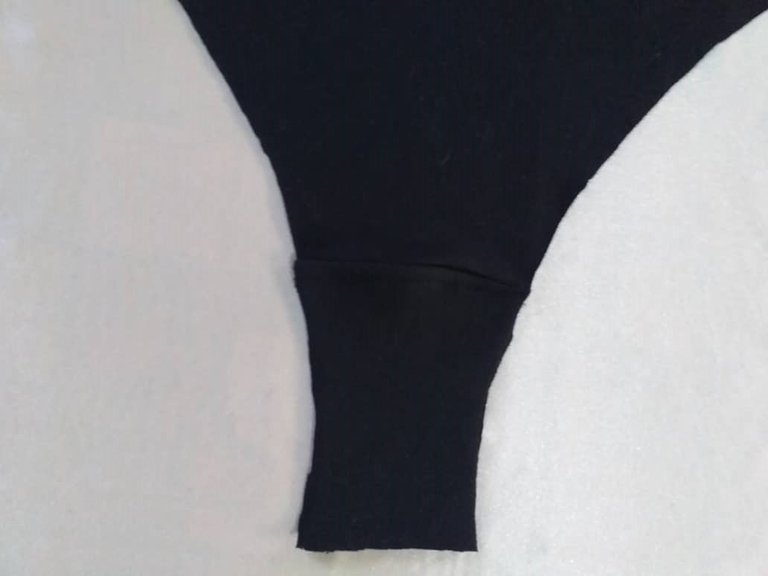

We continue joining now to the front part, also through the crotch.
Then we begin to place the bias binding all along the legs, we will stretch 5 to 6 while sewing except for the front part of the panty where we are going to place the elastic lace, there we should stretch as little as possible.
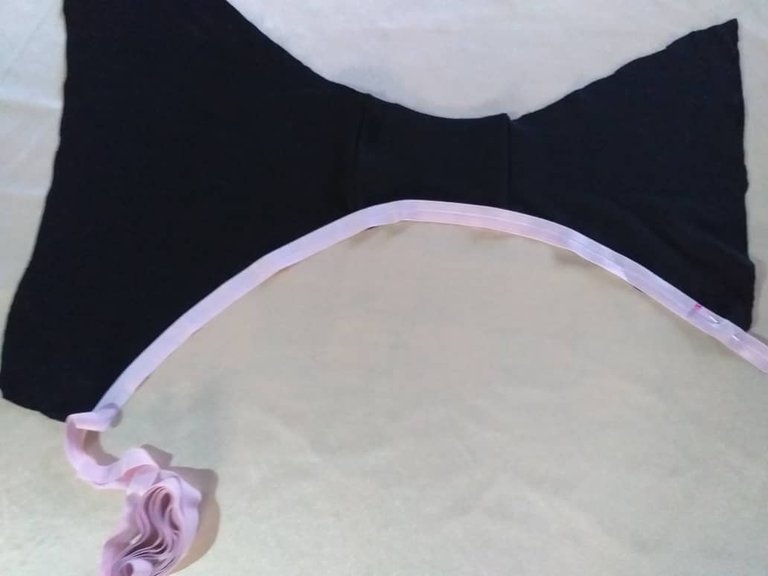
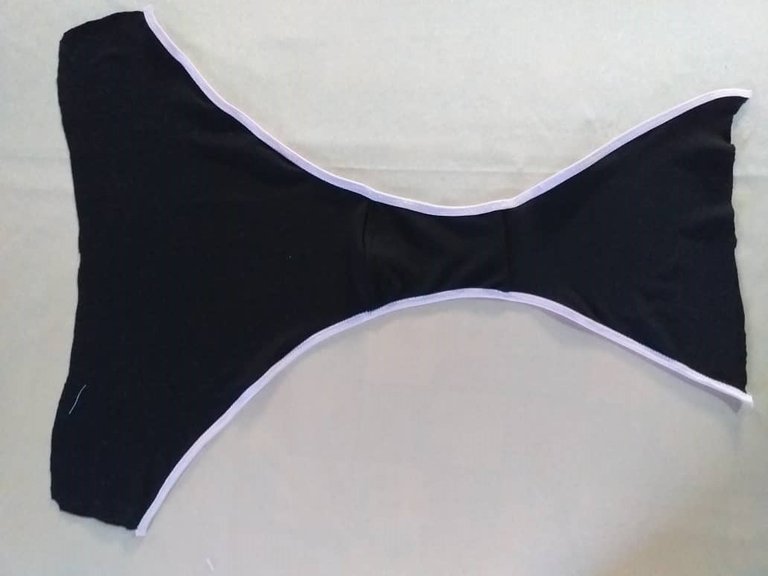

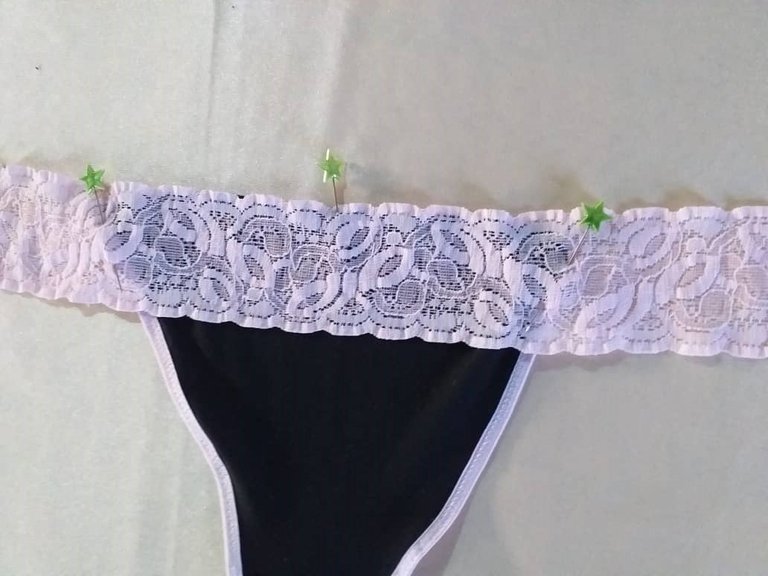
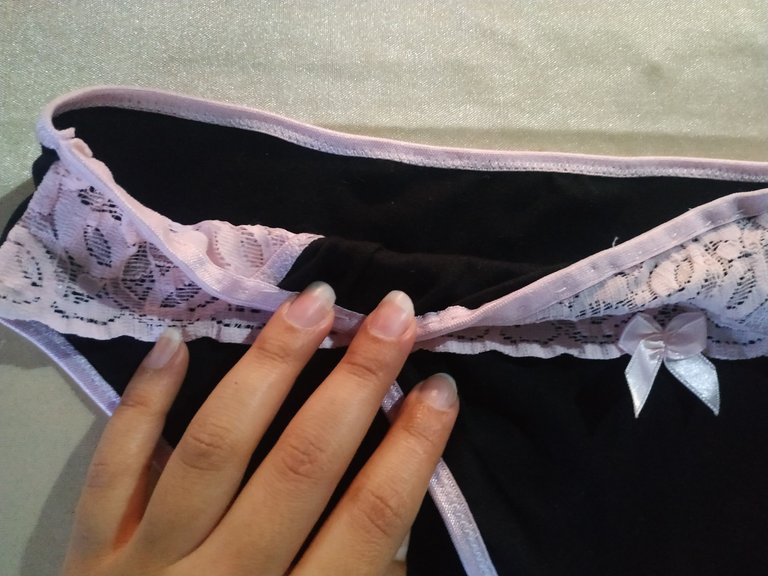
Now we must attach the waist piece we made with the elastic lace to the panty.
We join and sew to the front and then place the elastic bias binding all around the waistband.

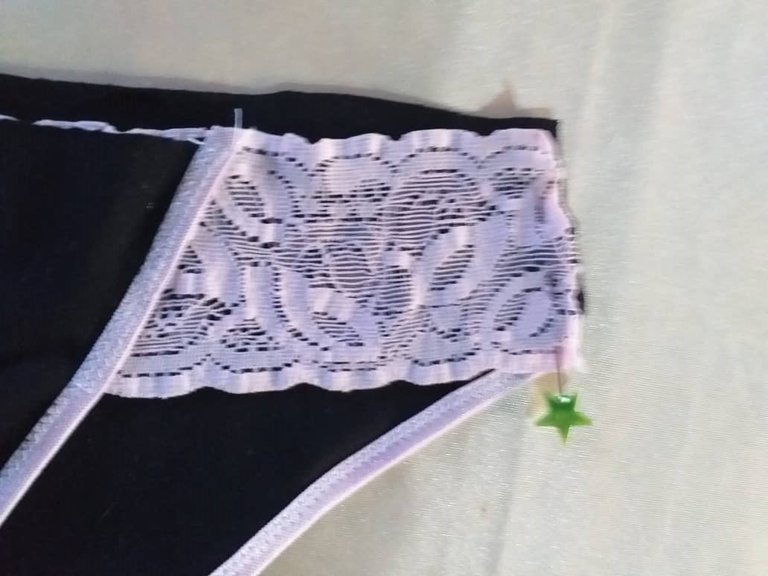
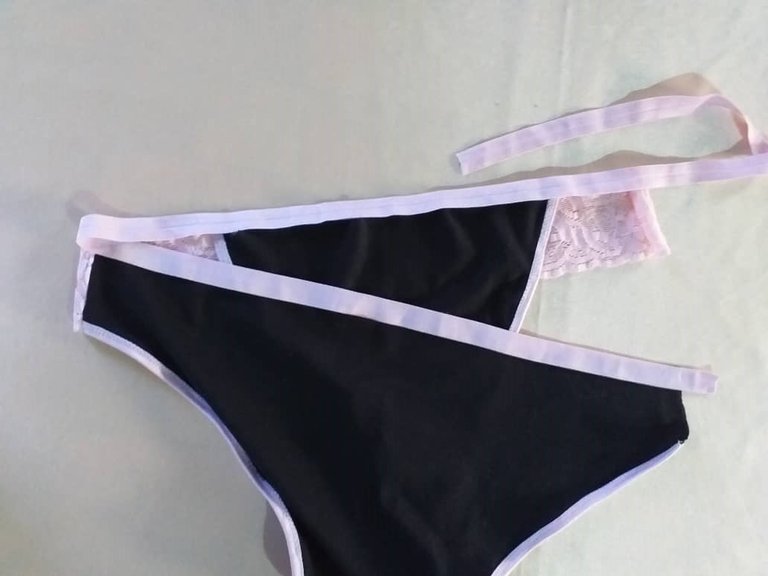

Finally, we proceed to join the sides of the panty.
We add a pink decorative bow and with this we will have ready this beautiful panty.
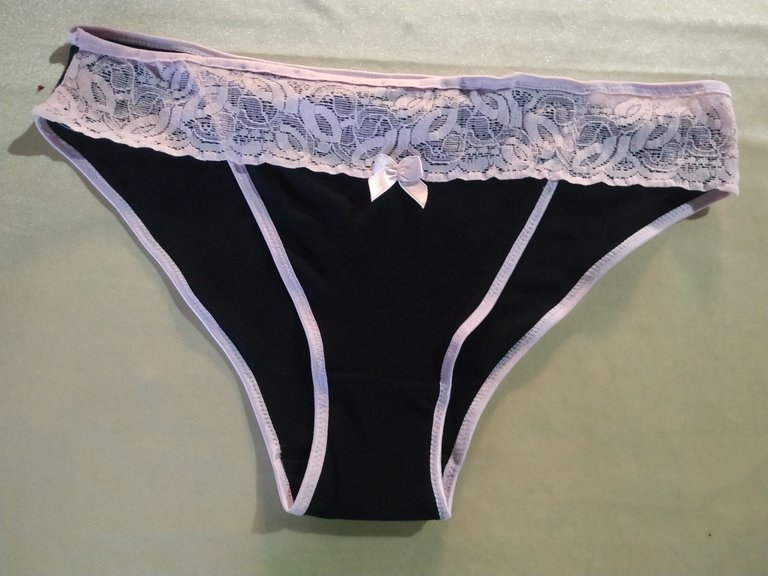
As I said, the steps to make this lingerie are very simple so if you want to start making lingerie, this would be a very good project to start with.
I hope you liked today's post, have a nice day and night.

Hola, hola 👋 mis queridos amigos de Hive, feliz lunes y feliz inicio de semana para todos.
Este fin de semana quise volver a hacer más lencería y buscando patrones por internet, me conseguí con esta hermosa panty con cintura de encaje, me llamo mucho la atención este diseño y sin pensarlo, me coloque manos a la obra con ello. Debo decir que el proceso fue bastante sencillo, incluso pude hacer dos pantis de diferentes colores y de diferentes tallas, una talla S y una talla M.
Por aquí les dejo el link dónde pueden descargar los moldes y que ustedes también se animen a hacerla, recuerden que cuando se trabaja con ropa interior, no necesitamos de mucha tela y además podemos hacerla con diferentes telas elásticas que se van amoldar muy bien, lo importante es tener paciencia y dedicación ya que estamos trabajando con prendas pequeñas, todo esto hará que al final logremos un buen resultado.

- Tela de algodón.
- Sesgo elástico.
- Encaje elástico de 5 cm de ancho.
- Tijeras.
- Agujas y alfileres.
- Cinta métrica.
- Lazo decorativo.
- Moldes.
- Hilos.
- Máquina de coser Singer casera.


Como primer paso vamos a colocar los moldes sobre nuestra tela de algodón elástico. Cortamos al ras de cada patrón para que nos queden todas las piezas. Igualmente procedemos a hacer lo mismo con el encaje.


Nos debe de quedar en tela de algodón, una pieza delantera, una pieza posterior, dos piezas de refuerzo.
En la cintura solo una pieza de encaje elástico, para esta parte debo decir que el ancho del encaje puede variar, yo utilice de 5 cm porque era el que tenía a disposición, pero si tienen uno cuya longitud en lo ancho es mayor pueden utilizarlo sin ningún problema, incluso debo decir que queda mucho más bonito de esta manera.

Vamos a unir la parte delantera y la posterior ayudándonos con el refuerzo. Unimos la parte posterior con la entrepierna de la cual recortamos dos piezas, vamos a colocarla de tal manera que nos quede la costura escondida.


Continuamos uniendo ahora a la parte delantera, igualmente por la entrepierna.
Luego comenzamos a colocar el sesgo por toda la parte de las piernas, vamos a estirar de 5 a 6 mientras vamos cosiendo a excepción de la parte delantera de la panty donde vamos a colocar el encaje elástico, allí debemos estirar lo menos que podamos.


Ahora debemos unir la pieza de la cintura que hicimos con el encaje elástico a la panty.

Unimos y cosemos a la parte delantera y luego colocamos el sesgo elástico por toda la cintura.


Por último, procedemos a unir los laterales de la panty.
Agregamos un lazo decorativo color rosado y con esto tendremos listo esta bella panty.


Cómo les dije, los pasos para elaborar esta ropa íntima son muy sencillos así que si quieren empezar a elaborar lencería, este sería un muy buen proyecto para comenzar.
Espero les haya gustado mi publicación del día de hoy, que tengan un buen día y noche.


Editado en Canva || Edited in canva
Fotos tomadas de mi teléfono Xiaomi Redmi Note 6 Pro y mi teléfono Samsung J4 plus || Photos taken from my Xiaomi Redmi Note 6 Pro pone and my Samsung J4 plus phone.
Fuente del editor de imágenes y separadores || Image editor source and separators
