Editado en Canva || Edited in canva
ENGLISH
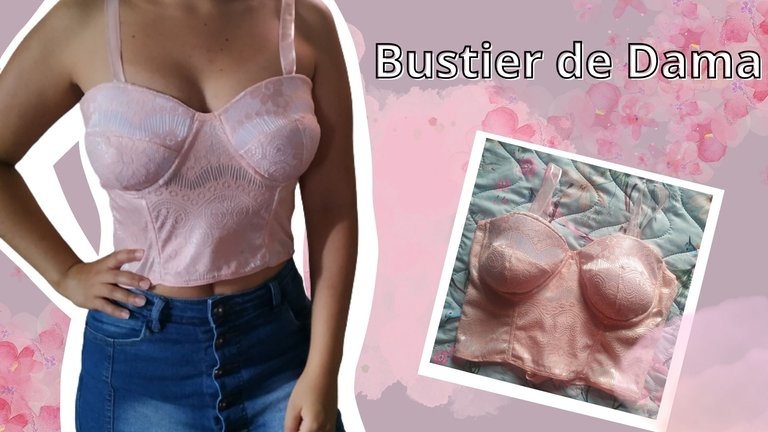
Happy Tuesday my dear friends of Hive, today I bring you a tutorial that had me very excited for a while, it is a lady bustier that is very fashionable lately, which is a combination of a top and a corset.
To make this bustier I used pink and white torchon lace fabric, I must say that I really liked the result of this project, however I have to adjust the cups because they were too big for my size so that's the only thing I have to fix before I can wear it, the rest, it was perfect.
Here is the step by step.

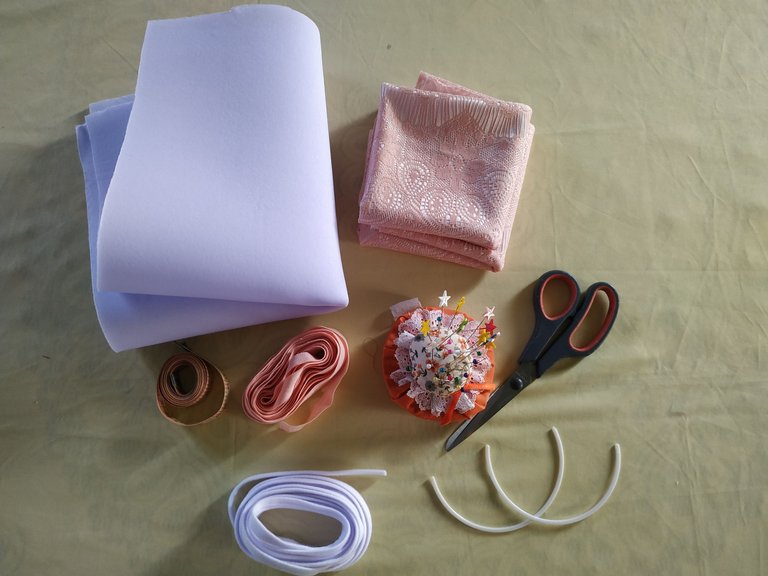
- 1/2 m of Torchon lace fabric.
- 3m of whalebone.
- Whales or rods.
- Elastic bias.
- Wadding or Neoprene for cups.
- Thread and needles.
- Patterns.

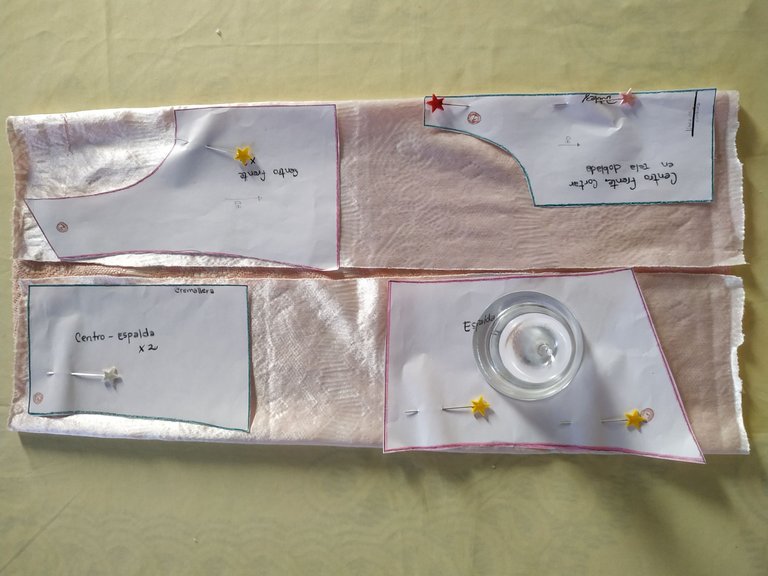
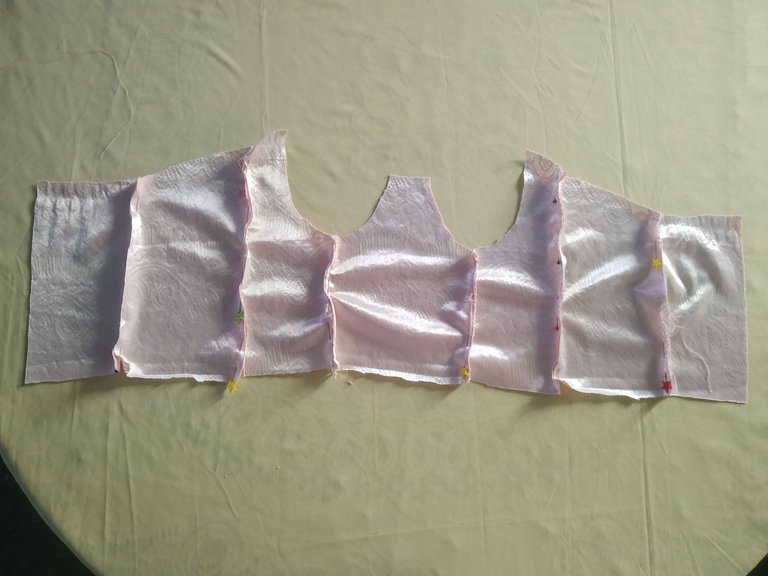
As a first step we are going to place the fabric on the molds, we will need one from the center and two from each side and back. Four from each cup and four from the top of the cups.

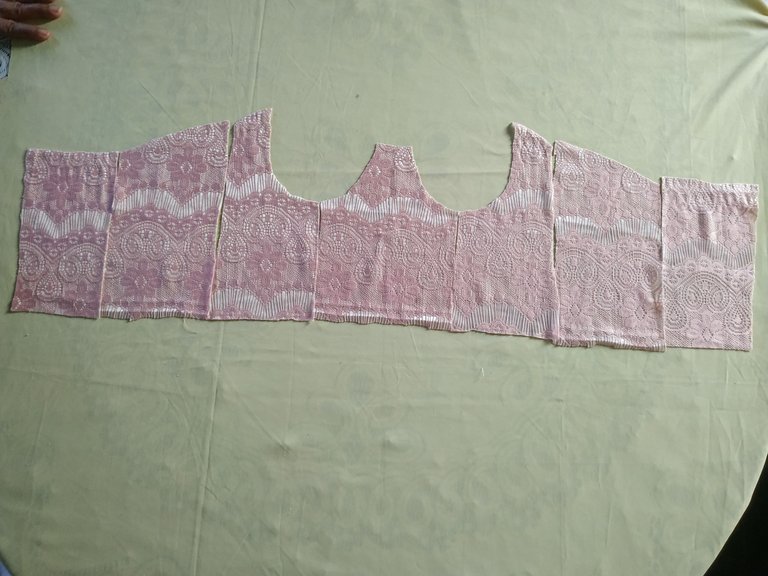
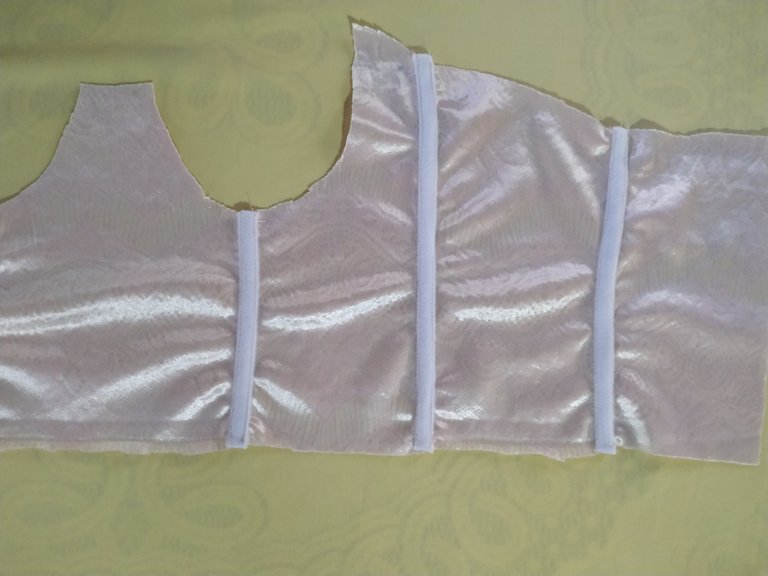
As shown in the first photo, this will be the assembly of the pieces to make the torso, we are going to sew along the sides of the pieces and the second photo shows how it would look like.

In each joint we are going to place the whalebone pass, we are going to sew and if you wish you can place rods for greater stability, I did not do it so that it would be more comfortable to use.

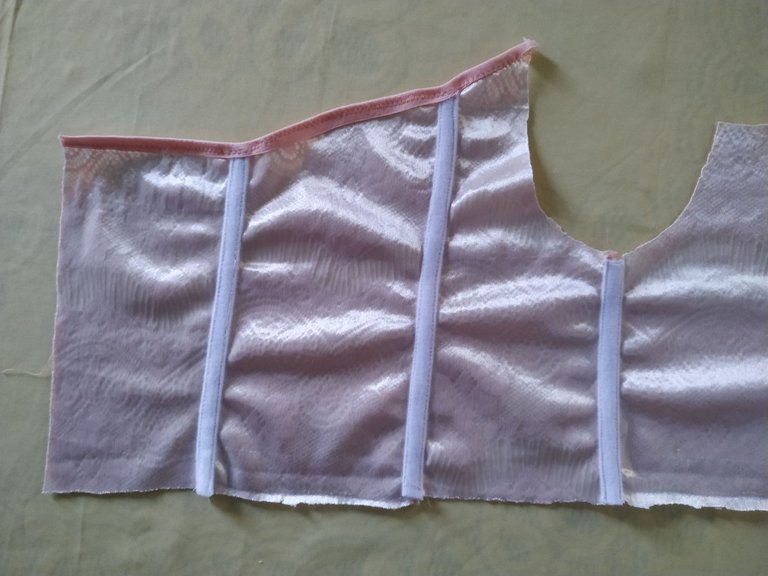
Then we proceed to place the elastic bias binding along the contour of the upper back.
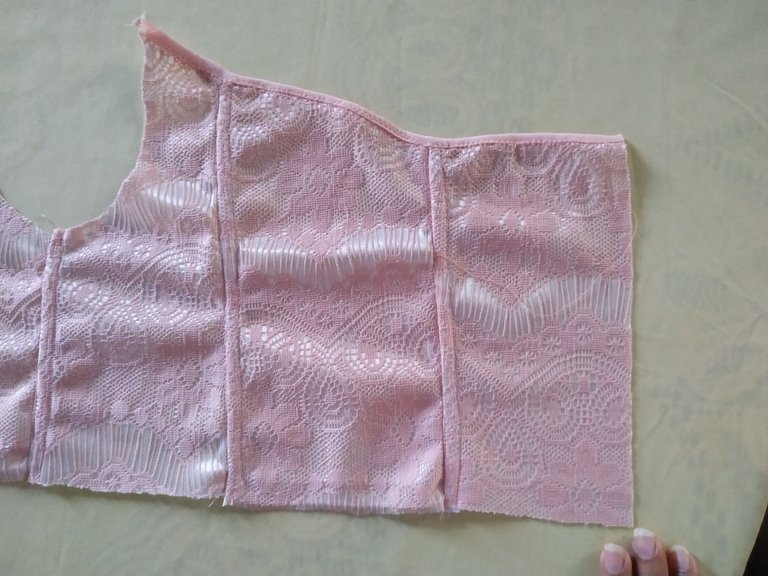

We are going to place the three cup patterns on the neoprene again to make the molds.
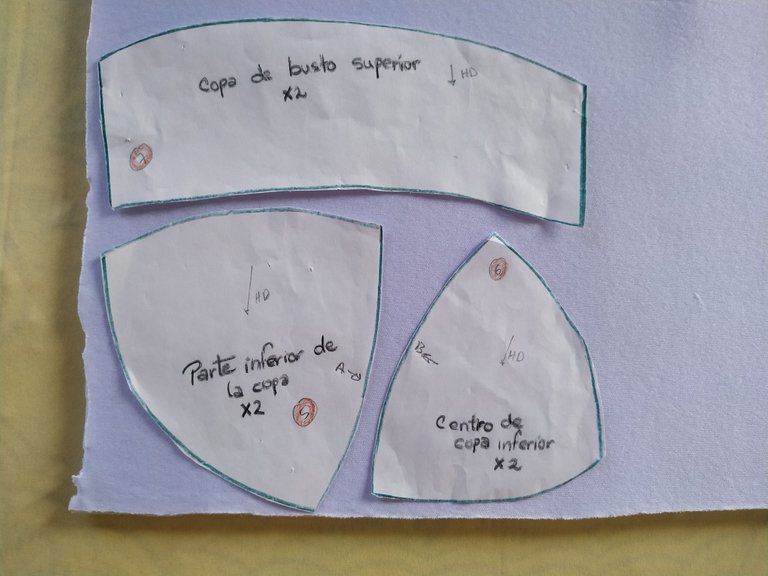
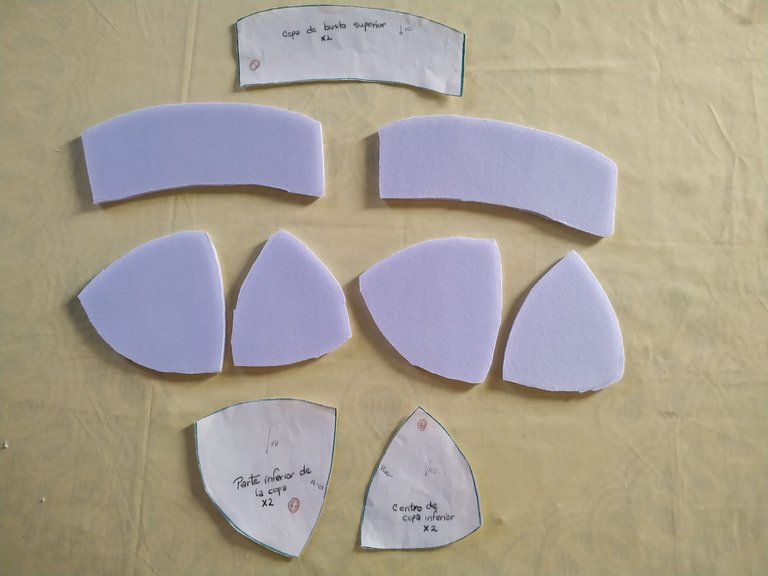

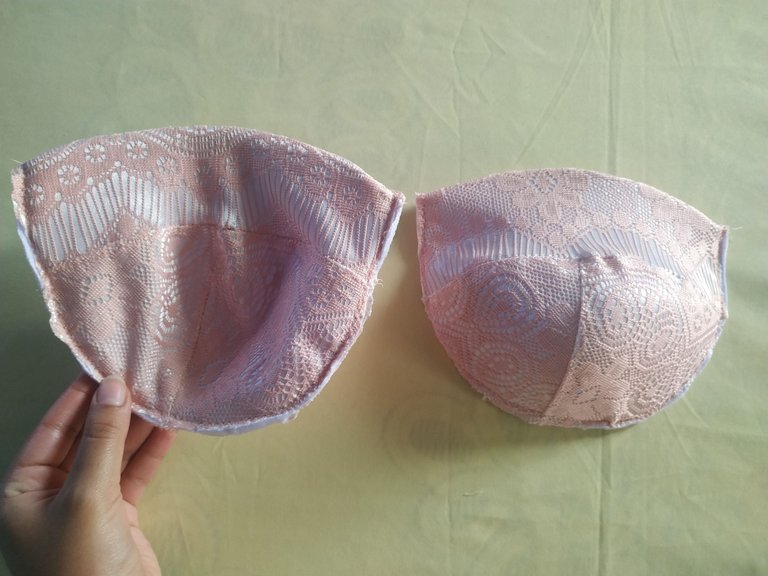
We are going to join the pieces by the central cup joint, as shown in the photo, then we join it to the upper cup.
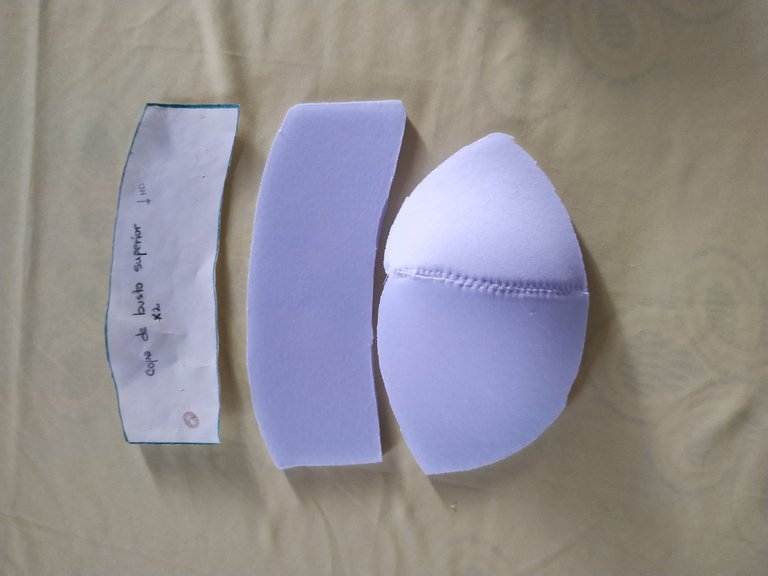

We are going to line both cups that we made with the Neoprene with the pieces that we took out of the torchon fabric, both in the front part and the part that goes inside the bustier.
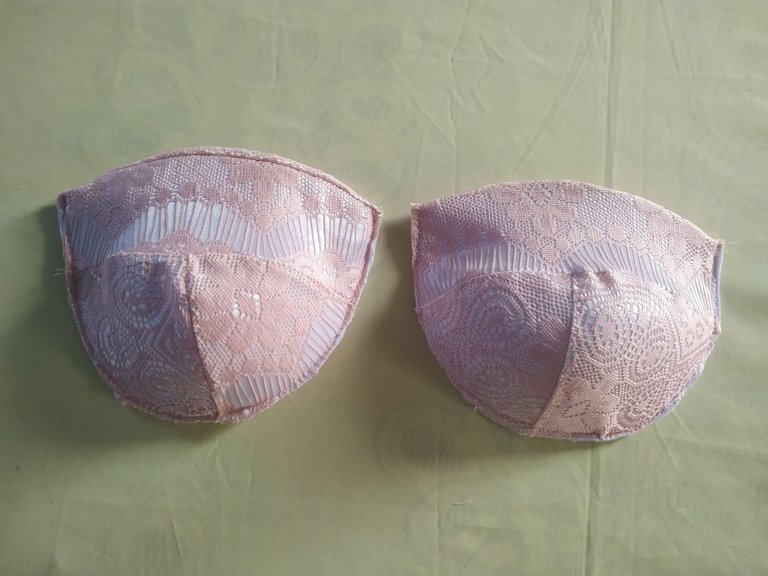

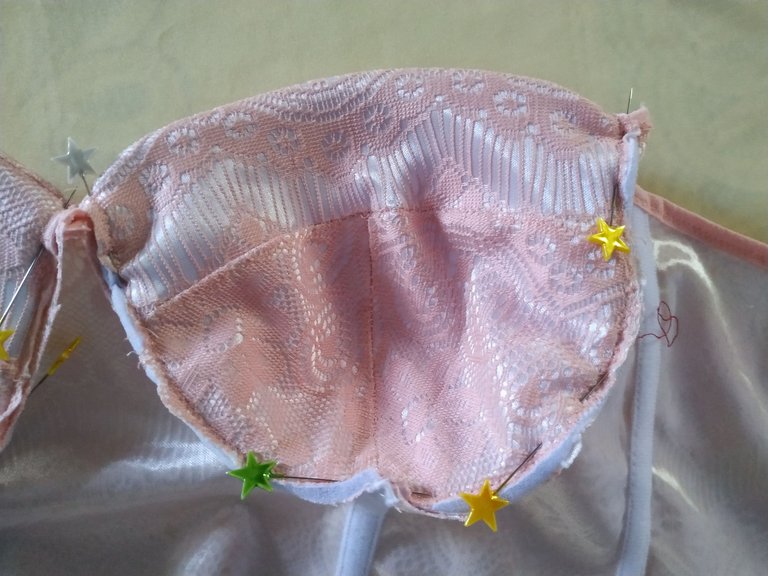
We are going to join the cups to the torso of the bustier, we adjust with pins before sewing.
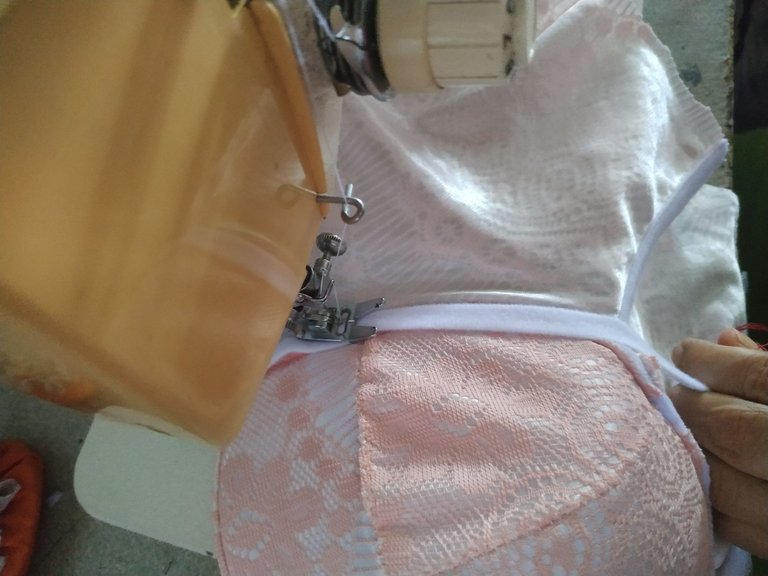

Then, we continue to place the whale pass along with the rod and close the sides of the whale pass.
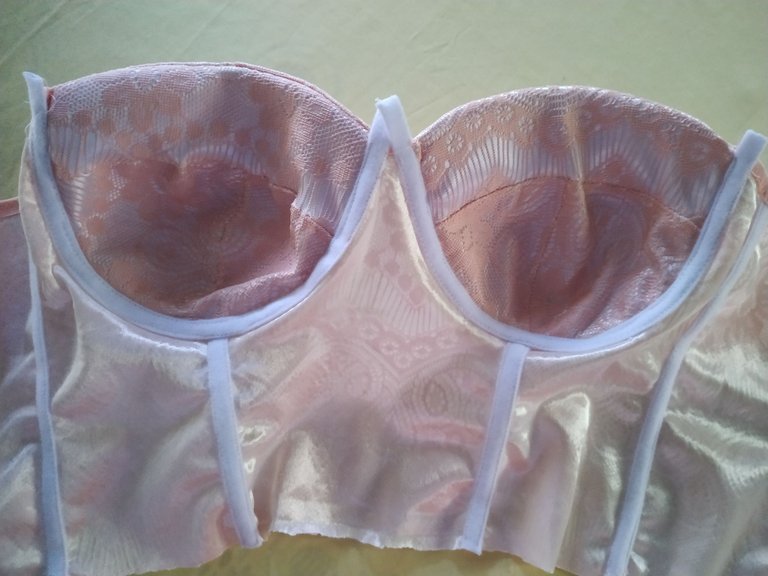

On the back I decided to make some pins, I made five measurements at the same distance from each other, taking the middle one as the main measurement, there we will place the pins. I made them with the elastic bias, we cut strips of 3m, we place them in each mark with the help of a pin and we sew the seam.
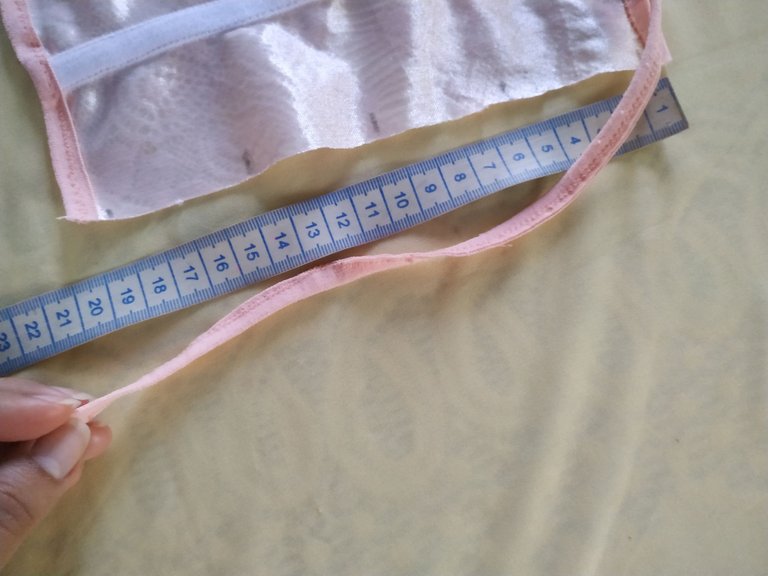
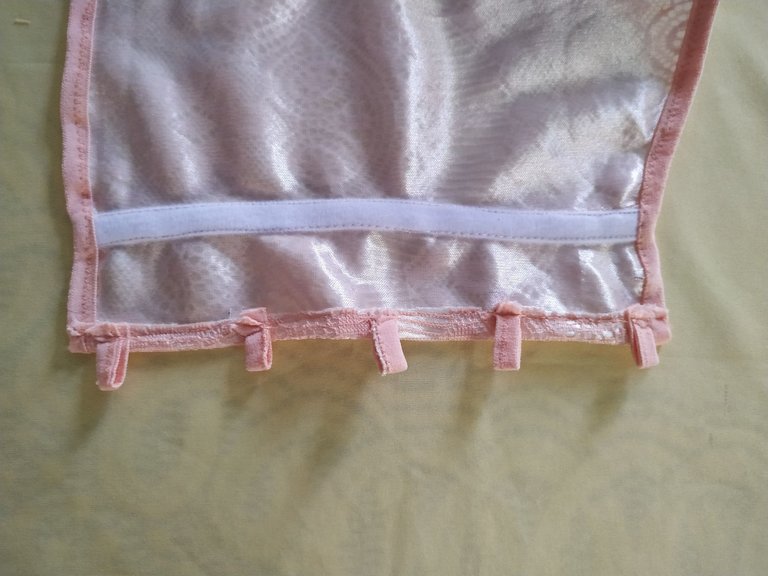

Then we cover with the whale pass and repeat the process on the other side.
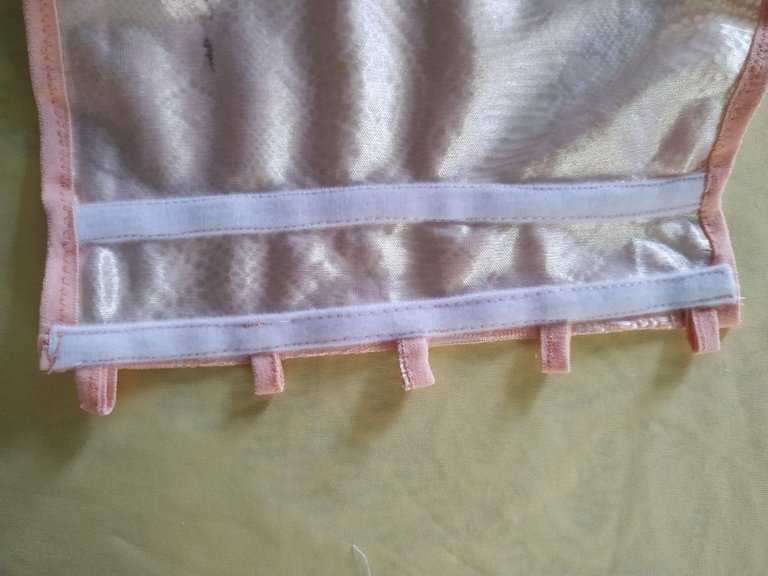

We place the elastic bias binding as the back joint tape, you can use any other tape you wish.
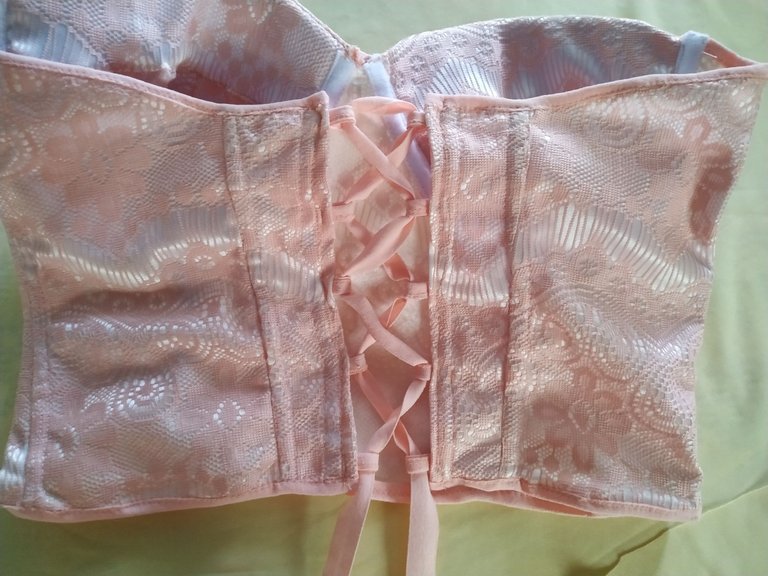

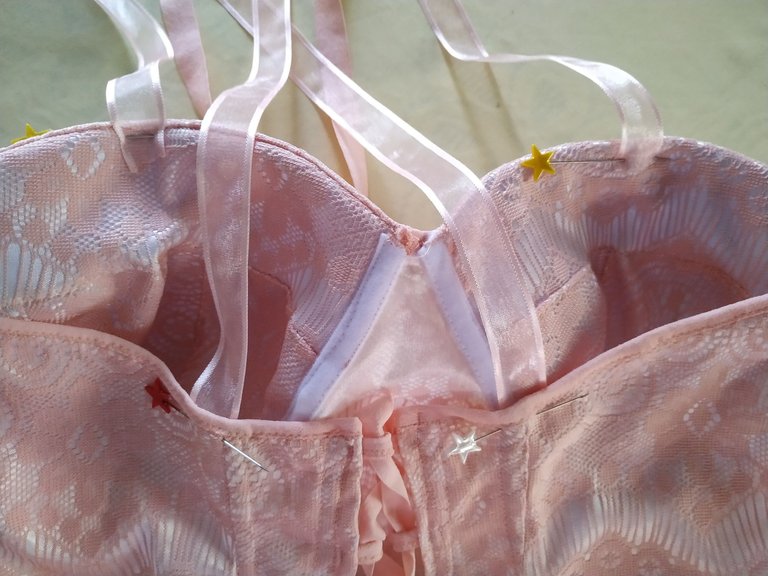
Optionally we sew some ribbons on the upper part to give a nicer touch to the bustier, and with that we will have this beautiful model ready.

The process to make this project was a little late, it took many hours to finish the work since it is the first time I make one, however the mold I used to make it was very useful and I leave below the link where you can get it for free. I hope in a next opportunity to make a bustier again and I know it will be much easier to do since it will not be the first time.
Thank you very much for reading my blog, I wish you have a nice day and night.
ESPAÑOL
Feliz martes mis queridos amigos de Hive, el día de hoy les traigo un tutorial que me tenía muy emocionada desde hace un tiempo, se trata de un bustier de dama que está muy de moda últimamente, que es una combinación entre un top y un corset.
Para la elaboración de este bustier utilice tela de encaje torchon de color rosa con blanco, debo decir que el resultado de este proyecto me gustó mucho, sin embargo debo ajustar las copas ya que quedaron muy grandes para mí talla así que es lo único que de debo de arreglar antes de poder usarlo, lo demás, quedó perfecto.
Aquí el paso a paso.

- 1/2 m de Tela de encaje torchon.
- 3m de Pasa ballenas.
- Ballenas o varillas.
- Sesgo elástico.
- Guata o Neopreno para copas.
- Hilo y agujas.
- Patrones.


Como primer paso vamos a colocar sobre los moldes la tela, vamos a necesitar uno del centro y dos de cada lateral y espalda. Cuatro de cada copa y cuatro de la parte superior de las copas.


Cómo se muestra en la primera foto, ese será el armado de las piezas para poder hacer el torso, vamos a coser por los laterales de las piezas y en la segunda foto se muestra como quedaría.


En cada unión vamos a colocar el pasa ballena, vamos a coser y si desean pueden colocar varillas para mayor estabilidad, por mi parte no lo hice para que fuera más cómodo de usar.


Luego procedemos a colocar el sesgo elástico por el contorno de la parte superior de la espalda.


Vamos a colocar de nuevo los tres patrones de las copas sobre el neopreno para hacer los moldes.


Vamos a unir las piezas por la unión de copa central, tal como se muestra en la foto luego la unimos a la copa superior.


Vamos a forrar ambas copas que hicimos con el Neopreno con las piezas que sacamos de la tela de torchon, tanto por la parte delantera como la parte que va por dentro del bustier.


Vamos a unir las copas al torso del bustier, ajustamos con alfileres antes de pasar costura.


Luego, continuamos colocando pasa ballena junto con la varilla y cerramos costados del pasa ballena.


En la parte de la espalda decidí hacer unos pasadores, hice cinco medidas a la misma distancia una de las otras tomando como medida principal la del medio allí vamos a colocar los pasadores. Los mismos los elaboré con el sesgo elástico, cortamos tiras de 3m, las colocamos en cada marca con ayuda de un alfiler y pasamos costura.


Luego tapamos con el pasa ballena y repetimos el proceso en el otro lado.


Colocamos el sesgo elástico como la cinta de la unión de la espalda, pueden utilizar cualquier otra cinta que deseen.


De manera opcional cosemos unas cintas en la parte superior para darle un toque más bonito al bustier, y con eso tendremos listo este bello modelo.


El proceso para elaborar este proyecto fue algo tardado, fueron muchas horas para terminar el trabajo ya que es la primera que ves que confecciono uno, no obstante el molde que utilicé para elaborarlo fue muy útil y les dejo a continuación el link de donde pueden conseguirlo de manera gratuita. Espero en una próxima oportunidad poder elaborar de nuevo un bustier y se que será mucho más sencillo de hacer ya que no será la primera vez.
Muchas gracias por leer mi blog, les deseo que tengan un buen día y noche.
Editado en Canva || Edited in canva
Fotos tomadas de mi teléfono Xiaomi Redmi Note 6 Pro || Photos taken from my Xiaomi Redmi Note 6 Pro phone.
Fuente del editor de imágenes y separadores || Image editor source and separators


