Hello dear blog readers and followers!
Today, I want to share my passion for quilting with you and show you how I make my own quilts. Quilting is a time-consuming process, but the result is always fantastic and brings great satisfaction.

I always start by collecting old clothes and fabric scraps that I like. Then, I cut them into squares (I usually choose a size of 10x10 cm or 12x12 cm). Next, I try to combine them on the floor to create a beautiful pattern or color combination that speaks to my soul. Sometimes I already have a clear picture in mind, but other times I let the fabrics tell their own story.
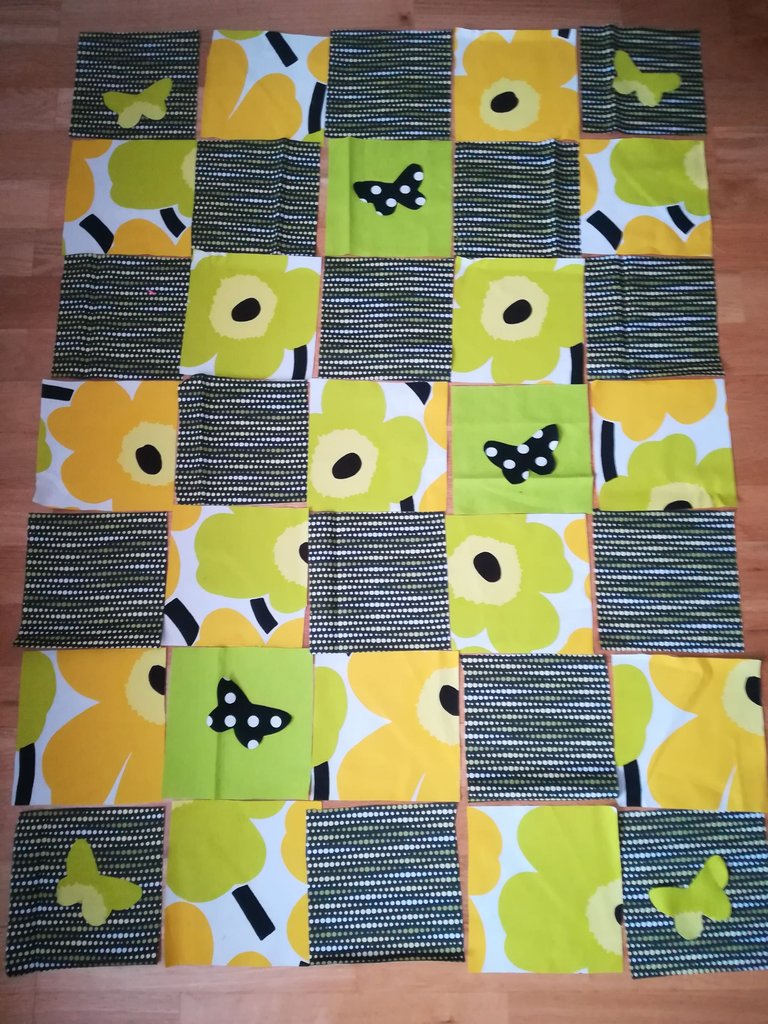
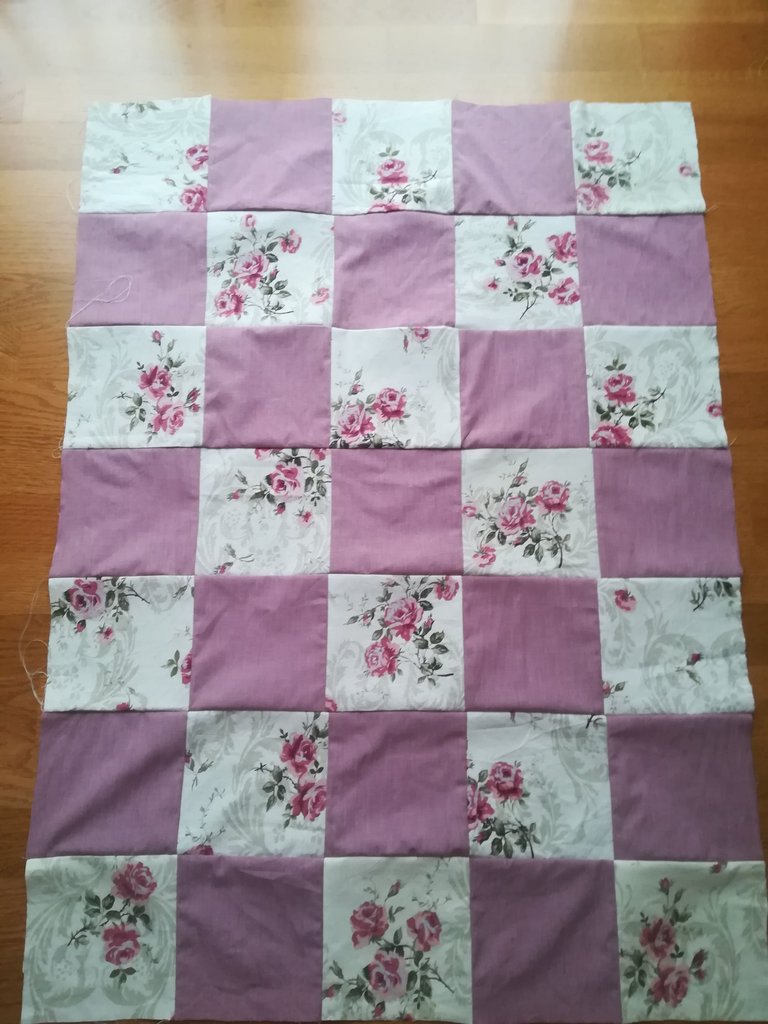
Cut out pieces just laid on floor in a pattern I liked

Once I'm somewhat satisfied, I lay the squares out on the floor like a chessboard and shuffle them around until I'm happy with the result. Then, I sew them together in the correct order on the sewing machine. After sewing, I iron out the seam allowances and steam if necessary to make the quilt surface smooth and even.
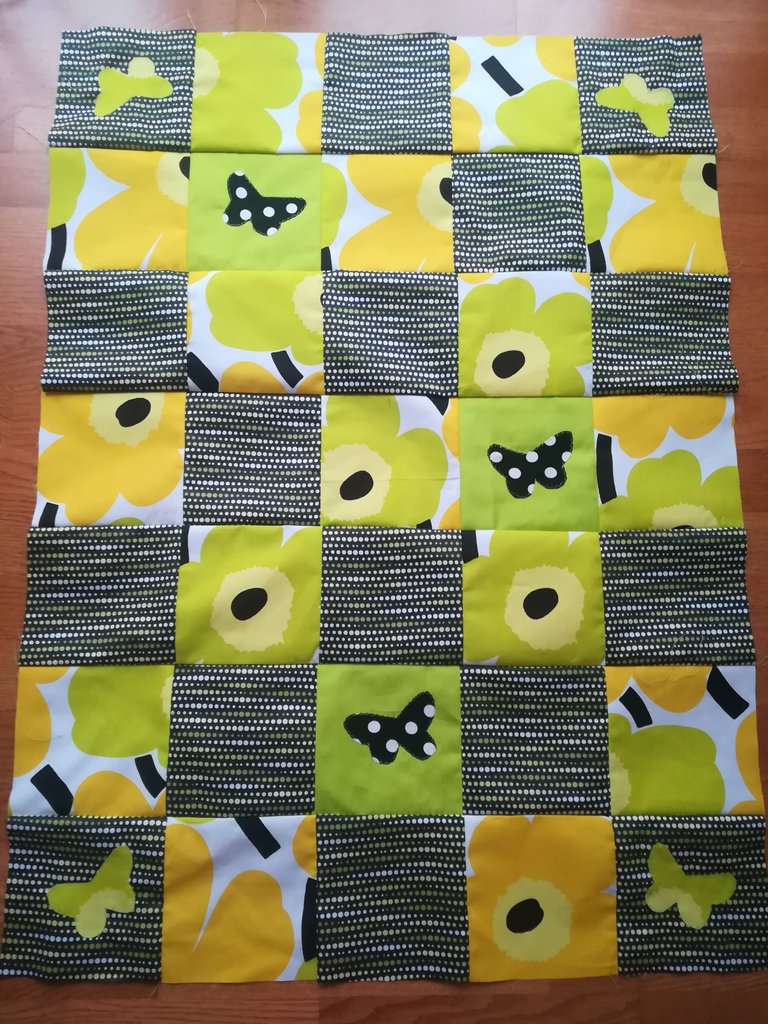

Next, I cut a piece of quilt batting to the required size and the back fabric of the quilt and sew them all together wrong side out, leaving a 20 cm opening. I then turn the quilt right side out and sew the opening closed by hand with a needle and thread. And voilà - my new quilt is ready!
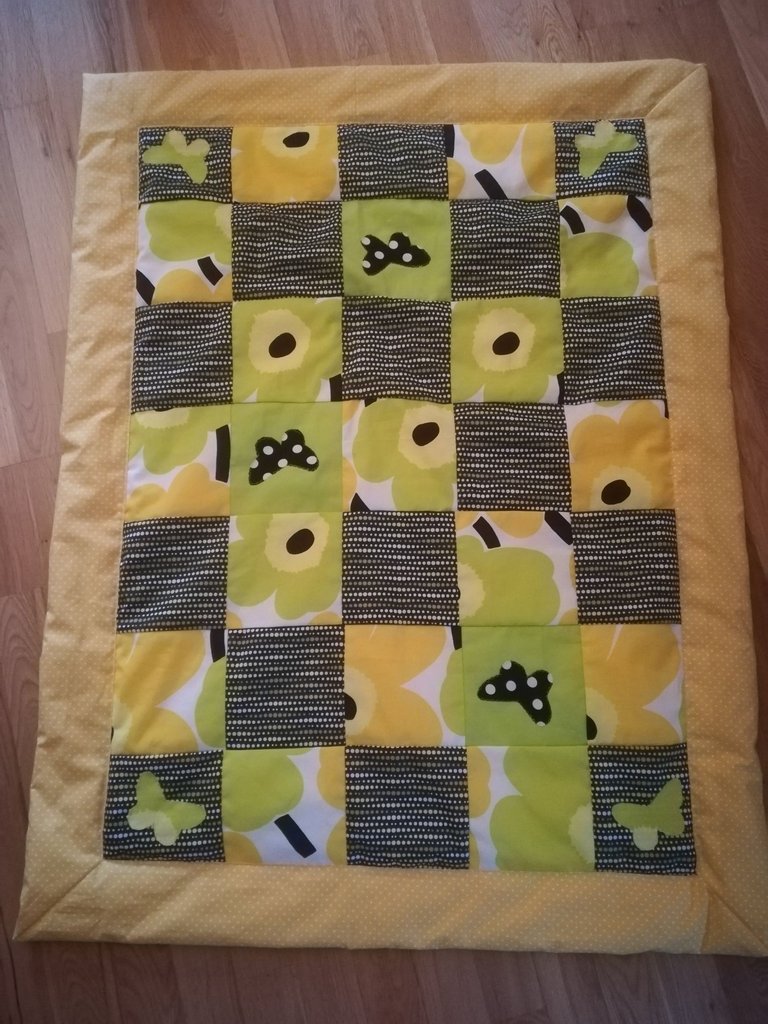
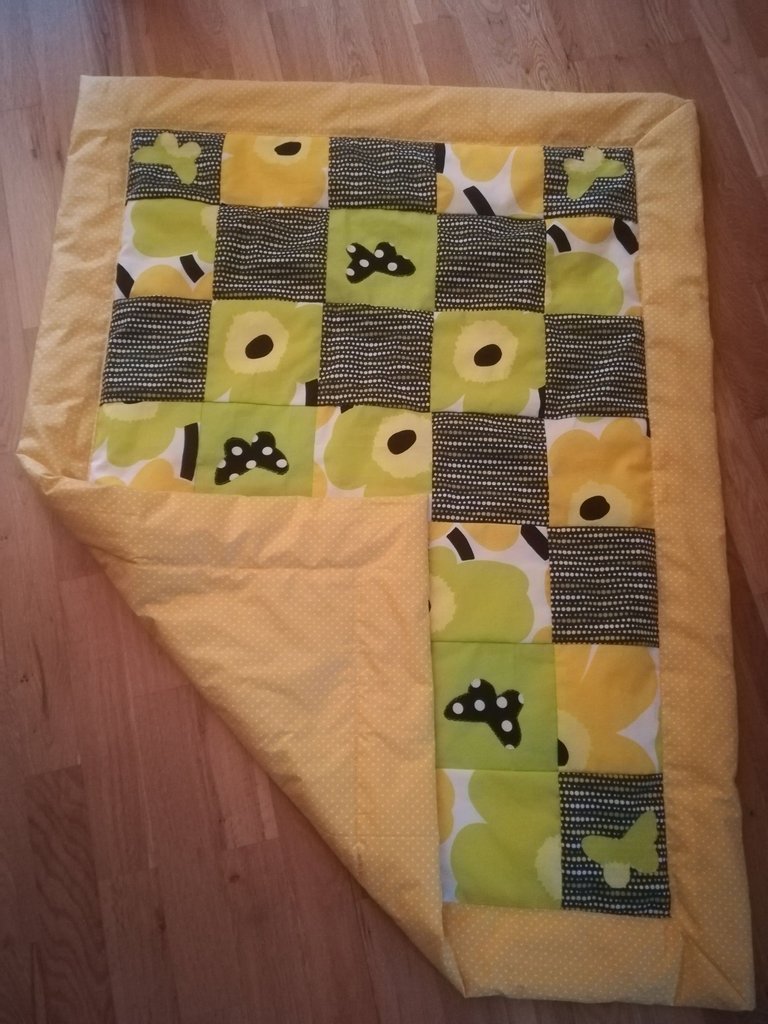
Quilting Guide
Materials Needed:
- Old clothes and fabric scraps
- Sewing machine
- Pins
- Iron
- Scissors
- Ruler
- Pencil, chalk
- Quilt batting
- Plain fabric for the back and edges of the quilt
- Thread

Instructions:
- Gather old clothes and fabric scraps that you like.
- Cut the fabrics into matching pieces and try to arrange them into a pattern.
- Sew the fabric pieces together in the correct order on the sewing machine.
- Iron out the seam allowances and steam if necessary.
- Cut the batting to the appropriate size and place it between the quilt top and back.
- Sew the batting to the quilt top and back.
- Cut the plain fabric for the back and edges of the quilt to the appropriate size.
- Sew the back and edges to the quilt top.
- Enjoy your new quilt!

Tips:
- Use different colors and patterns to create a unique and personalized quilt.
- Experiment with different quilting techniques to add texture and interest to your quilt.
- Use old clothes and fabric scraps to save money and give them new life.
- Quilting is a great way to express your creativity and relax.

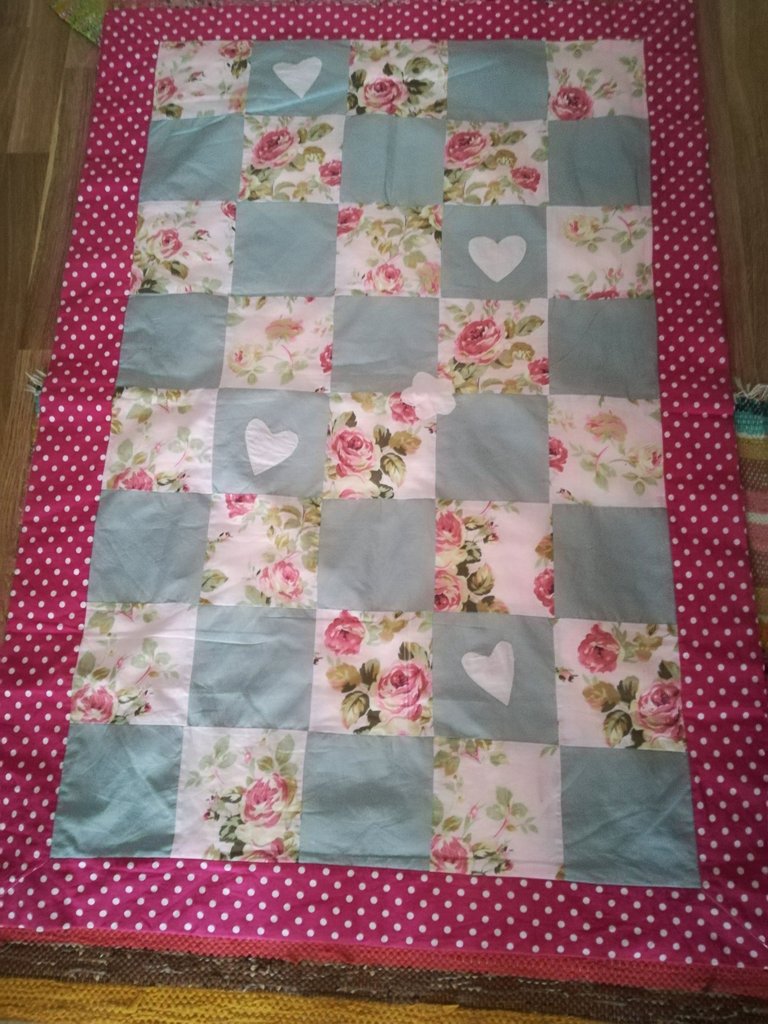
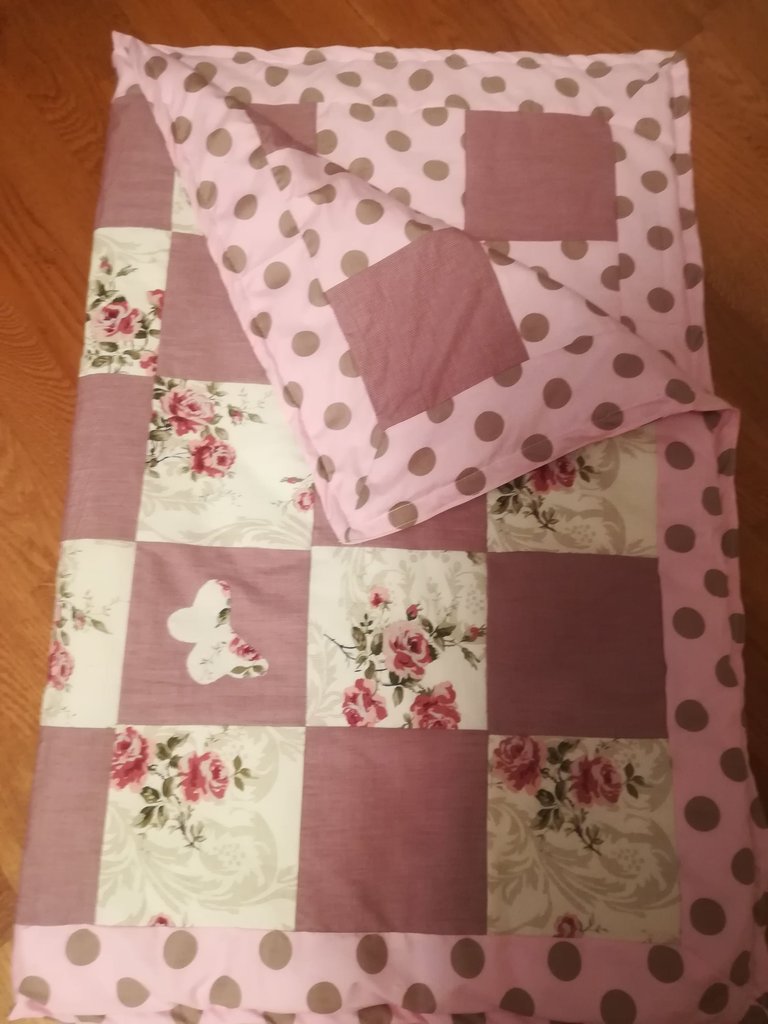
Here are a few more of my Quilts

Thanks to @cryptosharon for the lovely dividers found in this Post
I hope this post inspired you to try quilting yourself! It is a fun and rewarding hobby that will provide you with beautiful and unique pieces to decorate your home.
