

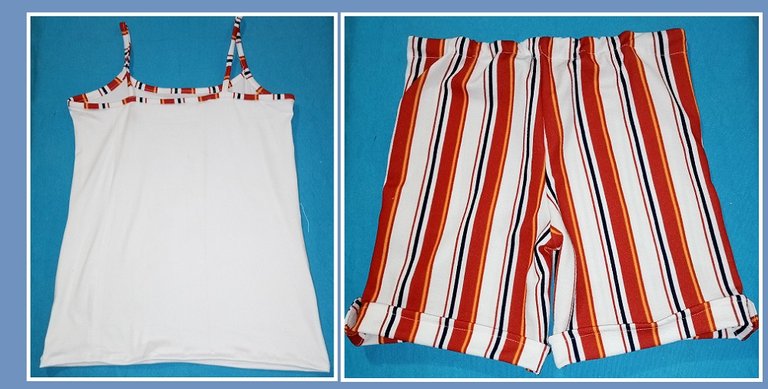
Happy day to all of you. With much excitement I want to show you how I made a nice set of shorts and flannel, as everyday clothes, the short I did it with 1/4 meter of fabric, which I had already bought it months ago and I liked it very much, its striped design, so I made a simple but nice short, while being very comfortable also its flannel.
For the flannel I made it with scraps of fabric that I have at home, as these scraps were given to me by a sewing friend, who has her business of making clothes with her industrial machines.
You have to take advantage of the scraps of fabric, and not have them accumulated, although always the scraps of fabric that I have, help me a lot in making small things and clothing repairs.

Feliz dia para todos. Con mucha emoción te quiero mostrar como hice un lindo conjunto de short y franelilla, como ropa de diario, el short lo hice con 1/4 metro de tela , la cual ya la había comprado hace meses y me gusto mucho, su diseño a rayas, por eso hice un short sencillo pero bonito, al mismo tiempo de ser muy cómodo tambien su franela.
Para la franelilla lo hice con retazos de tela que tengo en casa, ya que estos retazos me los regalo una amiga costurera, que tiene su negocio de hacer ropa con sus maquinas industriales.
Hay que sacarle provecho a los retazos de tela, y no tenerlos acumulados, aunque siempre los retazos de tela que tengo, me ayudan mucho en hacer cosas pequeñas y en reparaciones de ropa.
With another short I took out the basic pattern so I could make it with some details.
Con otro short de medida saque el patrón básico y así poder hacerlo con algunos detalles.

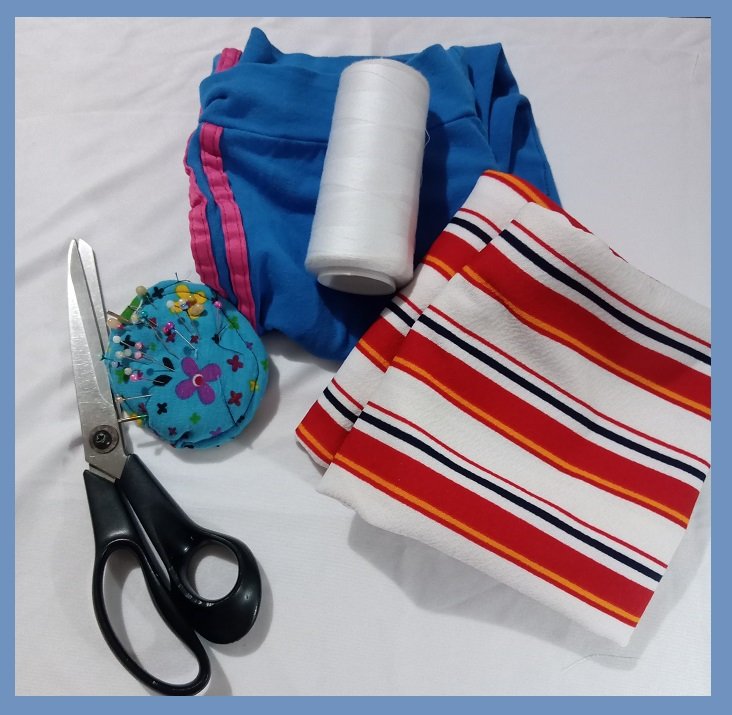
MATERIALS
1/4 meter of stripe fabric for shorts.
White flannel fabric.
Buttons.
Threads, pins, measuring tape, sewing machine.

MATERIALES
1/4 metro de tela de raya para short.
Tela de franela blanca.
Botones.
Hilos, alfileres, cinta métrica, maquina de coser.

STEP BY STEP:
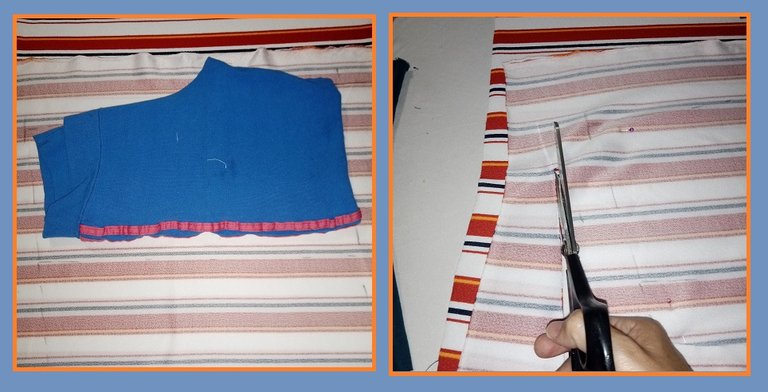
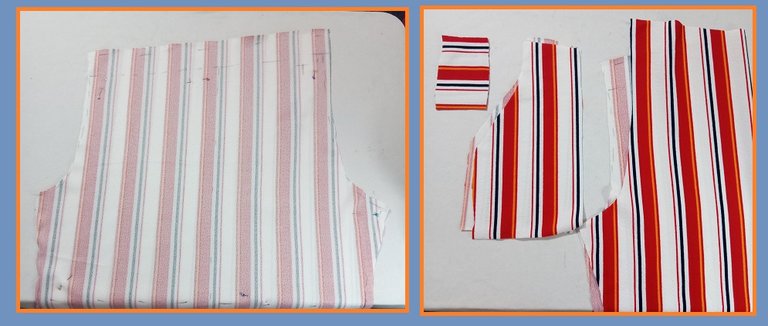
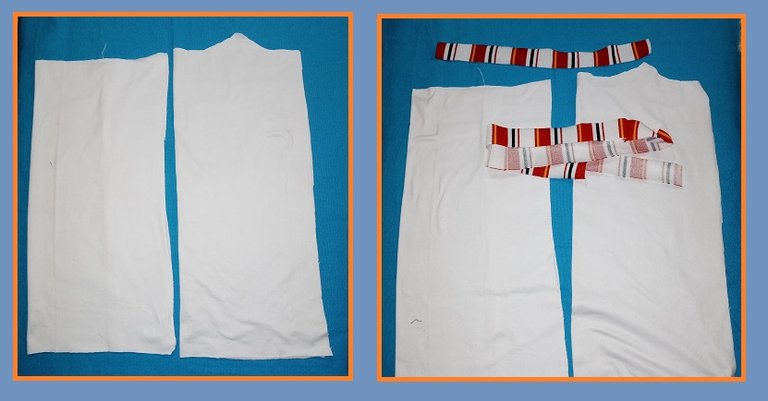
Once the front and back of the pattern, which I took out in two parts without sewing the side seams, I simply shape the front and back hem.
I leave it a little longer at the hem to sew it, and longer at the waist to fold it and make the waistband shape.
That is to say, I cut the whole thing, since the fabric gave me its exact length. I also took out the pockets that will go in the front part, and some strips that I will place in the hem with a button as an ornament.
PASO A PASO:
Una vez de sacar el patron la parte delantera y trasera, los cuales saque en dos parte sin hacerles costuras de los lados, simplemente le doy forma al tiro delantero y trasero.
Lo dejo un poco mas largo en la parte del ruedo para coserlo, y mas largo en la parte de la cintura para doblar y hacerle la forma de la pretina.
Es decir corte todo entero, ya que la tela me dio exacto su largo. Tambien saque sus bolsillos que iran en la parte del frente, y unas tiras que las colocare en el ruedo con un boton de adorno.

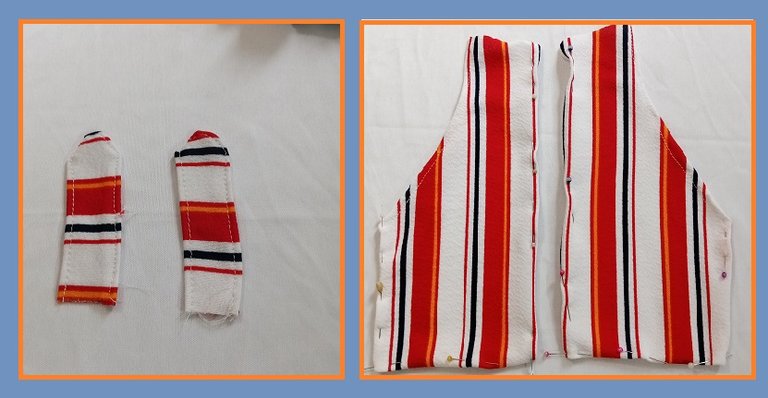
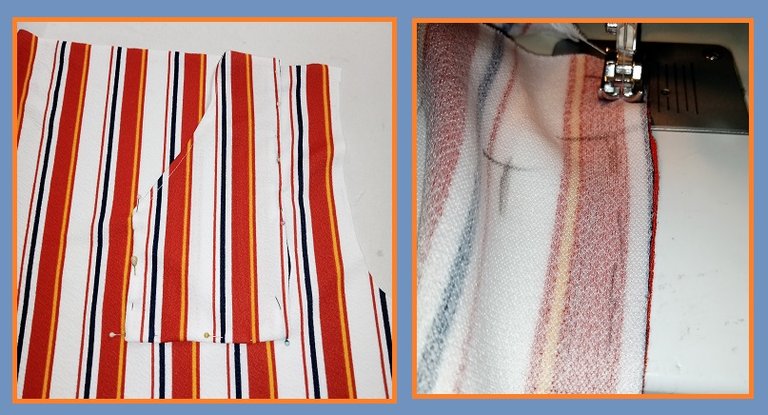
For the shorts I start by making the pockets, and then sew them on the front part of the shorts, placing one on each side, with the help of the pins I pin them well, and then sew them with the machine.
Now for my second step, I close the front and back seams, with straight and zig-zag stitching.
Para el short comienzo haciendo los bolsillos, para luego coserlo en la parte del frente del short, colocando uno a cada lado, con la ayuda de los alfileres los prenso bien, para luego coserlos con la maquina.
Ya para mi segundo paso, cierro la parte del tiro delantero y trasero, con su costura recta y zig-zag.




Then I sew the bottom part of the shorts, to have it assembled.
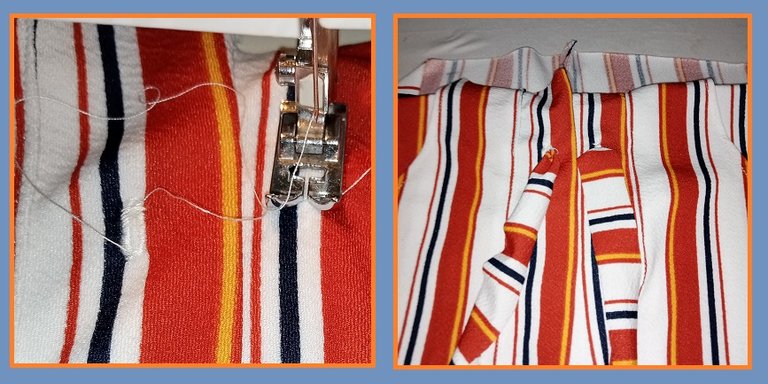
For the waistband, I fold the fabric inwards, and measuring the width of the waistband, I make a few holes in the front part, since this is where I am going to place a long strip that will go inside the waistband, and at the same time will serve to adjust the waistband.
I place the strip and start sewing through the waistband all at once.
I sew 2 centimeter wide strips, which I will glue on the lower part of the hem, this hem I fold the fabric and pass the seam along the edge of the edge and then with the strip over it I glue a button on each side as an ornament.

Después coso la parte debajo del short, para tenerlo armado.
Para la parte de la cintura doblo la tela hacia dentro, y midiendo el ancho de la pretina, le hago en la parte del frente unos hojales, ya que por esta parte voy a colocar una tira larga que ira dentro de esta pretina, y al mismo tiempo servirá para ajustar a la cintura.
Coloco la tira y empiezo a pasar la costura por toda la pretina de una vez.
Cosí unas tiras de 2centimetro de ancho, las cuales las pegare en la parte baja del ruedo, este ruedo doblo la tela y paso costura por su borde de la orilla para luego con la tira sobre esta pegar un botón a cada la como adorno.

To make the outfit with recycled white microdurazno fabric, I made a simple flannelette, which I made its straps and the top edge with a strip of the fabric of the shorts to make the complete design to the shorts.
I cut the white fabric giving shape to the armhole part, then I put a bias binding on the front part.
I close the blouse with its side seams, and in order to sew the shoulder straps, I sew a long strip, which I measured to fit the edge of the back and the shoulder straps.
I place this strip at the middle of the back, passing through the armhole, to reach the front. I start by sewing a part of the strap, then through the armhole and back, ending with the other strap, all the way through.
Then I place the ends of the shoulder strap on the back and pin them.
Finally I make the hem of the flannel.

Para hacer el conjunto con tela reciclada de color blanco tela de microdurazno, hice una franelilla sencilla, el cual le hice sus tirante y el borde superior con una tira de la tela del short para hacer el diseño completo al short.
Corte la tela blanca dándole forma a la parte de la sisa, luego le coloco un sesgo en la parte del frente.
Cierro la blusa con sus costura de los lado, y para poder coser los tirante lo hice con una tira larga, la cual medí que diera para la parte del borde de la espalda y los tirantes.
Esta tira la coloco a la mita de la espalda, pasando por la sisa, que llegara al frente. Empiezo cosiendo una parte del tirante, luego por la sisa y espalda, terminando por el otro tirante, todo corrido.
Luego estas puntas del tirante las ubico bien en la parte de la espalda y las prenso.
Por ultimo le hago el ruedo a la franelilla.



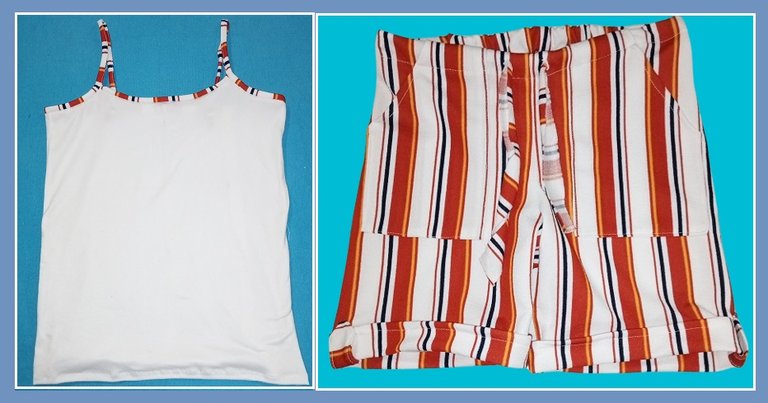
This cute outfit is ready, I love how it turned out, it is very comfortable, and very fresh, ideal to wear at any time.
Ya listo este conjunto lindo, me encanto como quedo, ya que es muy cómodo, y muy fresco, ideal para usar en cualquier momento.

Sets like this, combined are very easy to make, also using the fabric scraps to make them in different ways, the shores can be shorter, it depends on the taste of each one.
I also made another one in green, because the day I bought the fabric my niece also liked it and I bought her the one she wanted, I made the same model, because it was the one we saw and we liked it.
Conjuntos así, combinados son muy fáciles de hacer, tambien usando los retazos de tela para hacerlos de diferentes formas, los shores pueden ser mas cortos, depende del gusto de cada quien.
Tambien hice otro igual de color verde, ya que el dia que compre la tela mi sobrina tambien le gusto y le compre la que ella quería, hice el mismo modelo, porque fue el que vimos y nos gusto.

Thank you very much for your visit, I hope you enjoyed it, and as always keep enjoying your day, see you next time, bye!
Muchas gracias a ustedes por su visita, espero haya sido de su agrado, y como siempre sigue disfrutando tu dia, hasta la próxima, chau!


