Hola mis amigos de esta comunidad. Antes de explicarles el trabajo de hoy les quiero comentar lo siguiente:
Anteriormente les había hecho mención que tengo dos hijos varones, y pues yo desde que aprendí a cocer, a crear cosas con telas y demás, siempre me ha gustado hacer vestidos ganchos de niña y bueno generalmente hago uno que otro encargo que me hacen, y frente de mi casa viven dos niñas temporáneas casualmente con mis niños y les confieso ellos se sienten felices cuando estas niñas vienen a casa. Por lo que he decidido regalarles las prendas de niñas que haga para mostrar en esta comunidad a ellas.
Esta semana realice una falda que hacia cuando estaba en casa de mi mamá para un grupo de danza y la he llevado a un estilo muy bonito para la vecinita Luviainis. A continuación la explicación.
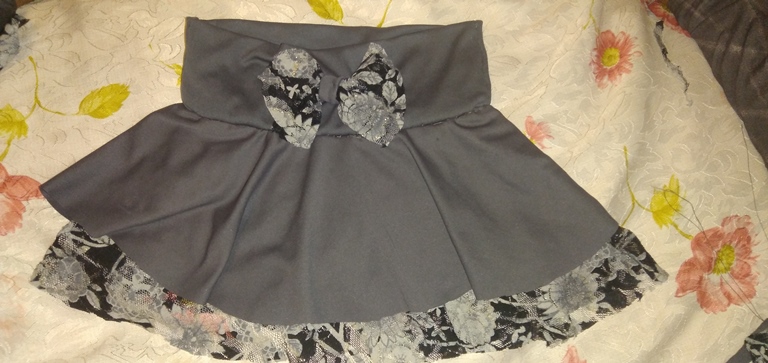
Materiales:
Tela color gris
Tela tipo blonda estampada
Aguja
Hilo
Tijera
Bueno mis amigos esta es una de las faldas que no tiene tanta complicación en su elaboración. Les confieso que como en el momento de tomar las medidas la niña no estaba en su casa, le tome las medidas a mi hijo (como son de la misma contextura), arrojando como resultado el siguiente.
50cm de cintura
33 cm de largo
Con estas medidas ya tomaría la referencia en el momento de cortar la tela, no realice un patrón porque las medidas las convertiría y las cortaría directamente desde la tela.
Ahora recordamos que tenemos 50cm de cintura, este lo dividiremos entre 6 y nos da como resultado 8,3cm este será la medida de nuestro radio.
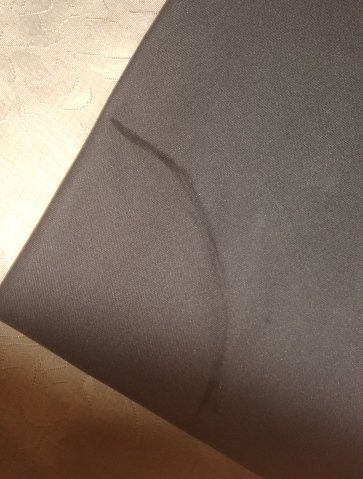
Nuestra prenda es Falda Circular, es una falda que está construida por círculos de tela, de esta manera la tela queda con ondulación.
Como ya tenemos las medidas, tomamos la tela y la doblamos en cuatro partes, en la parte donde no se muestran los cortes de la tela iniciaremos desde allí a medir al radio que es de 8.3 cm hacia abajo, luego marcamos y cortamos. Partiendo de allí tomamos la medida del largo de nuestra falda que son 33, marcamos y cortamos.
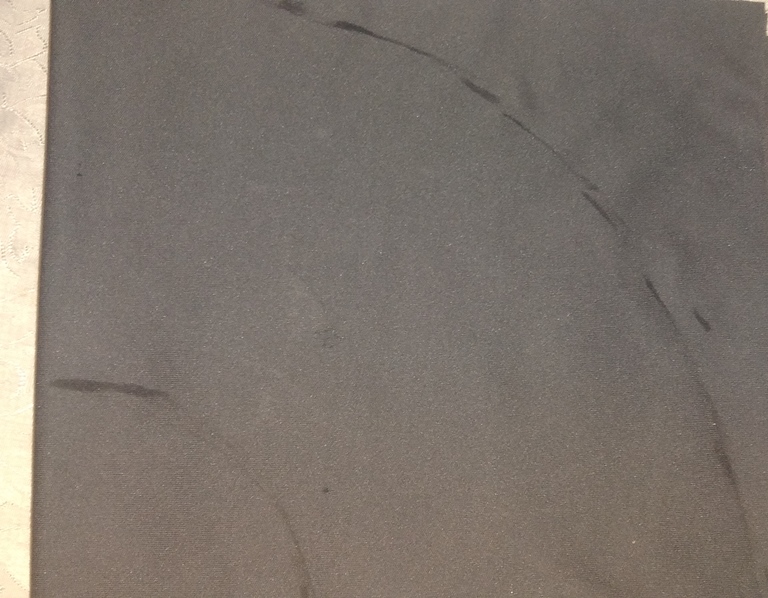
Así haremos con la tela estampada, solo que esta la cortaremos de 38cm de largo.
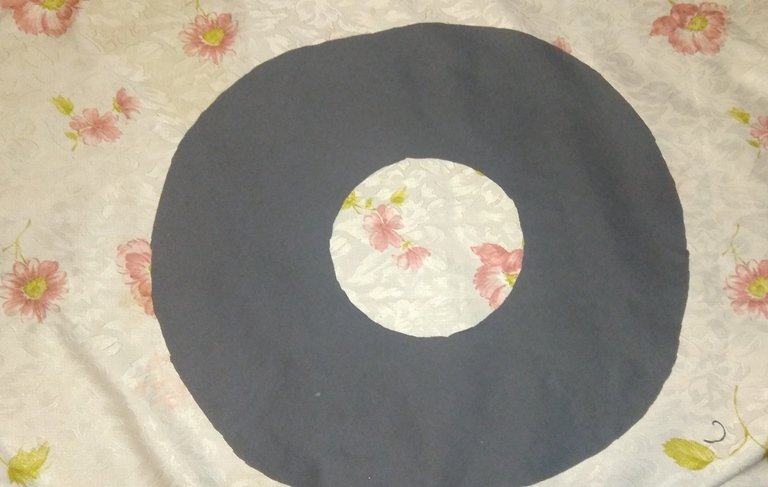
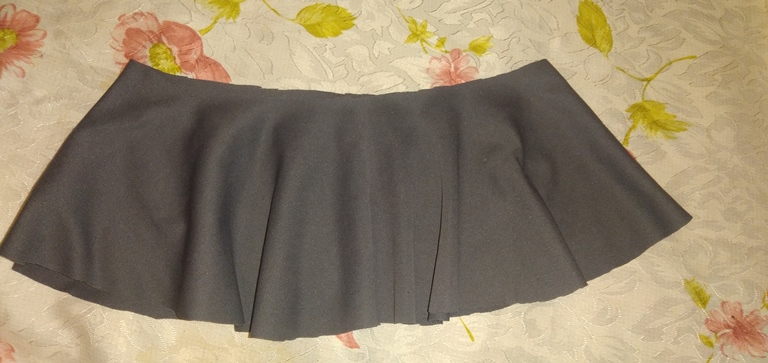
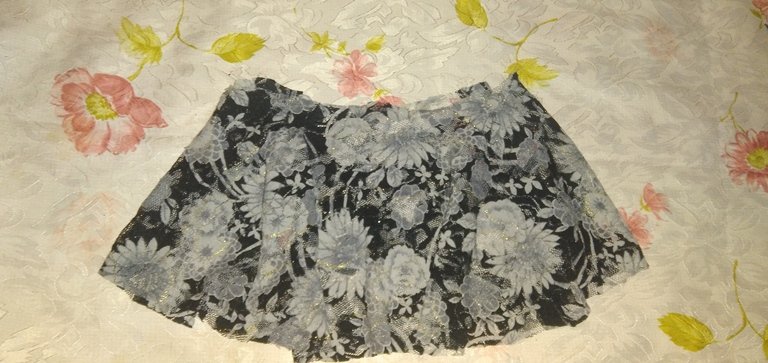
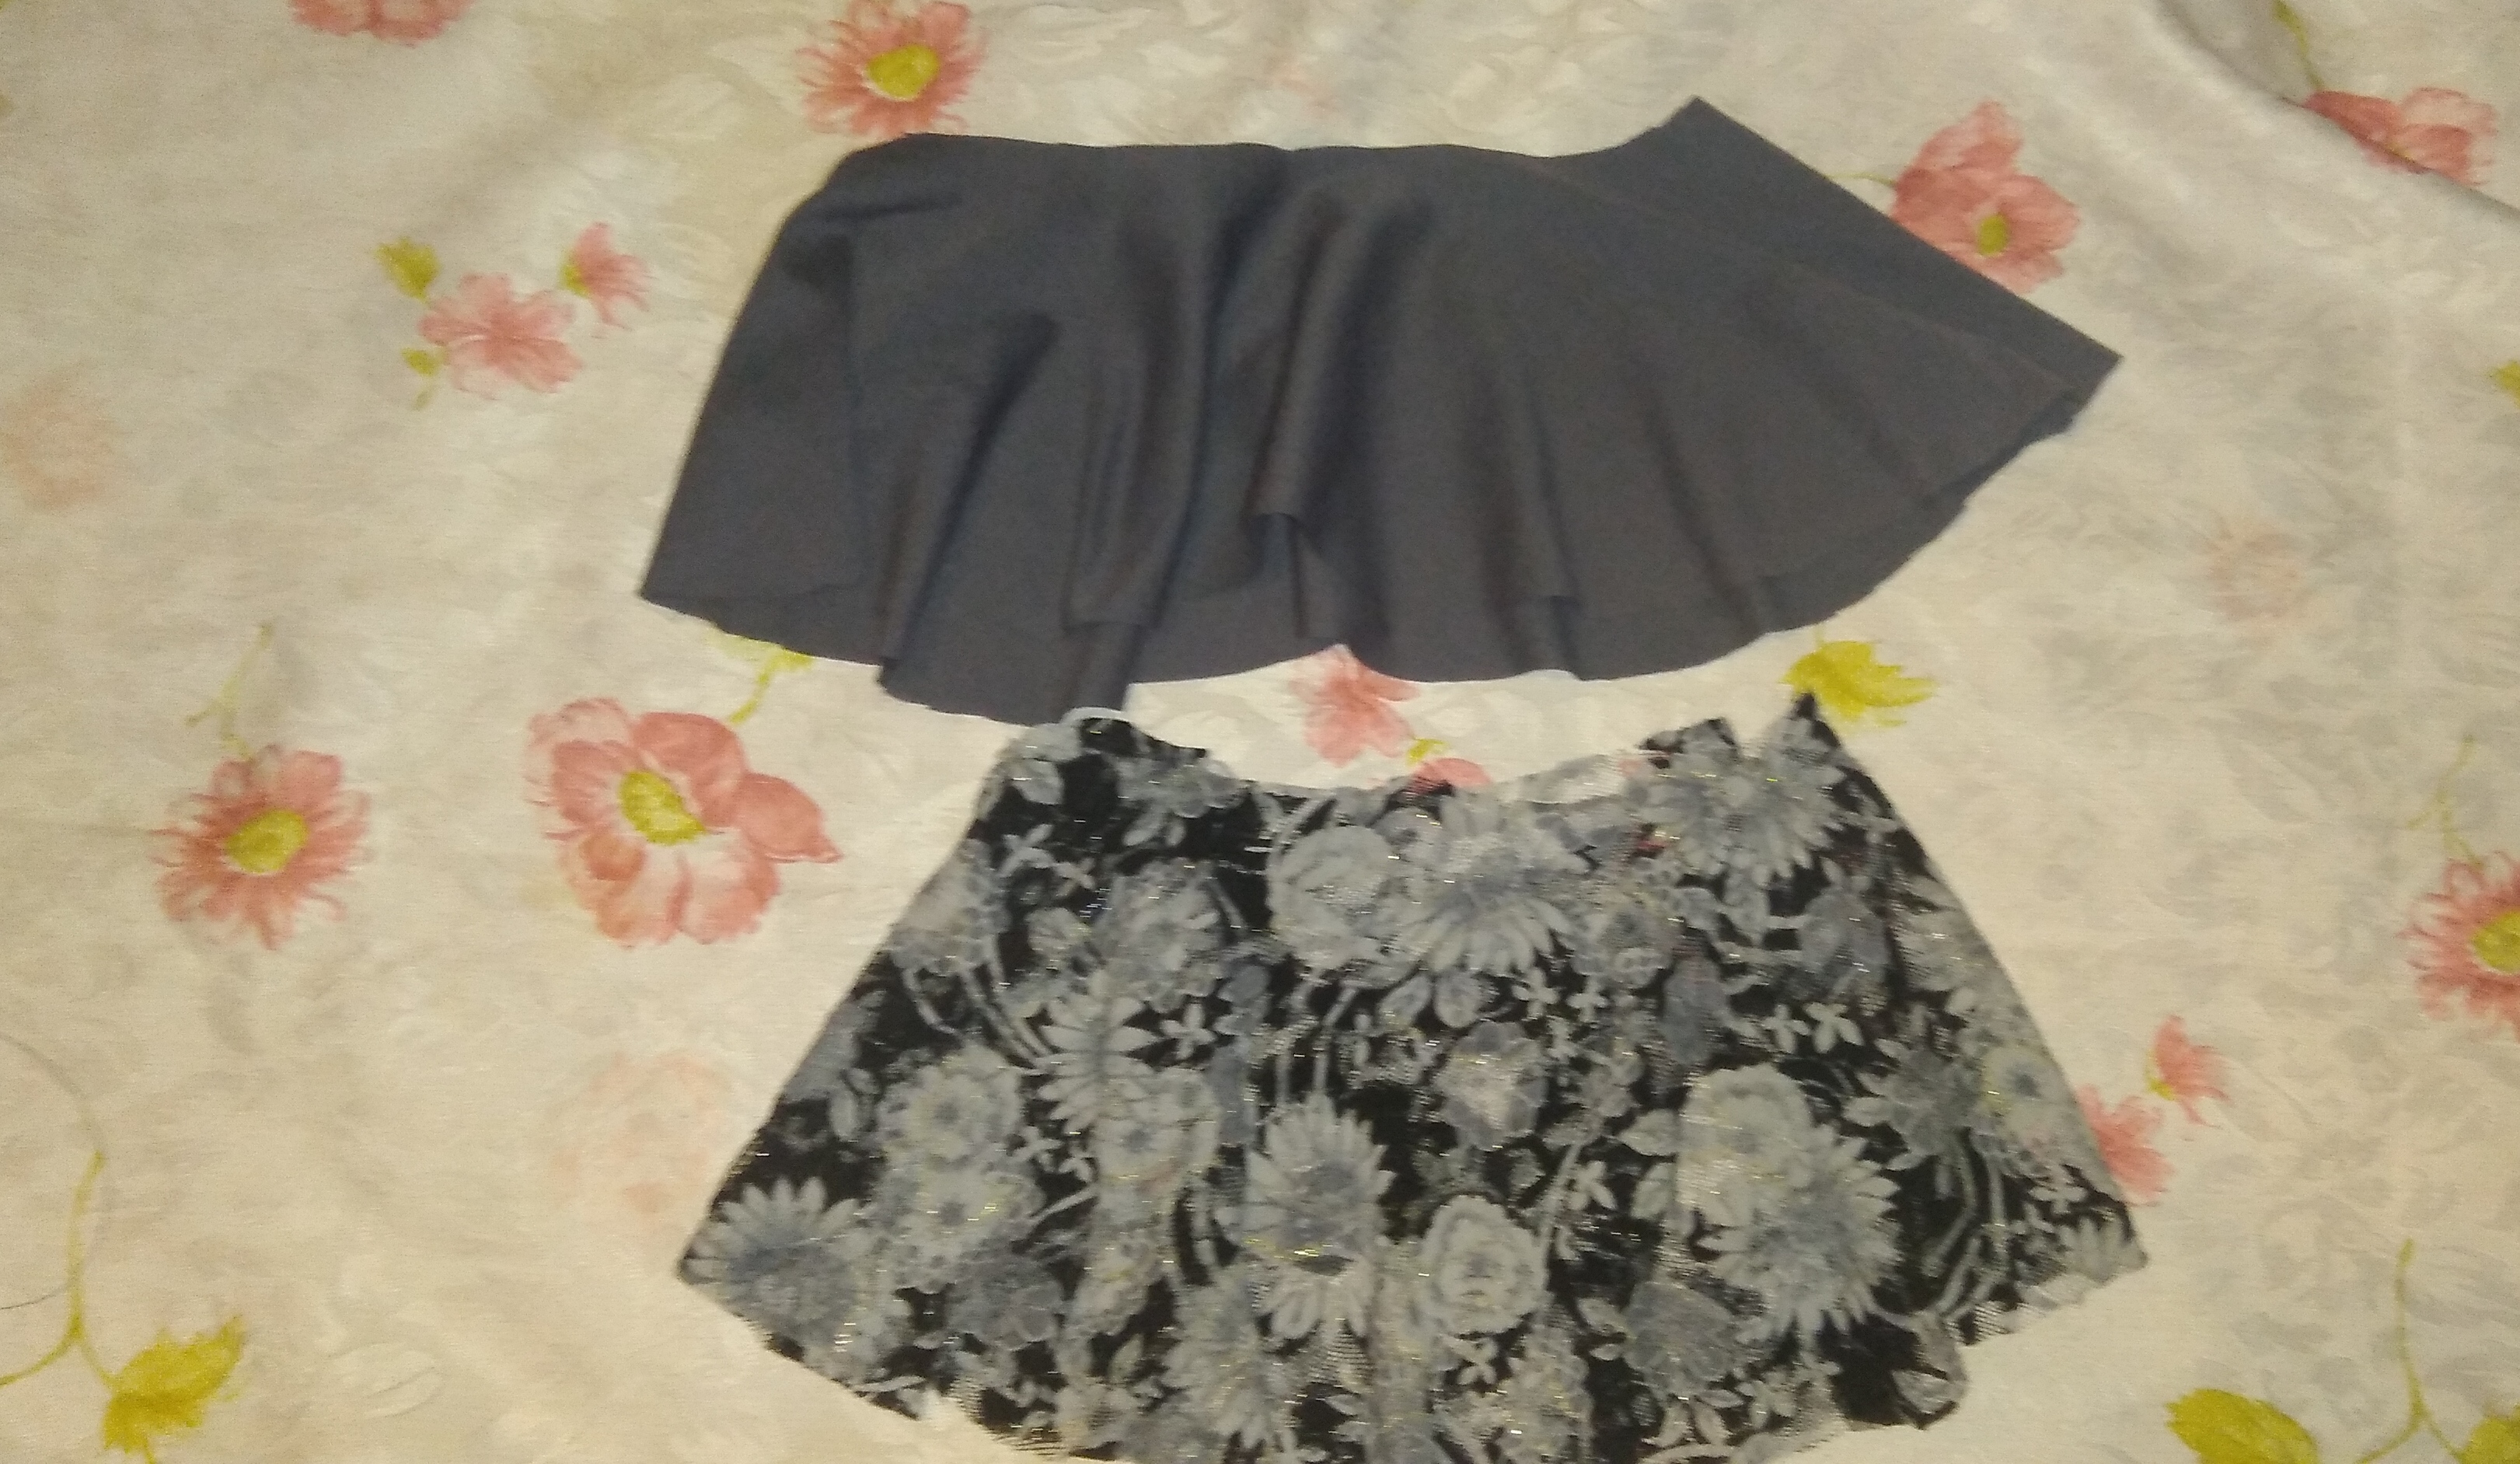
Para la pretina debemos recordar algo, como es una tela con elasticidad, esta no necesitara que le coloquemos en la pretina elástica. Pero si tomamos en consideración que como de cintura tenemos 50cm la cortaremos de 47cm para que en el momento de colocársela quede ajustada, la cortamos con un grosor de 8cm, para que al doblar quede de 4cm.
Cocemos la pretina como se muestra en la imagen.
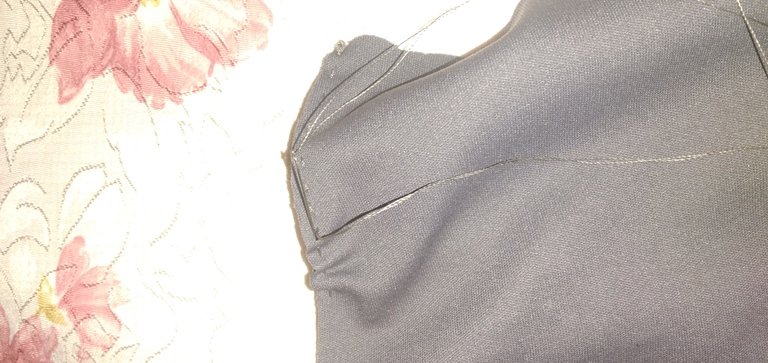
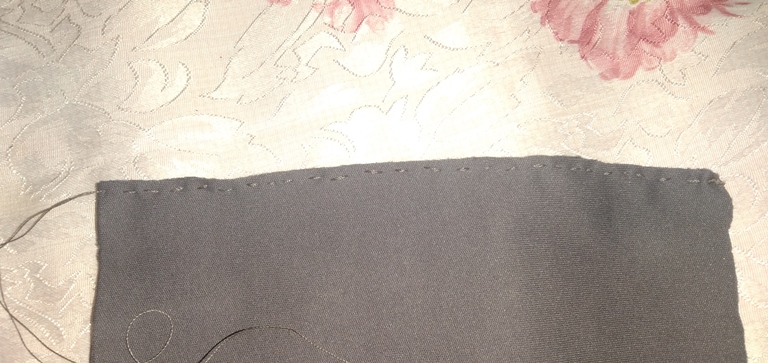
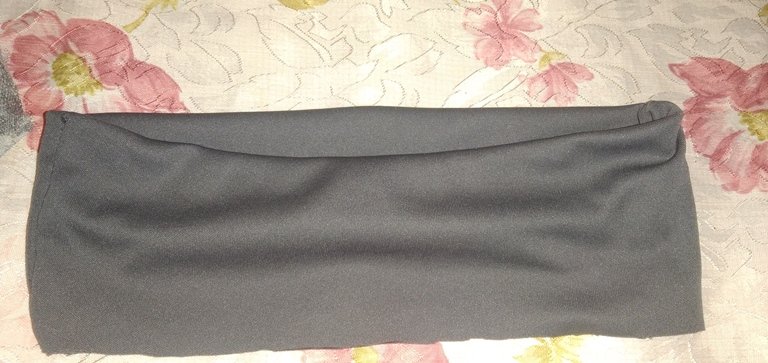
Y bueno procedemos a cocer, las circunferencias debemos fruncirlas un poco para ajustarlas a la pretina.
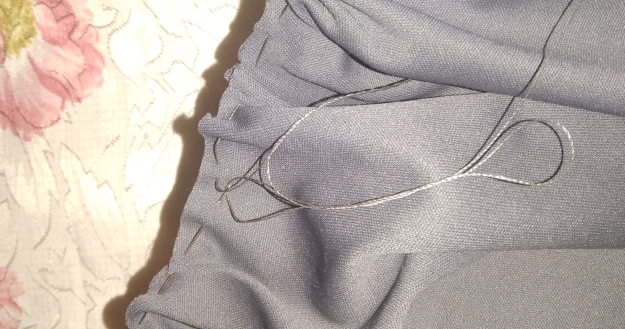
Ya las tenemos listas y las fijamos a la pretina como se muestra en la imagen.
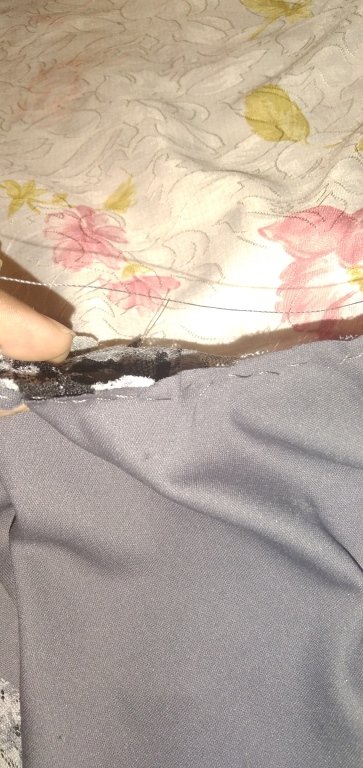
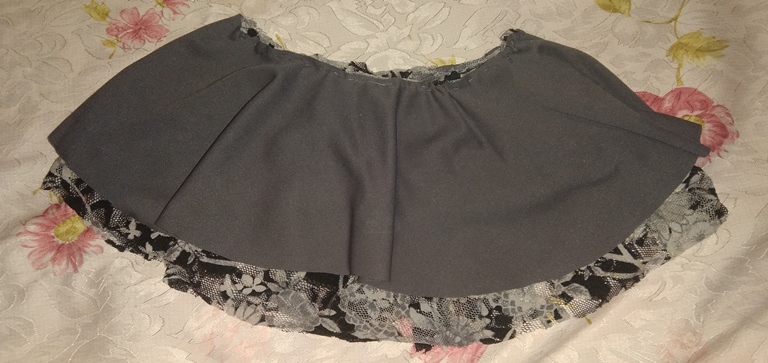
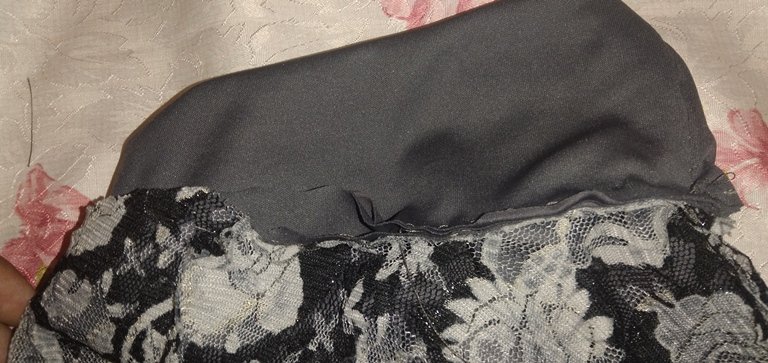
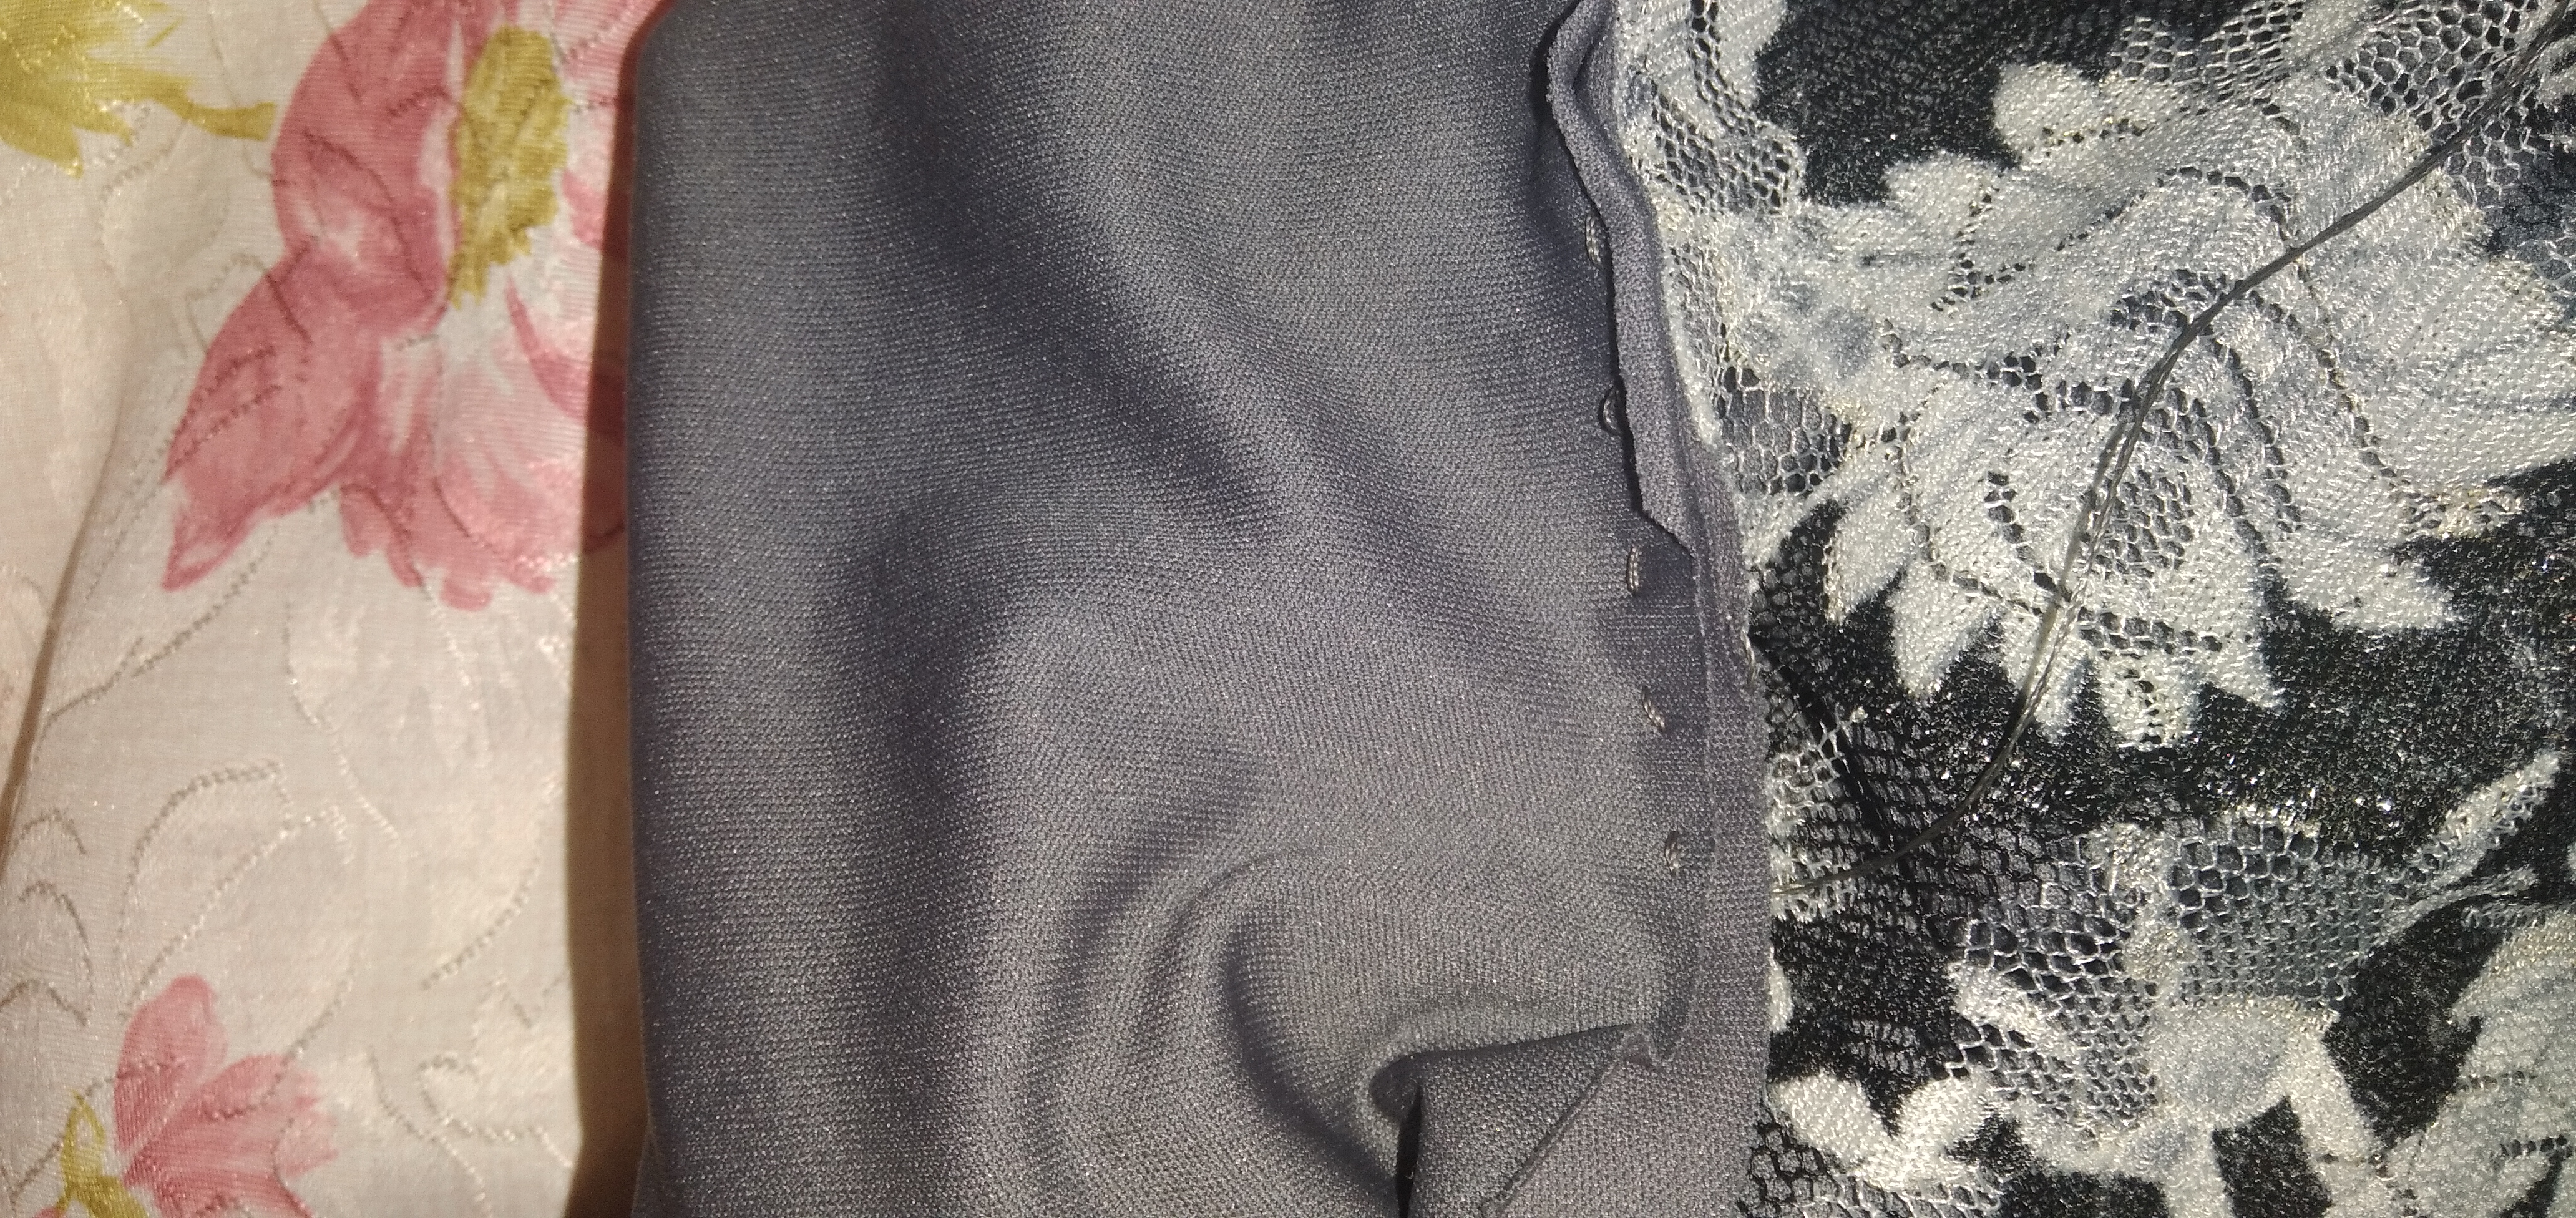
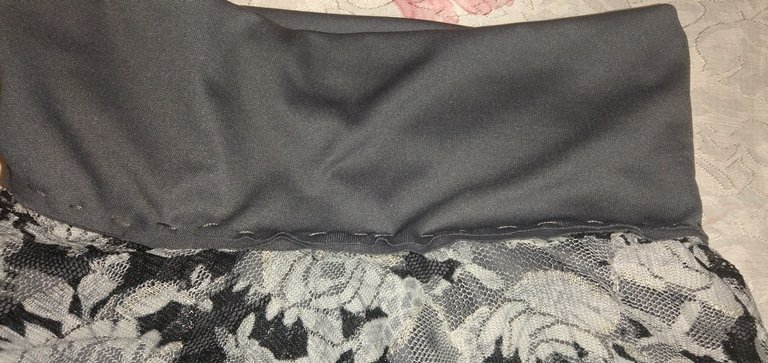
Ya está completamente formada solo le falta un detalle. El lazo de la pretina, cortamos un cuadro de 11cm de alto por 22cm de largo y doblamos fijándolo con una argolla de tela por el centro.
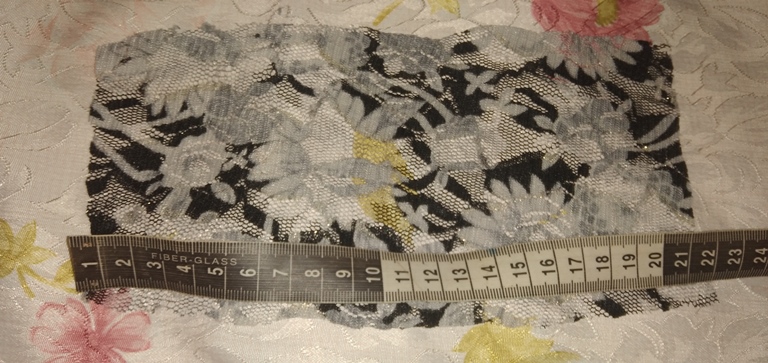
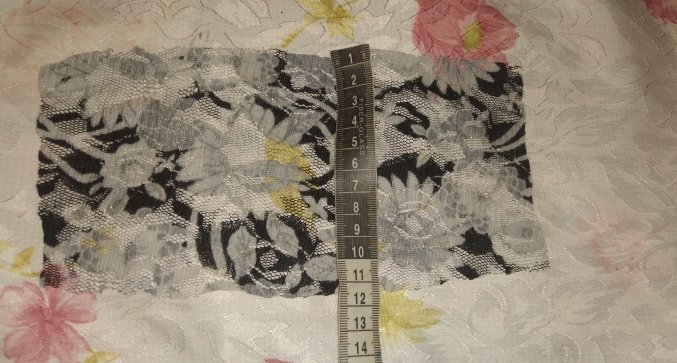
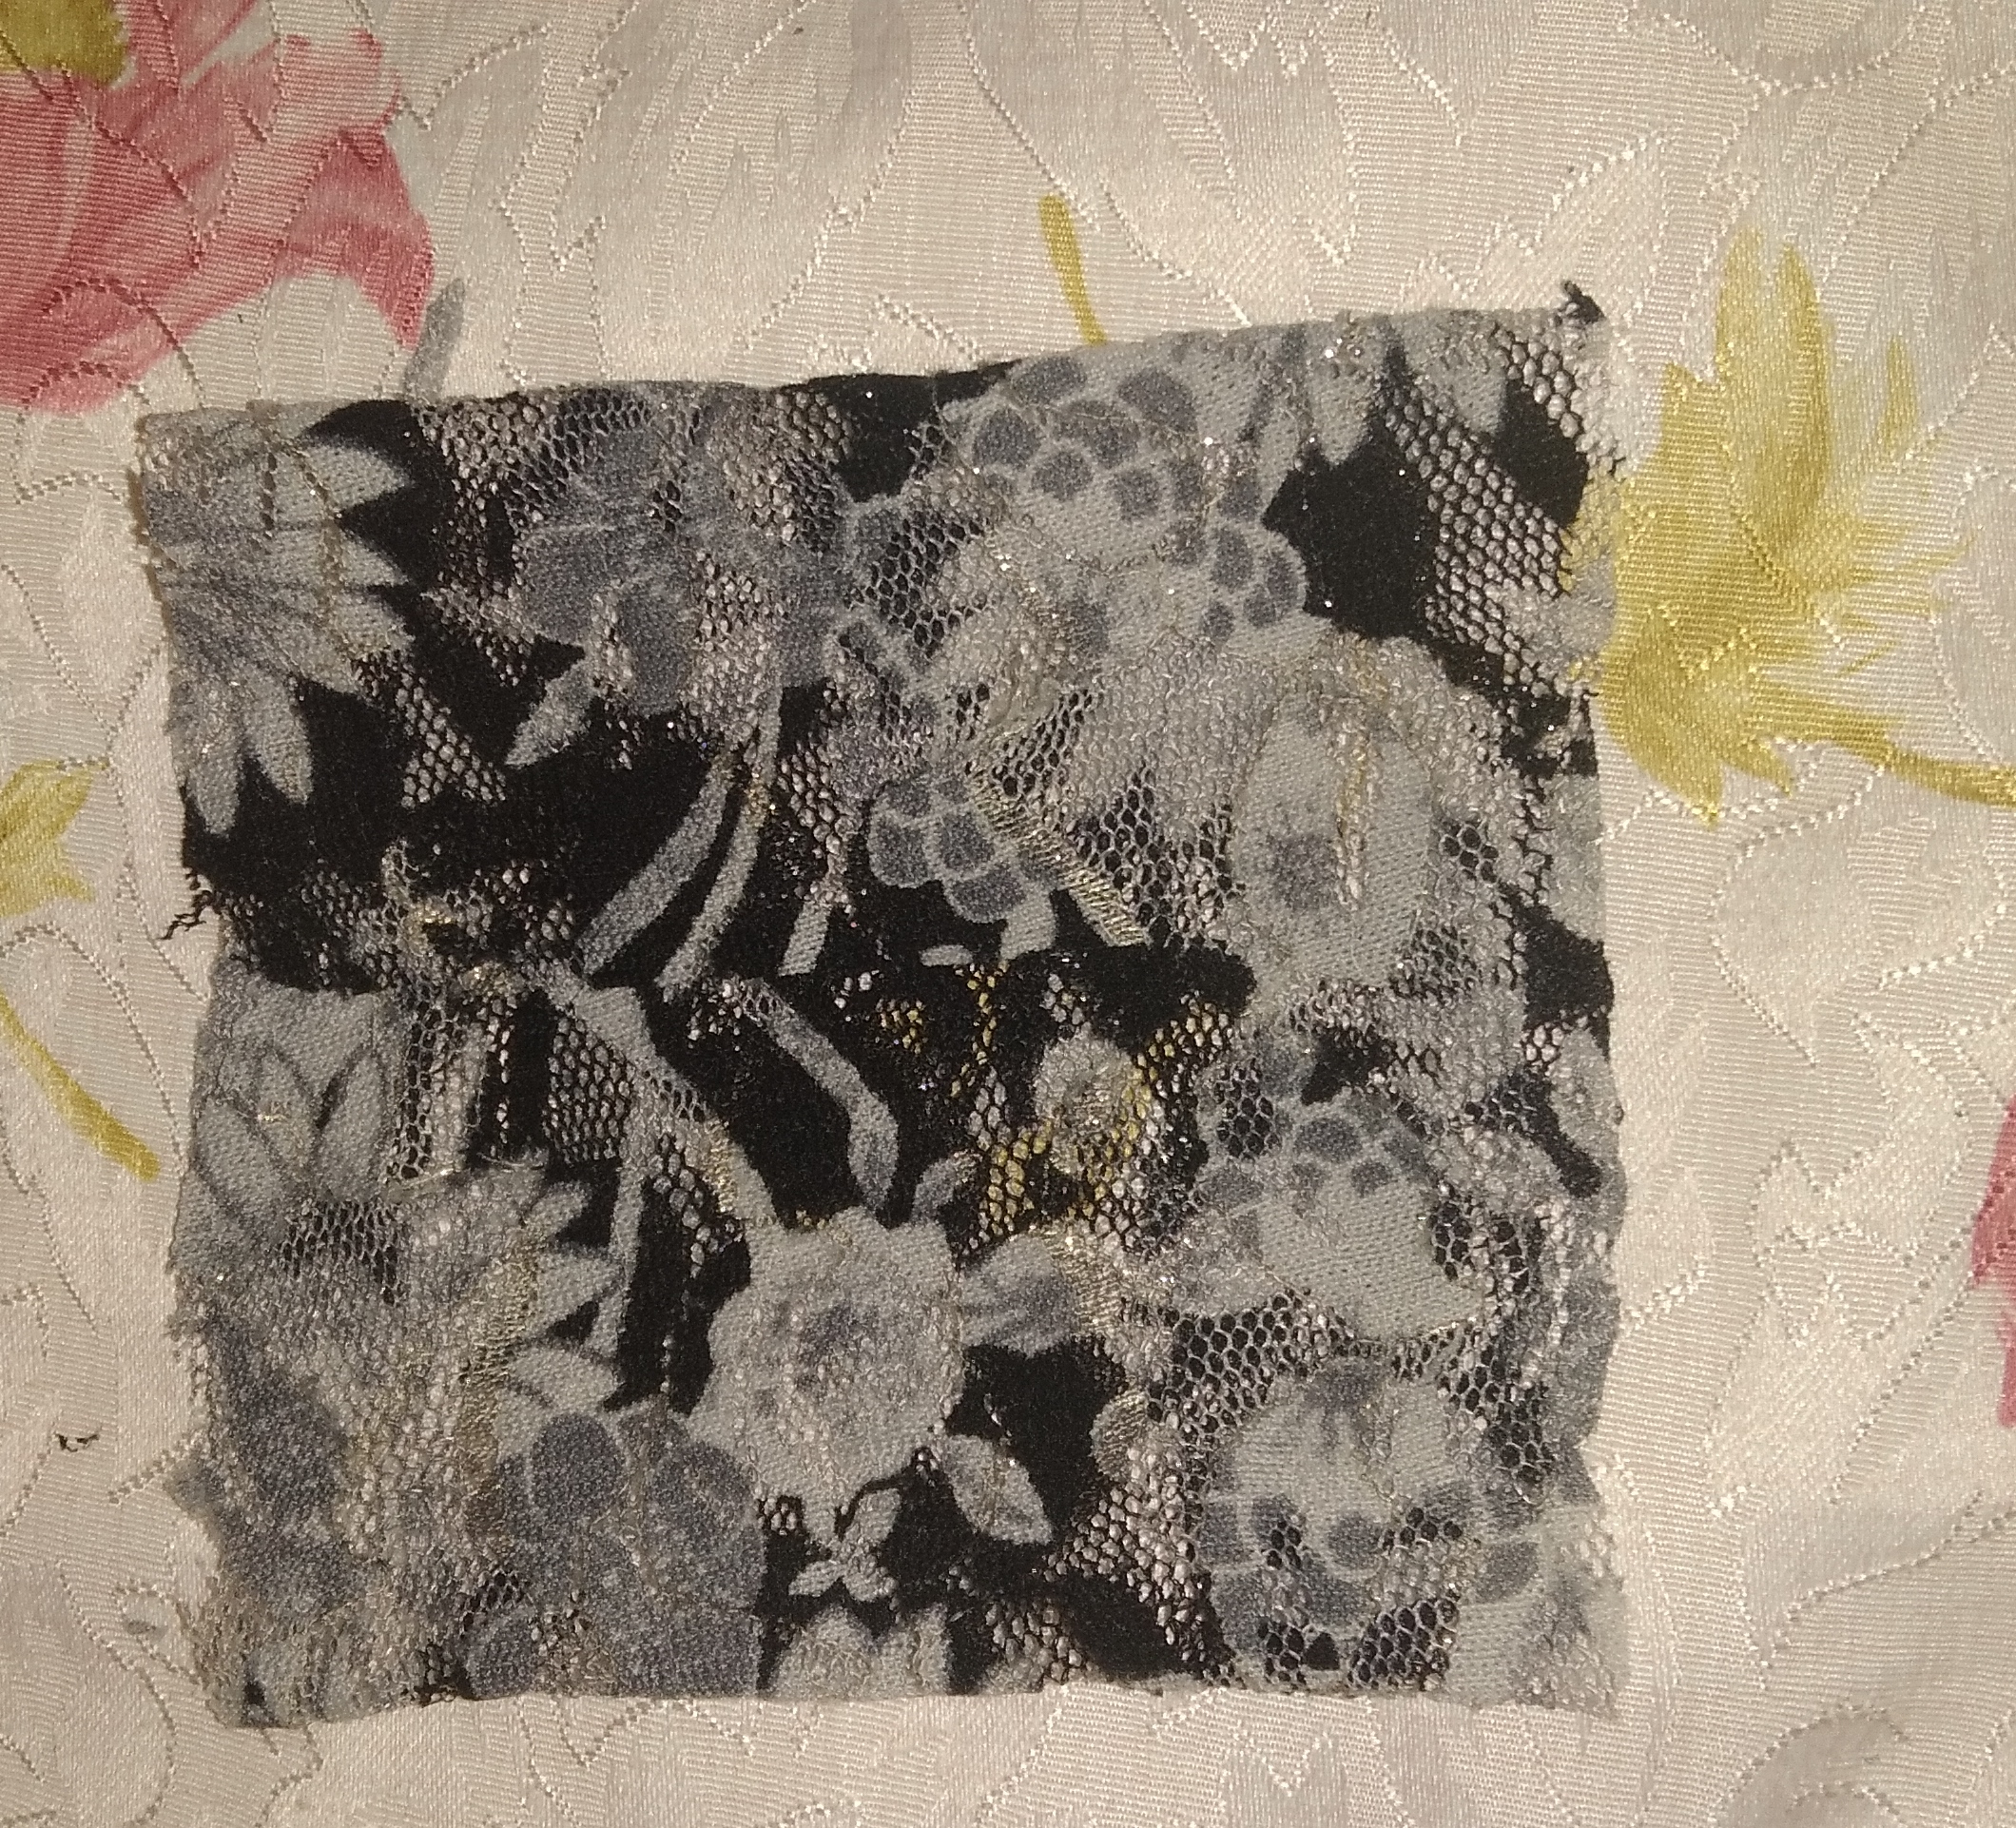
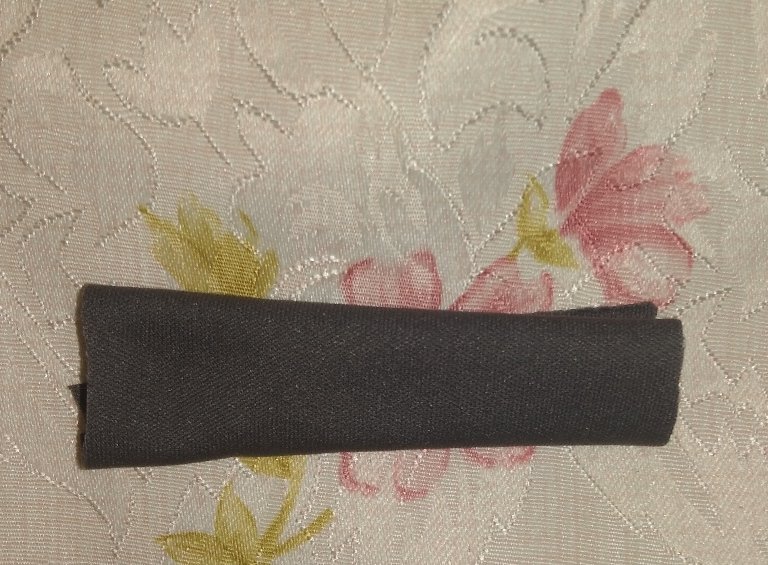
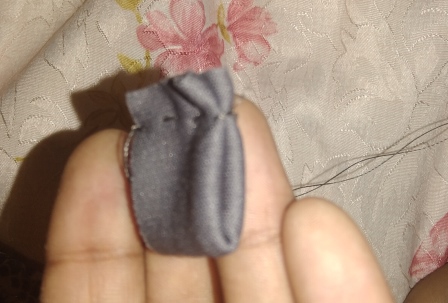
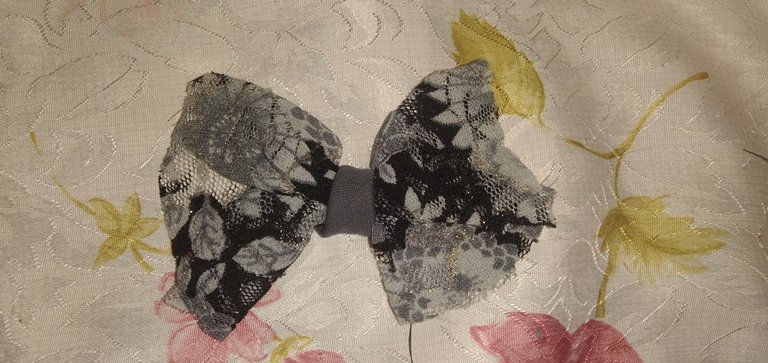
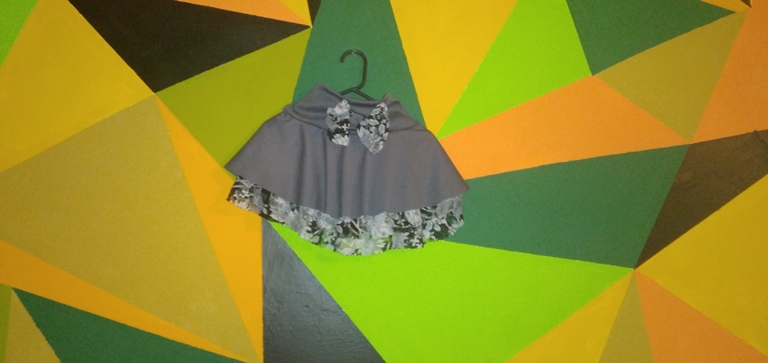
Luego lo unimos a la pretina y listo tenemos una hermosa falda circular para nuestra vecinita Luviainis.
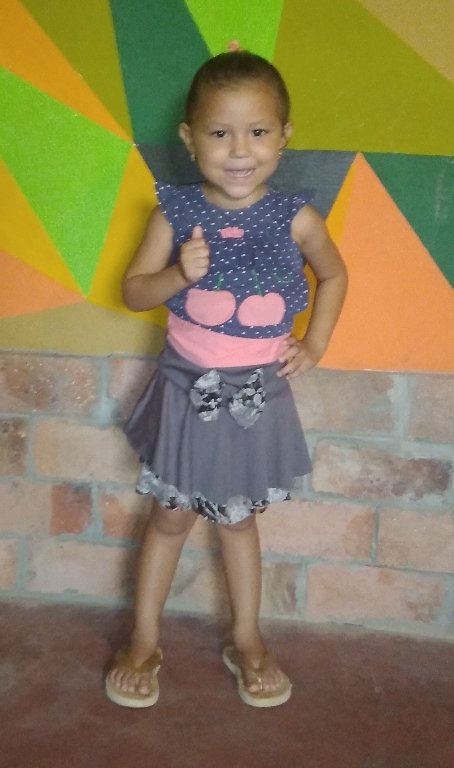
Aquí les presento a Luviainis luciendo su falda a ella le gusto mucho.
Bueno mis amigos esto es todo por hoy. Hasta a la próxima
Las imagenes las he tomado con mi celular.
[Eng]
Previously I had mentioned that I have two boys, and since I learned to bake, to create things with fabrics and so on, I have always liked to make girls' dresses hooks and well I usually do one or another order that I do, and in front of my house live two temporary girls casually with my children and I confess they are happy when these girls come home. So I have decided to give them the girls' garments that I make to show in this community.
This week I made a skirt that I made when I was at my mom's house for a dance group and I have styled it very nicely for neighbor Luviainis. Here is the explanation.

Materials:
Gray fabric
Patterned doily fabric
Needle
Thread
Scissors
Well my friends, this is one of the skirts that is not so complicated to make. I confess that at the time of taking the measurements the girl was not at home, I took my son's measurements (as they are of the same build), resulting in the following.
50cm waist
33 cm long
With these measurements I would take the reference at the time of cutting the fabric, I did not make a pattern because I would convert the measurements and cut them directly from the fabric.
Now we remember that we have 50cm waist, this we will divide it by 6 and gives us as a result 8.3cm this will be the measure of our radius.

Our garment is a Circular Skirt, it is a skirt that is constructed by circles of fabric, in this way the fabric is with undulation.
As we already have the measurements, we take the fabric and fold it in four parts, in the part where the cuts of the fabric are not shown we start from there to measure the radius which is 8.3 cm down, then we mark and cut. From there we take the measurement of the length of our skirt which is 33, mark and cut.

We will do the same with the printed fabric, only this one we will cut it 38cm long.


For the waistband we must remember something, as it is a fabric with elasticity, it will not need to be placed in the elastic waistband. But if we take into consideration that as we have a waist of 50cm we will cut it of 47cm so that at the moment of putting it on it will be tight, we cut it with a thickness of 8cm, so that when folding it will be 4cm.
We sew the waistband as shown in the picture.


And then we proceed to sew, the circumferences we must gather them a little to adjust them to the waistband.

Now we have them ready and we fix them to the waistband as shown in the picture.


It is now fully formed with only one detail missing. The bow of the waistband, we cut a square of 11cm high by 22cm long and fold it with a fabric ring in the center.


Then we attach it to the waistband and we have a beautiful circle skirt for our neighbor Luviainis.

Here is Luviainis wearing her skirt and she liked it very much.

Well my friends that's all for today. See you next time
The images are taken with my cell phone.