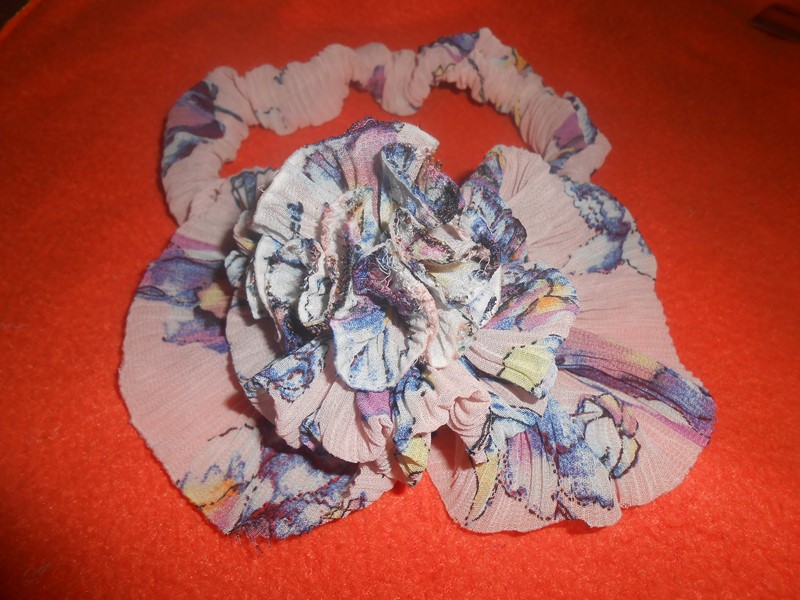
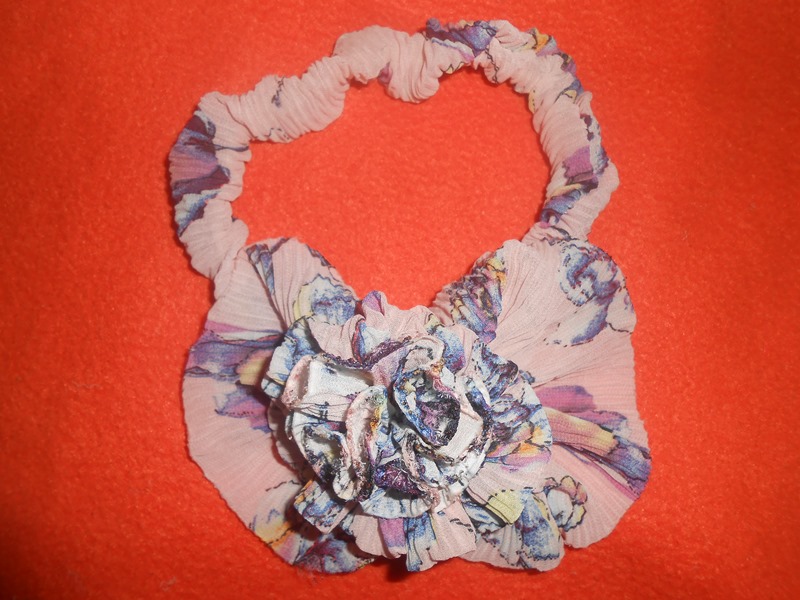
Hola de nuevo yo por aquí, paso rapidito para dejarles la elaboración de mi cintillo contemporáneo, que ha quedado espectacular.
En medio de este inmenso calor que abraza al Estado Zulia, me dispuse a buscar algunas telas y entre esas he conseguido una tela que aquí en mi país le dicen tela galleta no se en otros lugares. Es una tela rosa con estampados de flores.
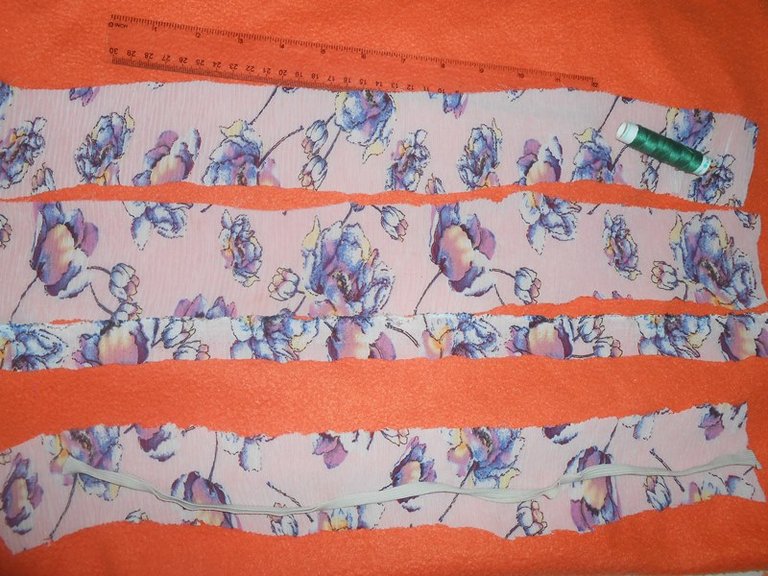
Para la elaboración de mi súper cintillo he cortado 2 trozos de tela de 6cm de ancho por 40cm de largo, uno de 3cm de ancho por 40cm de largo y uno de 7cm de ancho por 50cm de largo.
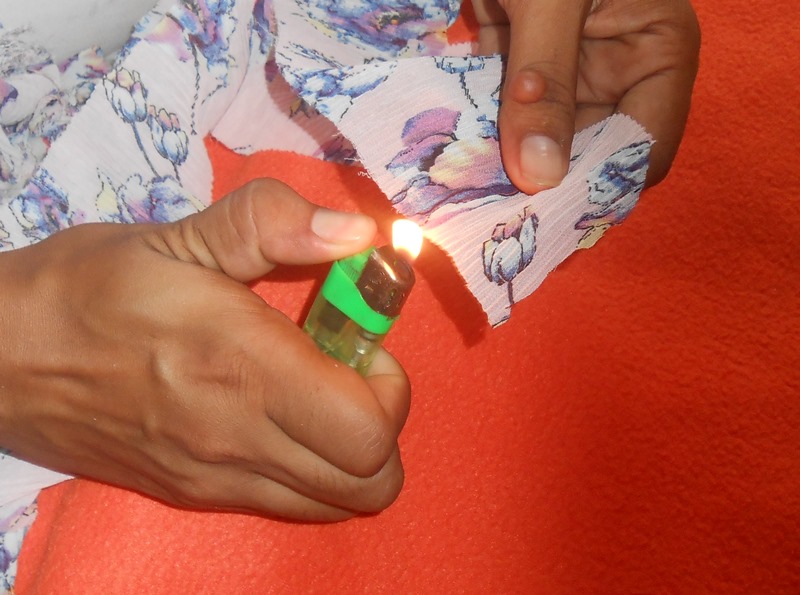
Bueno nos acompaña nuestra amiga la aguja y el hilo. Iniciamos quemando todos los bordes de nuestras tiras que hemos sacado, es una tela muy hilachosa.
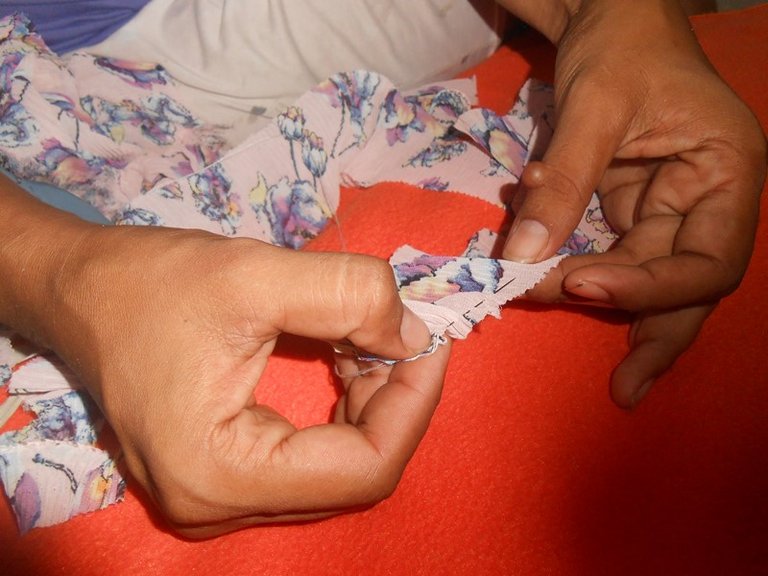
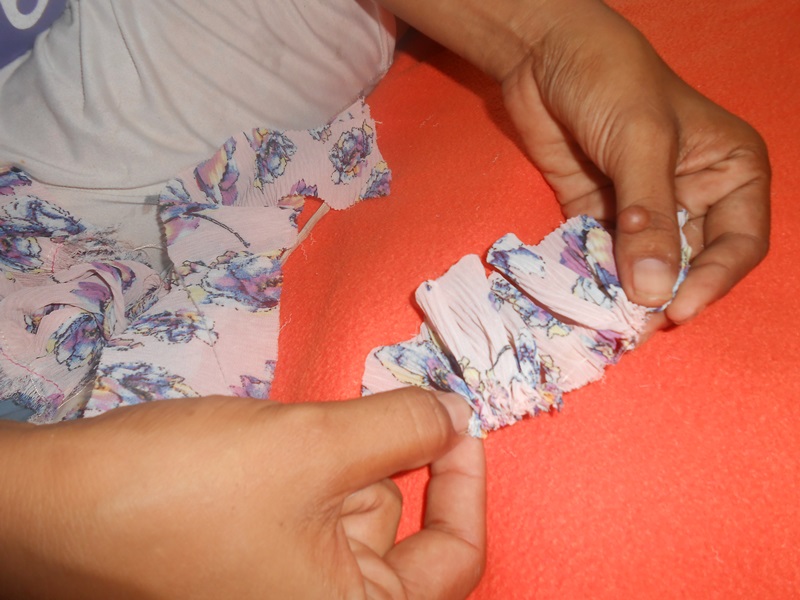
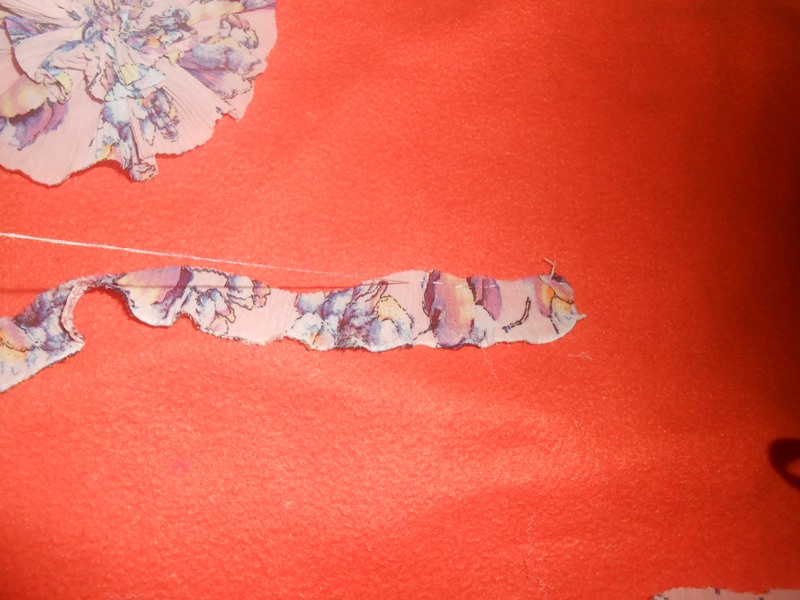
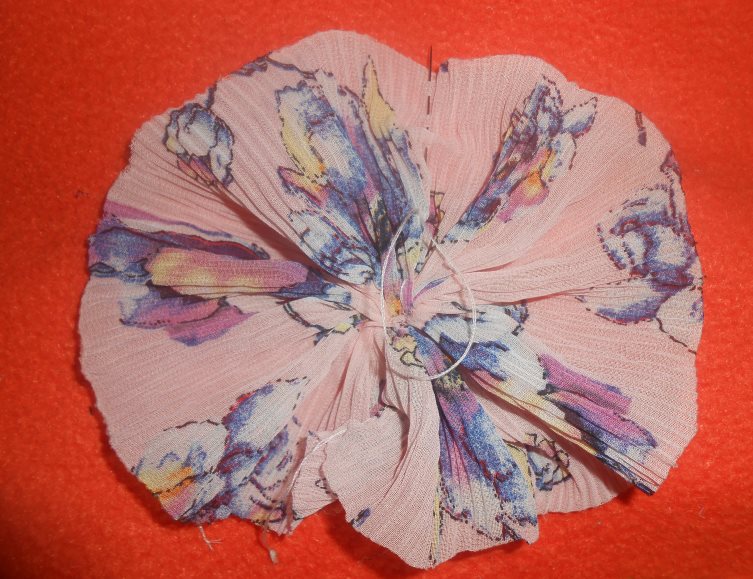
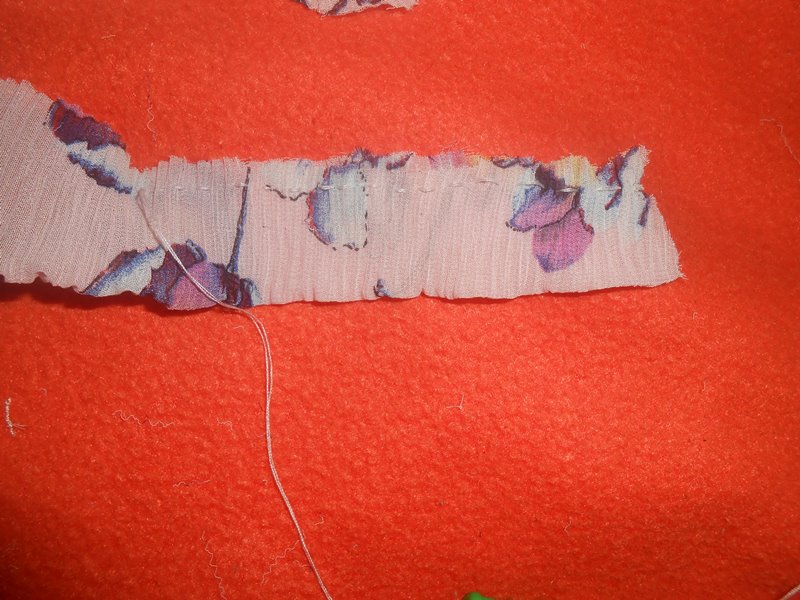
Cocemos por todo el orillo de uno de los trozos de tela de 6cm por 40, tal como se muestra en la imagen.
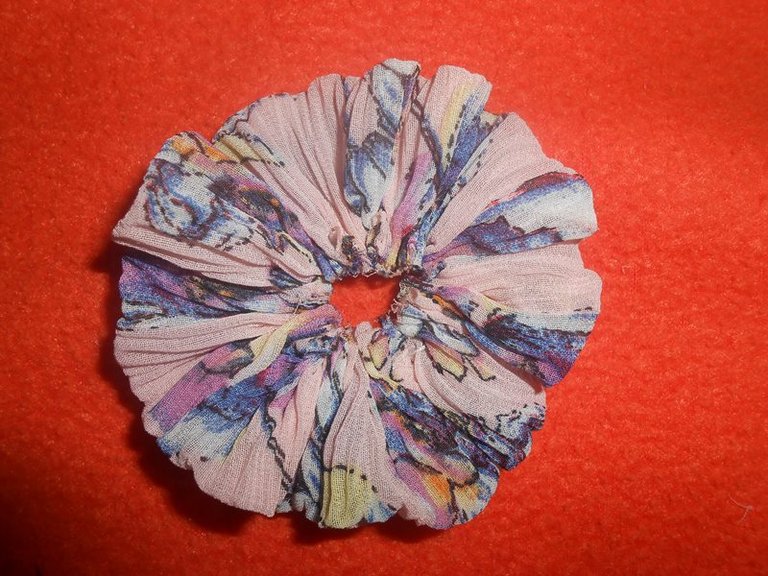
Luego que ya cocimos pero aun con el hilo sin cortar lo álamos y fruncimos la tela por completo quedando una rosca, fijamos las puntas en la parte de atrás y reservamos.
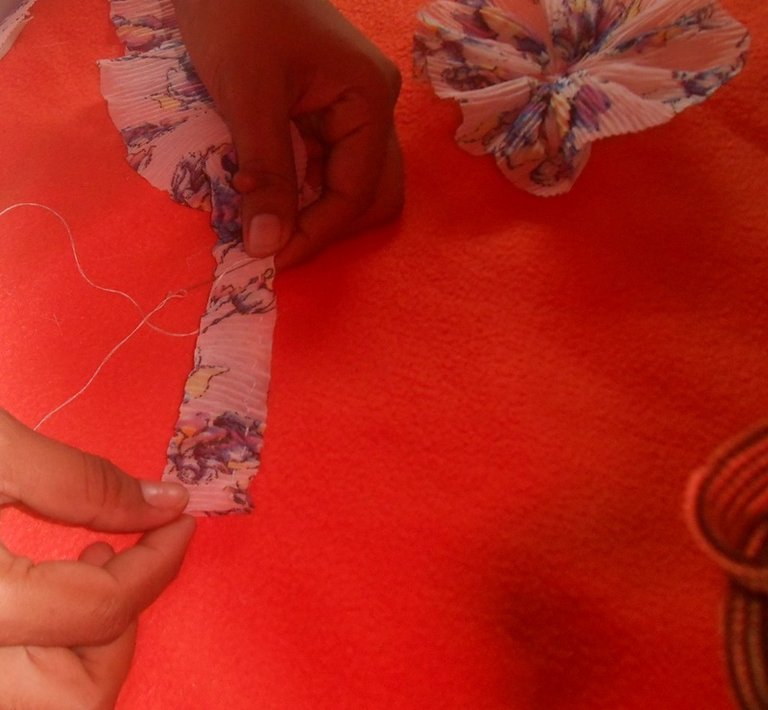
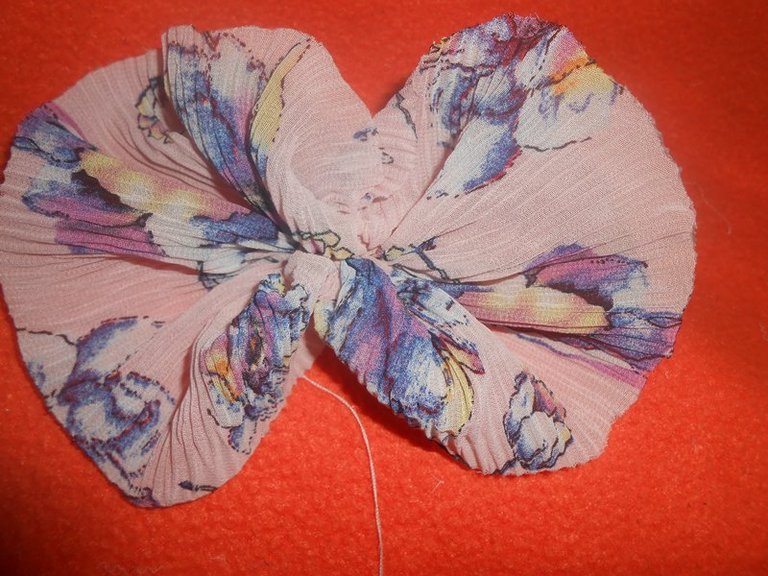
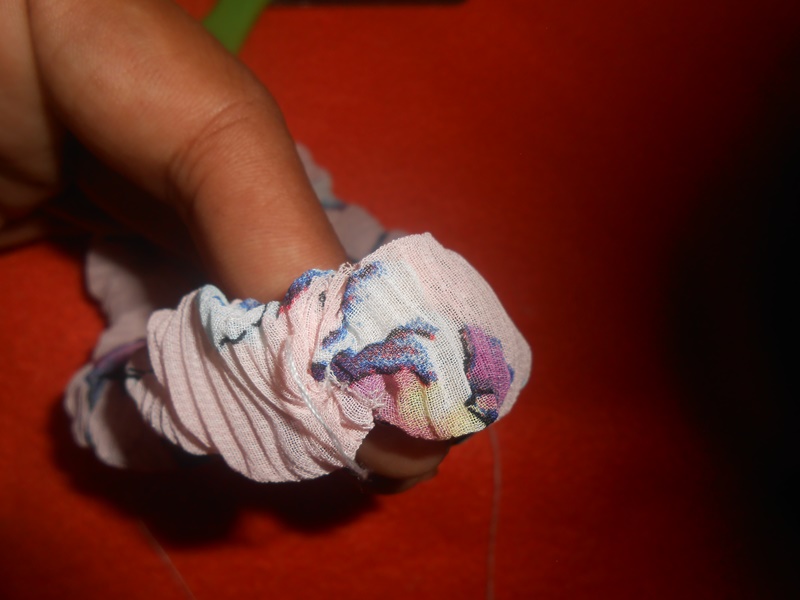
Luego tomamos el otro trozo de tela de 6cm de ancho por 40cm de largo, lo doblamos y hacemos la misma operación, cocemos por todo el orillo, álamos el hilo y arruchamos fijando las puntas como se muestra la imagen.
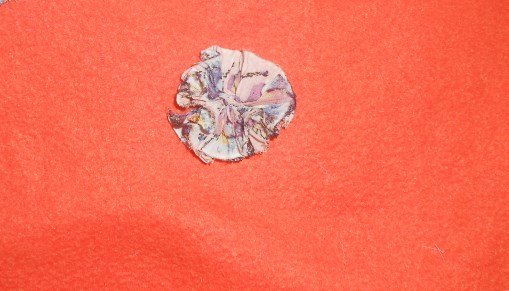
Y nuestra última tela para el moño de 3cm por 40cm le hacemos la misma operación de las anteriores, cocer por el orillo, alar el hilo y fijar las puntas. Quedando de la forma como se muestra en la imagen.
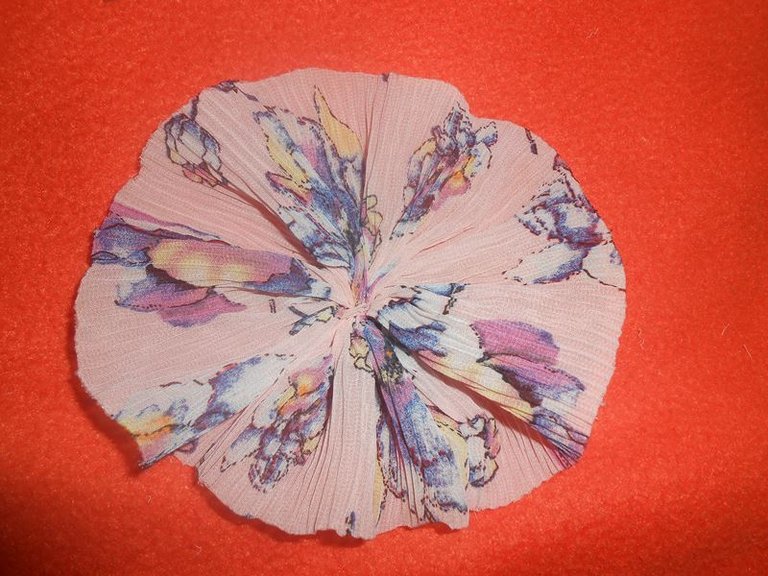
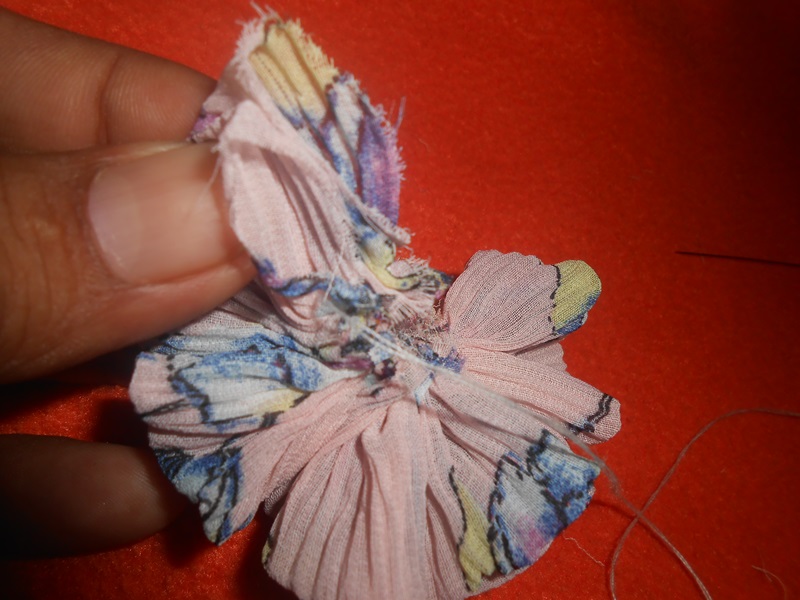
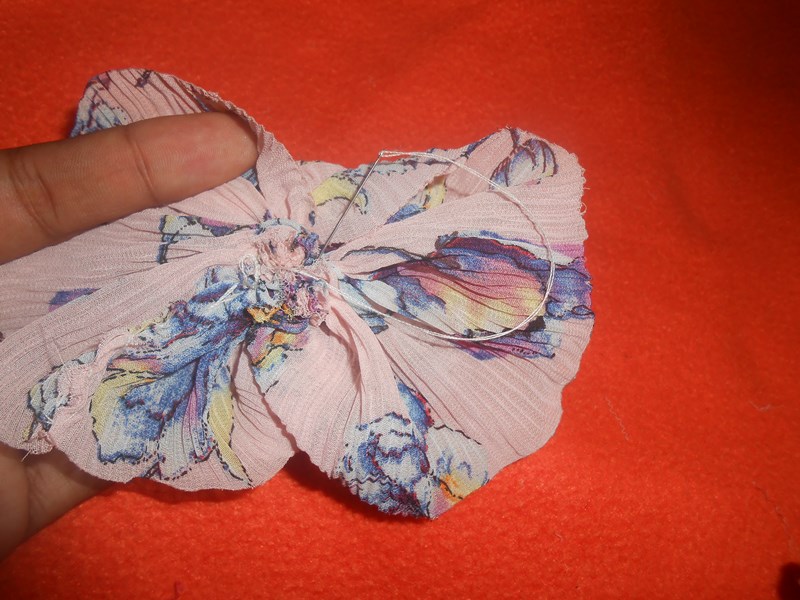
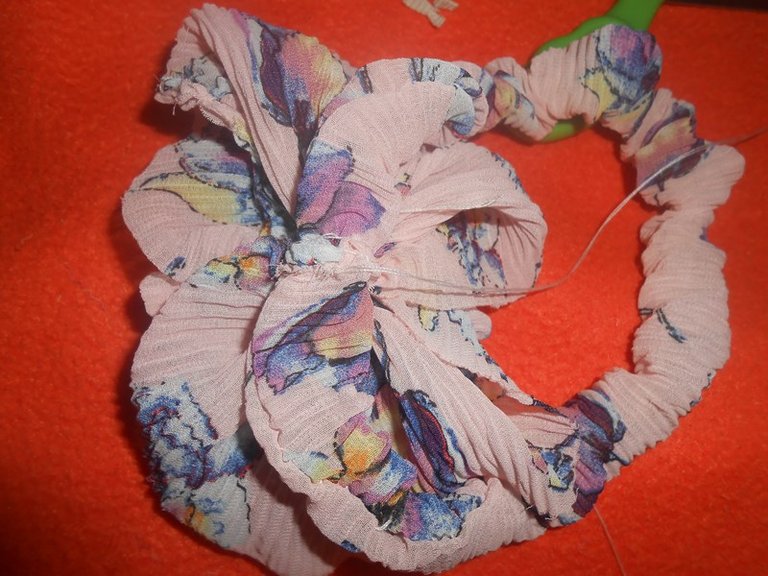
Bien el resultado fueron tres roscas de diferentes formas y tamaños. Tomamos la más grande y le pasamos por el centro hilo y fijamos dejándolo en forma de lazo.
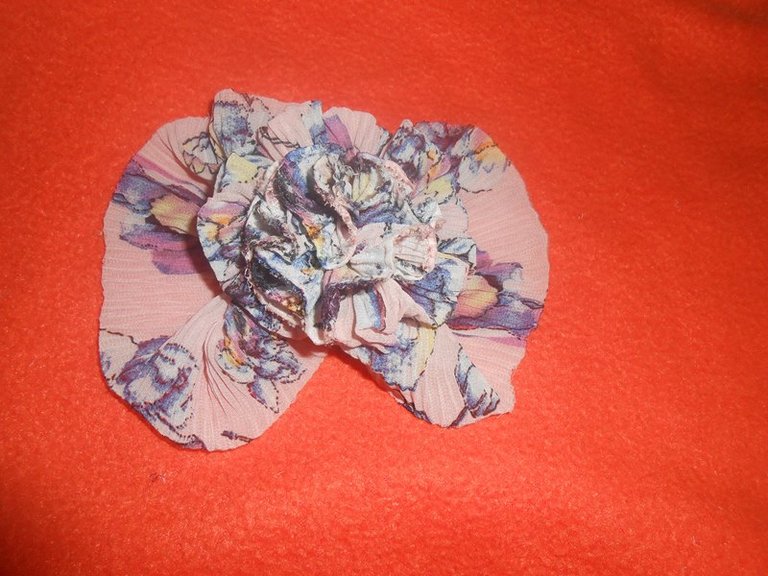
Sobre este colocamos el mediano y luego el pequeño fijándolos con hilo.
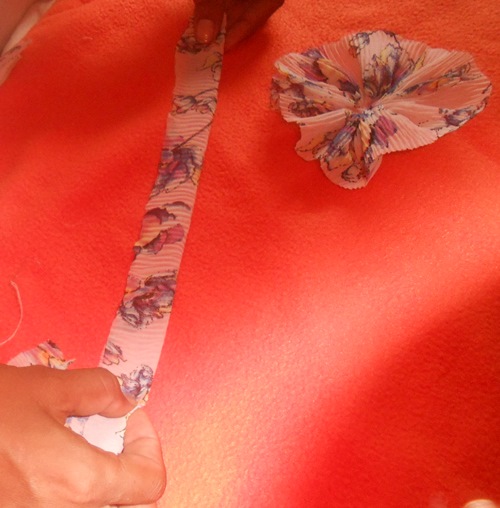
Una vez tengamos listo el moño, tomamos la última tira de tela, doblamos y cocemos a lo largo.
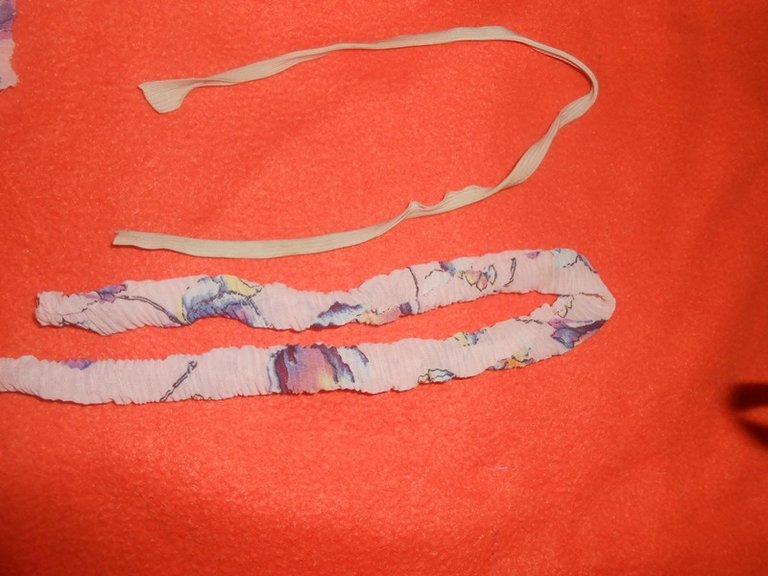
Damos vuelta y le metemos una elástica de 30 cm de largo.
Cerramos la elástica seguido de la cobertura de tela.
Sobre esta costura fijamos muy bien el moño.
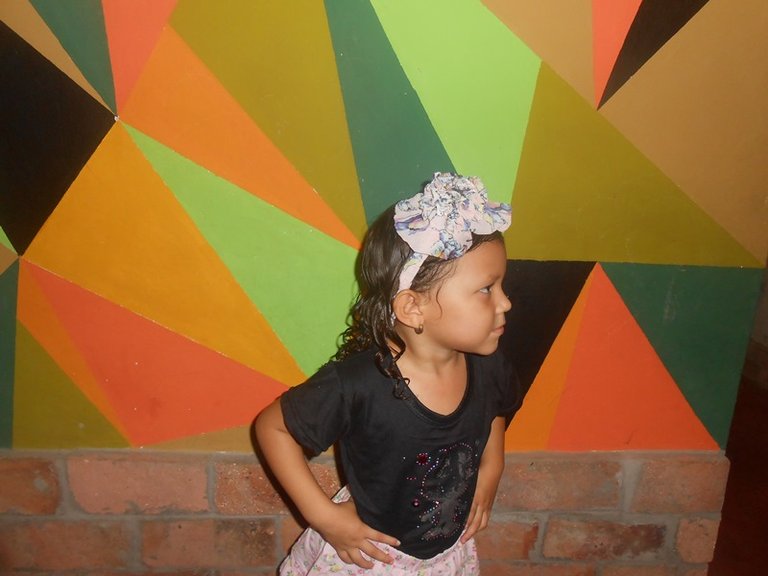
Y listo mis amigos ha quedado espectacular y a mi amiguita la vecinita Luvi le gustó mucho, ahora imagínense estoy comprometidas con estas niñas, se emocionan cuando las llamo, saben que les regalare algo y quedan encantadas.
Bueno mis amigos hasta aquí he llegado el día de hoy. Espero les haya encantado, un abrazo.
Las imagenes son todas de mi autoria.
Eng
Hello again, I'm here again, I'm passing by quickly to let you know how I made my contemporary headband, which has turned out spectacular.
In the middle of this immense heat that embraces the State of Zulia, I set out to look for some fabrics and among those I got a fabric that here in my country is called "cookie fabric", I don't know about other places. It is a pink fabric with flower prints.
For the elaboration of my super headband I cut 2 pieces of fabric of 6cm wide by 40cm long, one of 3cm wide by 40cm long and one of 7cm wide by 50cm long.
Well we are joined by our friend the needle and thread. We start by burning all the edges of our strips that we have pulled out, it is a very lint-free fabric.
We bake all around the selvage of one of the 6cm by 40 pieces of fabric, as shown in the picture.
After we already cooked but still with the thread uncut, we pull it and pucker the fabric completely leaving a thread, we fix the ends in the back and reserve.
Then we take the other piece of fabric 6cm wide by 40cm long, we fold it and do the same operation, we sew all around the selvedge, we pull the thread and we fix the ends as shown in the image.
And our last fabric for the bow of 3cm by 40cm we do the same operation of the previous ones, bake by the selvage, lengthen the thread and fix the ends. The result is as shown in the image.
Well the result was three threads of different shapes and sizes. We took the largest one and threaded it through the center and fixed it in the shape of a loop.
On top of this we place the medium one and then the small one fixing them with thread.
Once we have the bow ready, we take the last strip of fabric, fold it and bake it lengthwise.
We turn it over and put a 30 cm long elastic in it.
Close the elastic followed by the fabric cover.
Over this seam we fix the bow very well.
And ready my friends has been spectacular and my neighbor Luvi liked it very much, now imagine I am engaged with these girls, they get excited when I call them, they know that I will give them something and they are delighted.
Well my friends, this is as far as I have come today. I hope you loved it, a hug.
The images are all of my authorship.
