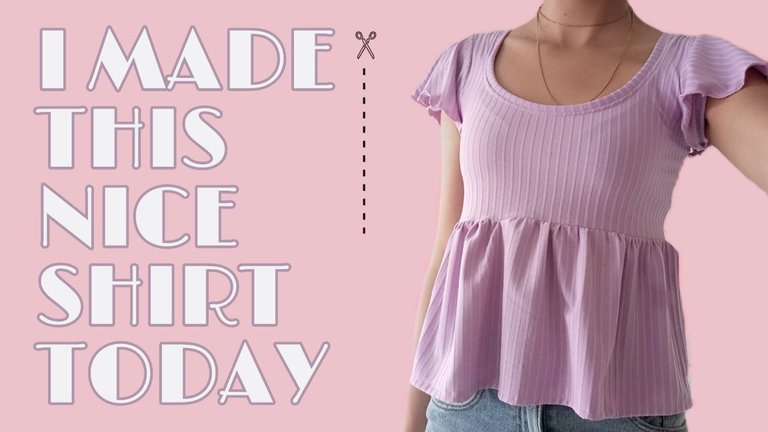
Hello beautiful people of Hive, I hope you have had a good start of the week, today I made this simple shirt, I really love the result, I think it looks super cute besides being comfortable, let me tell you how was the process and a little bit of this day, calm I will not take long.
Hola linda gente de Hive, espero hayan tenido un buen inicio de semana, el día de hoy realice esta camisa sencilla, que la verdad me encanto el resultado, me parece que se ve súper linda aparte de ser cómoda, deja te cuento como fue el proceso y un poco de este día, tranquilo no tardare mucho.
📌50cm of Fabric.
📌 Scissors.
📌 Sewing tape measure.
📌 Ruler.
📌 Sewing chalk.
📌 50cm de Tela.
📌 Tijeras.
📌 Cinta métrica de costura.
📌 Regla.
📌 Tiza para marcar costura.
👀:
-Use a fabric that stretches and is comfortable.
-The amount of fabric will depend on your measurements.
-If you don't have sewing chalk you can use regular chalk or a pencil depending on the color of the fabric.
-utiliza una tela que estire y sea comoda.
-La cantidad de tela dependerá de tus medidas.
-Si no tienes tiza de costura puedes utilizar tiza normal o un lápiz dependiendo del color de la tela.
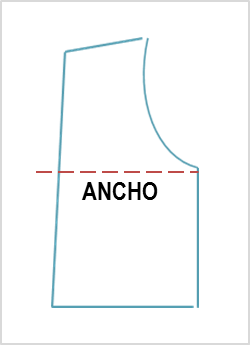
For this shirt I didn't make a pattern as such, since I wanted it to be something quick to make for the same day. I marked on paper a sleeveless shirt that I already had, that would fit my torso measurements. To mark it I folded it in half as follows:
Once marked on the paper I only modified what would be the collar making it much more open than the shirt I used as a reference, all this marked on the paper.
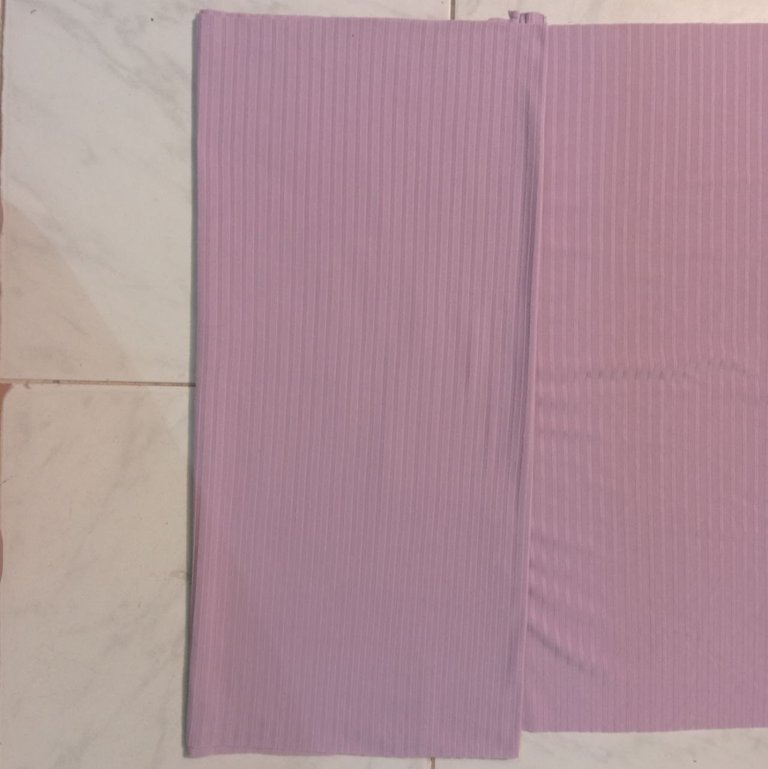
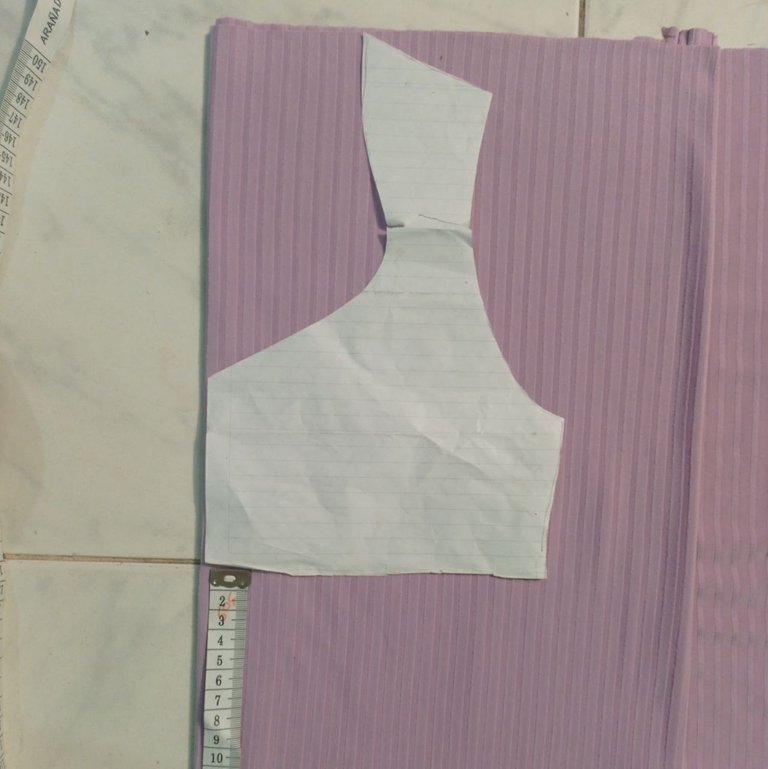
After this is done, place the pattern on the folded fabric twice as follows:
Para esta camisa no hice un patrón como tal, ya que quería que fuera algo rápido de hacer para el mismo día. Marqué en un papel una camisa sin mangas que ya tenía, que se ajustara a mis medidas de torso. Para marcarla la doblé por la mitad de la siguiente manera:
Una vez marcada en el papel solo modifiqué lo que sería el cuello haciéndolo mucho más abierto que la camisa que usé como referencia, todo esto marcado en el papel.
Una vez hecho esto, coloque el patrón sobre la tela doblada dos veces de la siguiente manera:
 |  |
|---|
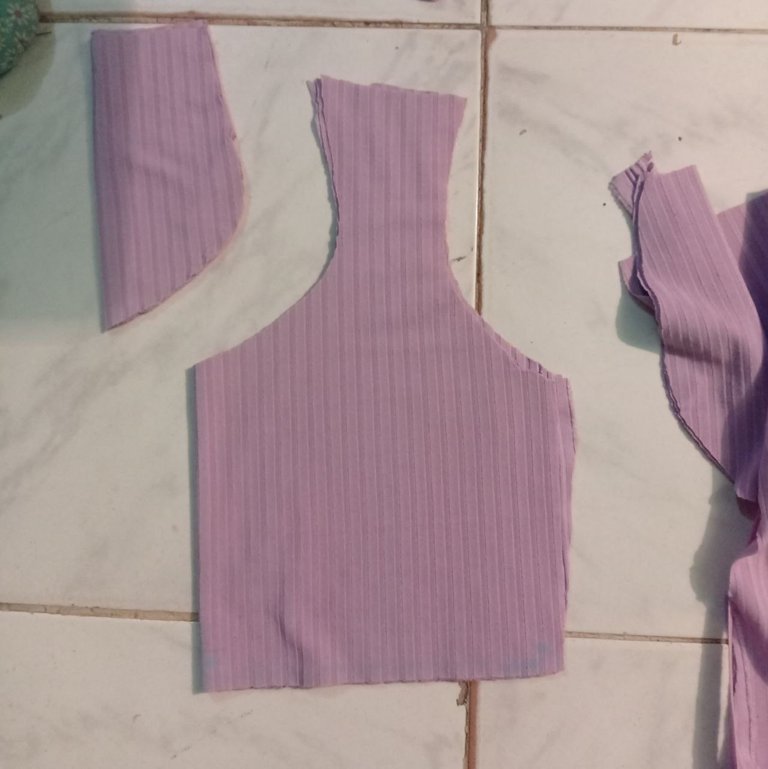
Something to clarify is that I just marked the shirt up to the part below the bust, with the fabric left over from what was cut for the top I made the bottom.
Algo que aclarar es que nada más marque la camisa hasta la parte de debajo del busto, con la tela que sobro de lo que se cortó para la parte de arriba hice la parte de abajo.
 |  |
|---|
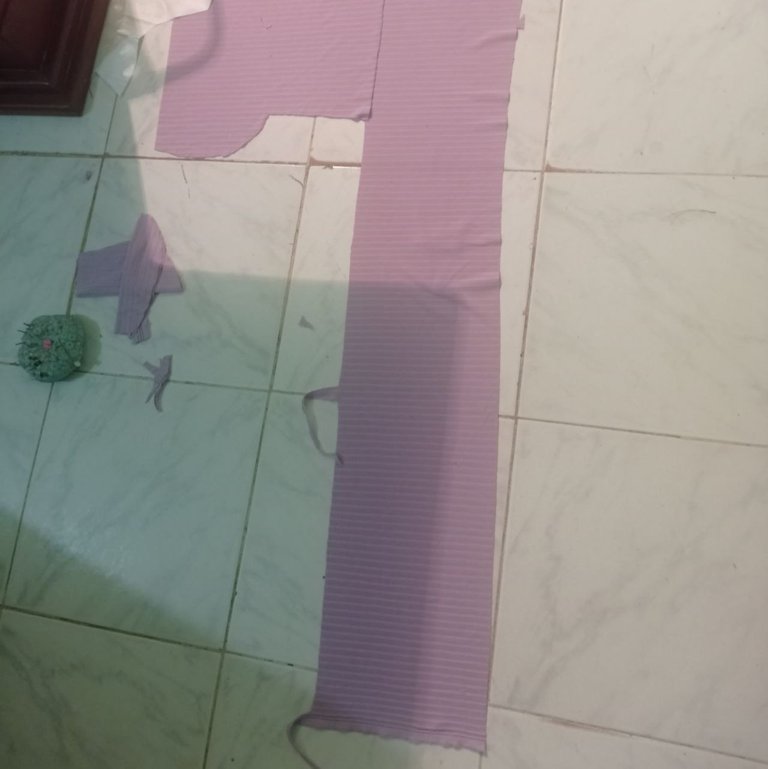
For the bottom I wanted it to be gathered, so I measured the bottom measurements of the first pattern I made and increased that measurement a little, multiplied it by 2 and proceeded to cut.
This is so that when I gathered the fabric I could reach completely cover the area below the bust of the top.
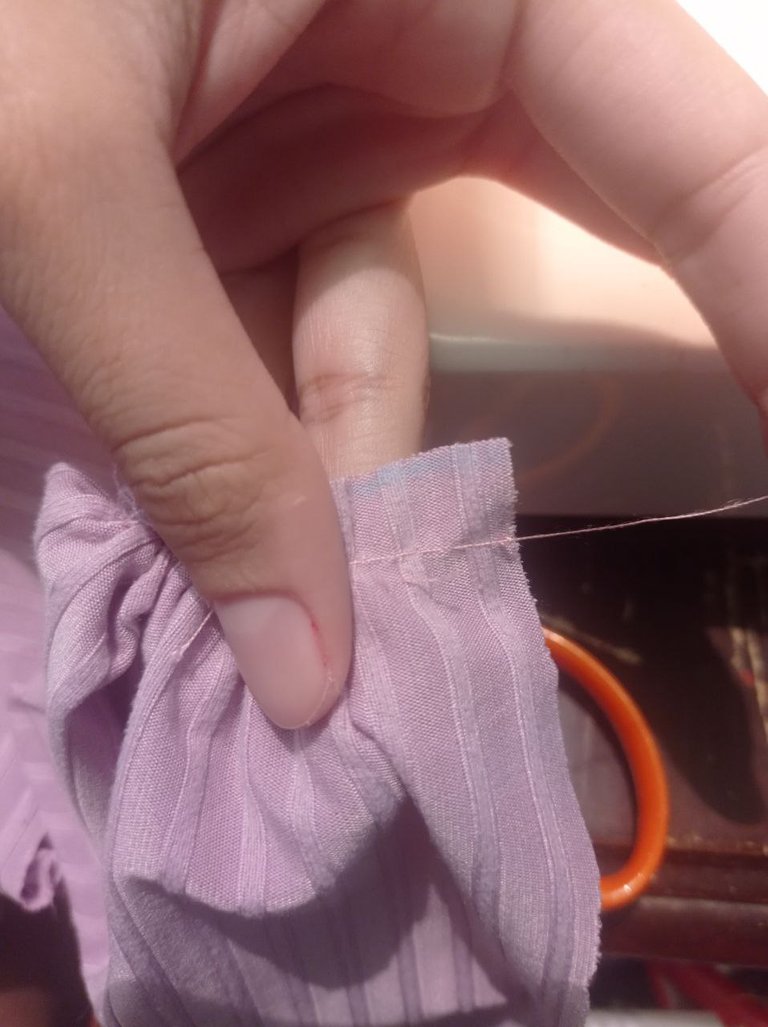
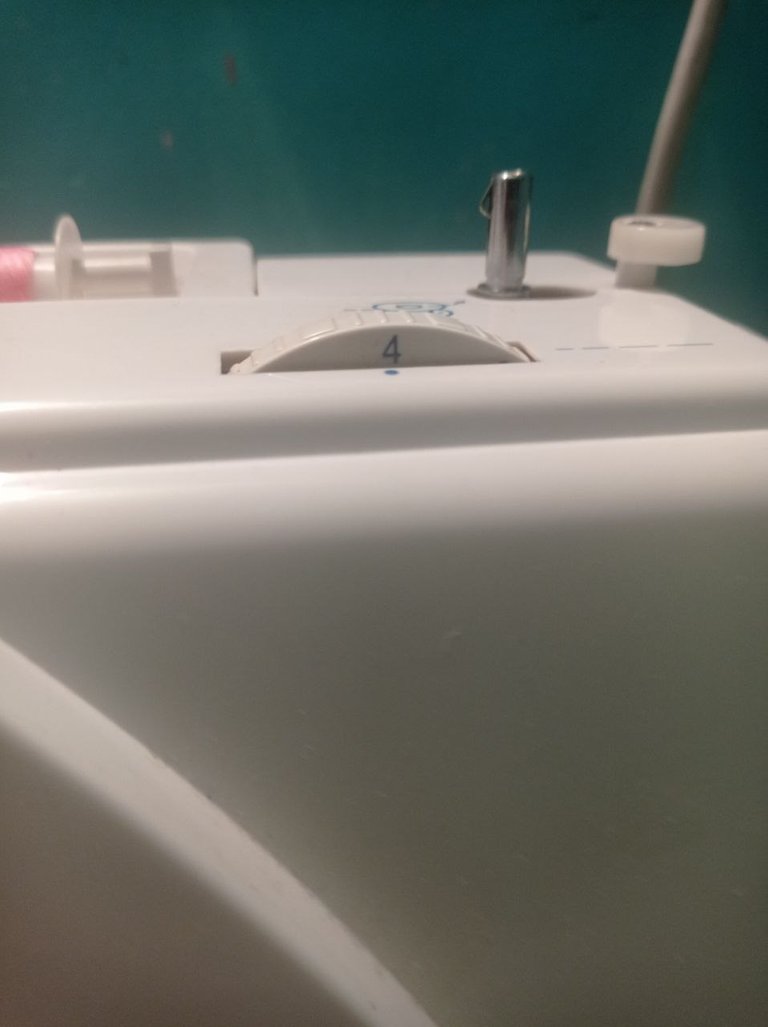
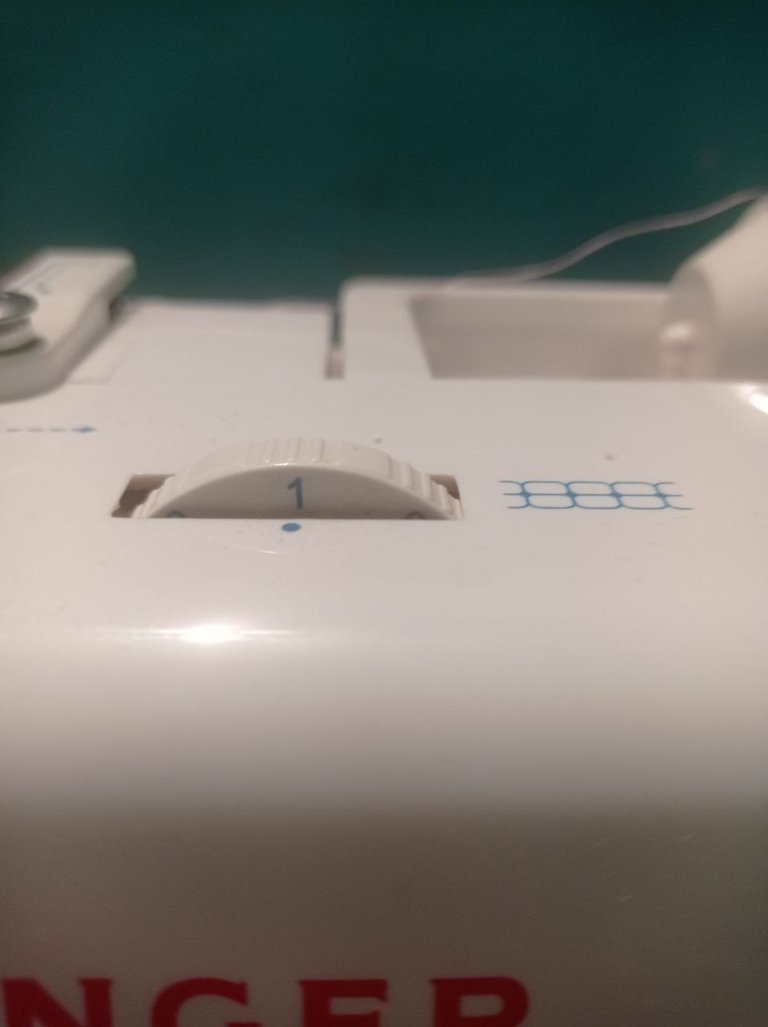
I gathered the fabric putting the stitch of the machine in 4, that is the largest and the tension of this in 1, so that when sewing this edge the seam would be loose and I could gather the fabric without using any type of elastic, once this is sewn I grab the thread that is above and eating it has lengthened only that one leaving the one below loose.
Para la parte de abajo quería que estuviera fruncido, por ende medí las medidas de abajo del primer patrón que hice y aumente un poco esa medida, multiplique esta por 2 y procedí a cortar.
Esto es para que al fruncir la tela pudiera alcanzar cubrir por completo el área de abajo del busto de la parte de arriba.
Fruncí la tela poniendo la puntada de la maquina en 4 ósea la más grande y la tensión de esta en 1, para que al coser esta orilla quedara suelta la costura y poder fruncir así la tela sin utilizar ningún tipo de elástica, ya cosido esto agarro el hilo que está arriba y comiendo ha alar solo ese dejando el de abajo suelto.
 |  |  |
|---|
Now that the upper part of the bust has been sewn, on the shoulders and sides, I joined the part I gathered with the lower part of the bust.
With the leftover fabric I made some sleeves that I already had the pattern made, and attached them to the shirt. I made the last details such as sewing the edge of the bottom of the shirt and making a zigzag on the edges of the sleeves, giving me the following result.
Una vez cosida la parte superior del busto, en los hombros y los laterales, uní la parte que recogí con la parte inferior del busto.
Con la tela sobrante hice unas mangas que ya tenía el patrón hecho, y las uní a la camisa. Hice los últimos detalles como coser el borde del bajo de la camisa y hacer un zigzag en los bordes de las mangas, dándome el siguiente resultado.
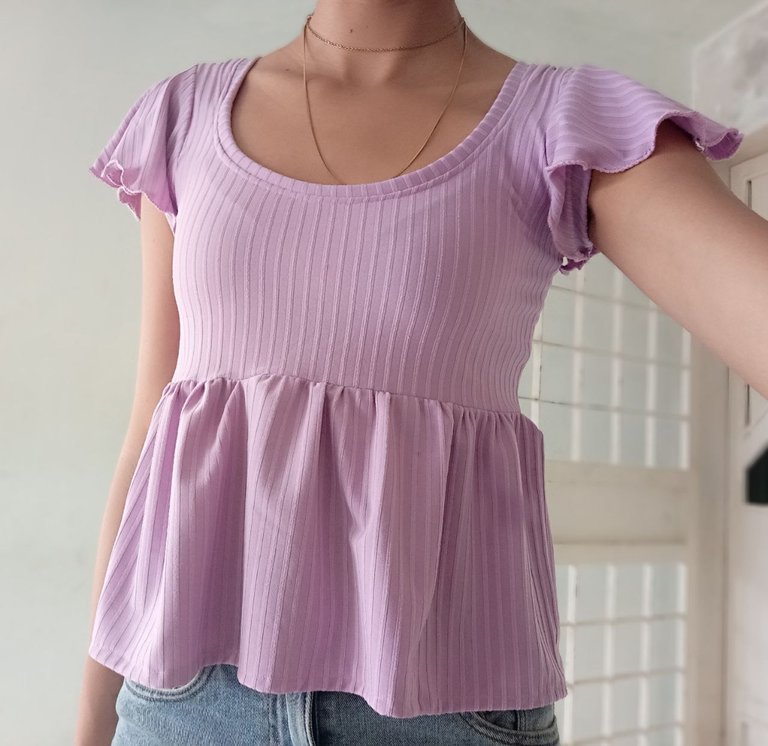
After I had this shirt ready, I got dressed, I got dressed and of course I wore it, I wanted to be comfortable that day and I definitely was, I went to class and also went to see fabrics since Halloween is coming, the best date of the year, and I needed to know prices and look for fabrics that could be useful for my costume and a couple of friends that I will help with that, I will be telling you through this platform, I hope you liked this post and I can give you some ideas or inspiration for something you want to do. Next time I will give more details on how to do other things, this time I wanted to be brief. I send you a hug. bay bay 💖
Luego de tener listo esta camisa, me arregle, me vestí y por supuesto la use, quería estar cómoda ese día y definitivamente lo estuve, fui a clases y también pase a ver telas ya que se acerca Halloween señores, la mejor fecha del año, y pues necesitaba saber precios y buscar las telas que me pudieran servir para mi disfraz y el de un par de amigos los cuales ayudare con eso, les estaré contando a través de esta plataforma, espero les haya gustado este post y pueda darle alguna idea o inspiración para algo que quieran hacer. La próxima dar más detalles de cómo realizar otras cosas, esta vez quise ser breve. Les mando un abrazo. bay bay 💖
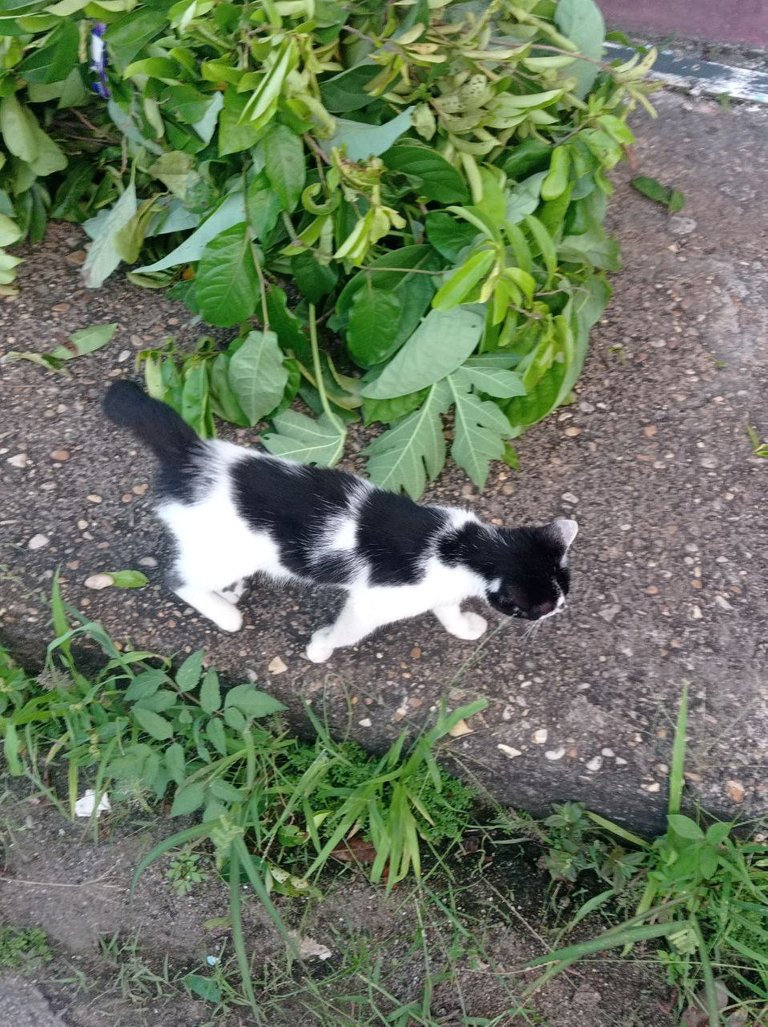
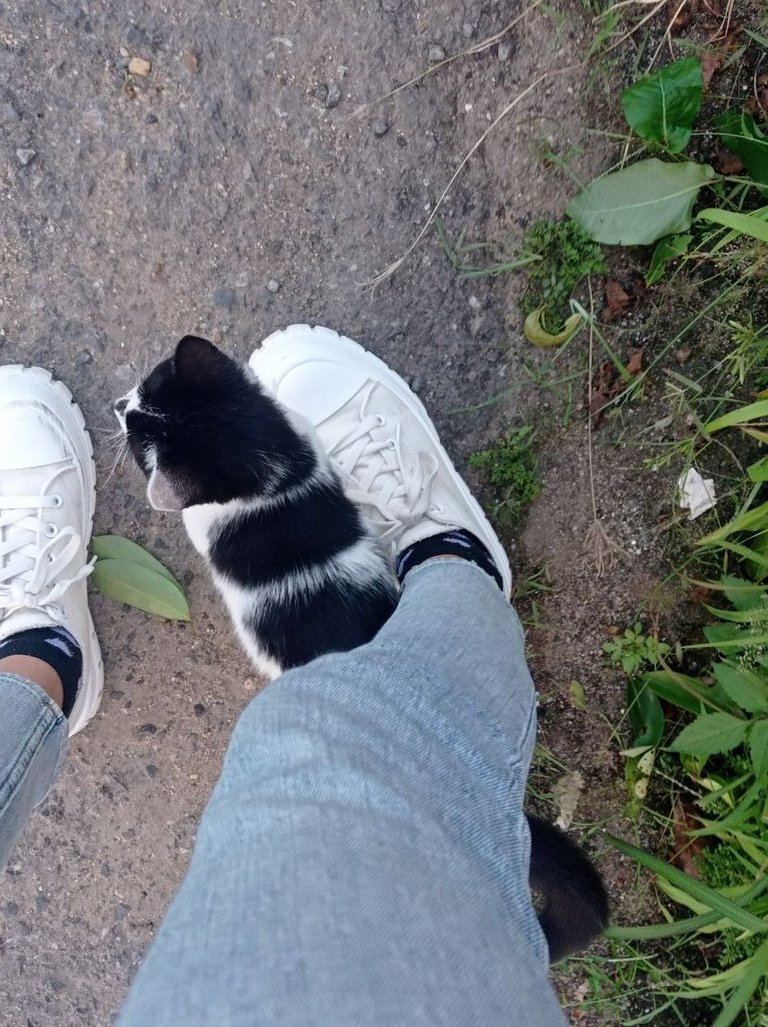
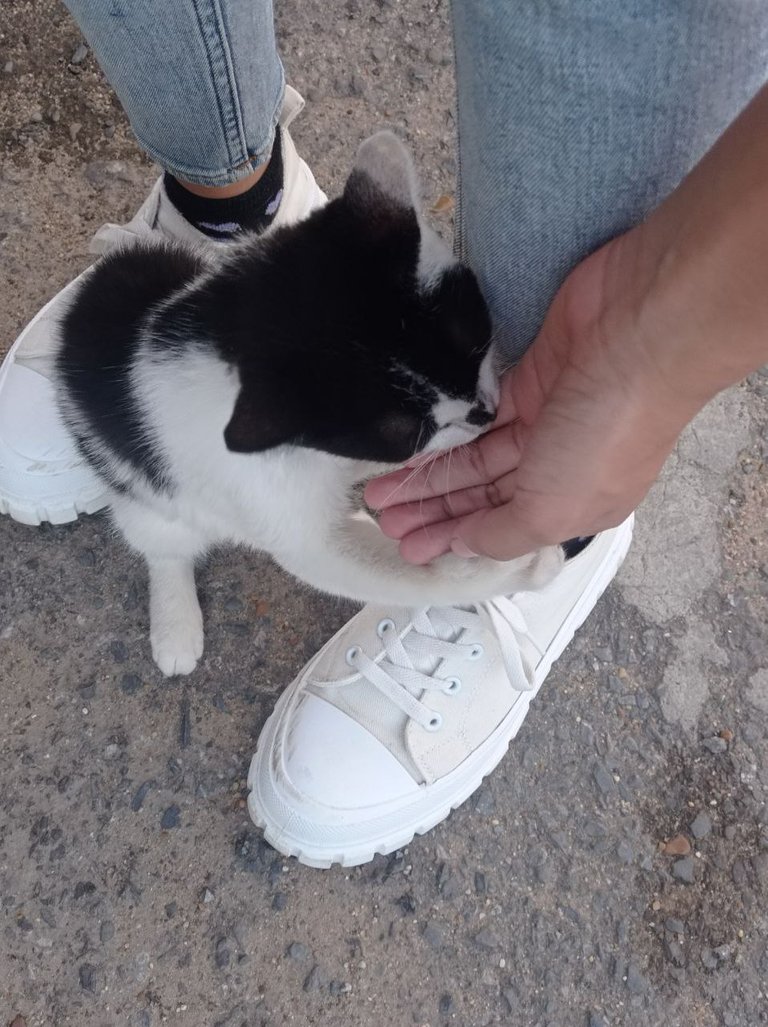
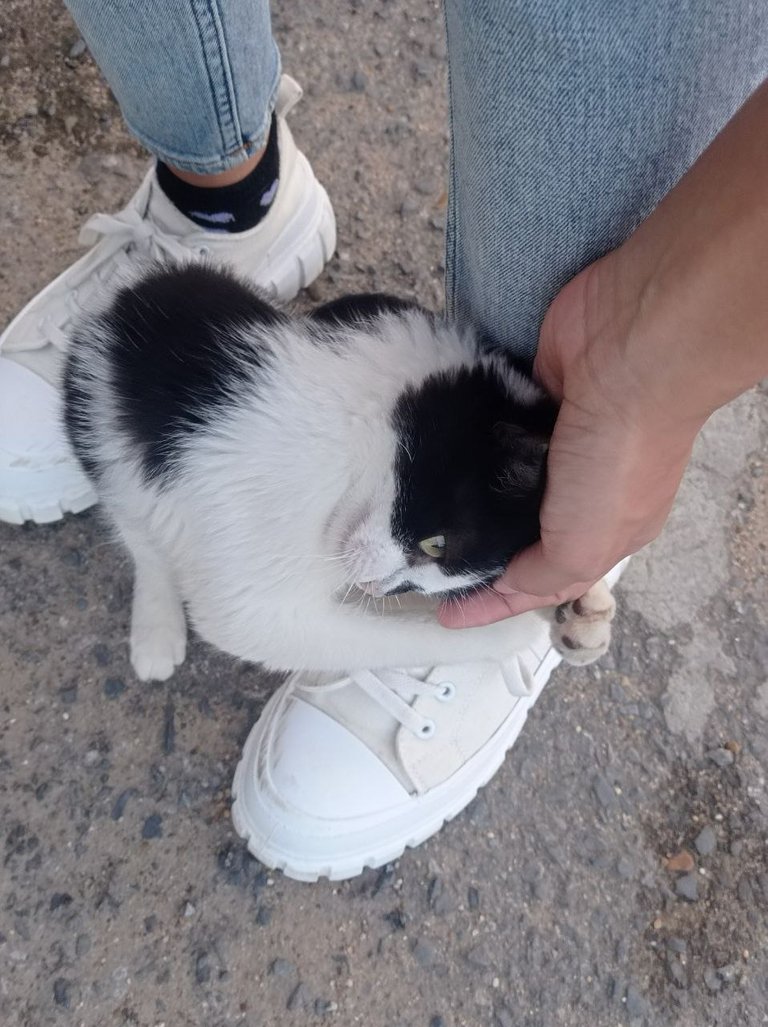
Here are some pictures of a little friend I got back home.
Les dejo unas fotos de un pequeño amigo que conseguí de regreso a mi casa.
 |  |  |  |
|---|
