Español
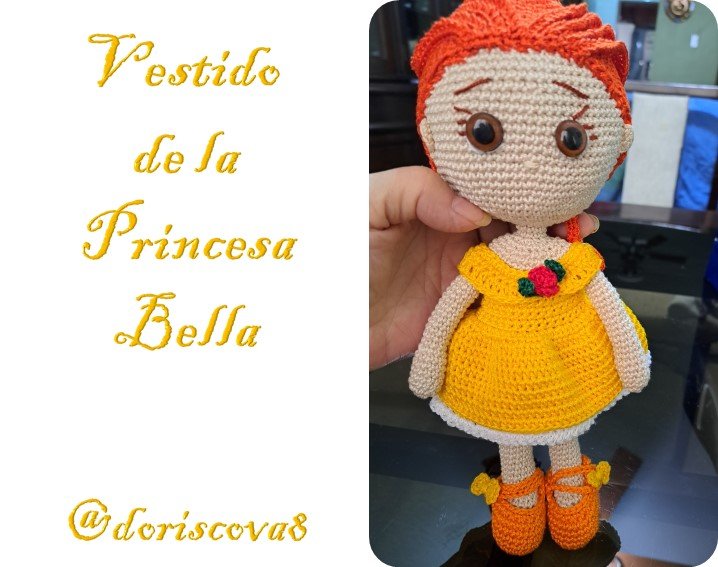
Saludos estimada comunidad, como se los prometí, hoy les traigo el tutorial del vestido para la princesa bella, teniendo como referencia el cuerpo de la muñeca amigurumi que ya realizamos y que les voy a dejar las direcciones para comodidad, así como el cabello y los zapaticos; primera parte del cuerpo, segunda parte del cuerpo del cuerpo, cabello y los zapaticos.
Procedimiento
El vestido lo realizaremos en color amarillo que es el que le corresponde a la princesa bella que estamos realizando.
Iniciaremos con 43 cadenetas
1V: iniciamos en la segunda cadeneta (6 pb – 1 aum) x 6 hasta terminar toda la cadena = para culminar con 48 puntos
2V: se gira el tejido y tejer 48 pb.
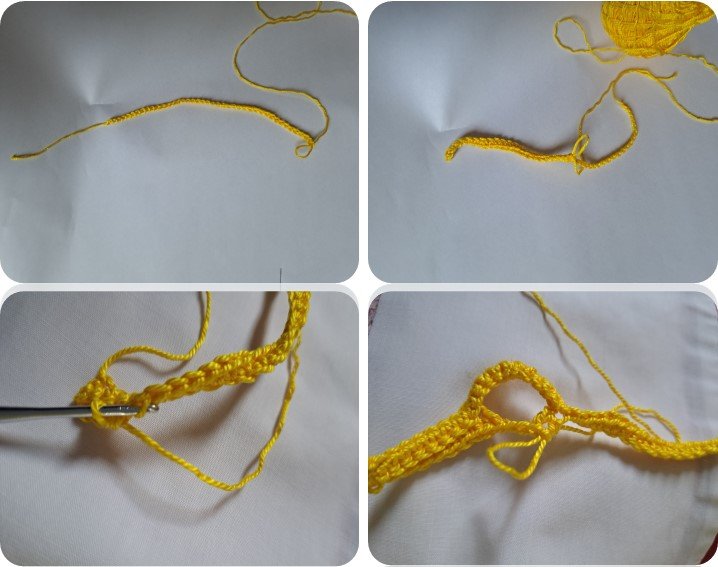
3V: se gira el tejido, 8 pb (tomando las hebras de adentro) – 1 aumento (con medio punto y un punto alto) – 2 cadenas, nos saltamos 10 cadenas y allí un punto alto y un medio punto alto en la misma. Se repite desde 8 pb para continuar la vuelta = 36
4V a la 9V: giramos el tejido y tejemos 36 pb sin aumentos ni disminuciones.
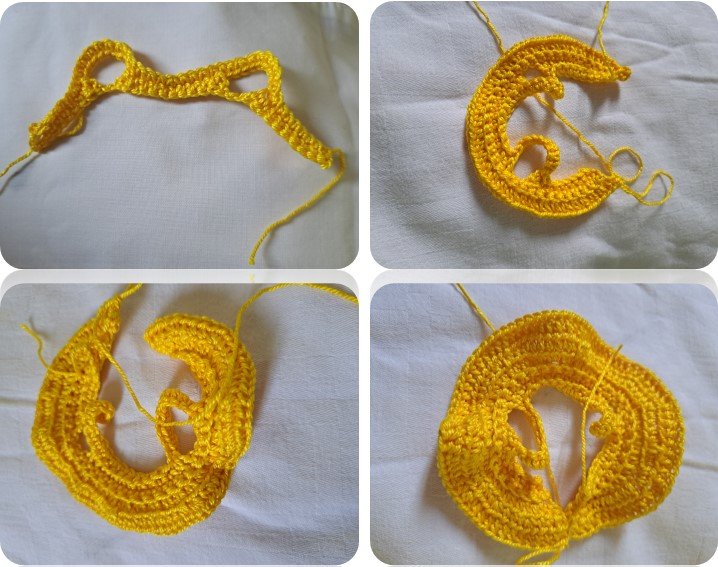
10V: Giramos el tejido y subimos con una cadena y realizamos 36 aumentos de medios puntos altos tomando solo la hebra trasera = 72
11V: Subimos con una cadena y giramos el tejido, tejemos 3 medios puntos altos – 1 aumento de medio punto alto, repitiendo hasta terminar la vuelta = 90
12V: hacemos 1 cadena de subida y tejemos 90 medios puntos altos y luego hacemos un punto deslizado para unir.
13V: 1 cadena de subida y 90 medios puntos altos.
14V a la 20V: se teje igual a la 13V
Se culmina así el vestido.
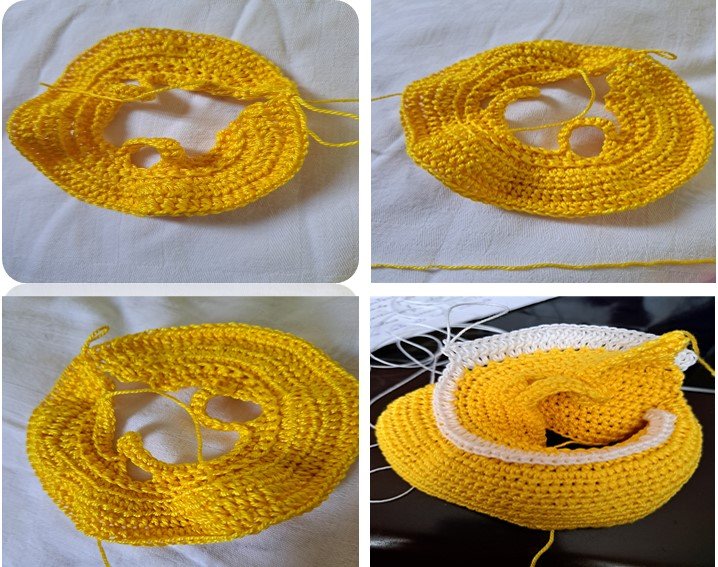
Falda interior de color blanco
Por la parte interna del vestido donde tejimos solamente agarrando la hebra trasera, que eran 72 puntos, allí vamos a iniciar.
1V: 1 aumento en cada punto.
2V: giramos el tejido y hacemos un medio punto alto en cada punto = 72
3V a la 10V: 1 cadena y hacemos 72 medios puntos altos
11V: 1 cadena – 1 medio punto alto y 1 punto deslizado, así continuamos hasta terminar la vuelta y el tejido.
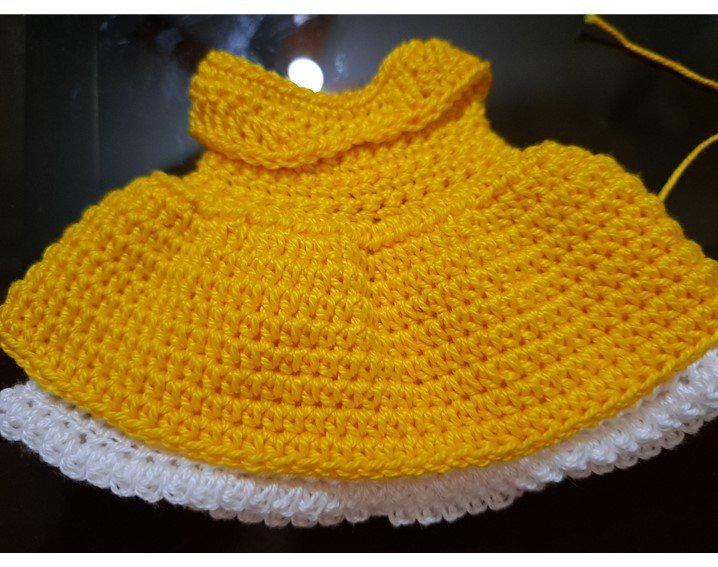
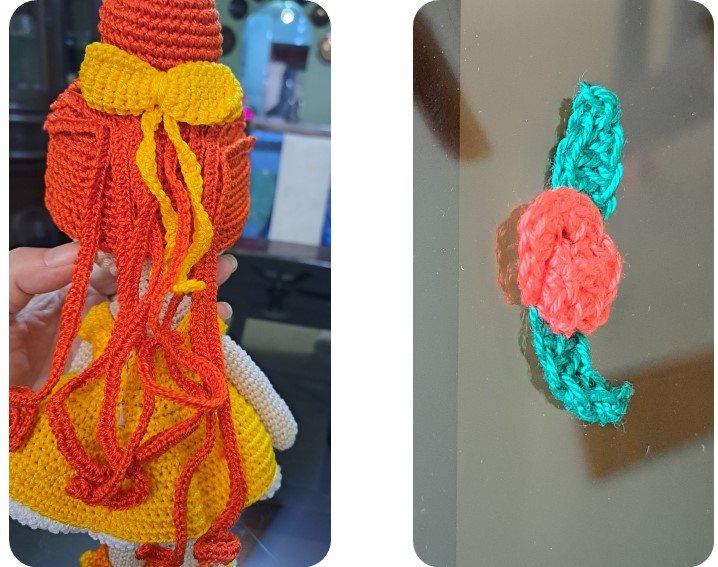
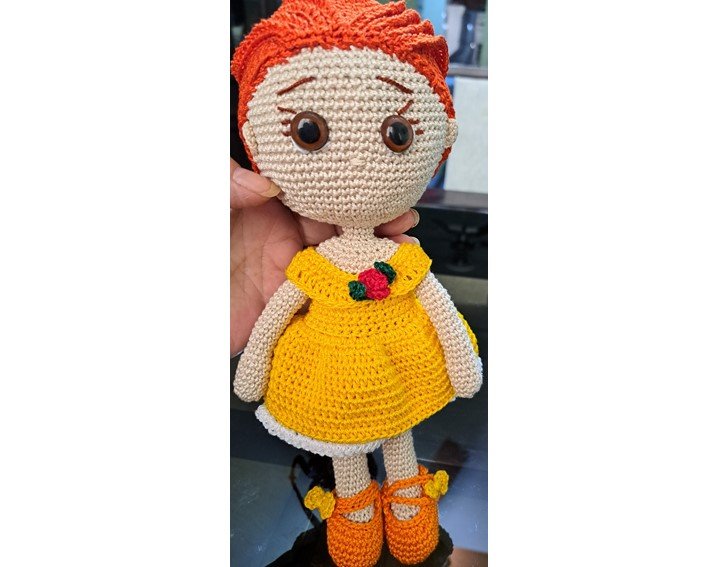
Estimados amigos espero les haya gustado este proyecto que estoy culminando con el tutorial del vestido, mis bendiciones a todos por leerme.
English
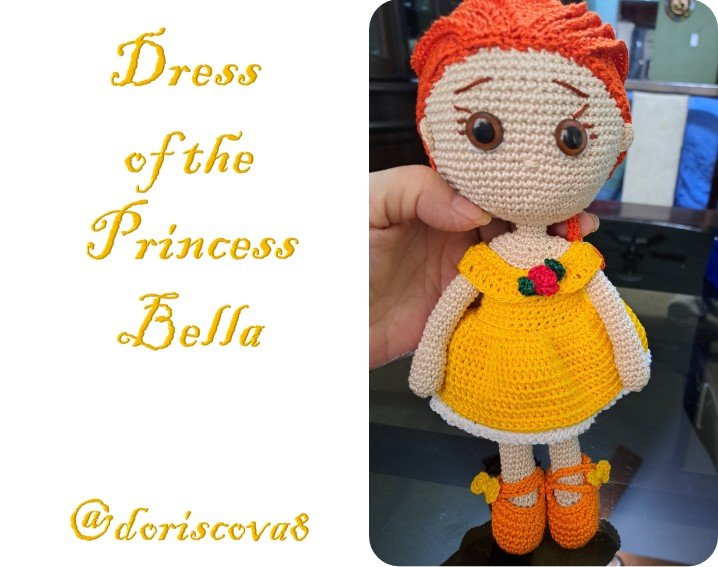
Greetings dear community, as I promised, today I bring you the tutorial of the dress for princess bella, taking as reference the body of the amigurumi doll that we already made and that I will leave the directions for convenience, as well as the hair and slippers; first part of the body, [second part of the body]( https://peakd. com/hive-127911/@doriscova8/body-for-muneca-amigurumi-second-partebody-for-amigurumi-doll-second-partesp-eng) of the body, hair and the sneakers.
Procedure
We will make the dress in yellow, which is the color that corresponds to the beautiful princess we are making.
We will start with 43 chains
1V: start on the second chain (6 sts - 1 increases) x 6 to finish the whole chain = to end with 48 stitches.
2V: turn the fabric and knit 48 sts.

3V: turn the fabric, 8 sts (taking the strands from the inside) - 1 increase (with a half stitch and a single crochet) - 2 chains, skip 10 chains and there a single crochet and a half crochet in the same one. Repeat from 8 sts to continue the row = 36
4V to 9V: turn the fabric and knit 36 sts without increases or decreases.

10V: We turn the fabric and go up with a chain and knit 36 increases of half double crochet stitches taking only the back strand of yarn = 72
11V: We go up with a chain and turn the fabric, knit 3 stockinette stitches - 1 double crochet increase, repeating until the end of the row = 90
12V: we knit 1 chain up and knit 90 half double crochet and then knit a slip stitch to join.
13V: 1 chain up and 90 half double crochet.
14V to 20V: knit the same as 13V.
This is the end of the dress.

Inner skirt in white
On the inside of the dress where we knit only holding the back strand, which was 72 stitches, we are going to start there.
1V: 1 increase in each stitch.
2V: turn the fabric and knit a half double crochet in each stitch = 72.
3V to 10V: 1 chain and knit 72 half double crochet stitches.
11V: 1 chain - 1 half double crochet and 1 slip stitch, so we continue until the end of the round and the knitting.


Dear friends, I hope you liked this project that I am finishing with the dress tutorial, my blessings to all of you for reading me.
Translated with www.DeepL.com/Translator (free version)
Fuente de imágenes: Archivo Personal.


MIS REDES SOCIALES


