Español
Saludos estimada comunidad de Needle Work Monday, estamos nuevamente por acá para compartirles un hermoso tutorial, pero antes déjenme decirles que todavía continuo sin internet, ya hoy van 14 días sin el servicio.
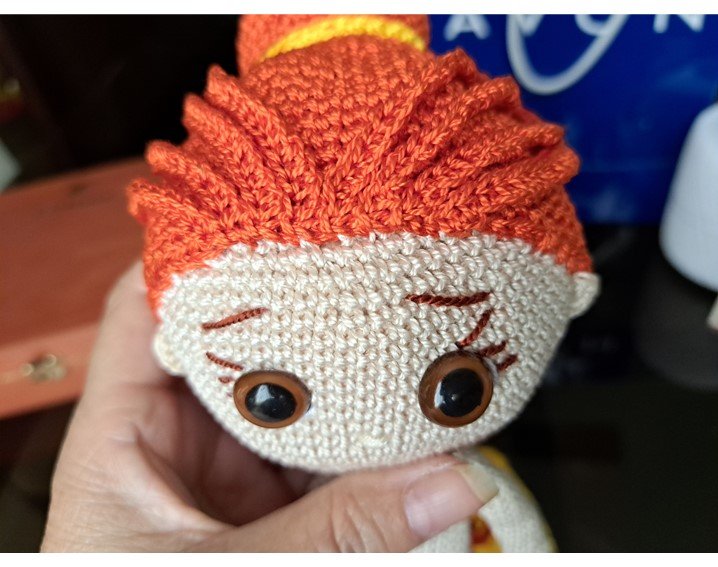
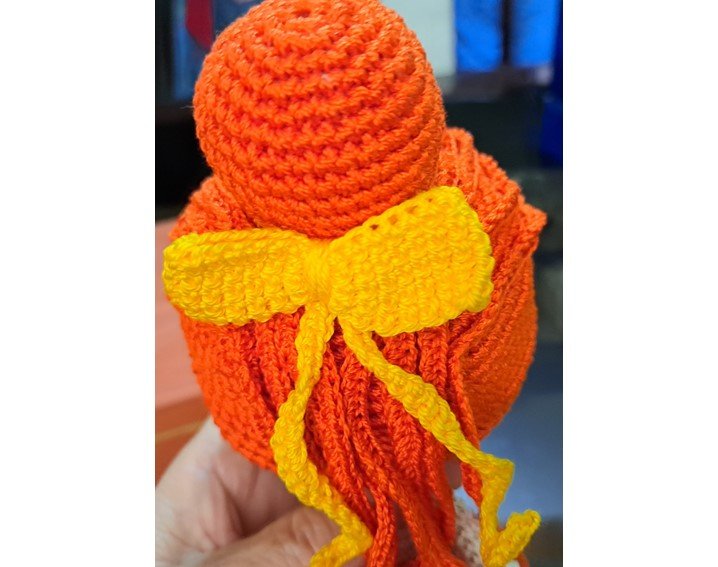
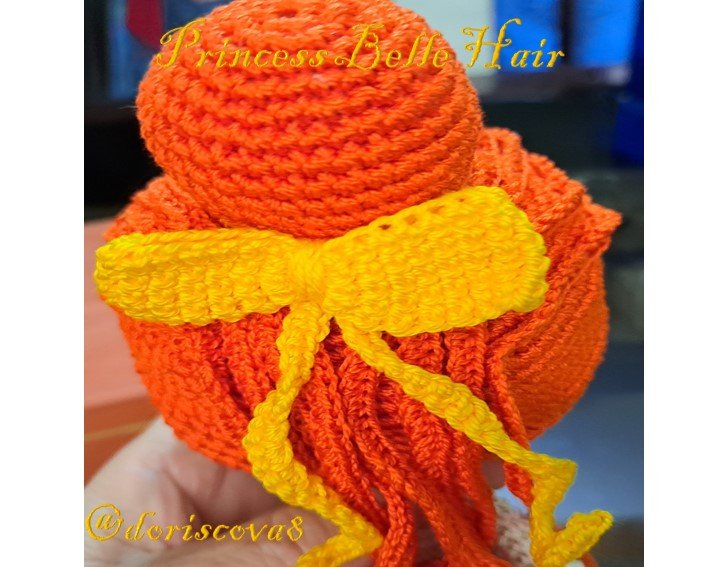
Hoy les traigo la realización del cabello de la muñeca amigurumi que realice en días pasados y la inspiración de ese cabello es el de la princesa bella que es un personaje de ficción de la película animada de Disney La Bella y la Bestia, entonces precisamente a esa princesa bella es que hemos escogido como modelo para la realización del cabello.
Esta princesa lleva como una especie de moño en el cabello y unos mechones de cabello que se dividen desde el centro de la frente hacia los lados del moño y en la parte trasera de ese moño lleva un lazo
En este tutorial de hoy les voy a dejar las direcciones para realzar el cuerpo base de la muñeca amigurumi, que dependiendo del personaje que vamos a realizar es que le colocamos su ropita interior, pero todo el procedimiento es igual, como el cuerpo lo realice en dos partes, les dejo los dos enlaces, primera parte del cuerpo y segunda parte del cuerpo, para que se ubiquen de que estamos hablando.
Para el cabello utilice un hilo delgado color canela, y para el lazo que lleva en el pelo el color utilizado fue el amarillo, la razón es que el traje de esta princesa es amarillo y en otro tutorial les estere enseñando la realización del vestido.
Procedimiento
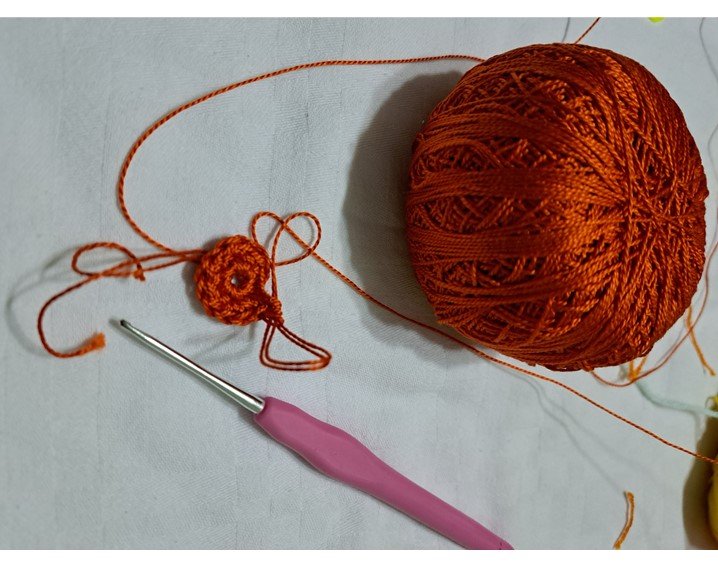
1V: 1 anillo mágico de 6 pb
2V: 6 aumentos
3V: (1 pb – 1 aum) x 6 =18
4V: (2 pb – 1 aum) x 6 =24
5V: 1 pb – 1 aum – (3pb -1 aum) x 5 – 2pb =30
6V: (4 pb – 1 aum) x 6 = 36
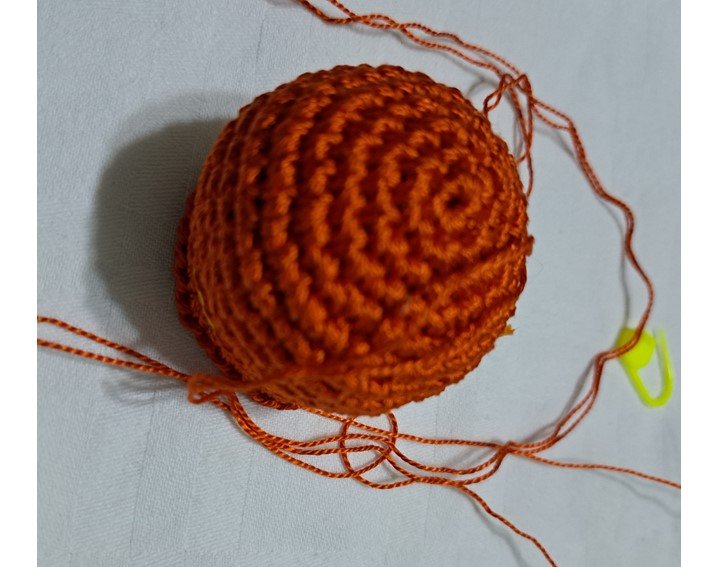
De la vuelta 7 a la vuelta 10 36 pb
11V: (4 pb – 1 dis) x 6 = 30
12V: 30 pb
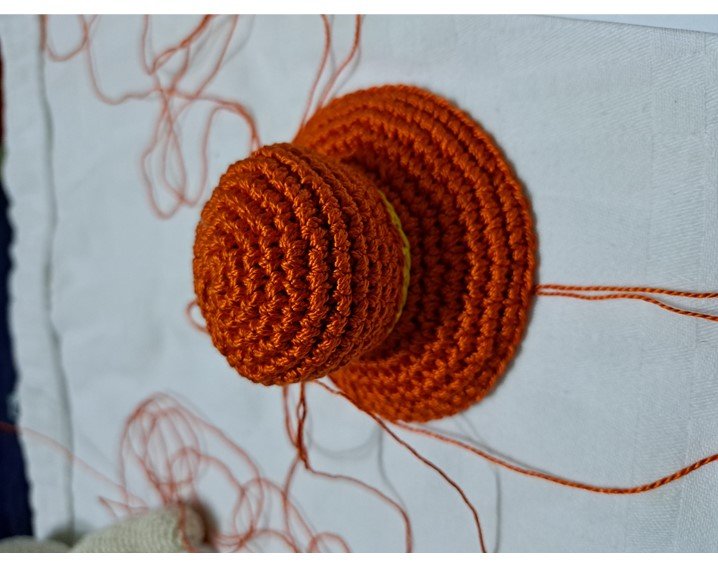
Las vueltas 13 y 14 la realizamos con hilo amarillo, pero solo tomando la hebra de atrás.
15V: 30 pb tomando la hebra trasera
16V: (4 pb – 1 aum) x 6 tomando la hebra delantera
17V: 2 pb – 1 aum – (5 pb – 1 aum) x 5 – 3 pb = 42
18V: (6 pb – 1 aum) x 6 = 48
19 V: 3 pb – 1 aum – (7 pb – 1 aum) x 5 – 4 pb = 54
20V: (8 pb – 1 aum) x 6 =60
21V: 60 pb
22V: 4 pb – 1 aum – (9 pb – 1 aum) x 5 – 5 pb = 66
23V: 66 pb
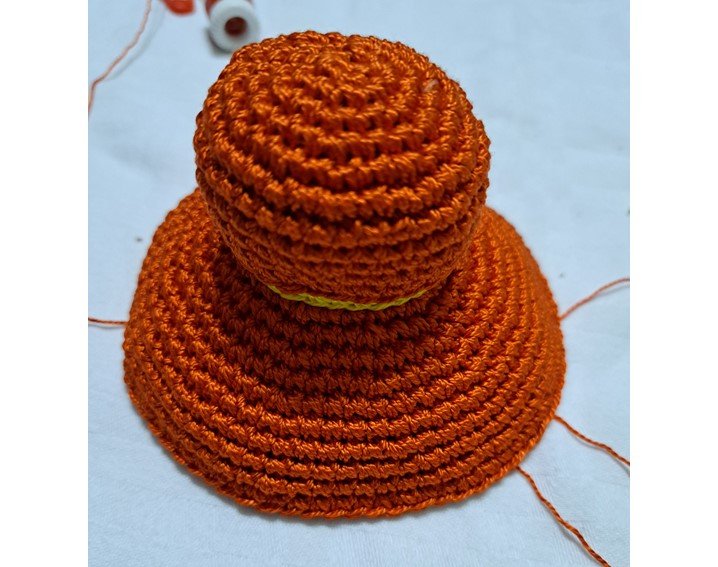
24V: (10 pb – 1 aum) x 6 = 72
25V a la 30V: 72 pb
31V a la 33V: 36 pb – 36 medios puntos altos
Se remata y se deja hebra larga para pegar a la cabecita.
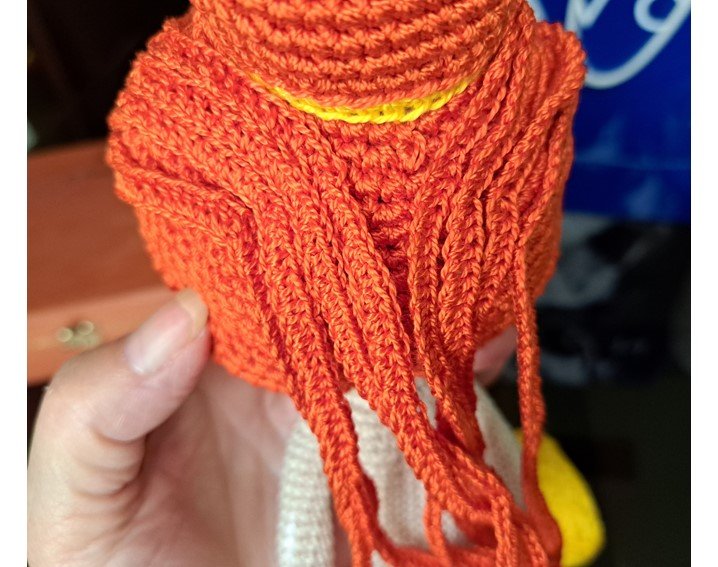
Mechones del cabello
Vamos a iniciar el tejido de los mechones contando desde el penúltimo punto, 14 puntos, allí iniciamos tejiendo 80 cadenas, para retornar se comienza en la segunda cadena y se realiza 1 pb y luego 16 aumentos de puntos medios altos – (1 medio punto alto – 1 aumento de medio punto alto) x 16 – 30 medios puntos altos, se une con punto deslizado.
De esa forma vamos a realizar 8 mechones, 4 para cada lado.
Luego vamos a fijar ese cabello a la cabecita de la muñeca, pegando muy bien alrededor de todo el cabello a la cabeza. Luego se pegan los mechones de tal forma que queden iguales a ambos lados de la cabecita.
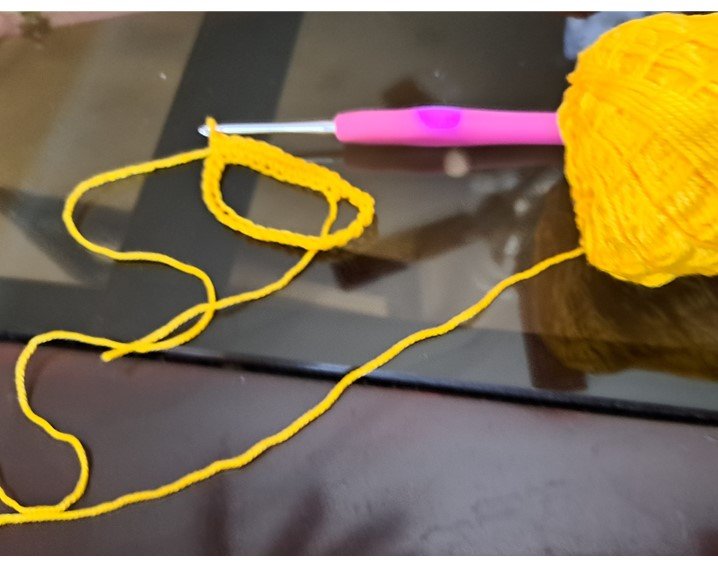
Lazo para el cabello en color amarillo
Se realizan 30 cadenas en color amarillo y se unen formando un aro, luego se realiza en la primera vuelta 30 puntos bajos (pb), es decir un pb en cada cadeneta
2V: 30 pb tomando solo la hebra trasera
3V a la 5V: igual a la 2V, rematamos
Colgante para el lazo en color amarillo
Tejemos 21 cadenetas, regresamos comenzando en la segunda cadeneta y se hacen 10 aumentos de pb, luego 10 pb, hacemos nuevamente 21 cadenetas y regresamos comenzando en la segunda cadeneta y se hacen 10 aumentos de puntos bajos, luego 10 pb y culminamos los dos colgantes.
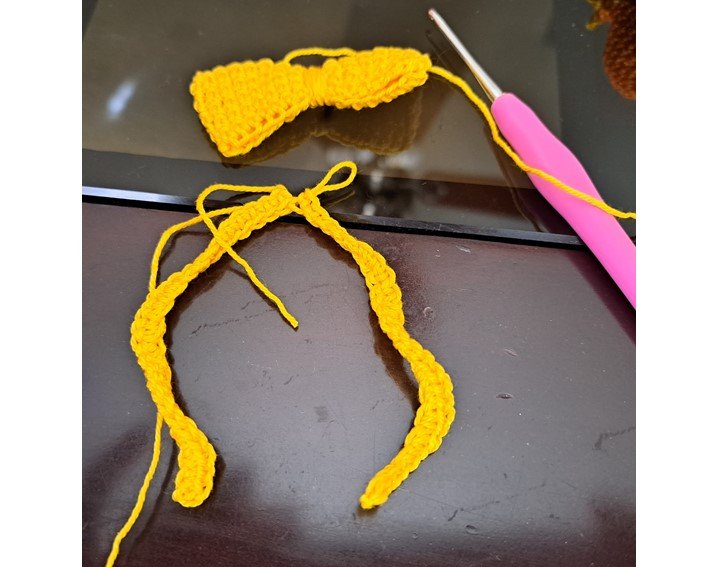
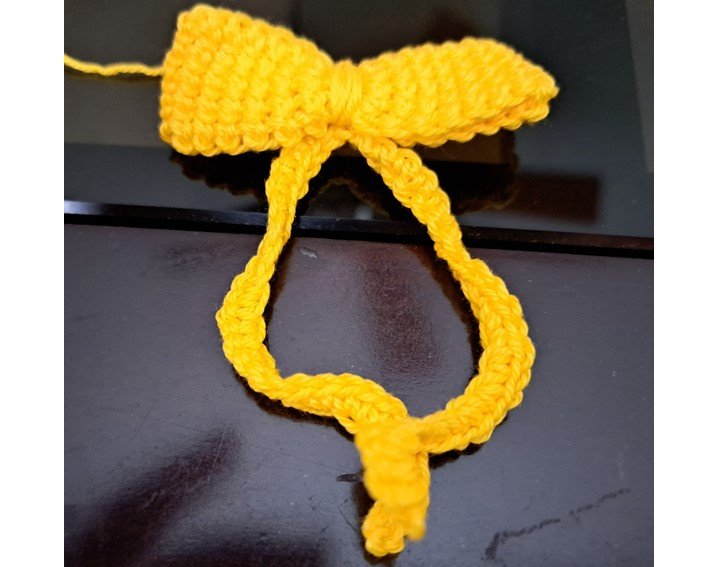
Formamos el lazo y colocamos los dos colgantes, y luego colocamos el lazo en el cabello de la muñeca.
English
Greetings dear community of Needle Work Monday, we are here again to share with you a beautiful tutorial, but first let me tell you that I still continue without internet, and today is 13 days without service.
Today I bring you the realization of the hair of the amigurumi doll that I made in recent days and the inspiration for this hair is the hair of Princess Belle, a fictional character from the Disney animated film Beauty and the Beast, so it is precisely this beautiful princess that we have chosen as a model for the realization of the hair.
This princess wears a kind of bun in her hair and some strands of hair that are divided from the center of the forehead to the sides of the bun and at the back of the bun she has a bow.
In today's tutorial I will leave you the directions to enhance the base body of the amigurumi doll, depending on the character that we are going to make is that we put her underwear, but the whole procedure is the same, as the body is made in two parts, I leave the two links, [first part of the body]( https://peakd. com/hive-127911/@doriscova8/body-for-muneca-amigurumi-doll-first-part-for-amigurumi-doll-part-oneesp-eng) and second part of the body, so you can see what we are talking about.
For the hair I used a thin cinnamon thread, and for the bow in the hair the color used was yellow, the reason is that the costume of this princess is yellow and in another tutorial I will show you the realization of the dress.
Procedure
1V: 1 magic ring of 6 bp
2V: 6 increases
3V: (1 bp - 1 increases) x 6 = 18
4V: (2 bp - 1 increase) x 6 =24
5V: 1 pb - 1 aug - (3pb -1 aug) x 5 - 2pb =30
6V: (4 bp - 1 st - 1 st) x 6 = 36
From row 7 to row 10 36 sts
11V: (4 bp - 1 dis) x 6 = 30
12V: 30 sts
Rounds 13 and 14 are made with yellow yarn, but only taking the back strand.
15V: 30 sts by picking up the back strand.
16V: (4 bp - 1 increases) x 6 by picking up the front yarn
17V: 2 bp - 1 st - (5 bp - 1 st) x 5 - 3 bp = 42
18V: (6 bp - 1 st) x 6 = 48
19V: 3 bp - 1 aug - (7 bp - 1 aug) x 5 - 4 bp = 54
20V: (8 bp - 1 aug) x 6 =60
21V: 60 bp
22V: 4 bp - 1 aum - (9 bp - 1 aum) x 5 - 5 bp = 66
23V: 66 bp
24V: (10 bp - 1 aum) x 6 = 72
25V to 30V: 72 bp
31V to 33V: 36 bp - 36 half double crochets
Finish off and leave a long strand to attach to the head.
Hair strands
We are going to start the weaving of the locks counting from the penultimate stitch, 14 stitches, there we start weaving 80 chains, to return we start in the second chain and make 1 stitch and then 16 increases of half double crochet - (1 half double crochet - 1 increase of half double crochet) x 16 - 30 half double crochet, we join with slipped stitch.
In this way we will make 8 strands, 4 for each side.
Then we are going to fix this hair to the doll's head, gluing very well all around the hair to the head. Then glue the strands in such a way that they are equal on both sides of the doll's head.
Yellow hair bow
Make 30 yellow chains and join them together to form a ring, then make 30 single crochet stitches in the first row, that is, one stitch in each chain.
2V: 30 sts taking only the back strand.
3V to 5V: same as 2V, finish off.
Yellow pendant for the ribbon
We knit 21 chain stitches, return starting on the second chain and make 10 stitch increases, then 10 stitches, we knit 21 chain stitches again and return starting on the second chain and make 10 increases in single crochet, then 10 stitches and finish off the two pendants.
We form the loop and place the two pendants, and then we place the loop in the doll's hair.
Translated with www.DeepL.com/Translator (free version)
Fuente de imágenes: Archivo Personal.


MIS REDES SOCIALES