Happy Monday!!!
Thanks so much for meeting me back here.
Last week I shared how to make denim yarn and told you I would reveal what I decided to make with it.
I had mentioned several things you could do with this yarn like making rugs, bags or coasters but I wanted to do something a bit different…something that I’ve never done before.
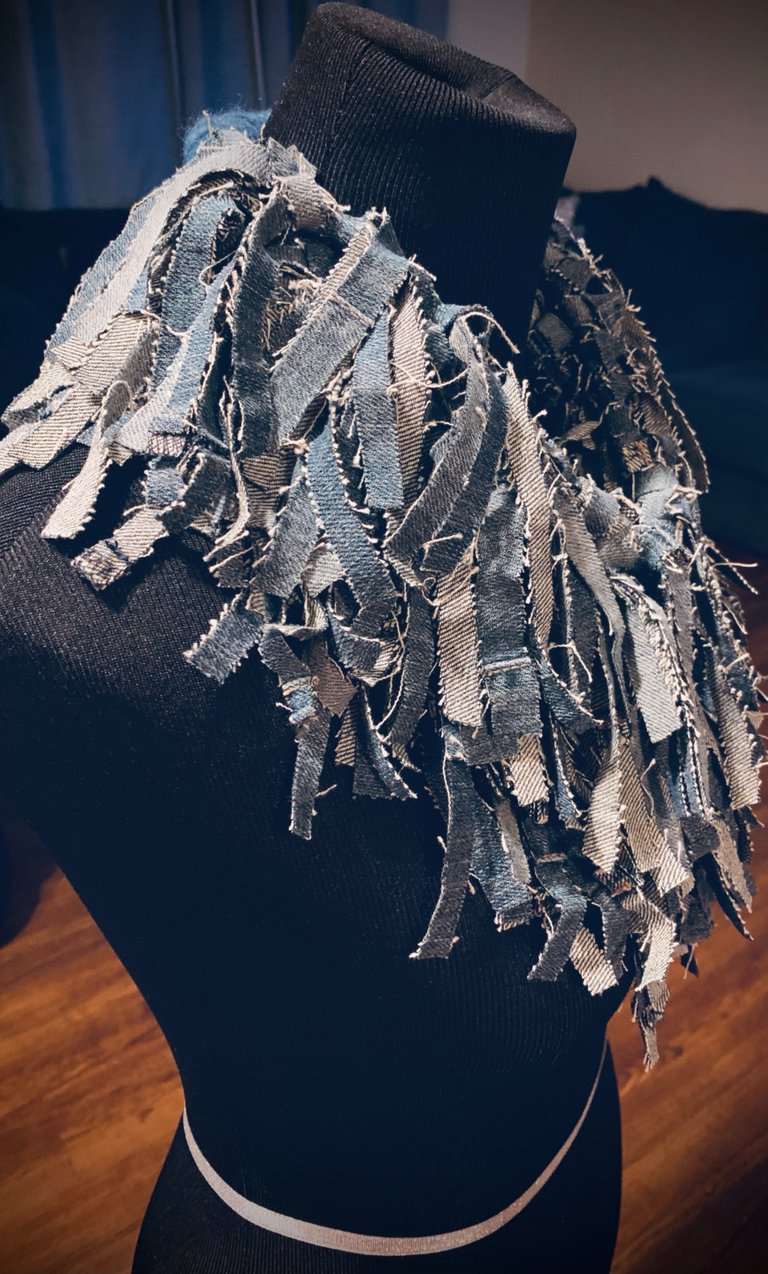
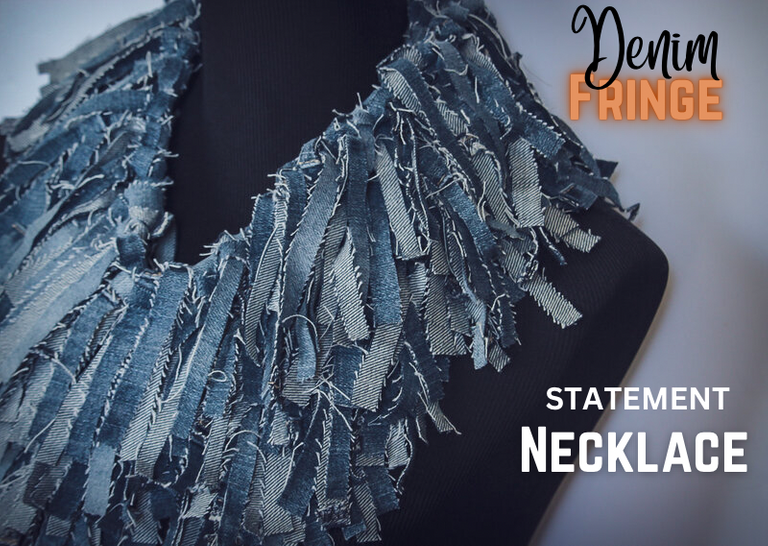
I decided to make a statement piece by cutting the yarn into fringe to create a layered necklace. This is not something I would wear everyday but I will definitely wear it on special occasions with the right outfit.
Actually, my mom has already claimed this one so I’ll have to wait till next round to own one 😄🤭.
This was so much fun to design and put together.
I told @clareartista as I was standing there adding on piece by piece I felt like a real designer in my own studio. A picture of her literally came into my mind as I thought about the photos she shares of making her beautiful handmade pieces of clothing. I am so grateful for the inspiration that comes out of the creative minds of this community…it has helped me become more bold to try new things.
I normally go straight for patterns to get started with a project but it felt really amazing this time to just go with what I know and trust the creative process. Yay me! 😃😄
Speaking of process, let’s get to how I made this necklace.
Tнe Foυɴdαтιoɴ
I used to make these rope necklaces made out of crocheted chain stitches. I decided to start with that as a base and go from there.
This is a five layered necklace. The length of the first layer (the bottom one) will be the length that marks how long your necklace will be.
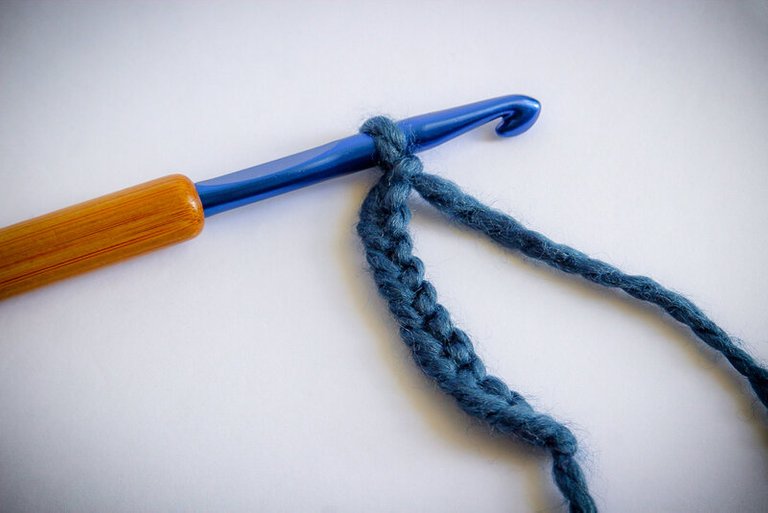
So you’ll start by making your chains and measure it around your neck to the length you desire.
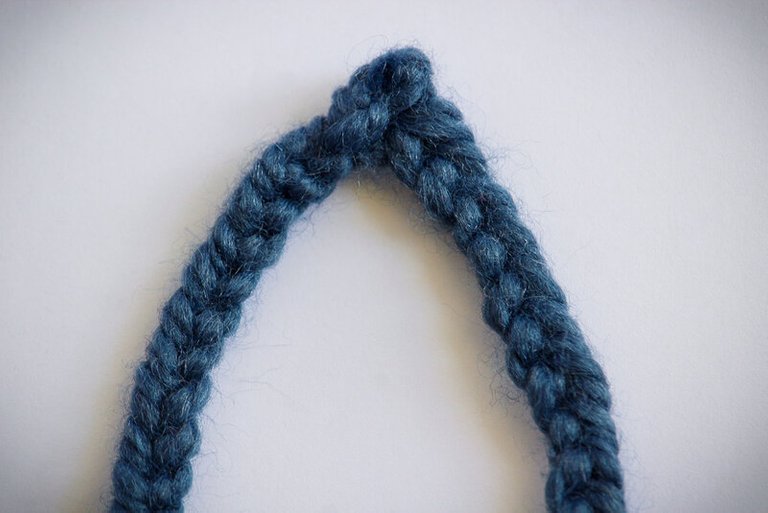
Once you’ve reached that length slip stitch into the first chain, tie off and knot.
Each new row of the necklace should be a bit shorter than the last so that layers are created.
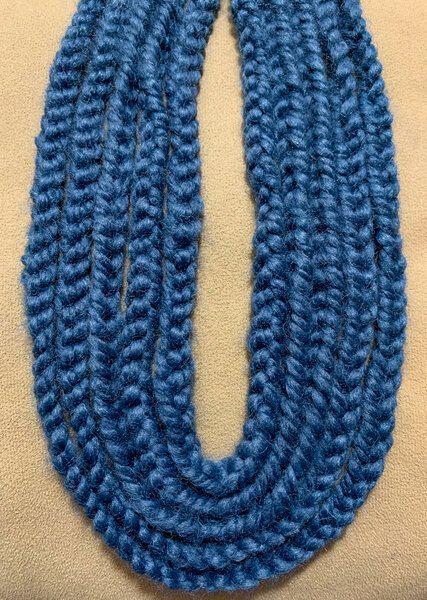
Once you have your layers completed you then line up the knots.
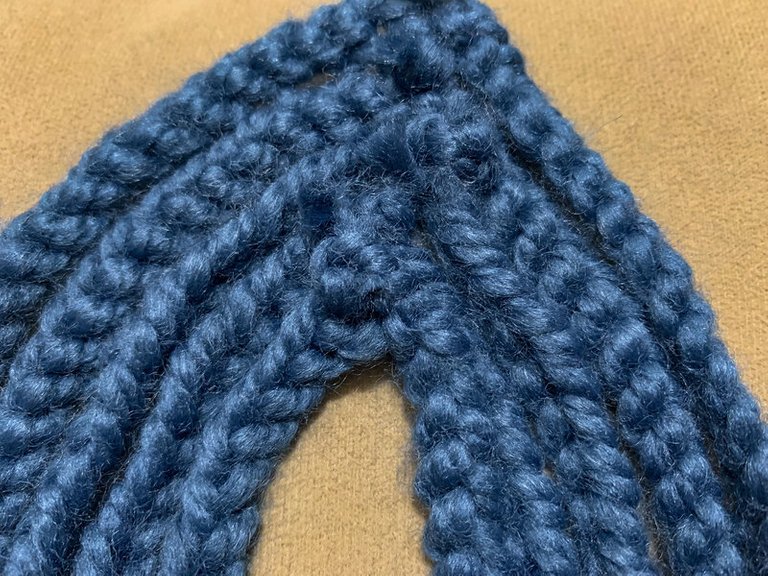
The next part is pretty simple. While holding the layers in your hand you will wrap strands of yarn around them in order to secure them. Do your best to keep the necklace layers in their place.
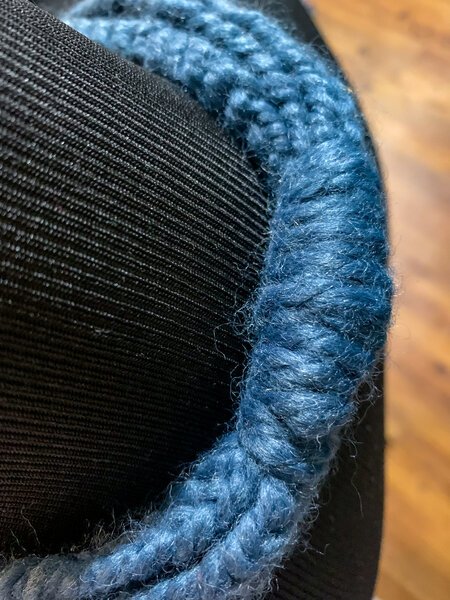
Once I have them wrapped nicely with no knots showing I cut the end off and weave it in to the bottom part then tie off.
Tнe Kɴoттιɴɢ
With my necklace placed on my mannequin I am ready to do the knotting of the fringe.
Side note: I didn’t measure the length of the fringe but just eyed how long I wanted it to be. After making that first cut I used that same piece to cut all the others so they would be the same length.
I think this should be called looping instead of knotting but I think this is considered a form of knotting.
Fold the fringe in half and then fold it over the yarn strand.
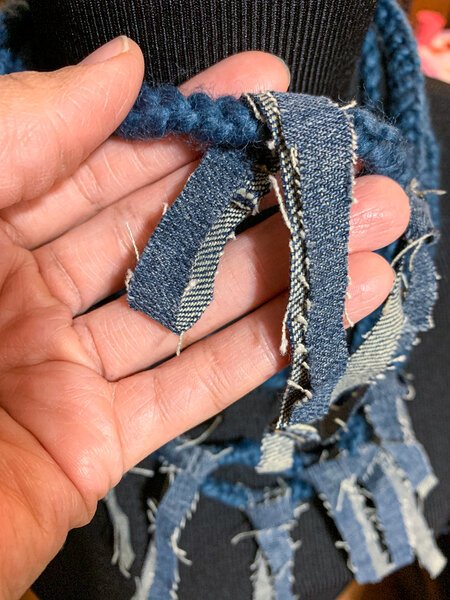
Next, pull the legs (the two end pieces) through the loop.
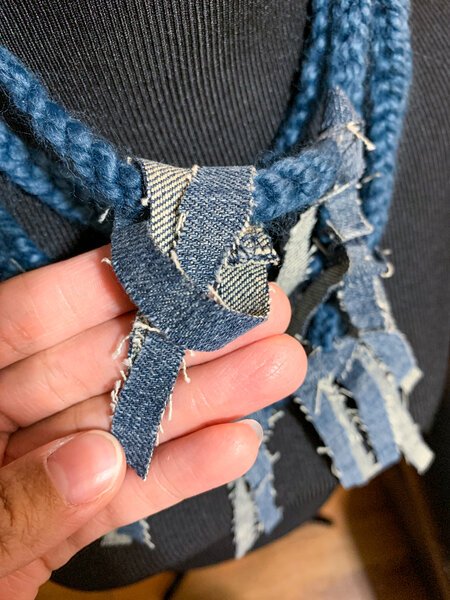
Finally, pull down on the legs as you push up on the top part to tighten the knot.
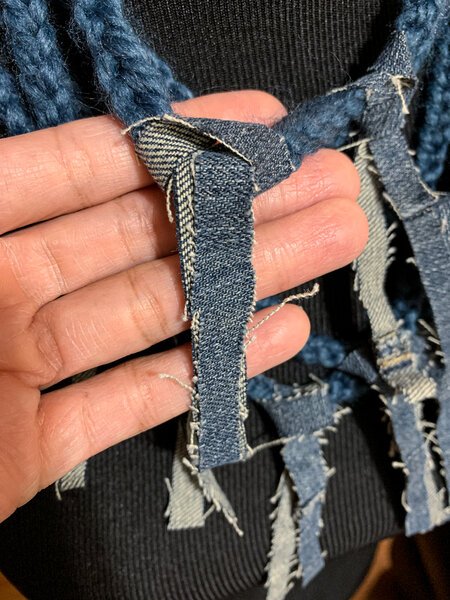
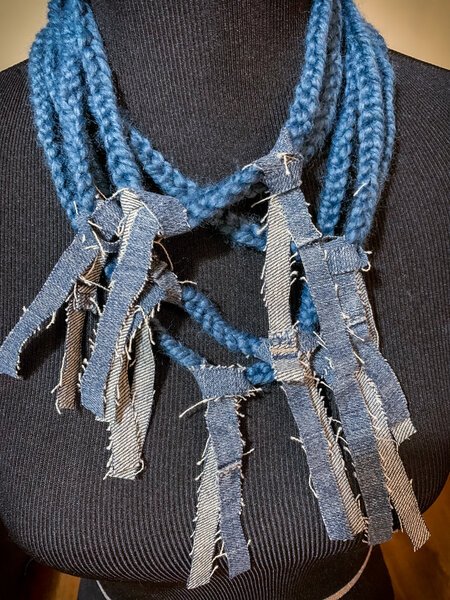
As I worked through the first night I was already excited about how this was going. Just after placing a few pieces I could tell I was going to love it.
Here are a couple of pics of the beginning stages of placement…
 |  |
|---|
I started off placing the fringe in various places on the necklace to see if it would work out. Eventually I started filling up the layers with knots one row at a time starting with the bottom and working my way up.
Tнe Reѕυlтѕ
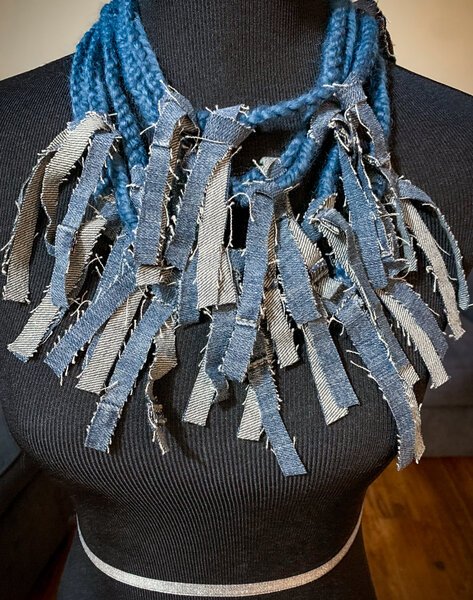
This is how it looked the second night when I was satisfied with the thickness and fullness of it…
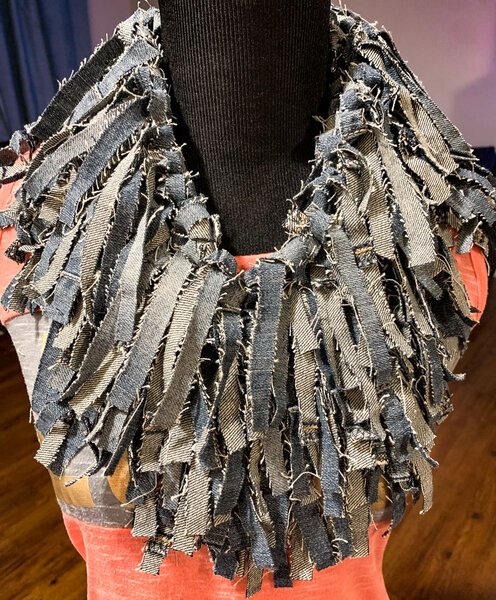
I will say that although I love the way the knots lay and that it gives the necklace a sophisticated neat look it will require some maintenance to keep the knots together. With this being jean material the knots tend to loosen on their own. If I were going to sell a piece like this I would choose a different type of knotting method that holds its place better.
My mom doesn’t mind it at all. Her reaction to this piece boosted my confidence and motivation to continue working in this type of way.
For someone who doesn’t normally wear jeans I was quite surprised at her first response to the necklace. I knew right off I was going to give this first one to her. She can’t wait to wear it with her jeans, turtleneck, cowgirl hat and boots 😍😀.
I used one pair of my eldest son’s old jeans for this project. Very pleased that I only needed one pair.
The variations of this statement wear are endless. From blending dark and light colored fringe, curling the fringe on the end with scissors, different knotting styles, adding more or fewer layers, to changing the color of the foundation necklace. This will be a fun project to further explore.
Tнe Pнoтoѕнooт
I’ll leave you with some final photos of the finished product…
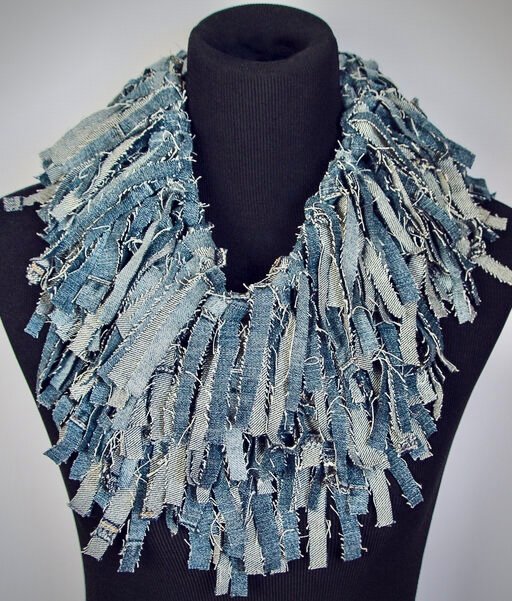
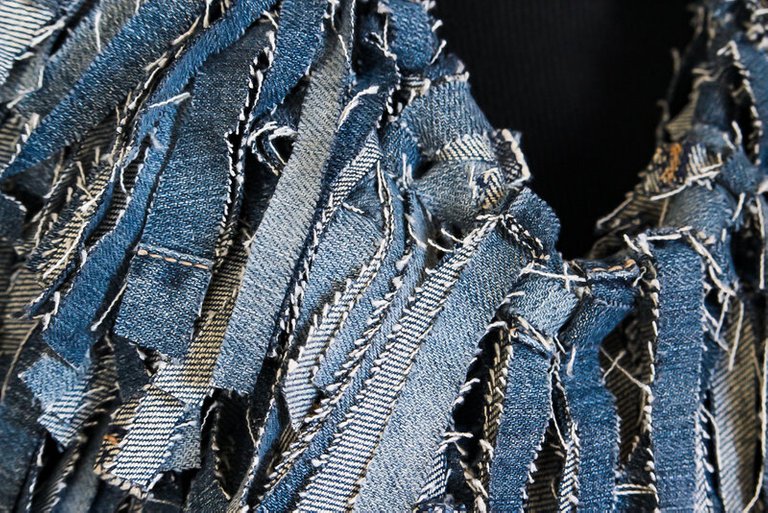
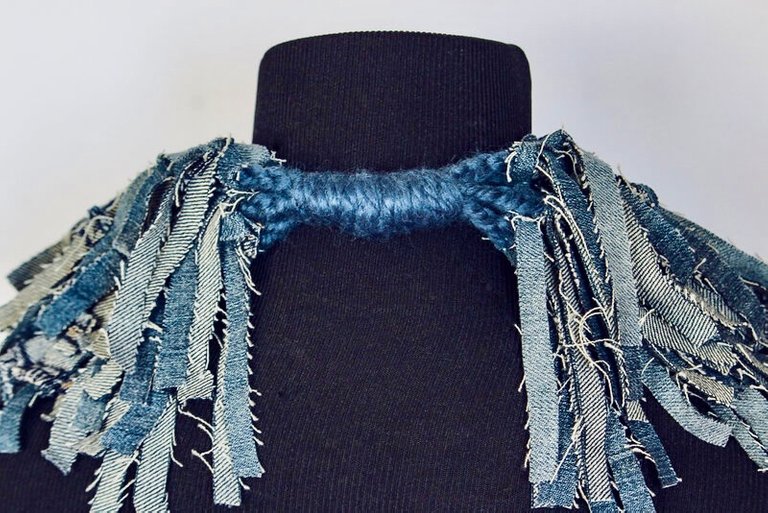
I hope you enjoyed my presentation and I hope you love the necklace as much as I do!
Thanks for joining me again this week. I’m glad I was able to contribute something for the NeedleworkYourJeans Contest. This will not be counted as an entry. I just love participating when I can. 😊
Well, I’m off to view the final entries for the contest. Have a great week everyone 🩷 ~
