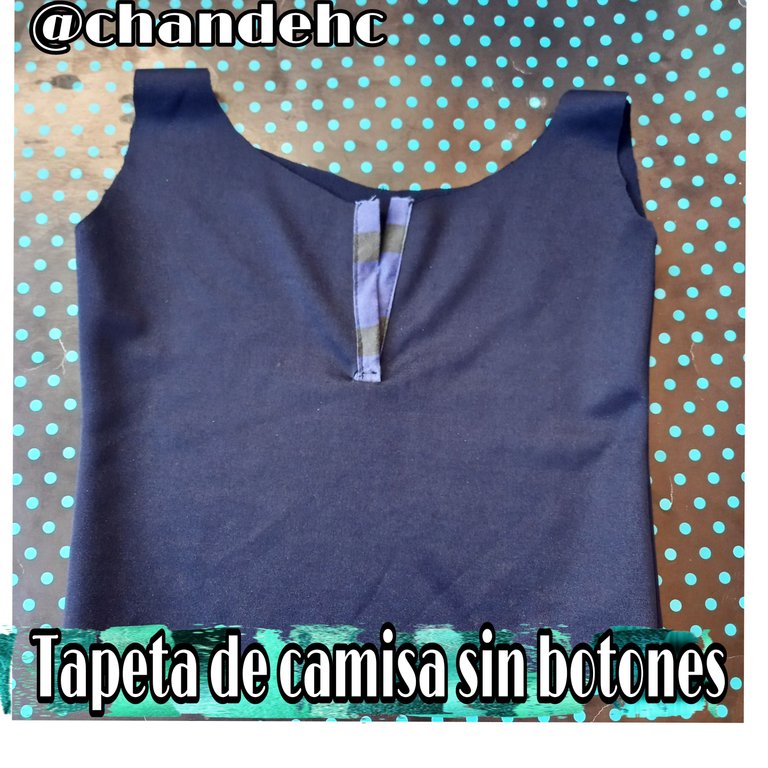
Saludos cordiales mi gente linda de #NeedleWorkMonday, es un placer volver a saludarlos, deseando que estén pasando un día bendecido con mucha salud; Hoy quiero compartir con ustedes un truco de costura para colocar de manera fácil la tapeta de la camisa, es decir, la tira que tiene la pechera, en donde van los ojales y los botones; Solo que está tapeta no va a llevar botones ni ojales, si no que la haremos, para darle holgura y mayor movilidad a una camisa.
Warm greetings my beautiful people of #NeedleWorkMonday, it is a pleasure to greet you again, wishing you are having a blessed day with lots of health; Today I want to share with you a sewing trick to easily place the placket of the shirt, that is, the strip that has the breastplate, where the buttonholes and buttons go; Only this placket is not going to wear buttons or buttonholes, if not we will make it, to give slack and greater mobility to a shirt.
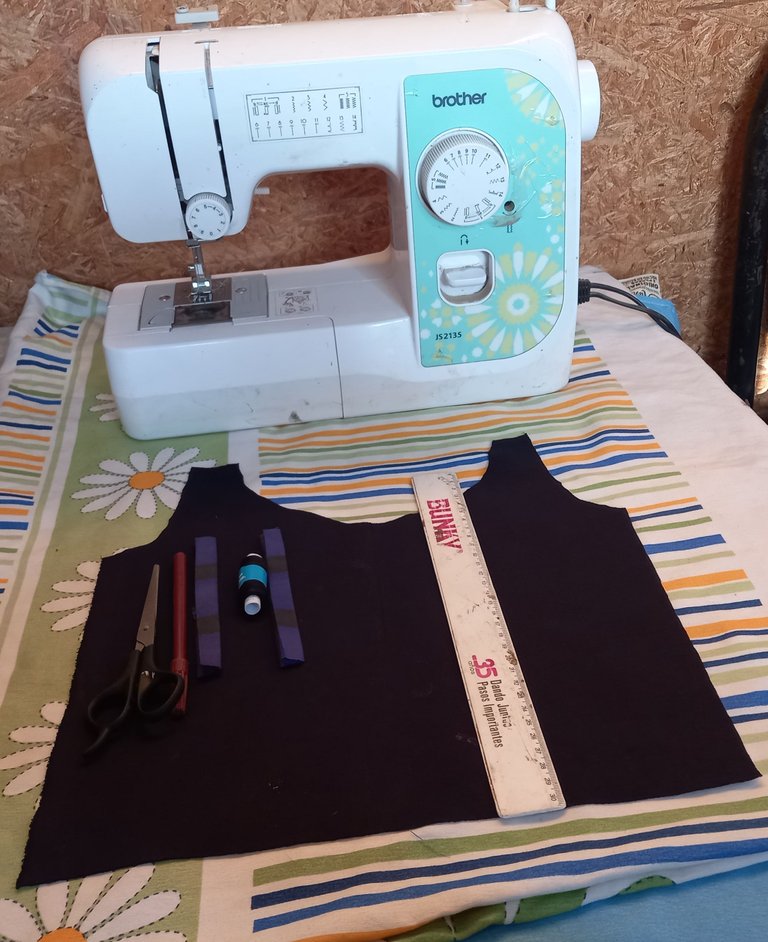
- Un retazo de tela en forma de camisa sin mangas.
- Dos piezas de Vivos para ropa de 11cm de largo.
- Marcador o tiza para costura.
- Regla.
-Tijeras. - Hilo de coser negro.
- A piece of fabric in the shape of a sleeveless shirt.
- Two pieces of Vivos for clothes 11cm long.
- Sewing marker or chalk.
- Ruler.
-Scissors. - Black sewing thread.
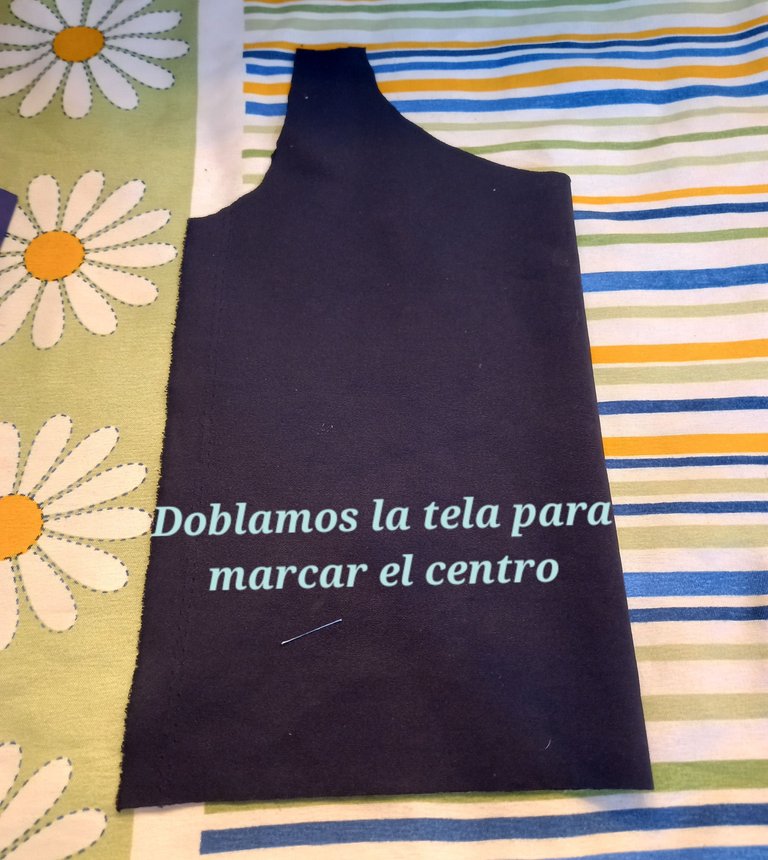
Doblamos por la mitad nuestra pieza de tela, para marcar el centro.
Fold our piece of fabric in half to mark the center.
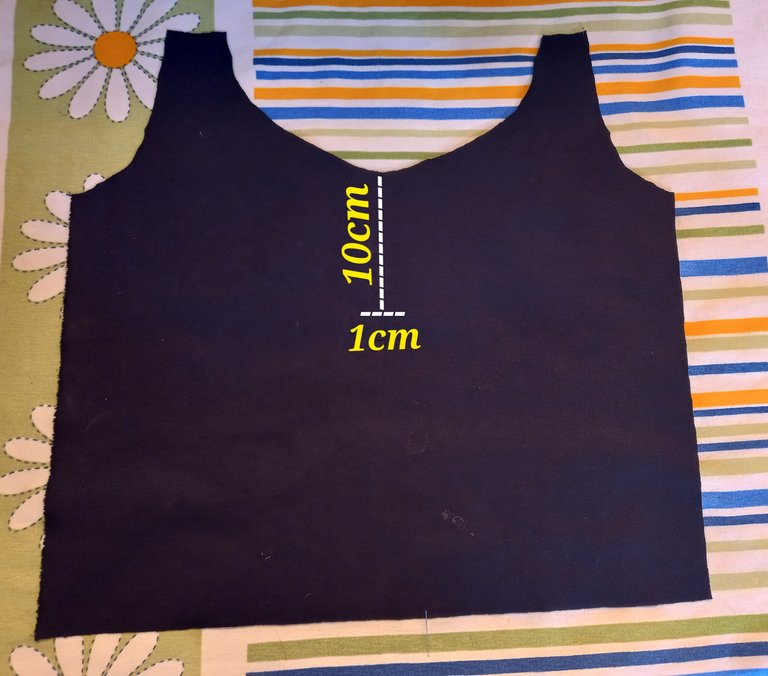
Trazamos una línea recta de 10 cm de largo con nuestro marcador o con visa para costura y al final de esta línea haremos otra pequeña en forma horizontal de 1 cm.
We draw a straight line 10 cm long with our marker or with a sewing visa and at the end of this line we will make another small horizontal line of 1 cm.
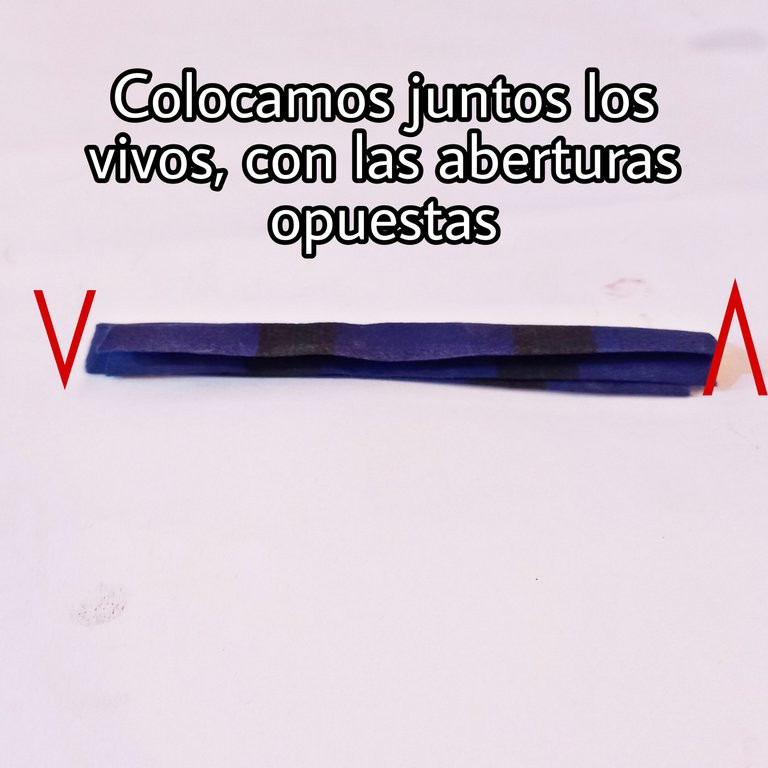
Luego uniremos los dos vivos para ropa, colocándoles uno sobre el otro, con las aberturas opuestas, es decir uno con la abertura hacia la derecha y otro con la abertura hacia la izquierda.
Then we will join the two clothes lines, placing them one on top of the other, with opposite openings, that is to say, one with the opening to the right and the other with the opening to the left.
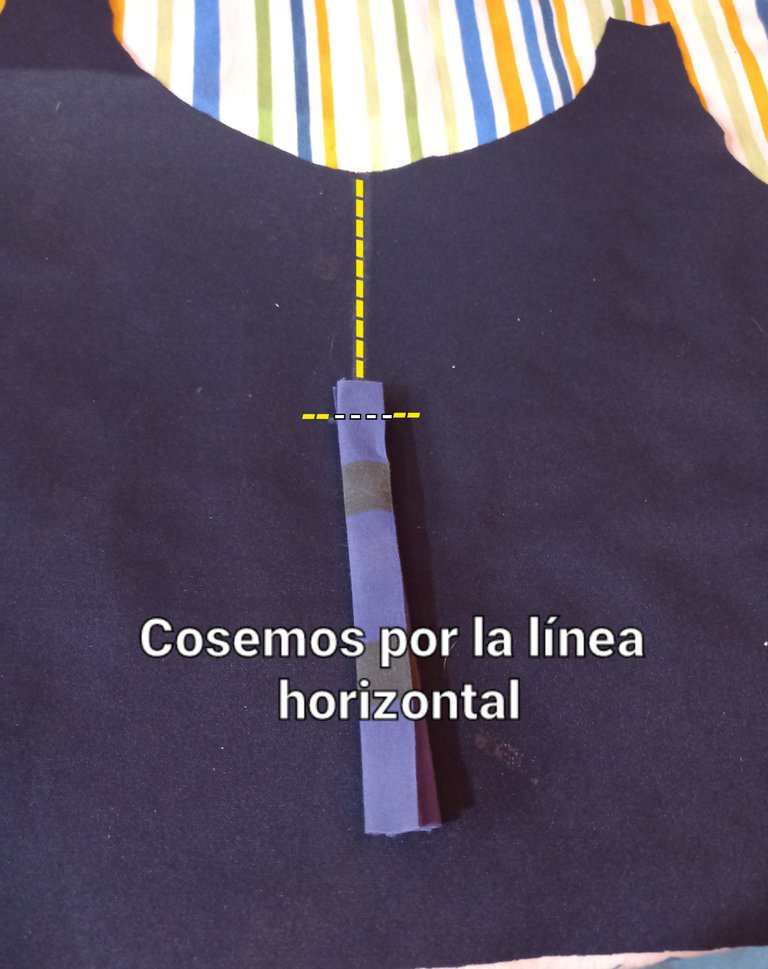
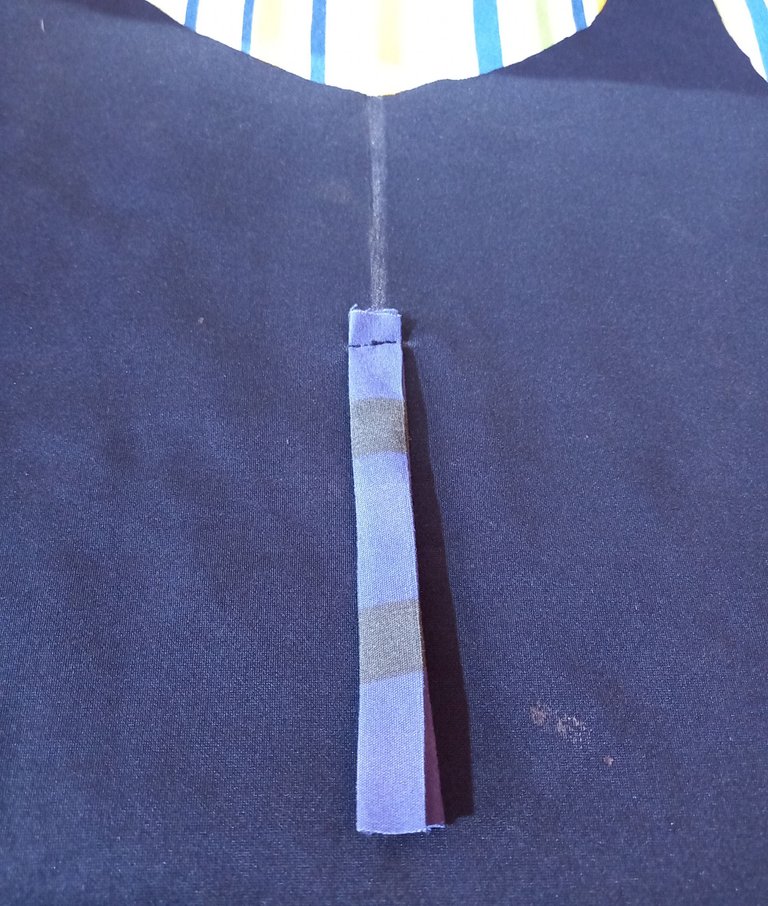
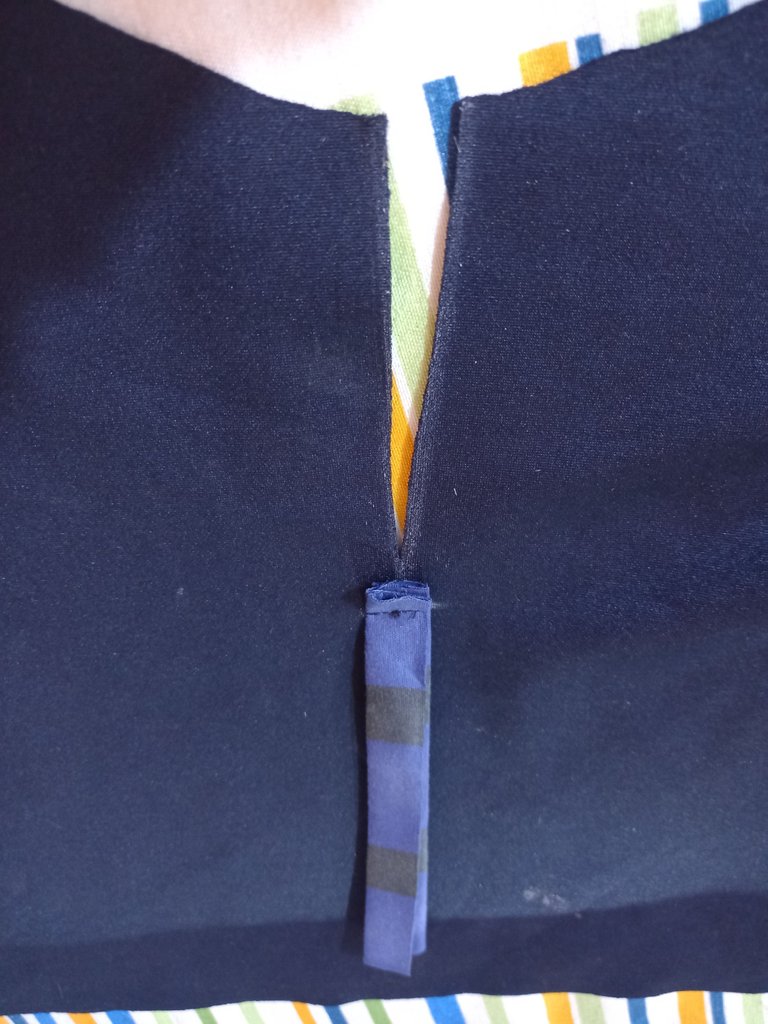
Posteriormente colocaremos los vivos a 1 cm más arriba de la línea horizontal que marcamos y cocemos el vivo por la pequeña línea horizontal, dejando un centímetro de borde por encima de la pequeña línea.
Afterwards, we will place the live pieces 1 cm above the horizontal line that we marked and we will bake the live piece along the small horizontal line, leaving one centimeter of edge above the small line.
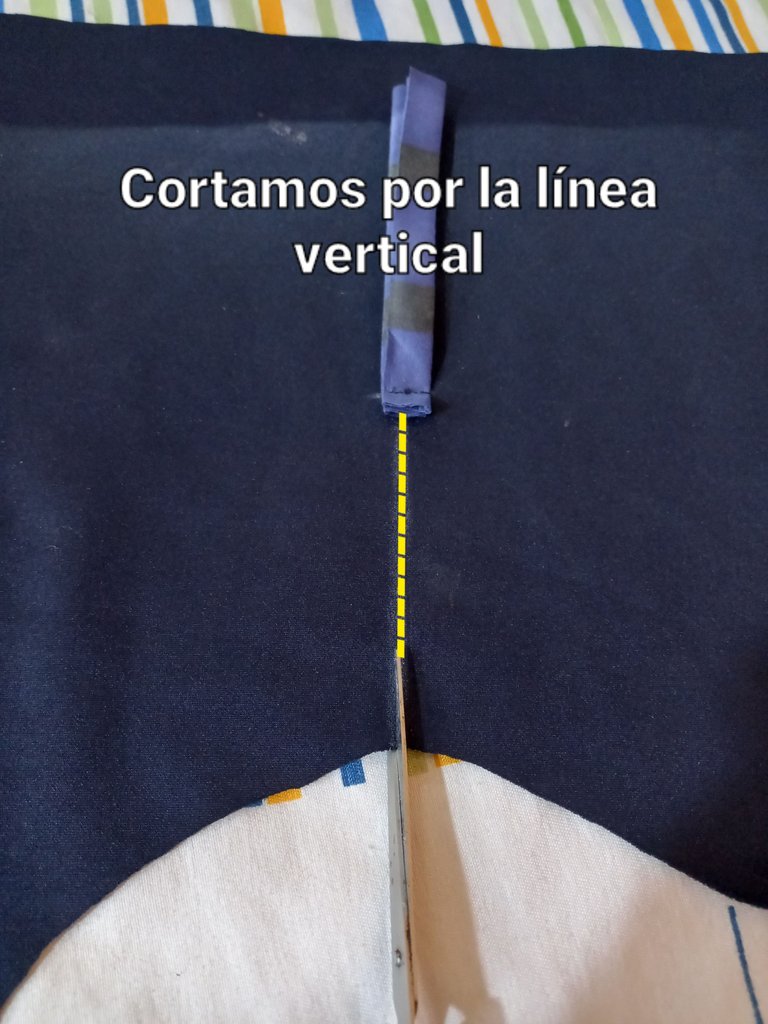
Luego hacemos un corte recto por la línea vertical que trazamos.
Then we make a straight cut along the vertical line we drew.
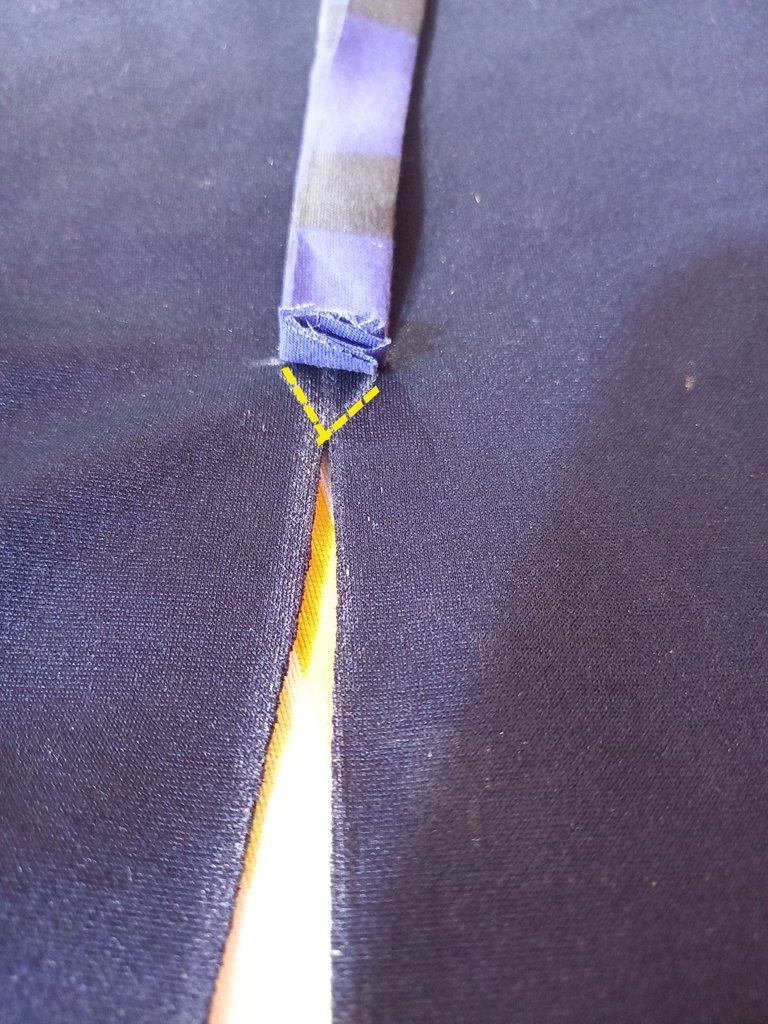
Cuando hayamos hecho el corte vertical, procedemos a hacer un corte en "v" invertida, desde el borde de cm que dejamos del vivo, hacia las esquinas.
When we have made the vertical cut, we proceed to make an inverted "v" cut, from the edge of cm that we left from the live, towards the corners.
When we have made the vertical cut, we proceed to make an inverted "v" cut, from the edge of cm that we left from the live, towards the corners.

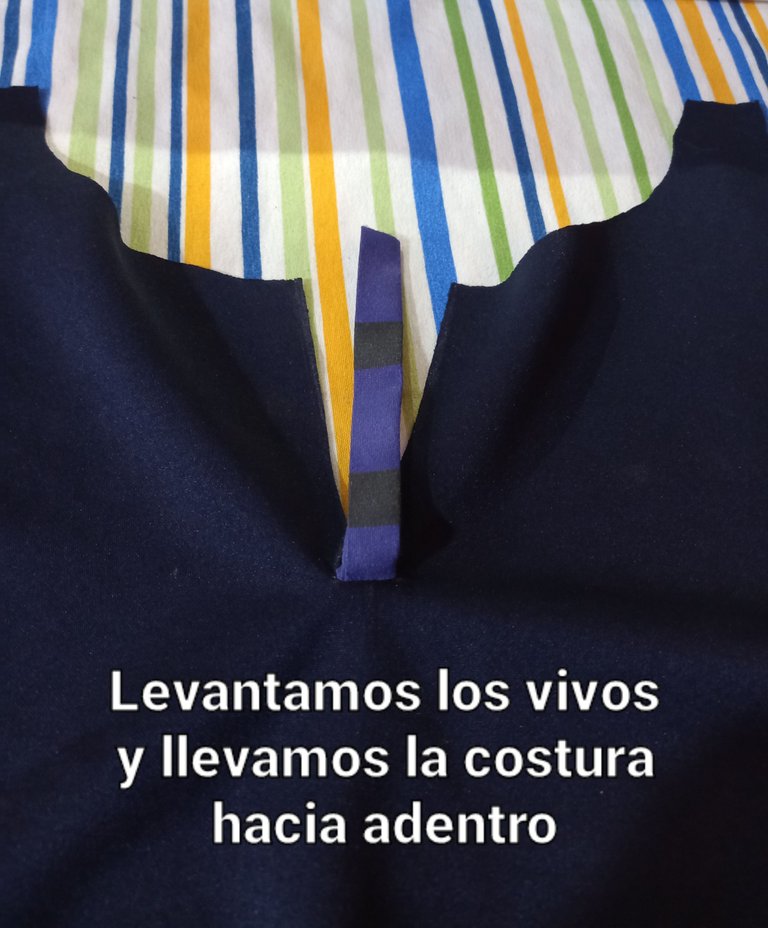
Levantamos los vivos y llevamos hacia dentro la costura que hicimos.
We lift up the seam allowances and bring the seam we made inwards.
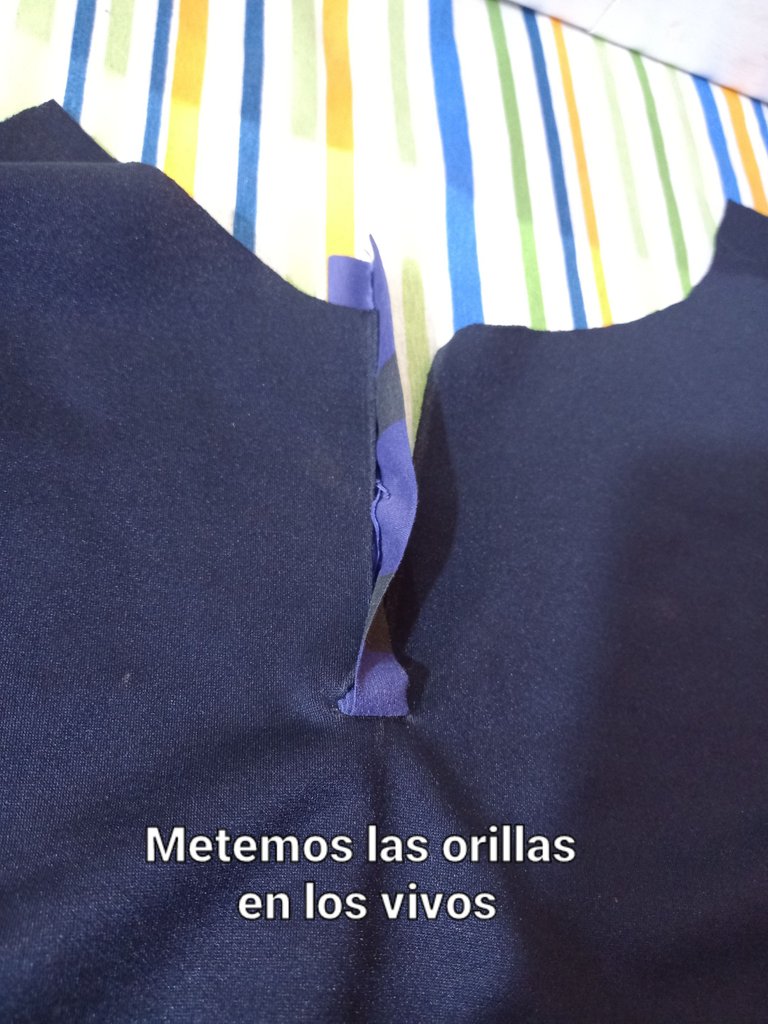
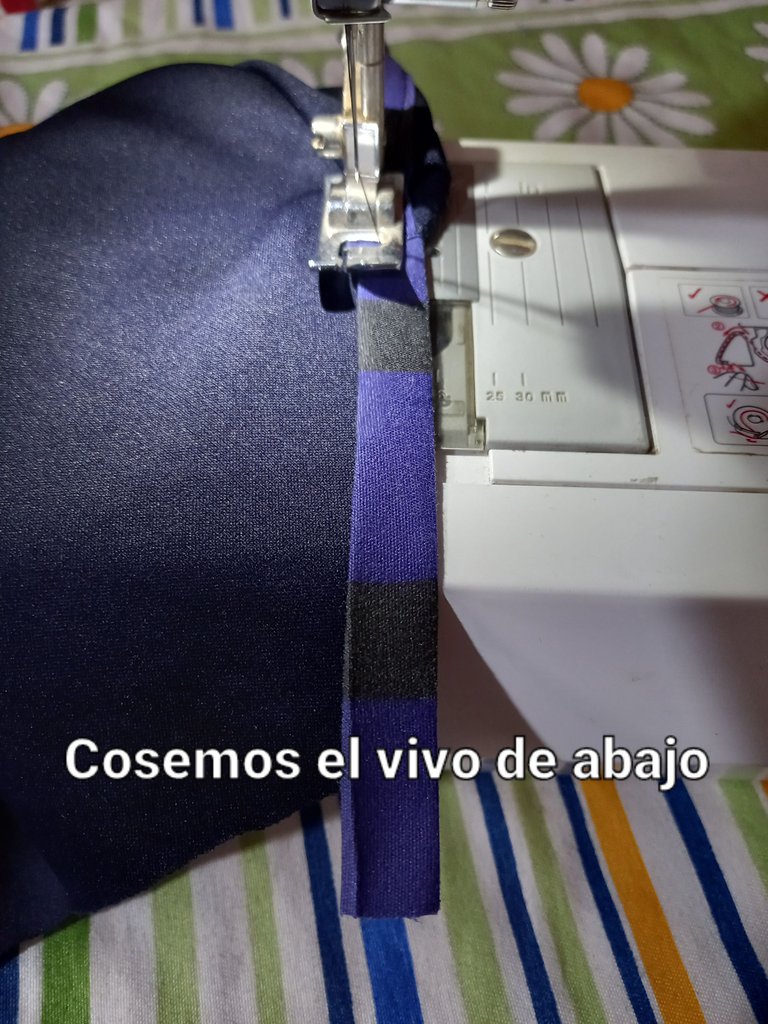
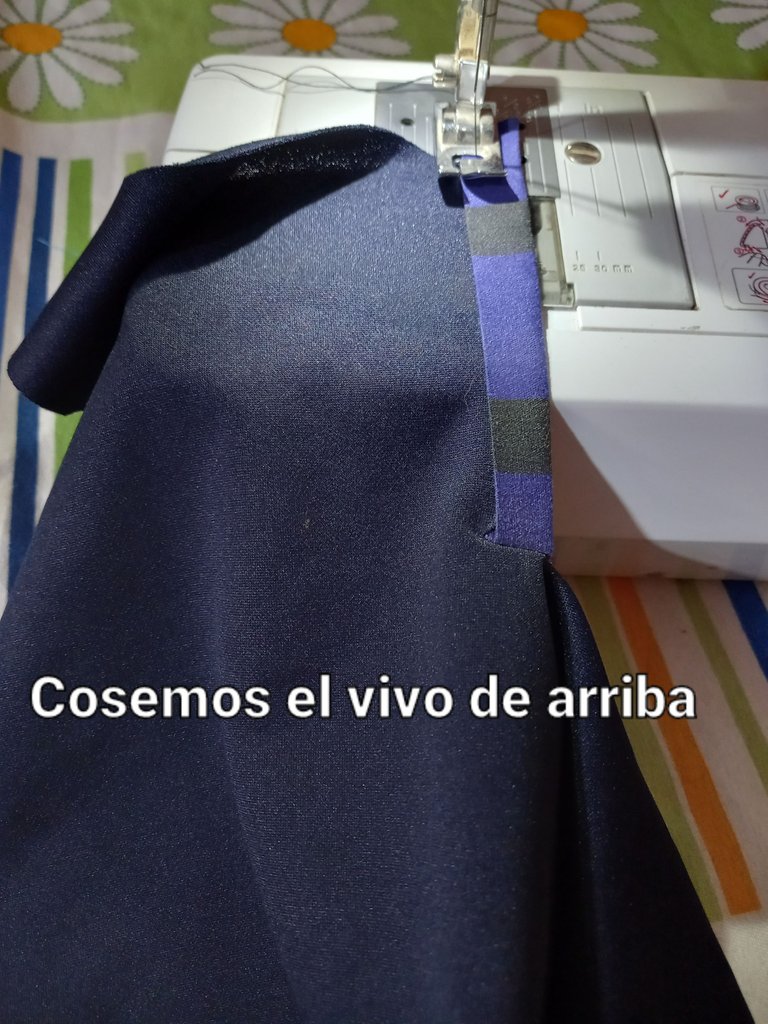
Posteriormente metemos cada orilla de tela, que quedó del corte vertical que hicimos, dentro de cada vivo y cosemos uno primero y después el otro.
Then we put each edge of fabric, which was left from the vertical cut we made, inside each live and we sew one first and then the other.
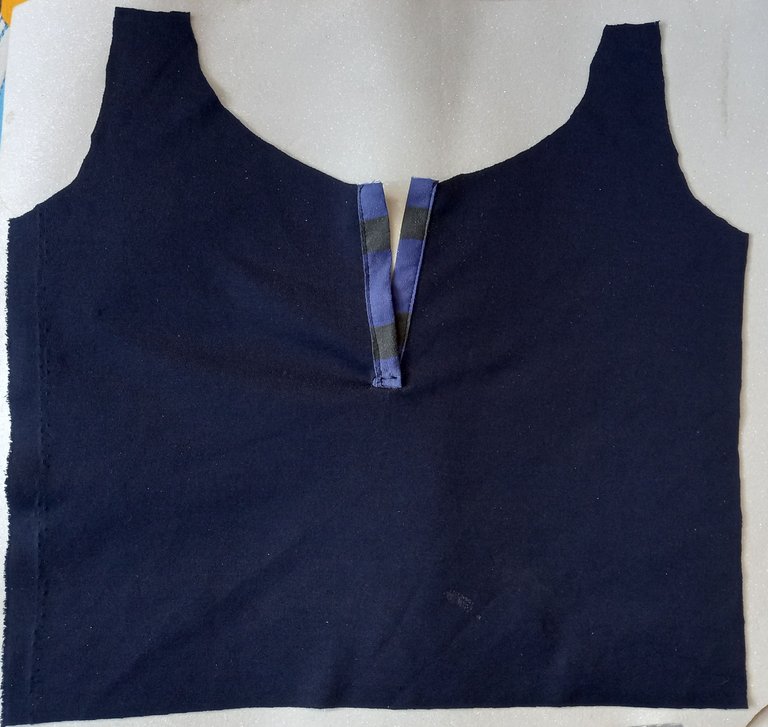
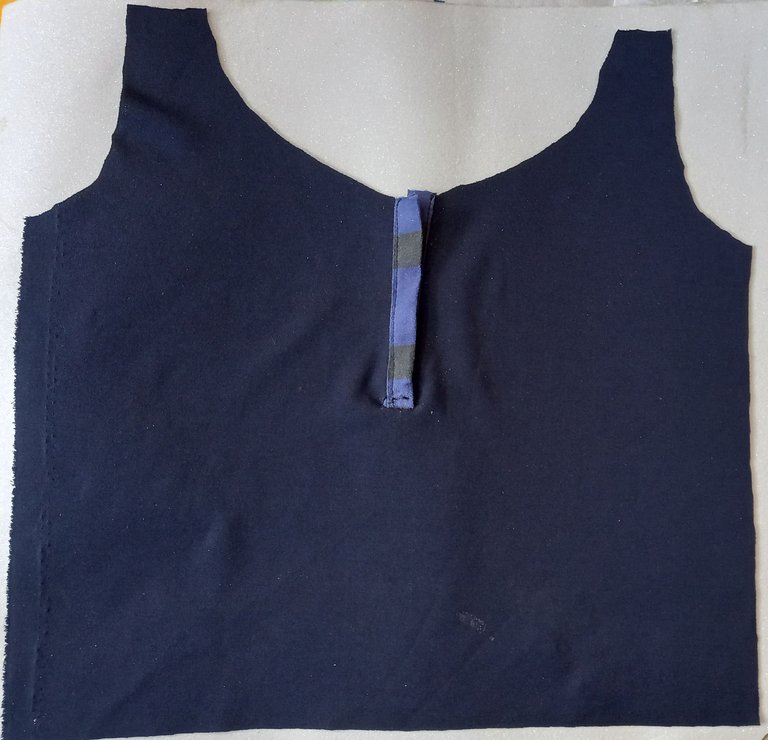
Gracias por visitar mi blog, espero que éste post te sea de gran utilidad. SHALOM 🙏🏻😊.
Thanks for visiting my blog, I hope you find this post very useful. SHALOM 🙏🏻😊.