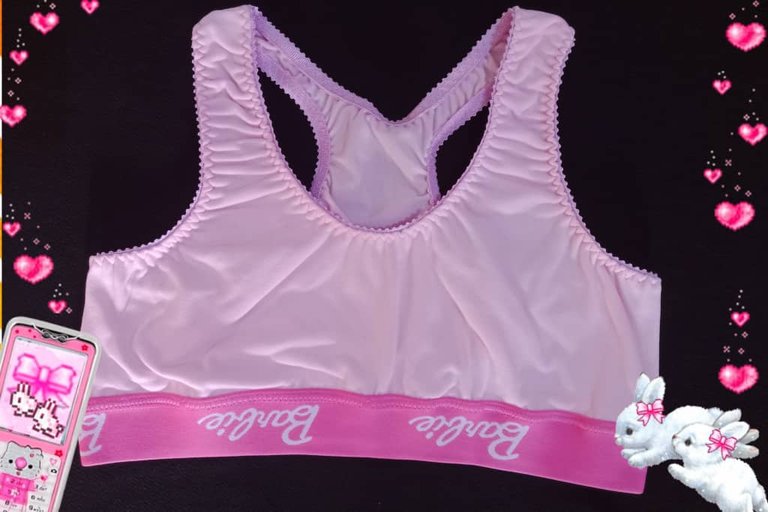

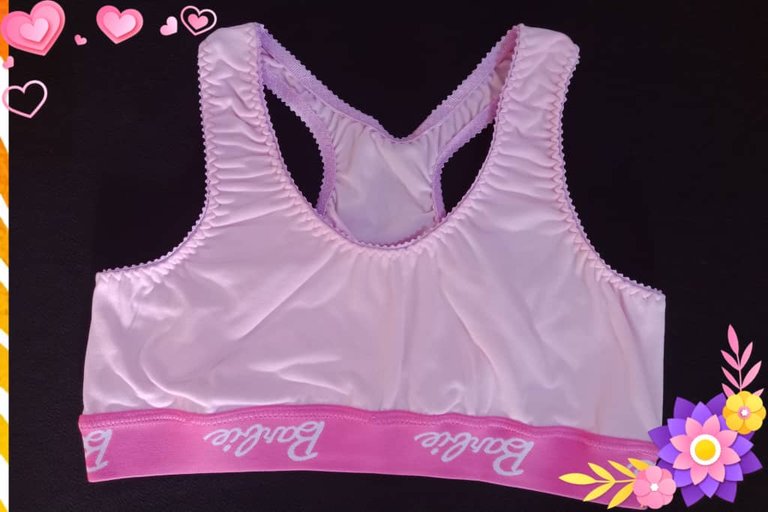
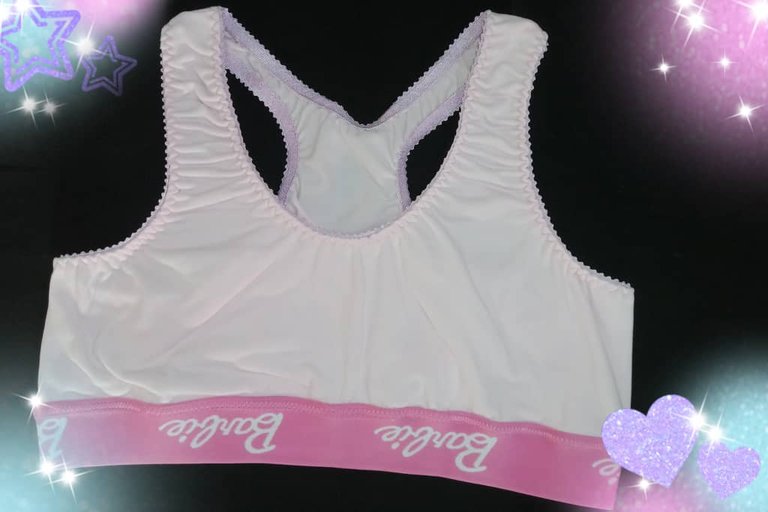
Greetings friends who love threads and needles, I wish you an excellent day and start of the month, the arrival of October reminds me that Christmas is very close, I am happy to share a new sewing project, a comfortable pink top with Barbie elastic, it is easy to make and ideal for tropical climates, exercise or daily use; the fabric is soft and fresh.

Saludos amigos amantes de los hilos y las agujas les deseo un excelente día e inicio de mes, la llegada del mes de octubre me recuerda que la navidad está muy cerca, me siento feliz de compartir elaboración de un nuevo proyecto de costura,un cómodo top color rosa con elástico de Barbie, es sencillo de hacer e ideal para zonas de climas tropicales, hacer ejercicios o de uso diario; la tela es suave y fresca.

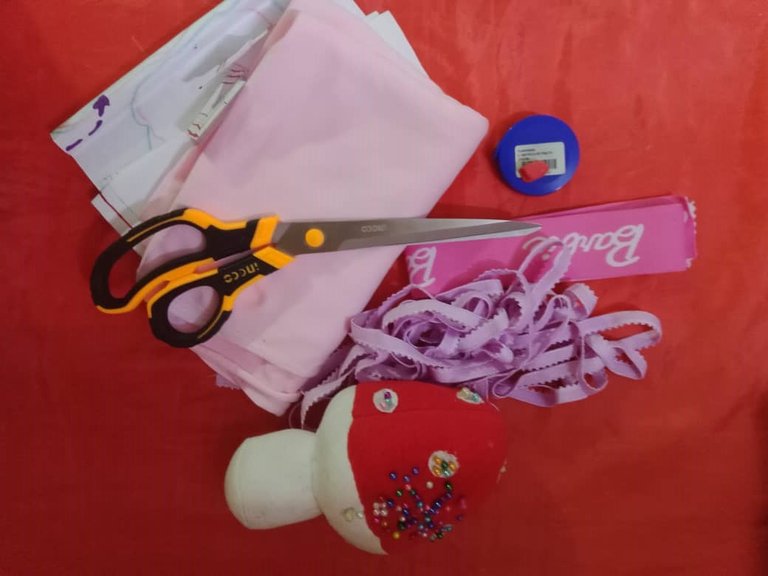
The materials used were:
Fabric micro 180 (pink)
Moulds
Scissors
Pins
Morita bias
Chalk
Sewing machine
Barbie elastic (3 cm)
Los materiales usados fueron:
Tela micro 180 (rosa)
Moldes
Tijera
Alfileres
Sesgo de moritas
Tiza
Máquina de coser
Elástico Barbie (3 cm)

Making
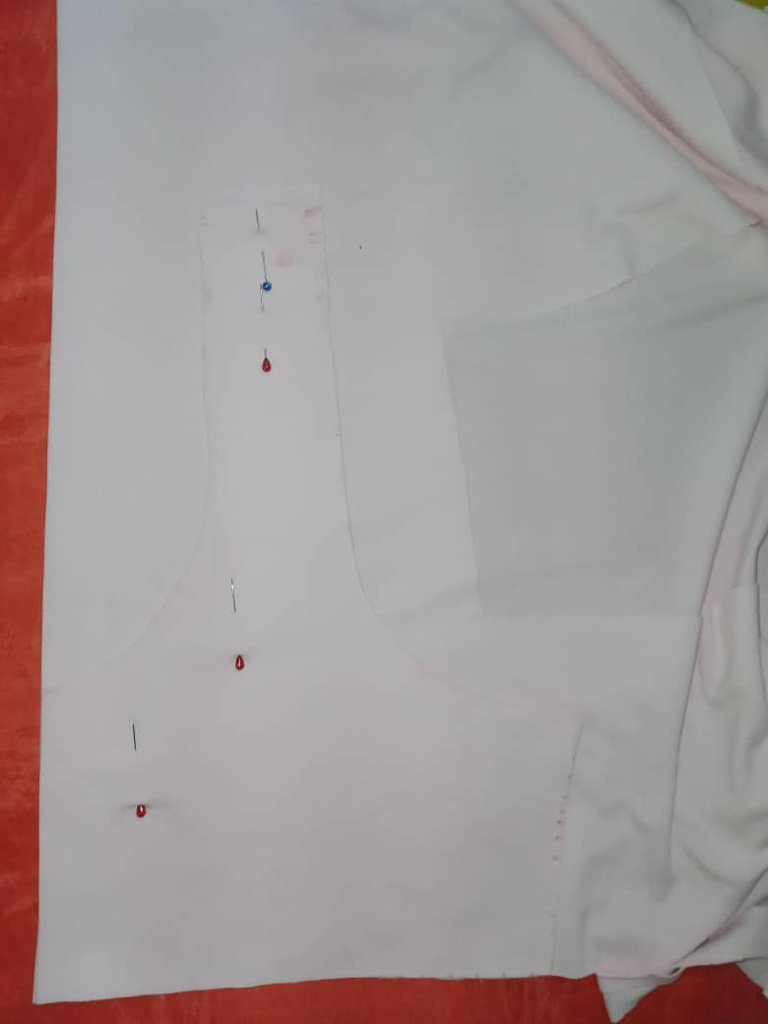
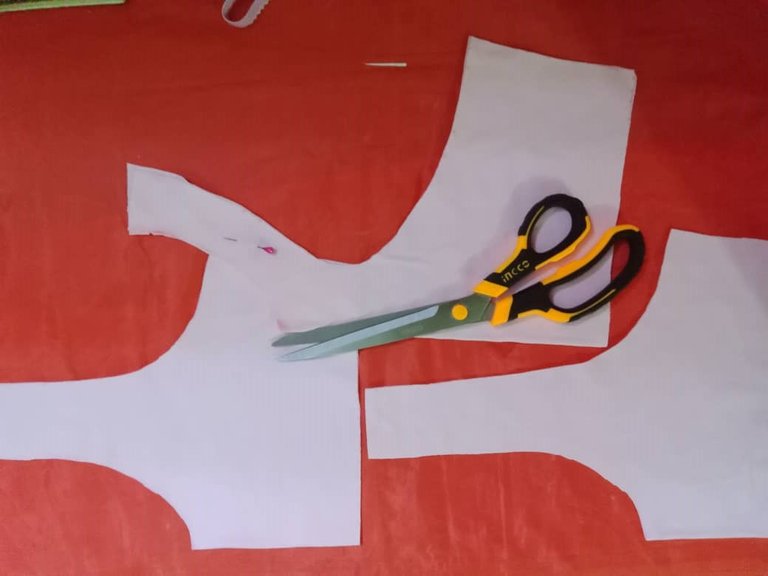
I started by marking the pieces and then I cut them; front and back, placing the double fabric; from the front I cut two pieces so that it has a lining and a main piece.
Elaboración
El proceso de elaboración requiere pocos pasos, inicié marcando las piezas y luego corté; delantero y posterior colocando la tela doble; del delantero corté dos piezas para que tenga forro y principal.

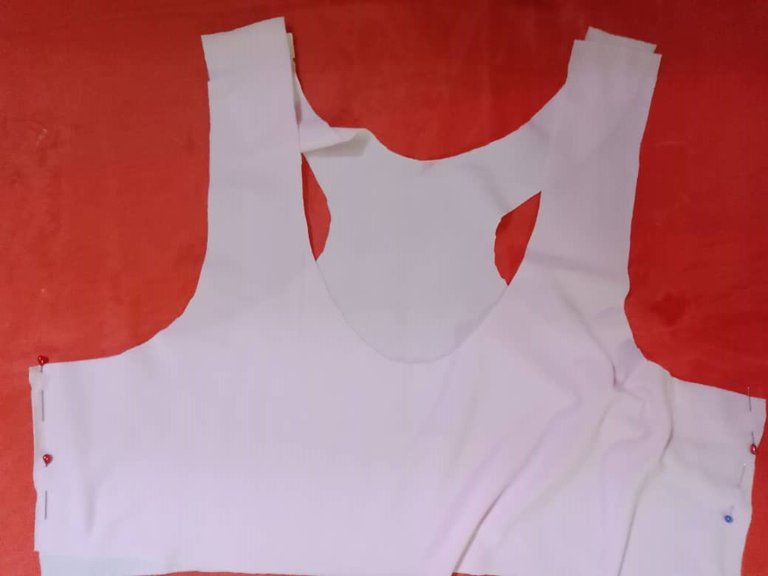
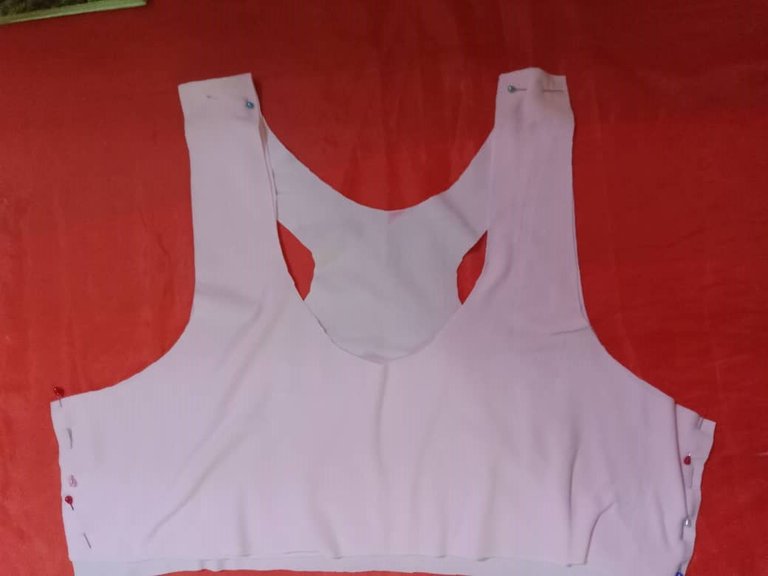
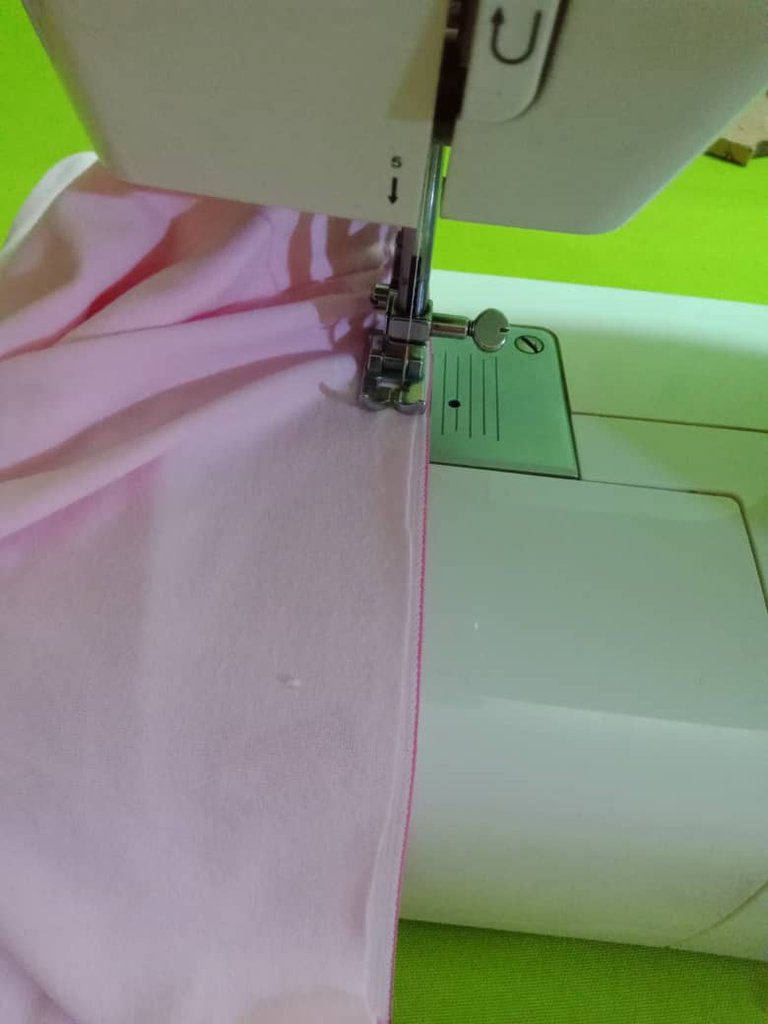
Then I faced the back and front piece at the shoulders and sides, on top of it I placed the other one which will be the lining, I fixed with pins and sewed with straight stitch the sides and shoulders.
Luego enfrenté la pieza trasera y delantera por los hombros y costados, encima de la coloqué la otra que será el forro, fijé con alfileres y cosí con puntada recta los laterales y hombros.

Once the top was assembled, the next step was to glue the bias on the neck and armholes, I placed the bias facing the right side with the fabric and sewed with a decorative stitch stretching one (1) centimeter of bias every four (4) centimeters, then I turned the bias Towards the wrong side so that the blackouts are facing outwards and repeat again with the same stitch.
Ensamblado el top, el siguiente paso fue pegar el sesgo en el cuello y sisas, coloqué el sesgo enfrentando el derecho con la tela y cosí con puntada decorativa estirando un (1) centímetro de sesgo cada cuatro (4) centímetros, luego volteé el sesgo hacia el revés de tal forma que las moritas queden hacia afuera y repisé nuevamente con la misma puntada
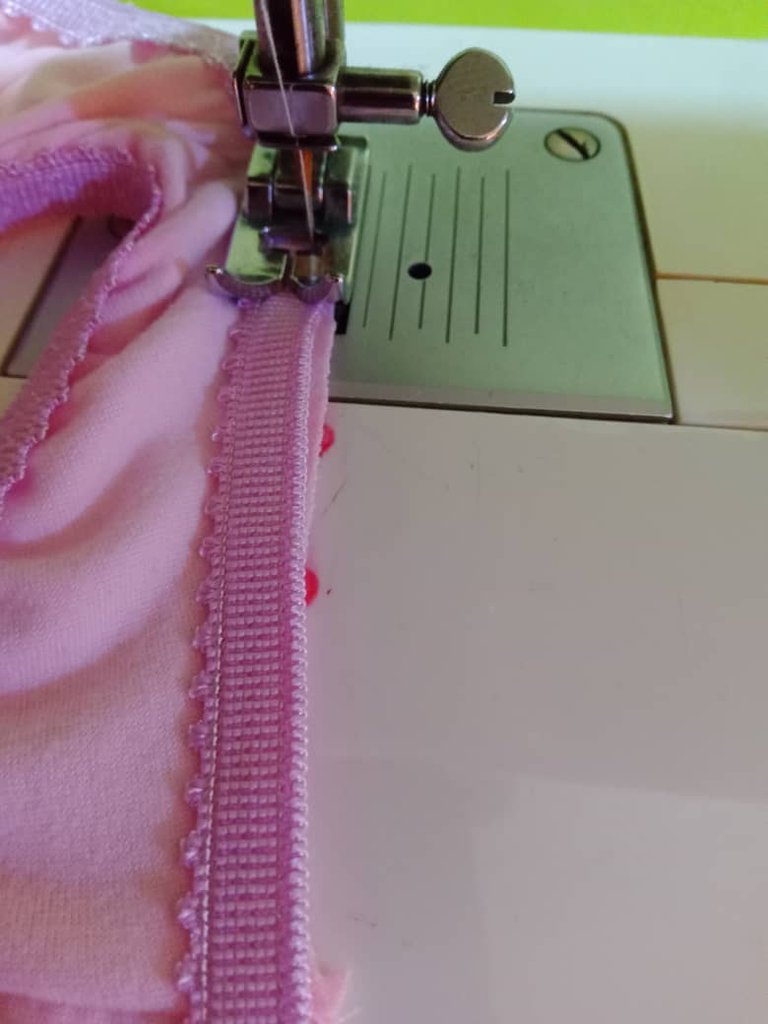
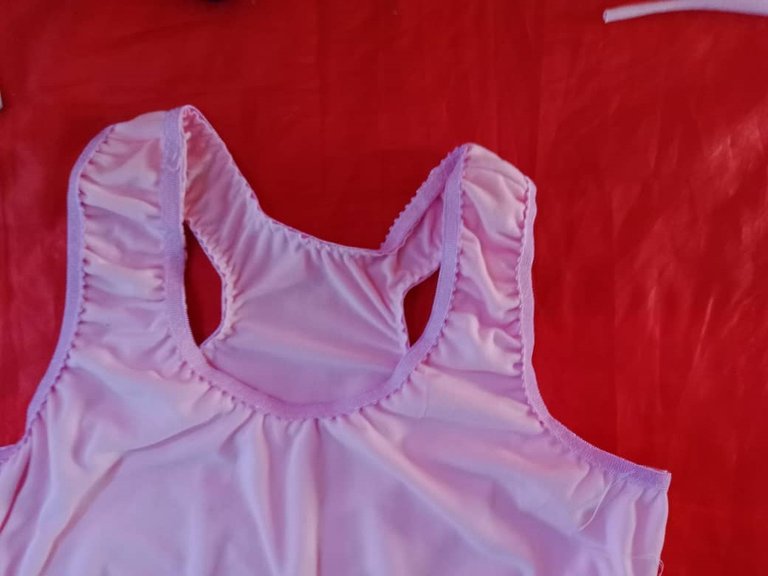
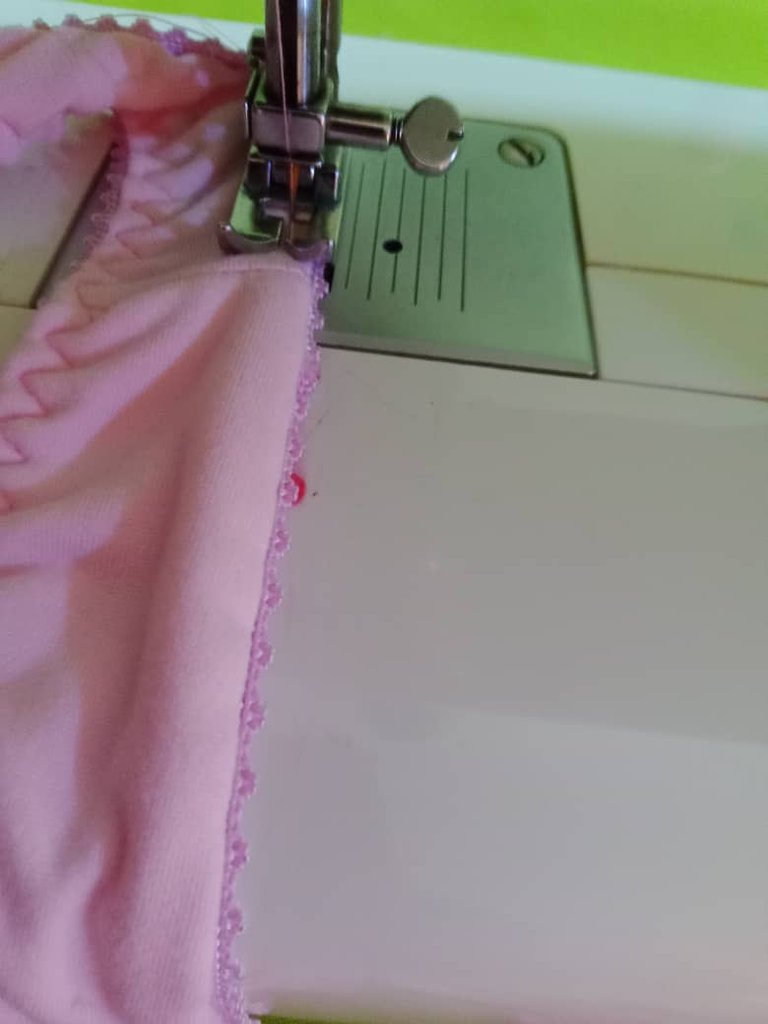

To finish I glued the elastic to the hem, I measured the waist circumference and subtracted a tenth of it (85 - 8.5 = 76.5 cm), then I joined the ends of the elastic, I placed it on the wrong side, I sewed with a standing stitch stretching two (2) by five (5) centimeters, then I turned the elastic right side out and sewed with a zigzag stitch. With these simple steps the top is finished.
Para finalizar pegué el elástico en el bajo pegar el elástico, ello medí el contorno de cintura y resté la décima parte parte (85 - 8,5 = 76,5 cm), luego uní los extremos del elástico, lo coloqué por el revés, cosí con puntada erecta estirando dos (2) por cinco (5) centímetros, luego volteé el elástico por el derecho y cosí con puntada de zigzag, con estos sencillos pasos está terminado el top.
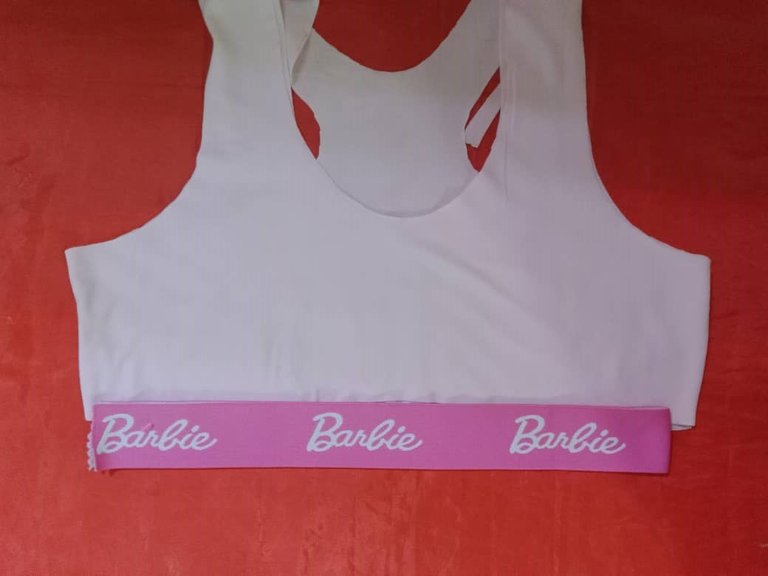
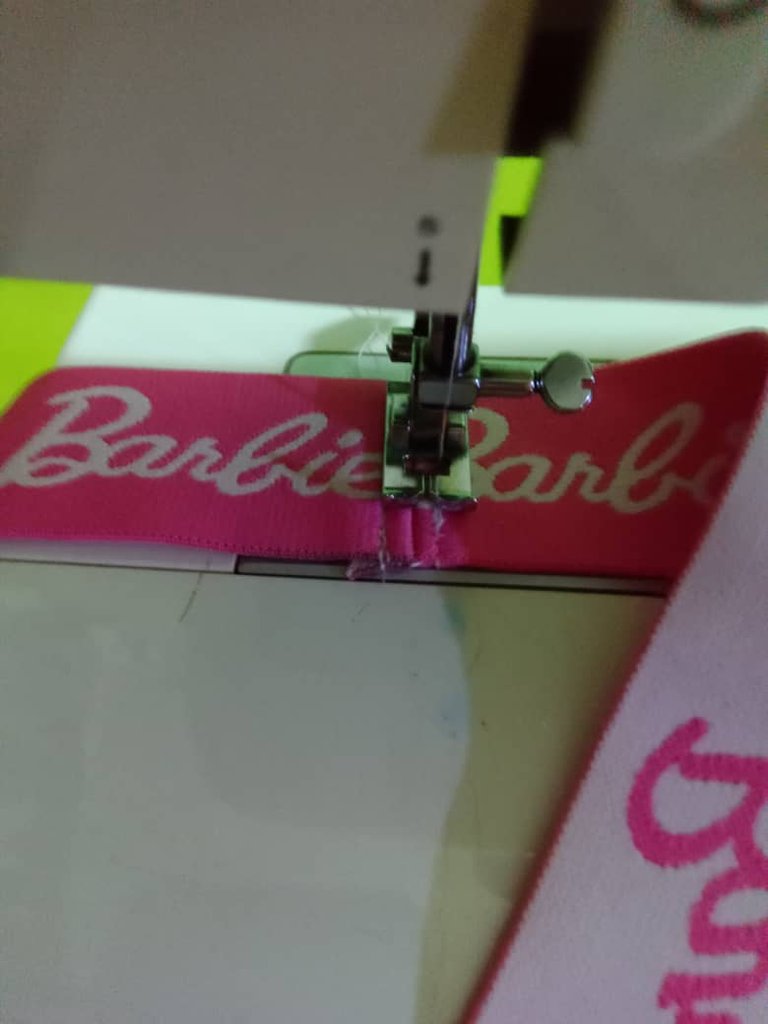
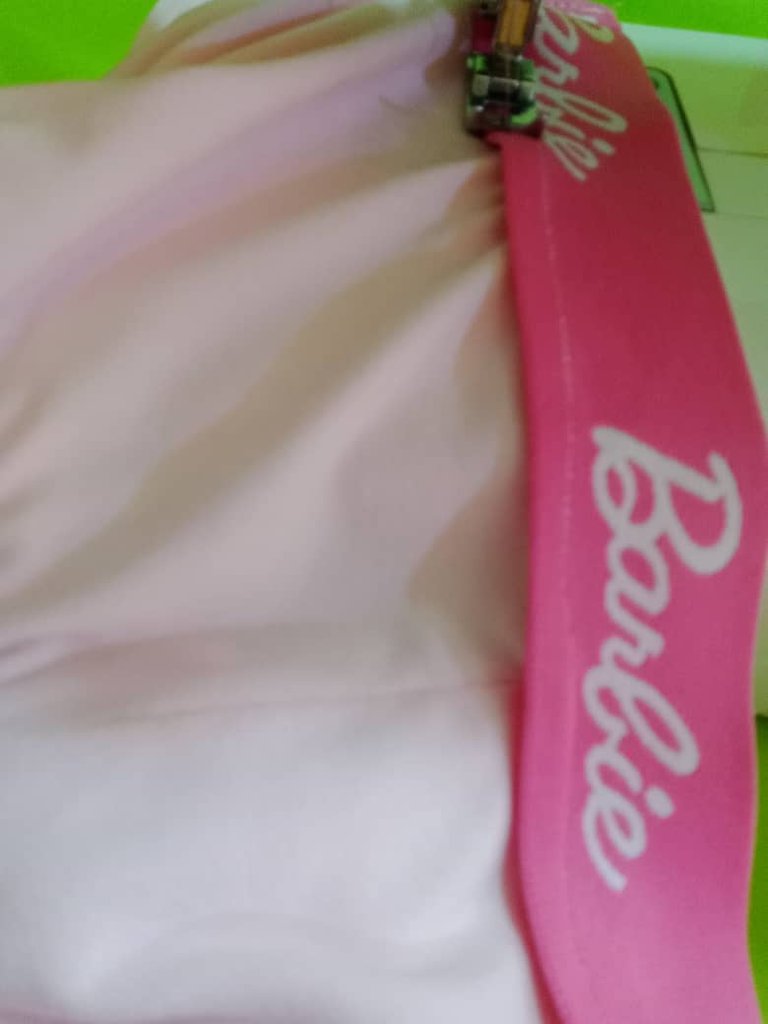

When I turned over the Barbie elastic, I realized that the letters were upside down heh heh, this has happened to me many times, I must practice to improve, despite the flipped letters the top looks very good and the pink colors of the top and fuchsia elastic I love them.
Al darle la vuelta al elástico de Barbie me di cuenta que las letras estaban al revés je je, esto me ha pasado muchas veces, debo practicar para mejorar, a pesar de las letras volteadas el top se ve muy bien y los colores rosa del top y fucsia del elástico me encantan.


Hasta luego!
Translated with https://www.deepl.com/translator
              All images are my own, captured by a Síragon LC-3000 camera. Dividers courtesy of @kattycrochet.


   Todas las imágenes son de mi autoría, capturadas por una cámara Síragon LC-3000. Divisores cortesía de @kattycrochet.