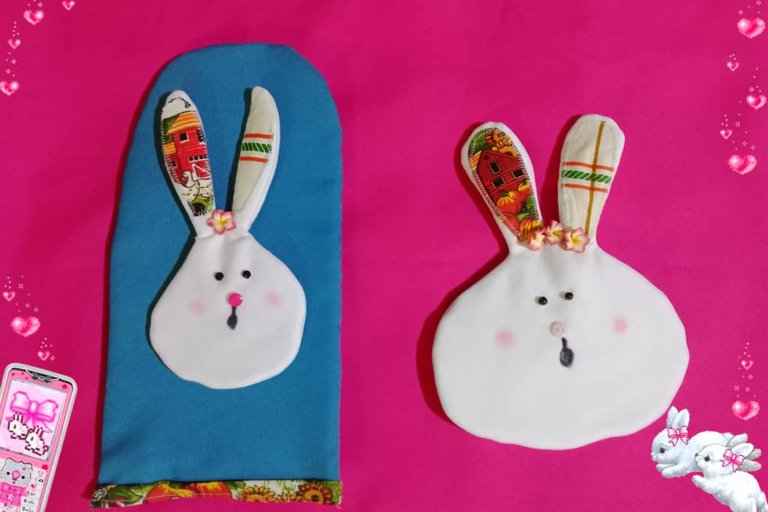

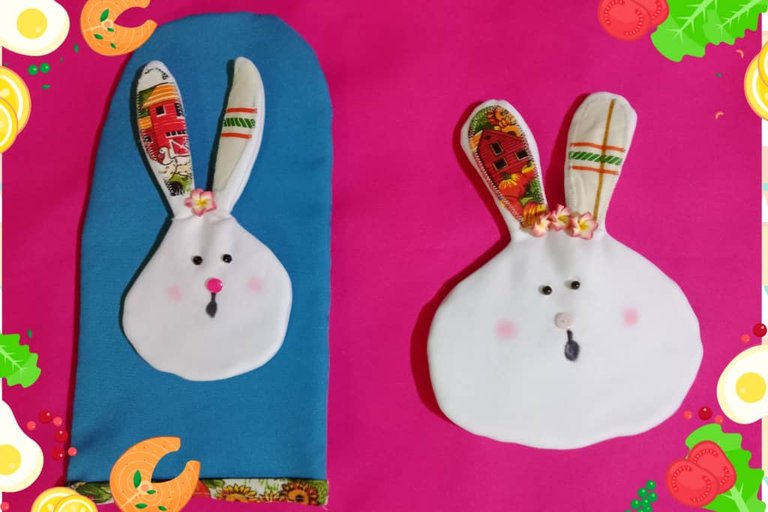
Greetings friends lovers of yarn and needles I wish you an excellent week in family togetherness this is my entry for the NEEDLEWORK YOUR KITCHEN CONTEST, I appreciate the invitation of the friend @kattycrochet, my project is a kitchen kit glove and handle with rabbit motif.
Grips and gloves are very useful in the kitchen, especially when we handle hot pots or prepare food in the oven, I like to always have grips, gloves and cloths, so I protect my hands and avoid burns; for several days I was thinking about what animal to be inspired for my participation in the contest and I decided for the rabbits, they are cute and cuchi right? 🐰 🐰

Saludos amigos amantes de los hilos y las agujas les deseo una excelente semana en unión familiar esta es mi entrada para el NEEDLEWORK YOUR KITCHEN CONTEST, agradezco la invitación de la amiga @kattycrochet, mi proyecto trata de un kit de cocina; guante y agarradera con motivo de conejo.
Las agarraderas y guantes son de gran utilidad en la cocina,especialmente cuando manipulamos ollas calientes o preparamos comida en el horno, me gusta tener siempre agarraderas, guantes y paños, pues así protejo mis manos y evito quemaduras; durante varios días estuve pensando en que animal inspirarme para mi participación en el concurso y me decidí por los conejos, son tiernos y cuchi ¿cierto? 🐰 🐰


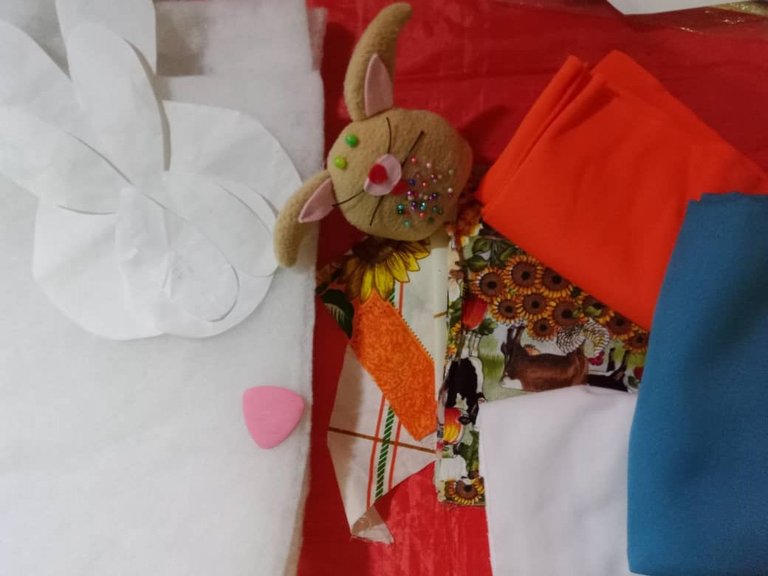
Polar blanket fabric (white)
Dacron fabric (turquoise)
Dacron fabric (printed)
Wadding
Pins
Sponge
Molds
Scissors
Sewing machine
Buttons
Beads

Tela manta polar (blanca)
Tela dacrón (turquesa)
Tela dacrón (estampada)
Guata
Alfileres
Jaboncillo
Moldes
Tijera
Máquina de coser
Botones
Perlas

Elaboration
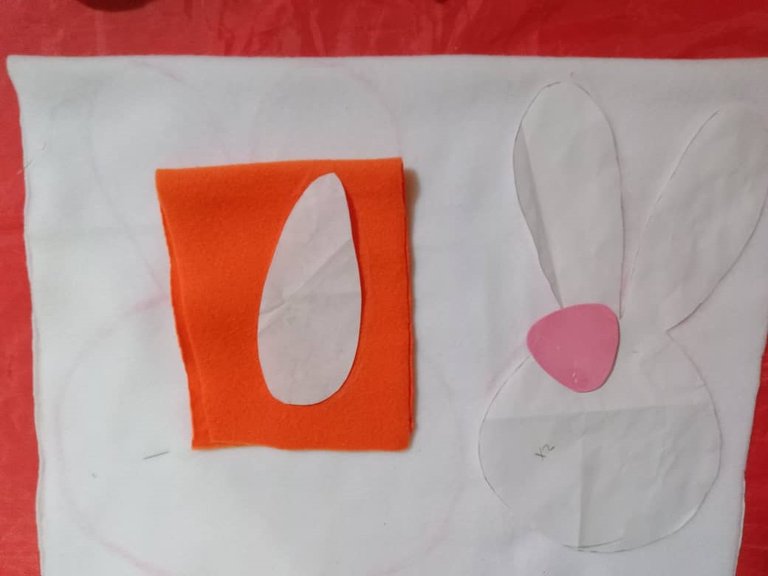
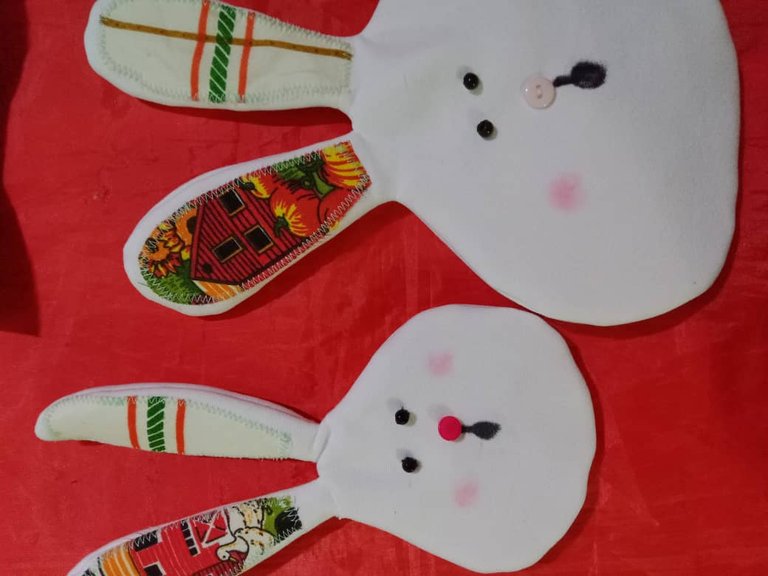
I started by making the patterns, then I marked and cut out the parts of the bunny; face in white fabric and ears in printed fabric; the larger bunny will be the handle and the smaller one will be the glove ornament.
Elaboración
Inicié haciendo los patrones, luego marqué y corté las partes del conejo; cara en tela blanca y orejas en tela estampada; el conejo más grande será la agarradera y elpequeño el adorno del guante.
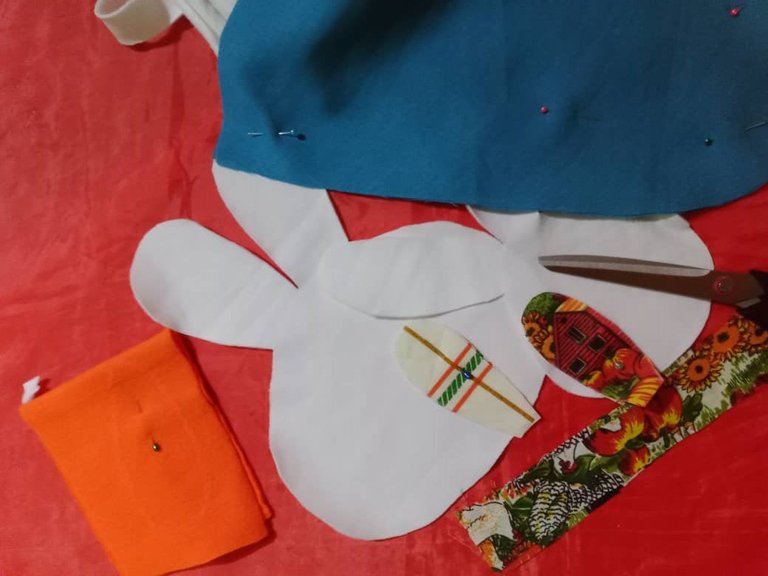

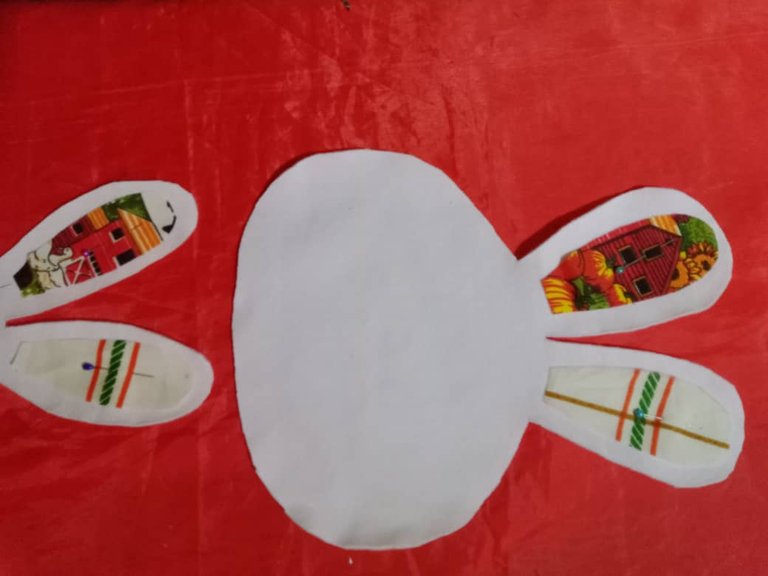
The next step was to glue the printed fabric to the ears, pin and sew with zigzag stitch.
El siguiente paso fue pegar la tela estampada en las orejas, sujeté con alfileres y cosí con puntada de zigzag.
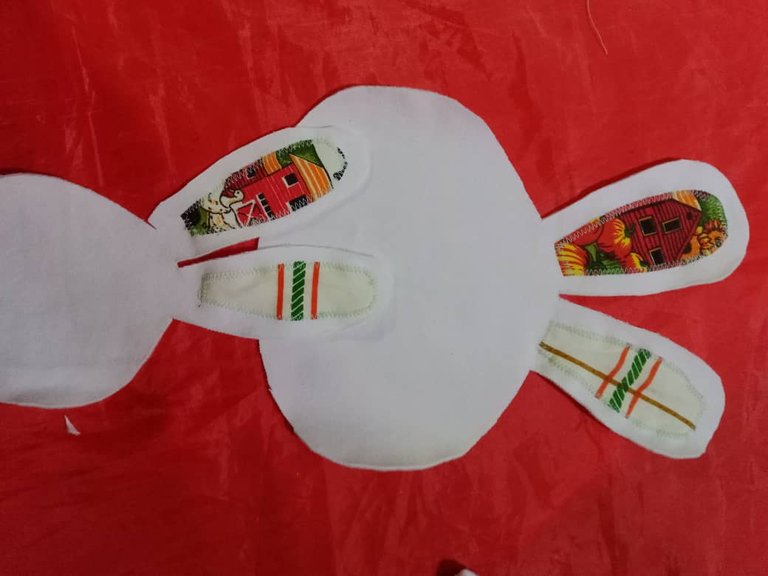

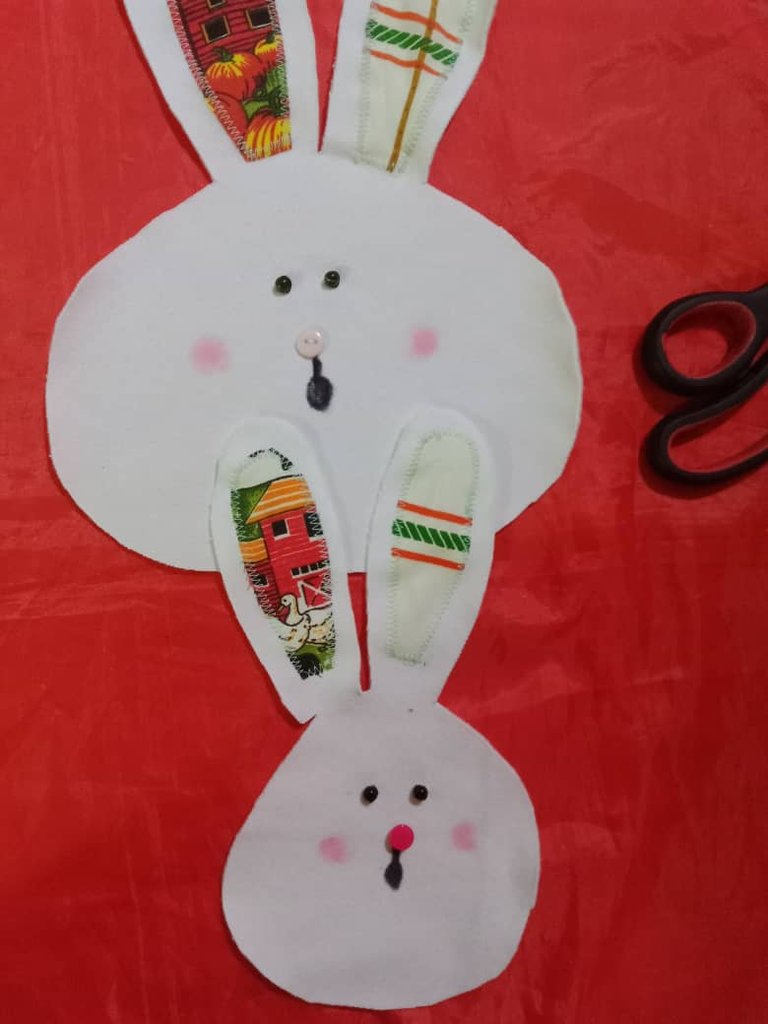
Once the ears were sewn, I added the eyes, mouth and muzzle, in which I used beads, buttons and fabric paint, I let it dry for about twenty minutes; the paint is added very carefully to avoid staining the piece, it is the first time I use fabric paint and I was a little nervous.
Cosidas las orejas, agregué los ojos la boca y el hocico, en los cuales usé perlas, botones y pintura de tela, dejé secar por aproximadamente veinte minutos; la pintura se agrega con mucho cuidado para evitar manchar la pieza, es la primera vez que uso pintura en tela y estaba algo nerviosa.


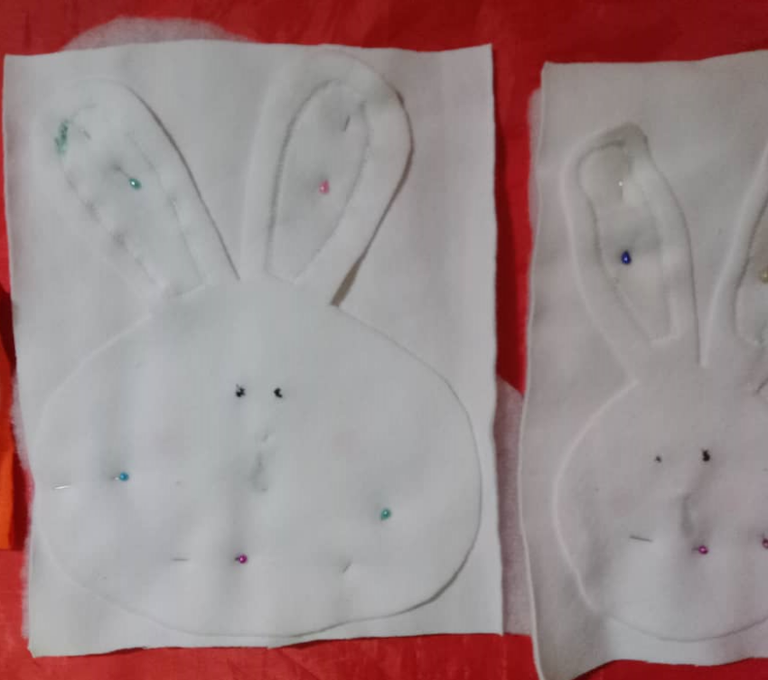
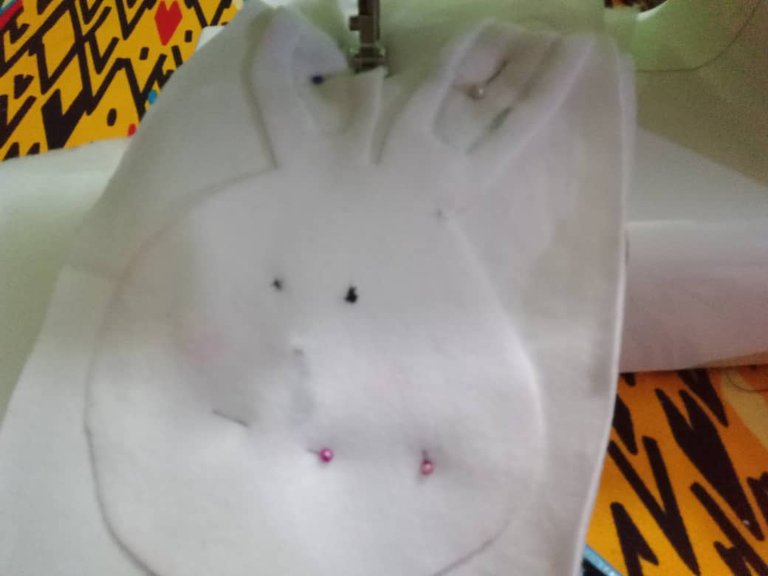
To assemble the bunnies I placed the wadding on the underside of the fabric facing the front and back rights, pinned and sewed with a straight stitch all around leaving an opening for turning, removed the excess fabric, pinned the corners, turned and closed the opening with a hidden stitch.
Para armar los conejos acoloqué la guata en la parte de abajo de la tela enfrentando los derechos de la parte trasera y delantera, sujeté con alfileres y cosí con puntada recta por todo el contorno dejando una abertura para voltear, retiré el exceso de tela, hice piquetes en las esquinas, volteé y con puntada escondida cerré la abertura.

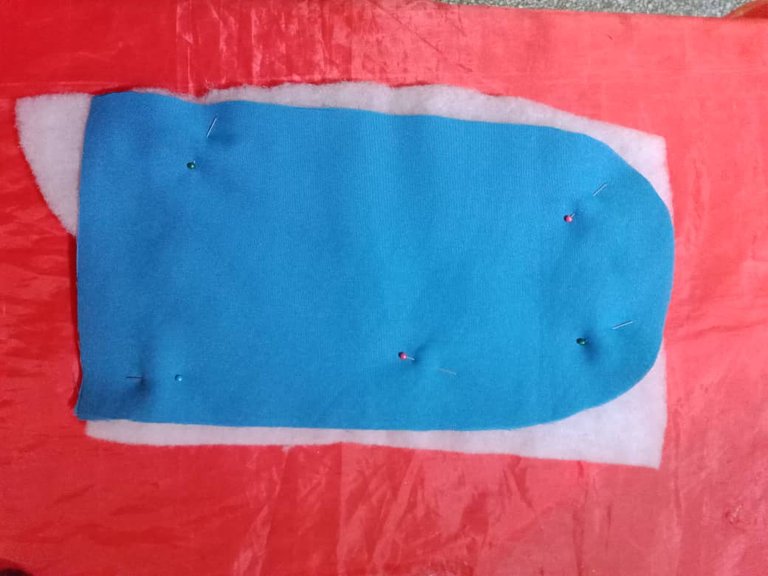
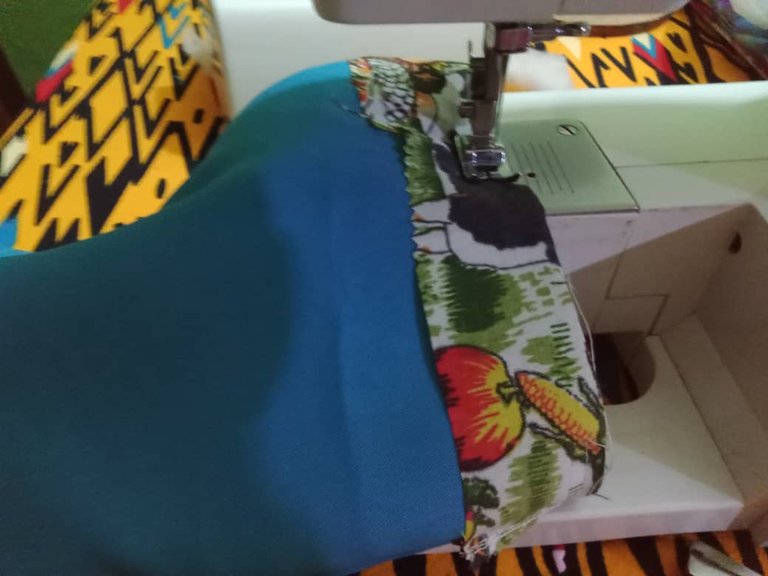
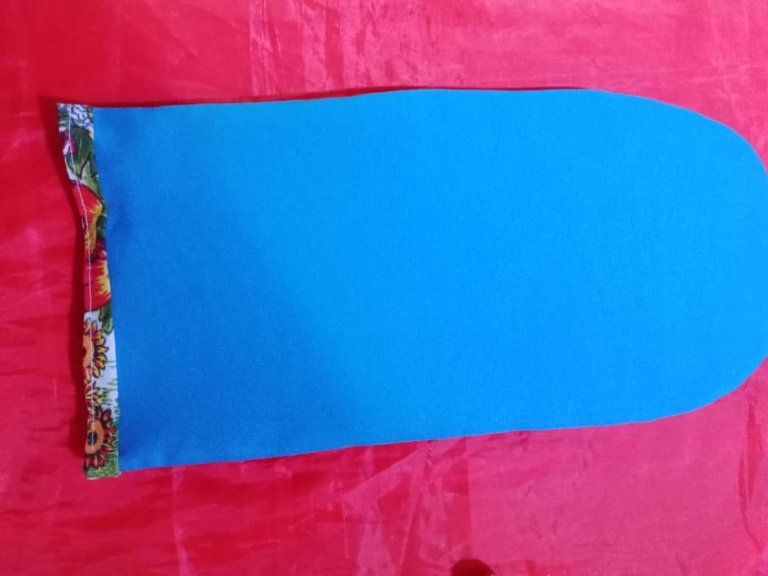
To make the mitten, I sewed four layers of turquoise fabric, placed the wadding in the center of the fabrics that will be back and front, on top of one of them I placed the remaining layers that will serve as lining; I sewed all around leaving the bottom part open, I turned the mitten over and in the bottom part I sewed a bias down open, turned and sewed a bias that combines with the fabrics of the ears.
With hand stitch I glued the bunny and added flowers on top; with these simple steps a beautiful kitchen kit inspired by the cute and cuddly bunnies is finished.
Para hacer el guante, cosí cuatro capas de tela turquesa coloqué la guata en el centro de las telas que serán trasero y delantero, encima de una de ellas coloqué las restantes capas que servirán de forro; cosí por todo el contorno dejando la parte inferior abierta, volteé el guante y en lapartedeabajo cosí un sesgo abajo abierta volteé y cosí un sesgo que combina con las telas de las orejas.
Con puntada a mano pegué el conejo y agregué flores en la parte superior; con estos sencillos pasos estáterminado un hermoso kit de cocina inspirado en los tiernos y adorables conejos.

I am happy with the result of the project, I hope in the near future to add new pieces such as a blender liner, cloth, among others, I think these rabbits will look great in the kitchen, I'm just worried about the white color of the wood that can easily stain, the best option is to make a turquoise color and use the white as decoration in the kitchen; I hope this project will be to your liking and also very useful.
Estoy feliz con el resultado del proyecto, espero en un futuro cercano ir agregando nuevas piezas comno un forro para licuadora, paño, entre otros, creo que estos conejos se verán muy bien en la cocina, solo me preocupa el color blanco de la agaderra que fácilmente puede mancharse, la mejor opción es hacer uno color turquesa y usar el blanco como decoración en la cocina; espero este proyecto sea de su agrado y también muy útil.


Blessings!
Bendiciones!
Hasta luego!
Translated with https://www.deepl.com/translator
              All images are my own, captured by a Síragon LC-3000 camera. Dividers courtesy of @kattycrochet.


   Todas las imágenes son de mi autoría, capturadas por una cámara Síragon LC-3000. Divisores cortesía de @kattycrochet.