.jpg)
Hello beautiful and appreciated community, you are welcome 😊 the day is incredible and super cool to be in the corner that I like so much, yes! That little place where I have my sewing machine and the hours go by super fast although maybe it sounds a bit exaggerated to say it like that but the truth is when you get there you sit down and get inspired there is no one to stop time, that is why I have dedicated only a few hours to be there when I have work, for those who do not know me well here I like to share my sewing work with you and many ideas and projects like crafts that of course I like a lot among other things.
I owe you some patterns that I haven't made a blog about yet but I don't remember if it's not until I touch my patterns hahaha but friends there is a saying in my country, I don't know if in others; that says "A promise is a promise" so I have a debt with you for making those patterns by the way they are patterns for ladies' panties and boxers, I will share them with you soon.

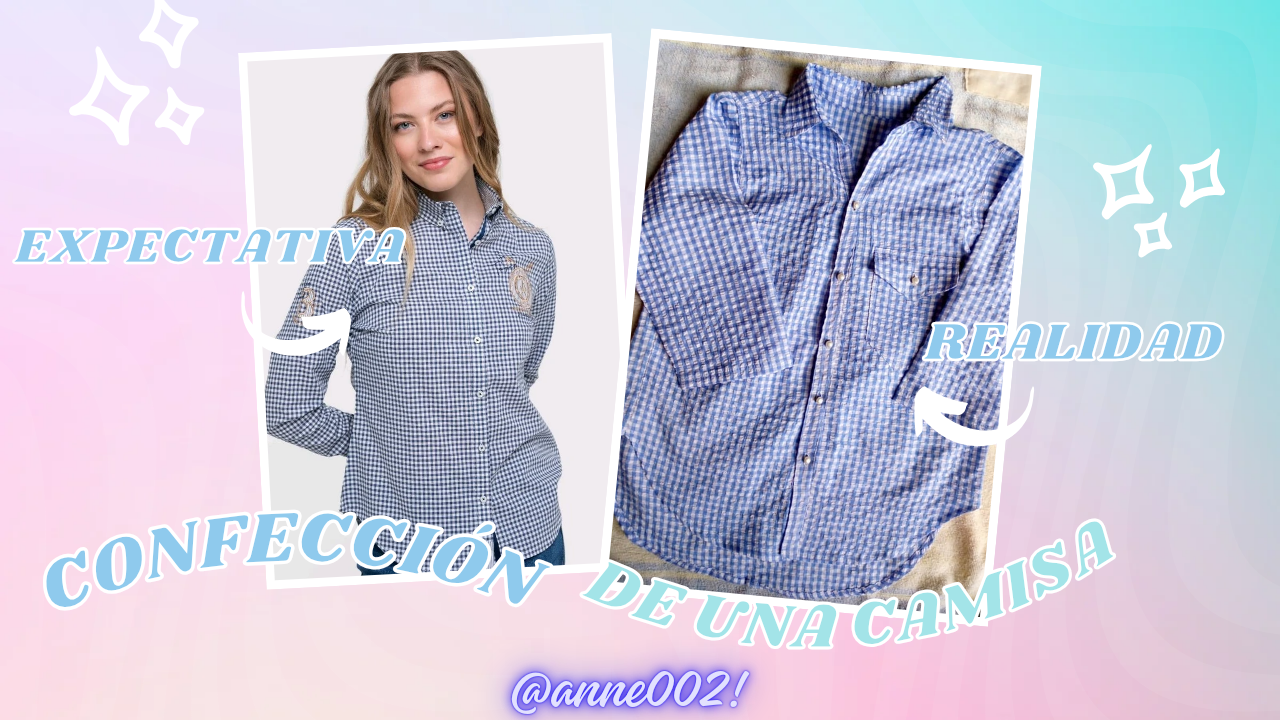
Well friends seamstresses I want to show you how today on this nice and beautiful Sunday even though it is a day of rest is a productive day for me since today is the day to go to the salon and to church in the mornings, I took the time to go and listen to my God who by the way we always thank for the blessings he gives us and of course for waking up every day with life and breath to enjoy the beautiful things in the midst of so much chaos always praying that soon the situation improves, right friends? And well once again I am grateful for that and to enjoy the gift that he has given me which is to make tea with my hands and design that I like a lot by the way I have loved this and I will continue doing it, this shirt that I will be making I have taken as a model from images on Google to make it for a client who wanted it like this but in three-quarter sleeves, so here we are going to cut it and make it super simple and easy to recreate in the image that I left you at the beginning the cover one so well let's give it to the process tell me what you thought at the end of the blog.
.jpg)
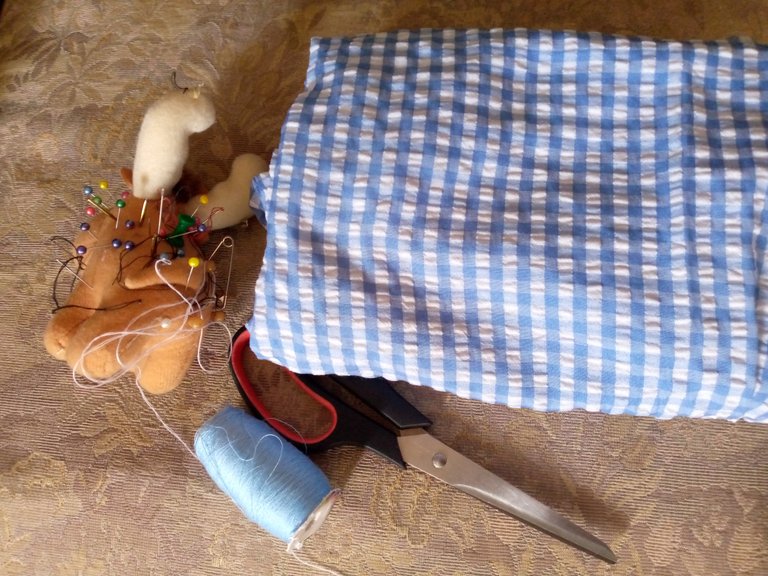
Materiales que usé en la confección:
Materials I used in making it:
- Tela 1 metro
- Tijeras
- 6 botones
- Alfileres
- Aguja
- Hilo
- Lápiz
- Y por supuesto nuestra máquina de coser
- Fabric 1 meter
- Scissors
- 6 buttons
- Pins
- Needle
- Thread
- Pencil
- And of course our sewing machine
.jpg)
Pasos a seguir:
Steps to follow:
Paso 01
Step 01
We will start then with what I mentioned before, which is cutting the pieces, this shirt has a cut in the back between the back and half of the arms, the cut is divided into two pieces, the long piece at the bottom has a board found with a small strip folded, the two pieces in front are the pockets, and by the way the pocket flap which is like a small fin I made in two pieces, that is, double when sewing the pocket, I also cut the two pieces of the collar, the strip that holds the collar and the two strips where the buttons and buttonholes go, to finish I cut the two sleeves, we will use those pieces to make the shirt, of course if you want to make another model then that is to your liking, friends, so this way you see my pieces already cut ready to sew them.
.jpg)
Paso 02
Step 02
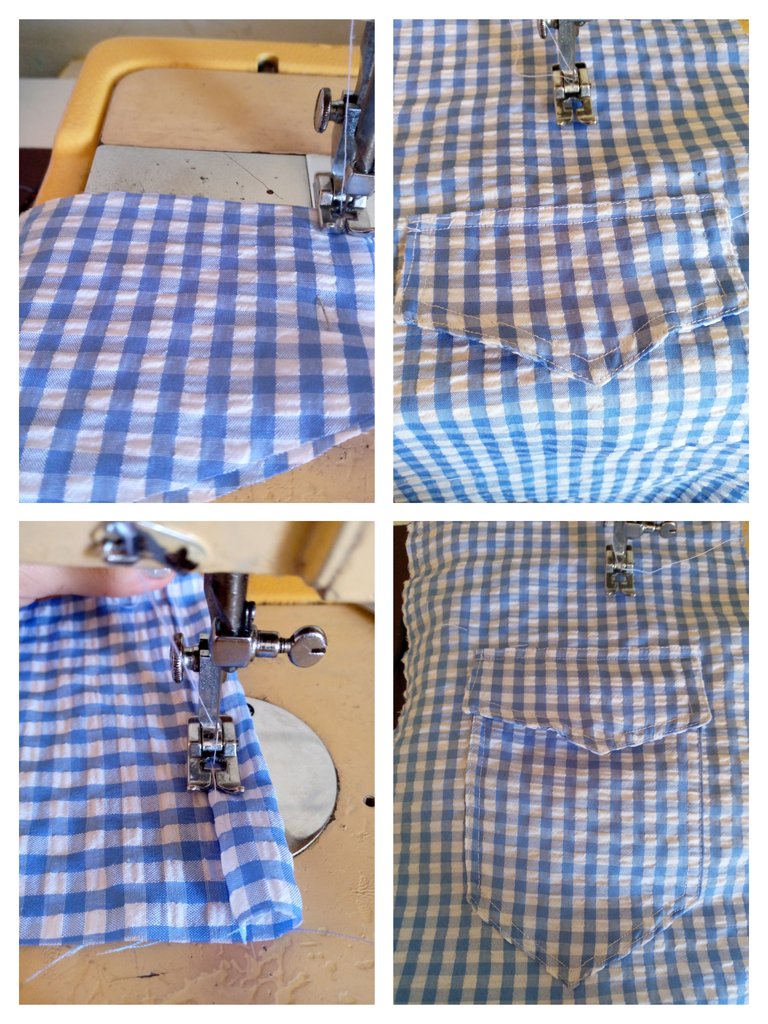
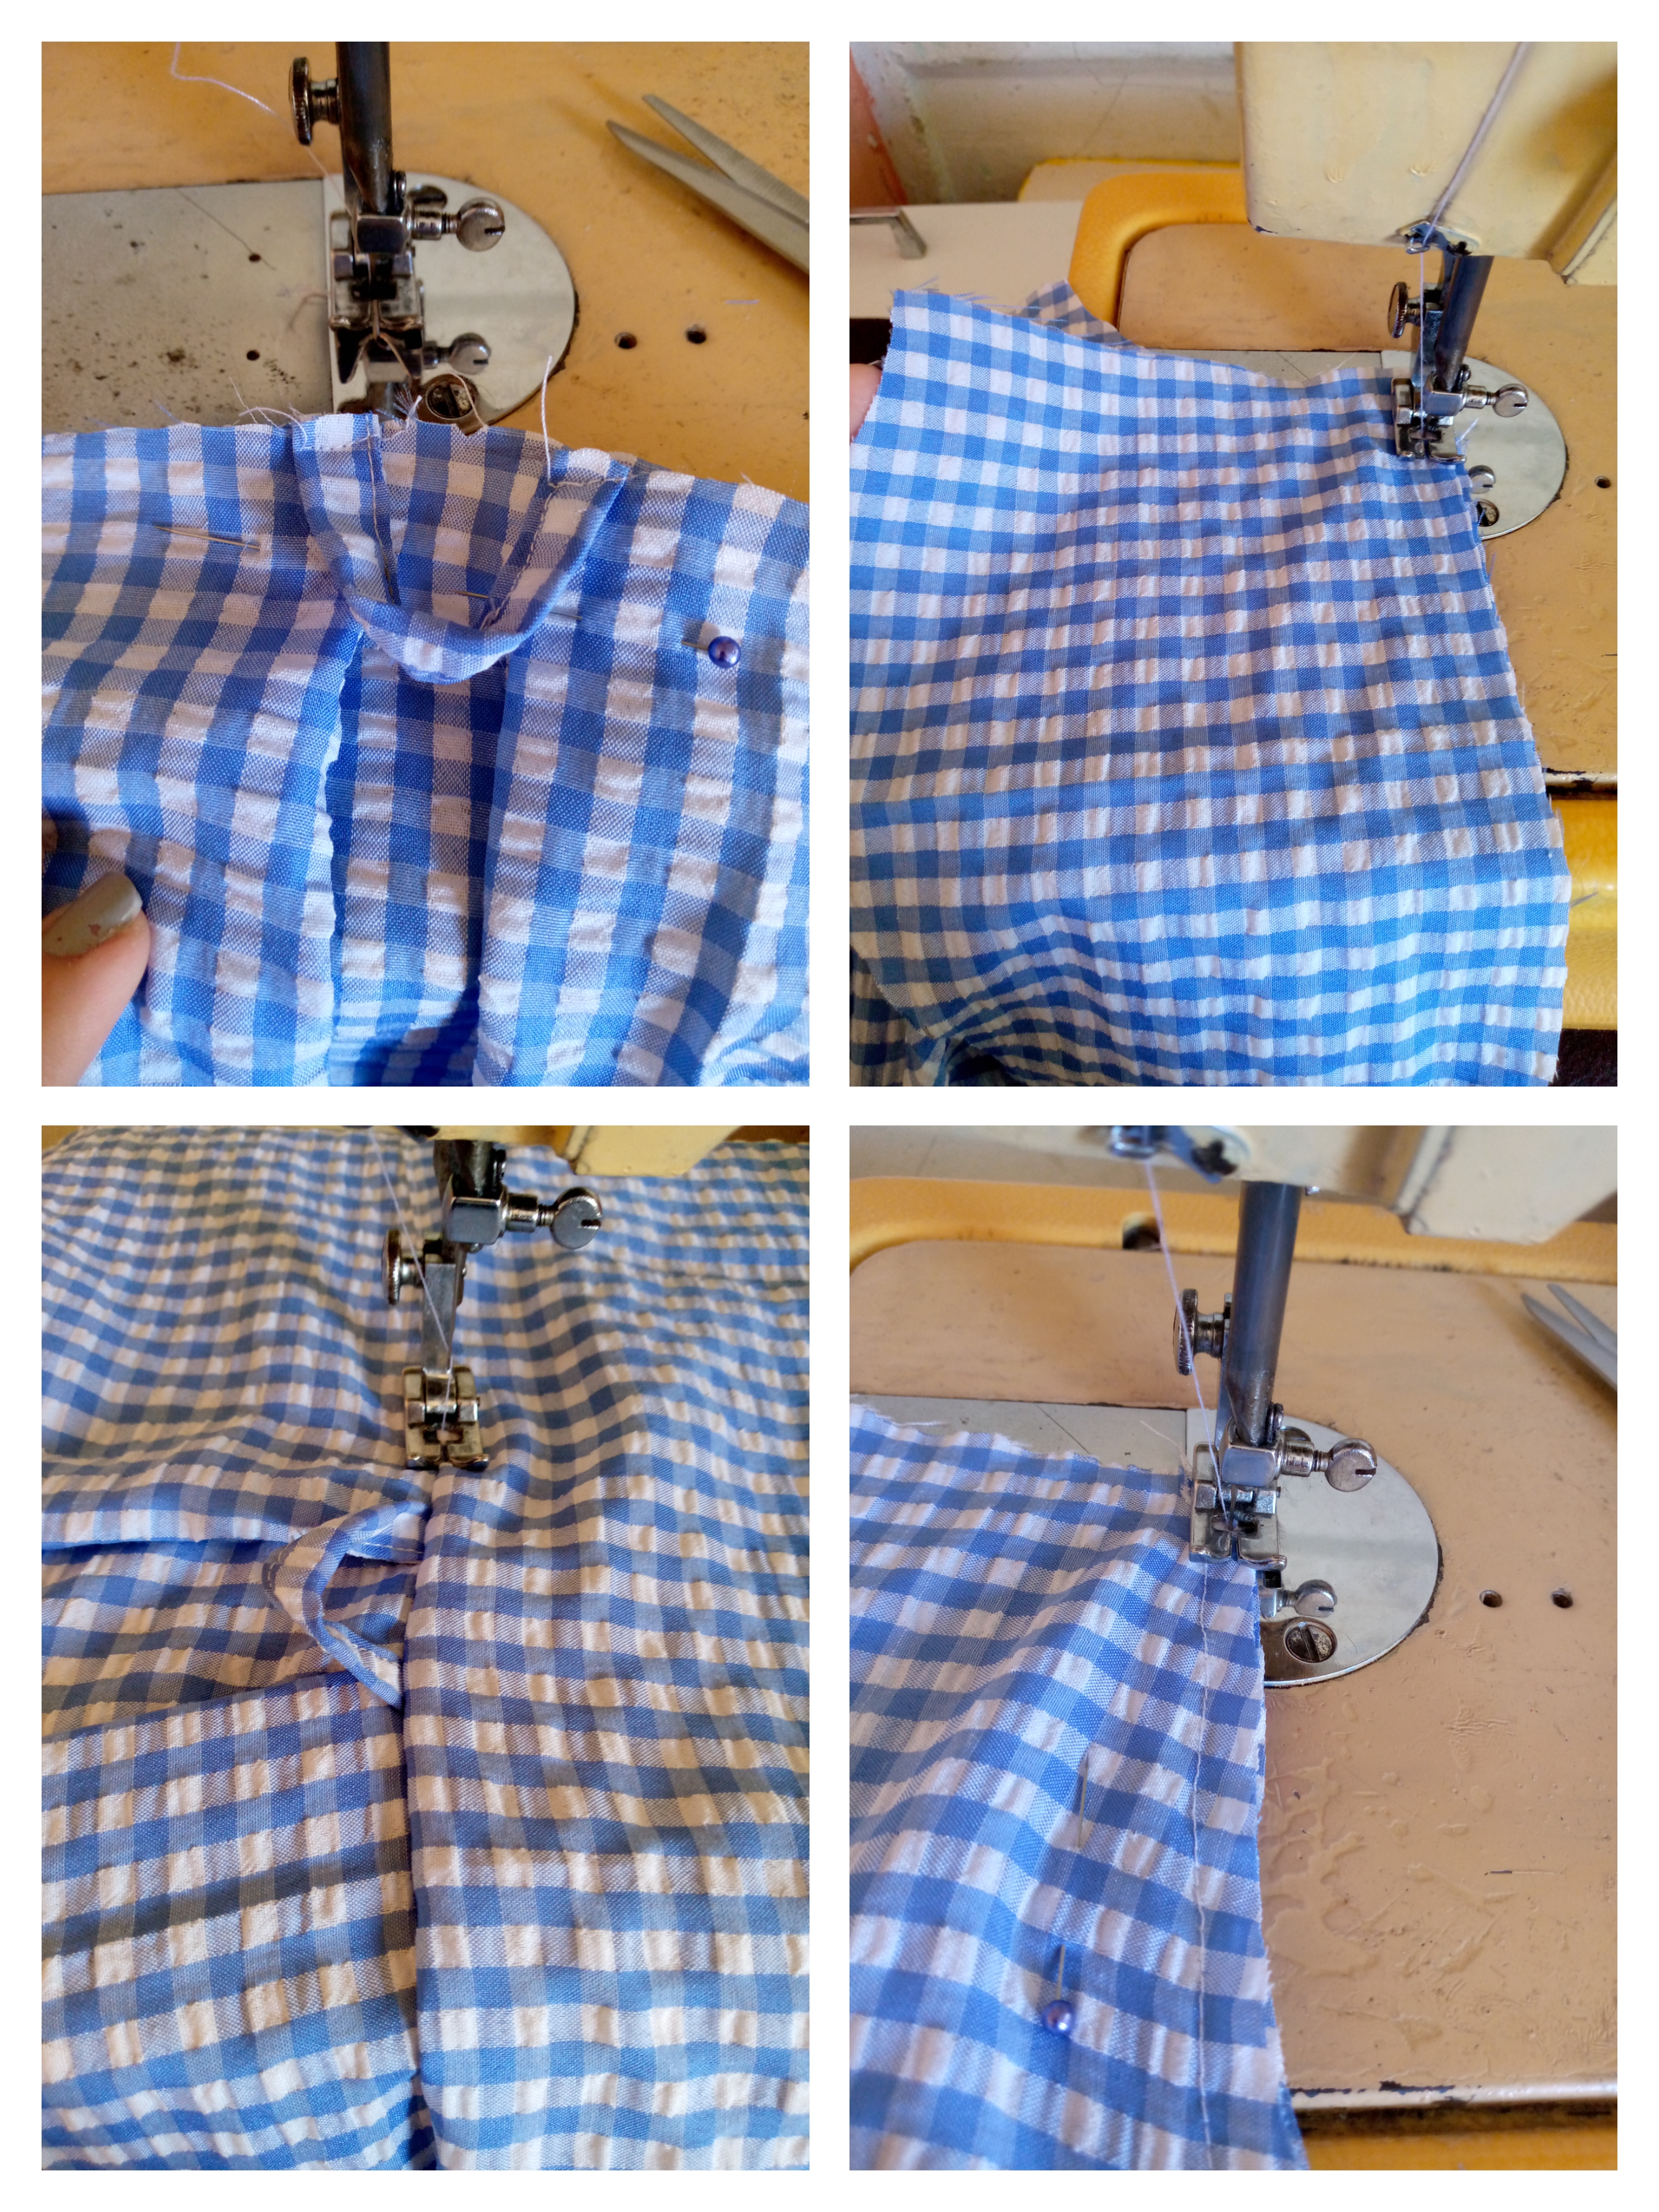
We then move on to sewing the pieces of the bag, such as the flap. I will be helping myself with the pins to hold both pieces that will be double. I sew along the edges, fold the piece, sew it over with a double stitch and I will move on to place it on one of the pieces of the shirt. This time I will be placing it on the left side since the client wanted it that way. I will then sew the bottom piece to complete the pocket.
Paso 03
Step 03
I proceed to sew the strip that goes on the back piece and make two planks, we find them in the middle of this piece and with the pins I will hold the strip, I sew to adjust these pieces, I will be joining the top part to the back piece, I will sew over it with a straight seam and I will zig zag to finish the pieces.
Paso 04
Step 04
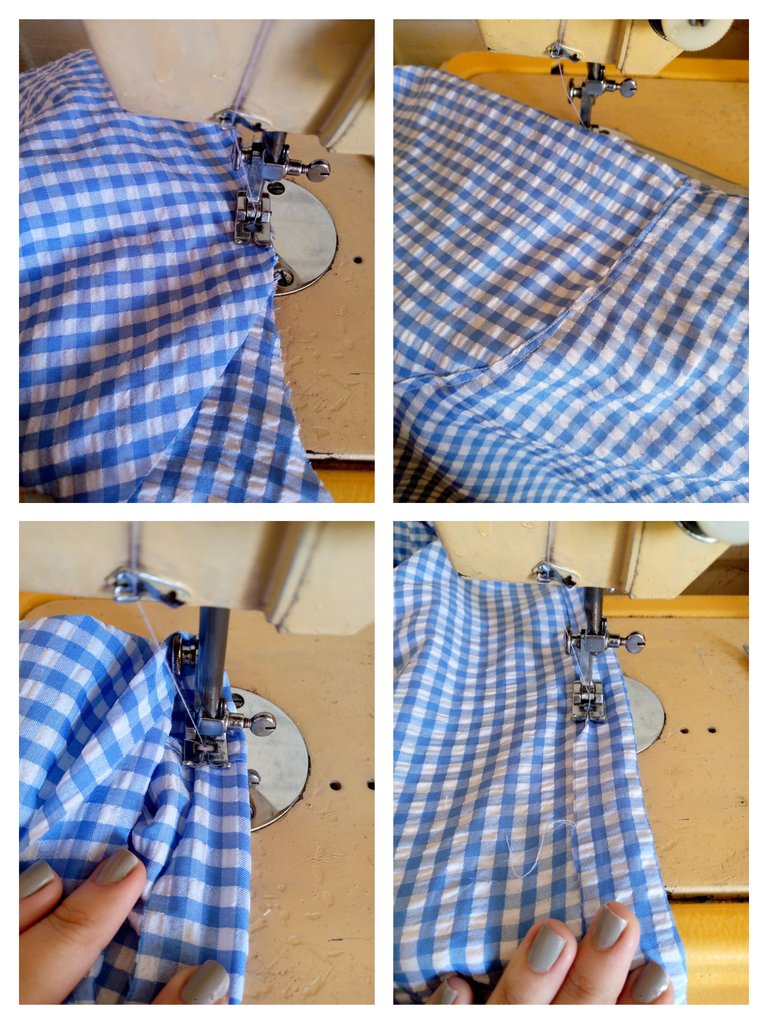
I move on to sew the sleeves and to do this I hold the armhole in the middle of both pieces of the shirt and join them with a pin. I then sew along the edge and seal the sides of the shirt to close it. Don't forget to zigzag. We continue sewing the sleeves and to do this I hemmed the edge. I made and cut this three-quarter sleeve to approximately 40 cm long.
Paso 05
Step 05
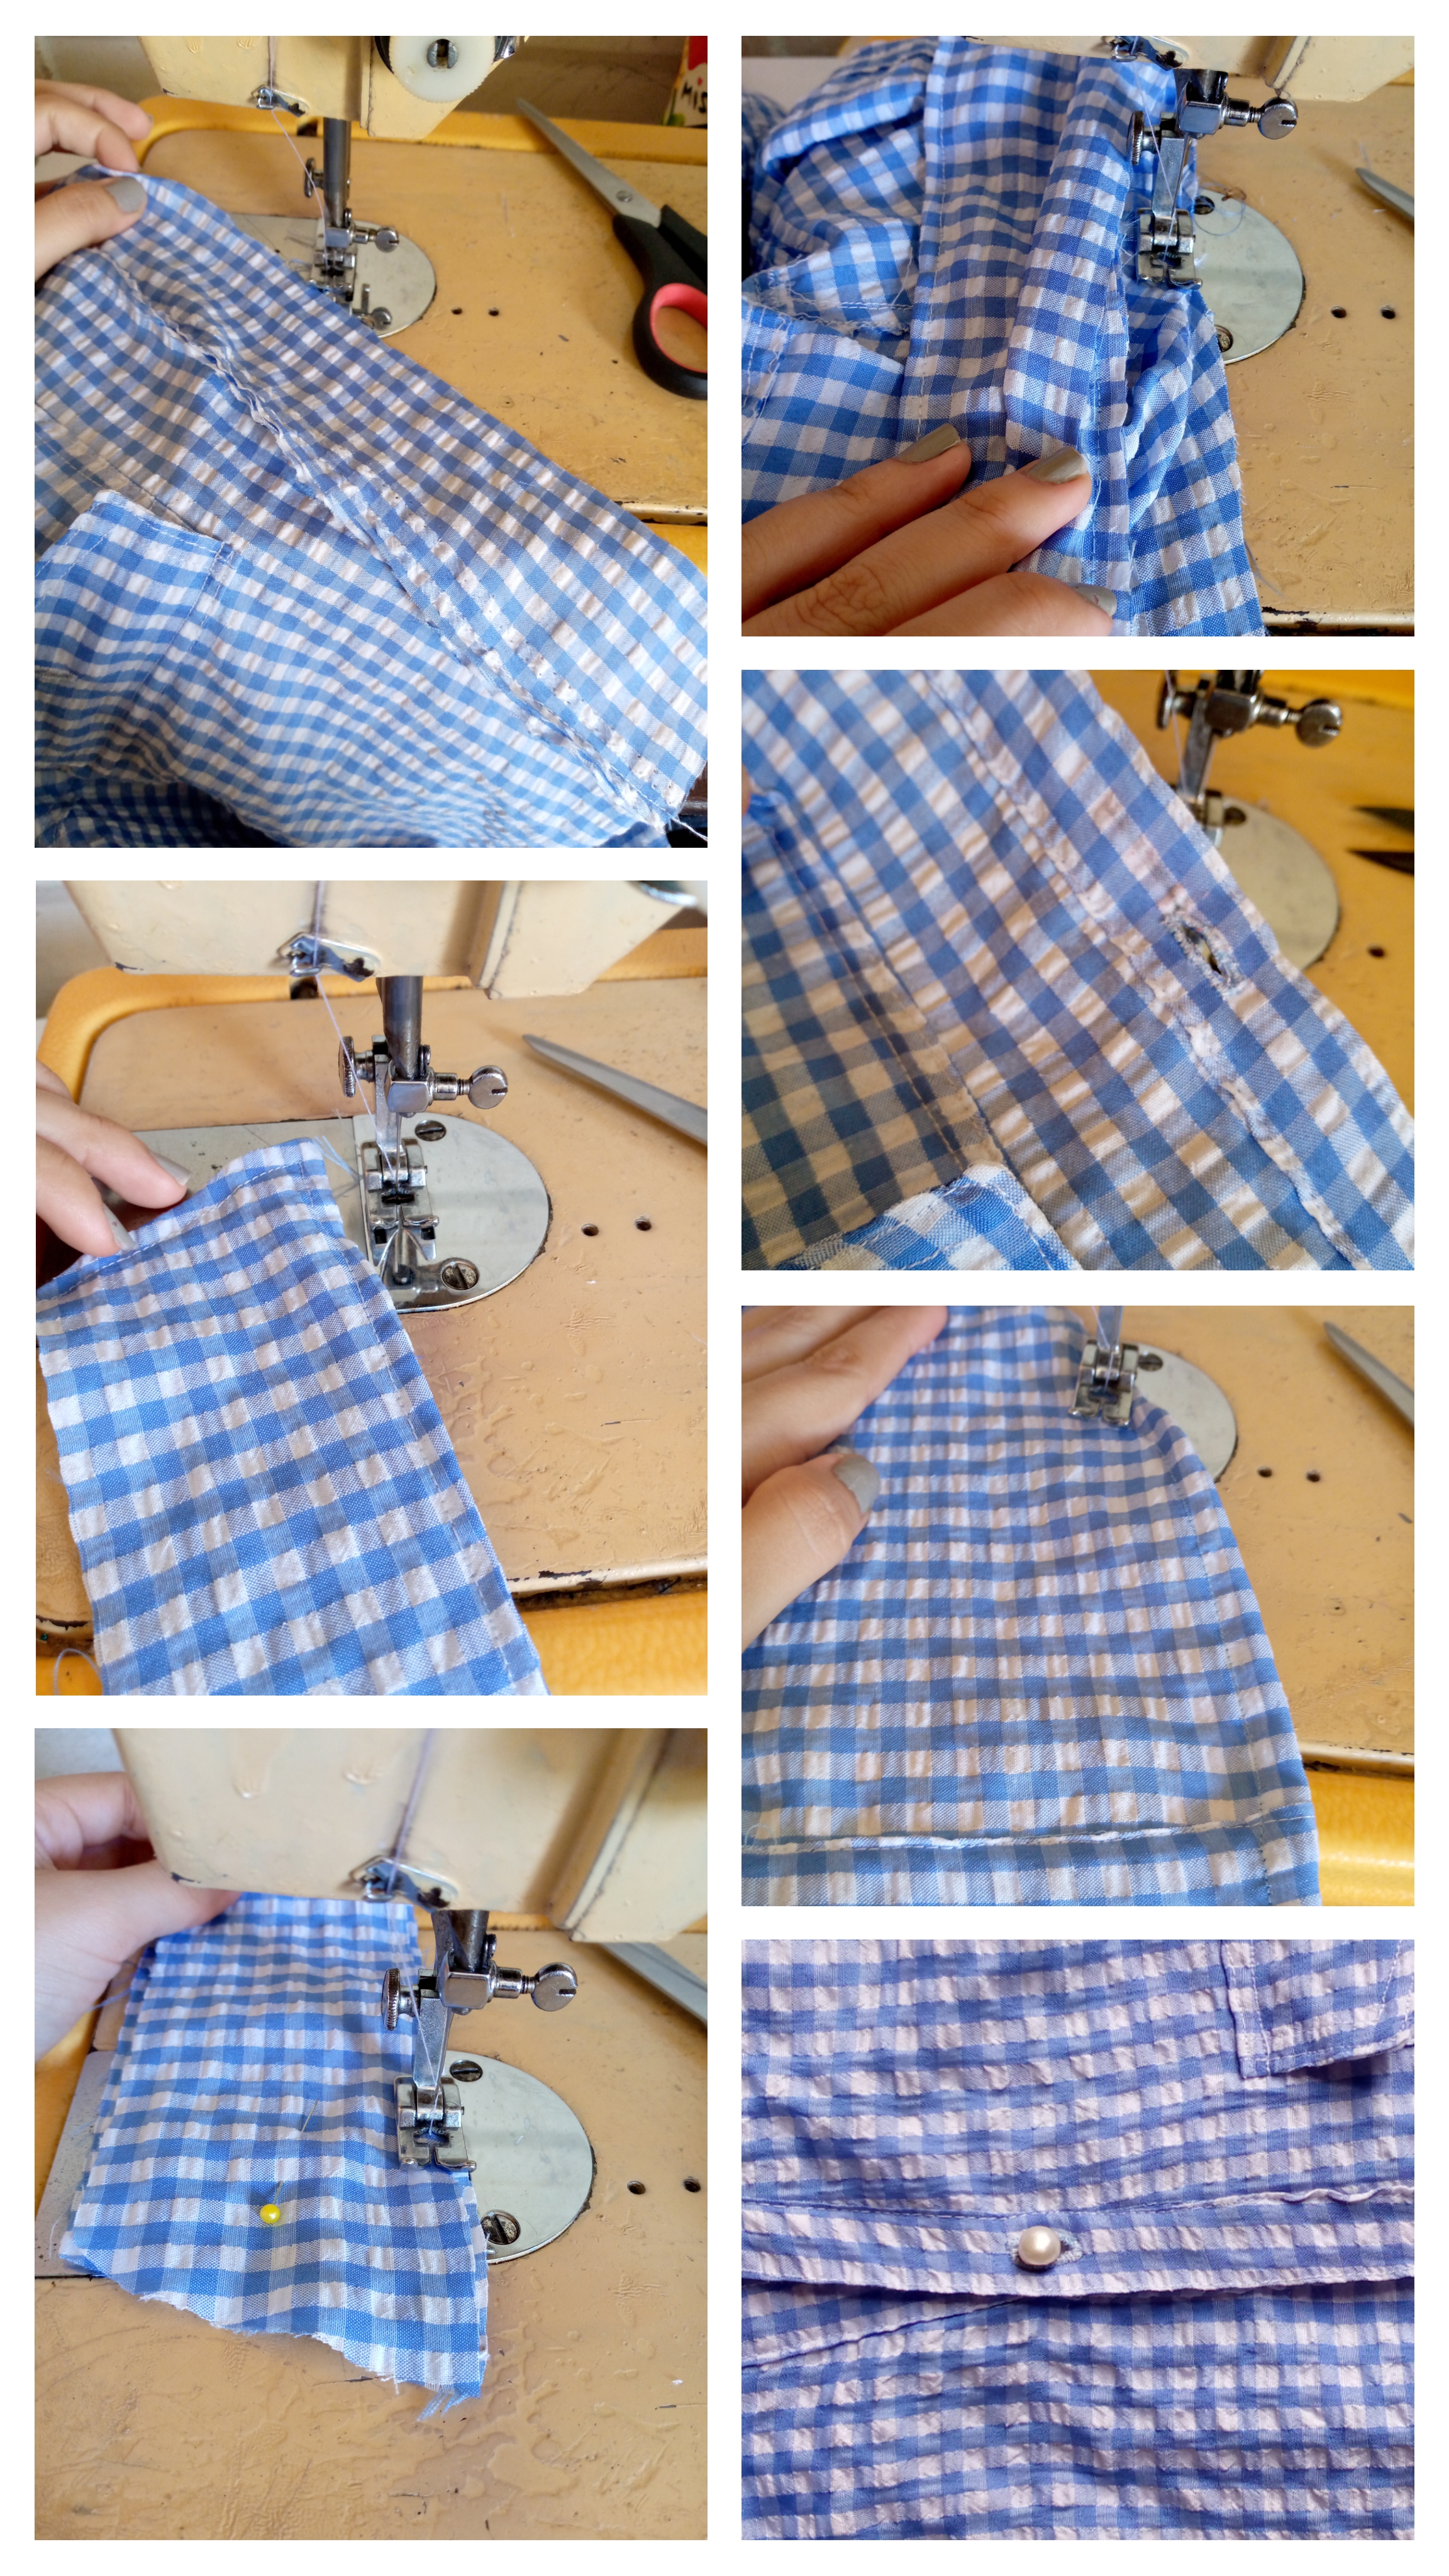
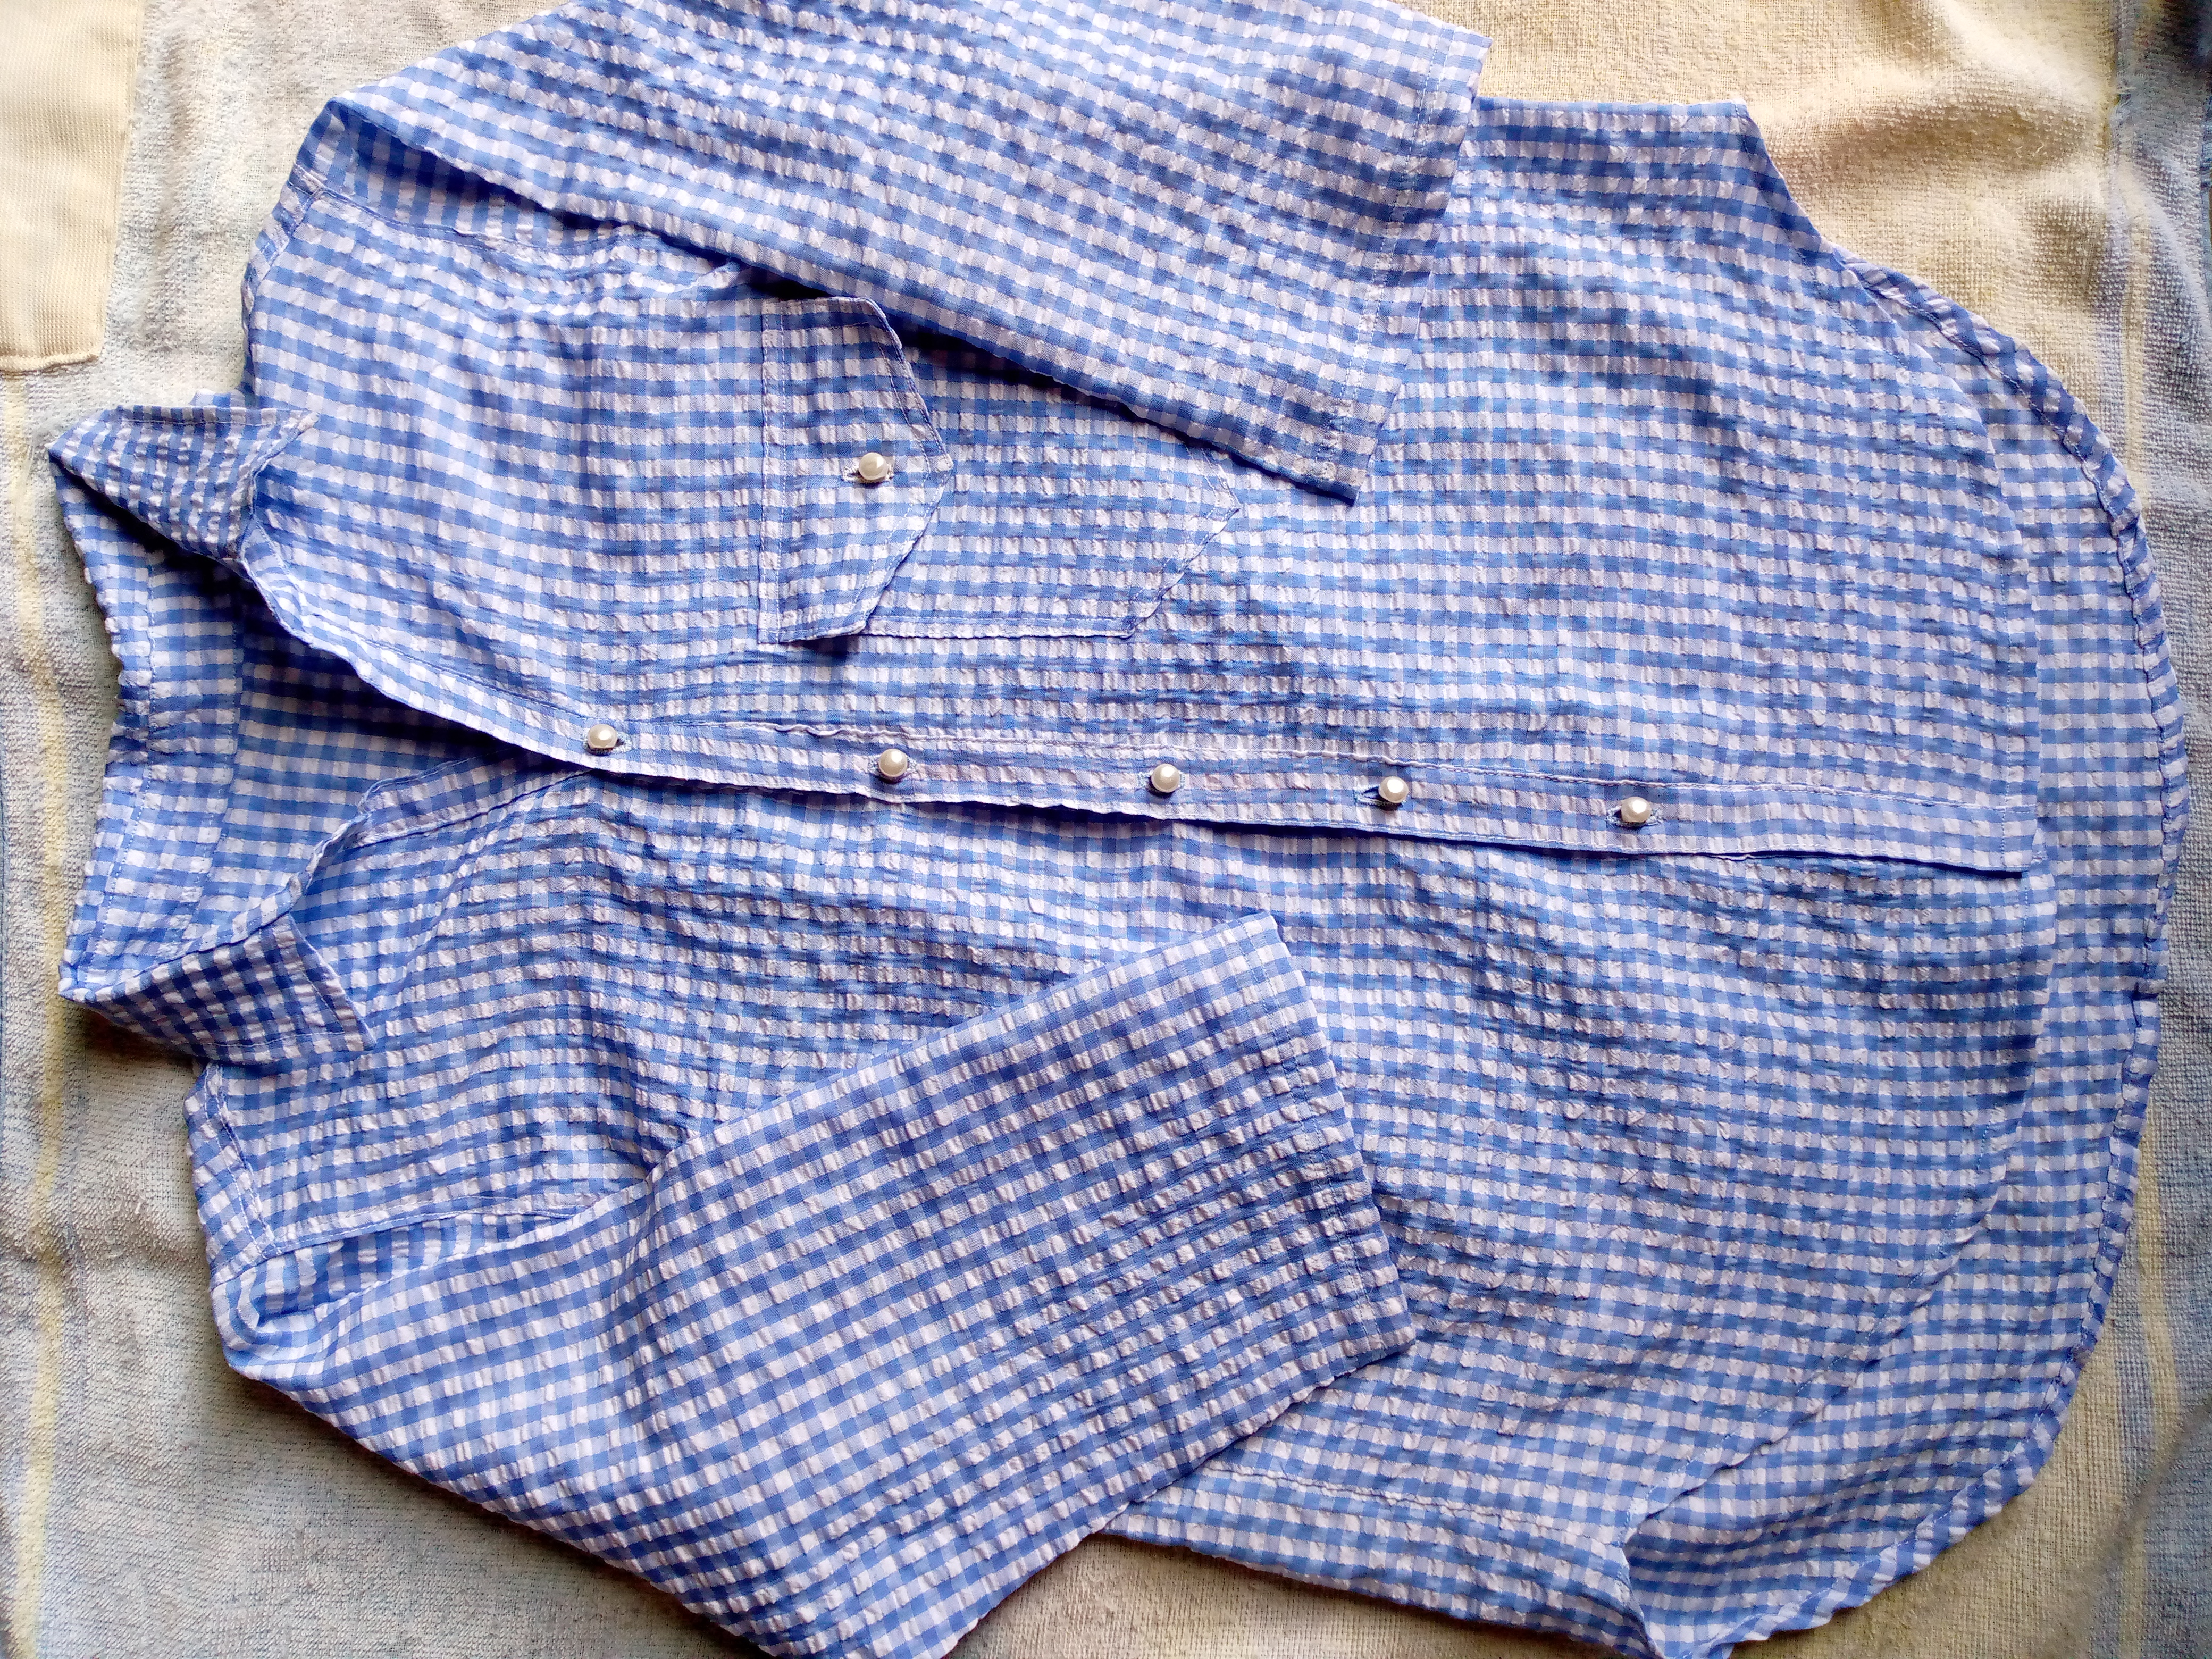
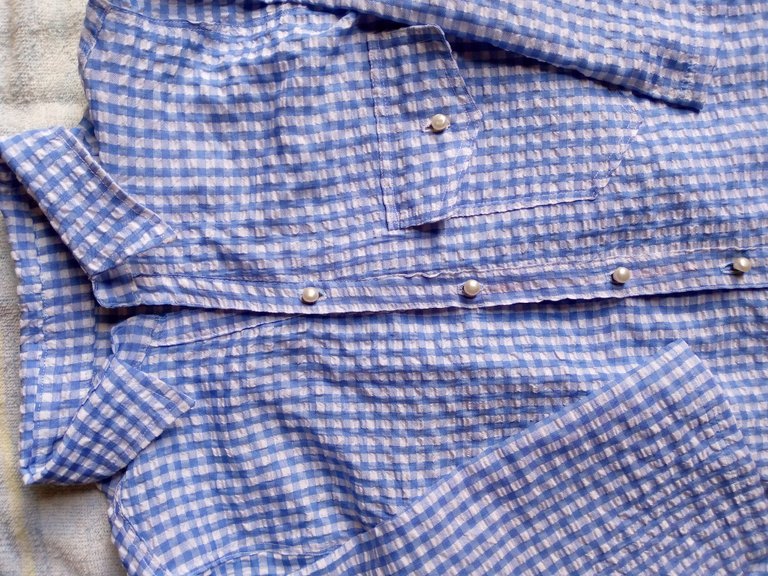
I finished the shirt by sewing the part where the buttonholes and buttons go on the front piece, I sewed the collar together with the piece that divides the collar of the shirt, always going over these pieces with a straight stitch on top
to then mark with a pencil the lines where I will sew my six zigzag buttonholes, then the buttons and the bottom hem of the shirt. In this simple way I have finished.
.jpg)
Resultado:
Result:
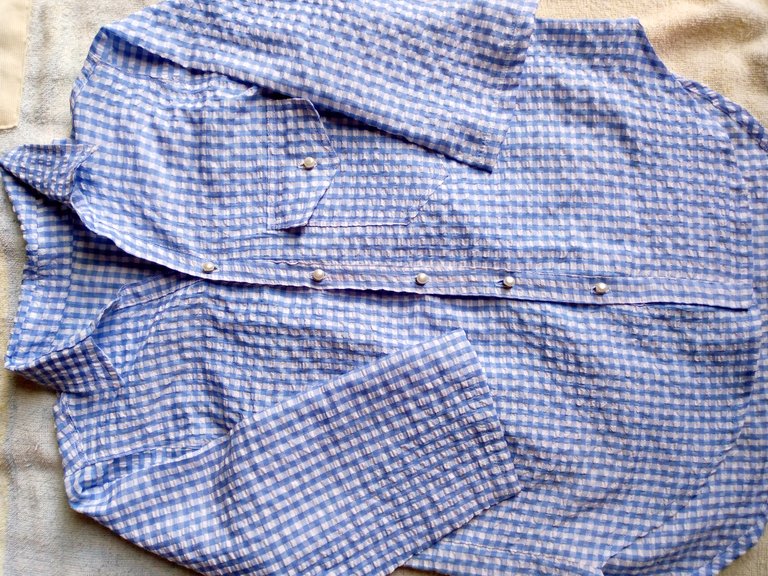
I hope you like the making of this super easy to make ladies shirt, I say goodbye to you leaving you with photos of the final result and hoping to meet again in another upcoming blog, I wish you all a happy afternoon, see you friends✨🥰.

.jpg)
