Hello, beautiful ones in this prestigious community, today is a public holiday here in my country, so I decided to share the behind the scene of this beautiful dress, I call it the "Good to Go Dress".
It's been a busy week for me and i am grateful, I've got lots of jobs to showcase to you, but let's take one day at a time right?
So this fabric is called "Kampala" or the Adire fabric.
I saw my friend a few weeks back rocking a very fancy style and I loved it.
She made use of the Kampala fabrics, so I remembered I had one Kampala somewhere, I decided to get it out and style it.
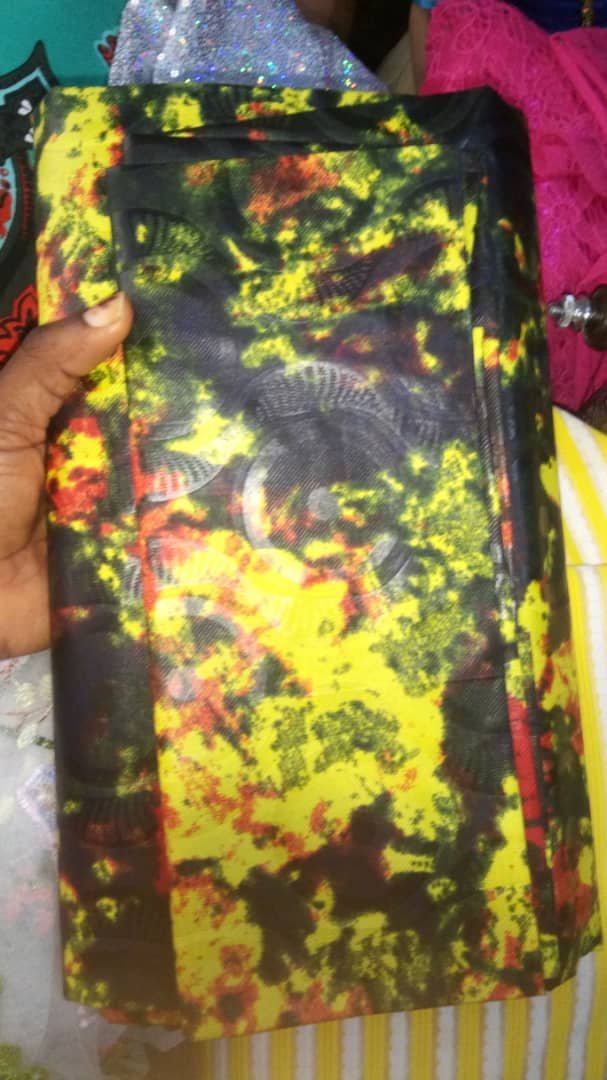
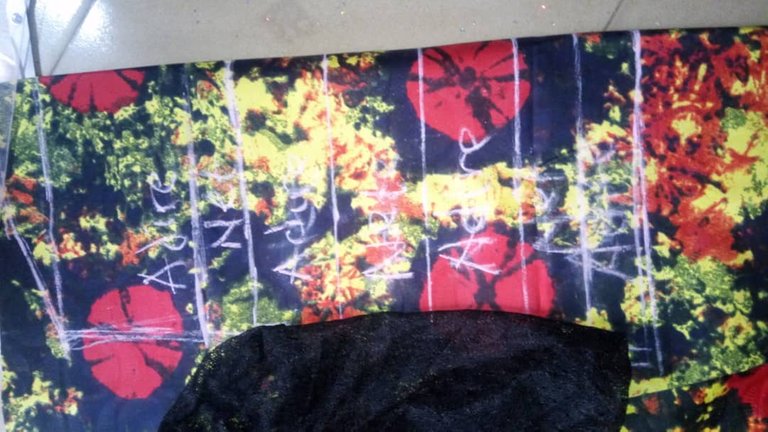
This is the picture of the fabrics, raw and ready to be cut.
I took this picture in my office and decided to take it home and sew it since it was going to be sharp wear for myself over the weekend.
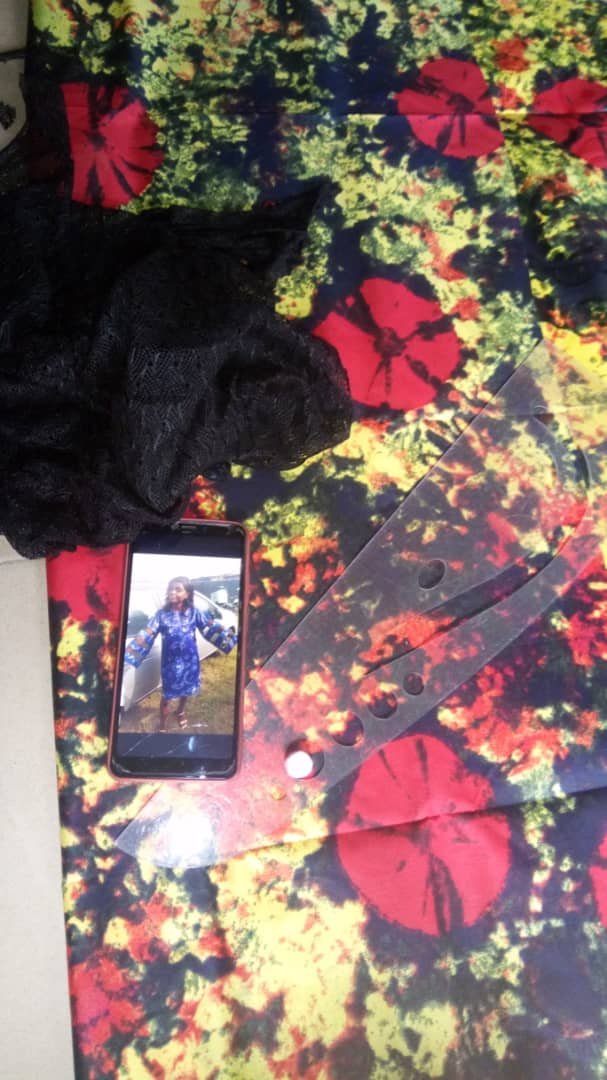
When I am cutting at home, I am cutting on the floor (mopped), I don't know why, maybe because the floor is spacious and comfy.
Okay, from the picture, you can see me checking out the style my friend wore and trying to make something similar.
Materials needed;
Net
Kampala
Zipper.
I took a lot of shots while making this outfit, however, to save time and space, I merged some using the #Photogrid app.
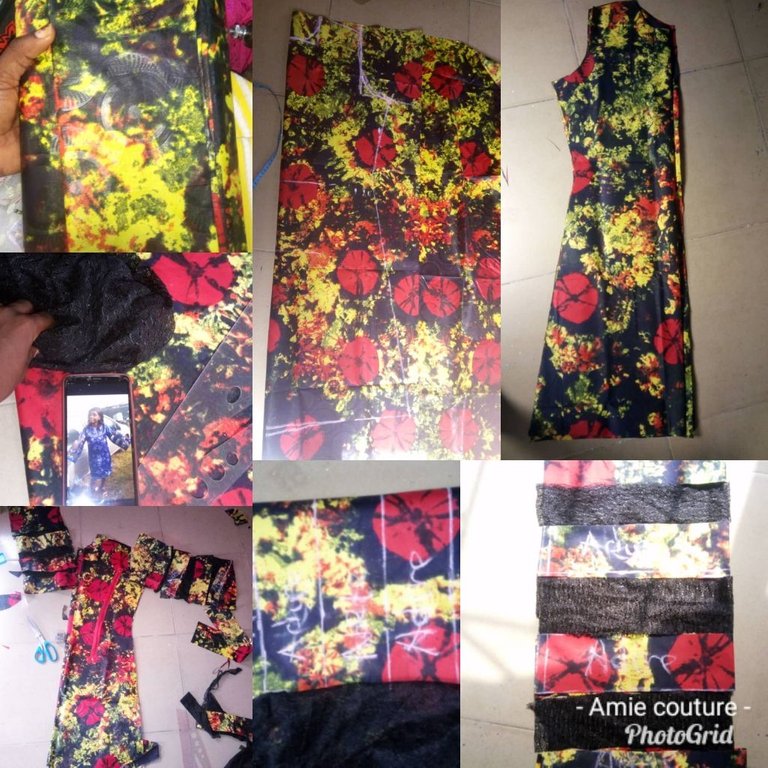
In this collage, you find the steps to making this outfit.
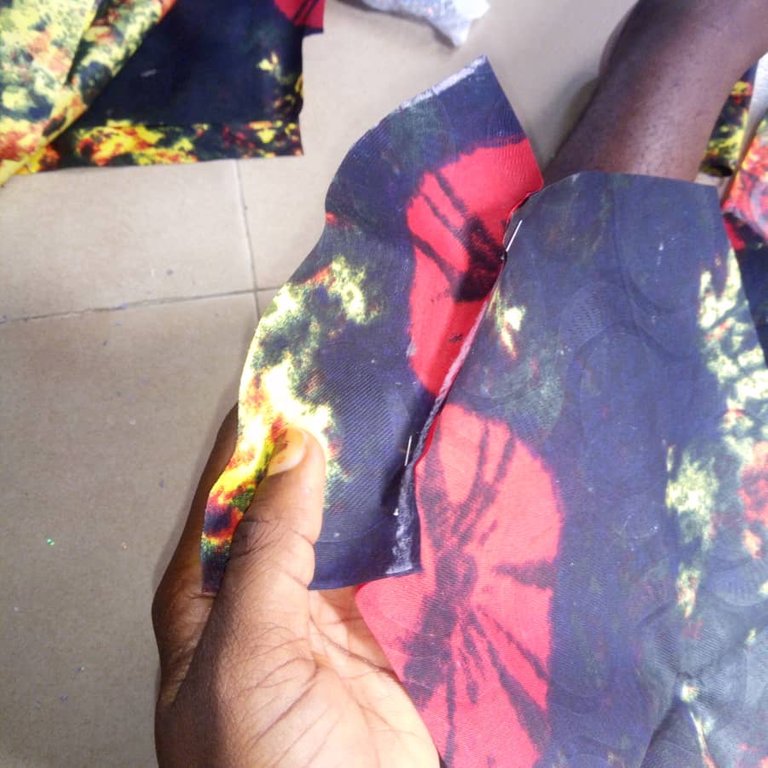
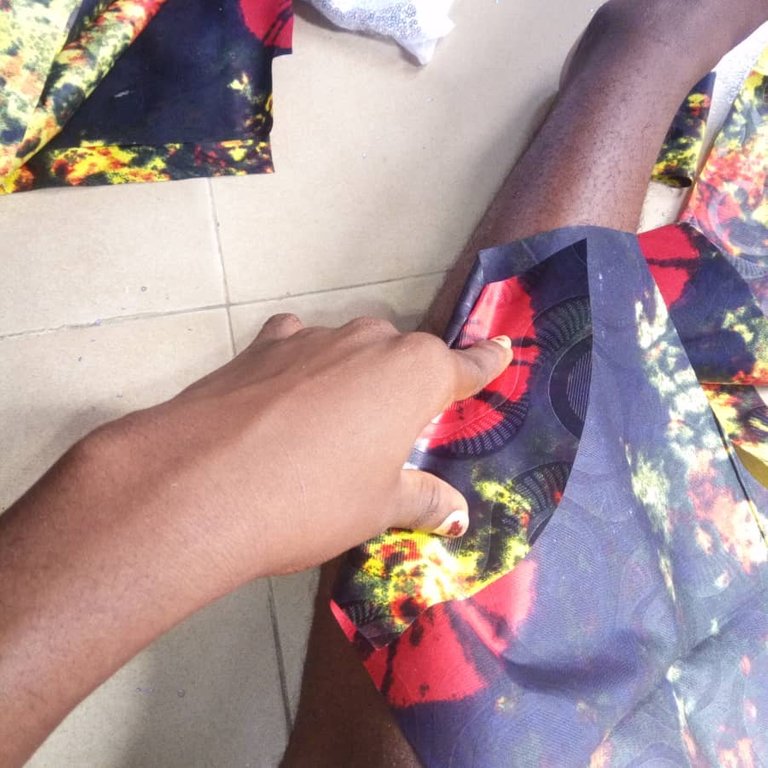
Collage2, me checking out the style. Folding the fabrics to get the desired outfit.
Okay, to fold you fold in two as seen in the picture and then mark out the shoulder, armhole, dress length, hip, and waist using your client's measurement, and then I added one and a half inches allowance by the side.
I did the same for the back but added a one-inch allowance for the zipper.
The complicated part is the sleeve.
So I marked a line sleeve using my round sleeve measurement and sleeve length and then I cut it out.
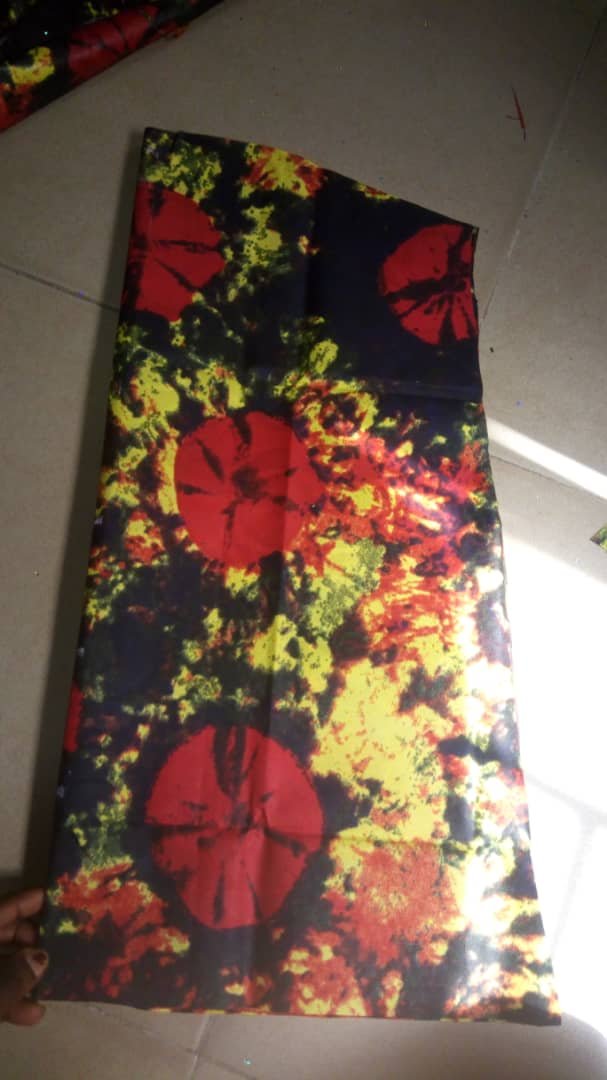
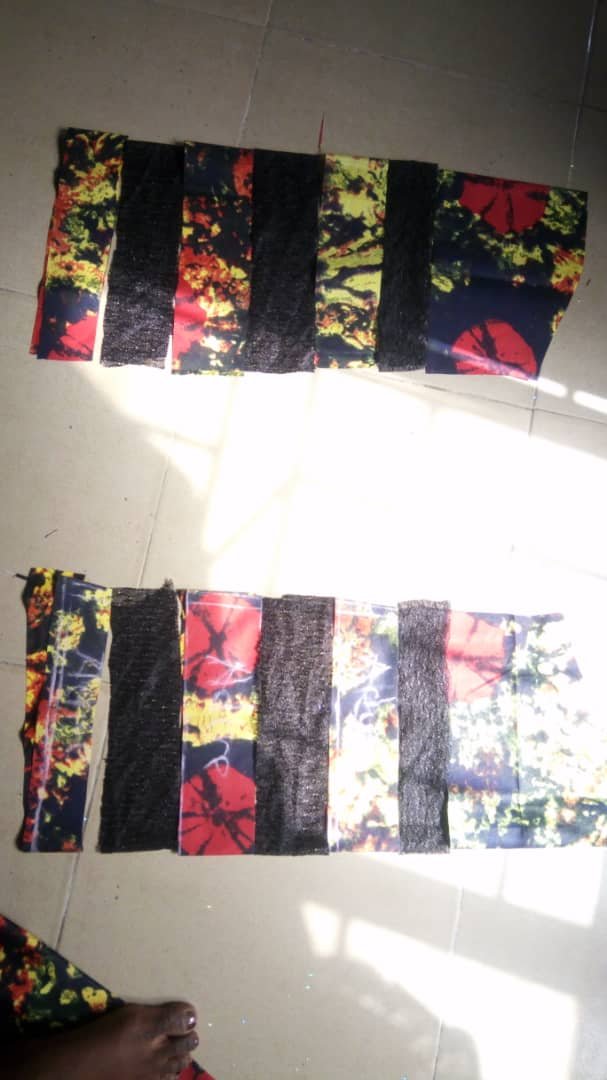
After cutting it was about 21 inches in length, I marked out 6 inches from the upper part and now I divided the rest into 5 parts and then cut.
It is simple, 21-6= 15, 15÷3= 5.
The upper part of the sleeve is 6 inches then the rest will be cut as three inches each, using the net and fabrics as seen in the picture.
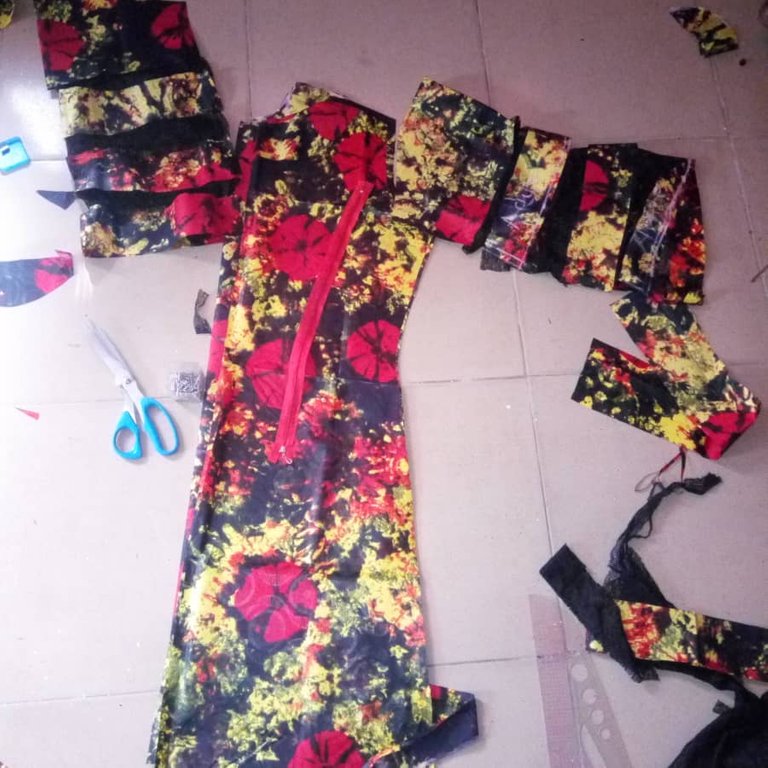
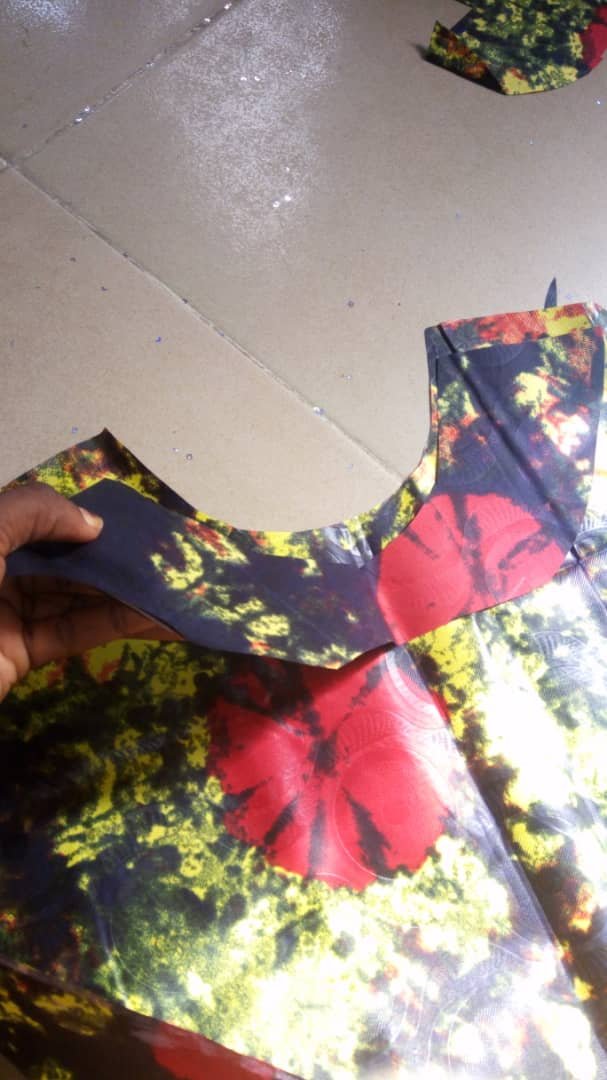
We move to the neckline, I use a depth of three inches and a width of 3inches too.
Then I cut a mini lining for it, using the same Kampala as seen in the picture, I secured using a pin, and I did the same thing for the front and the back.
Now moving to the sewing machine.
The first thing I joined was the pieces of each sleeve, remembering to secure each part with a pin so it doesn't mix up, I am emphasizing this part because it was a struggle for me, I eventually mixed It up which I had to loosen and start all over to join the sleeve again, so please don't make the same mistake.
So I stitched on each piece and then went ahead to give it a good press.
And then I shaped the sleeve.
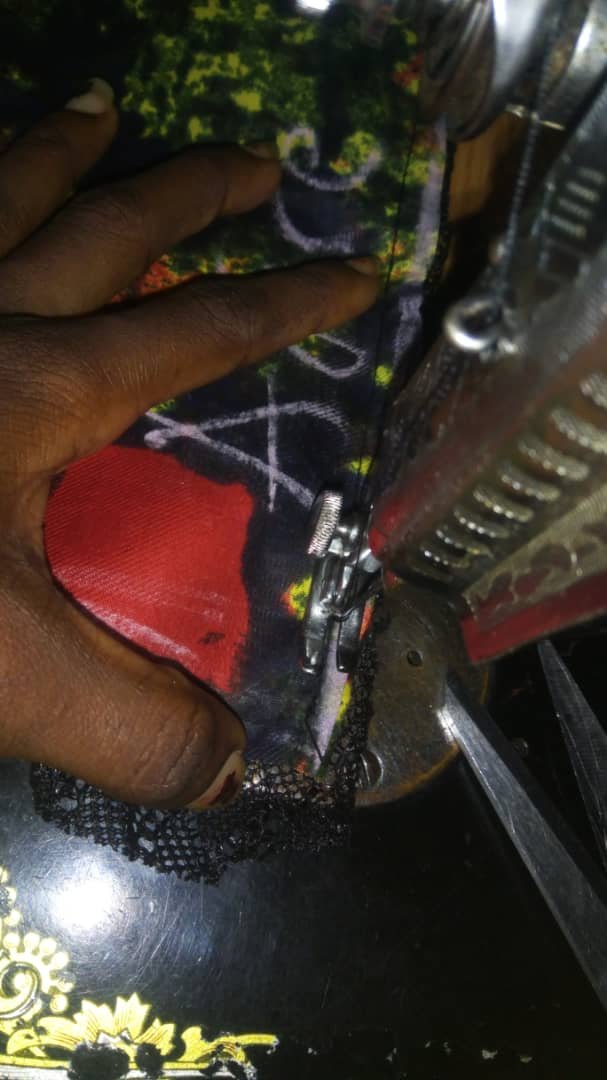
The next thing I did was to join the mini lining to the neckline and secured my stitch too for the front and back.
Now, it's about time to join shoulder to shoulder.
I joined the shoulder to shoulder, joined each side, and then I gave it a desired shape, remember it's not a fitted dress, it's a line shape dress.
I attached my zipper at the back and gave the whole outfit a good press.
I took my time cutting on this outfit, the sewing part was quite easier than the cutting part, however, I enjoyed working with the fabrics because it is a fabric without stones and applique which will not break needles.
Remember not to stretch the net fabrics while sewing as it will slack and not give you the desired outcome.
Wanna see the good-to-go dress outcome?
Tadaaaa... Okay here it is, here comes the "good to go dress"
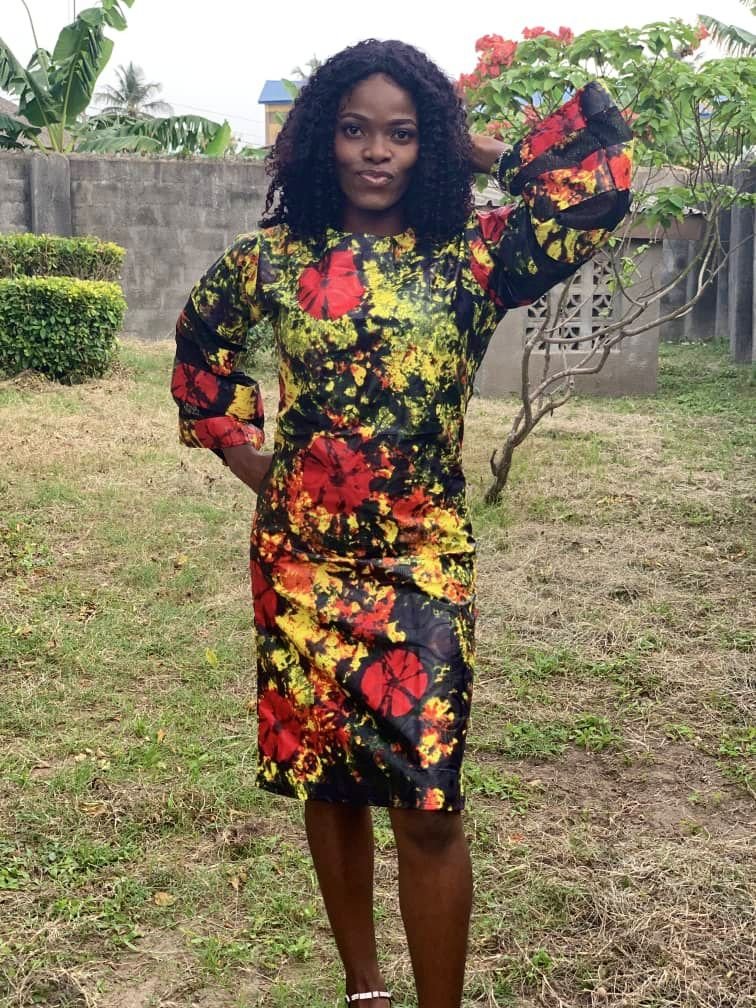
I hope you enjoyed the process and like the outcome.
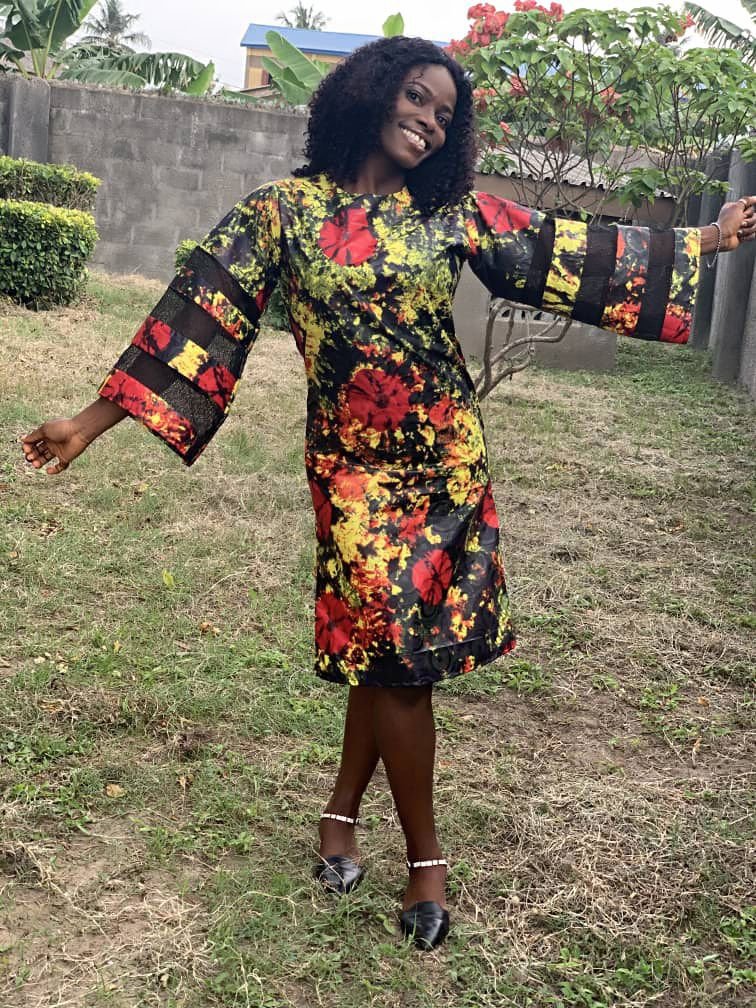
Mind you, I love simple yet fancy outfits so I ensured to rock this dress accordingly.
Feel free to ask me questions on where it looks complicated to you, one thing I believe is;
"Knowledge is power only when it is shared."
All images used are mine.
Thank you for your time.

