As a dad to my son, hmmmm no.... more likely, a total geek nerd who wants to print something cool and show it off to his son.... is what I would like to share for this blog.
I remember watching an ad for a 3D printer made from Anker on the Kickstarter launch event. This video was about a dad using that printer to make something cool for his child... as cheesy as it sounds it is kinda true as a parent if you own one its one of the first things you want to share and show off to. Because... it does look pretty cool in action for kids and both adults alike. :)
Below is the Kickstarter Promo video Anker launched and to be honest I think there is a small bit of truth to a parent with kids want to do for them. But reality at most times results in completely opposite outcomes as well. hahahaha.
As for my kid, since we are playing the game Diablo Immortal together these days I asked if he would like to have some cool cosplay wearables that actually has mechanical features. He liked the idea so we started to do some research online together.
As much as there is vast endless information on the internet... for kids it also takes a vast endless amount of time to make up their own mind and choose. This I think parents we need to teach them how not to fall into the rabbit hole... and we all been there. :)
The place I usually go for printable files is
https://www.thingiverse.com/
However, with a small price I can get printable files that are more refined and improved from
https://cults3d.com/en
Today I choose cults3d to find the file ready to print.
This site has a lot of cool gadgets and toy collections.
Many of them are free and some are paid to support the designer.
Note to parents who are going to cults3d site... there is a section tab called "NAUGHTIES" and this is where you dont want to click the mouse and enter when your child right next to you. Feathering silence from both of you will soon be coming if you do... So don't!
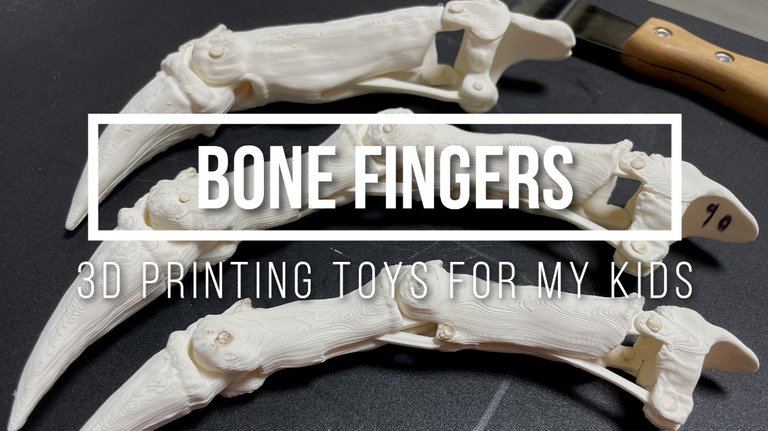
After some searching we came to a perfect item called "Bone Finger" by a creator called LITTLETUP.
https://cults3d.com/en/3d-model/gadget/bone-finger

Even I thought it was pretty cool. There is a giff showing how the joints actually work with the fingers making it look pretty amazing. This was the one... So I downloaded the files and got it ready for prepping and brought it into the program software in 3D Printing terms called the "Slicer".
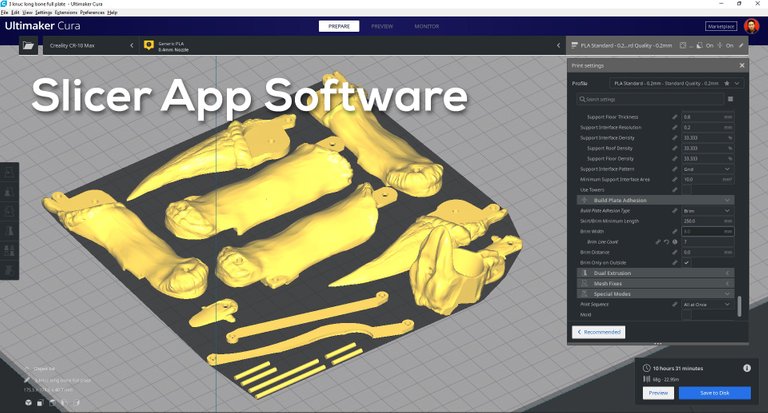
The Slicer also gives you a general idea how each layer is going to be printed on a preview after its been calculated. and it helps a lot when you need to check on questionable surfaces or support structures.
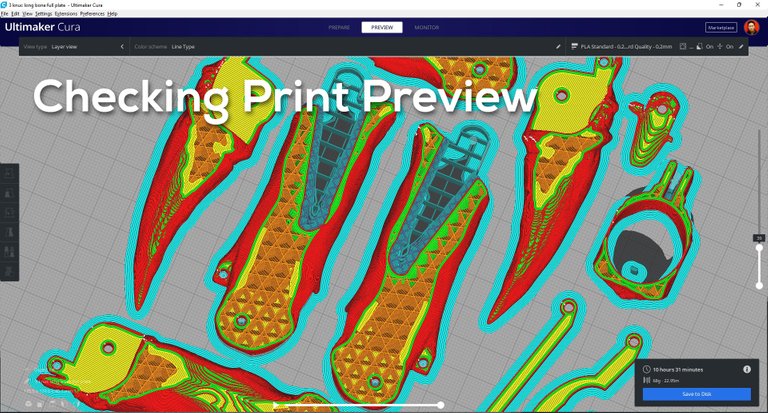
My Slicer Software is called "Ultimaker CURA".
https://ultimaker.com/software/ultimaker-cura
I use this for all of my FDM Printers, and I recommend this to anyone who is starting. Its free from Cura website and its always being improved... amazing developers and great support.
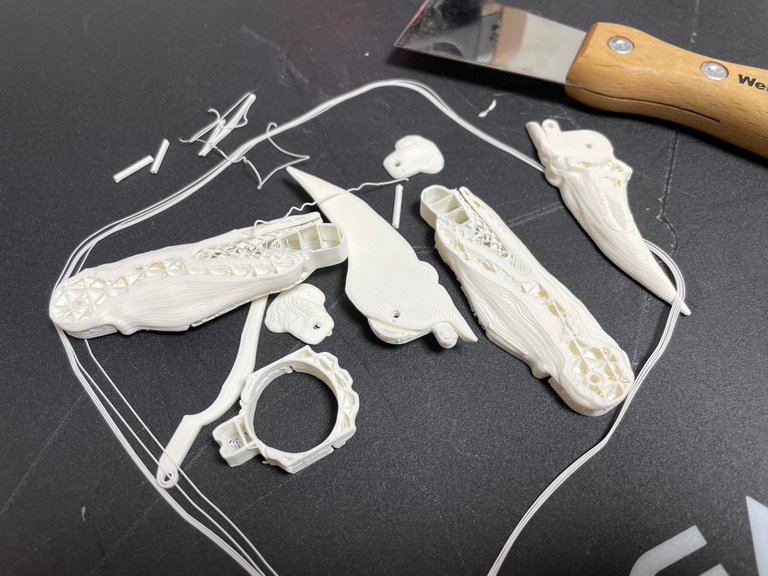
As you see above, THIS is what happens if things go WRONG... you need to do it all over again back to ground zero. Not every time is perfect and failing is perfectly normal... each print has its own unique print problems.
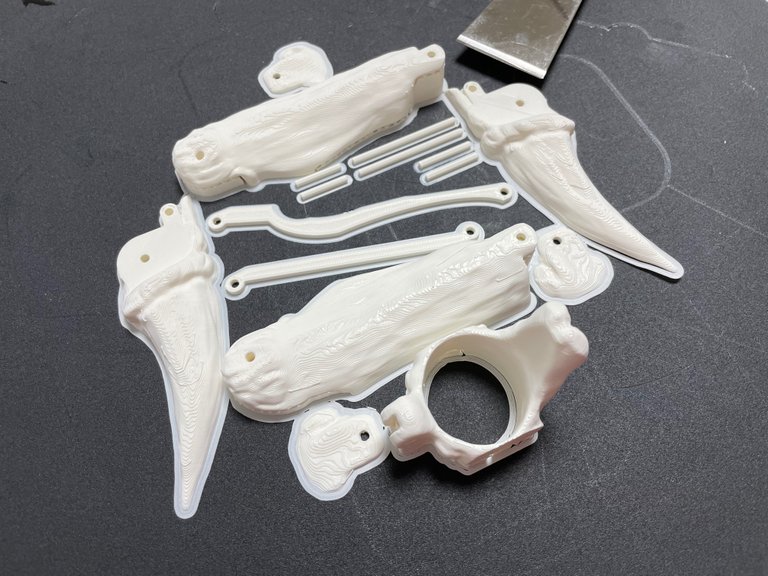
Again the picture above, THIS is what it looks like when things go RIGHT. :)
So from the Cults website when you download the 3D file its most likely going to be an STL file. This is the files you bring in the Cura Slicer and make configurations to set down, modify, calculate time and material, and begin the print.
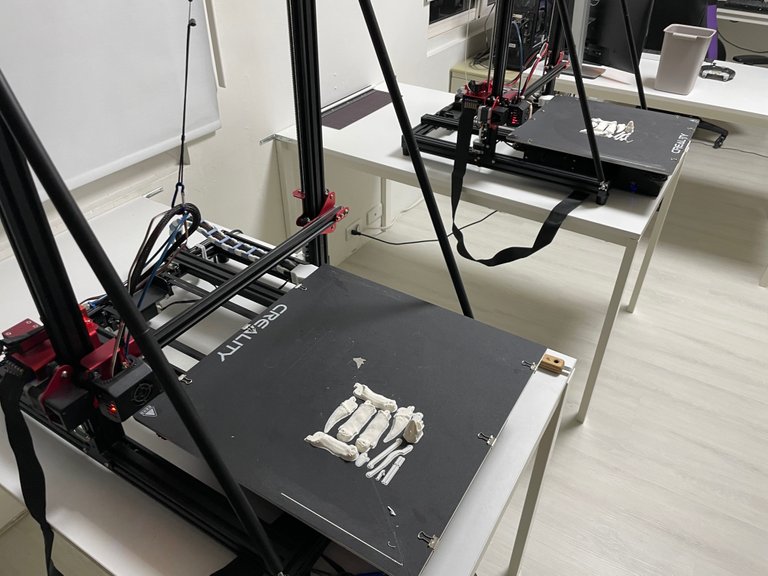
Once I initiate the print both the bed (printer foundation flat foundation) and the heater nozzle will heat up, then XYZ axis will be calibrated, and once all temps are on target the print begins.
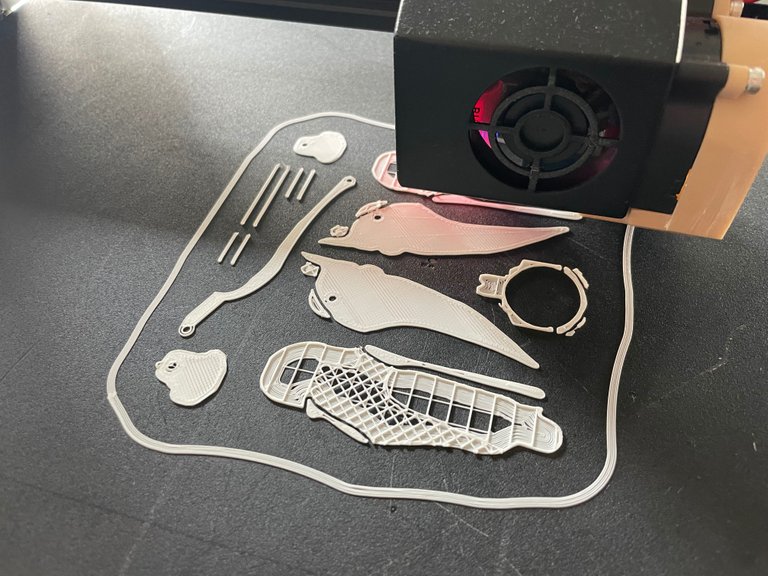
The very first layer is the MOST IMPORTANT stage of the entire process! Without a good adhesion of the first layer it will eventually fall off and fail. The better the foundation the cleaner the prints and less waste of time.
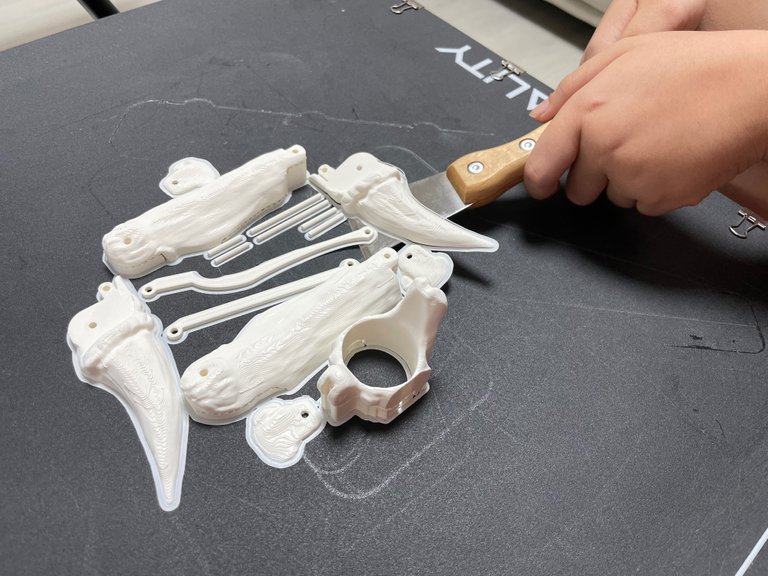
Once the prints were finished and cooled down it was time to pry off the prints from the bed. I use a metal paint scraper and it doesn't need a lot of force. You just need to open up a corner and it will peel off easily. Don't force it... it can injure you and damage the print. Take it easy~~
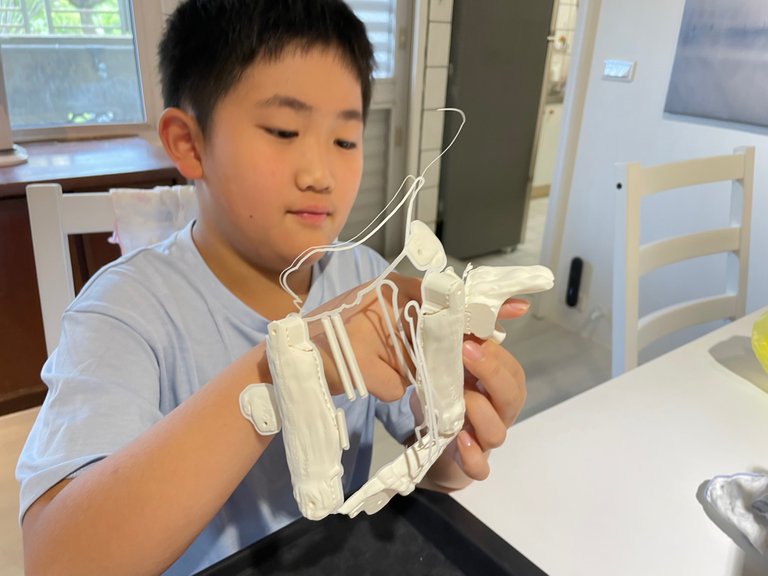
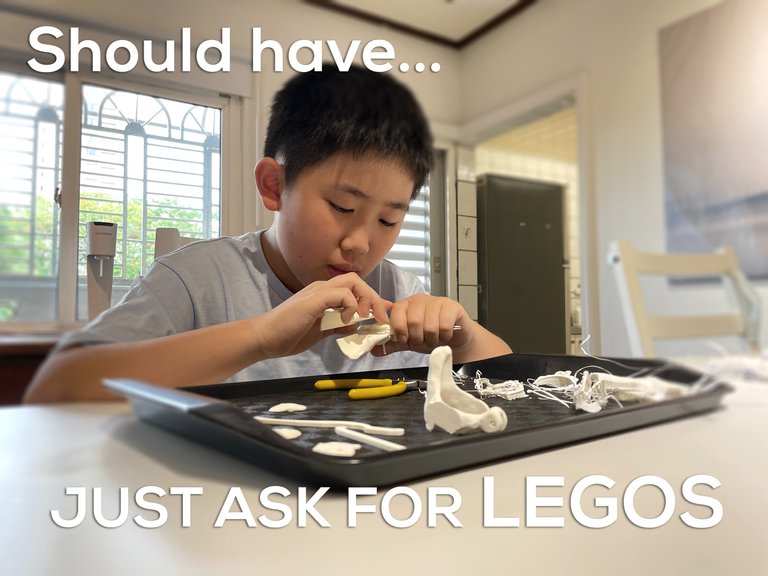
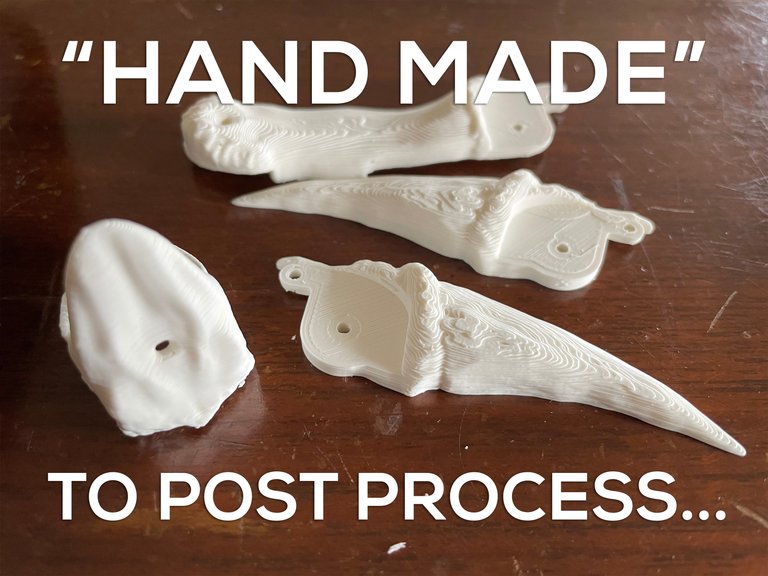
The next part people do not see is that you need to do post-processing the printed parts... this includes taking off support material, smoothing out the edges with a blade, separate the whole printed pie into individual parts. This part is important because this will bring out the craftmanship and detail of the finish and functionality.
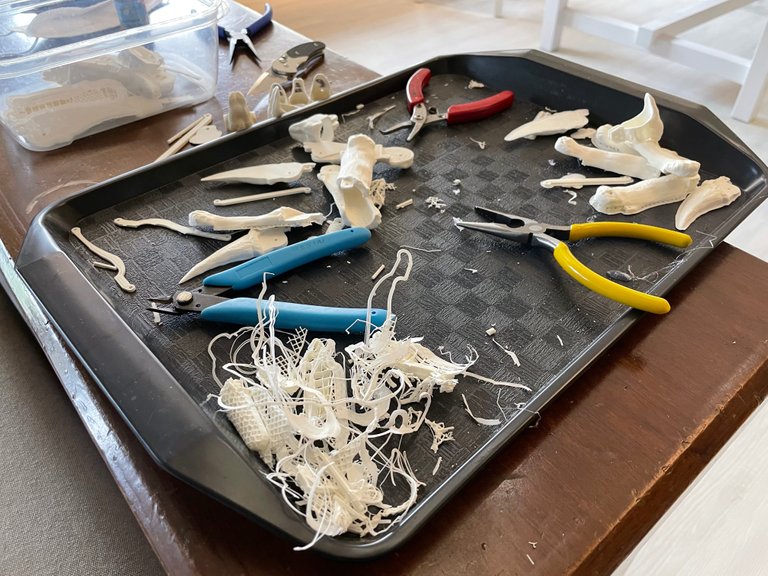
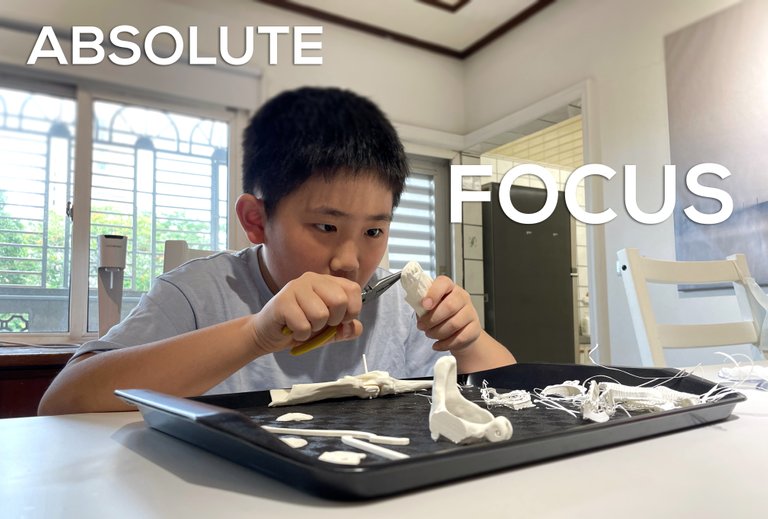
Post processing takes time... don't rush it.
This is what I try to teach my son on all projects we do together. Especially if it involves tools... not rushing it will save yourself from injury.
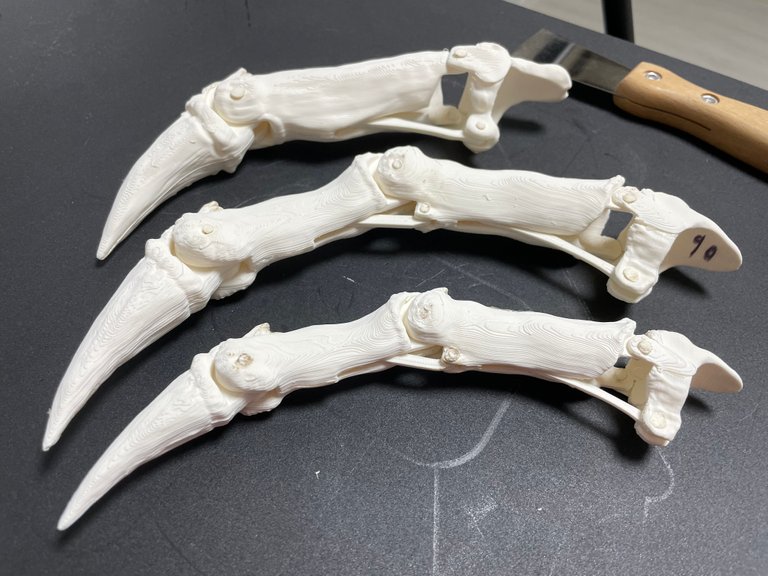
The fun stage is when all parts are printed well, cleaned off smoothly, then its time to assemble the parts to life!!
I have my son do the assembly and I watch him as we put together parts. A lot of times he is not having an easy time assembling because 3D printing dont come out being like Legos....
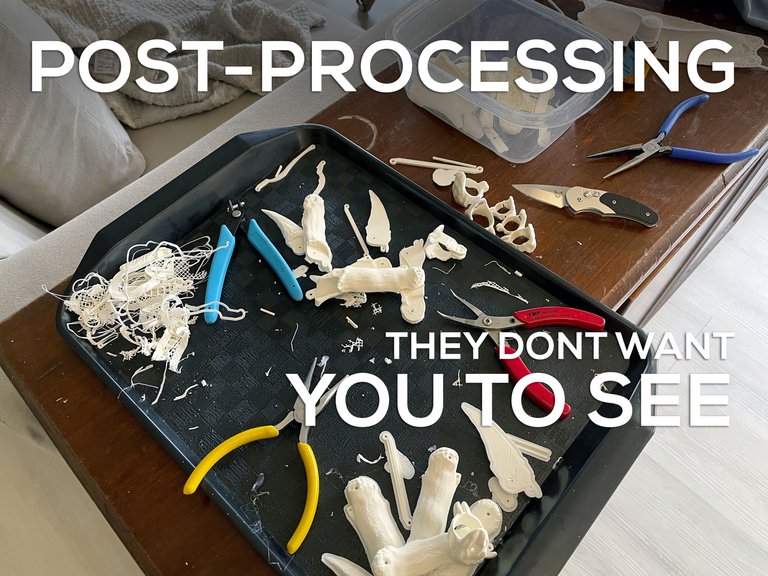
Sometimes a print can come right off the bed assembled, but many times this is the more normal process which so many 3D printing manufactures dont show.
And so many people think 3D printing is so easy.... like just pushing a button and it will come out perfectly every time like an actual inkjet printer or something. NO!~~ not this year. I am pretty sure that is the goal but for sure not this year. We have a long long way to go on that. Till then.... lots of messed up prints, frustration in tuning the machine, blood, sweat, and tears.
When all parts are assembled well and working perfectly much better than expected then that day is a good wholesome day.
At the end of the day, its the process from an idea to creation as a family is what matters most... not the results. OR.... results matter more. LOLZ!!!
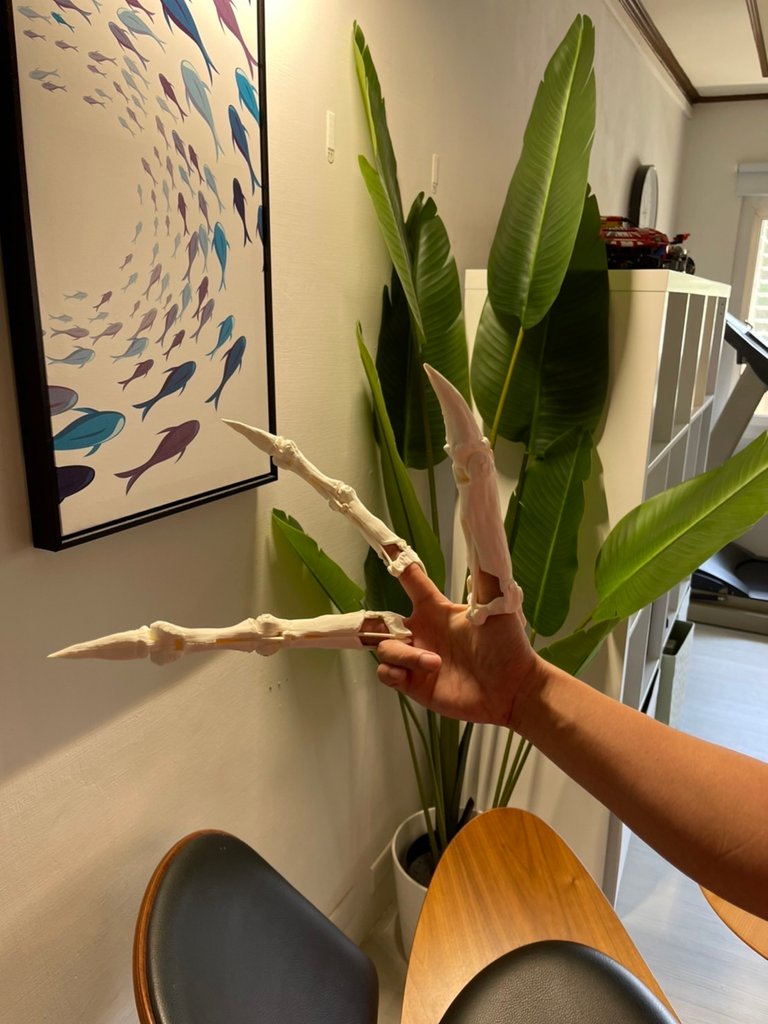
This model was well designed and I love the bone like detail the creator put into it. I highly recommend anyone who has a 3D printer to give this model a try. This is a design where form and function was executed very well.
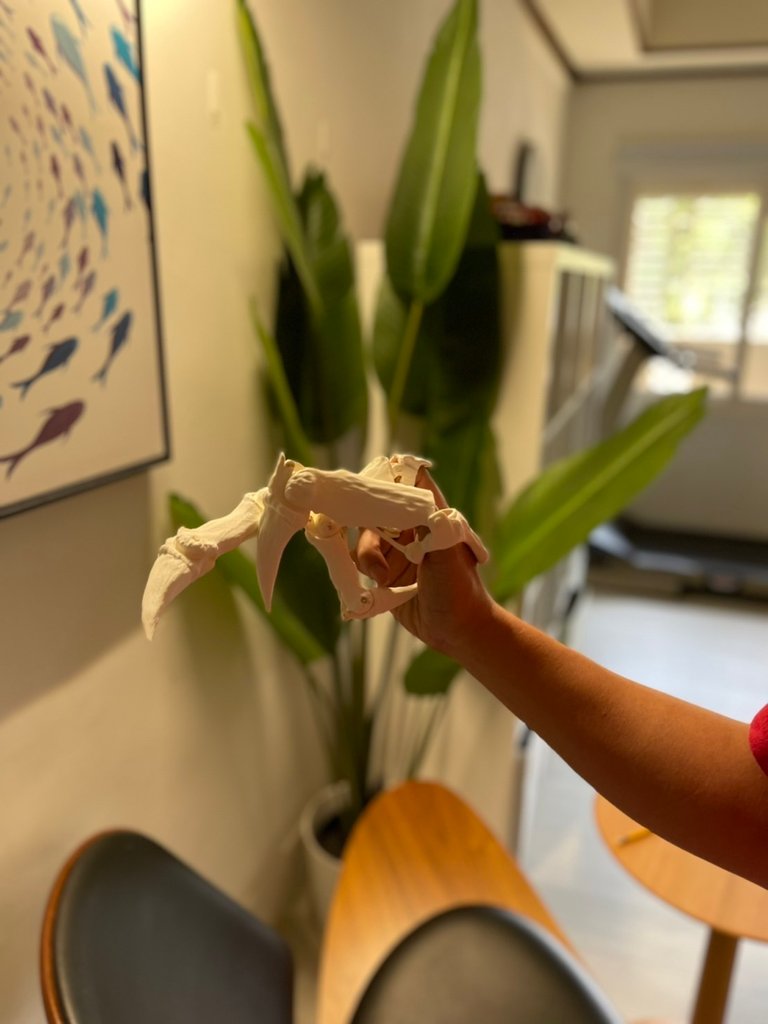
My son loves it and wants to use bring it to school for show and tell. A sense of pride that he chose the model and get to create and build it.... deserves a good show off to the crowd.
A Giff animation to show how it works~~~
Need more printed fingers!!!!

There will be more stories flowing in~
Stay Tuned and thanks for viewing my post.
Set Da Tone!!!


