It has been some time since blogging another post and boy did I want to get back to the Hive community. I have been involved with some work which I cannot disclose but I needed some off time to get some priorities in line. It feels like my blogging skill (if there really is any) got a bit rusty so today I will start off with a blog that is easy on my mind.
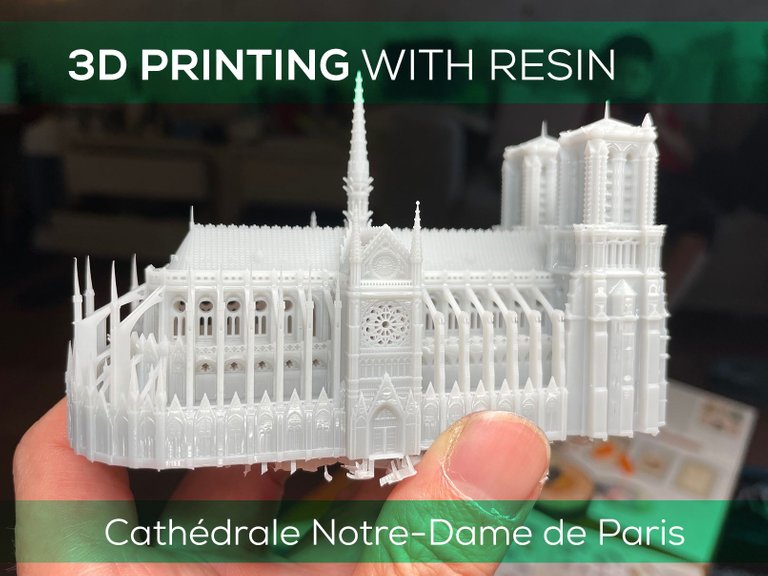
What is it you ask? I have been working a lot with 3D printing for prototyping work and just to play around with it and found resin printing has really so much detail to show and I believe if this technology can be developed in a much cleaner/safer way it has great potential. A lot of 3D printing is done with filaments which is the typical hobby grade printers we see in the market and as you need to have higher resolutions you might want to consider liquid resin printing.
I have printing some examples of real massive architecture into a miniature scale and was very pleased with the amount of detail it has retained.
So no further due~ lets get right on to it.
I have chosen an architecture well known around the world and also the one I have visited in person :
Cathédrale Notre-Dame de Paris

Now Lets get this into a printable handheld scale and observe the procedures shall we?
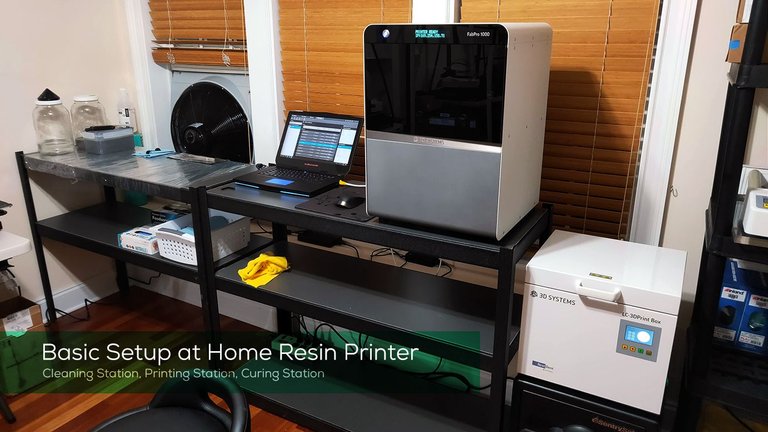
These printers from my experience need to be a bit tidy with handling the prints because of the nature of the resin material. Unlike filament printers these use liquid resin which hardens when UV Light is exposed. As a result its important to think about the waste that you are handling due to the fact that its not environmentally friendly.
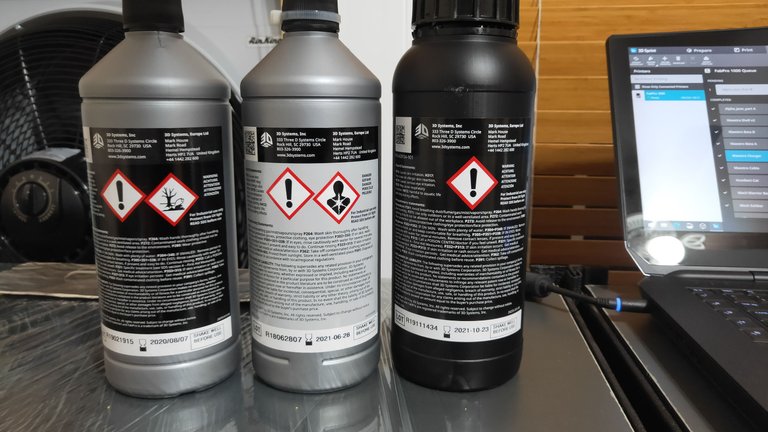
Also you dont want it to get it on your skin because it can cause some pretty nasty skin reactions once UV light is exposed. Moreover, you need to clean the prints with 99% alcohol which is called IPA. When cleaning it does get pretty nasty if not properly handled.
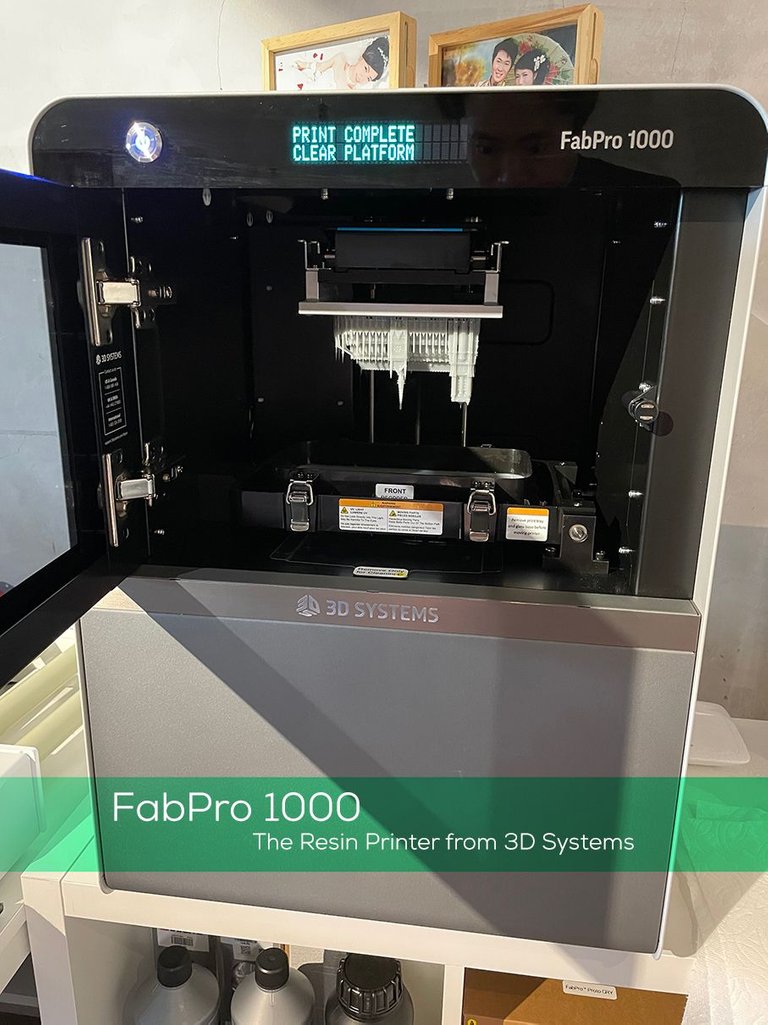
We start off with getting the model into the software to scale and calculate a printable code for the 3D printer. The software I am using came with the printer and is called 3D Sprint.
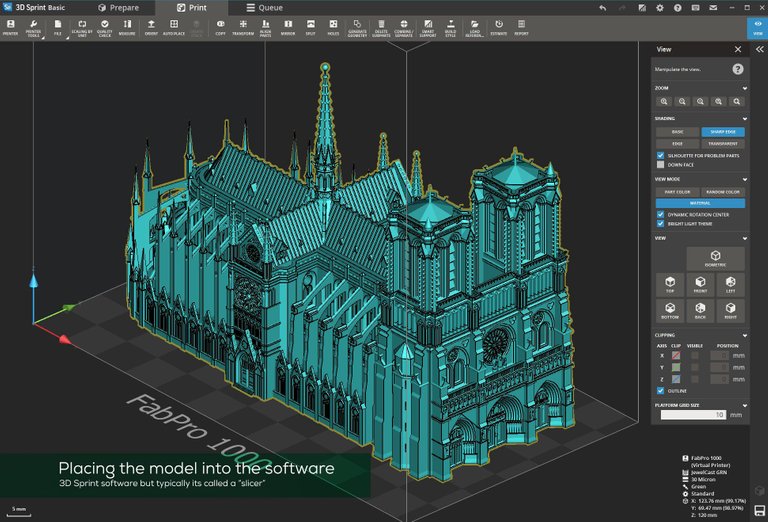
You bring in the model in a CAD format into the software to properly scale and have the printer understand its entire form. We usually call this type of software a "slicer". I think its because in order for the 3D printer to print out it uses a layer to layer build method... and thus there layers are like slices of bread? not 100% sure but it will do. :)
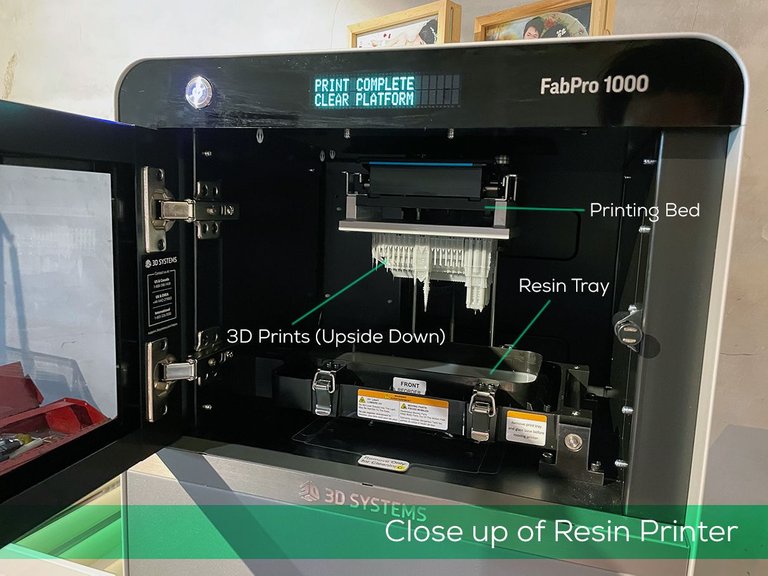
However, I cannot deny that the results of what comes out of it is absolutely magical. The details that result in this really boggles my mind on how much detail we can output in a machine we can purchase and operate AT HOME.
I use a room separately due to the smell and its always better to have your work room and rest room separated. Keeps your mind in keeping up some balance for work and life. :) Which I have such a difficult time to differentiate. :)
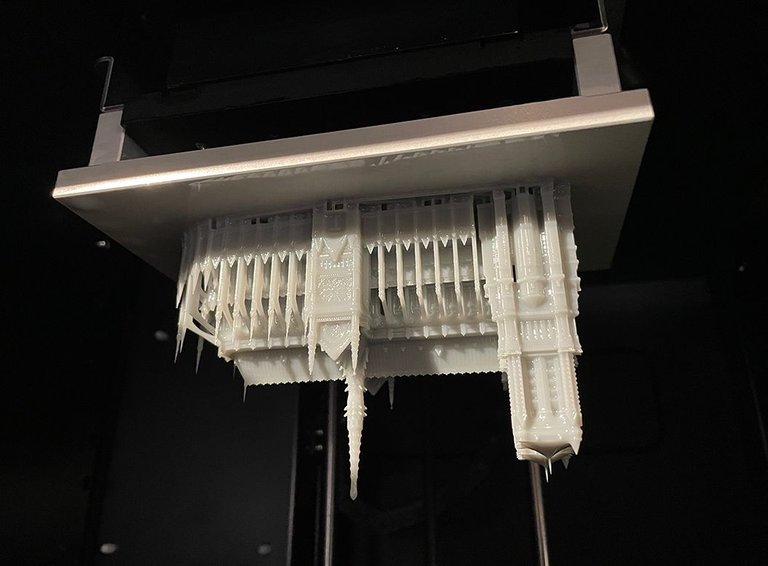
Once the model is printed you can see the uncured remains of the resin on the surface of the print... we need to clean this off with IPA Alcohol. Lets now pry off the print into the IPA Alcohol bath!
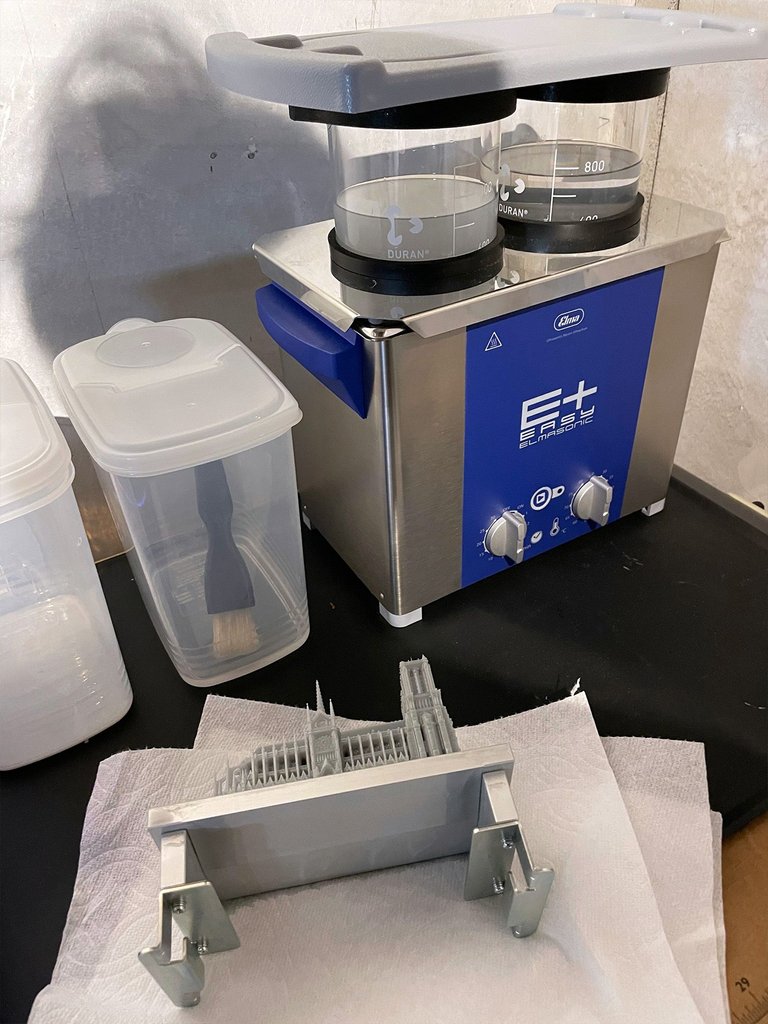
Above photo is the print still attached to the metal build plate which we will separate and then it goes into the ultra sonic cleaner which you see on the top right blue colored machine. The ultra sonic cleaner effectively buzzes the hell out of the model with ultra sonic wave pulses and get rid of the resin of the model in every corner possible. You can also just use a method which many hobbyist do is just do it manually and clean it off with a brush and slosh it around in a IPA fill tub.
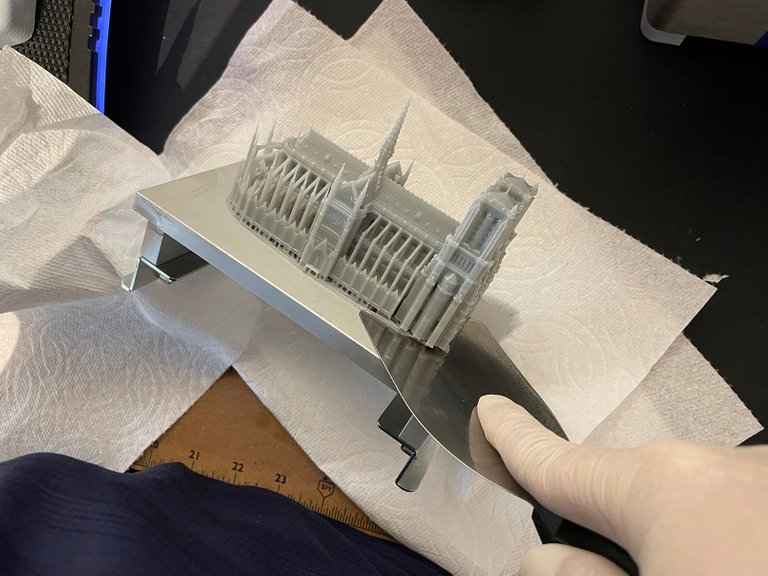
I am now prying the model off of the metal base with a metal spatula... need to be careful not to break the foundation.
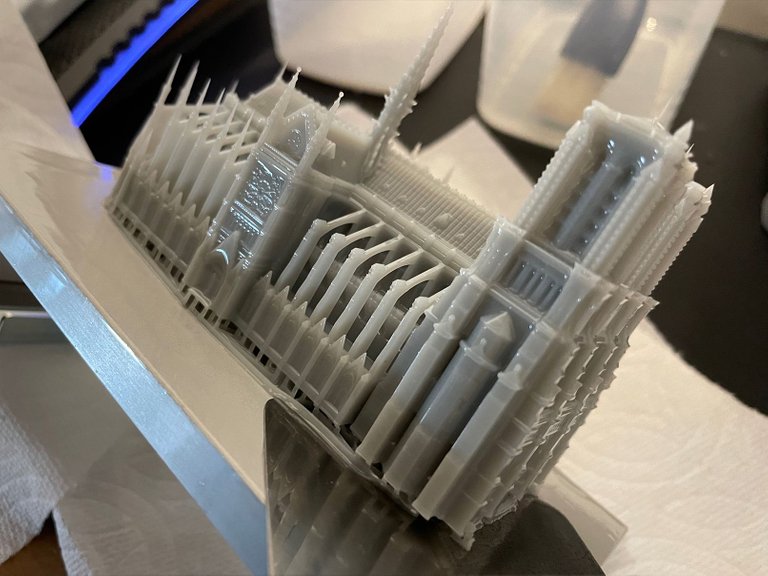
As you can see in a close up view there are still liquid resin coated on the printed model... its the wet look you can see here in this photo. The details are still hidden underneath.
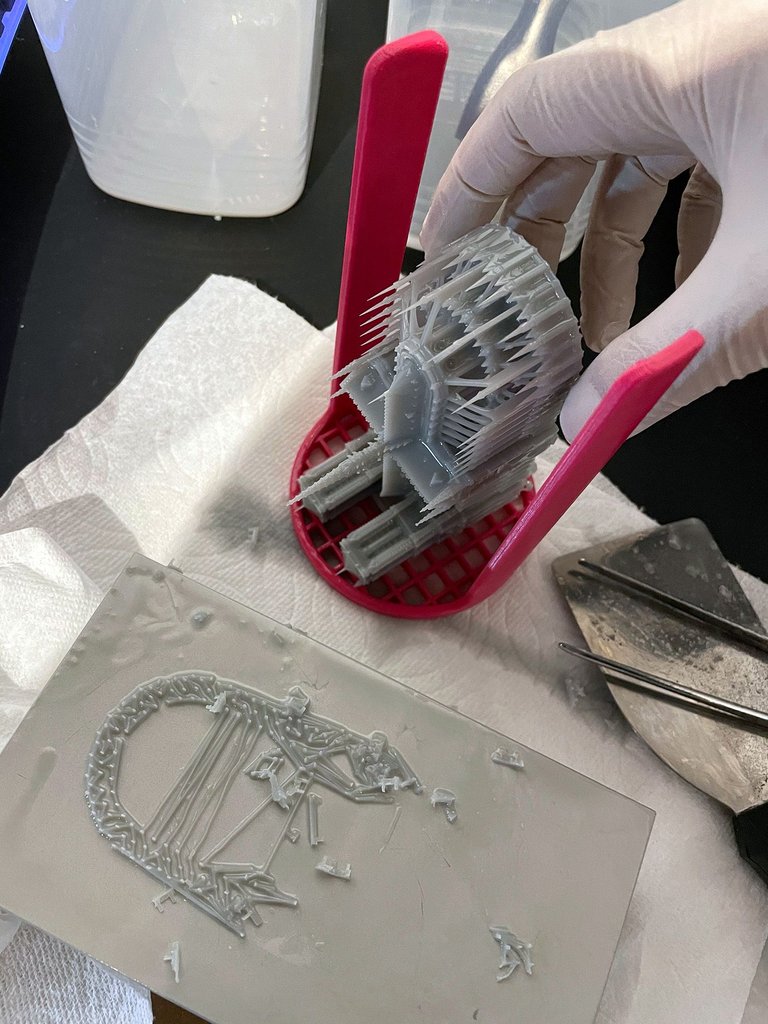
The print is off the build plate and off to the ultra sonic cleaner!
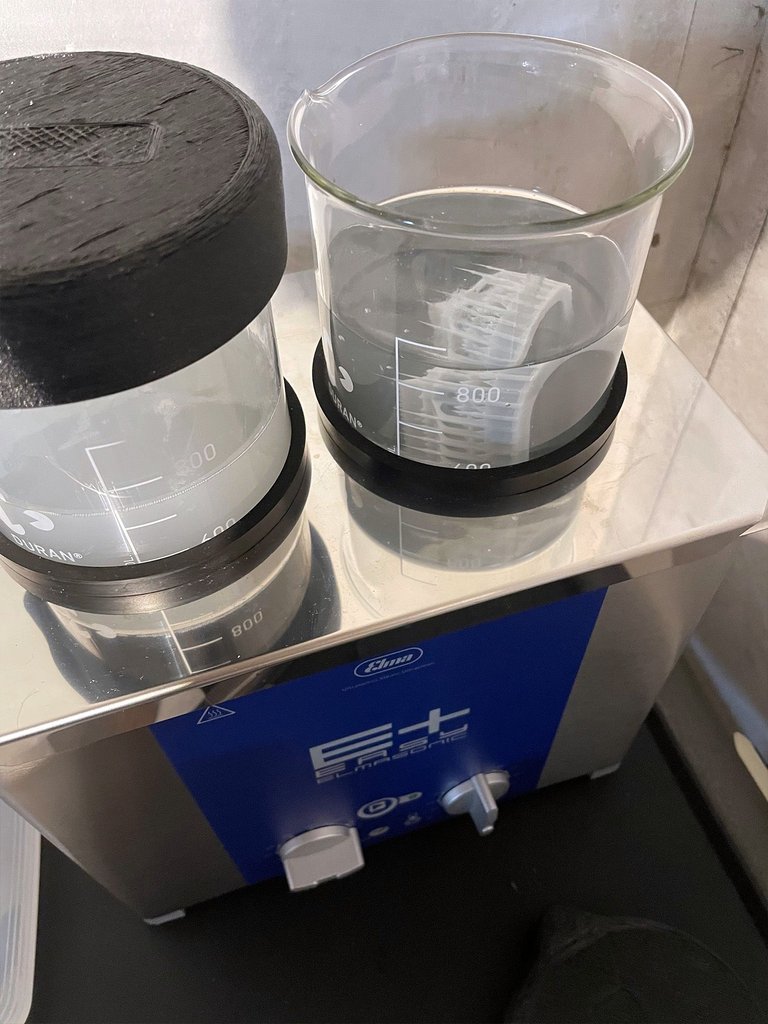
As this is buzzing it takes about 5 mins to clean off but its always good to inspect the model if there is any residue left. Usually the cleaning process is done two times which the first is called a dirty bath and the second session is called a clean bath to ensure all resin is removed.
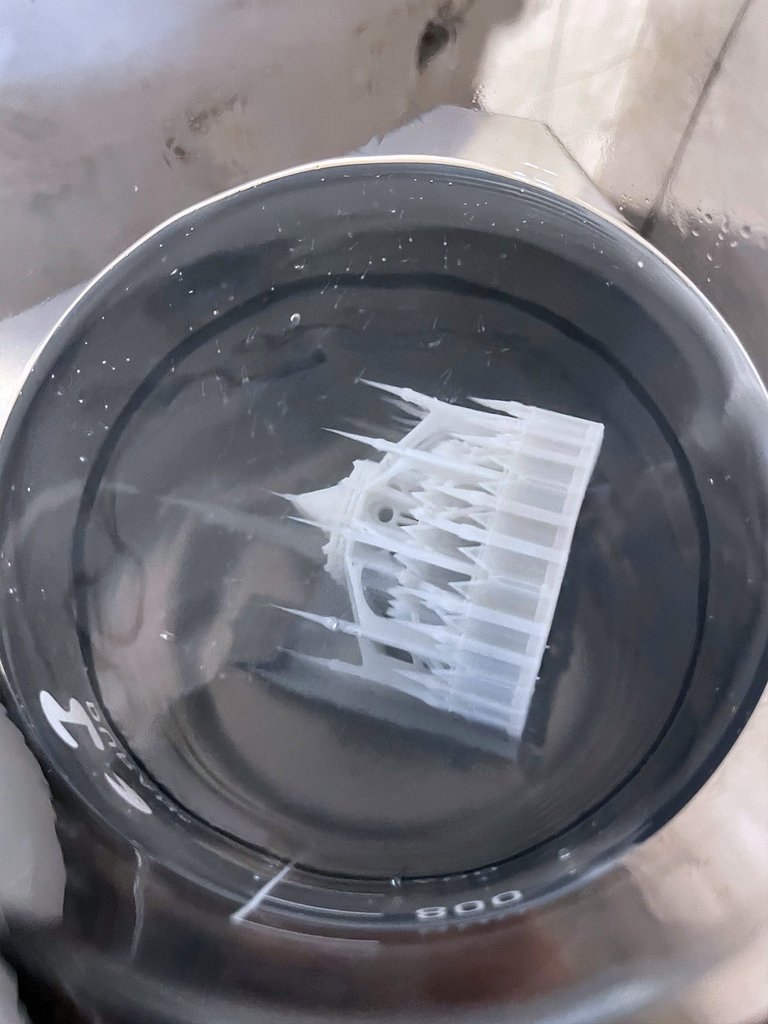
Here is a close up of the model being cleaned in the alcohol solution. The sound of the sonic cleaner is ultra sharp and loud! So make sure you have some ear plugs.
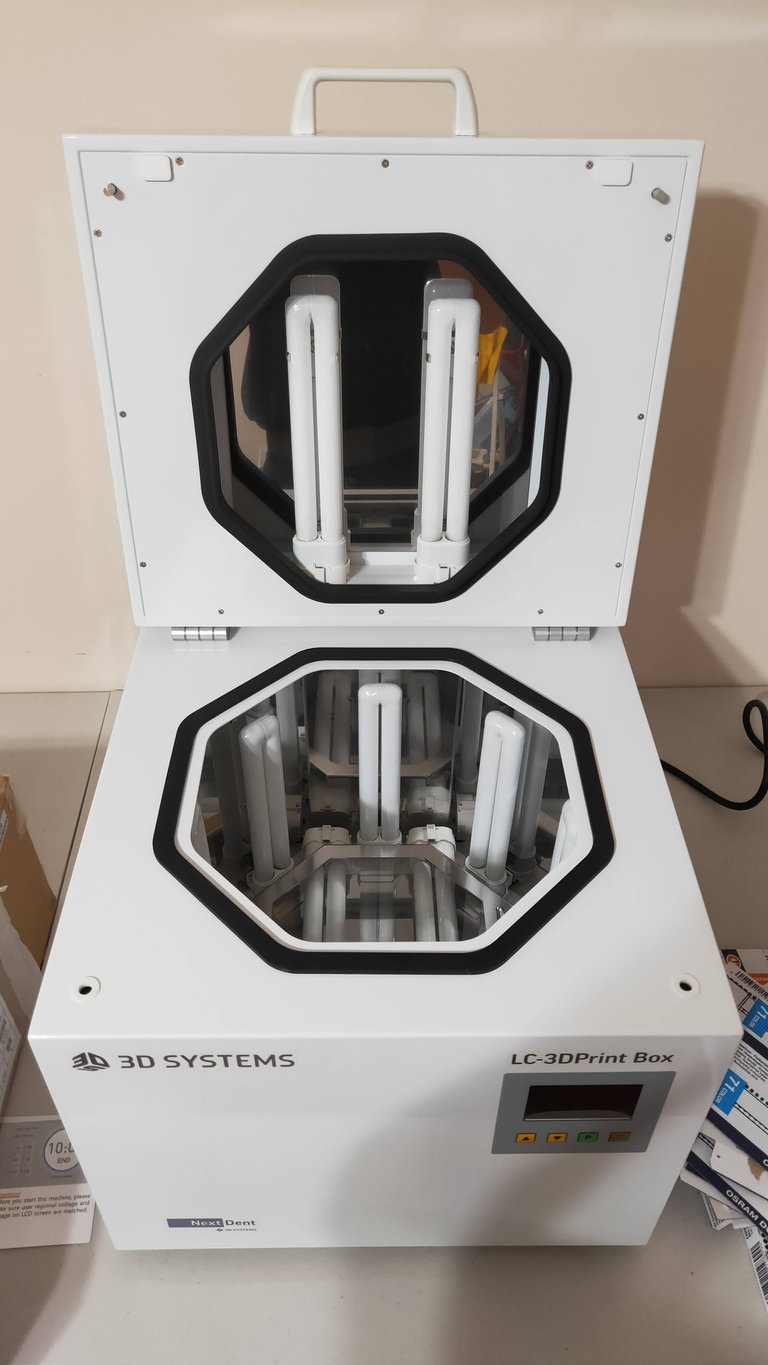
After the cleaning process and dried though it needs to go into a UV curing box which will blast some UV light and harden the model safe enough to handle with the hands. This is the final process and usually takes about 45 min - 1 hour... really depends on the material you are using.
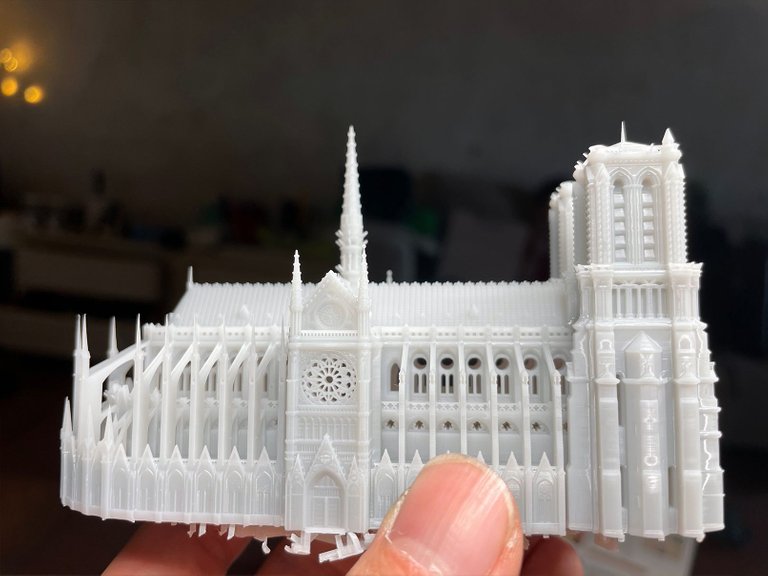
I was amazed in how much detail it has retained from the actual 3D model. I thought the peaks will not be present because it was ultra sharp and thin but it actually printed!
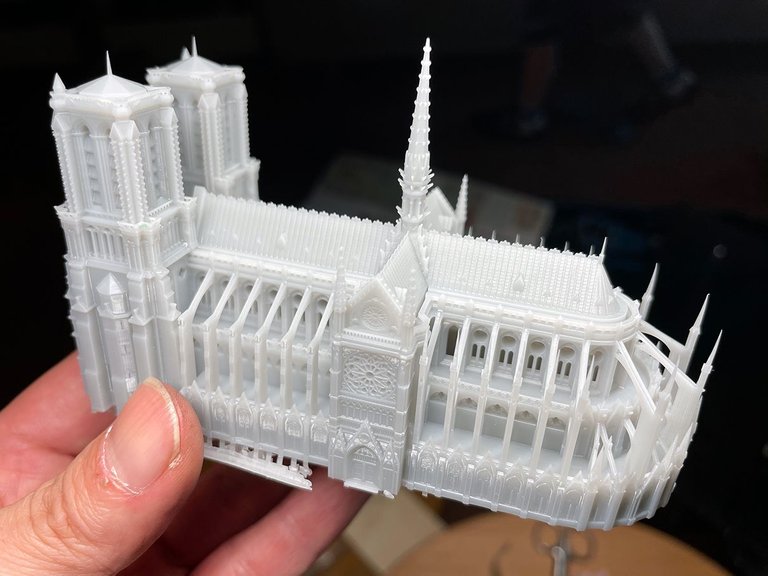
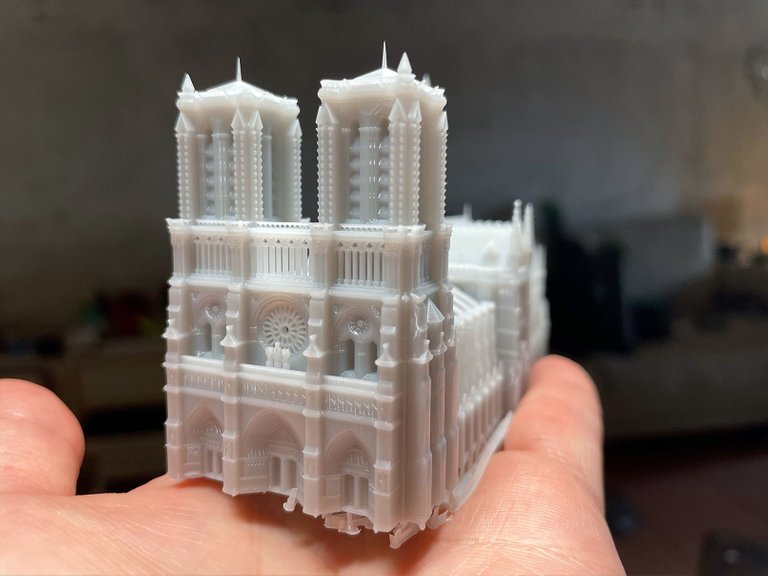
Every window detail was printed and not just mushed up... I can now really understand why this is used also in the dental industry. Ultra fine resolution and I can understand why this can be a very useful tool for model makers and hobbyist alike.
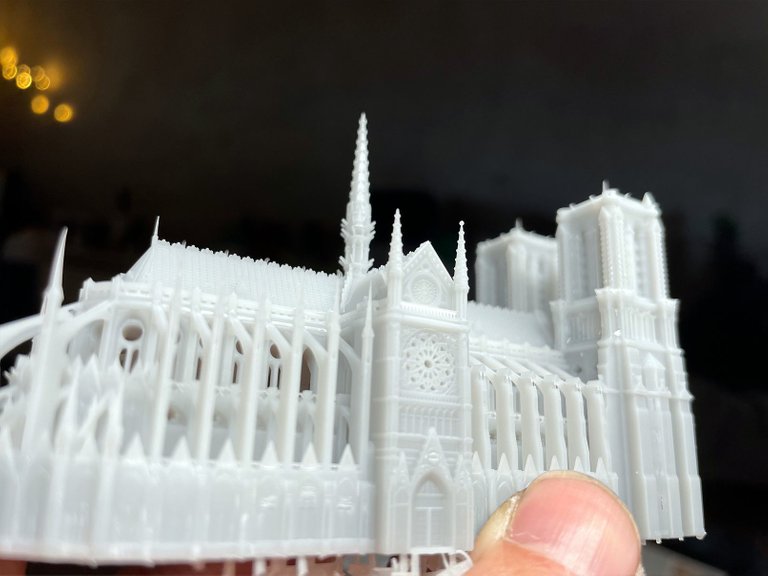
The peaks of the building are needle sharp along with its decoration at its tip you can see there is a ball tip. I thought it would not be possible at all, but I was totally wrong.
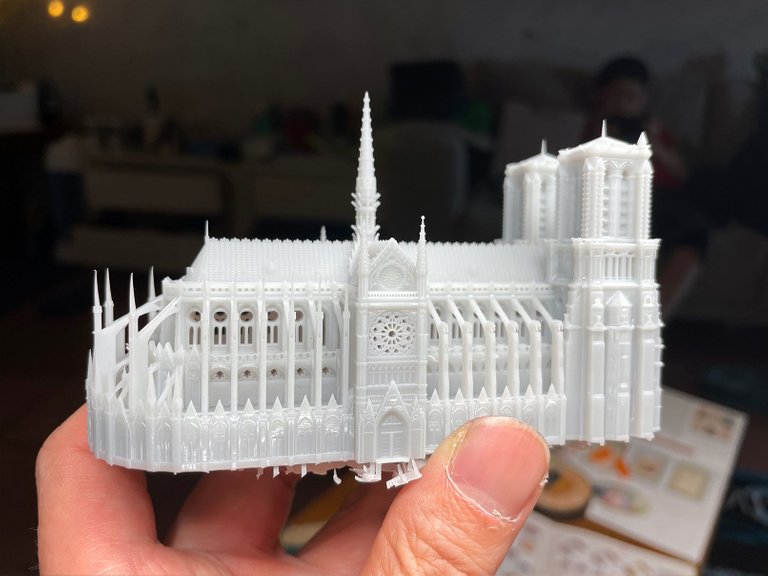
The side detailing of the windows and the pillar details once again amazed me at the great potential of what resin printing can do.
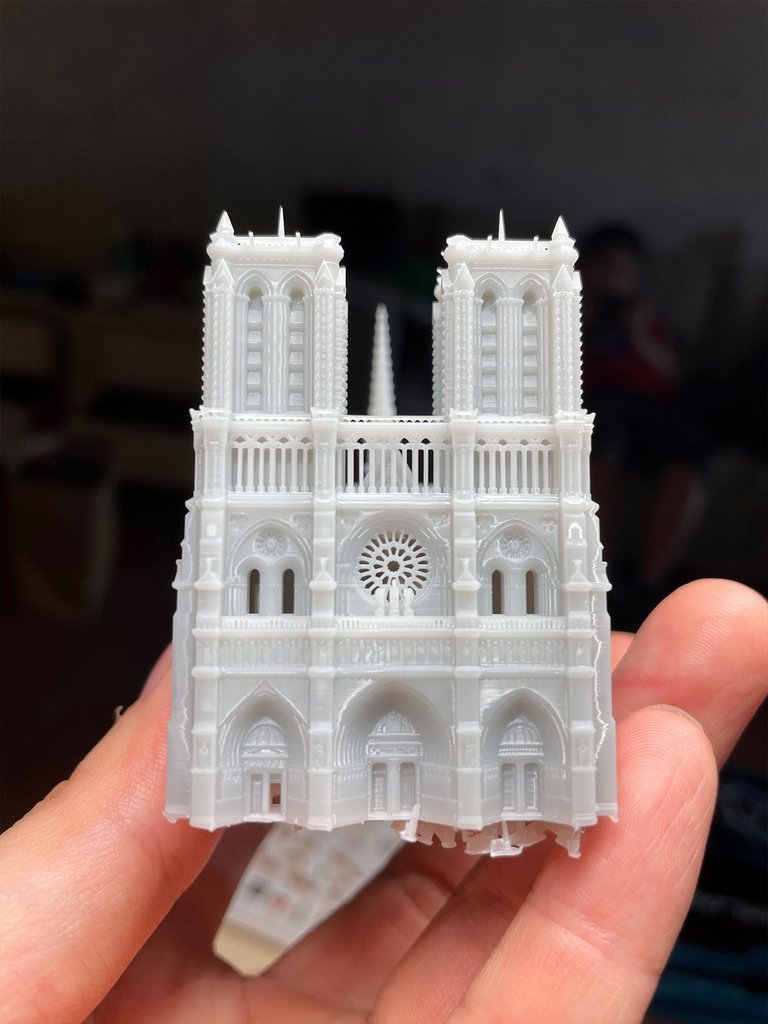
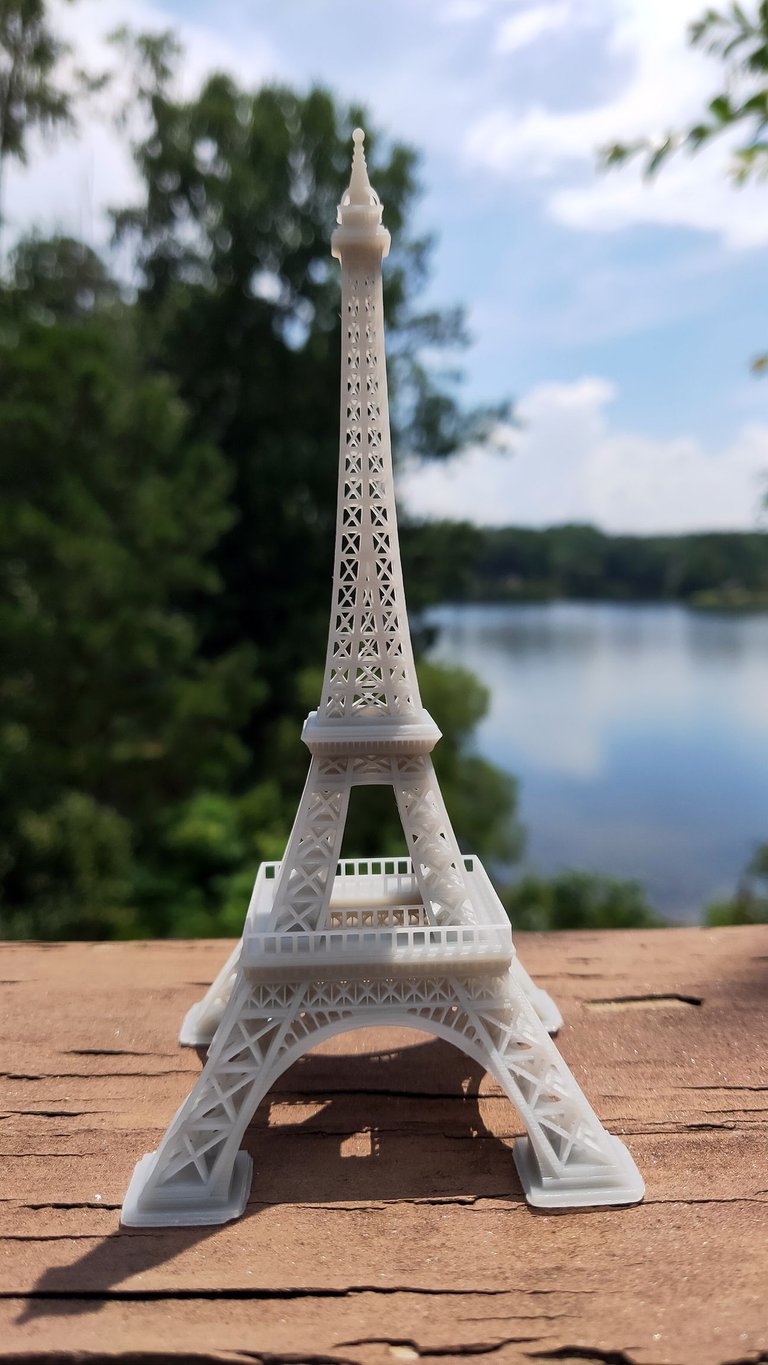
After printing this I wanted to print some more architecture that was high in detail and just had fun playing around with what was in Paris. So the next one was also a joy to print and observe! The Eiffel tower!
Thanks for viewing my blog post where I try to make it as informative as possible in the hobbies I love. I hope you enjoyed it and its really been a while since my last post and wanted to give myself a fresh start. I will try to post more often from now on.
Set da Tone!!!


