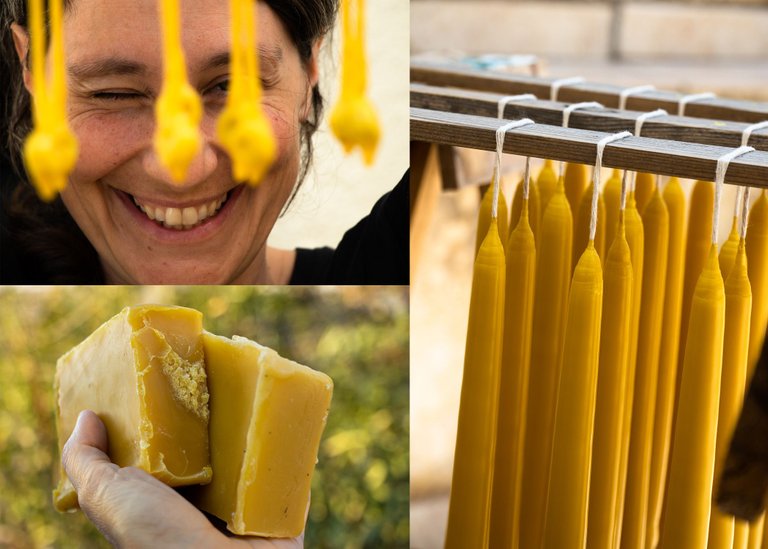
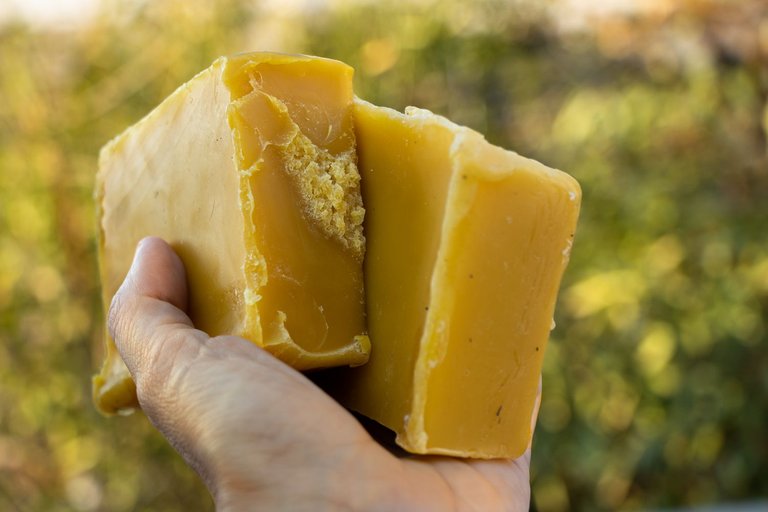
I started getting interested in beeswax when I first started using beeswax balms and saw their incredible potential in healing. Then with @fotostef we experimented for a while in beekeeping and l was lucky to witness the making of the beeswax by its natural makers and that was pure magic.
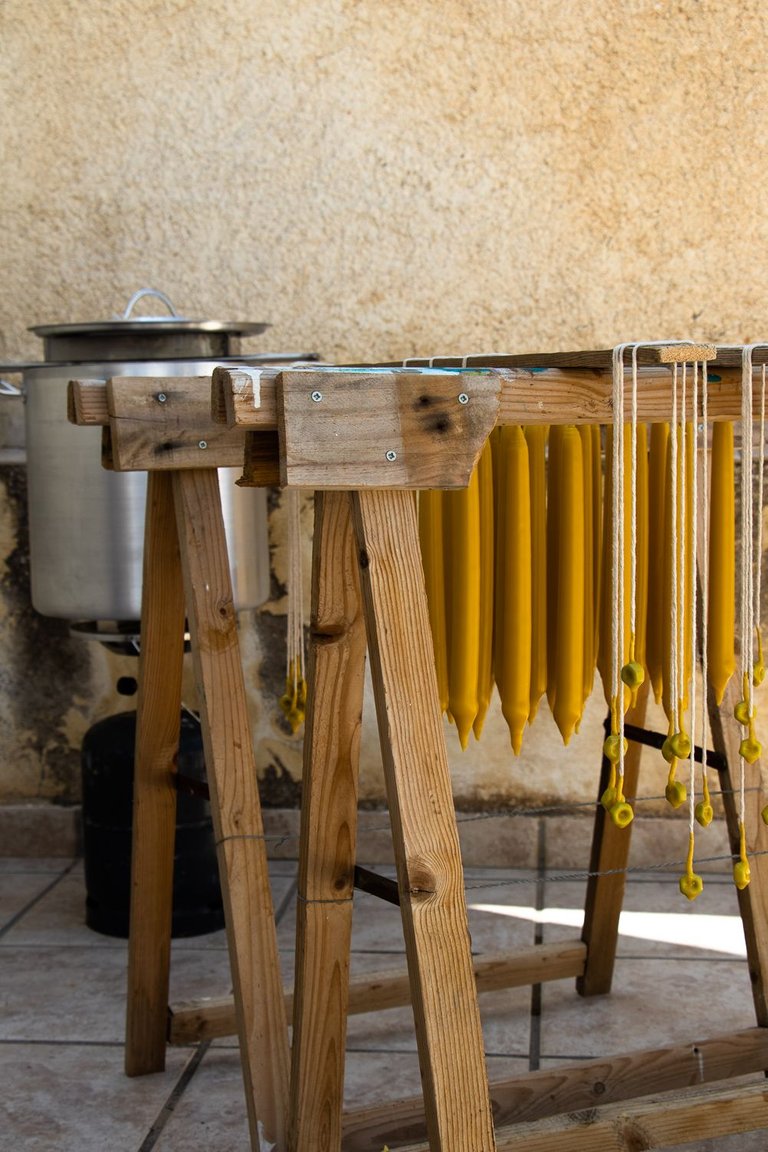
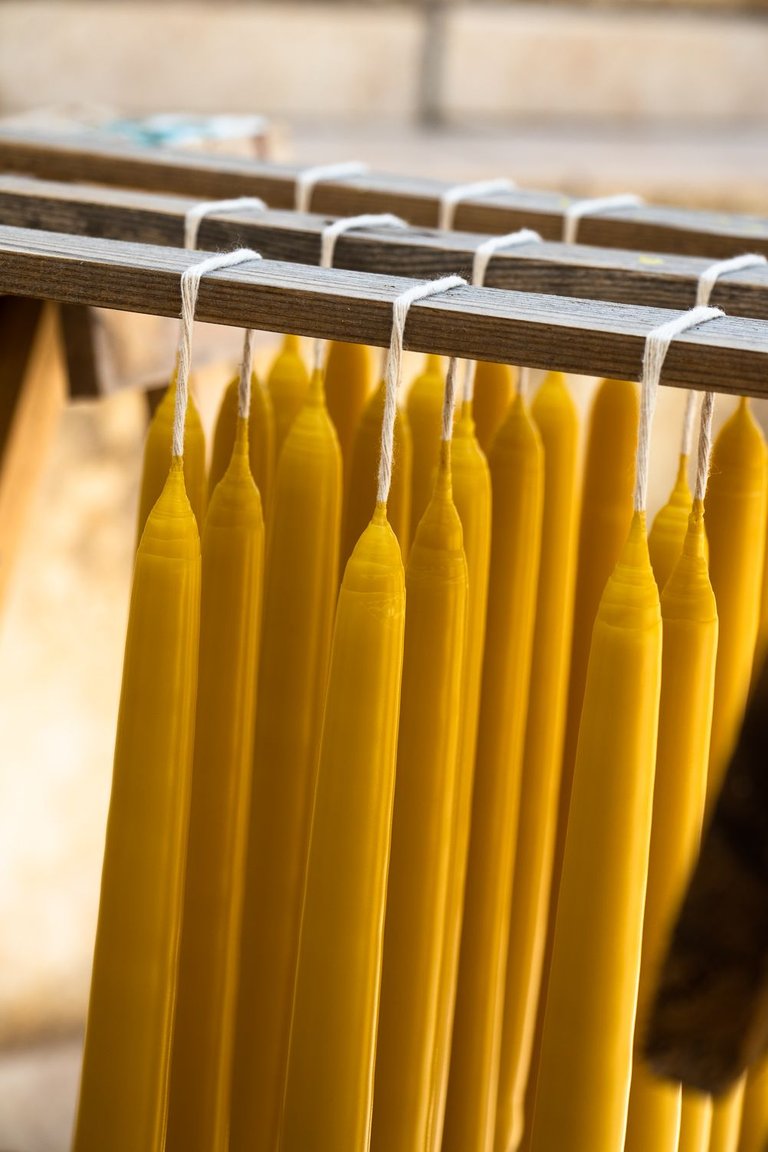
A glance at my home workshop and first production, far from perfect but so satisfying.
I have lit candles at home sometimes even from early in the morning. I had all different kind of candles and mainly soya candles, but from the moment I learned that beeswax is purifying air I went for beeswax candles and even started making my own.
Since they are 100% natural, their burning is clean and furthermore when burned, they release negative ions that make positive ions released by pollutants and allergens to either burn by entering to the candle fire or just fall to the ground. This is chemistry and I was never very good at it, but how cool is this? Especially for people with allergies or asthma.

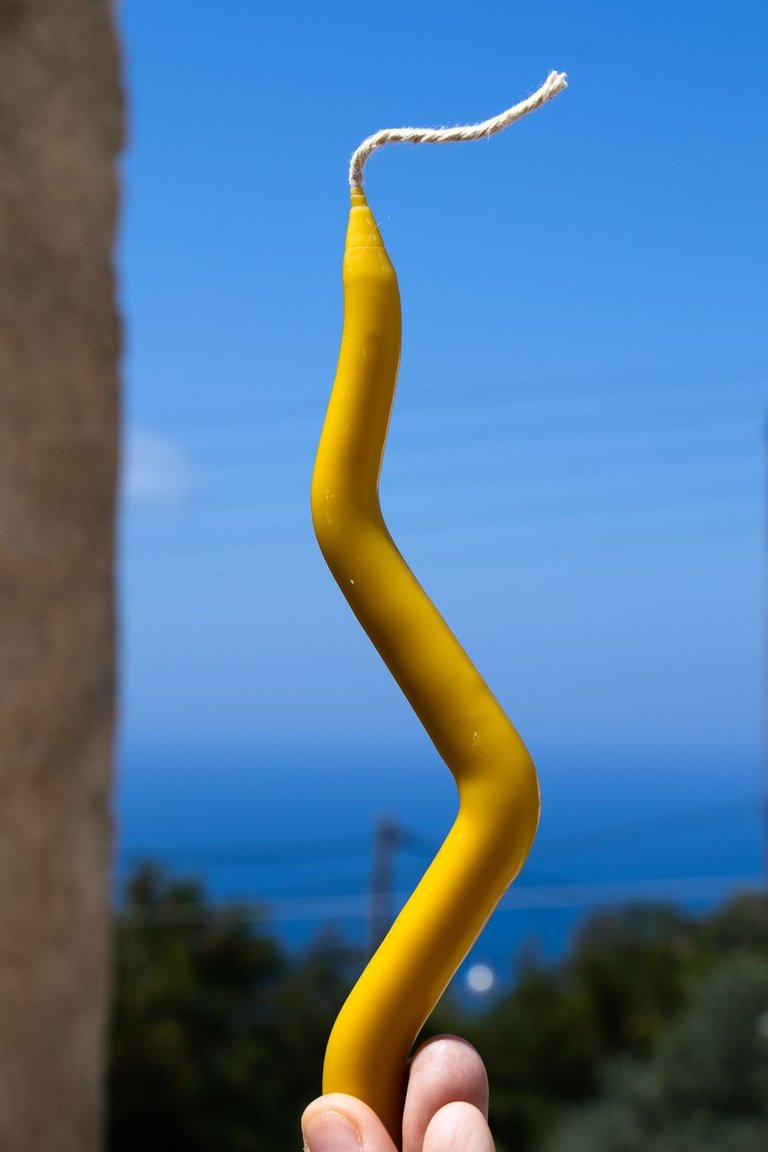
Some experimentations.
Let's make some candles :)
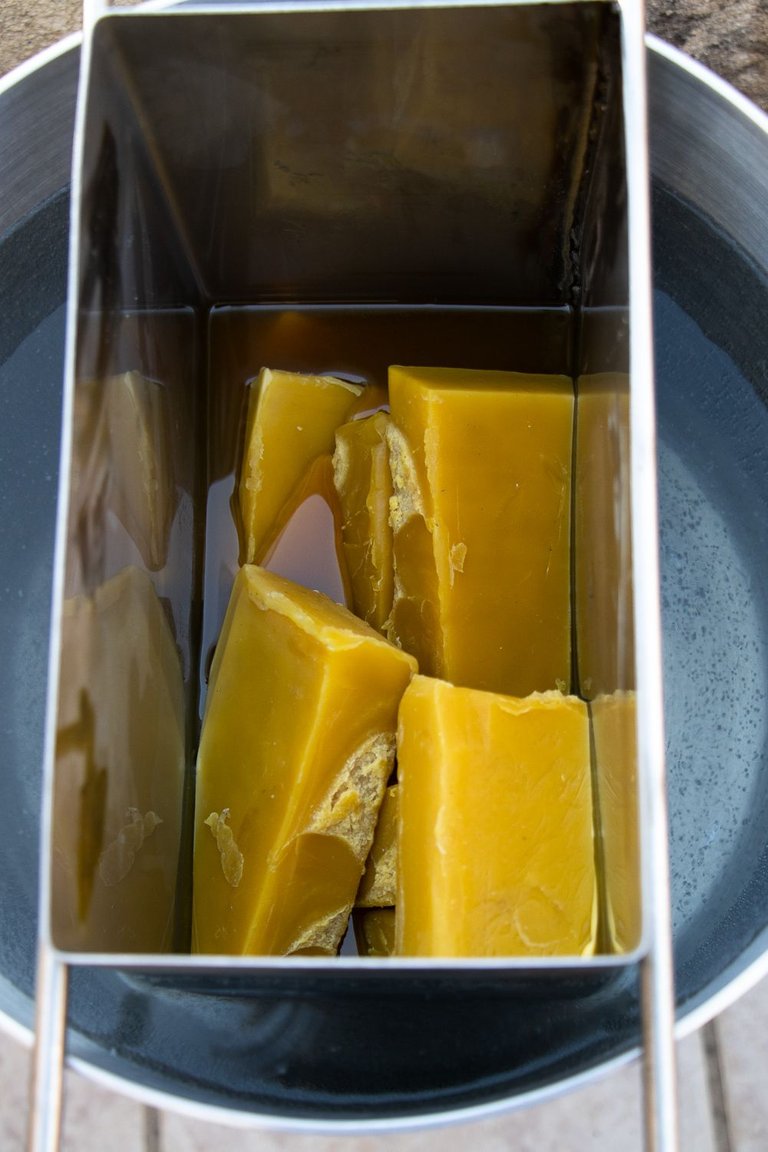
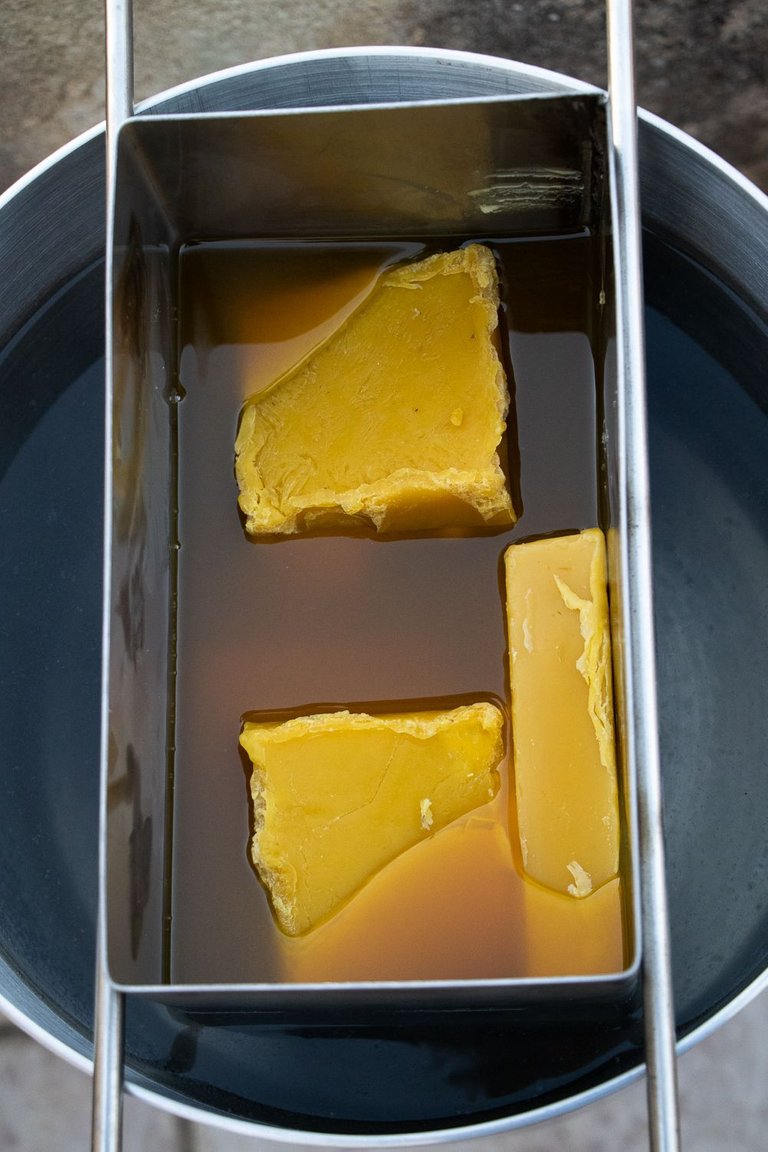
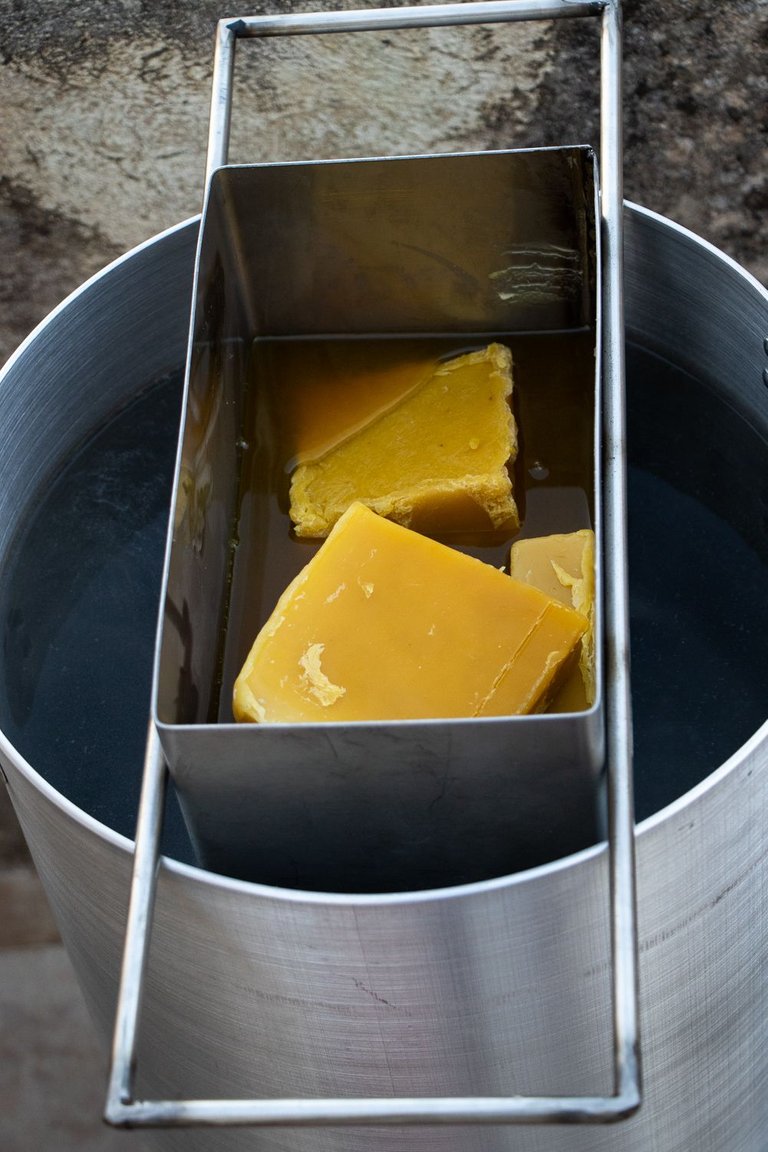
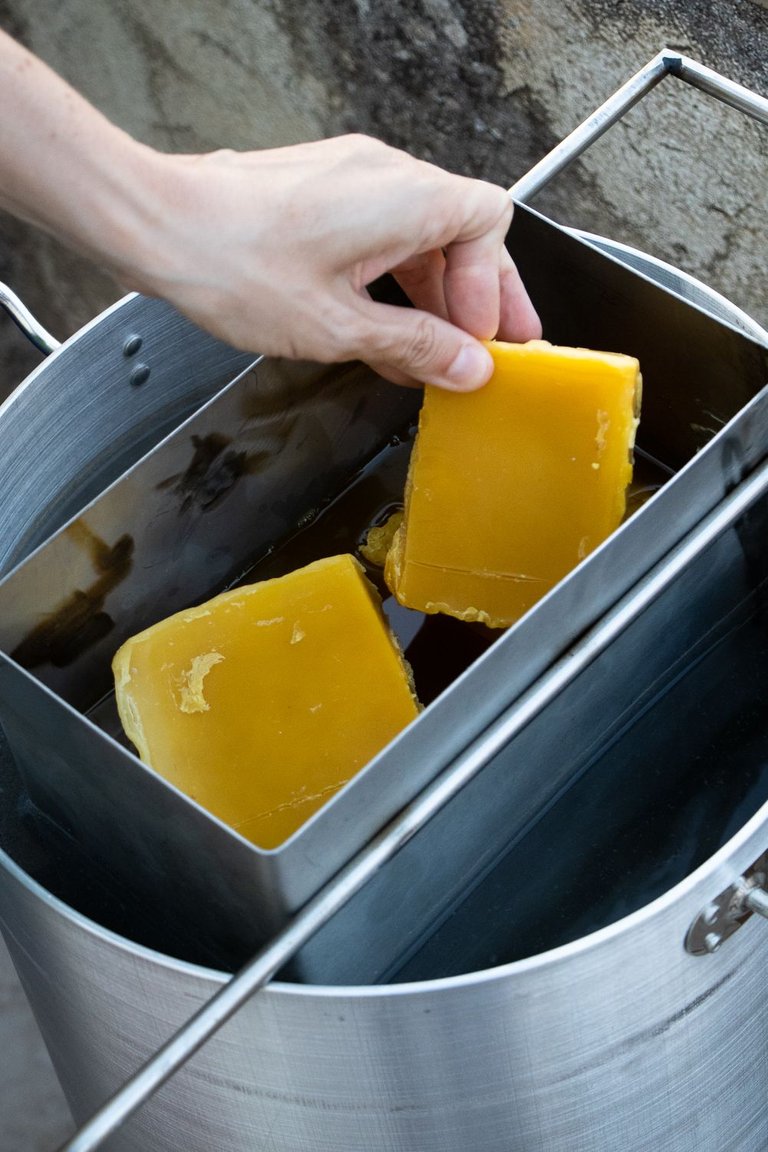
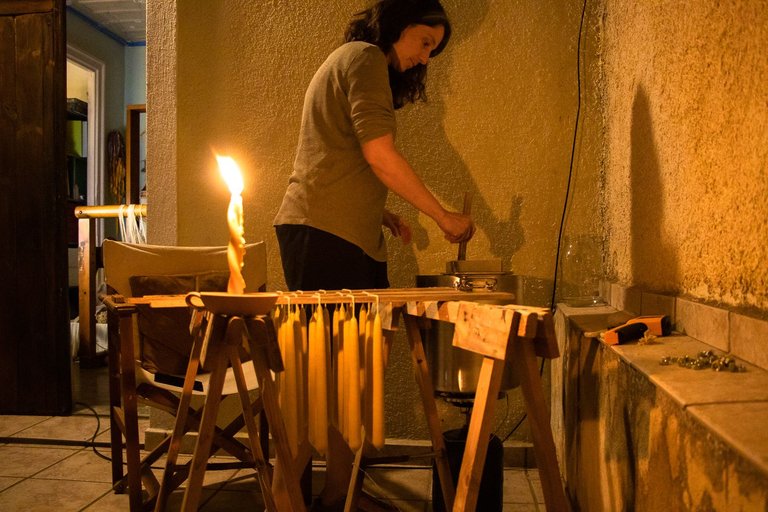
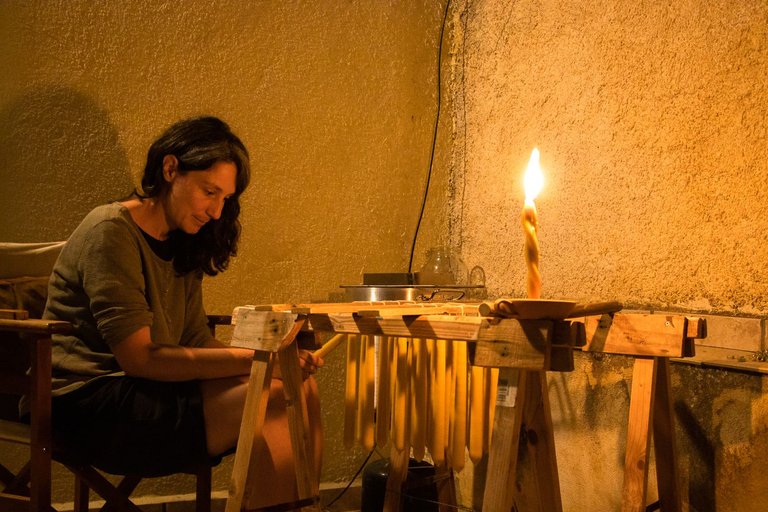
It will take hours for the beeswax to melt. I was not prepared for that and the night caught me dipping candles :) At least I didn't have any visitors when the sun set, cause let me tell you bees love the smell and they will find you!
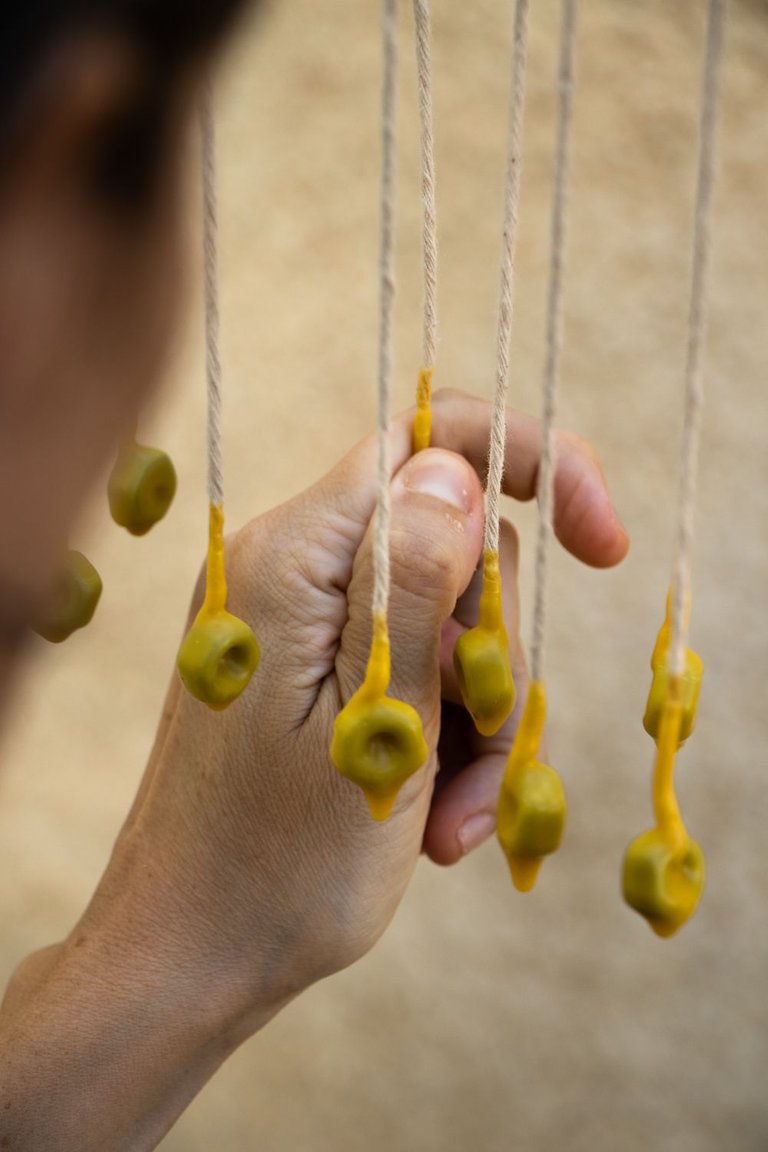
You cut the wick as long as you want and it's time to attach the hex nuts to the wick. Many ways to do this. You can just tie them with the wick or dip the wick to the beeswax and then with your hand stick the hex nuts on. The hex nuts will add some weight and help the process. At the end you just cut them, remove the wax around them and reuse them to make new candles.
That's how they should look like:
Now you are ready for the first real dip!
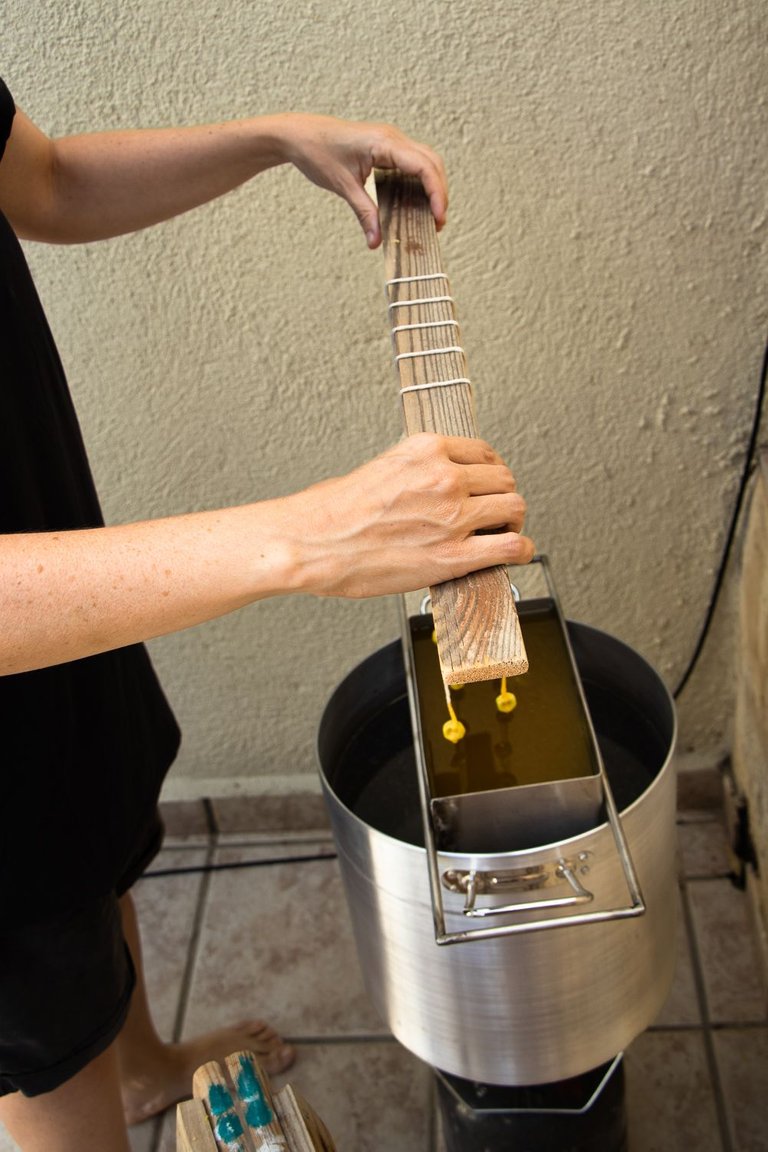
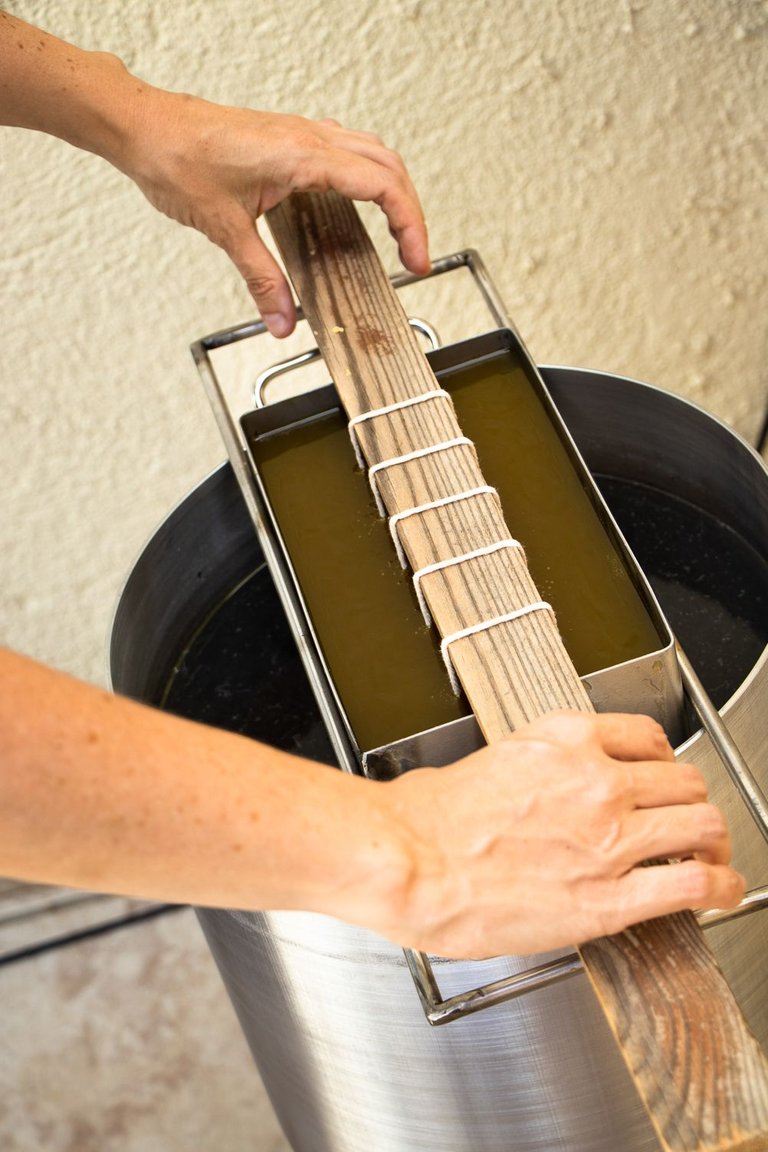
Here we are, having our first layer!
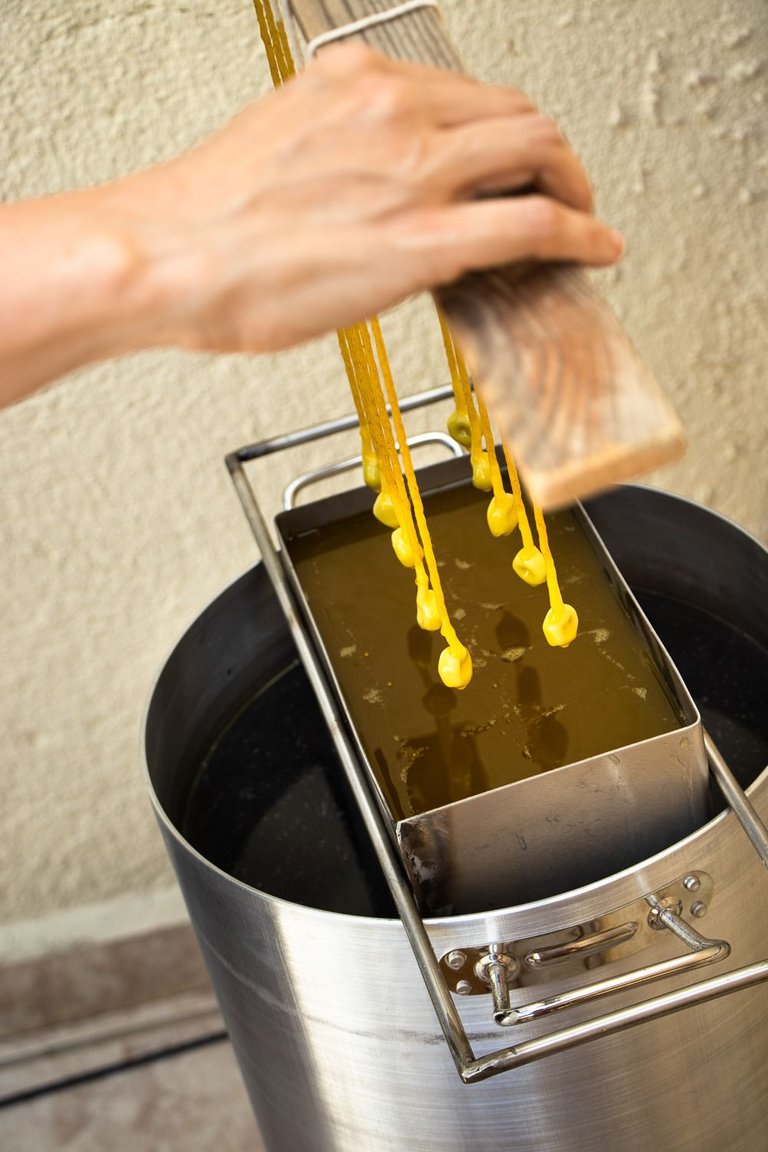

Second dip and I am happy!
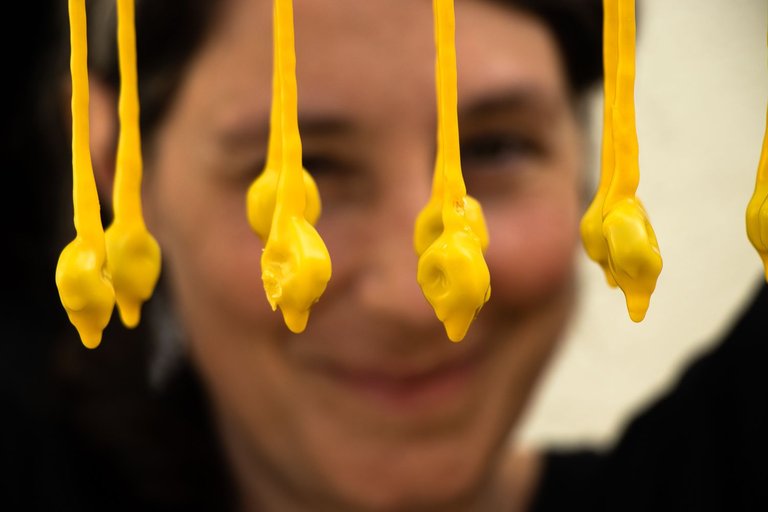
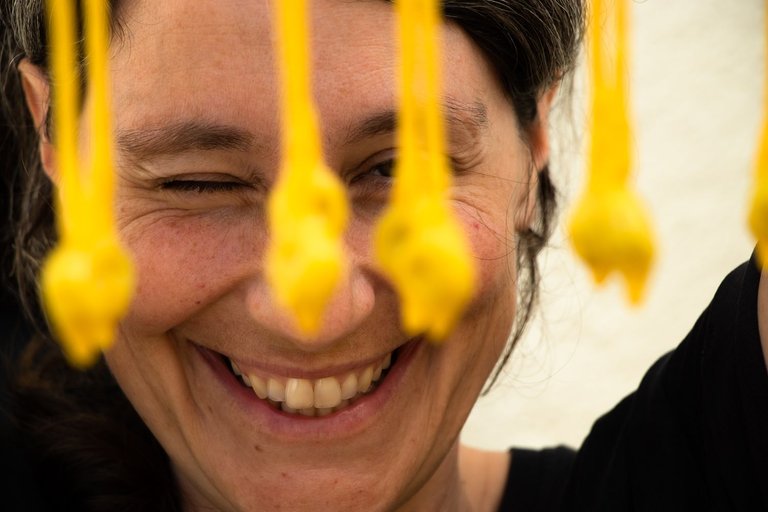
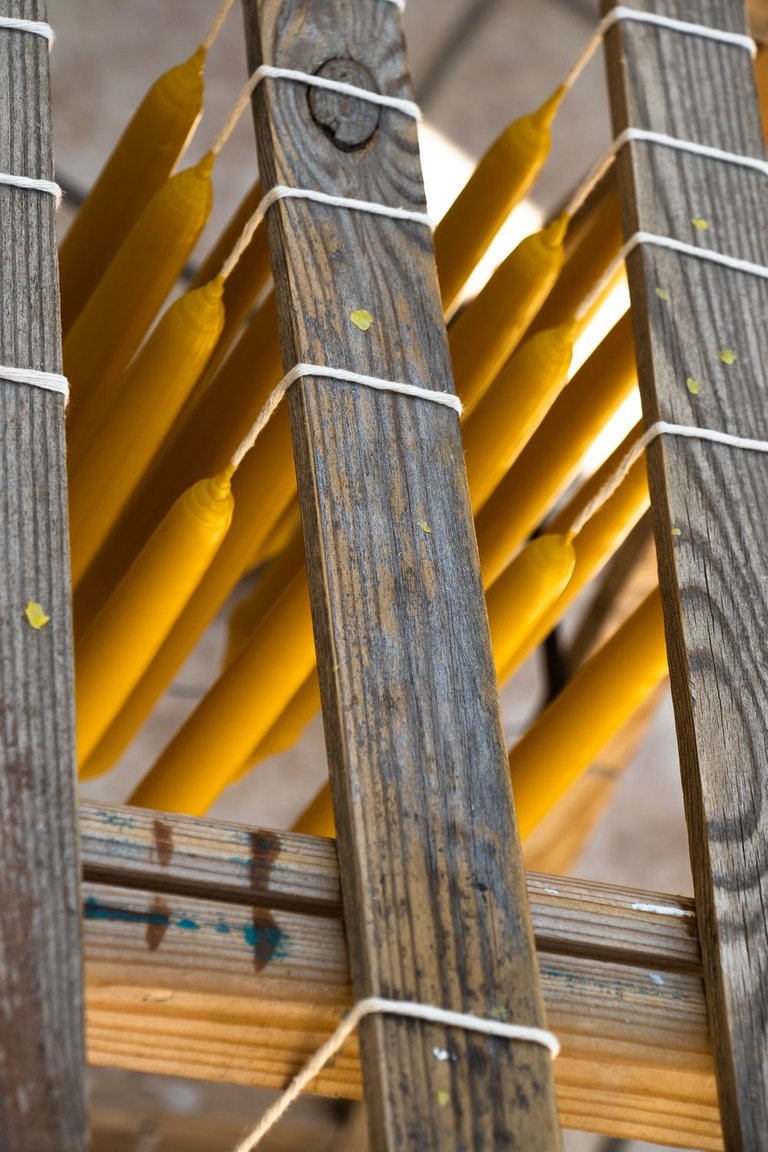
Repeat until your candles take the shape and width that you want. No limits :)
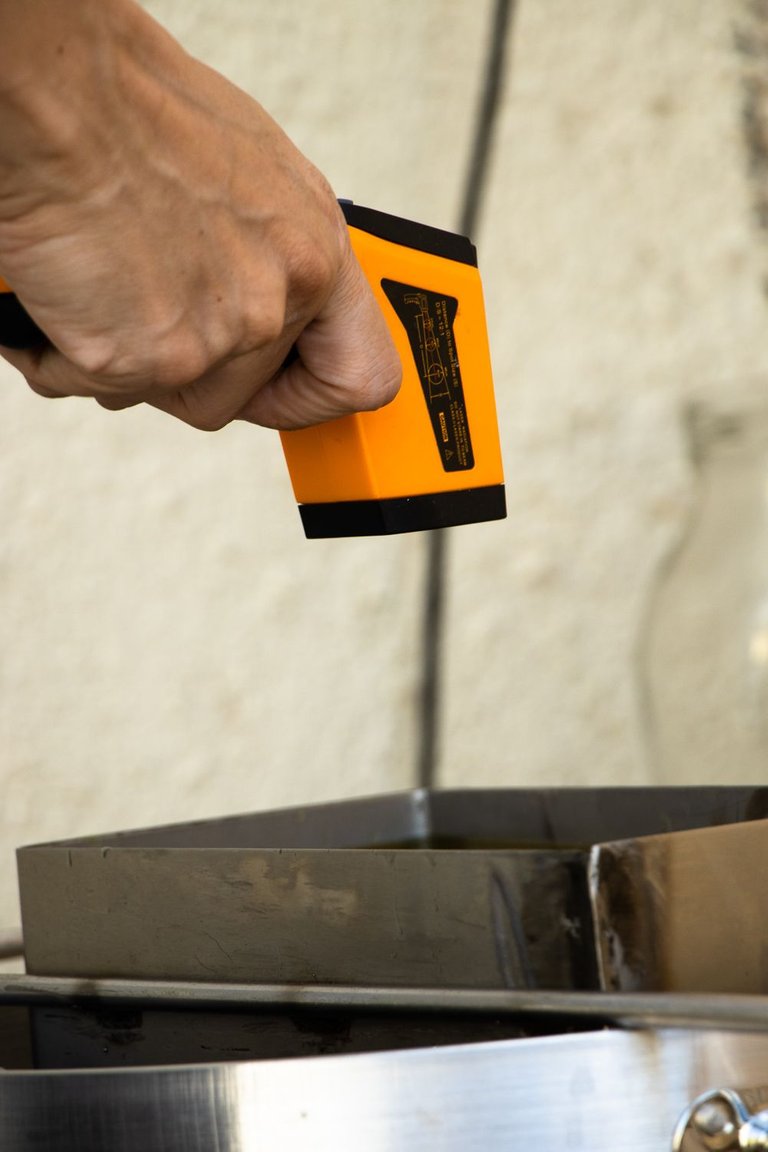 | 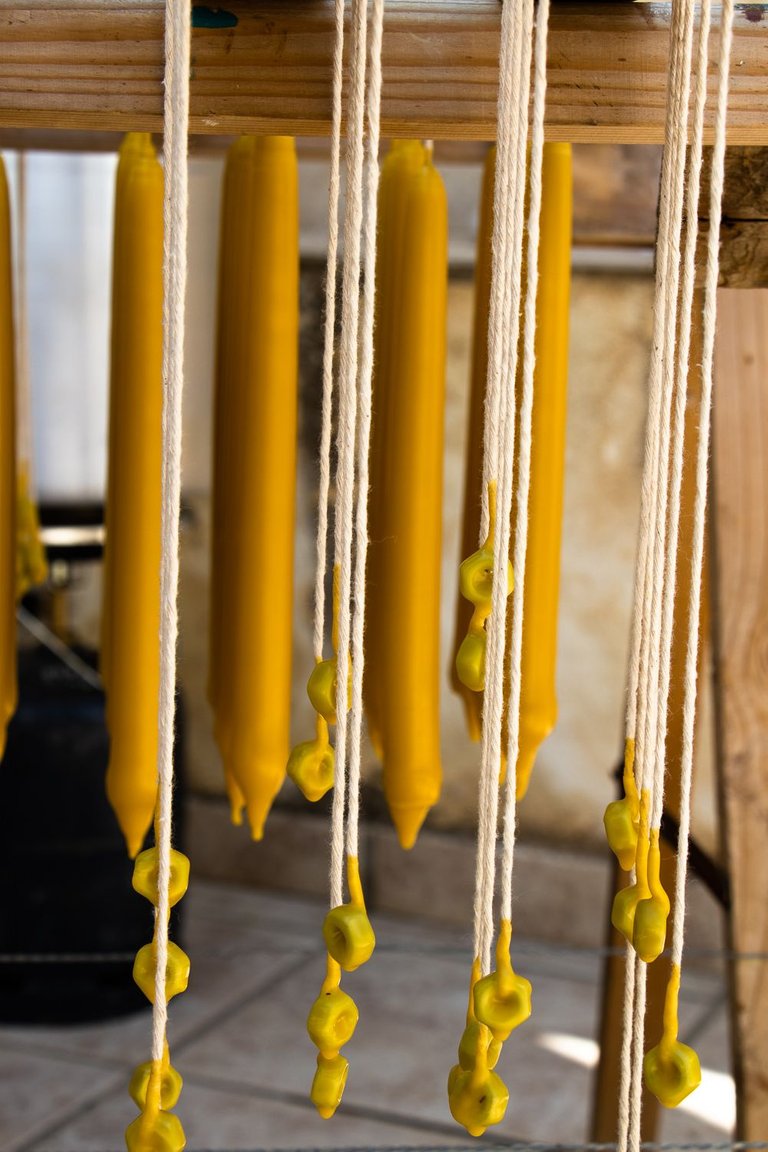 | 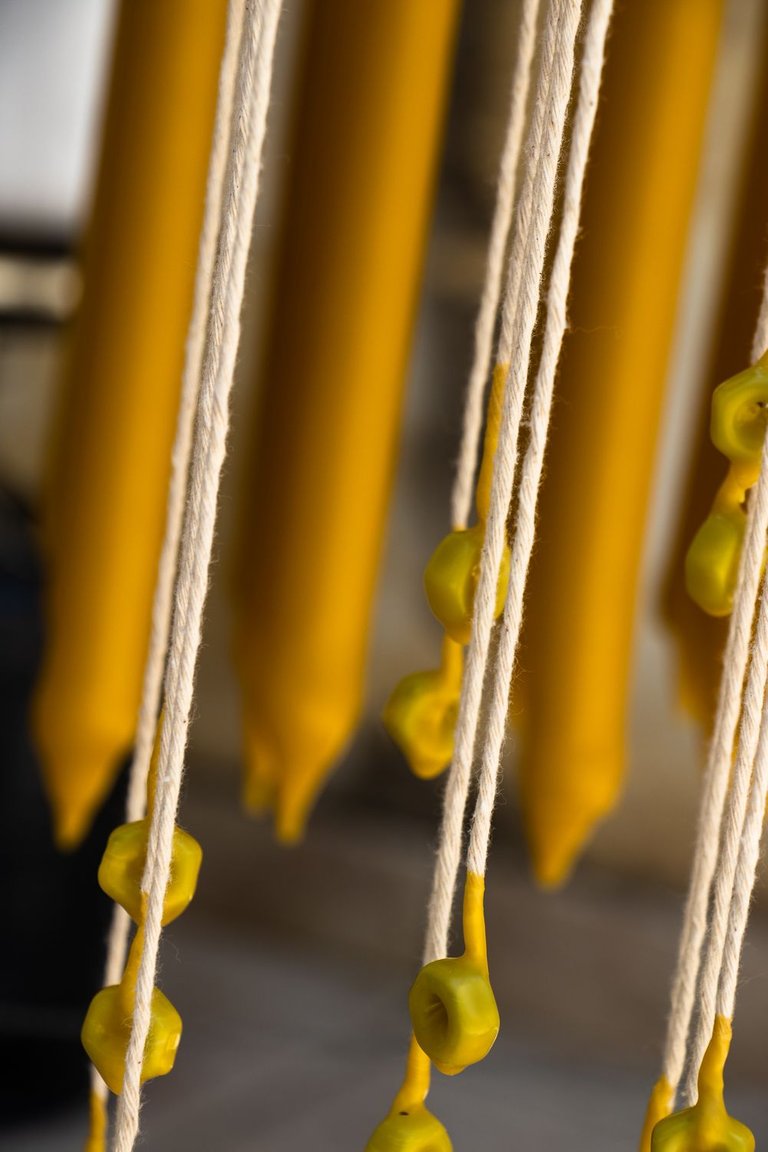 |
|---|
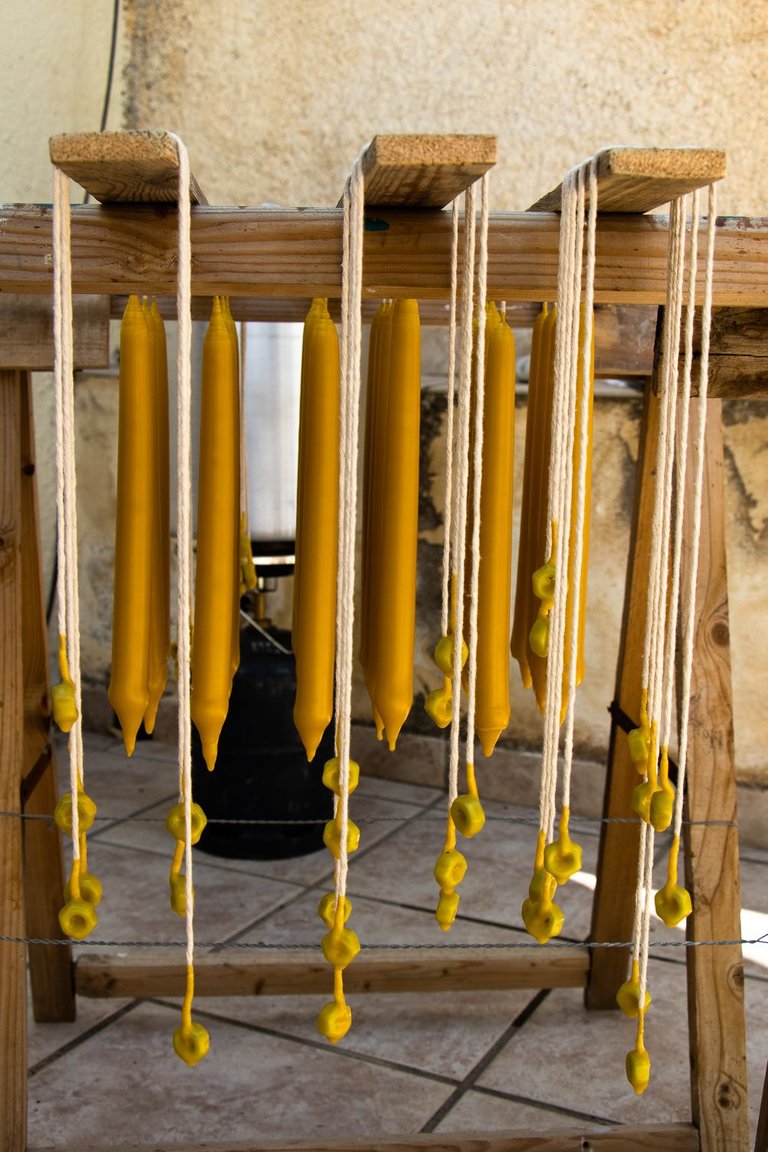
The night came and I was still making candles and didn't want to stop.
More to come soon :)
If you would like to know more about me this is my introduction post.