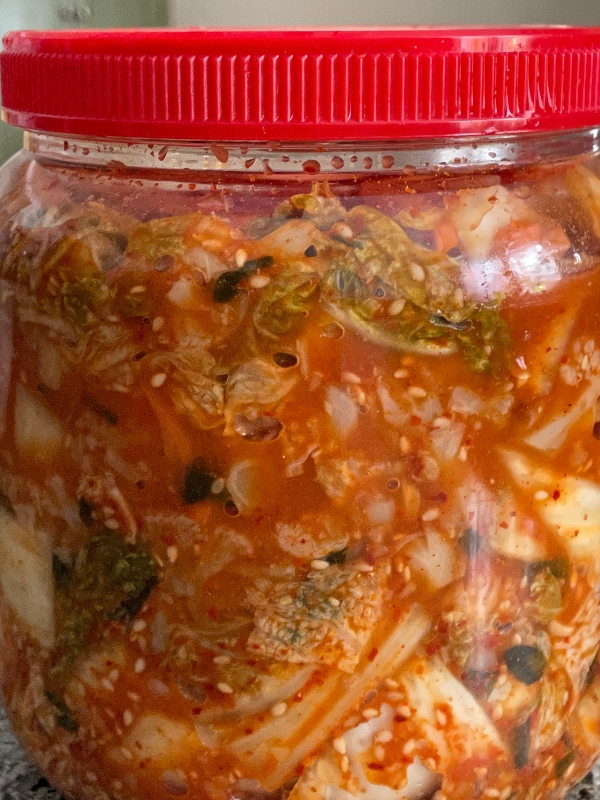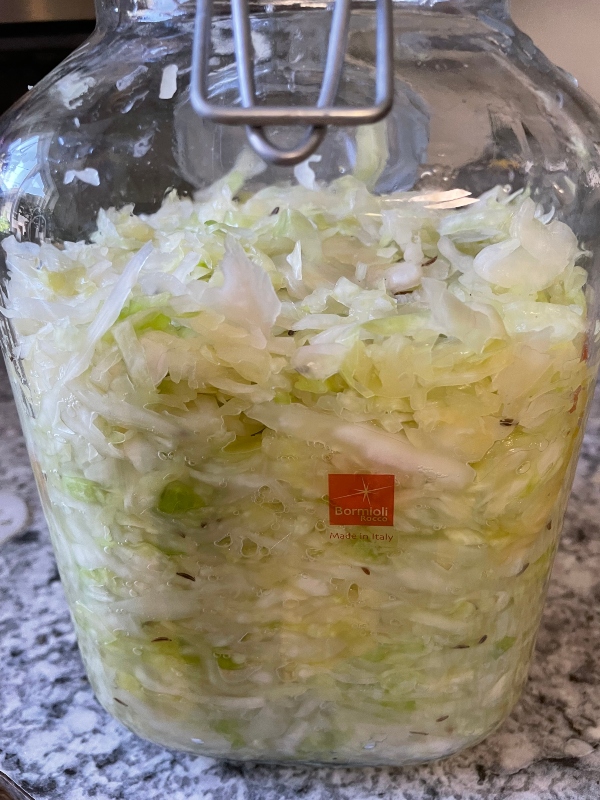
It is time once again to make another batch of Sauerkraut. I have been doing so for the past 2 years to assist in healing my gut. The probiotics and vitamin K2, which are known for their health benefits, have really made a difference in my overall health.
I used to suffer from severe acid reflux and would often be up all night with severe heartburn and often vomited up my meal in the middle of the night. I was desperate to find a natural solution as the medicine the doctor put me on was not easing the situation any.
Thus, fermenting and pickling a variety of my organic veggies, grown by myself began my healing journey. Today, I will share this simple method I do to make my own Sauerkraut.
Homemade Sauerkraut
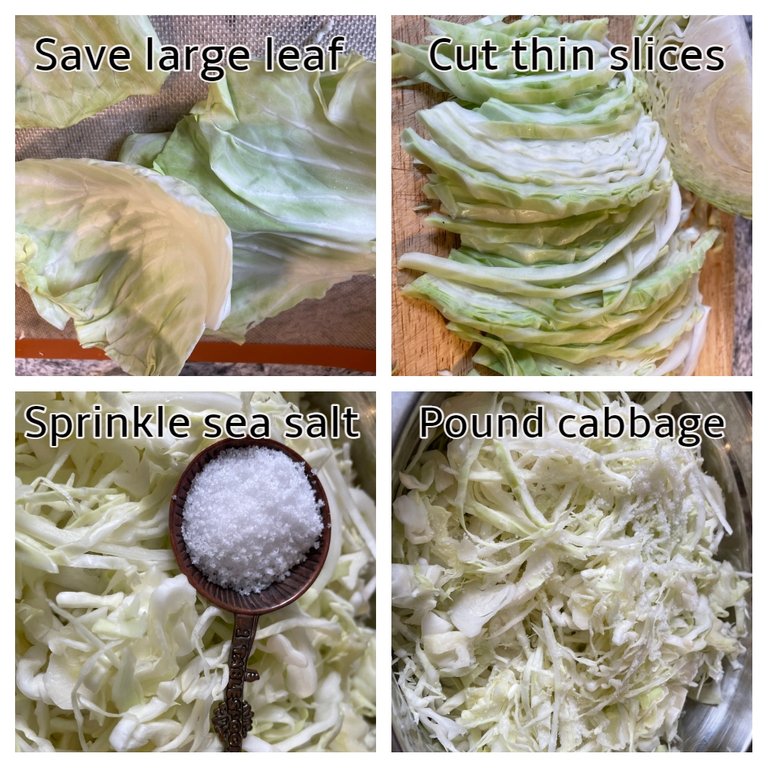
The process is really simple.
- Choose a large head of Cabbage and peel off the outer leaves saving one for the jar to cover the slaw.
- Slice your cabbage into very thin slices after removing the core.
- Sprinkle the cabbage with about 1 good Tablespoon of sea salt.
- You can let it rest for about 15 minutes to allow some of the juices to flow.
- This is where you begin massaging the cabbage with your hands or use a wooden pounding tool to help the cabbage release its own brine.
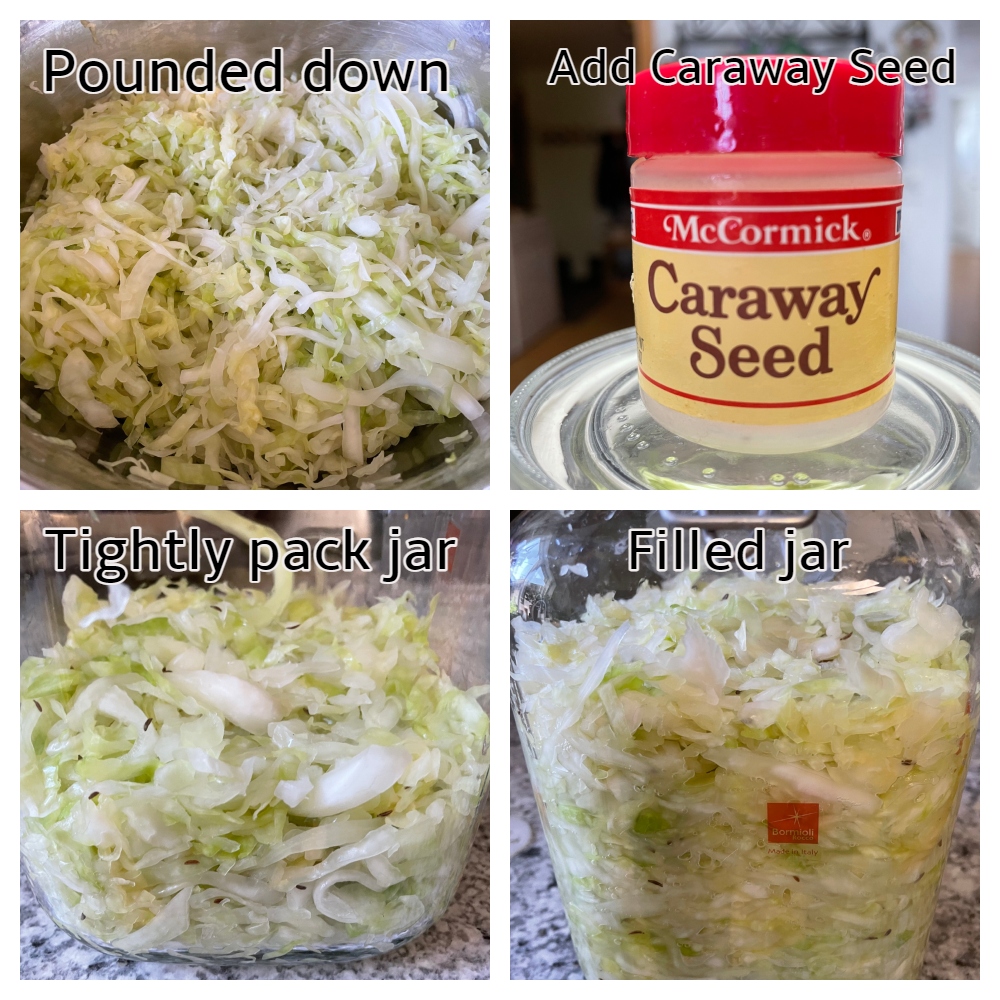
- After pounding down the cabbage you should see brine in the bottom of the bowl and the cabbage will have shrunk somewhat.
- I like to sprinkle the cabbage with some Caraway Seed as I like the added flavor it gives. You can omit this if you want to.
- Begin packing the cabbage into a sterilized glass container pressing it down tightly to remove any air pockets.
- Continue filling the jar and pour all the brine on top to submerge all the cabbage.
- Trim your reserved cabbage leaf to the size of the jar's opening and place it on top of the cabbage. At this stage, I add a glass weight on top of the leaf to keep all the cabbage under the brine and reduce the risk of any of it floating to the top.
Glass Fermenting Weight
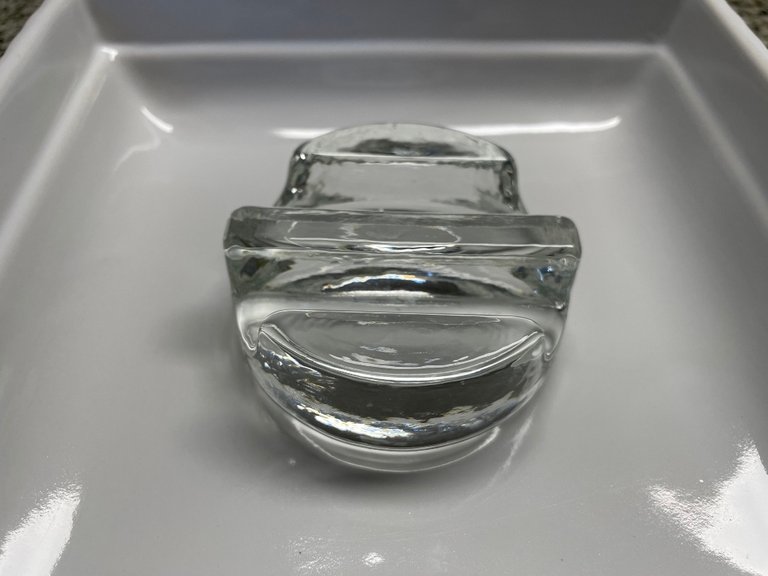
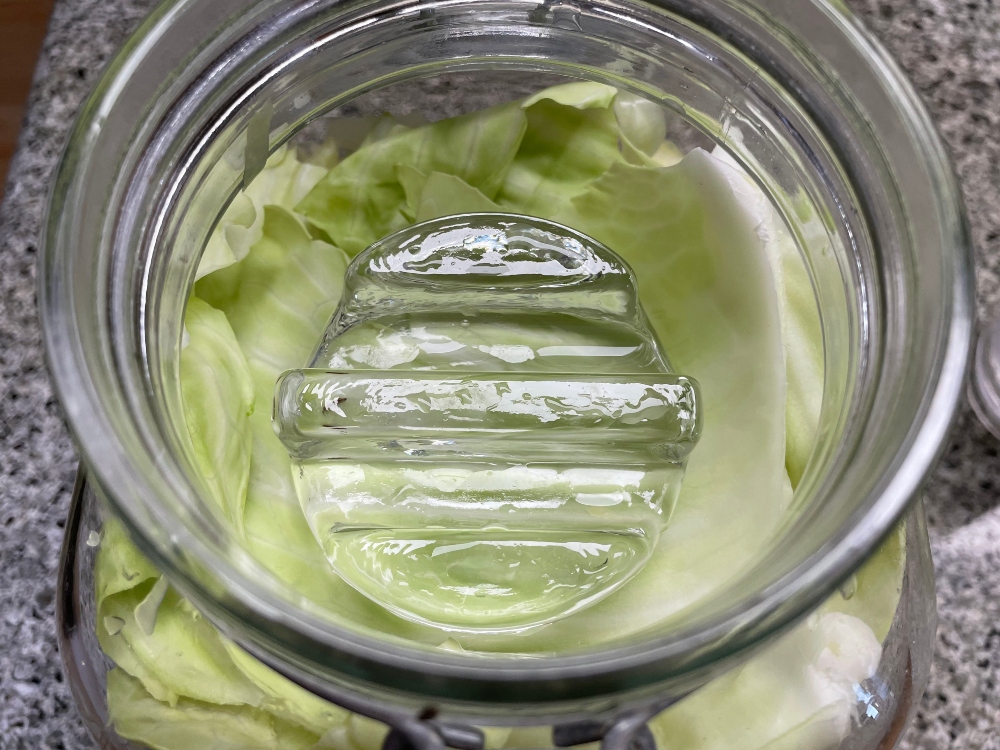
At this stage, I add a glass weight on top of the leaf to keep all the cabbage under the brine and reduce the risk of any of it floating to the top. Place your jar on the countertop out of direct sunlight for 1-3 weeks depending on how sour you like it to be.
During the fermenting process, it is a good idea to place your jar on a plate in case any of the juice spills out of the jar from the gas buildup. When you see a lot of bubbles it is a good idea to open the lid and let some of the gas escape. I do this every 2 days or so.
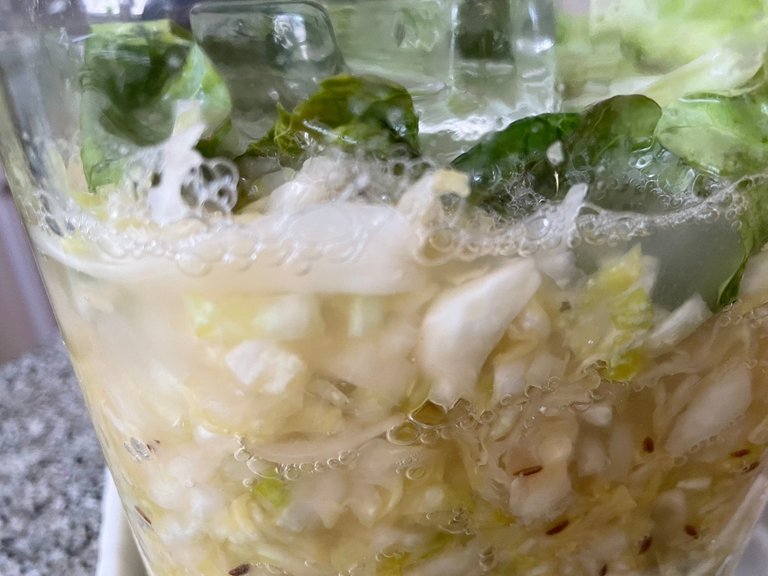
The bubbles will subside after 5 or 6 days but the fermenting process will continue. The longer you leave it out at room temperature the sourer it becomes.
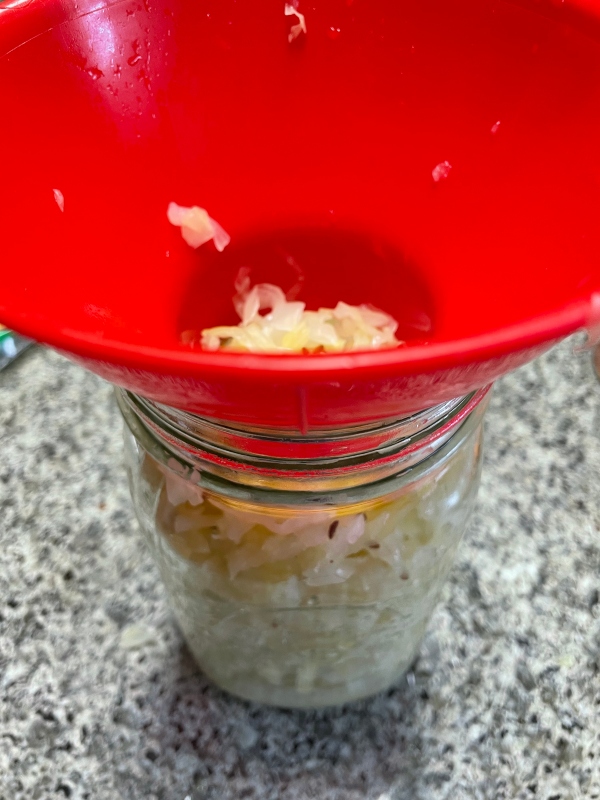
When you are satisfied with the sourness you desire it is time to pack your Sauerkraut into smaller jars. This is an easy way to store them in your refrigerator for many months.
Benefits of Sauerkraut
1- Boosts the Immune System
2- Improves Digestion
3- Helps to lose weight
4- Loaded with nutrition
5- Helps bone strength due to K2
6- May reduce Cancer risk
7- May help with Heart Health
Nutritional Values
Sauerkraut contains many nutrients important for optimal health. One cup (142 grams) provides (2Trusted Source):
Calories: 27
Fat: 0 grams
Carbs: 6 grams
Fiber: 4 grams
Protein: 1 gram
Sodium: 41% of the Daily Value (DV)
Vitamin C: 23% of the DV
Vitamin K1: 15% of the DV
Iron: 12% of the DV
Manganese: 9% of the DV
Vitamin B6: 11% of the DV
Folate: 9% of the DV
Copper: 15% of the DV
Potassium: 5% of the DV
SOURCE

I like to add the Sauerkraut on top of my salad every day which gives it a nice little zing. I have it here with some pickled beets and salmon which was quite delightful.
It is not necessary to eat an entire cup per day, eating 2 Tablespoons will give you the wonderful probiotics to help heal your digestive tract. I can attest to that after doing so for a couple of years.
I hope this inspires some of you to make your own Sauerkraut to begin your journey to a healthier gut, I know I am so grateful that I did.
Until next time, this is Sunscape
Sun. Scape. Ing Your Day

 You've been curated by