Hello friends...
☺☺☺
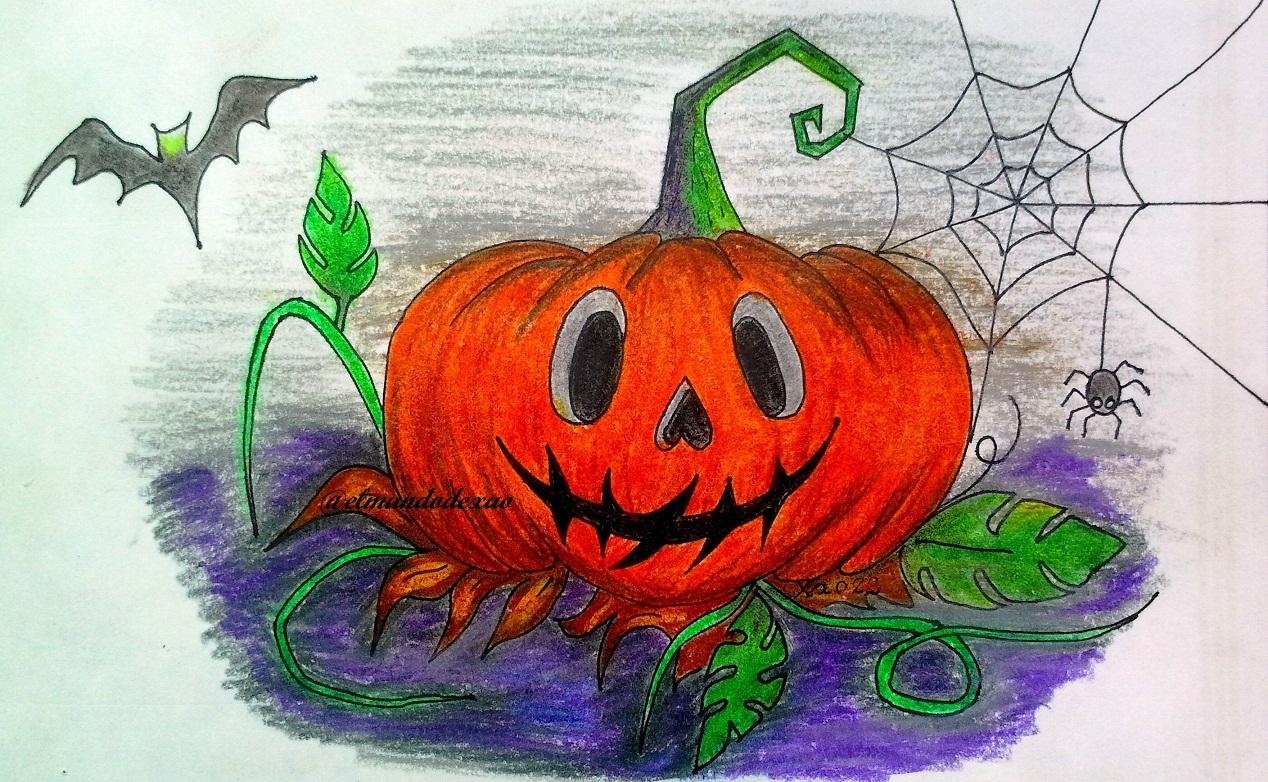
Welcome to my blog; To continue with the Halloween Season 2022 today I will show you my second drawing; the scary Halloween pumpkin also known as "Jack's lantern" These pumpkins refer to the legend of Jack-o'-lantern, which translates to "Jack's lantern" or something similar; anyway the point is that the image on the pumpkin is the face of Jack which must carry a source of light inside to guide him on the journey to purgatory. That is to say that the purpose of the pumpkin is to guide the good souls that follow the light and scare away the bad spirits that stay in the darkness. If you haven't read the first post of this Halloween season visit it here; Thank you.
Here are the materials used: white paper, graphite pencil 2, 0.5 marker, eraser and colors (Variety of brands).
Before continuing I remind you that at the end I will leave you the link I used on this occasion.
Let's start with the step by step of the drawing:
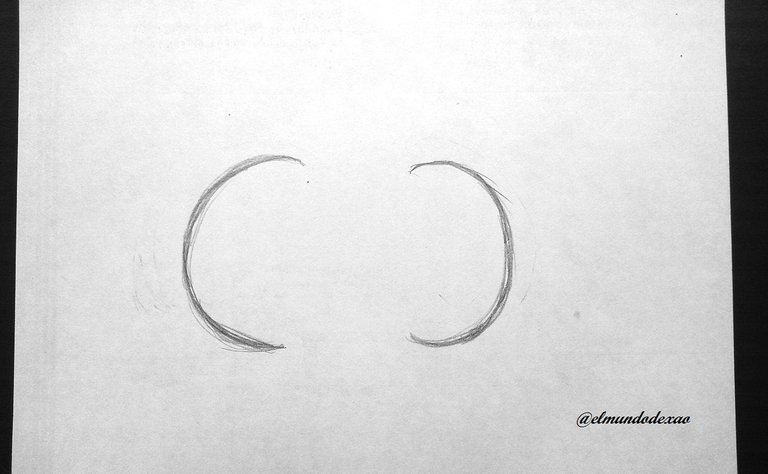
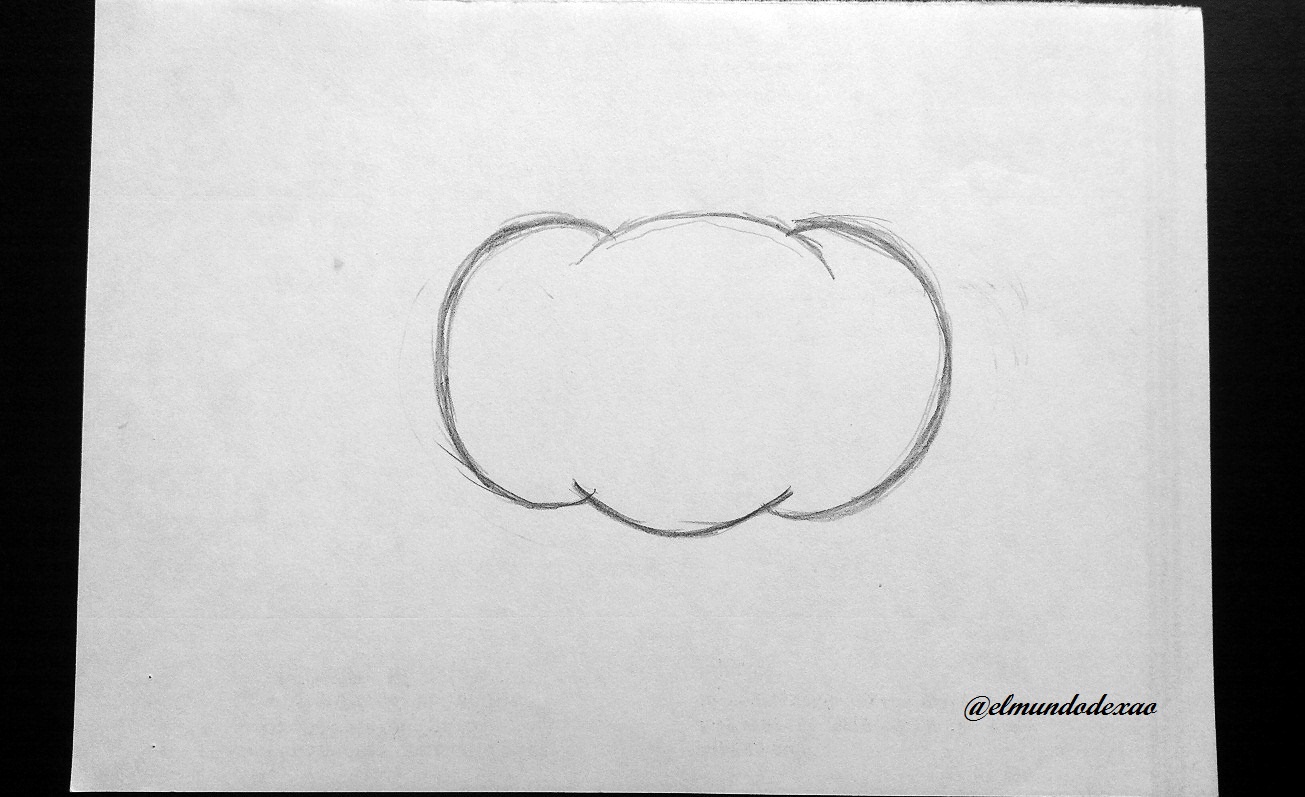
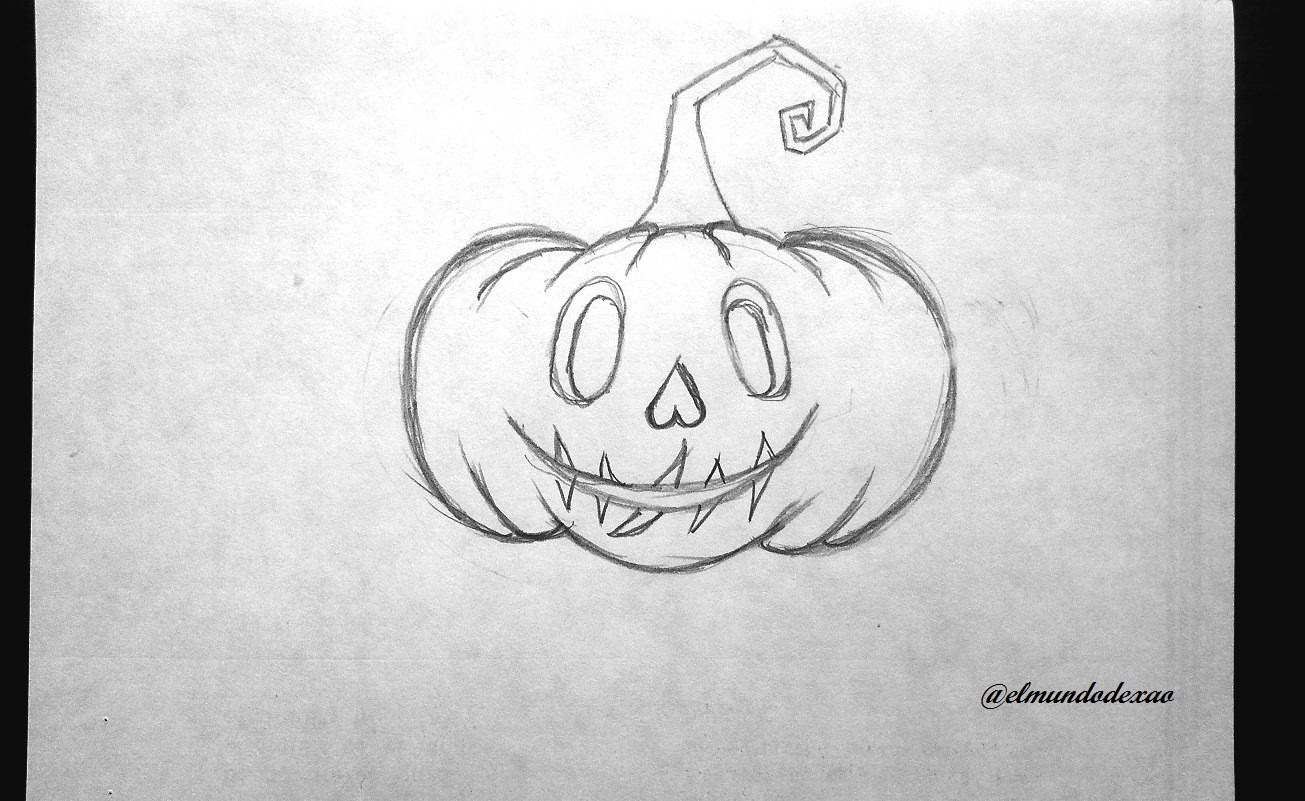
Step # 01: I start by making a couple of arched lines as if they were parentheses; they should have the approximate size we want for the drawing; then I draw two similar lines only this time they should be horizontal to cover the spaces above and below; as you can see we already have a silhouette that clearly defines our pumpkin and it was achieved by drawing only four lines.
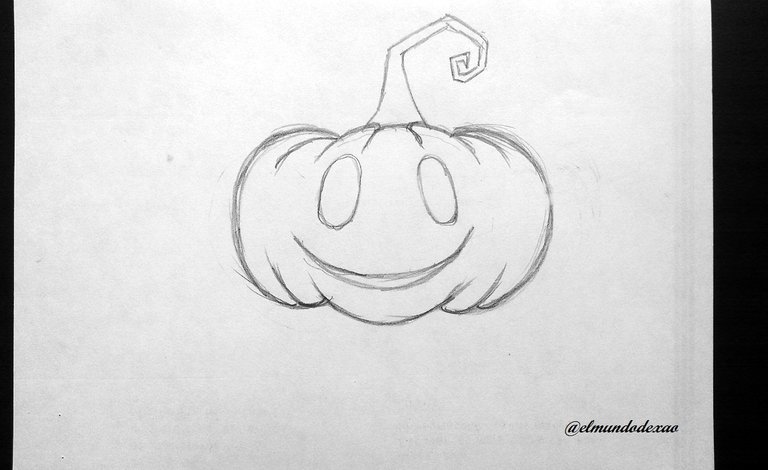
 Step # 02: Now I draw the peduncle or stem of the pumpkin; only it will not have a curved aspect as it is naturally but I will give it more of an angular twist aspect; then I make several strokes up and down so it has those undulations very common in pumpkins; for the eyes it will be enough with a couple of ovals and an arched line to bring out a smile; the details are important, for the mouth I draw several fissures around it, the nose will be shaped like an inverted heart and the eyes should have another oval inside to give the sensation of thickness.
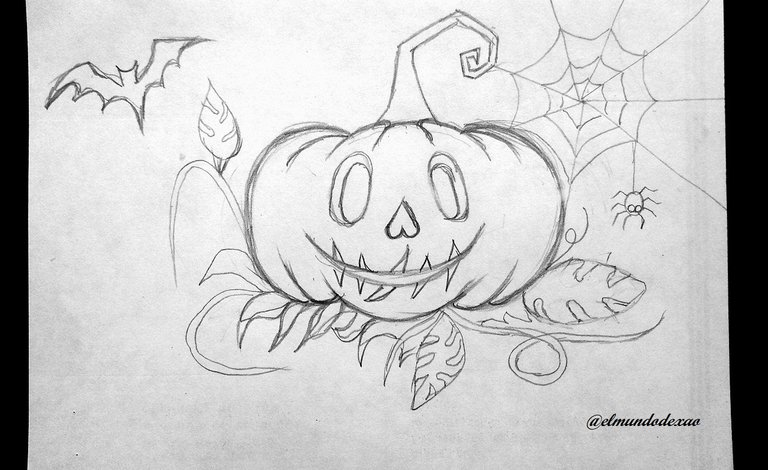
 Step # 03: The environment will be leaves and stems as it is naturally; I will also add a spider with its web and a bat flying around; so it will have the desired look for the occasion.
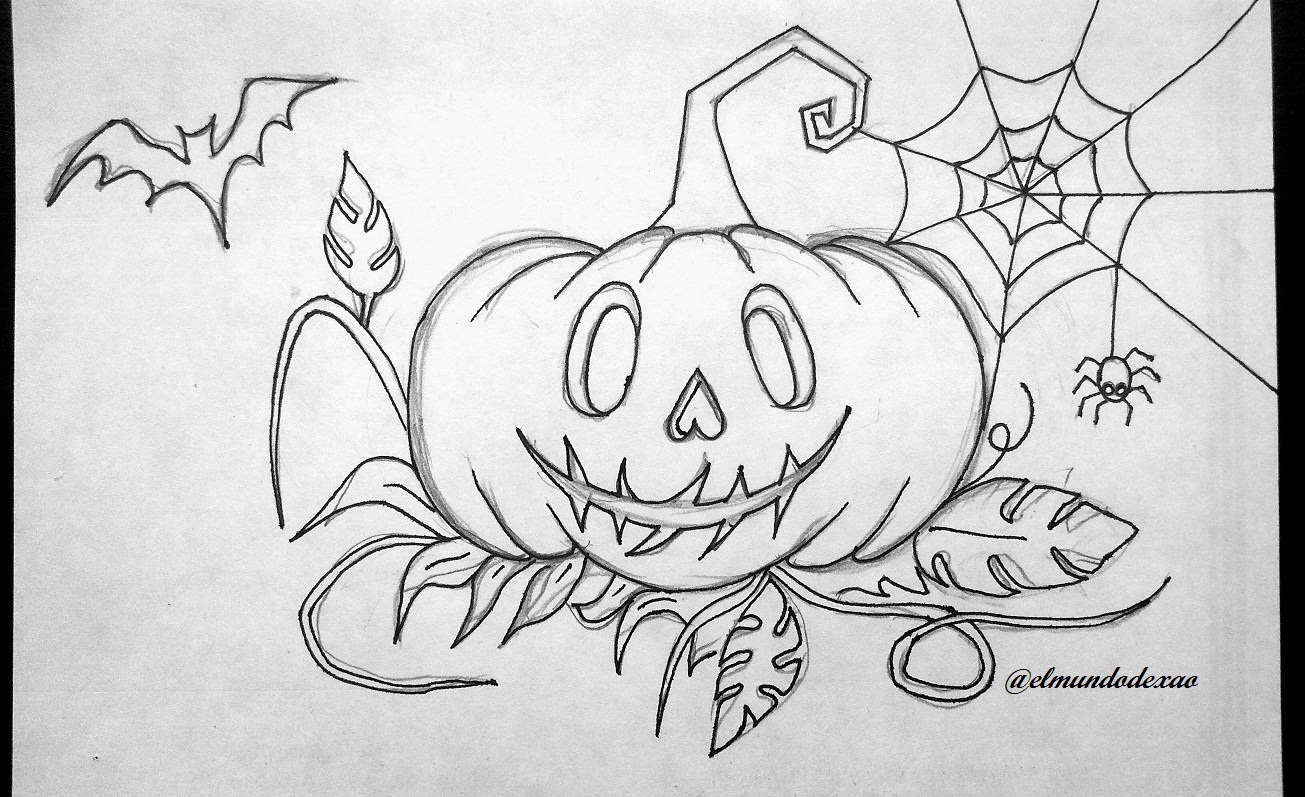
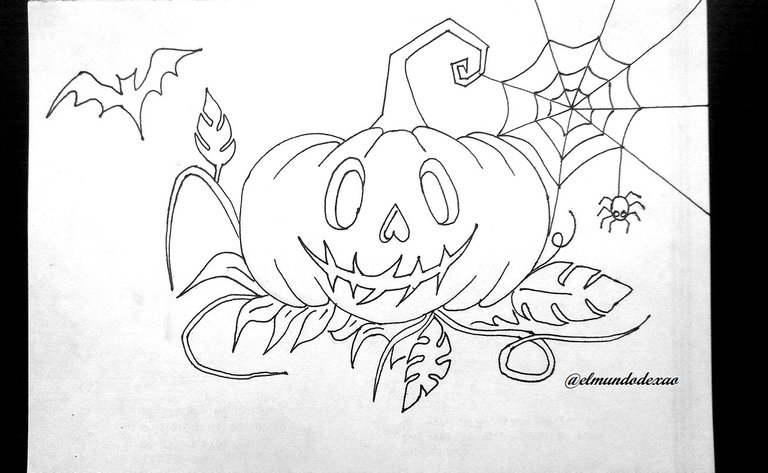
 Step # 04: Well up to this point we have the sketch ready so I am going to ink it to improve some details and then erase all the graphite.
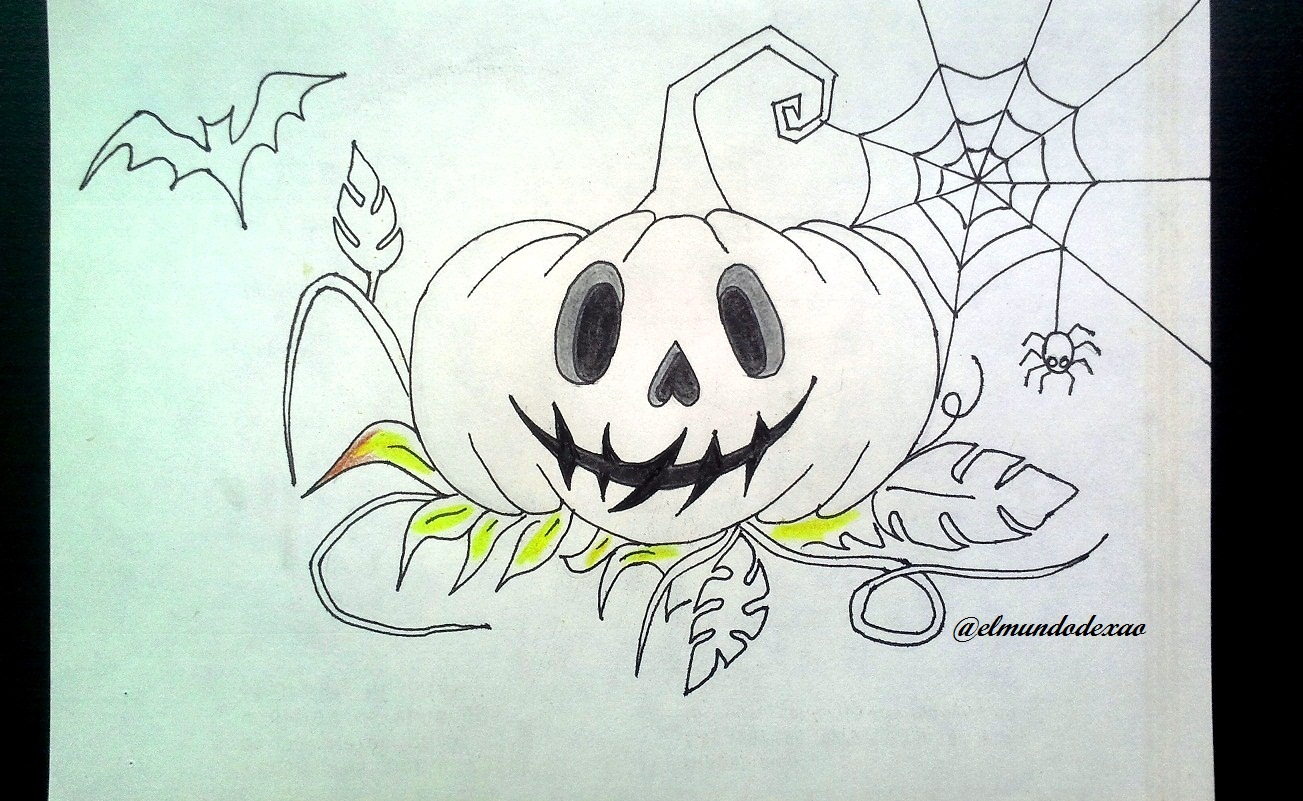
 Step # 05: Now I am going to color and I will start with black and gray for eyes, nose and mouth; then a little bit of yellow blended with brown on some leaves.
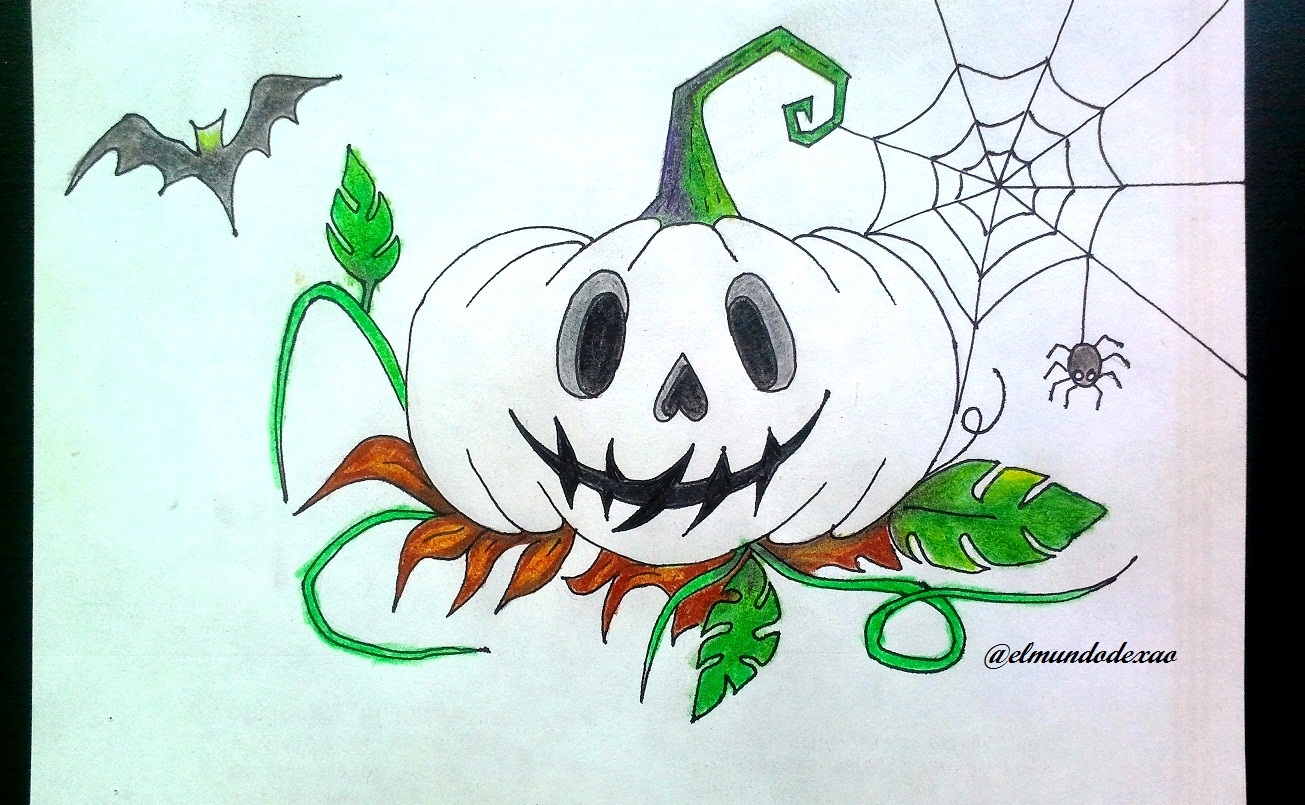
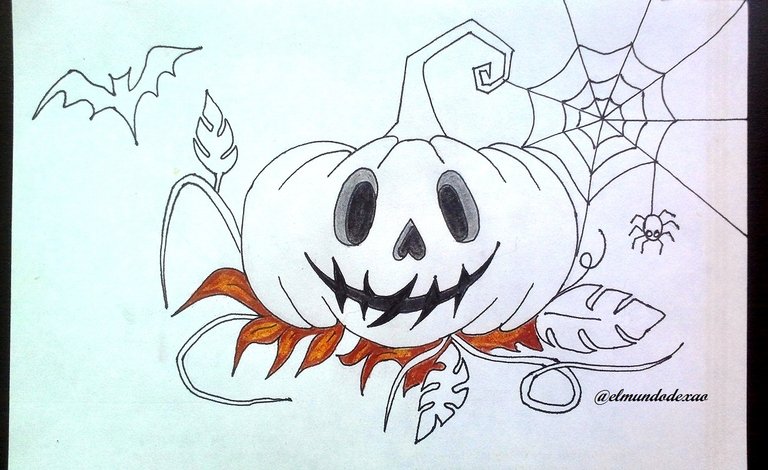 Step # 06: For the rest of the leaves and stems I will use the colors green, yellow and black; as for the bat and the spider they will have a dark gray tone and I will start applying the orange to the whole pumpkin.
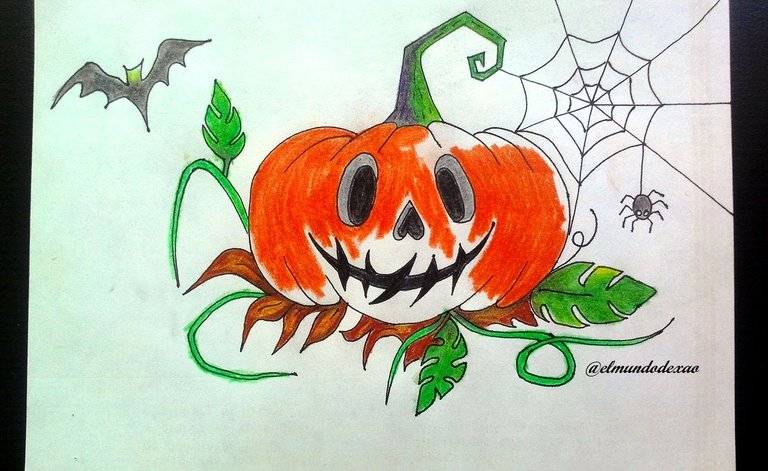 Step # 07: Once I finish with the orange color I apply yellow on top of it so that these two colors are intertwined.
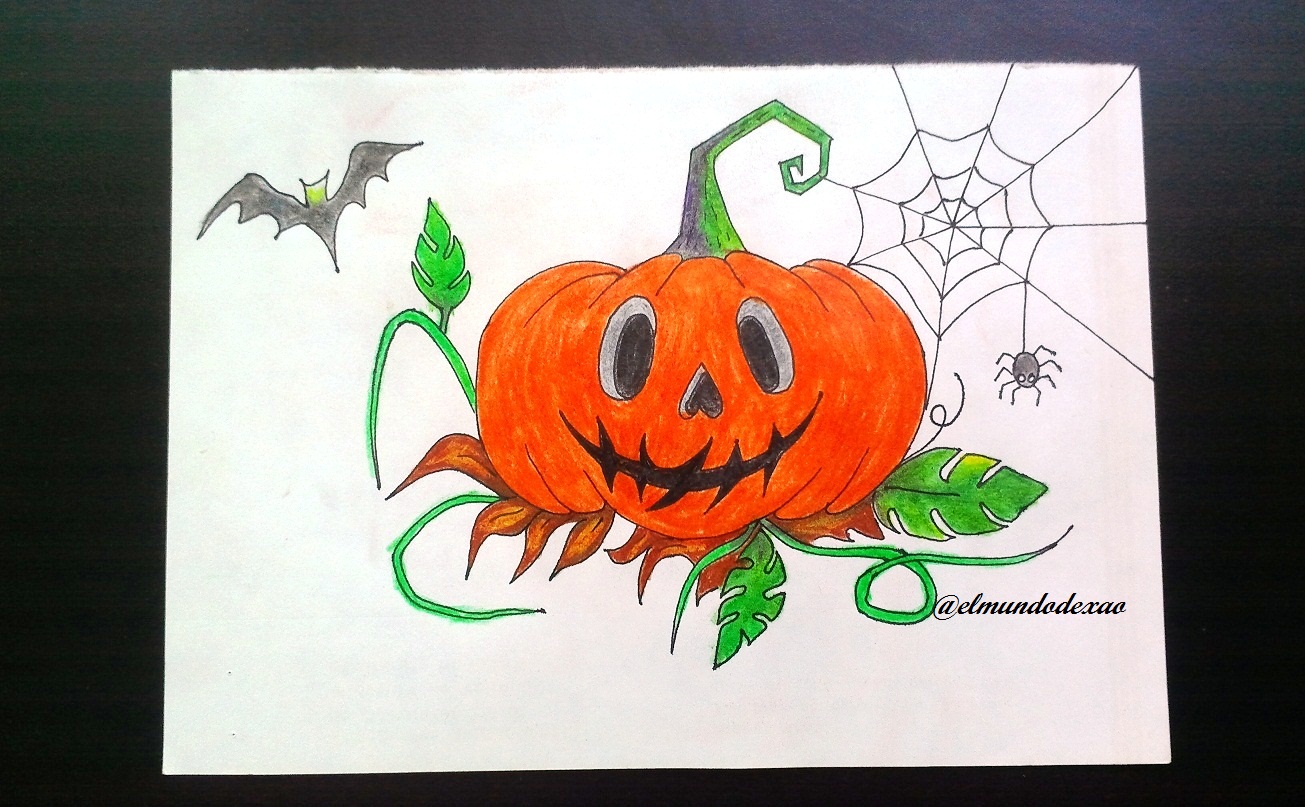
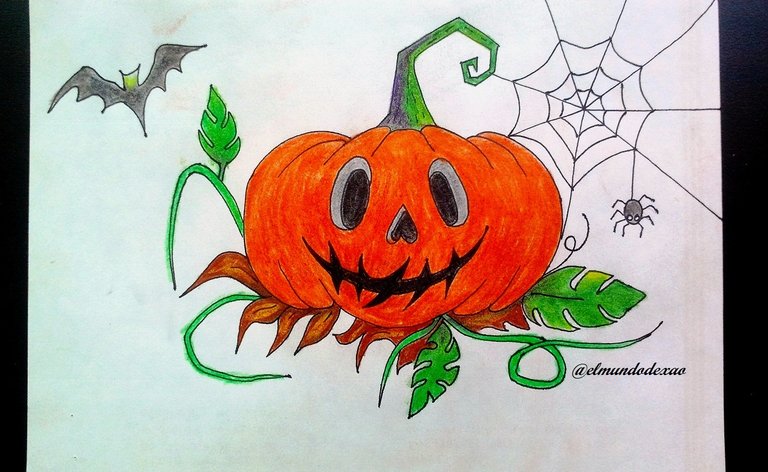 Step # 08: To give the final touch to the pumpkin I use a brown to make arched strokes from top to bottom and vice versa. And for the background I place a purple color and on top a light gray. This is the end of my publication; I say goodbye wishing you a happy day, afternoon or evening depending on your location.
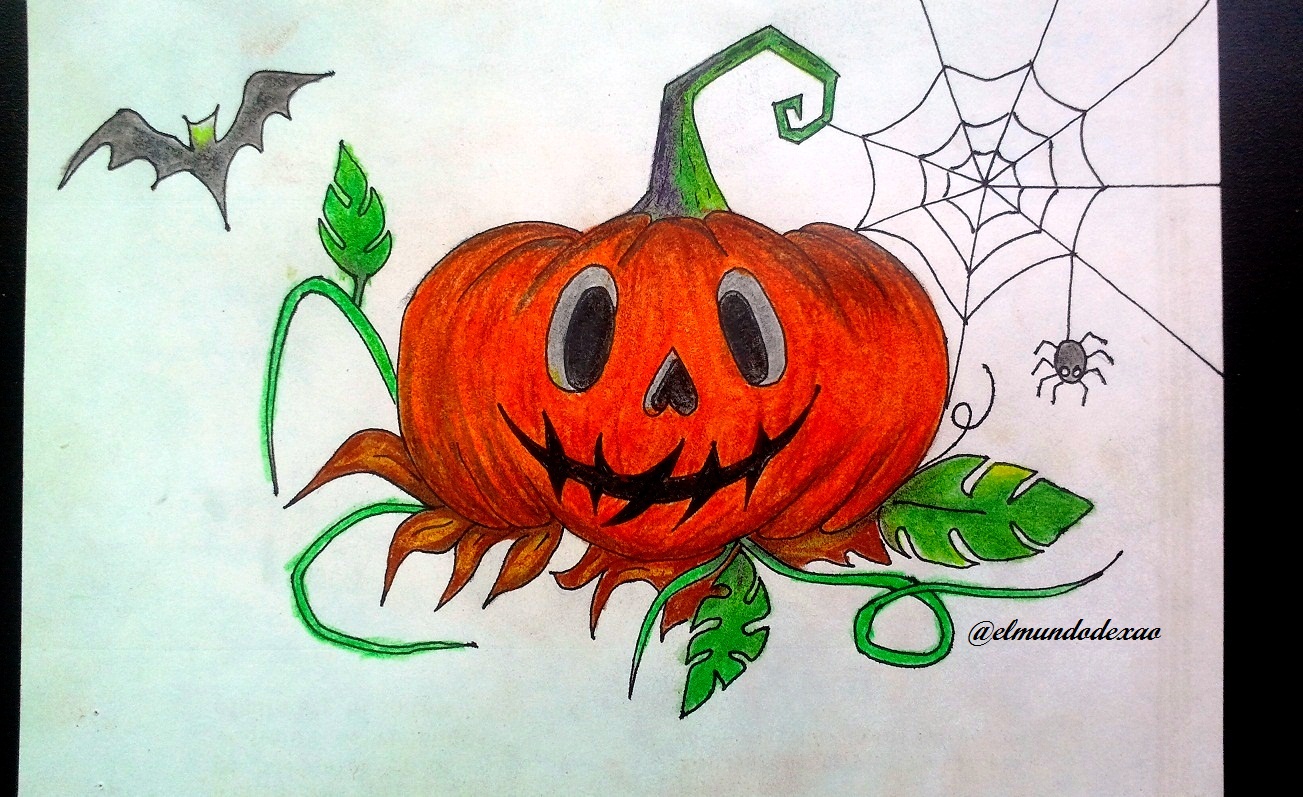
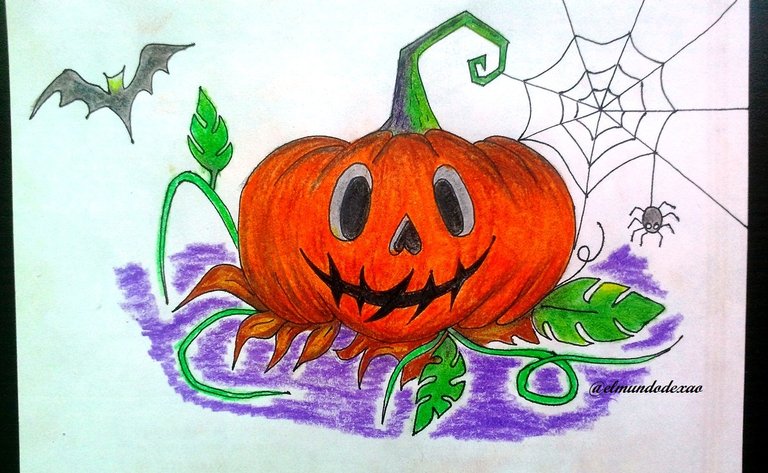

Photo Source: Own photos captured with a Síragon camera.
Modified size: With the Paint Program.
Thanks for visiting my Blog… AH! Don't forget to vote, reblogear, and comment.
Translated with:

www.DeepL.com/Translator (free version)

Arte Kawaii Temporada Halloween 2022 # 02“El Farol de Jack”.
Hola amigos…
☺☺☺
Bienvenidos a mi blog; Para continuar con la Temporada Halloween 2022 hoy les mostraré mi segundo dibujo; la temible calabaza de Halloween también conocida como “el farol de Jack” Estas calabazas hacen referencia a la leyenda de Jack-o’-lantern, lo que traduce “el farol de Jack” o algo similar; en fin el punto es que la imagen en la calabaza es la cara de Jack la cual debe llevar una fuente de luz dentro para guiarlo en la travesía hacia el purgatorio. Es decir que la finalidad de la calabaza es guiar a las almas buenas que siguen la luz y ahuyentar a los malos espíritus que se quedan en la oscuridad. Si no has leído la primera publicación de esta temporada Halloween visítala aquí; Gracias.
A continuación menciono los materiales utilizados: Papel blanco, lápiz de grafito 2, rotulador de 0.5, borrador y colores (Variedad de marcas).
Antes de continuar les recuerdo que al final les dejare el enlace que use en esta ocasión.

Comencemos con el paso a paso del dibujo:
Paso # 01: Comienzo haciendo un par de líneas arqueadas como si se tratara de unos paréntesis; deben tener el tamaño aproximado que queremos para el dibujo; luego trazo dos líneas parecidas solo que esta vez deben estar en forma horizontal para cubrir los espacios de arriba y abajo; como pueden observar ya tenemos una silueta que define claramente nuestra calabaza y se logró con trazar solo cuatro líneas.

 Paso # 02: Ahora dibujo el pedúnculo o tallo de la calabaza; solo que no tendrá un aspecto curvo como lo es naturalmente sino le daré más bien un aspecto de giro angular; luego hago varios trazos arriba y abajo para que tenga esas ondulaciones muy comunes en las calabazas; para los ojos bastara con un par de óvalos y una línea arqueada para sacarle una sonrisa; los detalles son importantes, para la boca dibujo varias fisuras a su alrededor, la nariz tendrá forma de un corazón invertido y los ojos deberán tener otro óvalo dentro para dar la sensación de grosor.

 Paso # 03: El entorno serán hojas y tallos como lo es naturalmente; además agregare una araña con su telaraña y un murciélago volando alrededor; así tendrá el aspecto deseado para la ocasión.
 Paso # 04: Bueno hasta este punto ya tenemos listo el boceto por lo que voy a entintarlo para mejorar algunos detalles y luego borrar todo el grafito.

 Paso # 05: Ahora voy a colorear y comenzare con negro y gris para ojos, nariz y boca; luego un poco de amarillo difuminado con marrón en algunas hojas.

 Paso # 06: Para el resto de las hojas y tallos utilizare los colores verde, amarillo y negro; en cuanto al murciélago y la araña llevaran un tono gris oscuro y comienzo aplicar el anaranjado a toda la calabaza.

 Paso # 07: Una ver que termino con el color naranja aplico amarillo encima de este para que se vean entrelazados estos dos colores.

 Paso # 08: Para darle el toque final a la calabaza utilizo un marrón para hacer trazos arqueados desde arriba hacia abajo y viceversa. Y para el fondo coloco un color morado y encima un gris claro. Así doy por terminada mi publicación; me despido deseándoles un feliz día, tarde o noche según sea su ubicación.


Fuente de Fotos: Propias capturadas con una cámara Síragon.
Modificado el tamaño: Con el Programa Paint.
Gracias por visitar mi Blog… ¡AH! No se olvide de votar, rebloguear y comentar.


