Kawaii Art "Drawing An Armadillo". ♥♥ Arte Kawaii “Dibujando Un Armadillo”.

in #hive-1177782 years ago

Hello friends...
☺☺☺

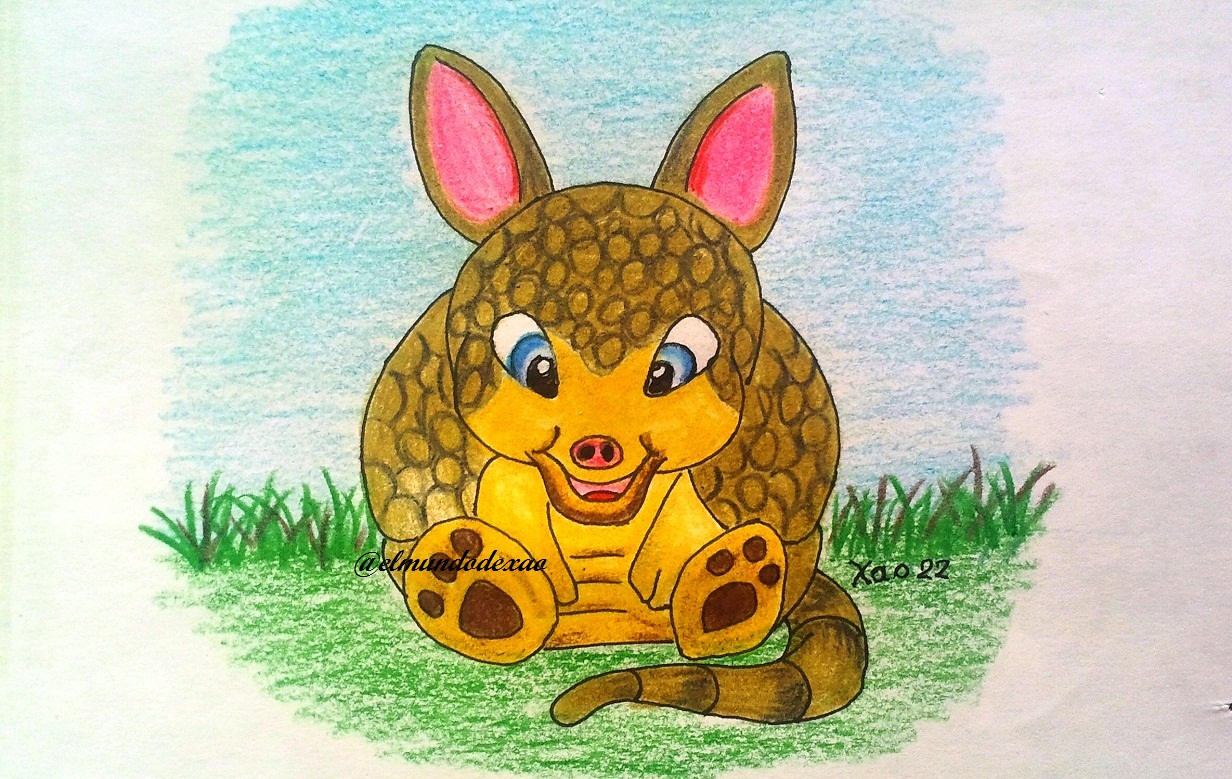
Welcome to my blog friends I hope you are very well this Wednesday. Today's kawaii art is an armadillo that by the way I have always found very cute especially when they are puppies; In addition there are some species that stay small and look very cute.
Next I mention the materials used: white bond paper, graphite pencil 2, 0.5 marker, eraser and colors (Variety of brands).
Before continuing I remind you that at the end I will leave you the link I used on this occasion.
01-IMG_20220831_308.jpg

Let's start with the step by step drawing:
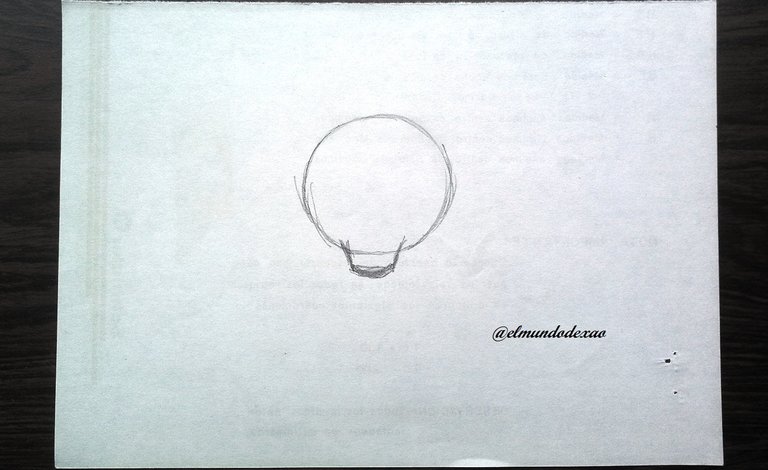

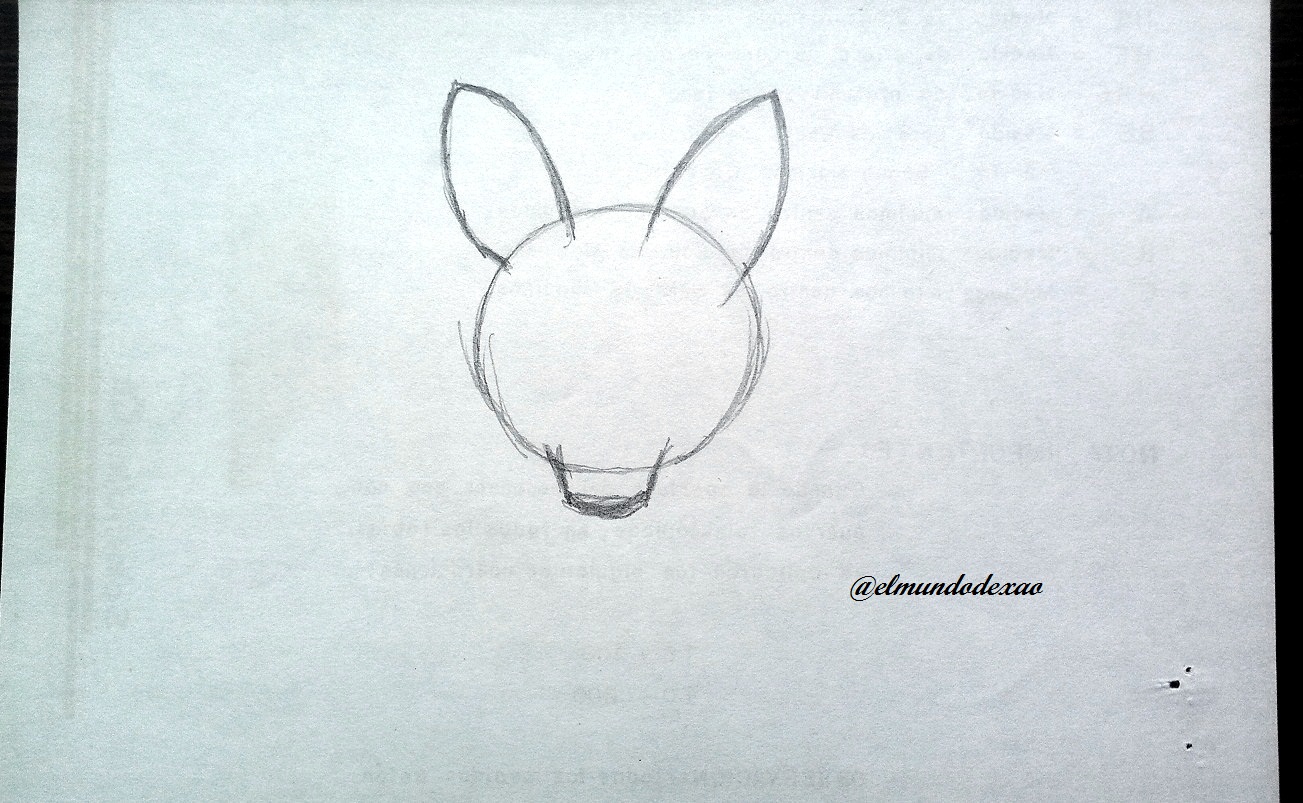
Step # 01: I make a circle for the head, leaving at the bottom a snout for the muzzle and then I define the ears; although these ears were like those of a donkey, well then I see how I improve them.

02-IMG_20220830_832.jpg

03-IMG_20220830_154.jpg

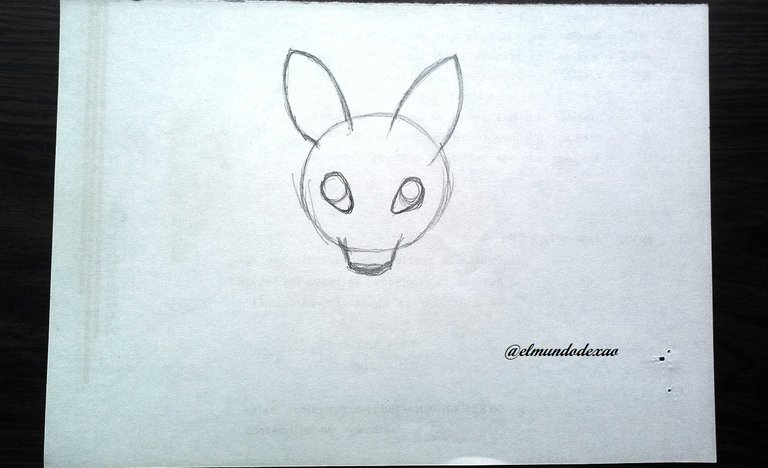
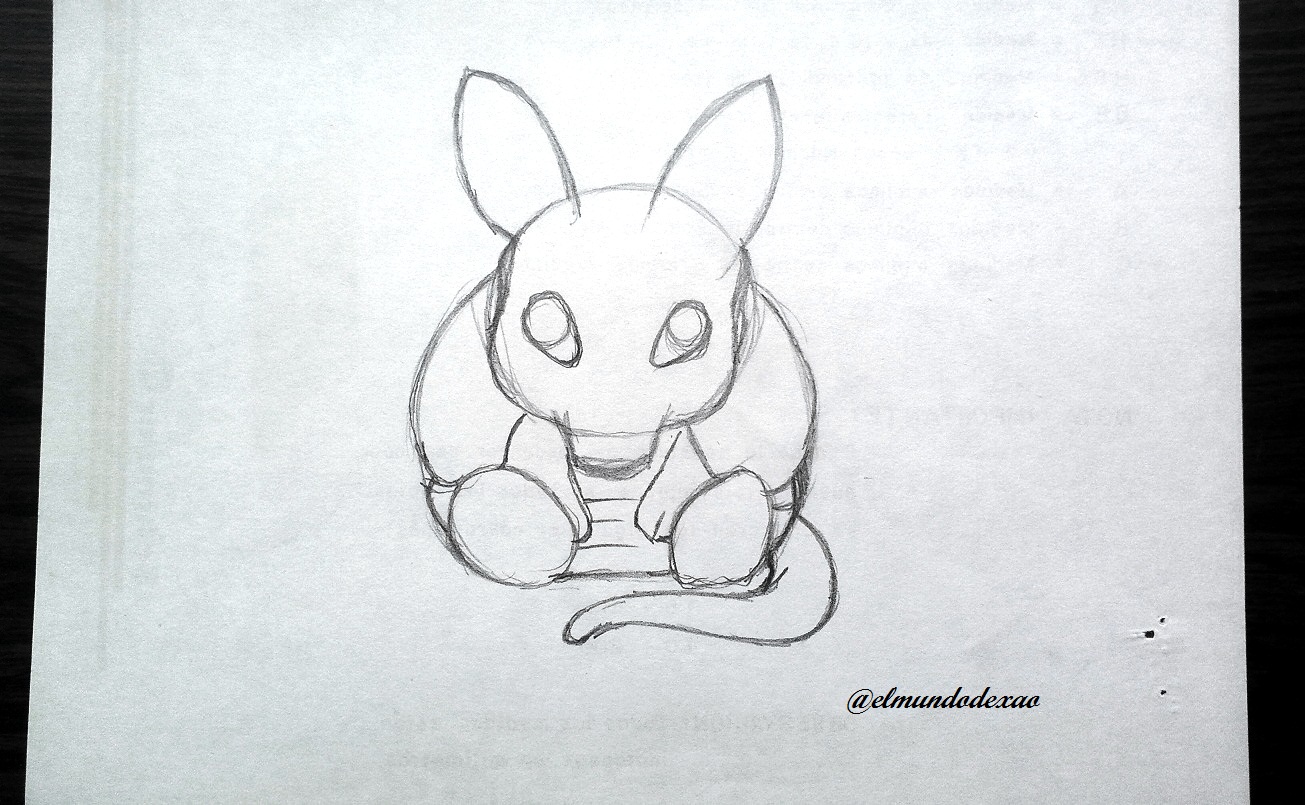
Step # 02: Now I will draw the eyes making two small circles and then extending it down and to the center; for the body which is very robust I will make a bigger circle leaving the bottom part flat since the armadillo is sitting; for the hind legs I make two ovals and draw some lines to define the carapace.

04-IMG_20220830_007.jpg

05-IMG_20220830_323.jpg

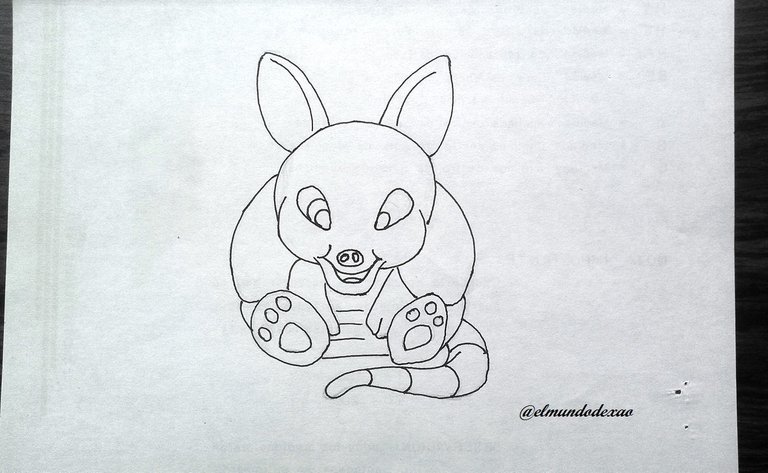
Step # 03: The inking that in this case I will do it in parts, first what I already have in sketch and then I erase all the clean graphite and add details such as the mouth and finish the legs.

06-IMG_20220830_926.jpg

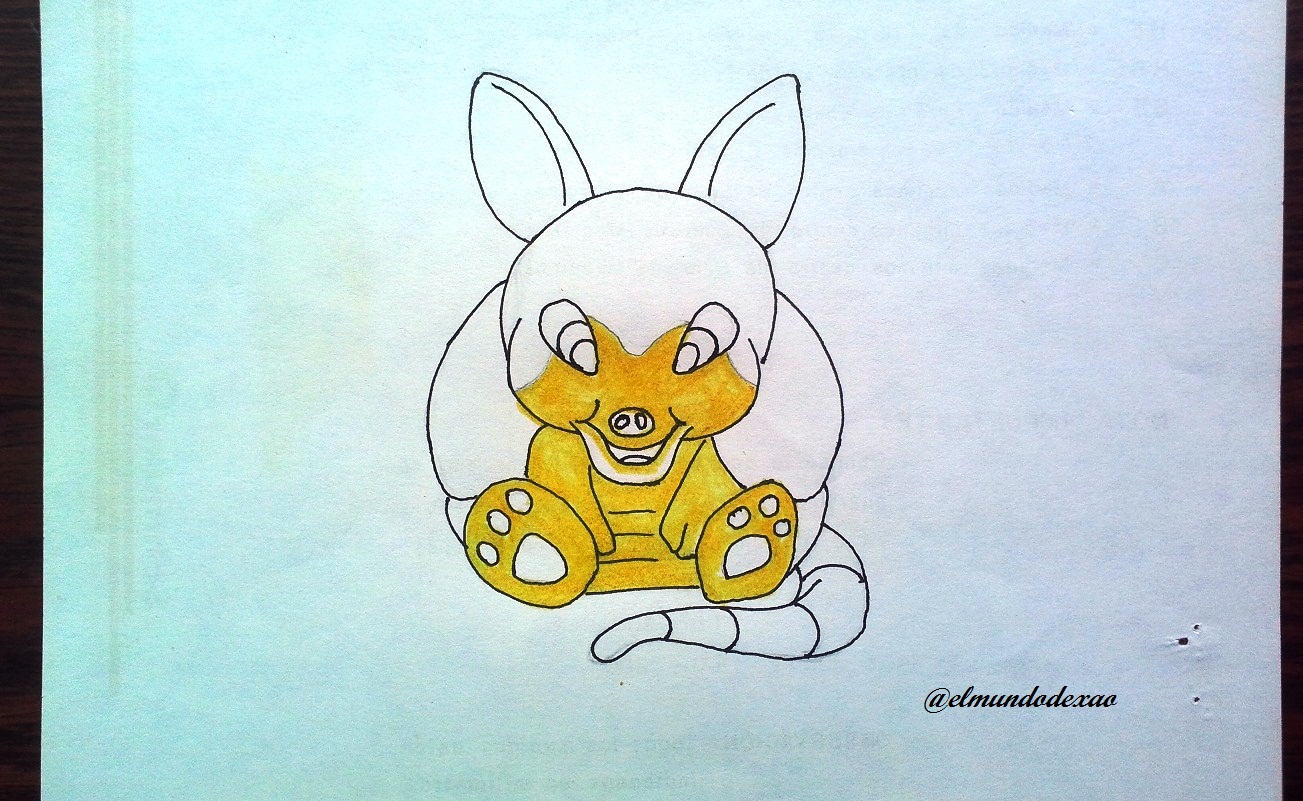
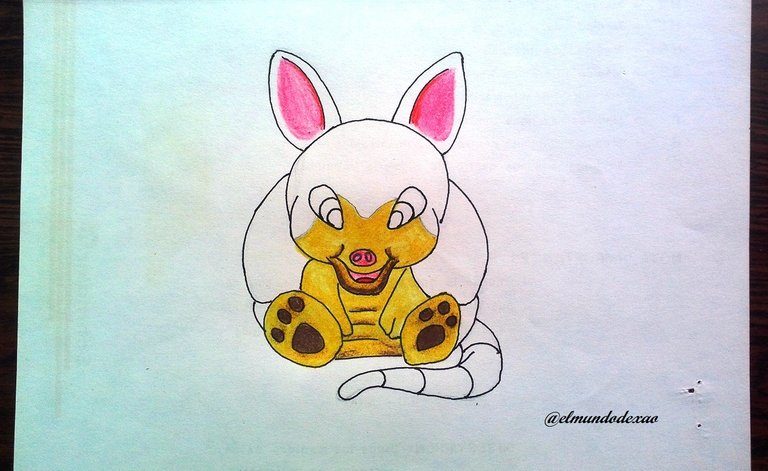
Step # 04: I start coloring the lighter parts using an ochre color and then over the ochre I give some tones with brown; and for the inner part of the ears a pink also for the muzzle.

07-IMG_20220830_026.jpg

08-IMG_20220830_500.jpg

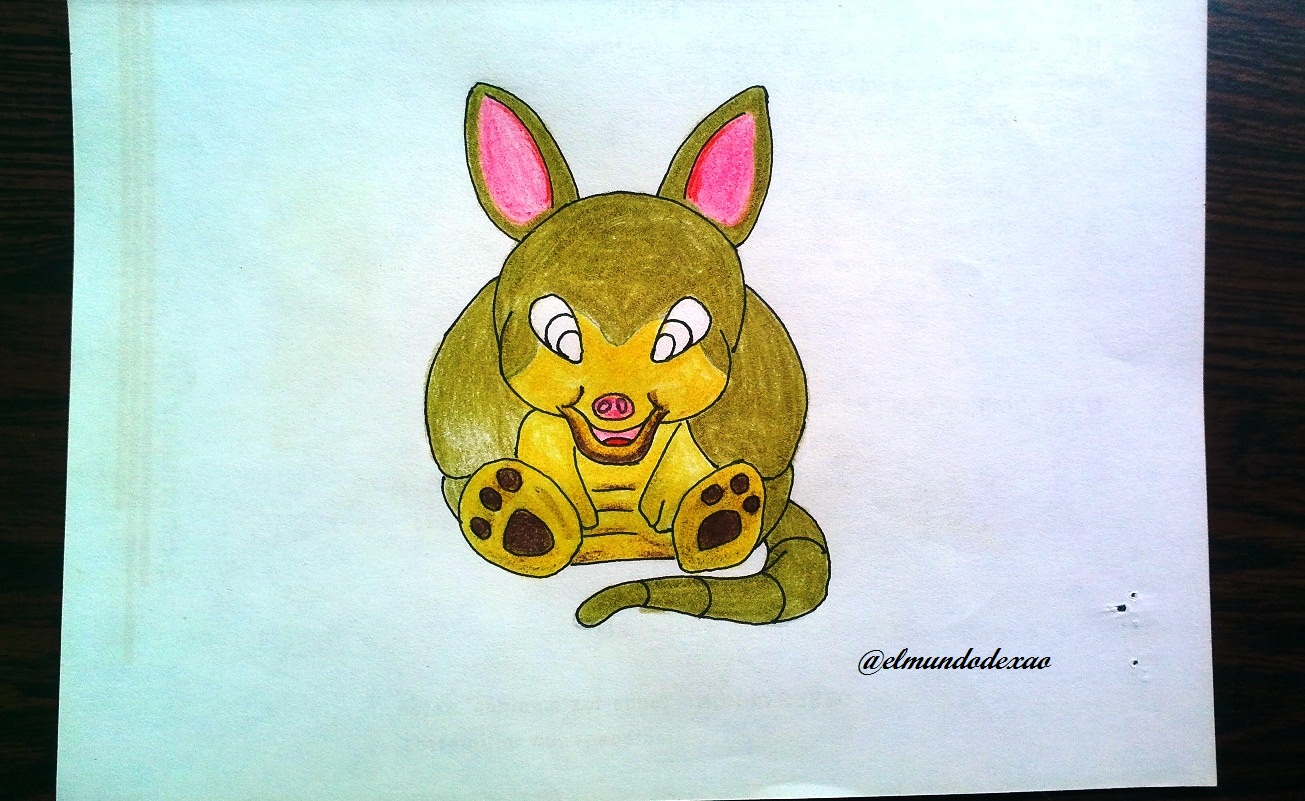
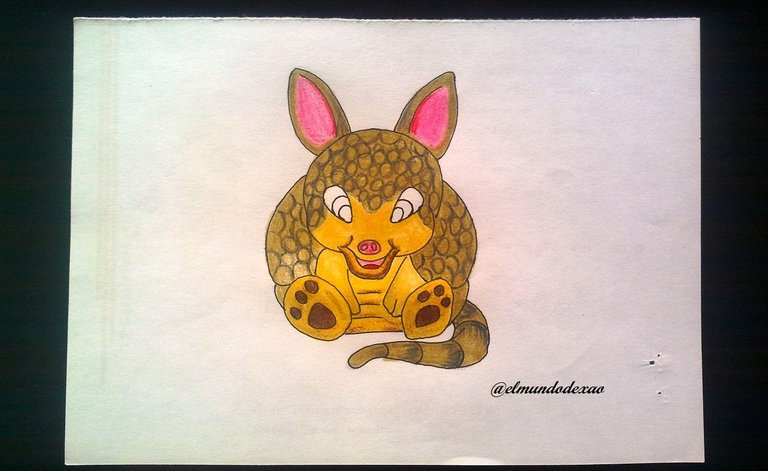
Step # 05: The rest of the head and the body will have a darker ocher color and then I will draw many circles in all that part so that the shell can be appreciated and finally I use a blue tone with white for the eyes leaving the pupils black. This is the end of my armadillo, I hope you liked it.

09-IMG_20220830_710.jpg

10-IMG_20220831_450.jpg

01-IMG_20220831_308.jpg
Photo Source: Own photos captured with a Síragon camera.
Modified size: With the Paint Program.

Thanks for visiting my Blog… AH! Don't forget to vote, reblogear, and comment.

Translated with:
Deepl.jpg

www.DeepL.com/Translator (free version)

Links of interest:

Separador.jpg

Arte Kawaii “Dibujando Un Armadillo”.

Hola amigos…
☺☺☺

Bienvenidos a mi blog amigos espero estén muy bien este día miércoles. El arte kawaii del día de hoy es un armadillo que por cierto siempre me han parecido muy lindos sobre todo cuando están cachorros; Además hay algunas especies que se quedan pequeños y tienen un aspecto muy tierno.
A continuación menciono los materiales utilizados: Papel bond blanco, lápiz de grafito 2, rotulador de 0.5, borrador y colores (Variedad de marcas).
Antes de continuar les recuerdo que al final les dejare el enlace que use en esta ocasión.

01-IMG_20220831_308.jpg

Comencemos con el paso a paso del dibujo:


Paso # 01: Hago un círculo para la cabeza, dejando en la parte de abajo un morro para el hocico y luego defino las orejas; aunque estas orejas quedaron como las de un burro, bueno luego veo como las mejoro.

02-IMG_20220830_832.jpg

03-IMG_20220830_154.jpg

Paso # 02: Ahora voy a dibujar los ojos haciendo dos pequeños círculos y luego alargándolo hacia abajo y al centro; para el cuerpo que es bien robusto haré un circulo más grande dejando la parte de abajo plana ya que el armadillo está sentado; para las patas traseras hago dos óvalos y trazo algunas líneas para definir el caparazón.

04-IMG_20220830_007.jpg

05-IMG_20220830_323.jpg

Paso # 03: El entintado que en este caso lo realizare por partes, primero lo que ya tengo en boceto y luego borro todo el grafito limpio y agrego detalles como la boca y termino las patas.

06-IMG_20220830_926.jpg

Paso # 04: Comienzo a colorear las partes más claras utilizando un color ocre y luego sobre el ocre le doy algunos tonos con marrón; y para la parte interna de las orejas un rosado igualmente para el hocico.

07-IMG_20220830_026.jpg

08-IMG_20220830_500.jpg

Paso # 05: El resto de la cabeza y el cuerpo llevara un color ocre más oscuro y después dibujare muchos círculos en toda esa parte para que se pueda apreciar el caparazón y para finalizar utilizo un tono azul con blanco para los ojos dejando las pupilas negras. De esta manera doy por concluido mi armadillo espero les haya gustado.

09-IMG_20220830_710.jpg

10-IMG_20220831_450.jpg

01-IMG_20220831_308.jpg
Fuente de Fotos: Propias capturadas con una cámara Síragon.
Modificado el tamaño: Con el Programa Paint.

Gracias por visitar mi Blog… ¡AH! No se olvide de votar, rebloguear y comentar.

Enlaces de interés:

Sort:  
Thank you for sharing this amazing post on HIVE!
  • Your content got selected by our fellow curator @semarekha & you just received a little thank you via an upvote from our non-profit curation initiative!

  • You will be featured in one of our recurring curation compilations and on our pinterest boards! Both are aiming to offer you a stage to widen your audience within and outside of the DIY scene of hive.

Join the official DIYHub community on HIVE and show us more of your amazing work and feel free to connect with us and other DIYers via our discord server: https://discord.gg/mY5uCfQ !

If you want to support our goal to motivate other DIY/art/music/homesteading/... creators just delegate to us and earn 100% of your curation rewards!

Stay creative & hive on!

Hi @diyhub and @semarekha, I am very grateful for the mention in your healing work this day.
I wish you much success.
26.jpg