Hello friends...
☺☺☺
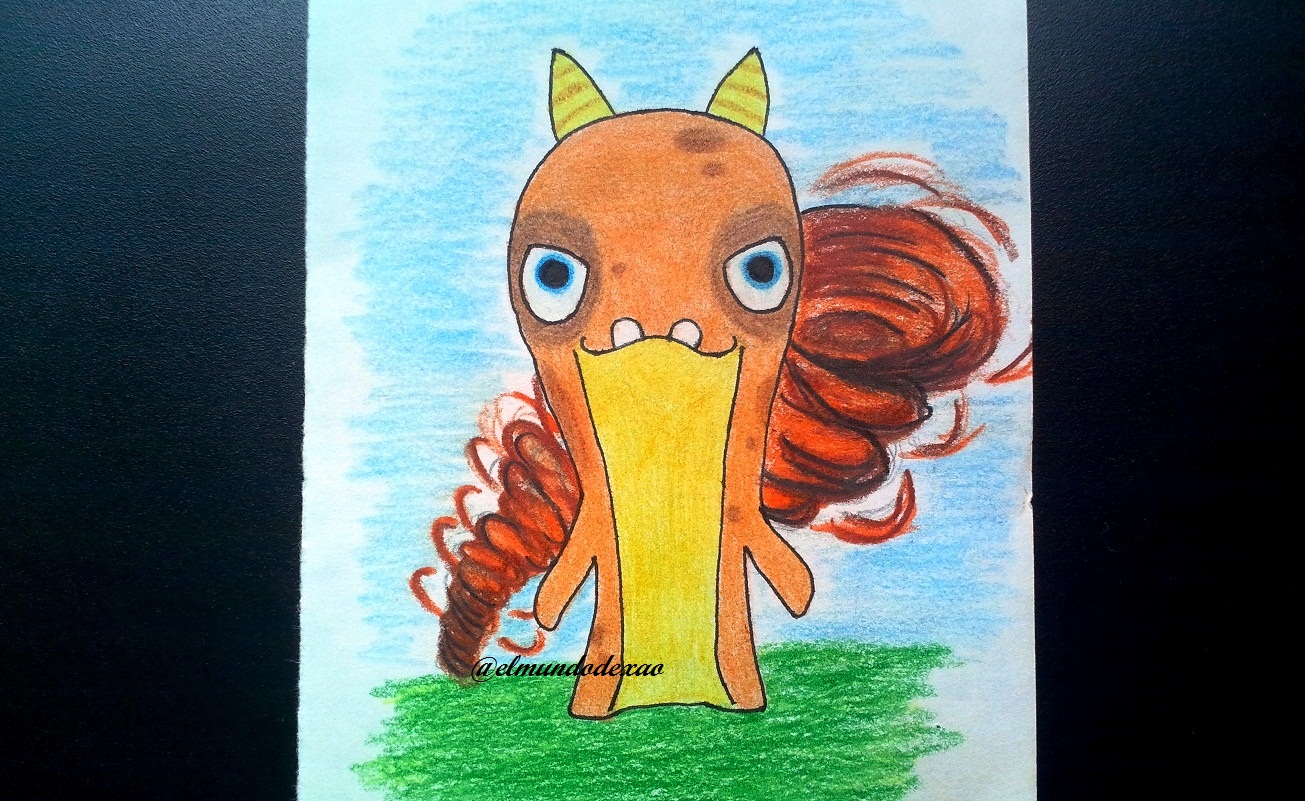
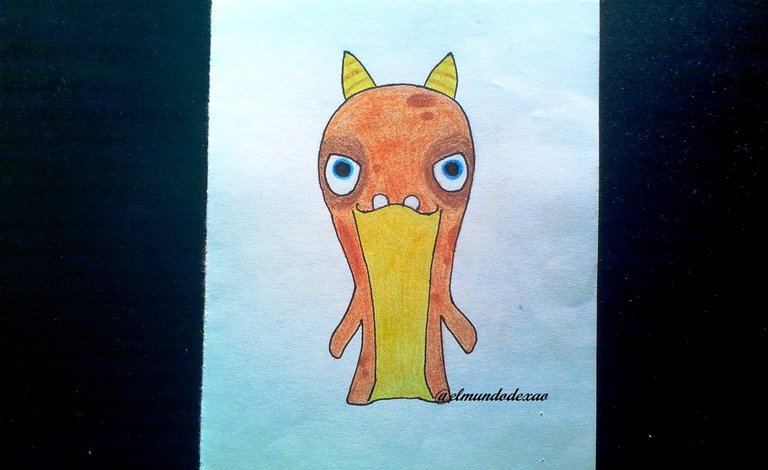
Welcome back to my blog. Today I will share the most recent drawing of the slugs from the Slugterra animated series, this is twister. This slug belongs to the air element; so they can produce strong winds when they are in attack mode. The evil version of this slug is called Tempesto. Its appearance is calm and it is brick colored or so, it has brown spots and the belly is yellow; the eyes are light blue and it has a pair of horns.
Here are the materials used: white bond paper, #2 pencil, 0.5 marker, eraser and colors (Variety of brands).
Before continuing I remind you that at the end I will leave you the link that I used in this occasion.
Let's start with the step by step drawing:
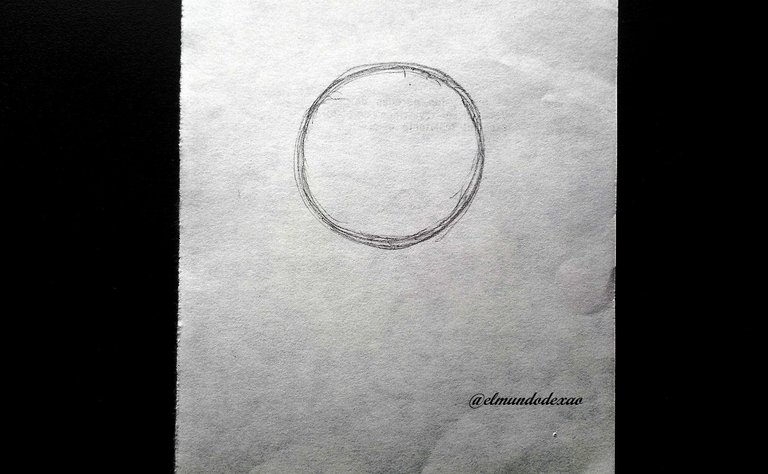
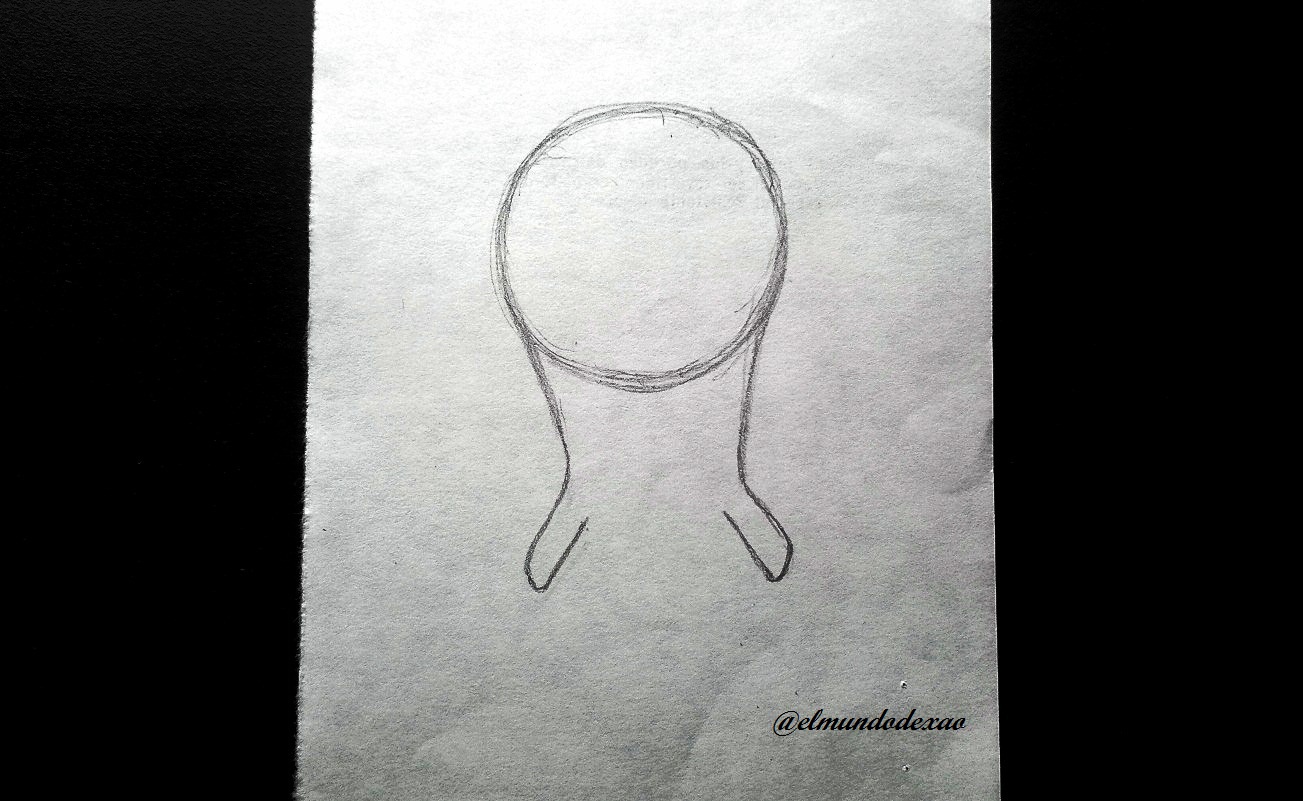
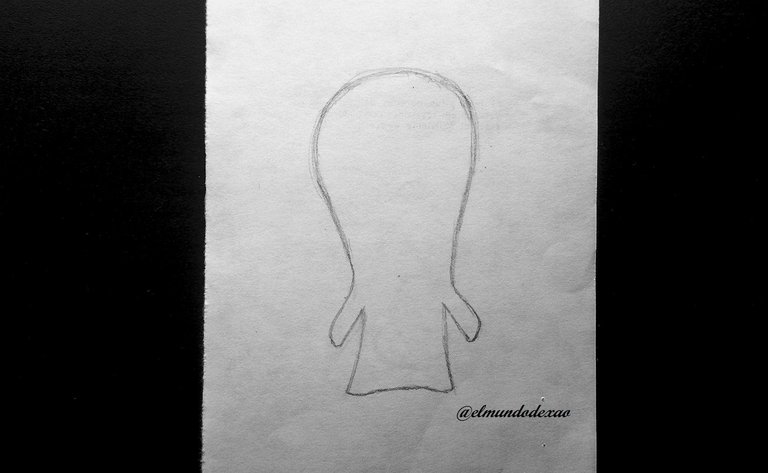
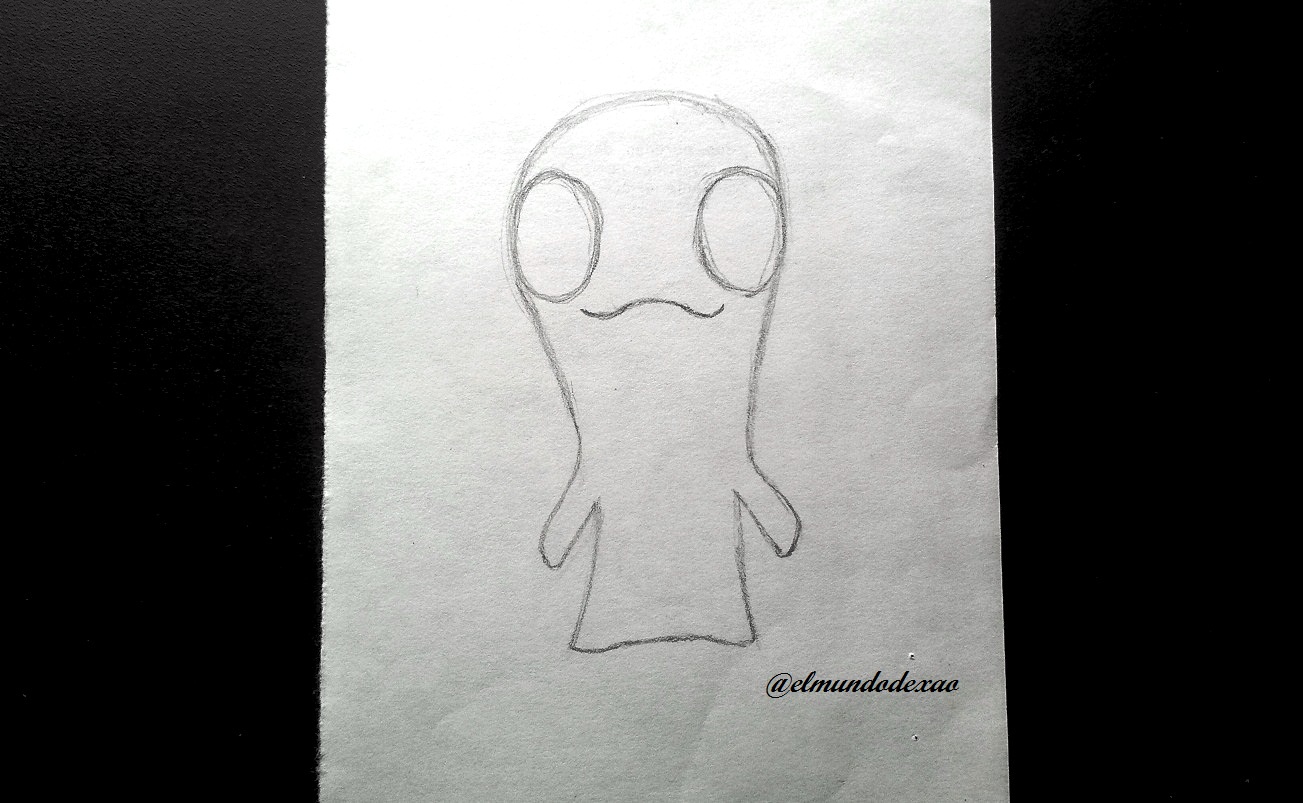
Step # 01: I start by making a circle, then from the sides I draw two lines downwards with which I mold the arms, I continue the lines to finish the bottom part and the result is like a kind of ghost.
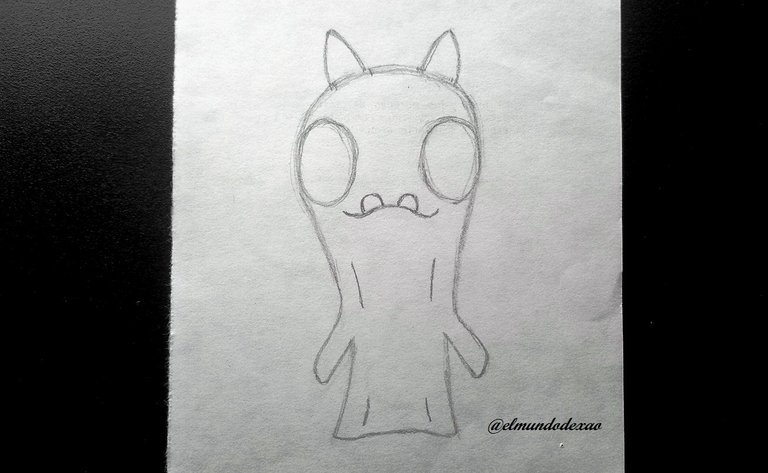
 Step # 02: I make two circles for the eyes and define the mouth by adding a couple of teeth at the bottom at once; I also place the horns at once.
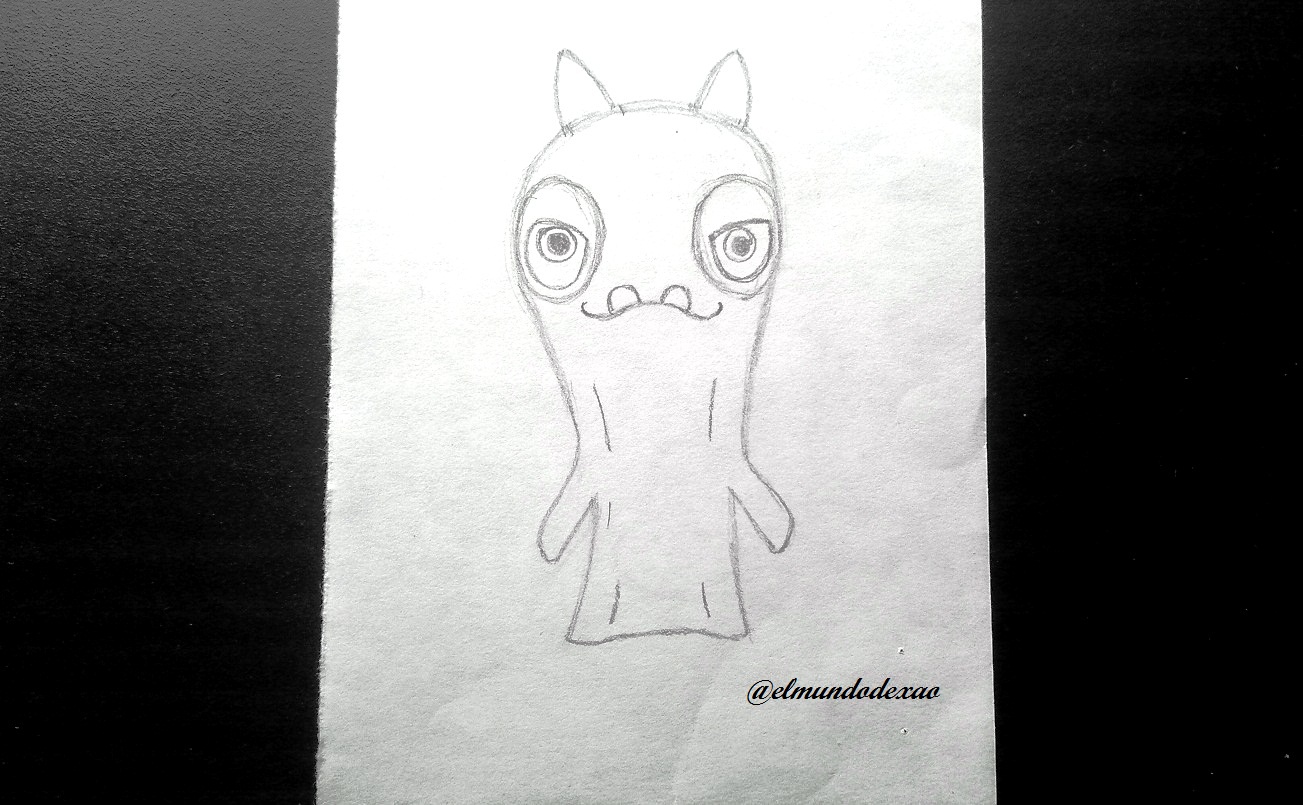
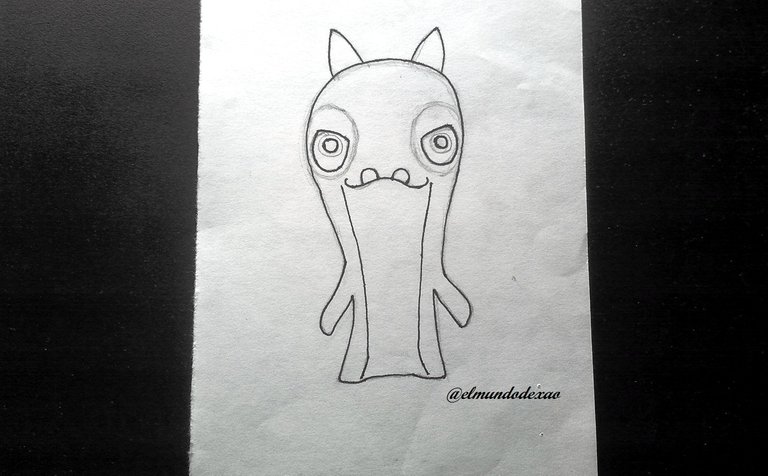
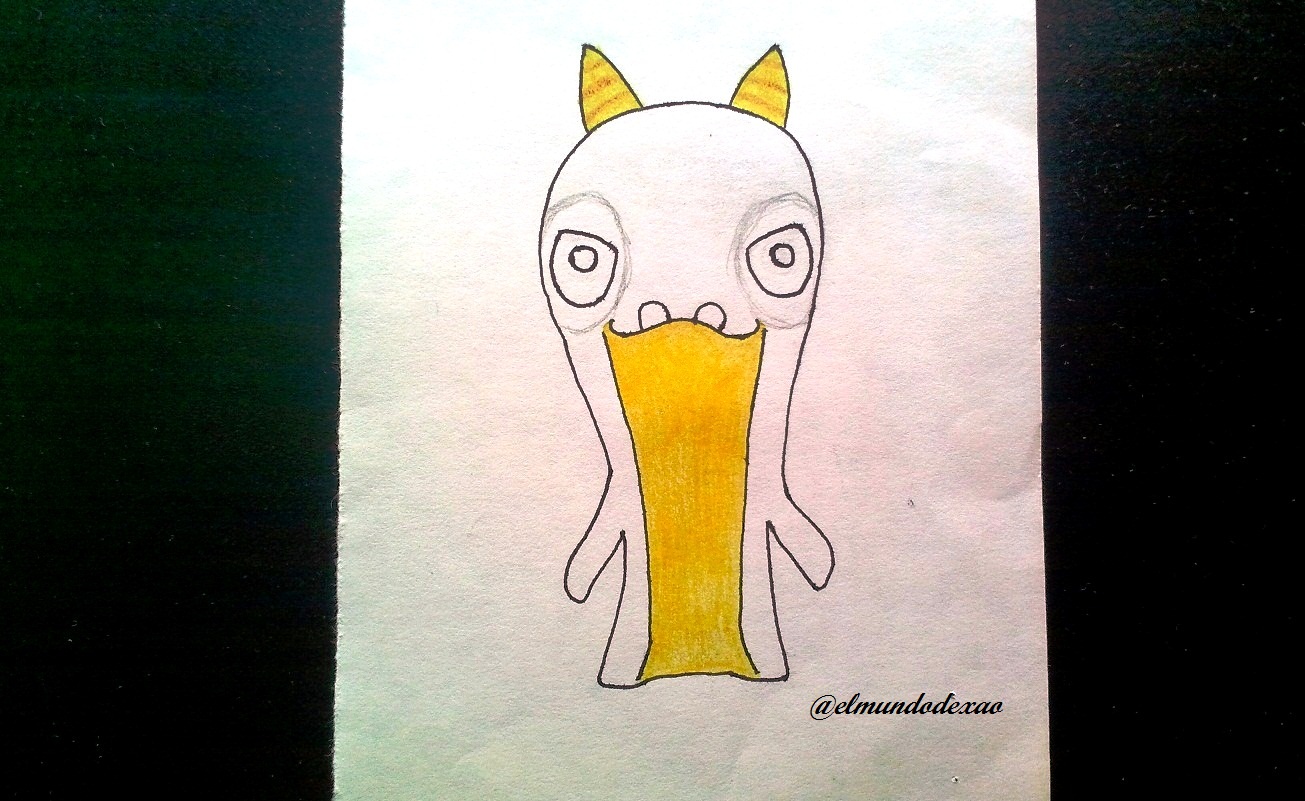
 Step # 03: I finish defining the eyes and it is ready to be inked, add some details like the line that separates the belly from the rest of the body; as for the eyes, the biggest circle I will leave it in graphite since it is about some spots that go around the eyes and I must remember it when I start coloring.
 Step # 04: I start coloring and I do it for the belly and the horns since both will have a yellow color and for the rest of the body a reddish brown as I had already mentioned, leaving the spots around the eyes in white.
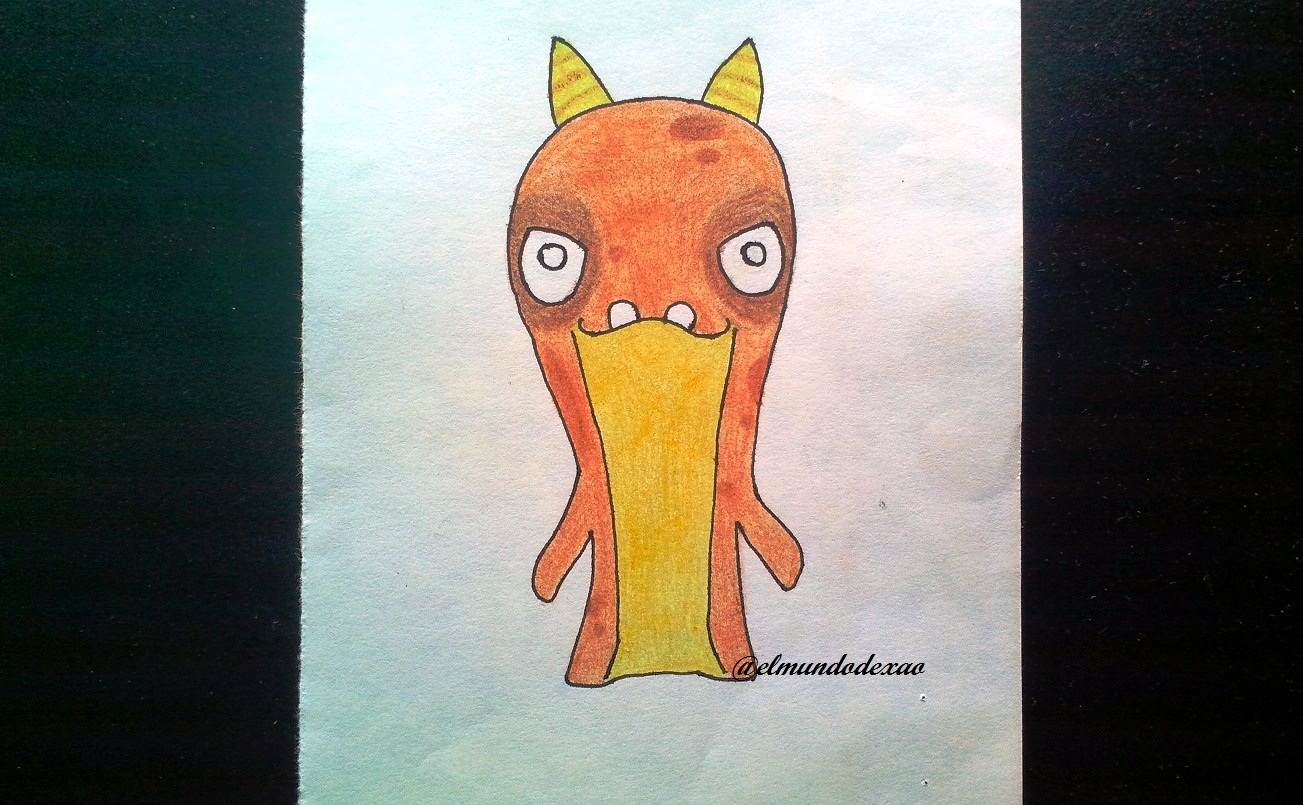
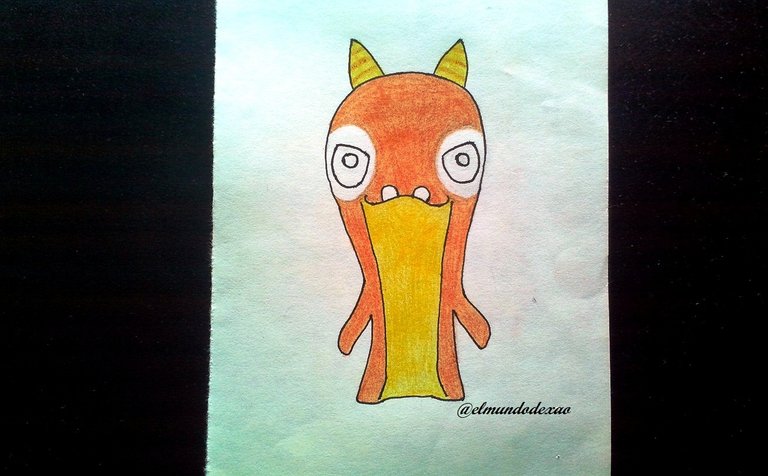 Step # 05: Now I proceed to paint the spots around the eyes, on the head and others on the body, all in brown color and only the eyes are missing, which have a light blue color.
 Step # 06: For the environment I placed a light green on the ground and in the back in the distance comes a tornado approaching; I did this tornado first in pencil and the truth was not very convincing because it did not achieve the desired appearance, but after I clarified some details I started adding colors; first I used brown, then I placed an orange color and finished with a black and I can tell you that it was much better than all the initial attempts. Well friends I hope you enjoyed this tutorial and before I say goodbye I would like to thank you for visiting my publication, so I say goodbye wishing you a nice morning, afternoon or evening depending on your location.
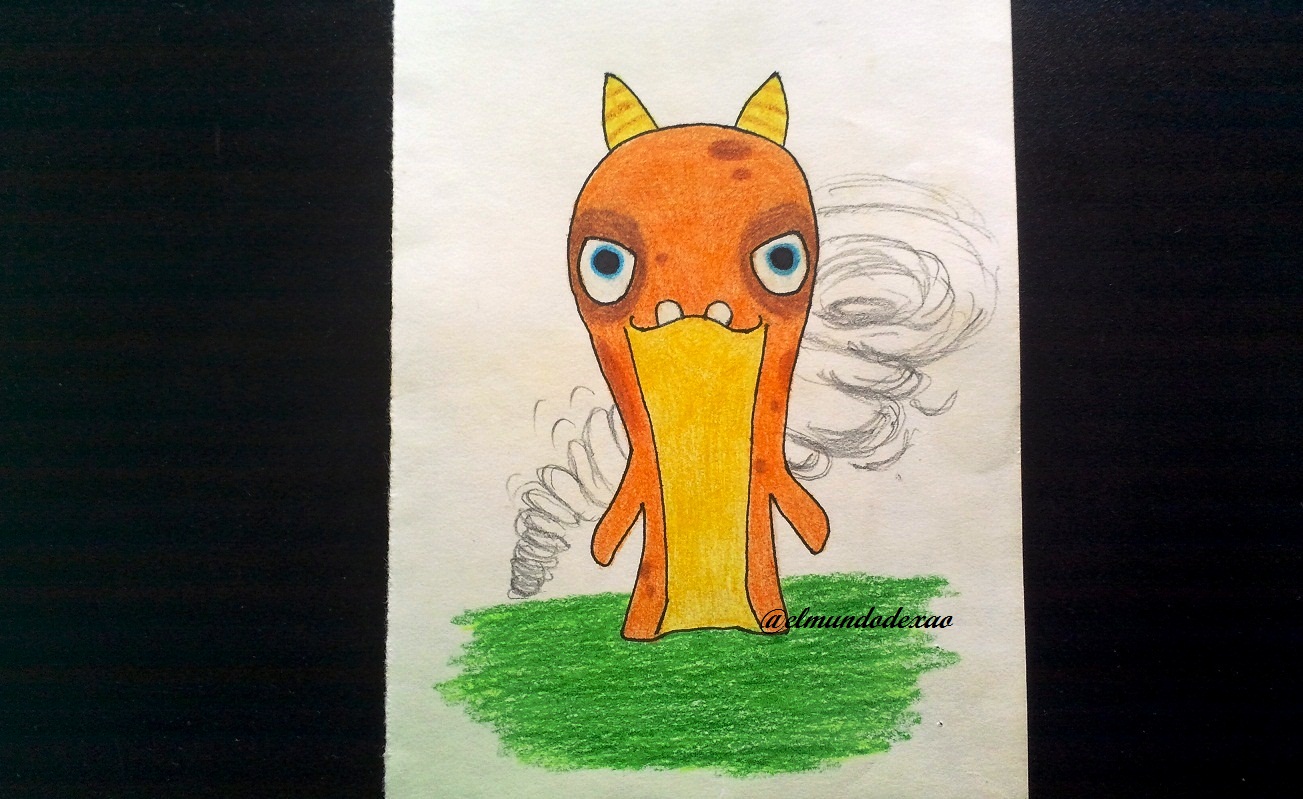
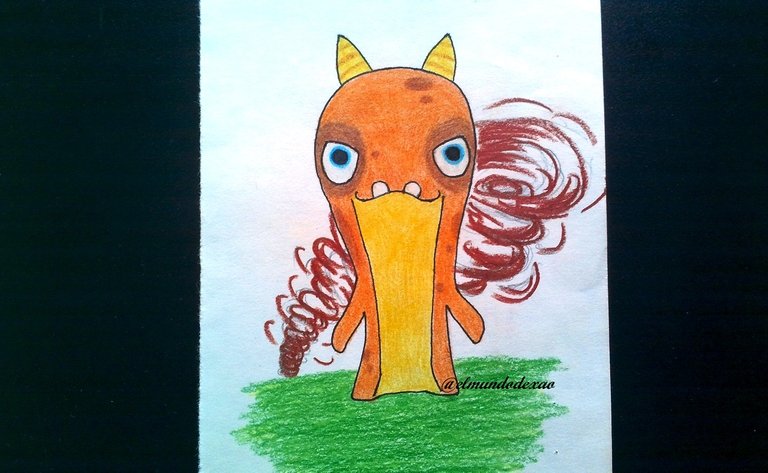
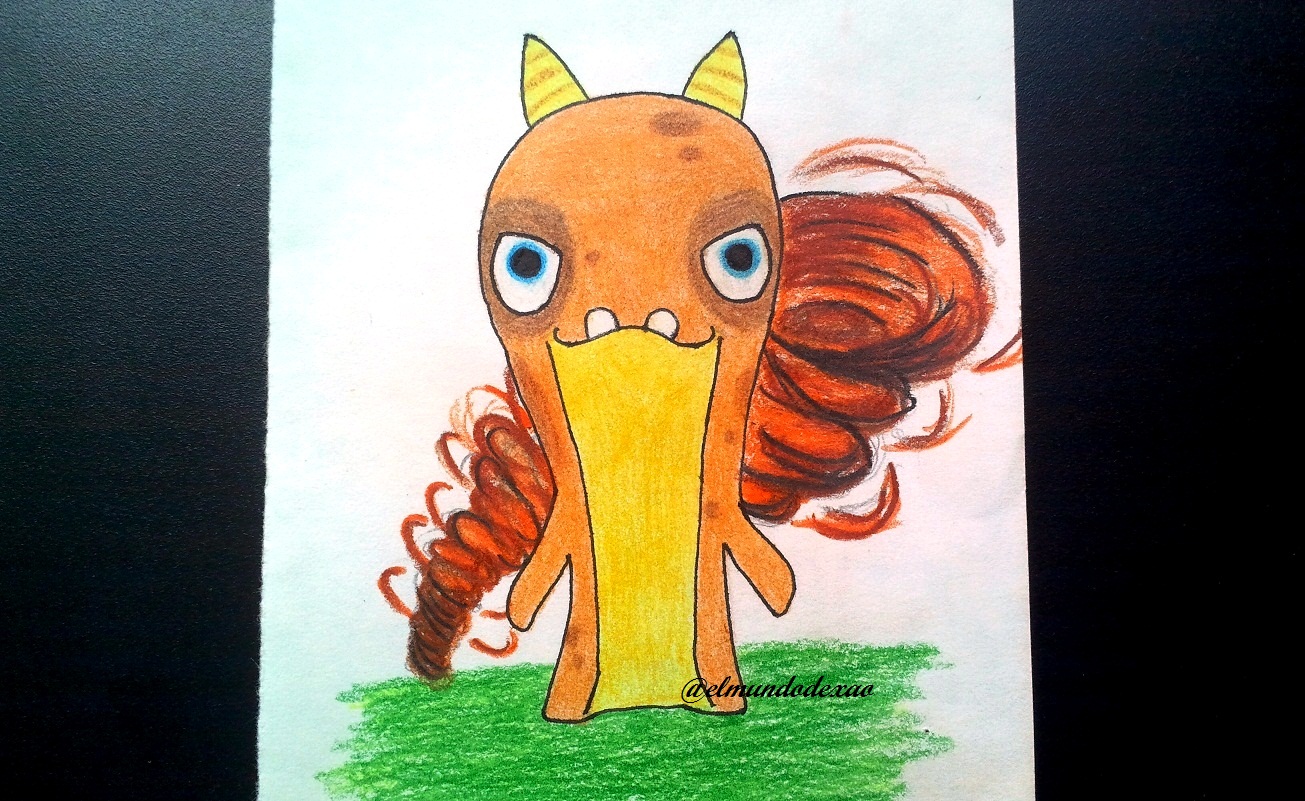

Photo Source: Own photos captured with a Síragon camera.
Modified size: With the Paint Program.
Thanks for visiting my Blog… AH! Don't forget to vote, reblogear, and comment.
Translated with:

www.DeepL.com/Translator (free version)

Dibujando la Babosa Tornado de Bajoterra.
Hola amigos…
☺☺☺
Bienvenidos nuevamente a mi blog. Hoy compartiré el dibujo más reciente de las babosas de la serie animada Bajoterra, se trata de Tornado. Esta babosa pertenece al elemento aire; por lo que pueden producir fuertes vientos cuando están en modo de ataque. La versión malvada de esta babosa se llama Tempesto. Su apariencia es tranquila y es de color ladrillo o algo así, tiene manchas marrones y la panza es amarilla; los ojos son de color celeste y posee un par de cuernos.
A continuación menciono los materiales utilizados: Papel bond blanco, lápiz # 2, rotulador de 0.5, borrador y colores (Variedad de marcas).
Antes de continuar les recuerdo que al final les dejare el enlace que use en esta ocasión.

Comencemos con el paso a paso del dibujo:
Paso # 01: Comienzo haciendo un círculo, luego desde los lados trazo dos líneas hacia abajo con las que moldeo los brazos, continuo las líneas para terminar la parte de abajo y el resultado es como una especie de fantasma.


 Paso # 02: Hago dos círculos para los ojos y defino la boca agregando de una vez un par de dientes en la parte de abajo; además ubico los cuernos de una vez.

 Paso # 03: Termino de definir los ojos y está listo para entintarlo, agregar algunos detalles como la línea que separa la panza del resto del cuerpo; en cuanto a los ojos, el circulo más grande lo dejare a grafito ya que se trata de unas manchas que van alrededor de los ojos y debo recordarlo cuando comience a colorear.

 Paso # 04: Comienzo a colorear y lo hago por la panza y los cuernos ya que ambos tendrán un color amarillo y para el resto del cuerpo un marrón rojizo como ya les había mencionado, dejando las manchas que van alrededor de los ojos en blanco.

 Paso # 05: Ahora procedo a pintar las manchas alrededor de los ojos, en la cabeza y otros en el cuerpo, todas de color marrón y solo faltarían los ojos que llevan un color celeste.

 Paso # 06: Para el entorno coloque un verde claro en el suelo y atrás a lo lejos viene un tornado acercándose; este tornado lo hice primero a lápiz y la verdad no me convencía mucho ya que no lograba la apariencia deseada, pero después que me aclararan algunos detalles comencé agregar los colores; primero use marrón, luego coloque un color naranja y termine con un negro y les puedo decir que quedo mucho mejor que todos los intentos iniciales. Bueno amigos espero hayan disfrutado este tutorial y antes de despedirme quisiera agradecerles por visitar mi publicación, así me despido deseándoles una linda mañana, tarde o noche según sea su localización.


Fuente de Fotos: Propias capturadas con una cámara Síragon.
Modificado el tamaño: Con el Programa Paint.
Gracias por visitar mi Blog… ¡AH! No se olvide de votar, rebloguear y comentar.


