Hello friends...
☺☺☺
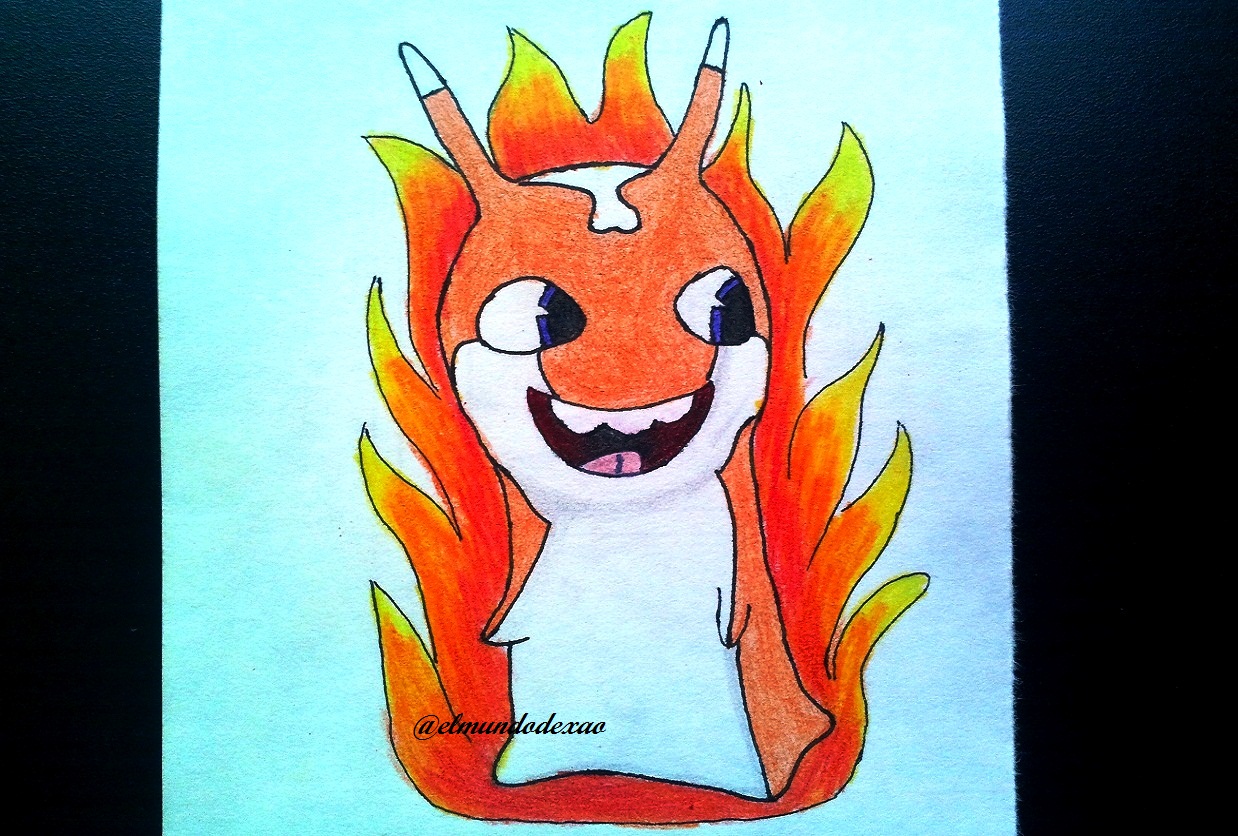
Welcome back to my blog, I hope you are enjoying this Sunday. To continue with the drawings of the animated series slugterra; I bring you my most recent work, it is about the flare slug; which belongs to the fire element.
Next I mention the materials used: white bond paper, pencil # 2, 0.5 marker, eraser and colors (Variety of brands).
Before continuing I remind you that at the end I will leave you the link that I used in this occasion.
Let's start with the step by step drawing:
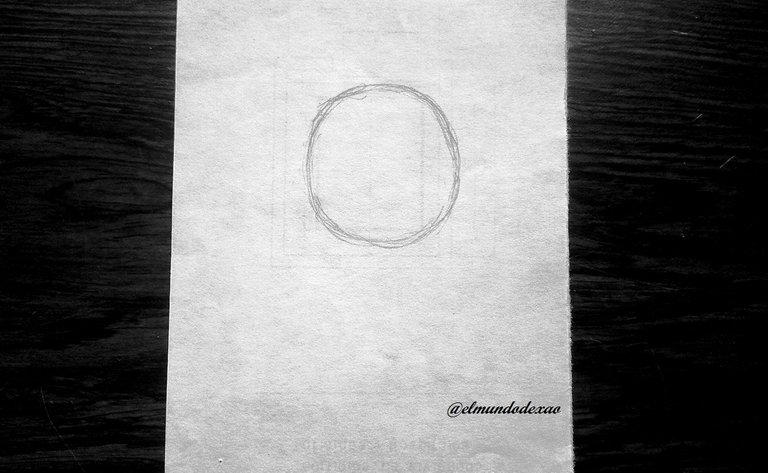
Step # 01: We will start by drawing a circle and then draw two lines down and define some corners, where the hands and feet will go.
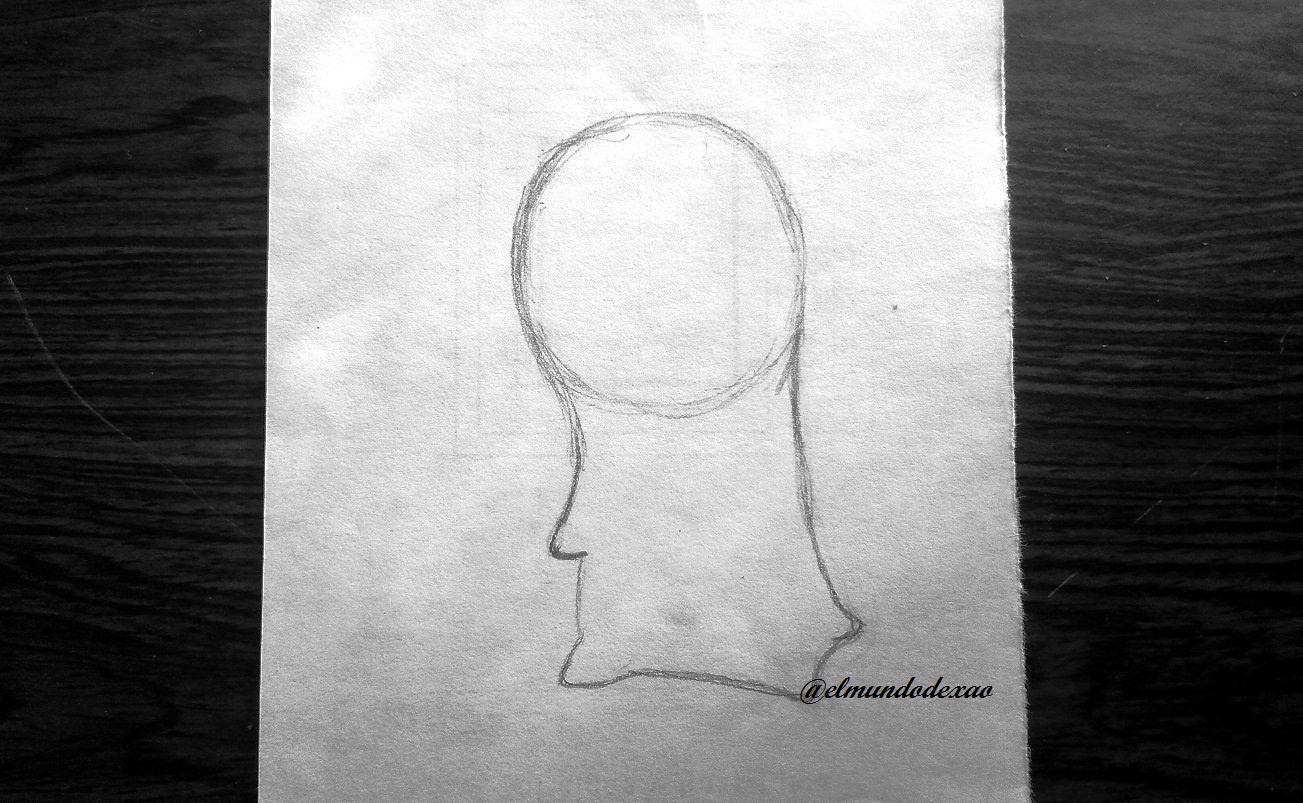 Step # 02: Now I will draw the horns and position the other hand; the eyes will be horizontal ovals but I will have to define them a little more by making the corners that go towards the center a little more pointed than the back part and also in the upper part they are more arched; as for the mouth we will make a horizontal crescent with the tips upwards to later define teeth, tongue and throat.
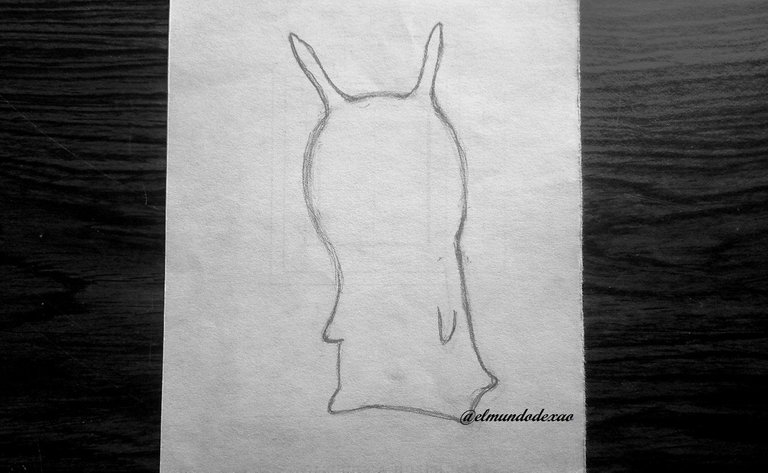
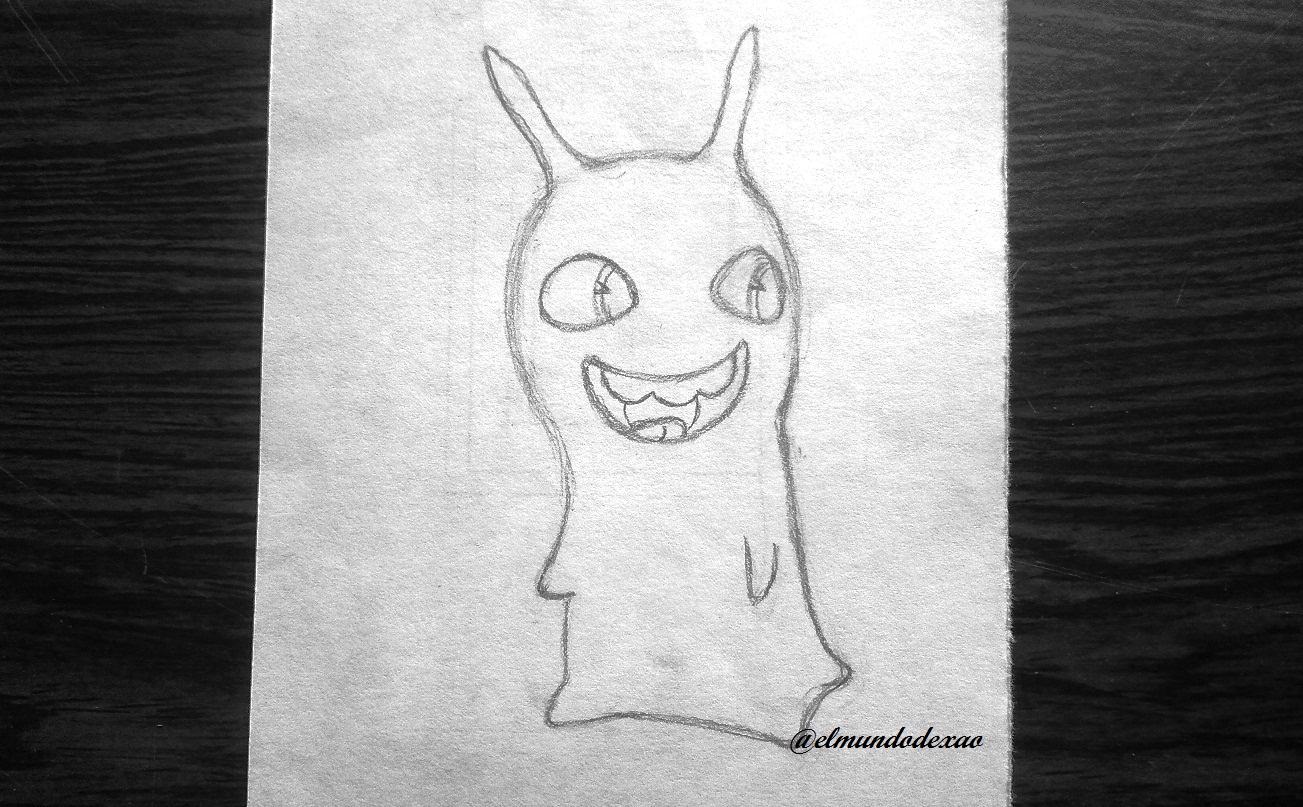 Step # 03: The only thing missing is the detail of the lines that separate the colors on the body, face and horns.
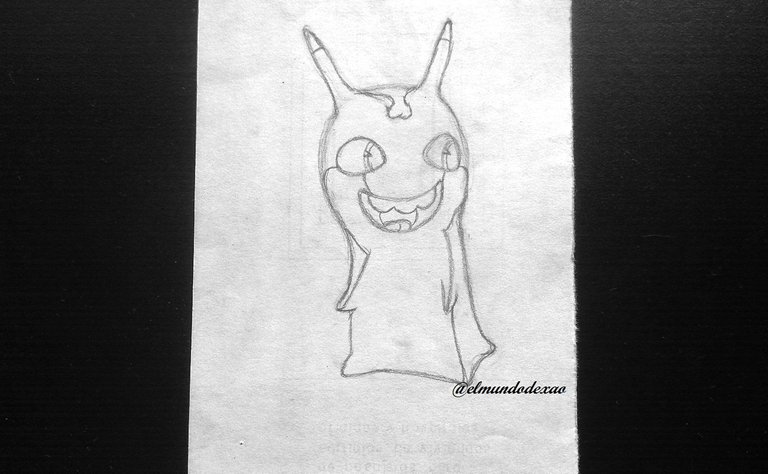 Step # 04: Once our sketch is ready, I will ink it and check if I can add something to it; then I will erase the graphite and clean the sheet.
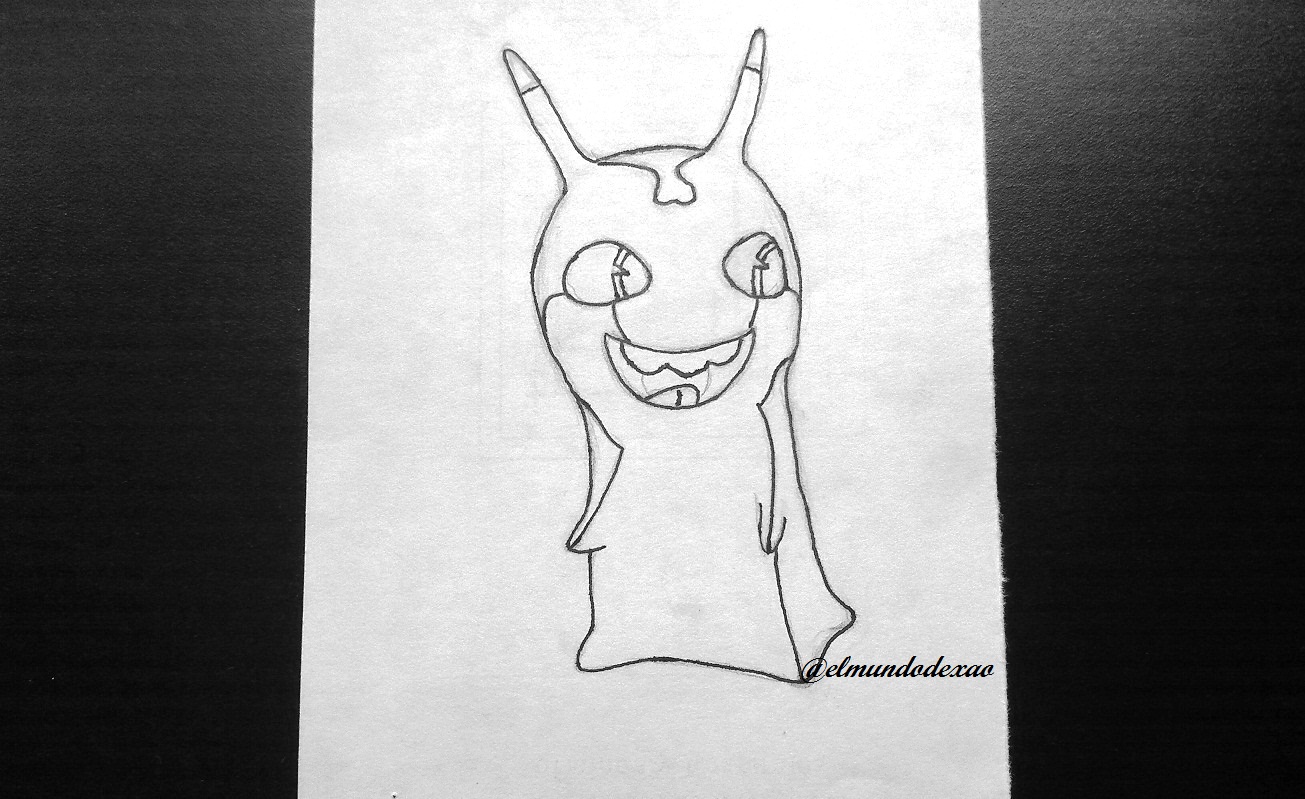
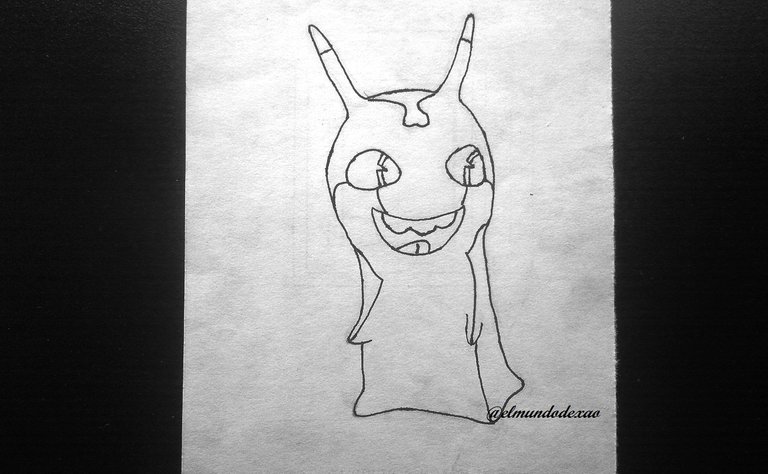 Step # 05: Coloring will be the next step to follow and in this case it will be an orange color for part of the face, horns and the rest of the body since the belly and the lower part of the face will be white; for the eyes I will apply brown with black; on the other hand for the mouth a combination of carmine and black will be enough while the tongue will be pink.
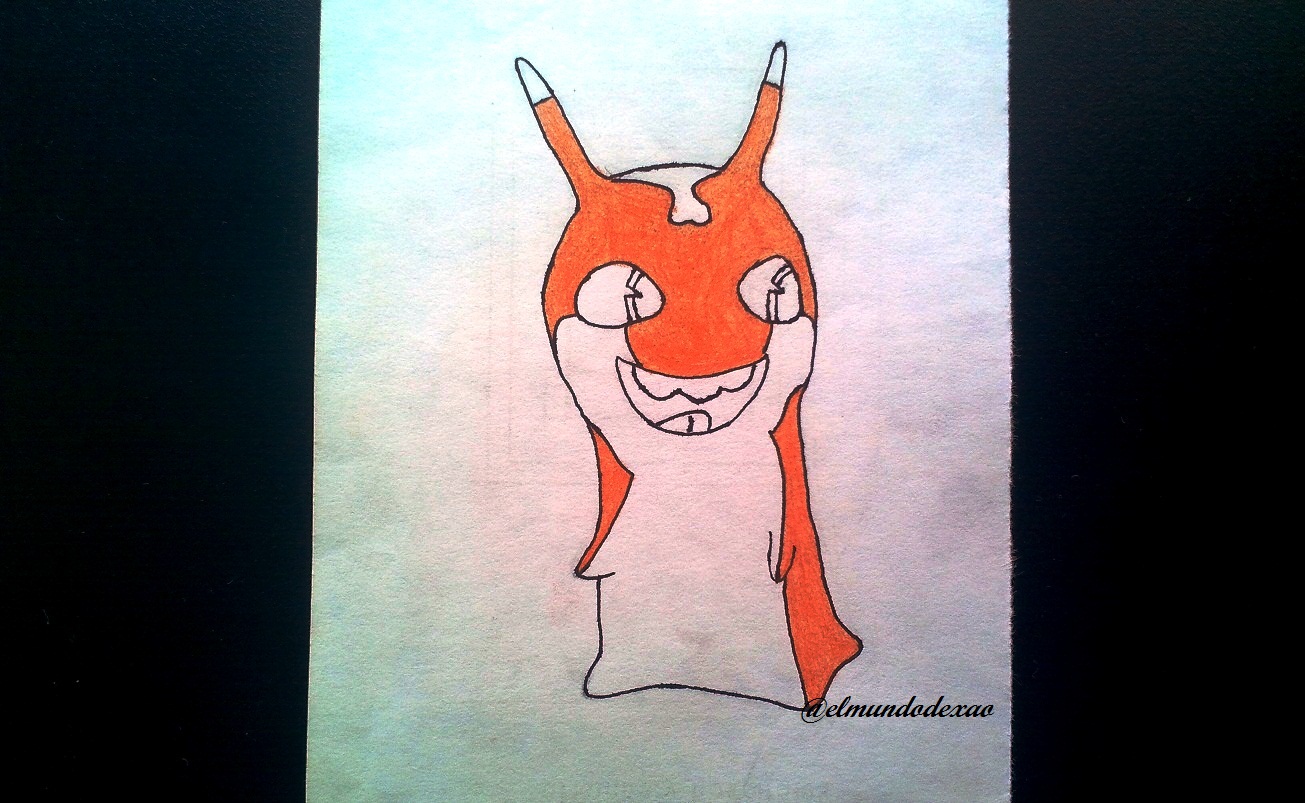
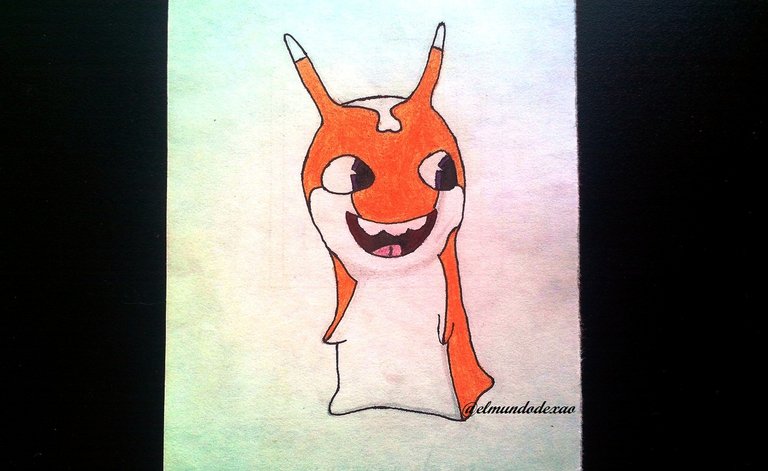 Step # 06: To define its quality I will draw a flame around it which I will start coloring with a red color for the border around the slug.
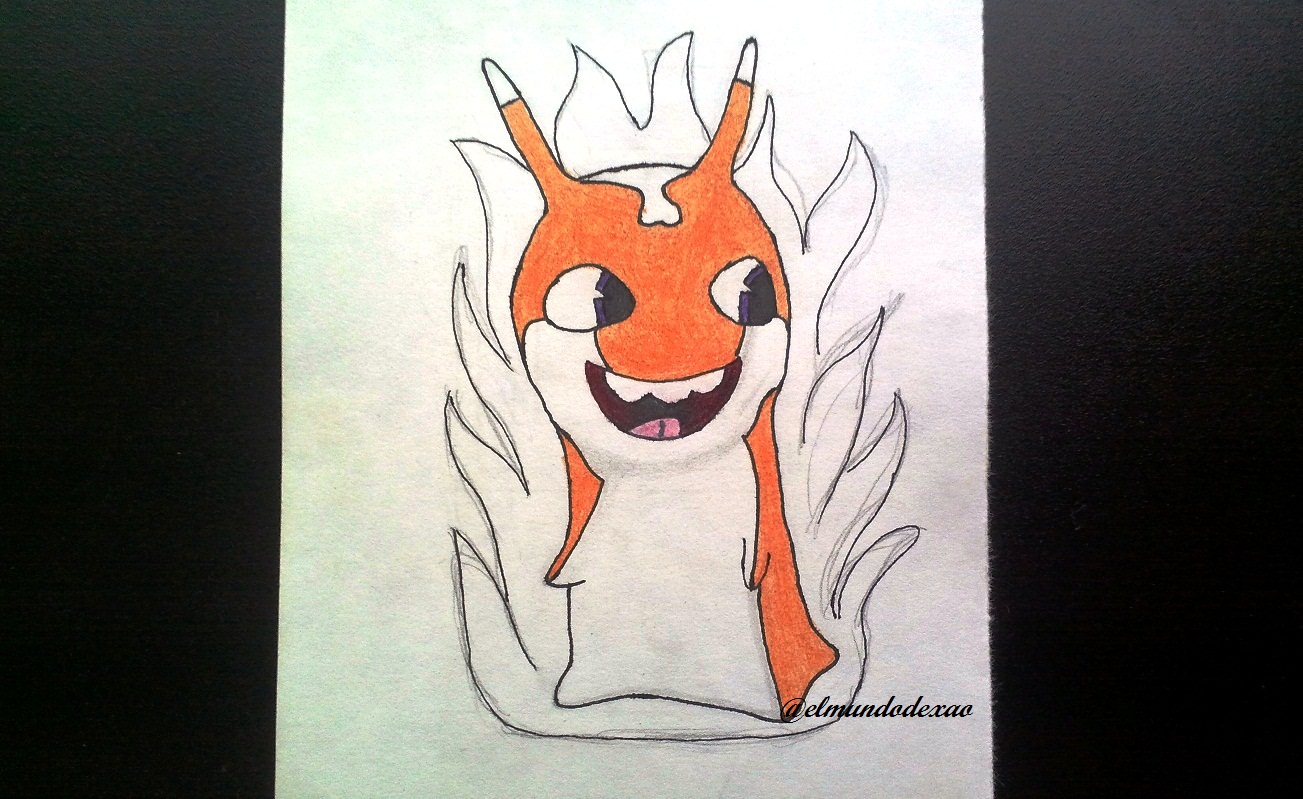
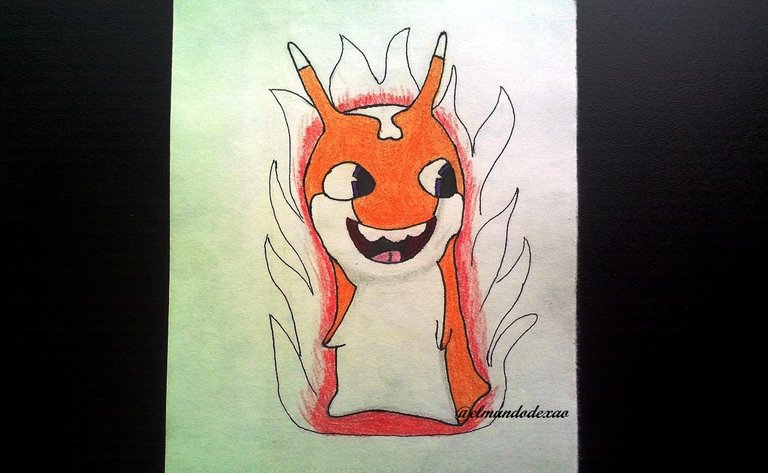 Step # 07: Then I apply an orange expanding it a little more to finish applying a yellow and then blending the three colors.
Well friends I hope you enjoyed this tutorial I say goodbye thanking you for visiting my publication, so I say goodbye wishing you a nice morning, afternoon or evening depending on your location.
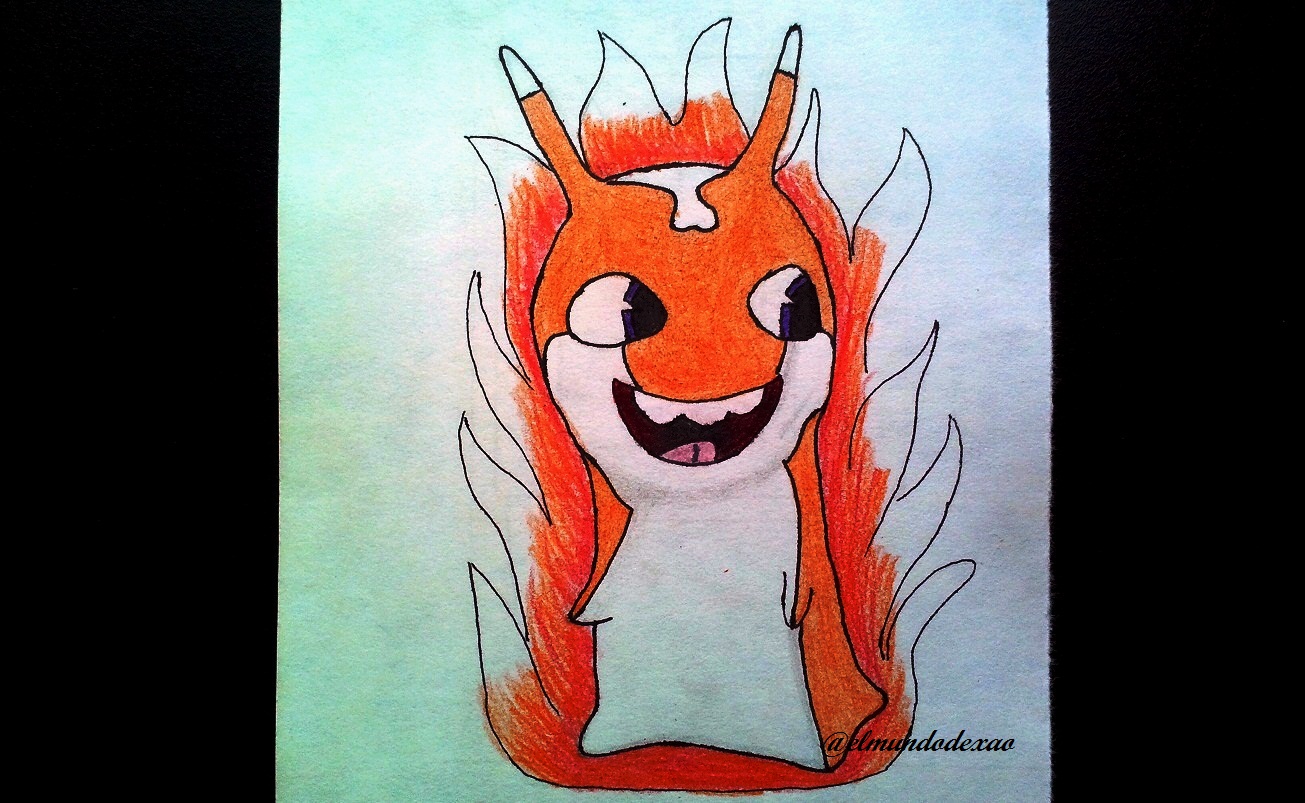

Photo Source: Own photos captured with a Síragon camera.
Modified size: With the Paint Program.
Thanks for visiting my Blog… AH! Don't forget to vote, reblogear, and comment.
Translated with:

www.DeepL.com/Translator (free version)

Dibujando la Babosa Bengala de Bajoterra.
Hola amigos…
☺☺☺
Bienvenidos nuevamente a mi blog espero estén disfrutando de este día domingo. Para continuar con los dibujo de la serie animada bajoterra; les traigo mi más reciente trabajo se trata de la babosas bengala; la cual pertenece al elemento fuego.
A continuación menciono los materiales utilizados: Papel bond blanco, lápiz # 2, rotulador de 0.5, borrador y colores (Variedad de marcas).
Antes de continuar les recuerdo que al final les dejare el enlace que use en esta ocasión.

Comencemos con el paso a paso del dibujo:
Paso # 01: Comenzaremos dibujando u circulo para luego hacer dos líneas hacia abajo y definir algunas esquinas, donde irán las manos y los pies.

 Paso # 02: Ahora dibujare los cuernos y posiciono la otra mano; los ojos serán óvalos horizontales pero abra que definirlos un poco más haciendo las esquinas que van hacia el centro un poco más puntiagudas que la parte posterior además en la parte de arriba son más arqueados; en cuanto a la boca haremos una medialuna horizontal con las puntas hacia arriba para después definir dientes, lengua y garganta.

 Paso # 03: Solo faltaría el detalle de las líneas que separan los colores tanto en el cuerpo como en la cara y cuernos.
 Paso # 04: Una vez listo nuestro boceto voy a entintarlo y verificar si puedo agregarle algo; para luego borrar el grafito y limpiar la hoja.

 Paso # 05: Darle color será el paso a seguir y en este caso será un color naranja para parte de la cara, cuernos y el resto del cuerpo ya que la panza y la parte inferior de la cara será blanca; para los ojos aplicare marrón con negro; en cambio para la boca bastara con una combinación de carmín y negro mientras que la lengua será rosada.

 Paso # 06: Para definir su cualidad le dibujare una llama a su alrededor la cual comenzare a colorear con un color rojo para el borde que rodea la babosa.

 Paso # 07: Luego aplico un naranja expandiéndolo un poco más para luego terminar aplicando un amarillo y así difumino los tres colores.
Bueno amigos espero hayan disfrutado este tutorial me despido agradeciéndoles por visitar mi publicación, así me despido deseándoles una linda mañana, tarde o noche según sea su localización.


Fuente de Fotos: Propias capturadas con una cámara Síragon.
Modificado el tamaño: Con el Programa Paint.
Gracias por visitar mi Blog… ¡AH! No se olvide de votar, rebloguear y comentar.


