Welcome back, eager readers, to the latest update of my work with the new sawmill. If you're just joining us on this journey, you can catch up by reading the first and second installments, and you can see a gallery of some of the pretty boards I've cut (and learn about spalting) here.
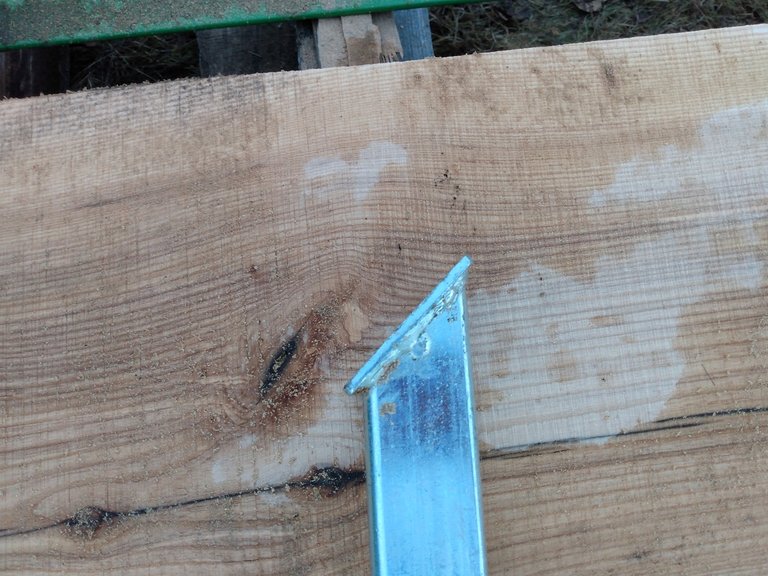
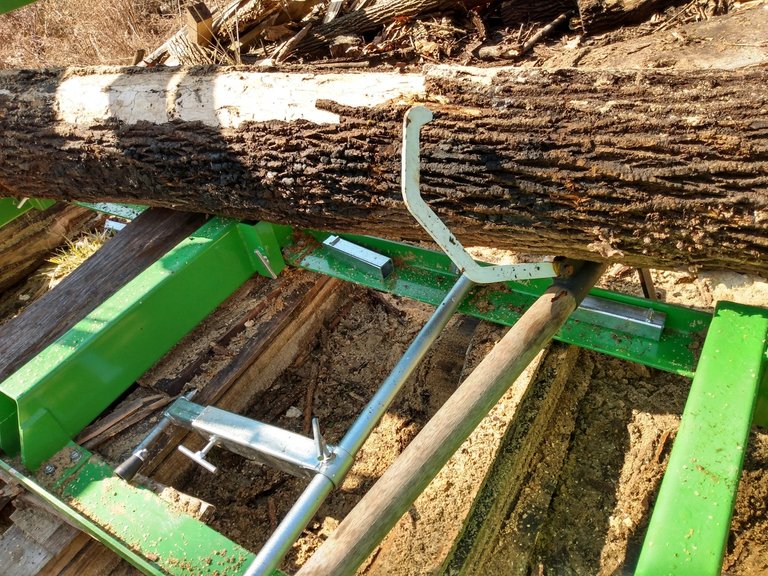
In the picture above, you can see one of the longer uprights that came with saw. These are what you brace the log against until you have a nice square edge that will hold against the shorter uprights. I knew I was going to end up modifying these almost immediately. You can see the angled piece on top has a bit of overhang all the way around, not much but enough to throw things visibly out of square when I brace a log tight against them. You can see this in cuts on the picture below.
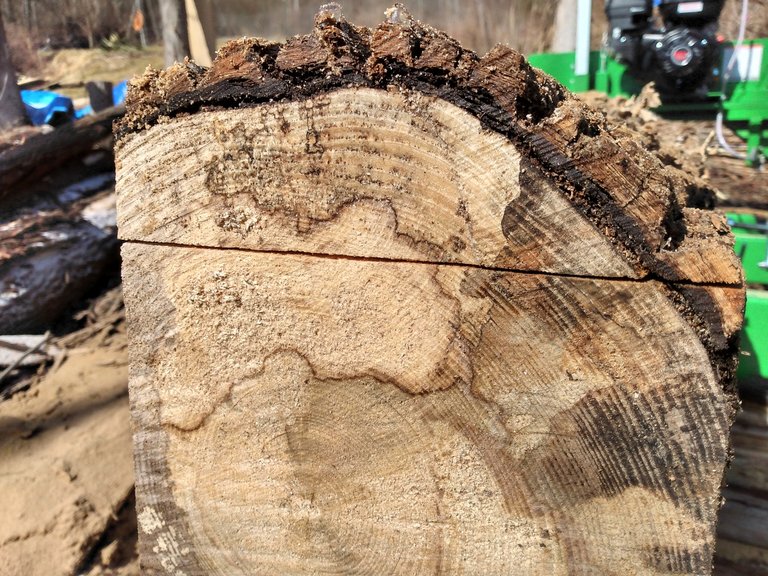
I decided that this would be a perfect first project for the new garage space (yep, this one!) I finally got set up. I moved the metal cage that the sawmill shipped in as a free bench, which gave me space to both work and store things.
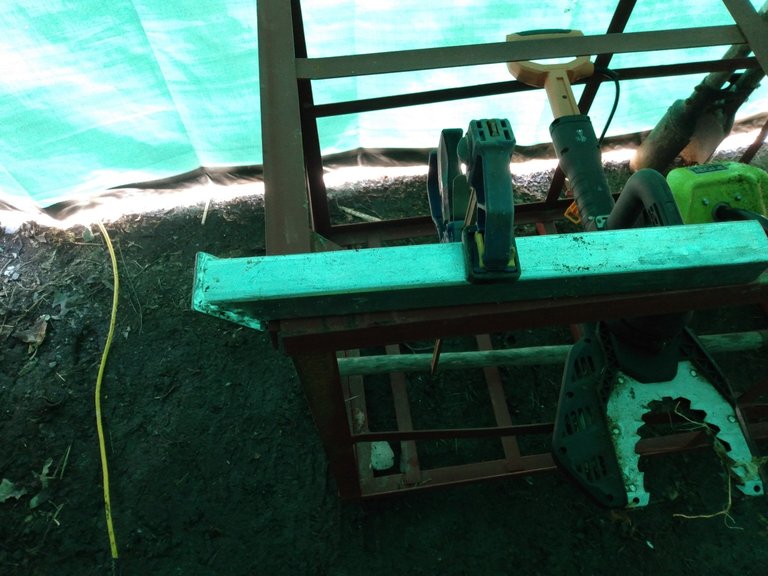
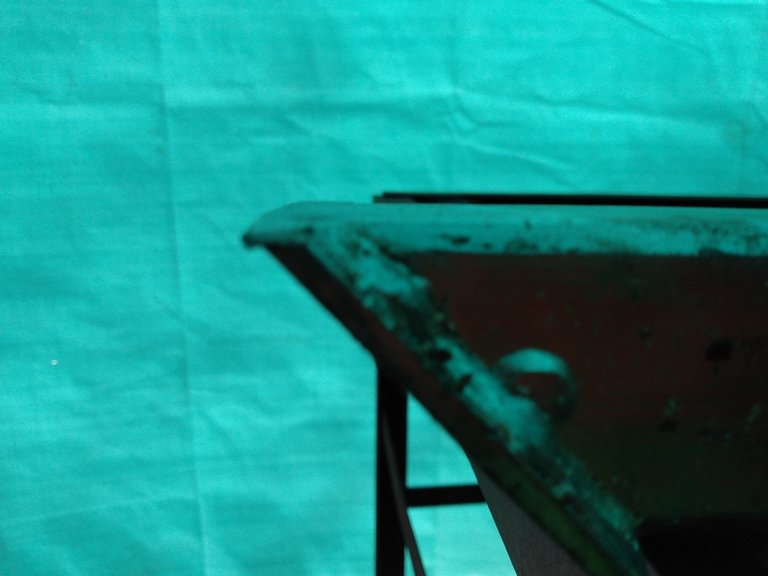
This is a very simple modification, I'm just grinding the overhang flat on one side. Easy work to do with the angle grinder, and no need to mark or measure anything. I was able to get this fairly flat just by feel in a few short minutes.
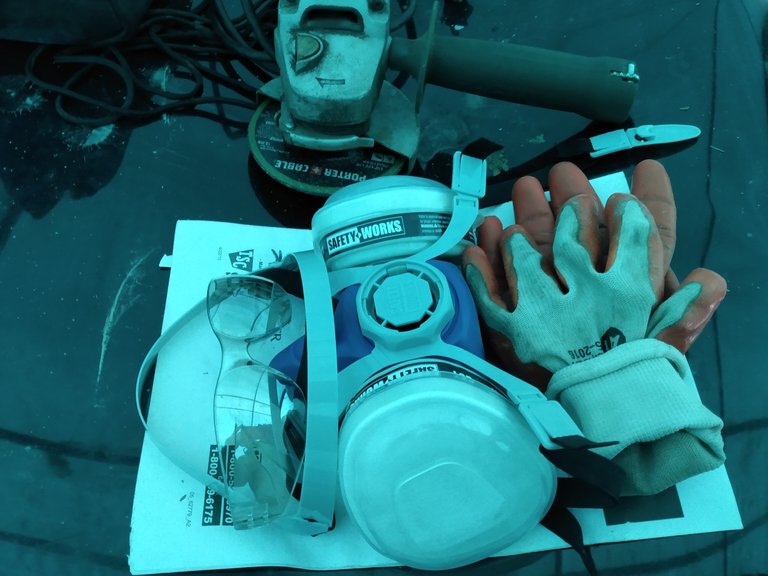
Safety comes first, so maybe I should have mentioned it first. I always wear gloves and glasses when using the angle grinder, but in this enclosed space the mask is very important as well. These days I also normally wear earplugs, but I knew I wasn't going to be exposed to the noise for long, so I skipped them for this.
You can see below how logs can be clamped flush against these uprights now. I still don't think I'm making perfectly square corners, but they're much closer now. This also makes the logs easier to set and line up as I'm cutting away the edges.
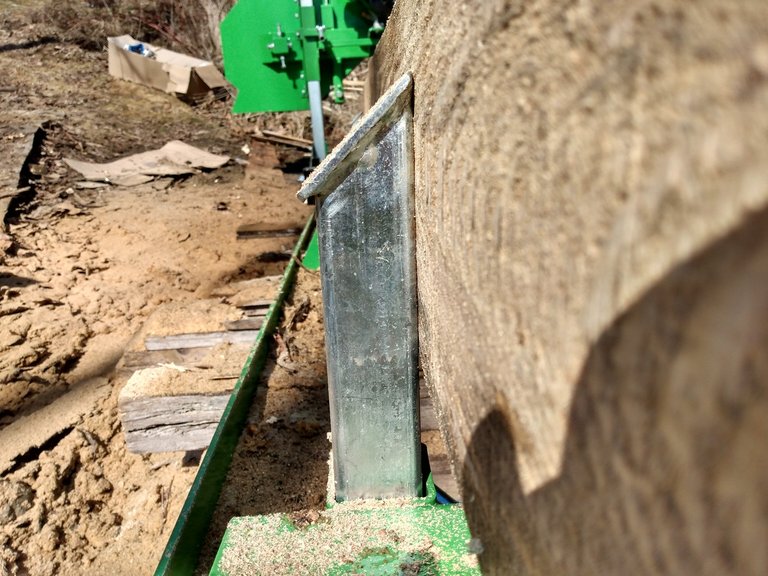
I'm a fan of warning, but I'm also a fan of planned service intervals. 'Regularly' is a very relative term, and it would be nice if they had instead said to check the air filter every 'x' hours of operation. No matter, it's easy to check, so I check it each time I fill the gasoline.
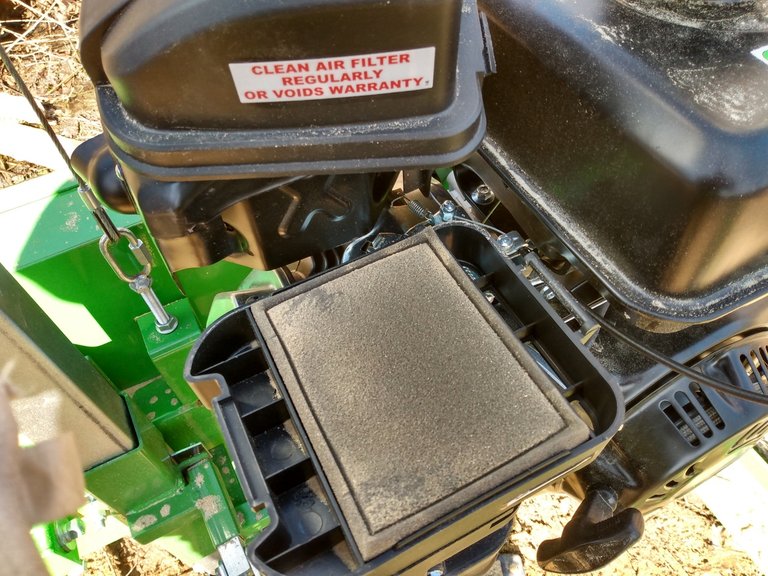
It's good to look into the air intake, to make sure there isn't any dust accumulation. No problems here so far, and likely there will never be as long as I keep the sponge filter clean. If you do ever see dust collecting inside the air intake, you should remove and clean the whole carburetor before re-starting your engine.
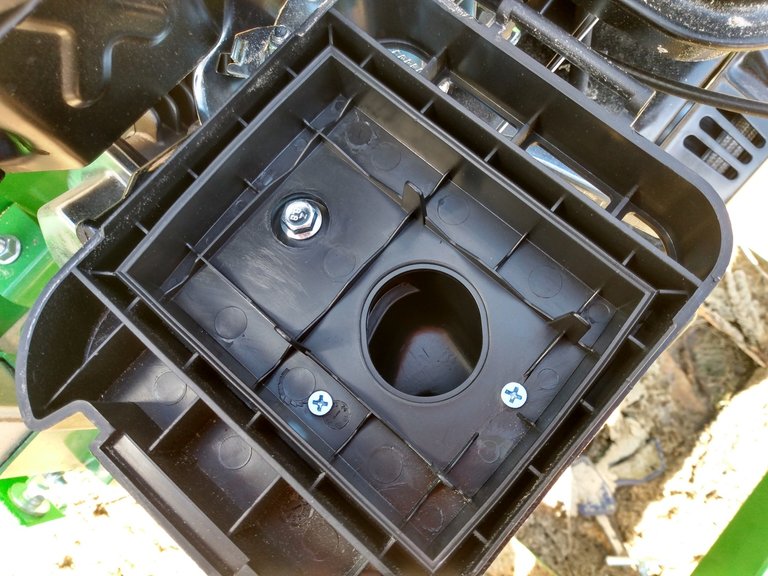
This filter wasn't very dirty yet, so I didn't bother blowing it off with the compressor, I just gave it a few whacks against the sawmill frame. The water spray on this really does a great job of keeping the fine dust down, compared to the chainsaw mill, so I don't think I'll have any problems keeping this air filter clean.
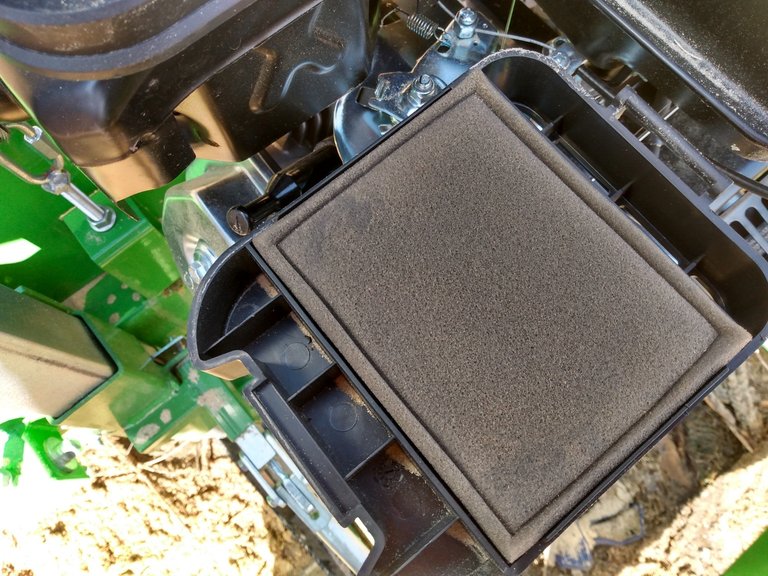
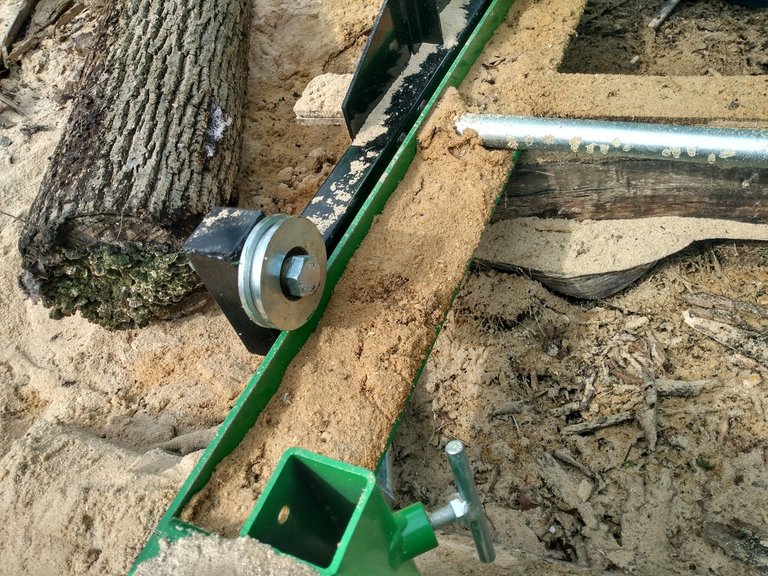
One problem with the water spray is that it makes makes the dust stick, and I have to watch out for build up in the rollers and on the tracks. The accumulation isn't too bad on a clear day, but when I was using the sawmill in a light rain, I had to check the rollers after every cut.
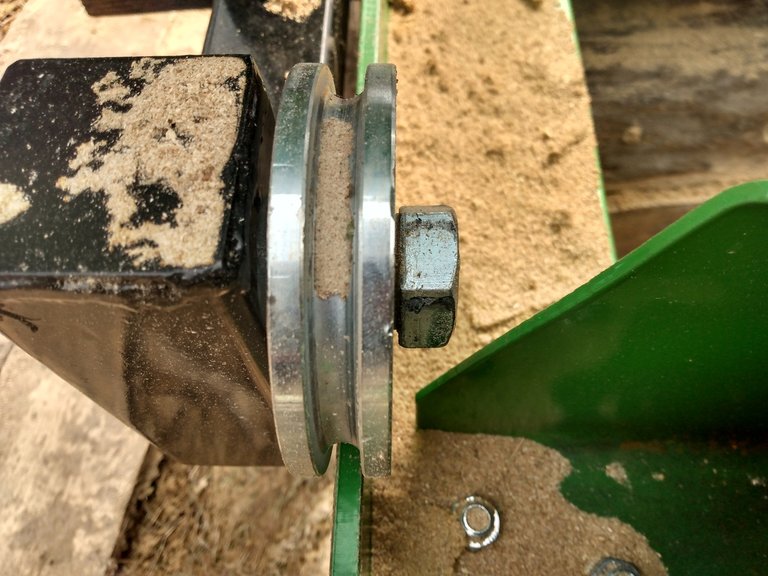
Inside the tracks, especially on the output side, is where sawdust gathers the most. This may be a problem in the future if I have the track laying flat on the ground, but with it raised the way I have it set up now, I just brush this stuff off and it falls to the ground.
My new blade arrived Tuesday, and I was more than eager to put it to good use! Upon opening the cover, I could see there was also some sawdust build up on one of the friction belts. Some of this was already so compressed onto the belt that it needed to be scraped off.
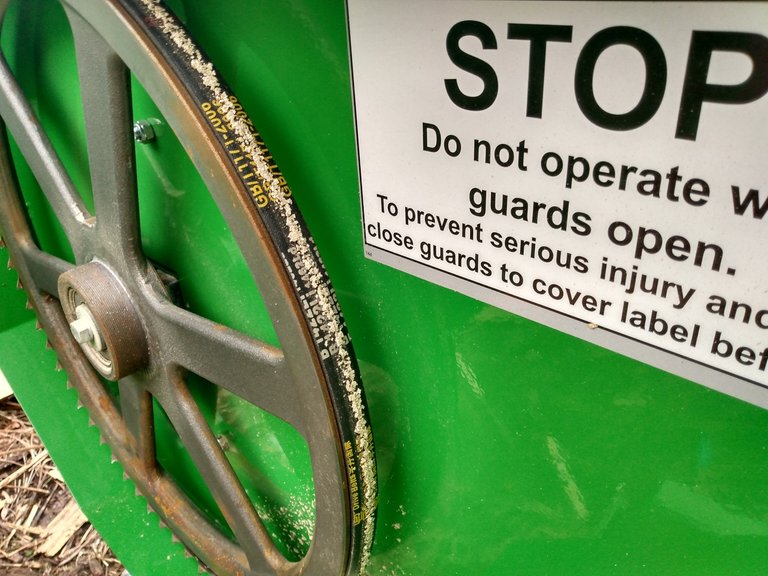
The other belt, which acts as both friction and drive belt, was much cleaner.
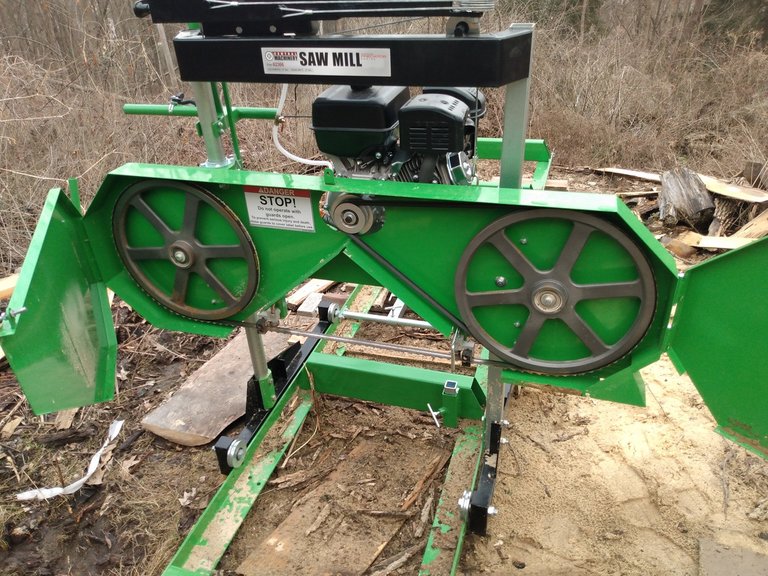
The blade was even easier to change than I had hoped. It was quickly getting too dark to take pictures, so I didn't get any of the process. This blade was a bit longer than the original, and required some angle adjustment of the idler pulley. I'll talk about that, as well as tooth angle and temper differences, in a later post after I've gathered more data about different blades.
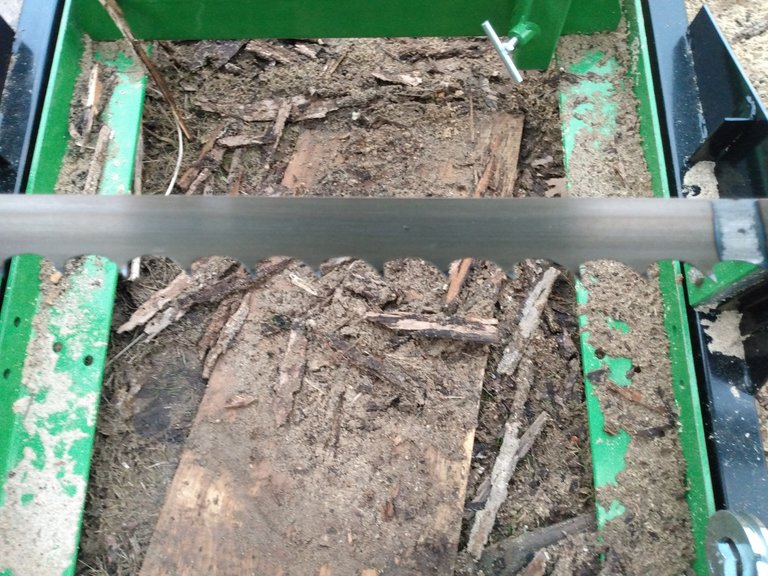
With the new blade on, I wanted to do more testing on the stated size limits for the mill. I didn't have any logs prepped that were over the 20" diameter limit, but I have several that are over the 9'6" lenght limit. I spend a lot of time visualizing before deciding which end (or ends) to shorten the log from. If end is significantly wider or thinner, I'll cut more off that end to maintain a consistent diameter. Of course if one end has more rot, or splitting, we'll cut that end off.
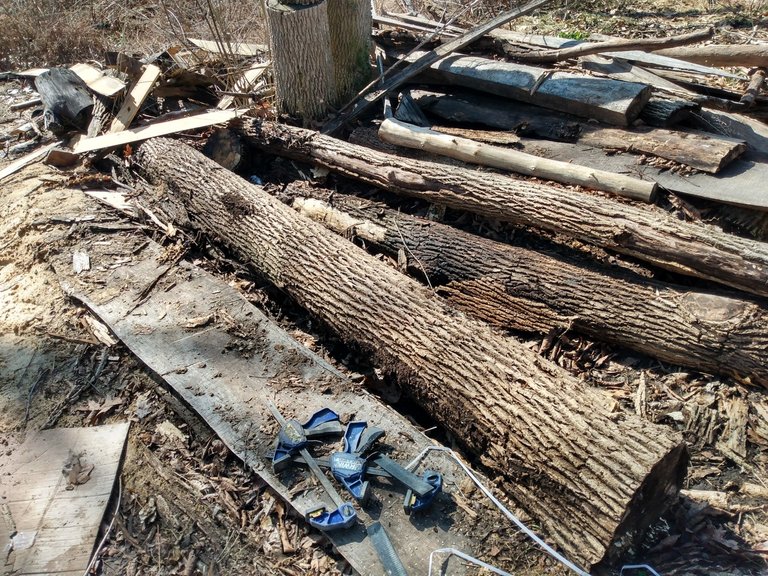
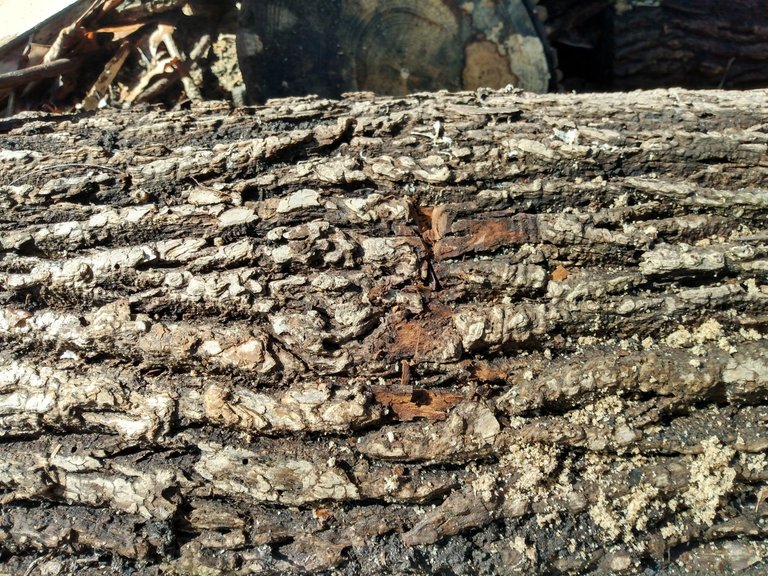
I've never liked using paint to mark my logs, it just seems wasteful. When I'm cutting firewood, I'll mark length by making a shallow cut with the saw itself. Since I'm doing a lot of cutting down to length, I just cut a little mark into the bark with my pocket knife. I cut this log at 9'3", which should leave me about an inch of space at either end.
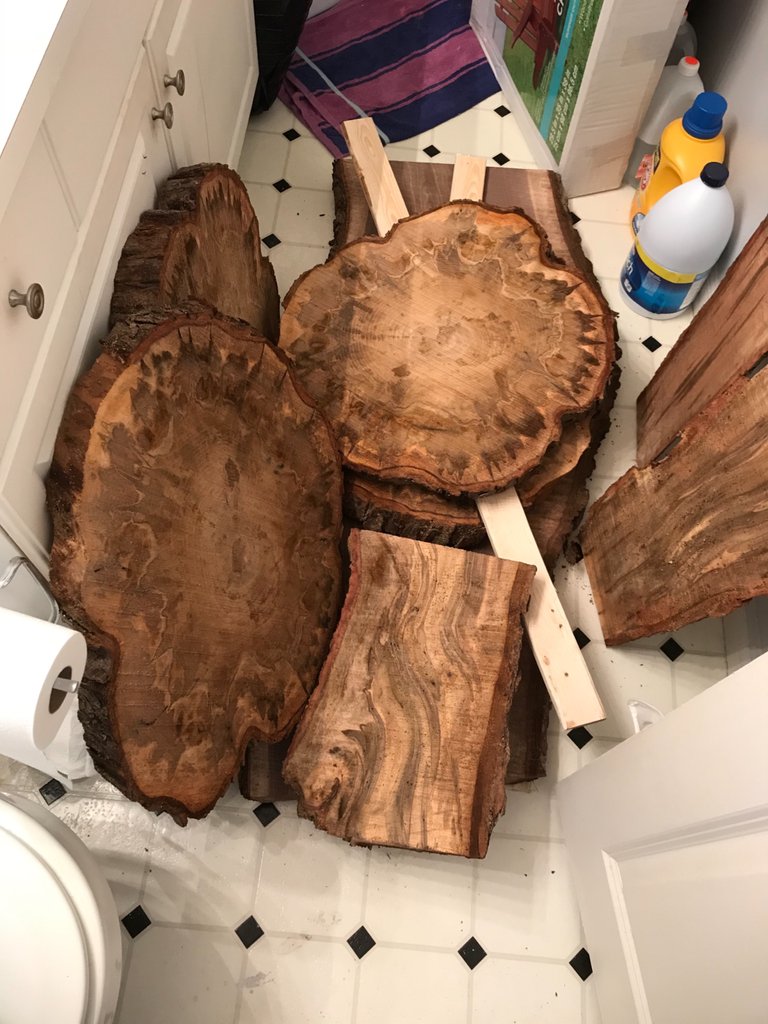
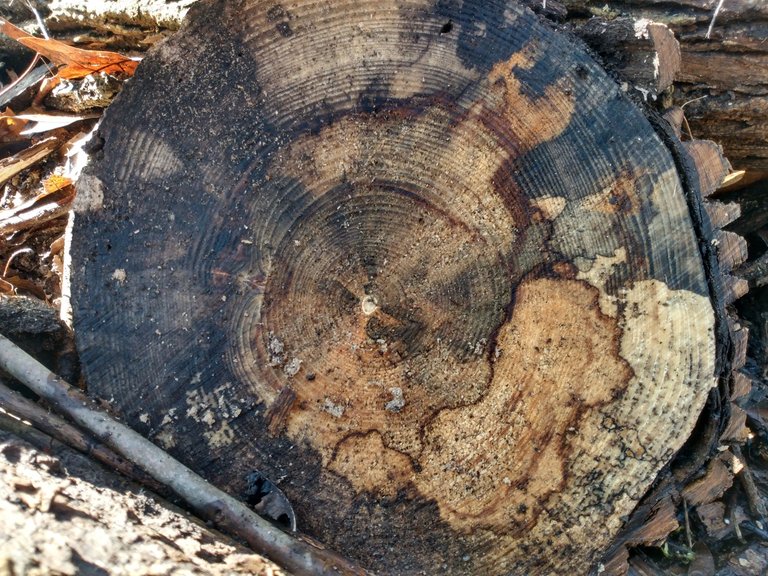
Spalting also shows on the ends, and sometimes I'll use the chainsaw mill to take several slices off the end of log to create 'rounds', like you see here. People like them for various decorations, and I'm thinking of cutting a few hundred to use as 'pavement' on some of the paths around the yard.
Most of the operation of the bandsaw mill is A LOT easier than using the chainsaw mill, but loading logs onto the frame is an exception. With the chainsaw mill, I can cut the logs wherever they lay on the ground. With the bandsaw mill, logs have to be loaded onto the frame and braced. While not an impossible task, these large logs still weigh upward of 400 lbs, and the soggy, uneven ground doesn't make things any easier. Using my log roller, and some small planks as ramps, I was able to get this monster loaded without herniating anything.
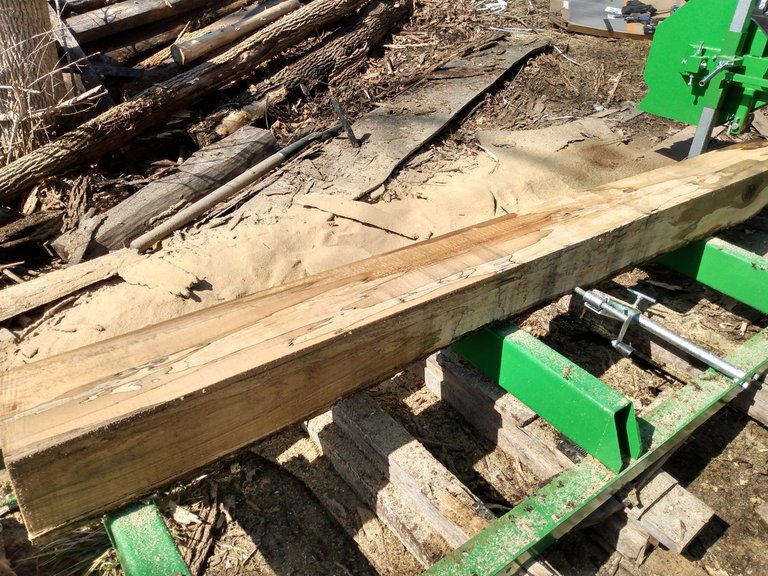
Every slab I cut off the log makes it lighter and easier to handle. The flat surfaces allow me a better grip, and things roll and slide fairly easily once they're on the frame. By the time the log looks like the picture below, it's just like handling any other 12" x 12" hardwood post (that still weighs about 300 lbs).
I haven't seen this ground in almost 5 years! As the years have ticked away, I've worried many times that all these logs would be too rotted to be of any use by the time I got to them. Now that they're all cut up, I'm happy that I waited. The cut waste is so much less with the new mill, that I now have about twice as many boards as I would have had, if I had cut all this with the chainsaw mill. I also have a lot less sawdust to dispose of, and used about 1/5 as much gasoline.
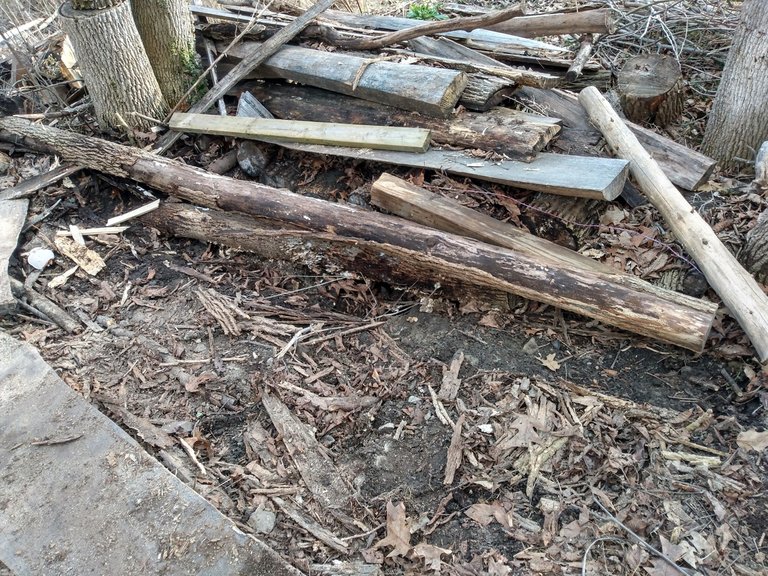
Below is a picture of my wood scraps. This will all get burned, or further processed into smaller lumber products like the 'sticks' I used to build the simple adjustable seedling stands.
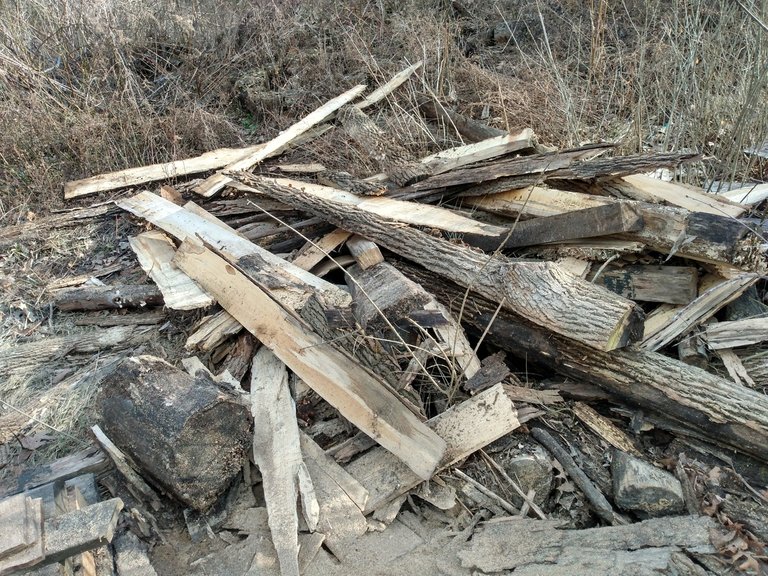
The picture below is my pile of structure scraps. This is what's left at the bottom of the cuts, after I've milled the rest of the log away. I could tack them to another board to be able to get more thin cuts out of them, but they're pretty close to 1.5" in thickness, so I'll keep these and cut them into dimensional lumber I can use for framing or joists.
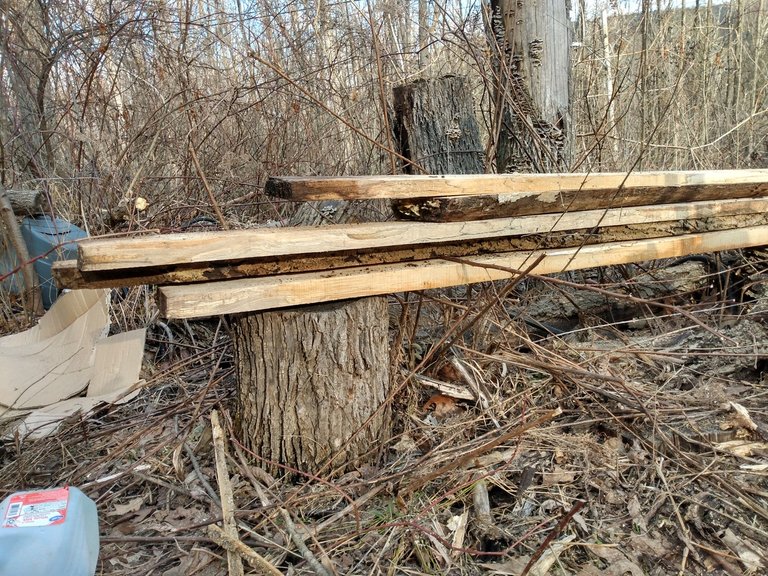
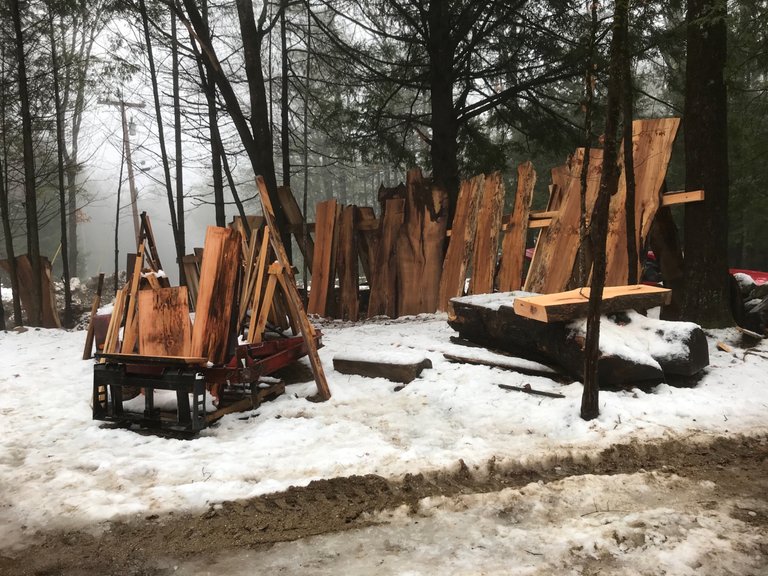
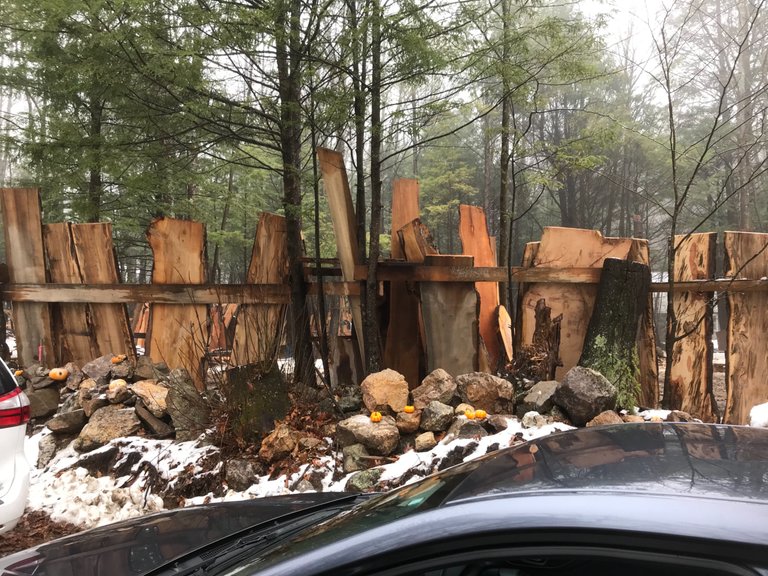
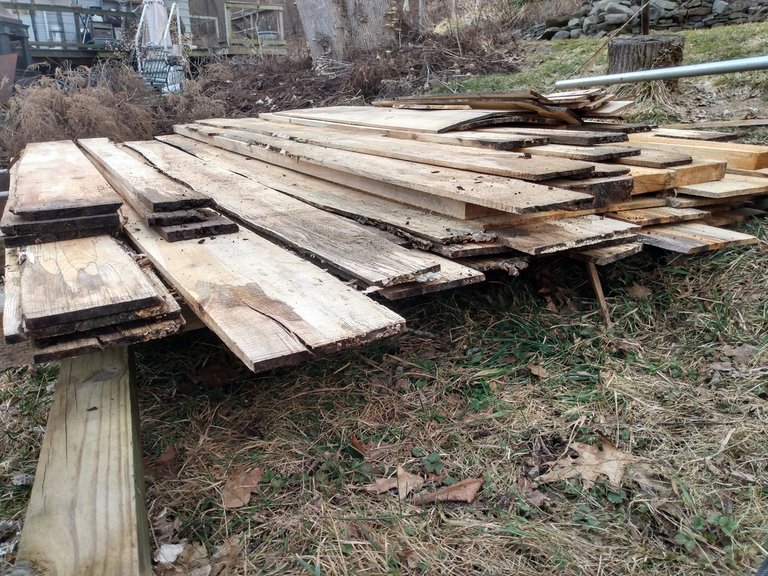
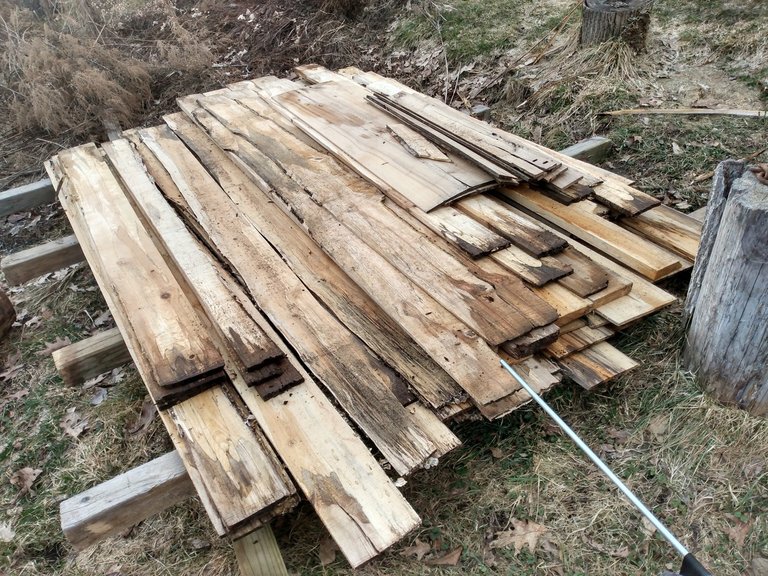
Below is the pile of lumber I've cut with the sawmill so far. This is already about equal to the amount of boards I've cut with the chainsaw mill in the entire time I've owned it. What you see here is mostly 3/8" boards for siding, with a few 3/4" boards for shelves and some 1½" boards for deck joists.
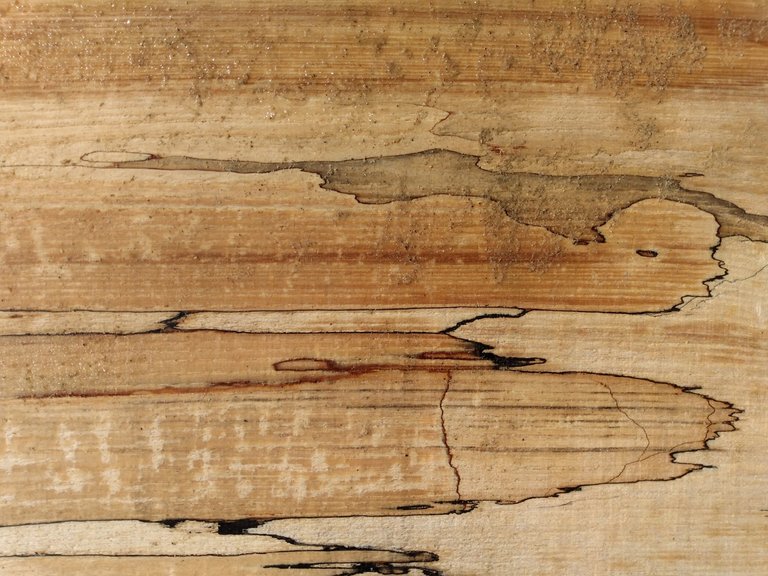
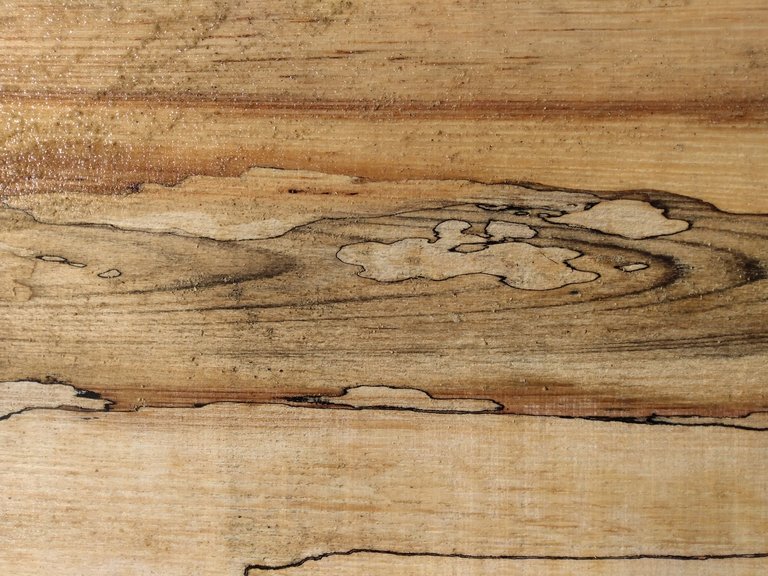
Now for the pin-up gallery...
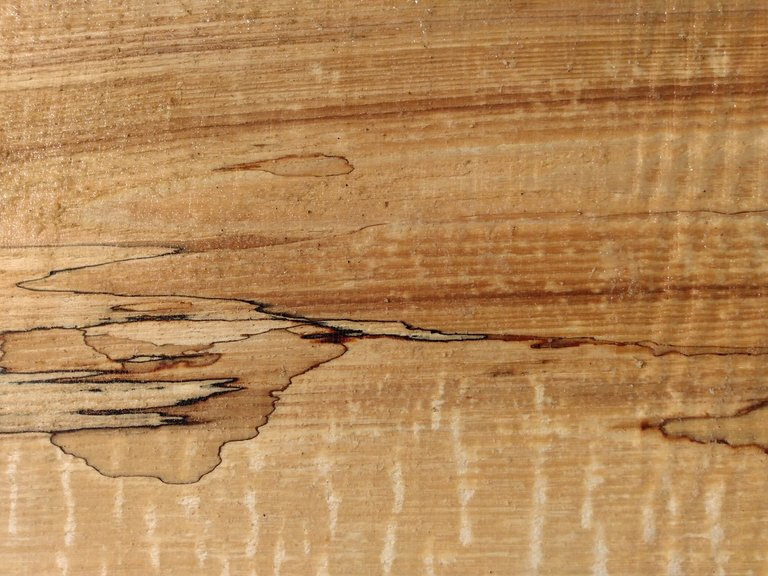
...and another view of the heap of lumber.
I hope you've all enjoyed this post. Keep stopping by to see what sort of projects this lumber will later become! Feel free to ask any question you have in the comments below, I'm always happy to help and encourage others to do more for themselves. Thanks for looking!

