FARMING FISH...AND ELECTRIC
That's the goal behind building the dam and creating a water reservoir. I'm hoping that farming trout will work out for us with the cold spring water. Trout grow quick and would provide us with a great source of protein year round, and another resource to use in bartering or just to sell.
The electric side of it will be nice, as right now we can only harvest power when the sun is out. We normally have no issues with this as our solar array is pretty robust for our daily needs. However just having a second source of power as a back up is amazing as homesteading is way better when all the important systems have built in redundancies.
AWAY WE GO...
Having already built a temporary clay dam to get an idea on some numbers concerning total volume of water in the reservoir and on flow rates and pressure, it is now time to build the actual stone dam.
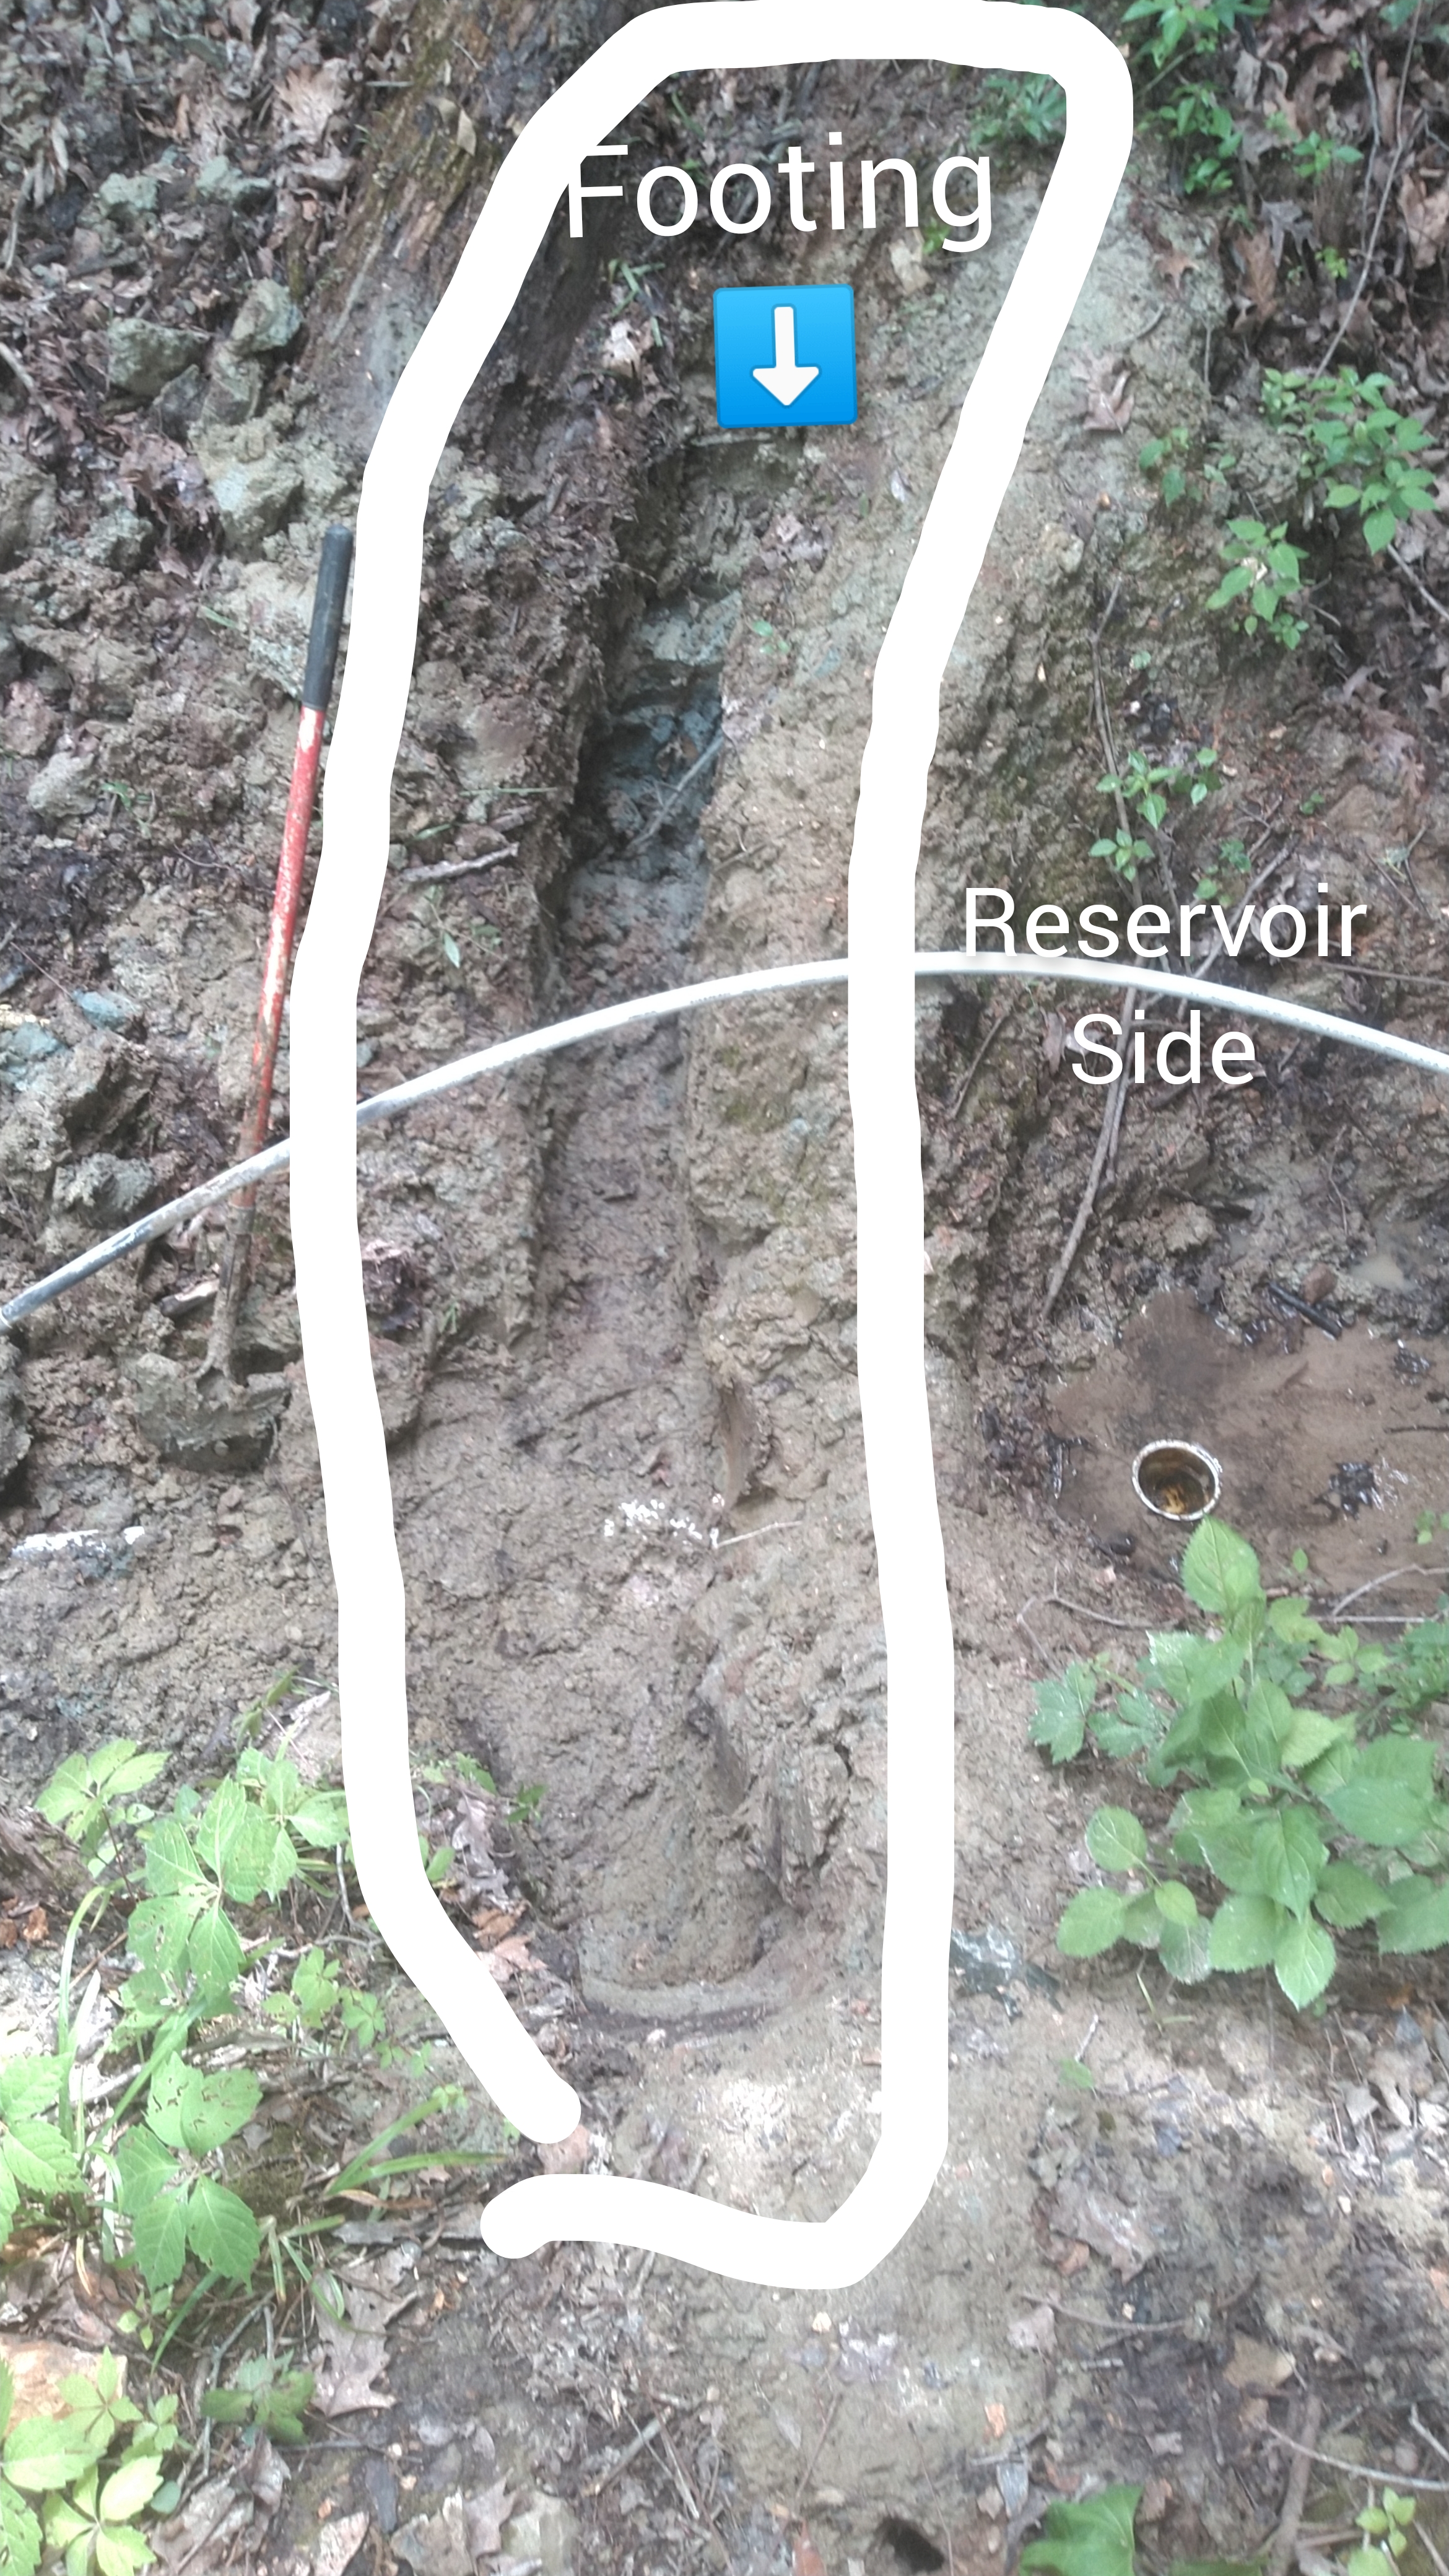
*I dug the dam footing. In one spot it had to be dug down almost six feet(two meters).
The area I'm digging in is made of very hard beautiful blue clay. The digging is a VERY slow process. Lots of pick axing then shoveling.😁
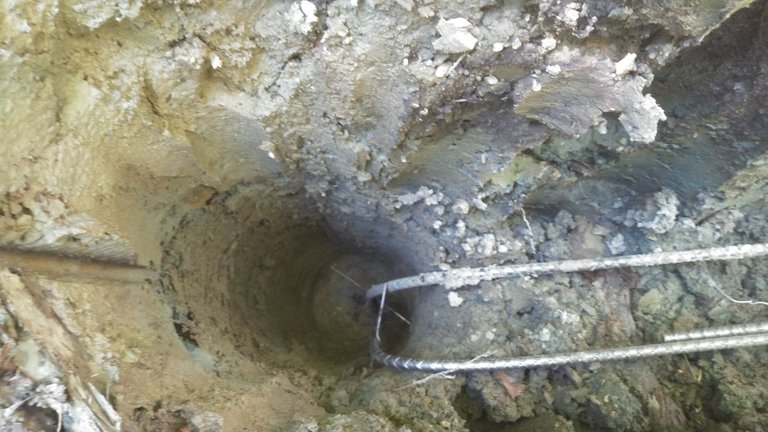
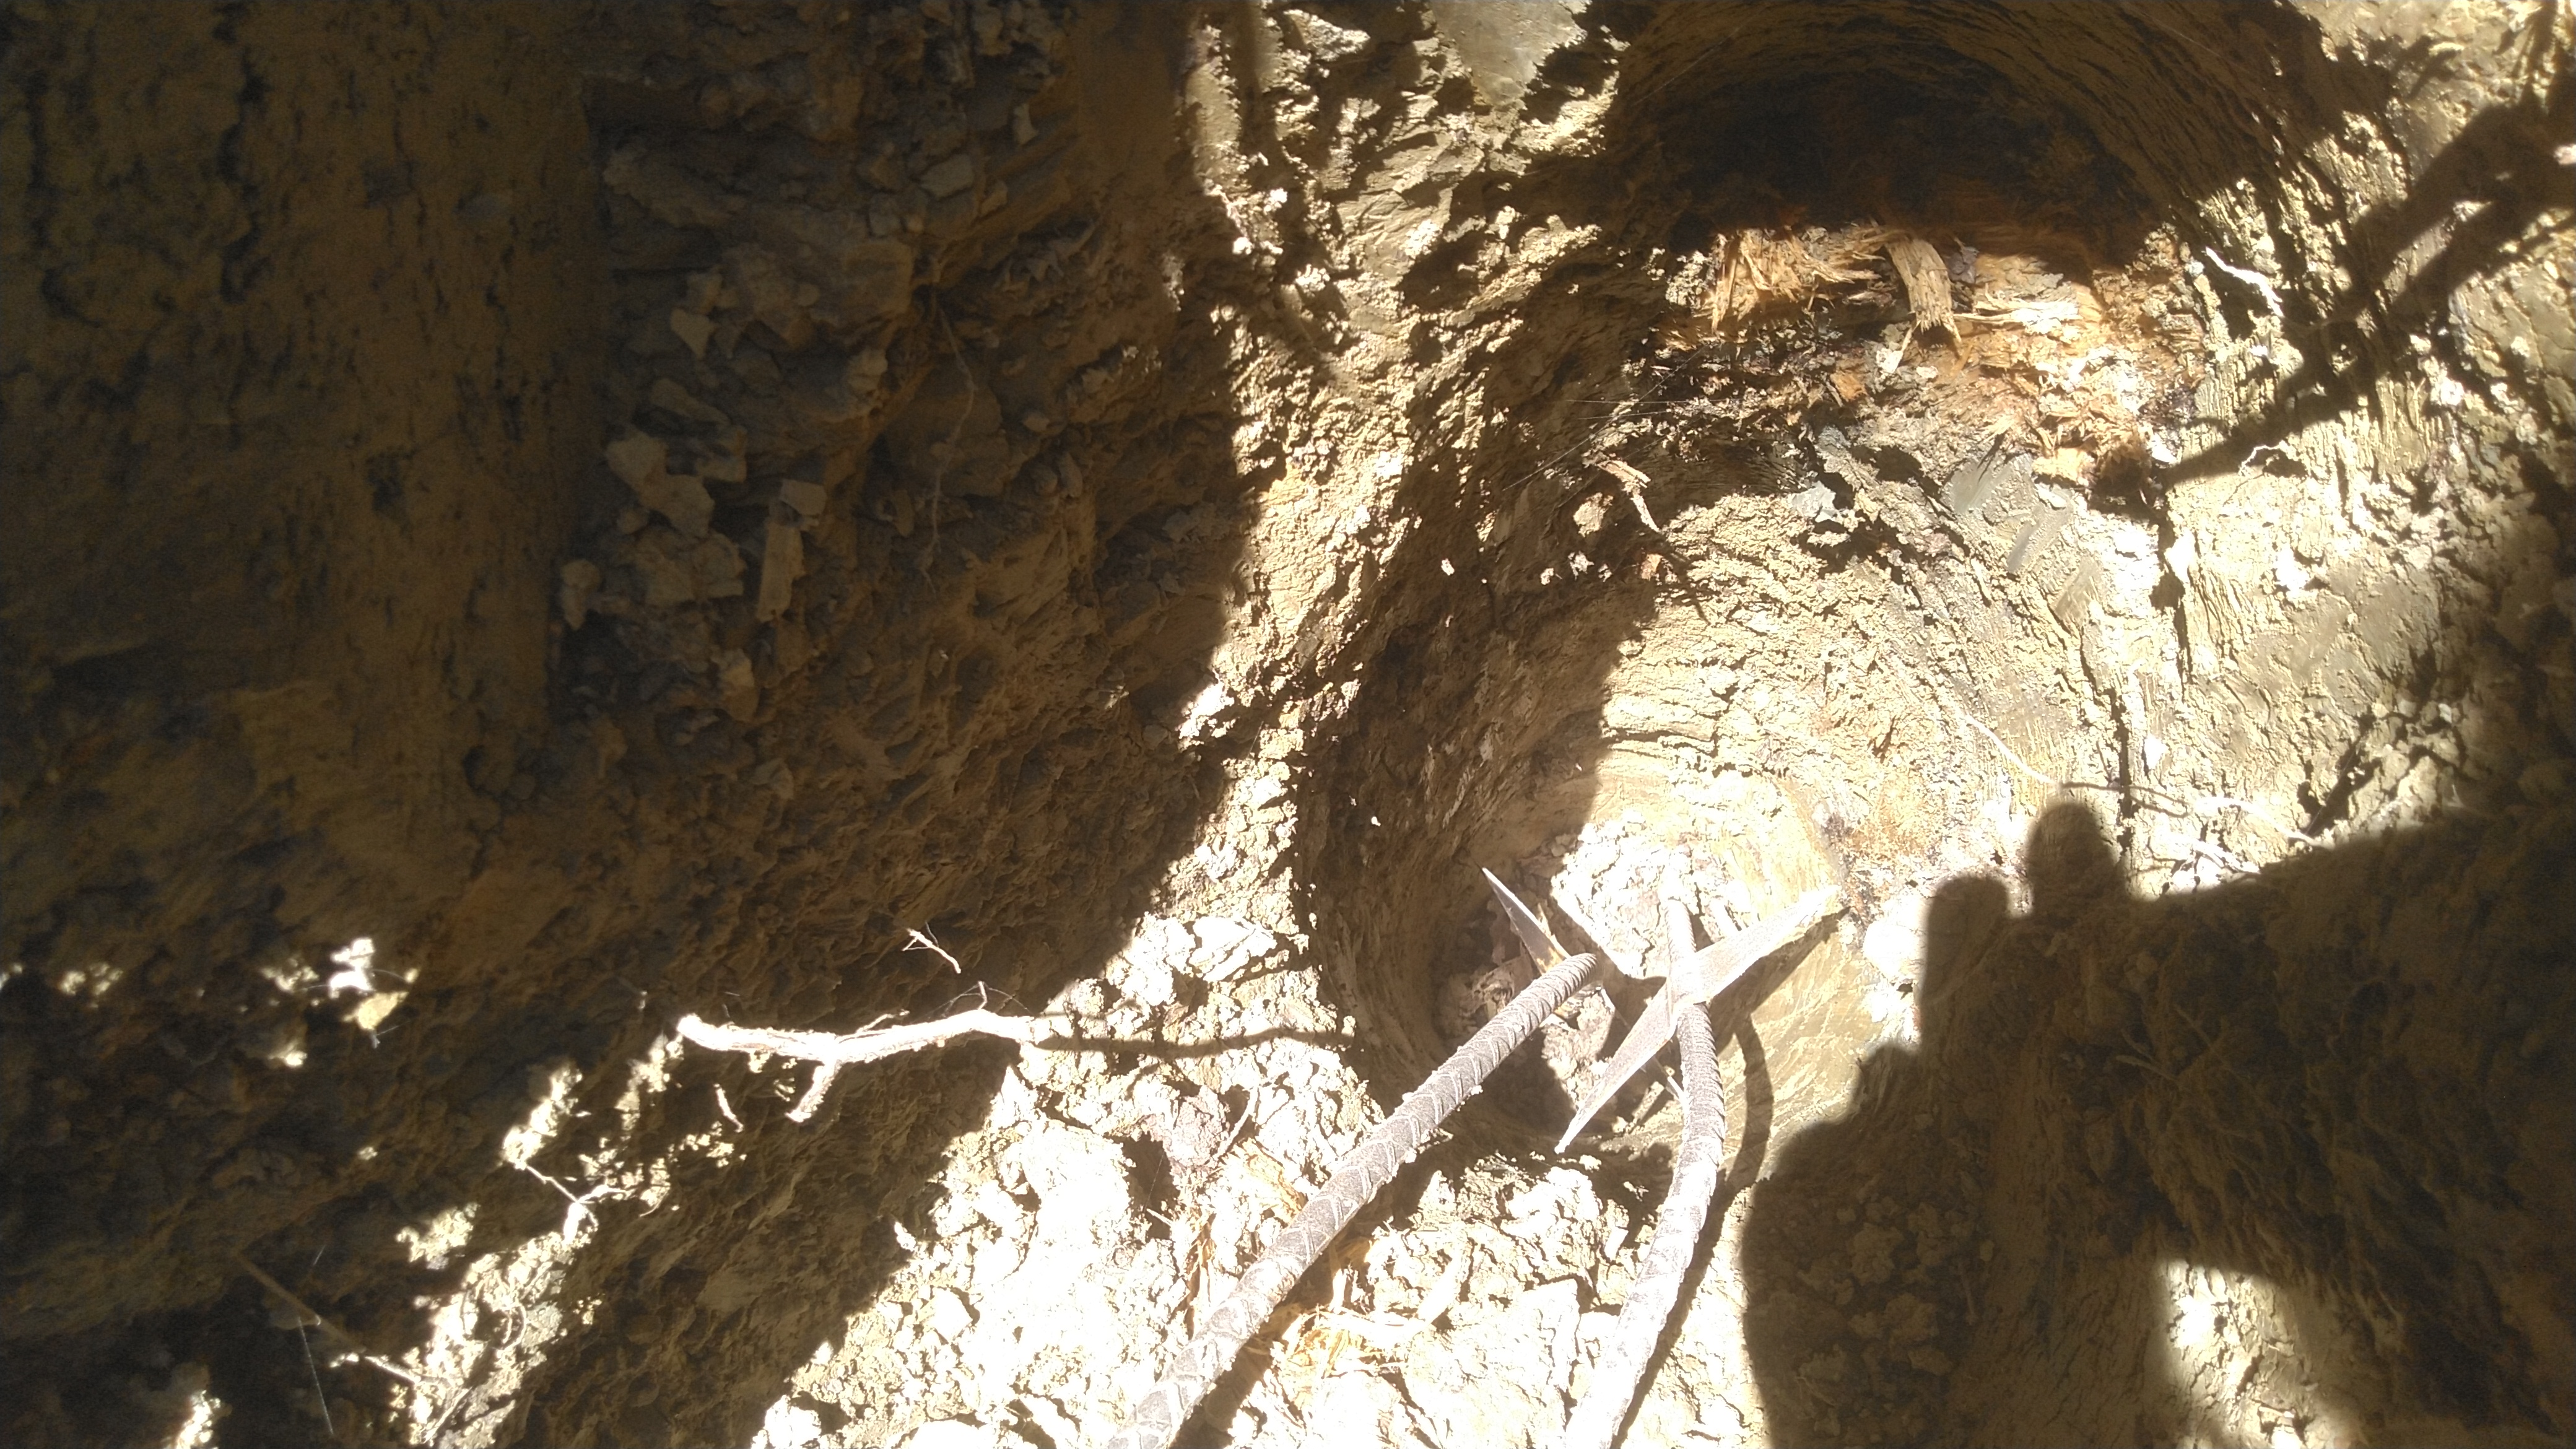
After the dam footing trench was dug, I then retired the pickaxe and shovel in exchange for my set of posthole diggers. They are used here to dig pilings down in the bottom of the footing. This was literally like digging through solid stone as the clay only got harder with each inch I dug down. But this is actually a huge blessing in disguise because this hard dirt will create a very amazing foundation for the dam...it will be insanely stable!
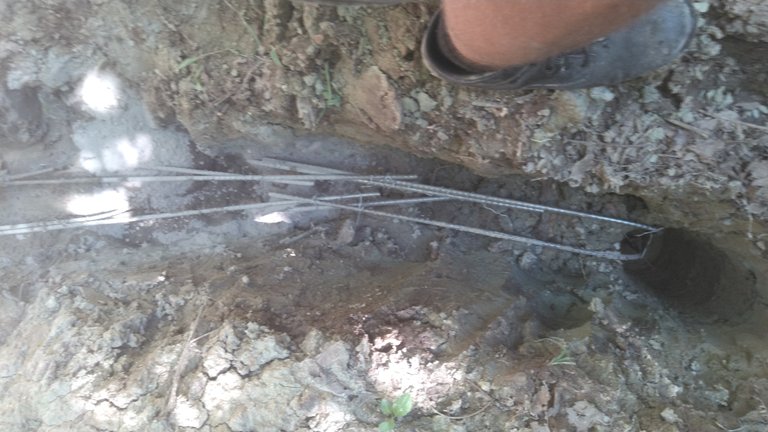
*Dam pilings with rebar already installed.
Once the dam pilings are finished being dug it is time for even more reinforcements in the form of some 3/8" rebar....and a lot of it.😁😁 This stuff is added to increase strength and to hold the dam concrete together should it ever happen to crack.
TIME TO POUR THE DAM CONCRETE
With the dam footing cleaned out and the rebar in place it's now time to pour some dam concrete. This is the laborious part as all the concrete bags have to be carried back to the dam by hand.😁😁 Luckily, it's only going to take a dozen bags or so.
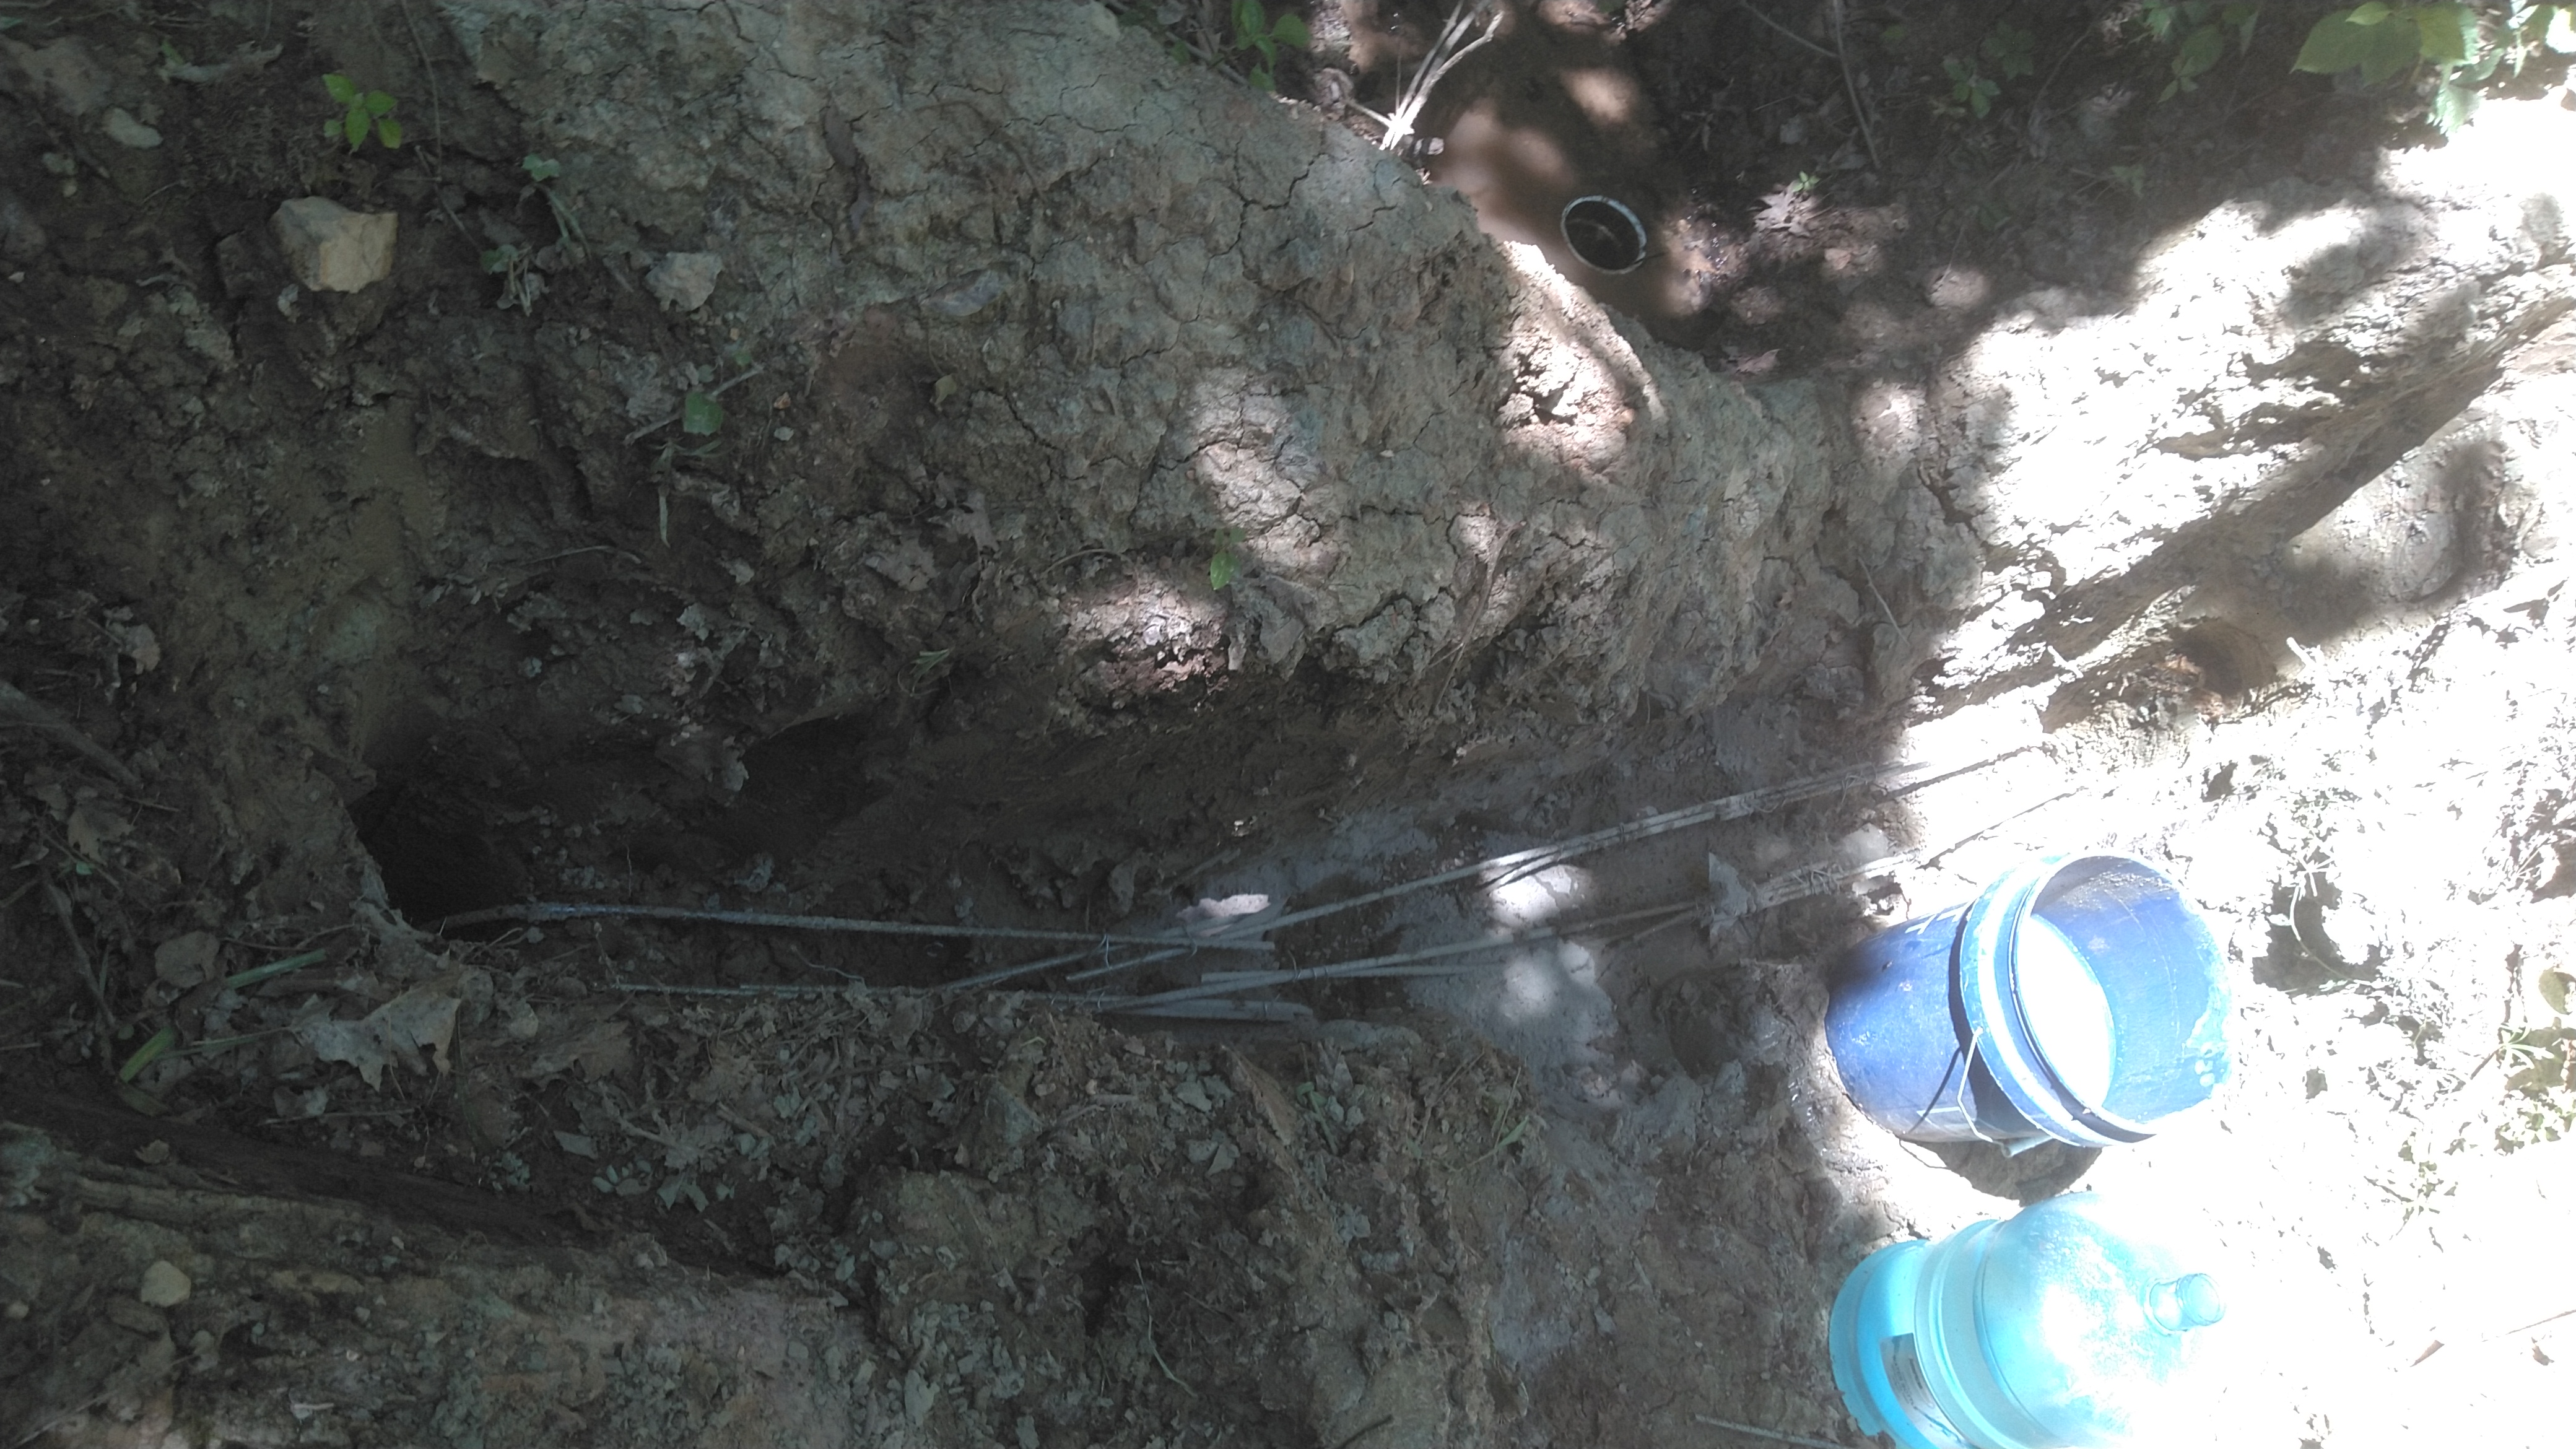
*All set up and ready for the dam concrete footing.
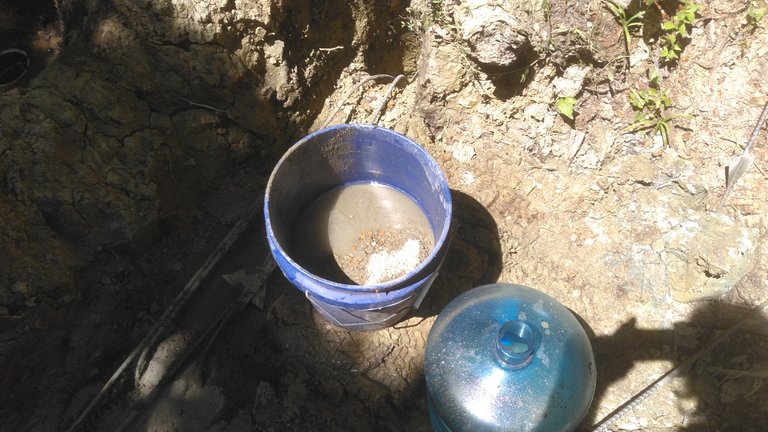
The pour was actually a little tough, as I had to mix the concrete in a bucket with a piece of rebar by hand because I didn't have the mixing wand with me.🤦😁
*The impromptu dam concrete mixing station.😁😆
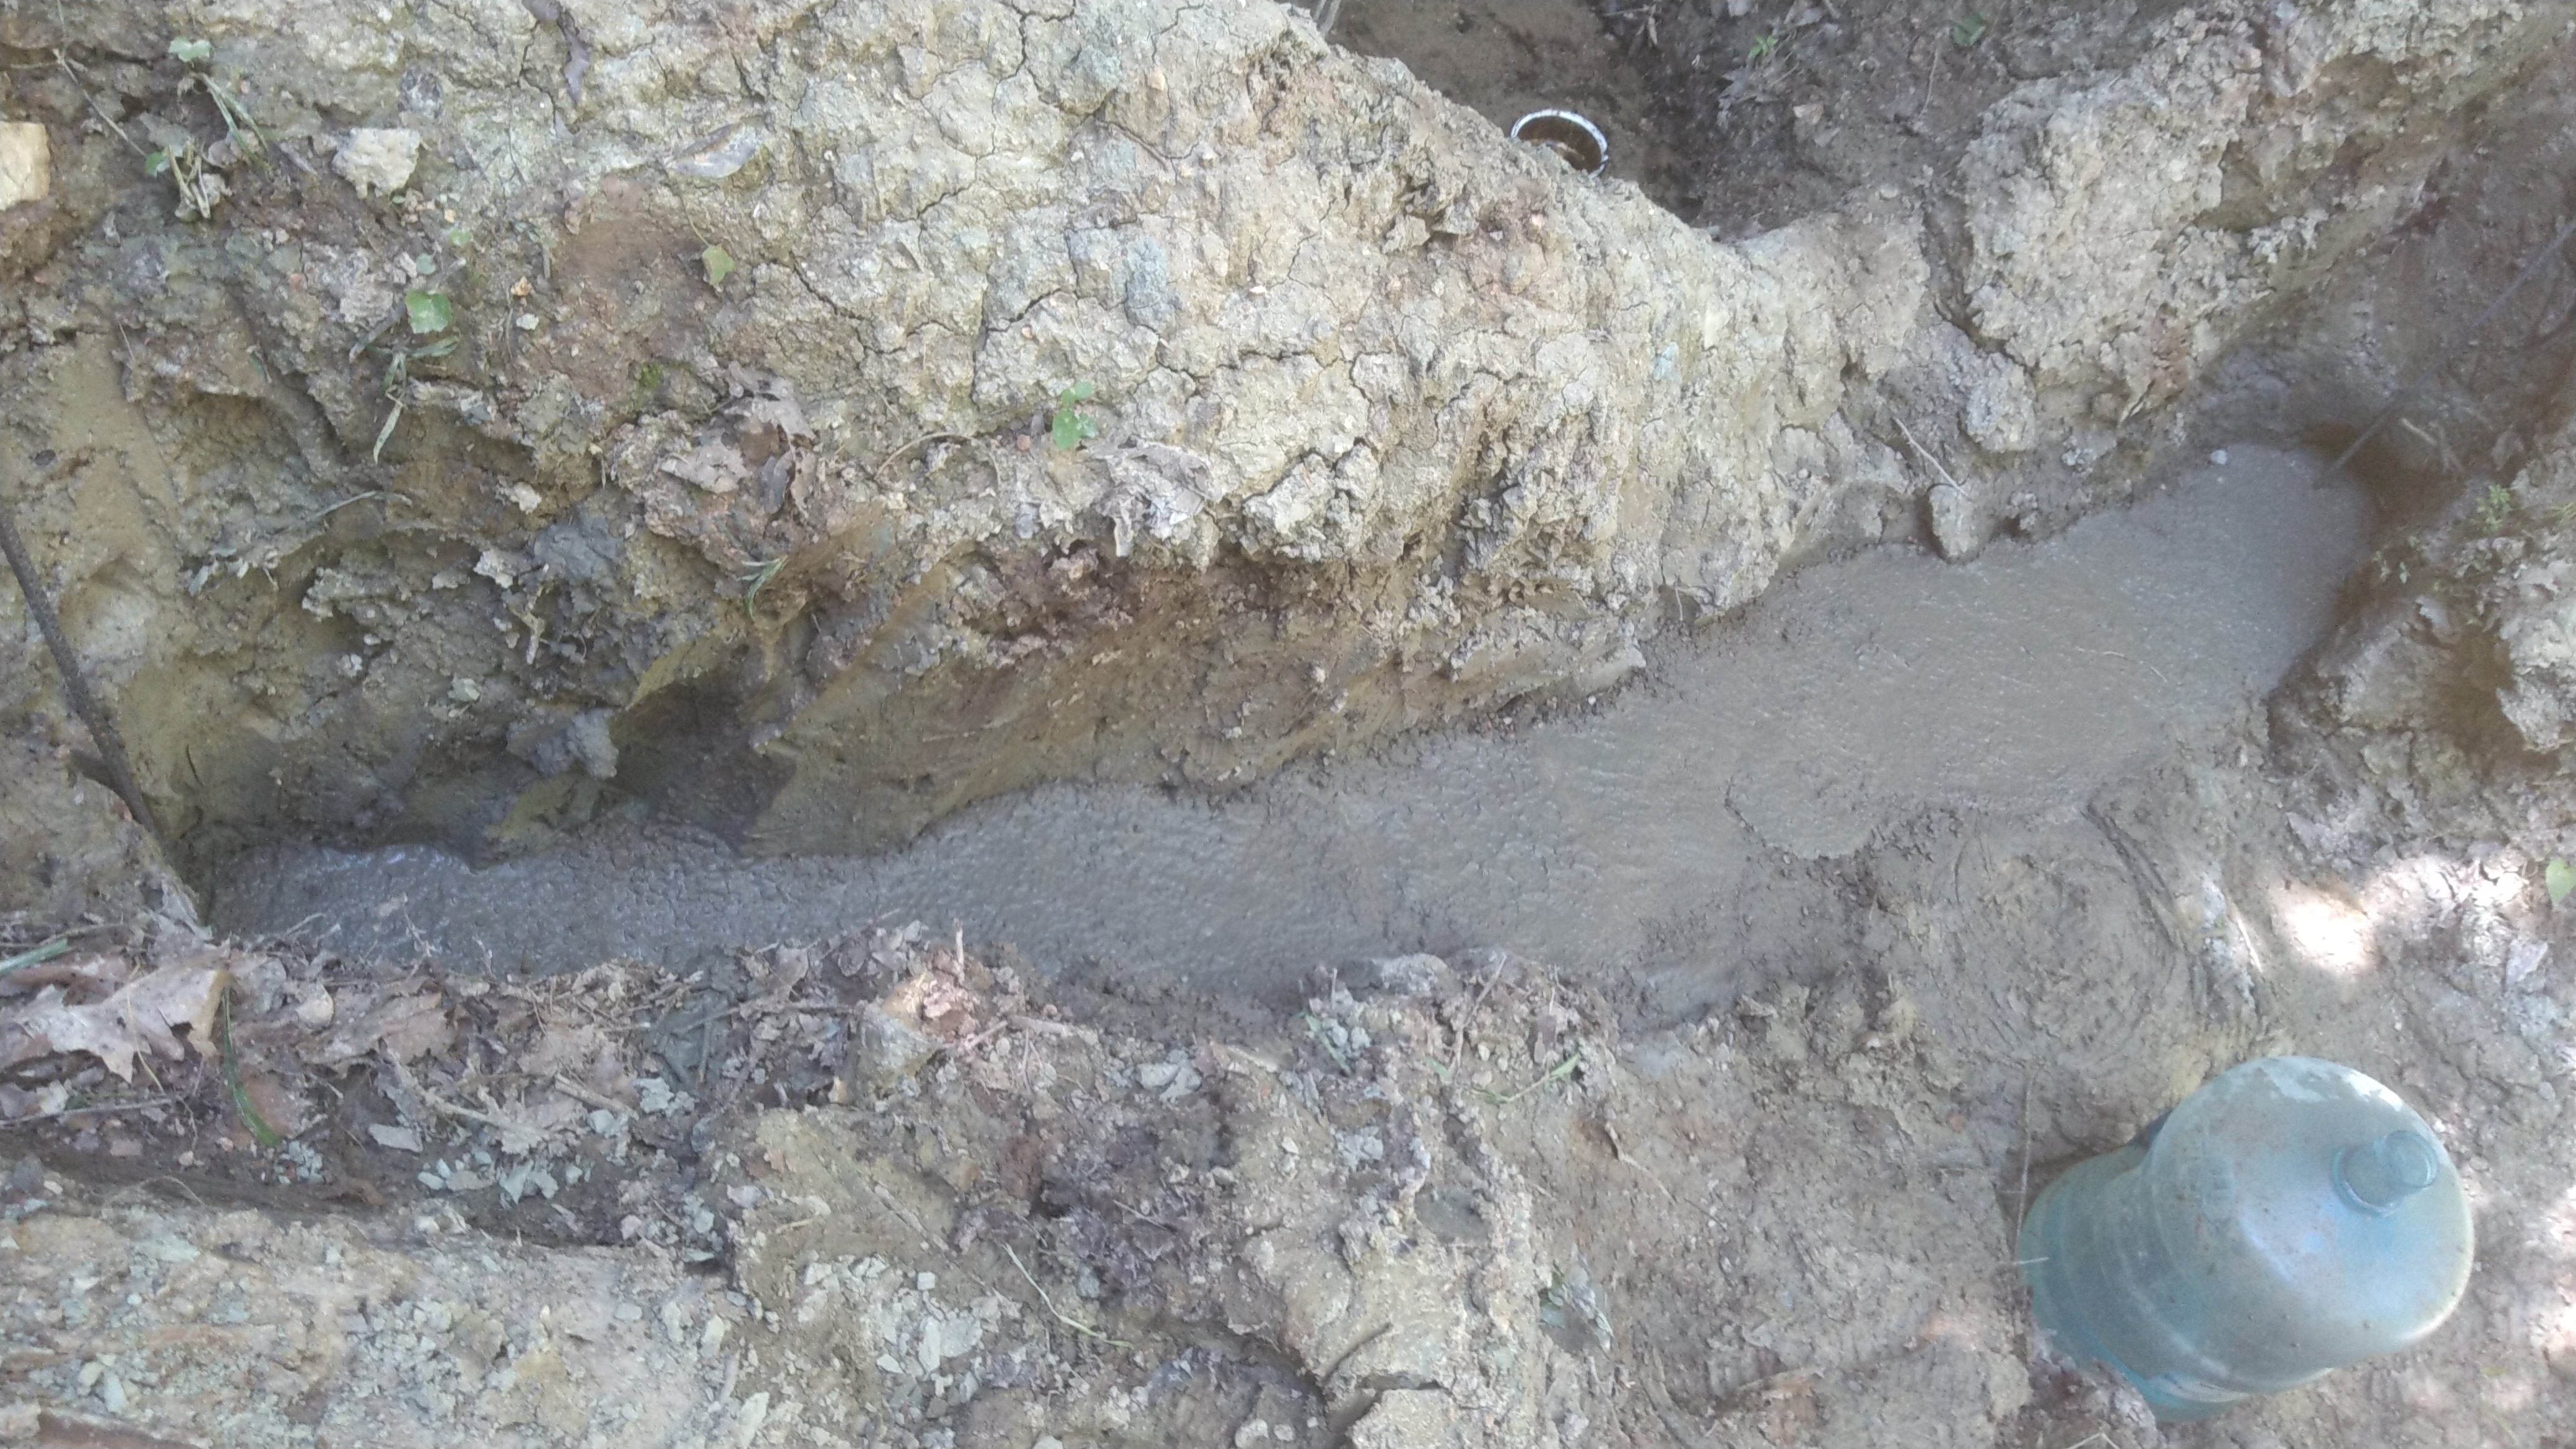
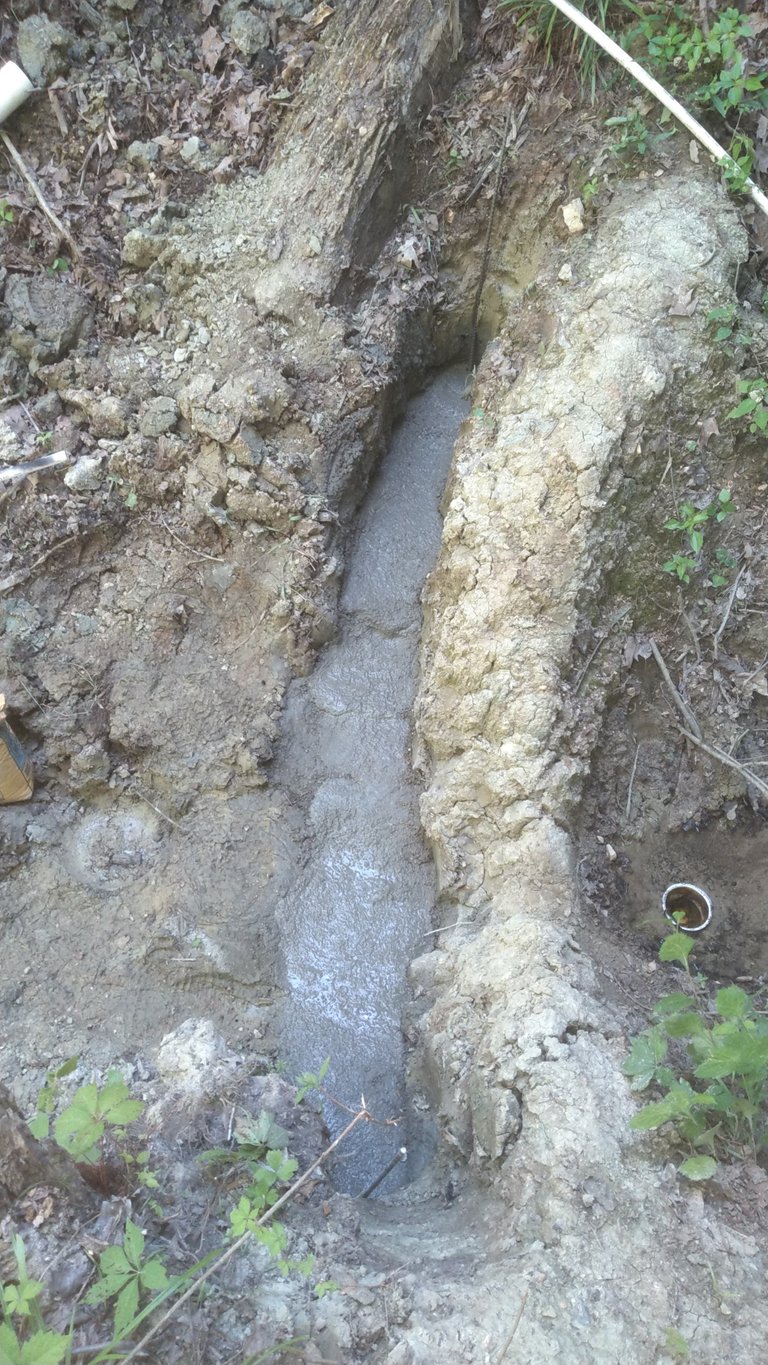
All in all it took about three hours and I had bought enough concrete that I was able to make it even more robust then I first intended.💪💪
*Not the best picture (🤦😆)....but there my beautiful dam footing is!
*That's a hefty dam footing if ever I've seen one!😆🤦
