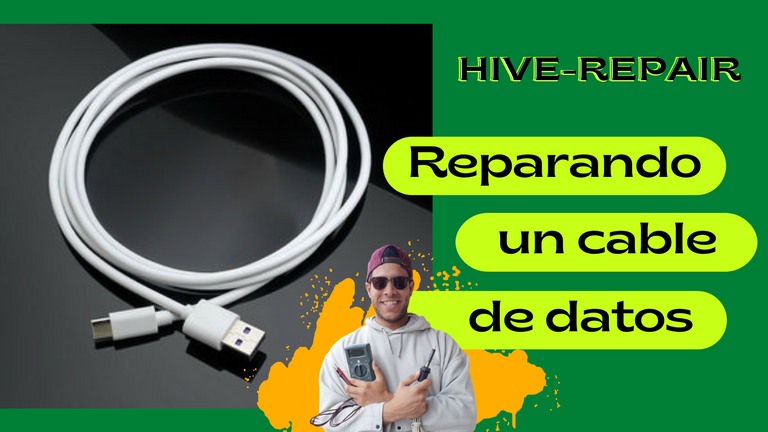
Hoy les muestro como reparé el cable de carga del celular de una amiga, una reparación sencilla que podemos hacer en casa, si contamos con las herramientas indicadas.
Entonces, manos a la obra apreciados Hivers...
A big hello to the entire HIVE community!
Today I show you how I repaired the charging cable of a friend's cell phone, a simple repair that we can do at home, if we have the right tools.
So, let's get to work, dear Hivers...

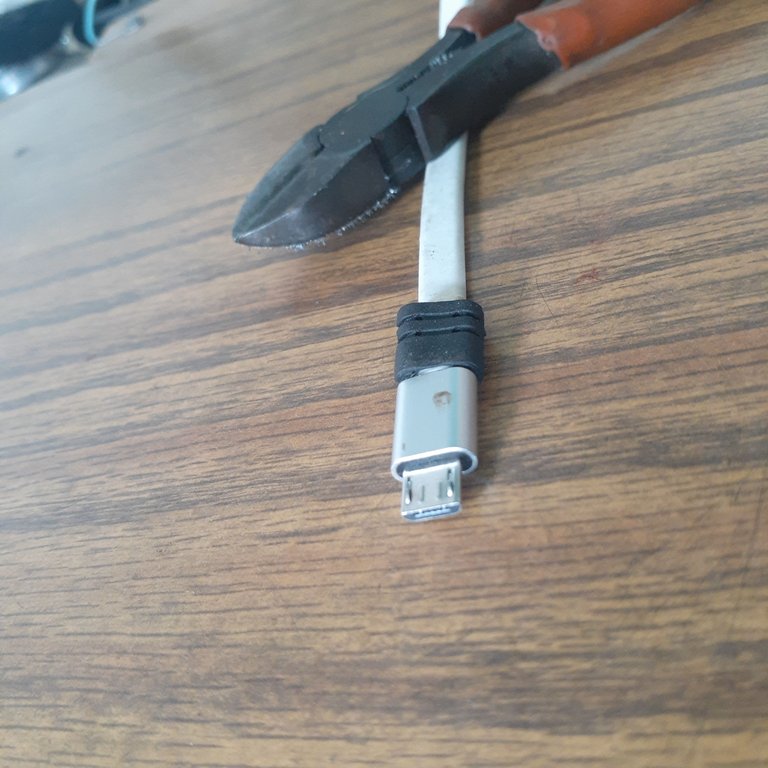
As always the first thing I do is a visual inspection of what I am going to repair or do maintenance, in this case it is a data cable or charging cable which does not work. To make the inspection of this cable is very simple, I only had to observe the state of the terminals and the state of the cable in general. Once this was done I realized that a piece of cable before the terminal that connects to the cell phone was defective, specifically a segment of cable just before starting the terminal was what was damaged.

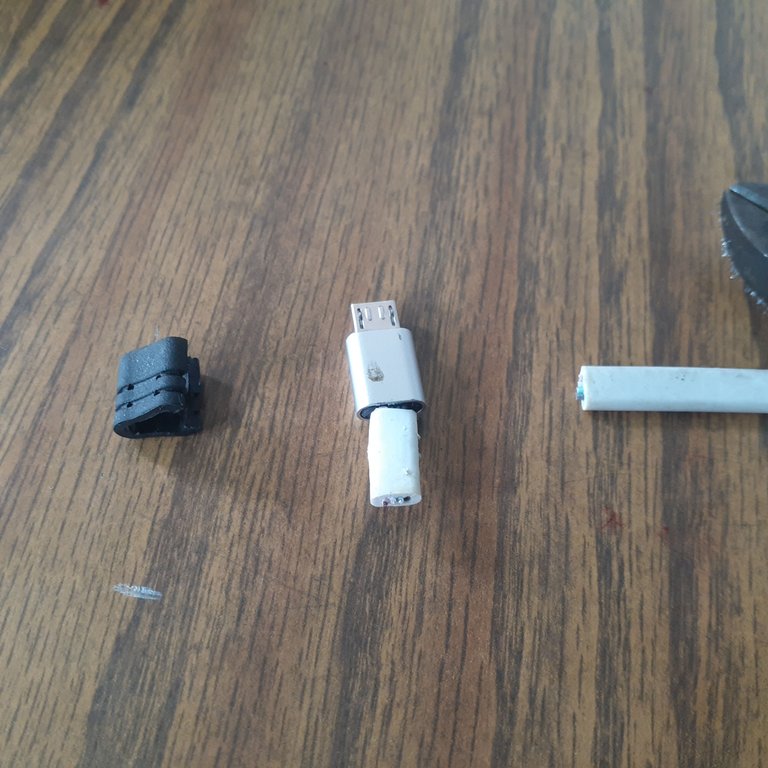
As I had already identified the damage, I proceeded to cut the cable further down from where the defect was located to continue with the repair. We can observe that I had to remove the rubber protection and then if to make the cut.

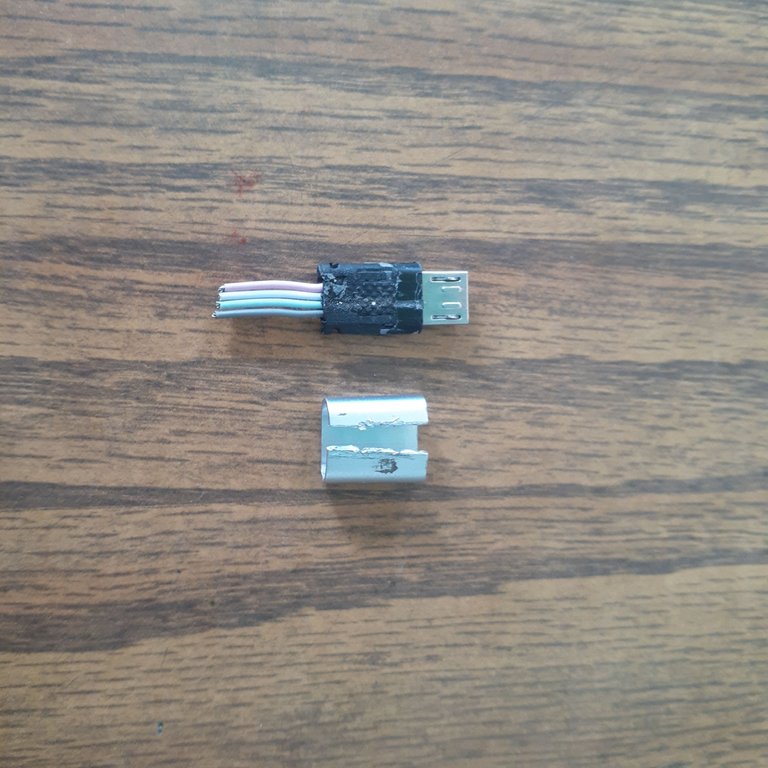
Once the previous step was done I proceeded to remove the metallic cover that has the terminal to be able to access where the wires that we have cut are soldered and thus remove them. This step gave me some work but finally and very carefully I managed it without damaging the terminal.

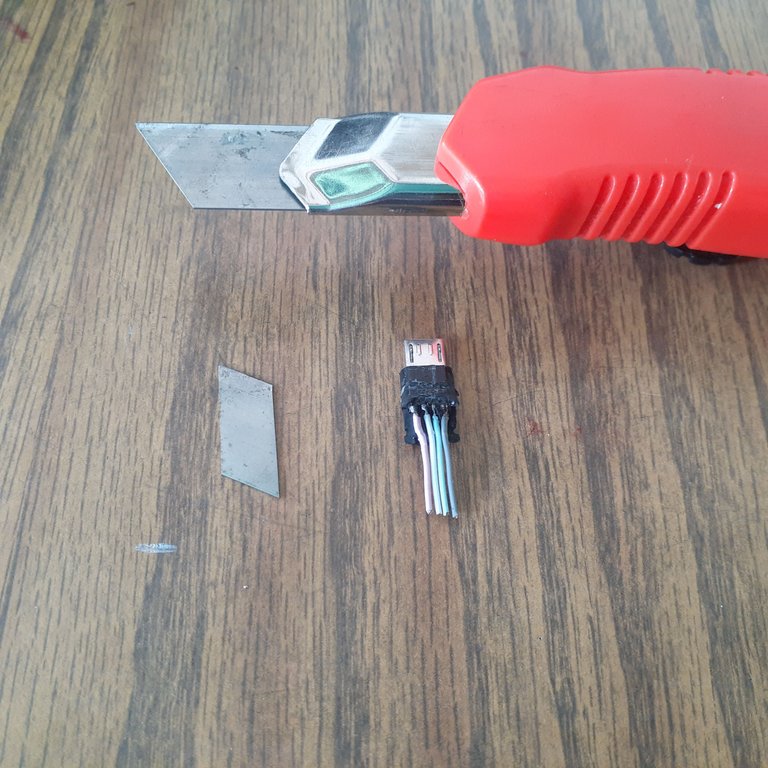
El siguiente paso fue descubrir los cuatro cables interiores que están conectados al terminal, para poder seguidamente y con la ayuda de un exacto, realizando pequeños cortes, identificar dónde estaban soldados los cables al terminal, es decir, la posición de cada uno.
The next step was to discover the four inner wires that are connected to the terminal, to be able to then and with the help of an exact, making small cuts, identify where the wires were soldered to the terminal, ie, the position of each.

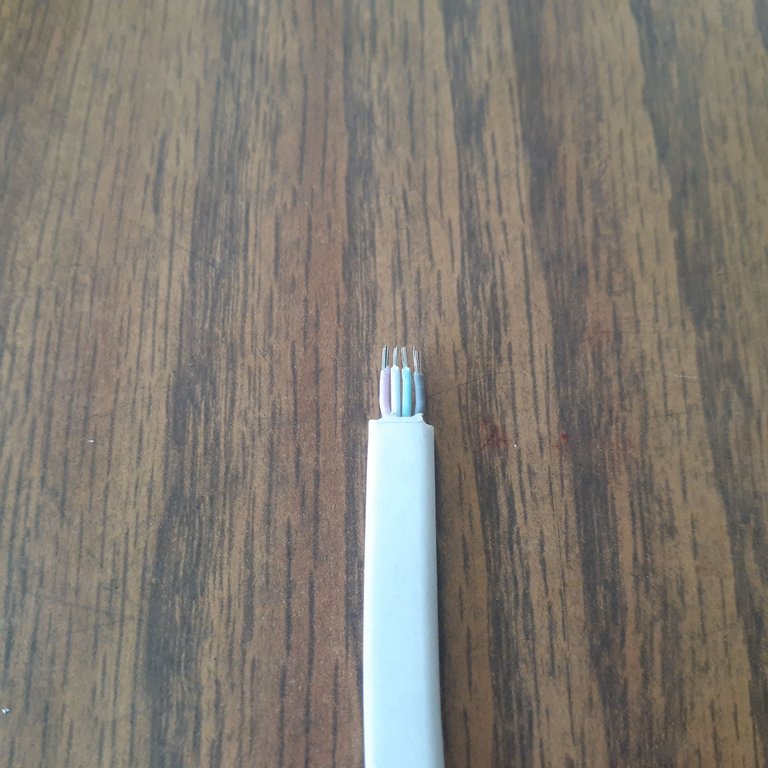
It is also necessary to prepare the cable to be able to solder it again in the terminal, with extreme care and with the help of an exacto I removed the rubber protection, I peeled each one of the four cables and then with the help of a tin soldering iron I prepared each one of the tips of the cables, so that at the moment of soldering them to the terminal it was simpler.

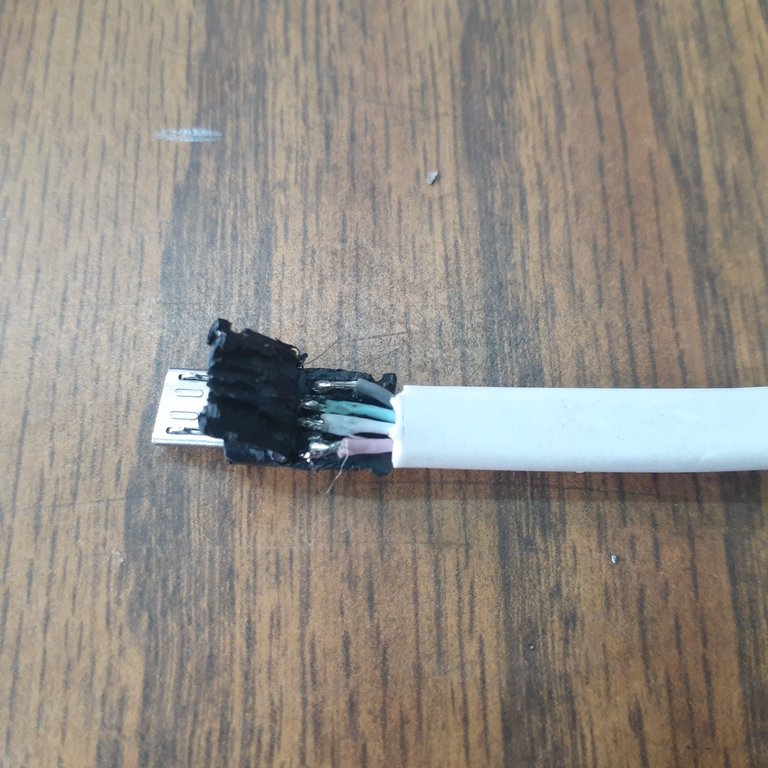
When we have freed the terminal of the defective pieces of cable we will proceed to solder the cable already repaired in the terminal, in each one of its connections, soldering with extreme care, taking the precaution of not applying too much tin.

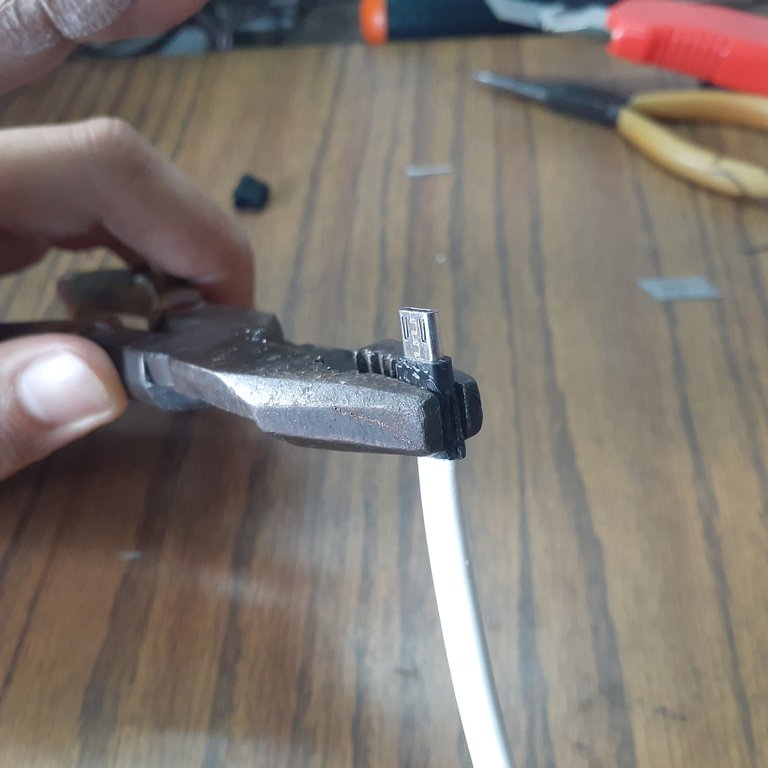
Once we have made all the previous steps, prepared the cable and soldered with tin, we proceed to apply a little instant glue on the base of the terminal to be able to seal it again with the rubber, we hold it with the help of a pliers for 2 minutes, so that it is well compact.

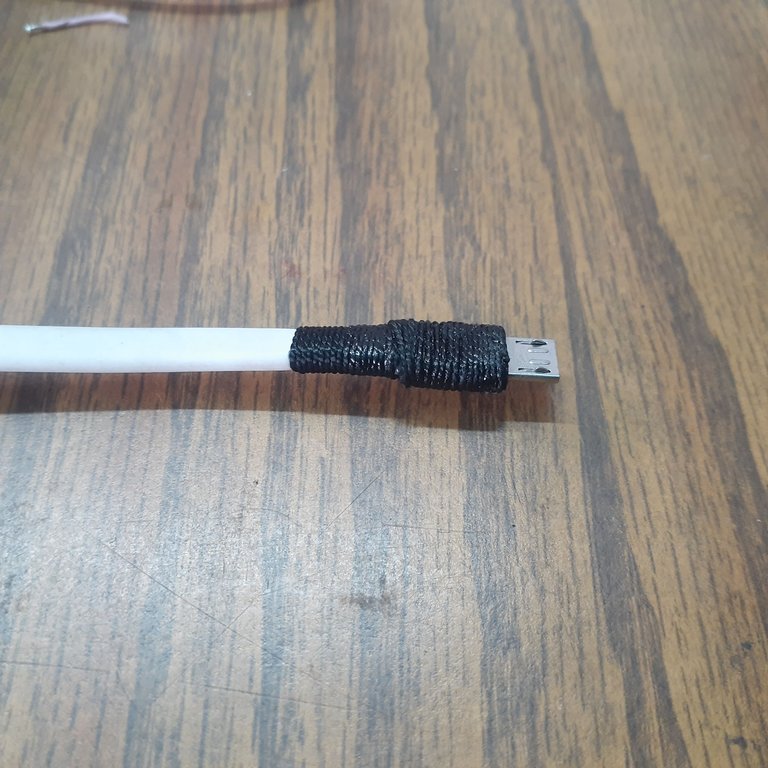
At this point we are close to finish with the repair, what you can see in the picture is that I made a wrap with strong nylon thread, to protect the cable and the bottom of the terminal, I did this by wrapping carefully with nylon and then applying a layer of instant glue, to give it some rigidity.

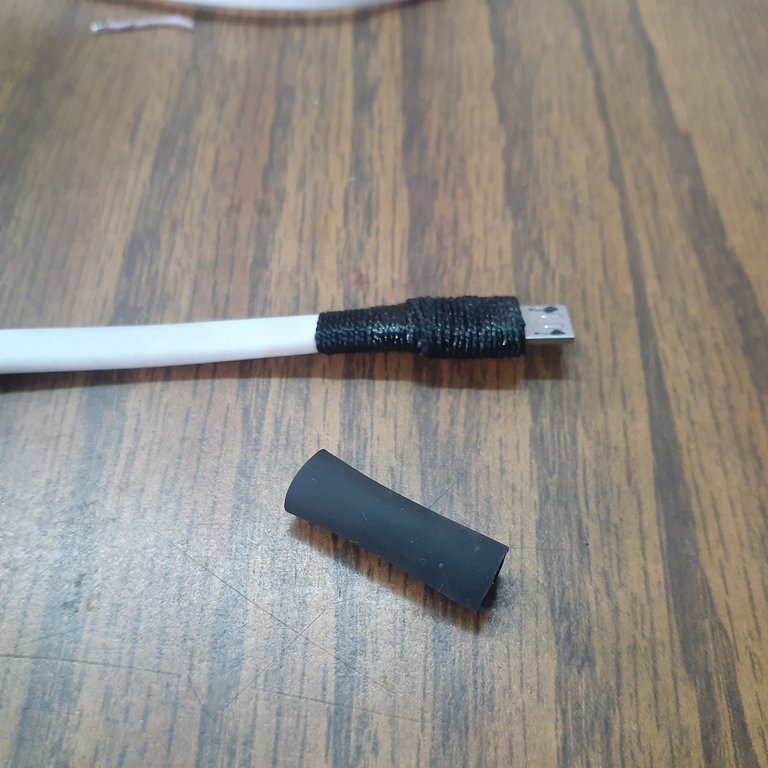
Cuando el pegamento instantáneo haya secado, agregaremos una capa de protección más, la cual será un trozo de termo encogible o termo retráctil, que fijaremos con la ayuda de un encendedor en el terminal del cable. Dando por concluida así esta sencilla y rápida reparación.
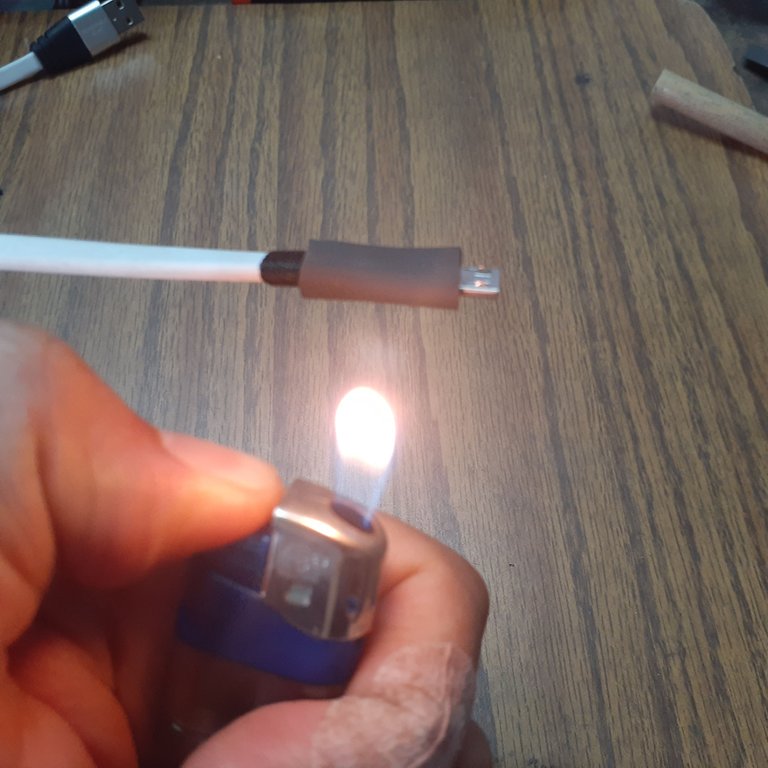
When the instant glue has dried, we will add one more layer of protection, which will be a piece of thermo shrinkable or thermo retractable, that we will fix with the help of a lighter in the terminal of the cable. Thus concluding this simple and fast repair.

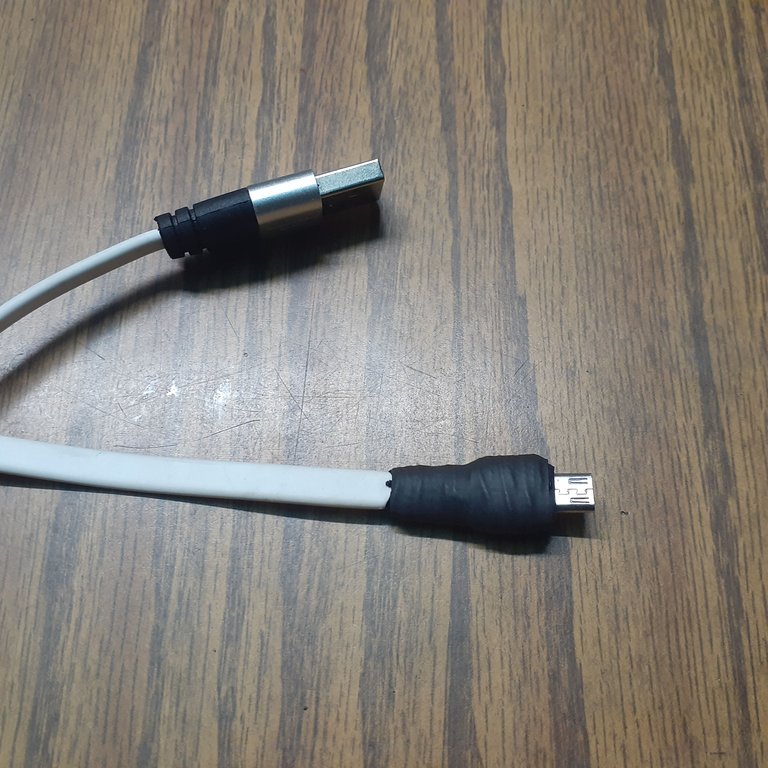
Finalmente pueden observar cómo ha quedado la reparación. Y por supuesto el último pasó es la prueba de fuego, probar el cable para comprobar que funciona correctamente. Probé el cable de datos con mi celular Y funciona perfectamente.
Finally you can observe how the repair has been. And of course the last step is the acid test, testing the cable to check that it works properly. I tested the data cable with my cell phone and it works perfectly.


Hasta la siguiente publicación!
Until the next post!
Todas las fotografías fueron tomadas con mi celular SAMSUNG Galaxy A20.
All photographs were taken with my SAMSUNG Galaxy A20 cell phone.
El separador de texto y las demás imágenes son de mi autoría.
The text separator and other images are of my authorship.
