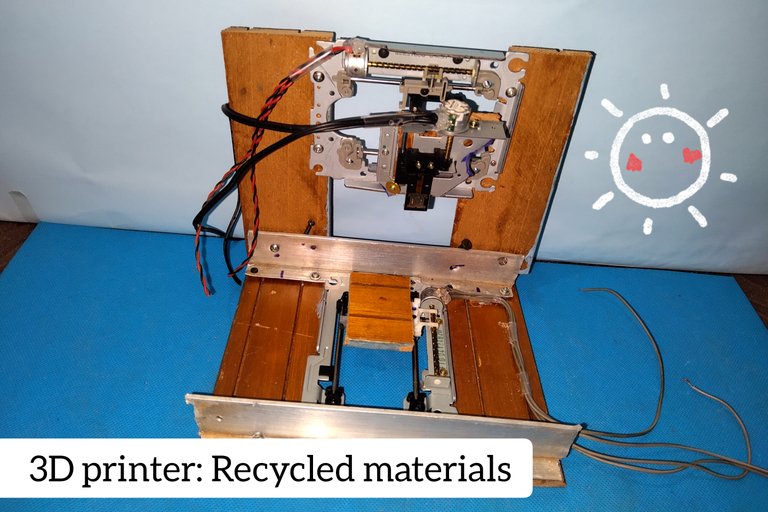
Hi, just a week ago I shared with you that I had purchased some new tools and while I am not an electronics pro, I am not going to waste those tools on 2-3 home repair projects. That's why I decided to go big and challenge myself, I want to make my own 3D printer and I'm going to build it trying to recycle everything.
The controller is a challenge that honestly worries me, although I have some ideas that I know might work. Likewise, this is not a project for a single post and it will depend on your acceptance whether or not I continue showing the process, that is why I ask you for all your support in this post, because what you will see today is the easy part, the difficult part. and what will take me the longest is yet to come.
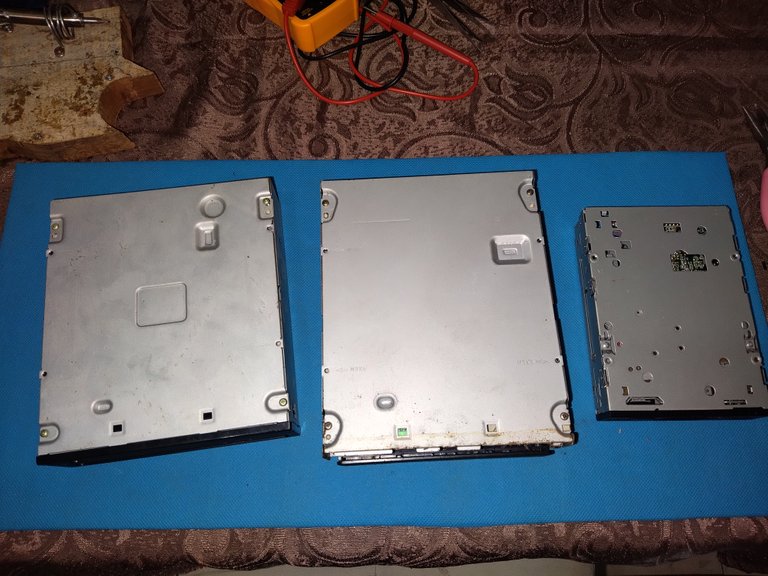
Look, I spent many hours watching videos on Youtube about 3D printers and I did see some homemade ones, although they all had the same problem and it was the stability of the displacement. I'll explain quickly in case you don't know what I mean, the 3D printer is nothing more than a resistor that melts a plastic filament and while it does so, it moves that resistor along a flat surface.
So for this, the resistance must be on a base that allows it to move smoothly, so as not to cause vibrations that would eventually ruin the design. So instead of killing my head getting the necessary materials for that, so that in the end I end up with a mediocre result, I decided to look for something that already had those bases.
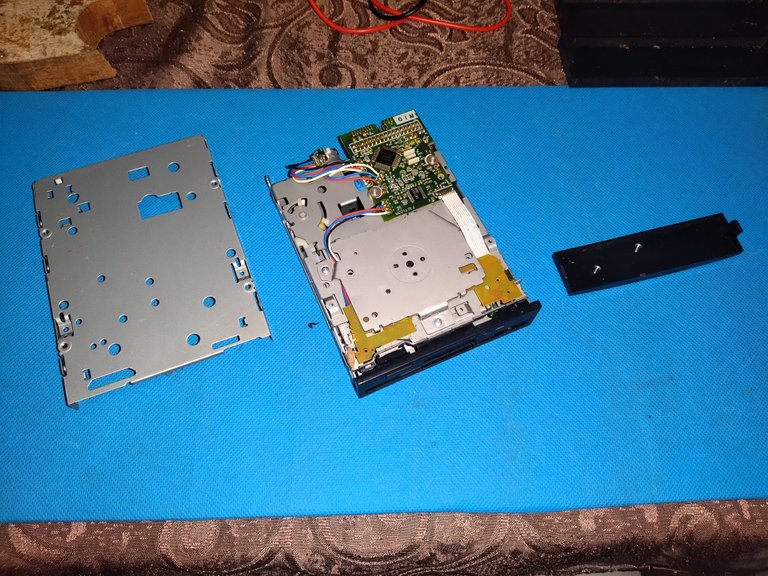
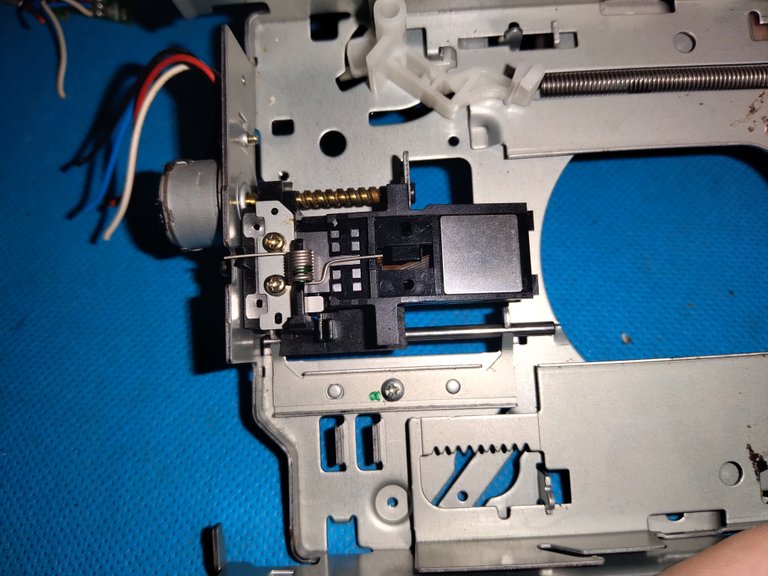
The ideal would be to use 3 identical devices, although I took advantage of the fact that a neighbor took out some old devices and among them were two CD players and I don't have a third one available, so I'm going to use a diskette player that I had at home. Its path is shorter than that of CD players, although it will serve to use it on the vertical axis.
I know it sounds complicated, although it's easier than it seems, you'll see better later.
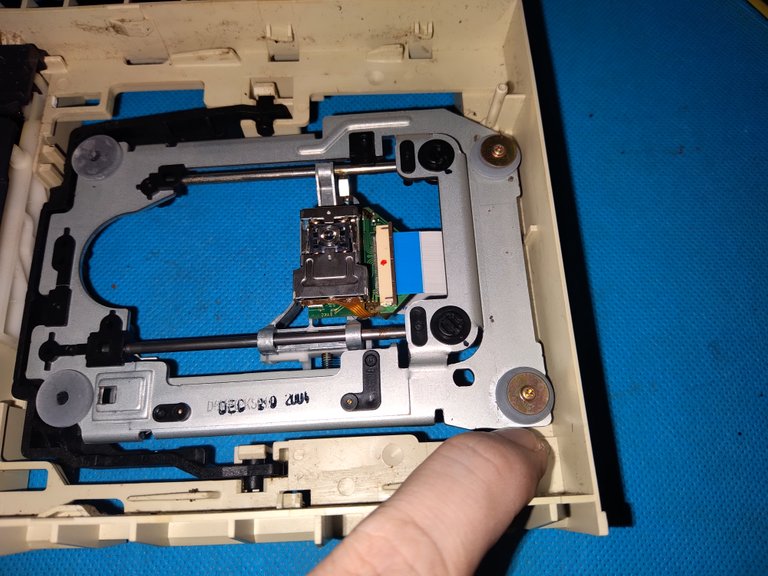
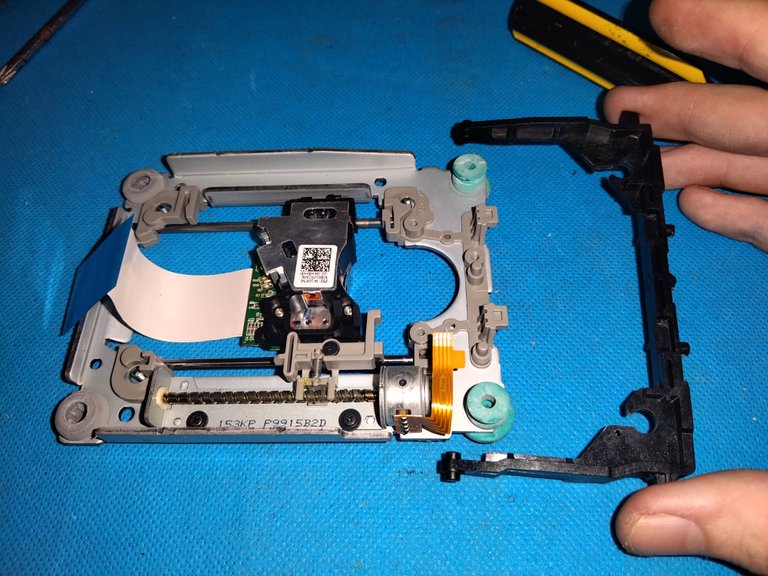
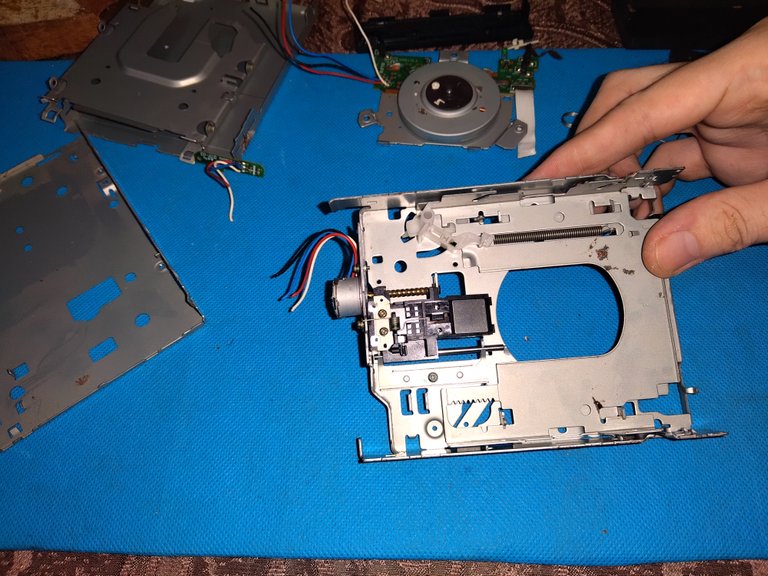
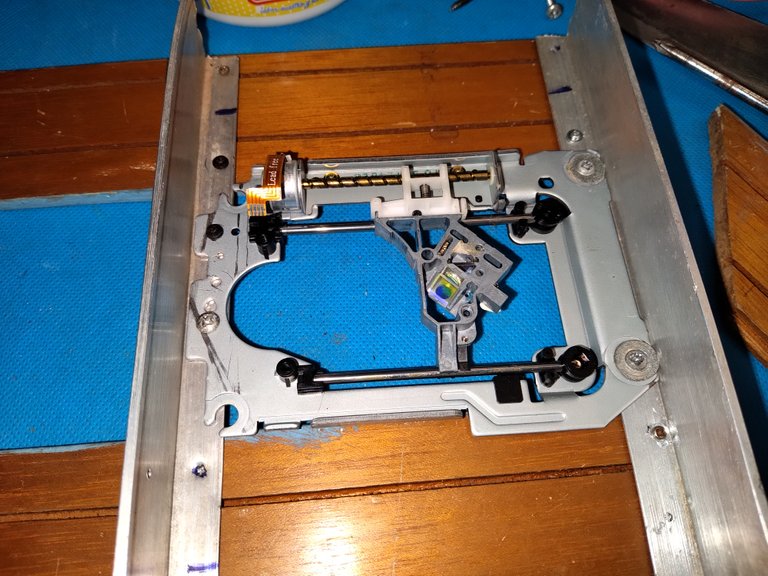
I am not going to extend much in the disassembly of the cd players, since they are very easy to disassemble, you just have to remove screws until you have something like you see in the image.
What I do advise is not to force anything, remember that we are disarming this because of its smooth, delicate and well-balanced displacement system, it would be a shame to damage it by trying to do it faster.
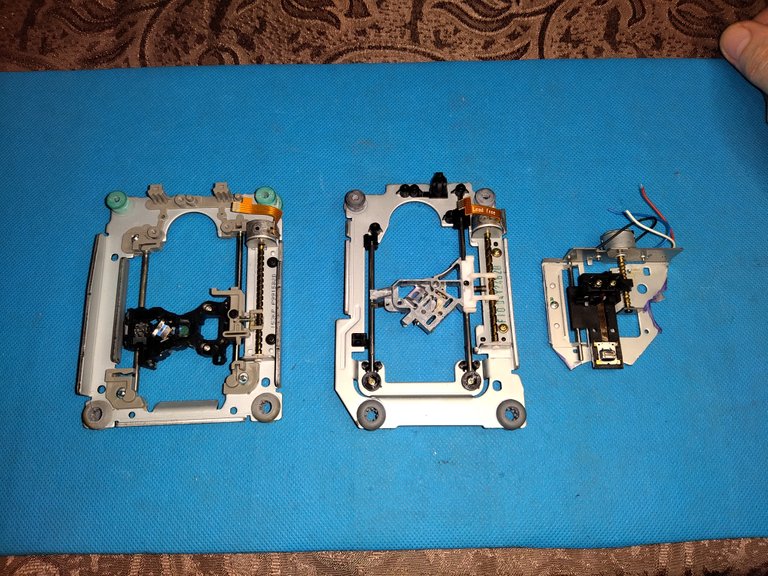
As you can see, we have something like that. To one of the 3... Devices? 🤔
To one of the 3 devices (in my case the diskette reader) we must cut what is not essential, that is, leave only the displacement mechanism. This is because that will be the vertical axis and it is glued on one of the other axes. You will see it later.
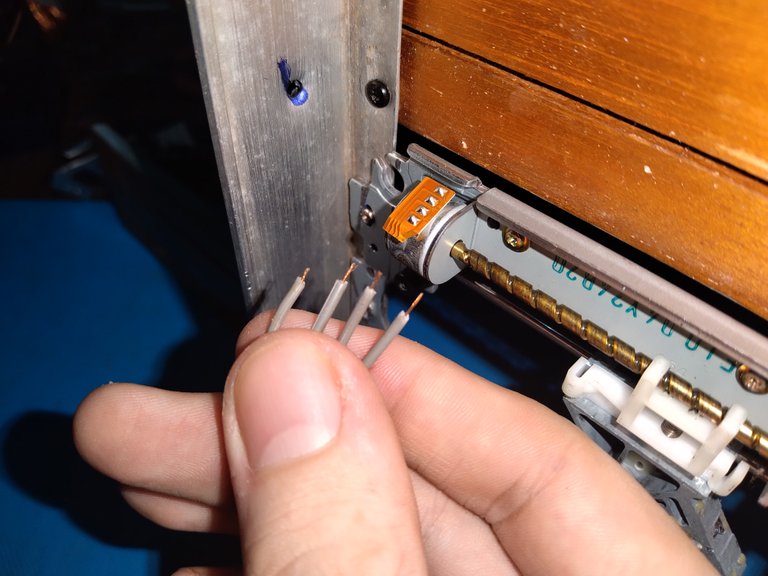
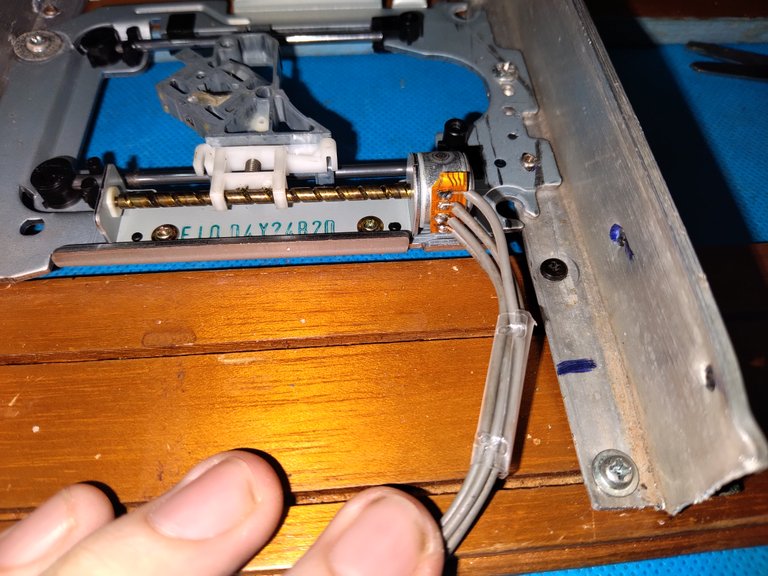
Now the next step was a little tricky for me because I don't have a small enough drill bit to fit all the screws in just right, so I had to do what I could. Also, it's not that all screws are the same, which I find funny 🤣
The question is to fix one of the devices on a base, in my case made of wood (door frame) and a few pieces of aluminum (for a flat ceiling) and then solder new cables to the motors. The colors of the cables do not matter, since they do not work with direct current but alternating current. So you will also have to do tests at the time of finishing the installation
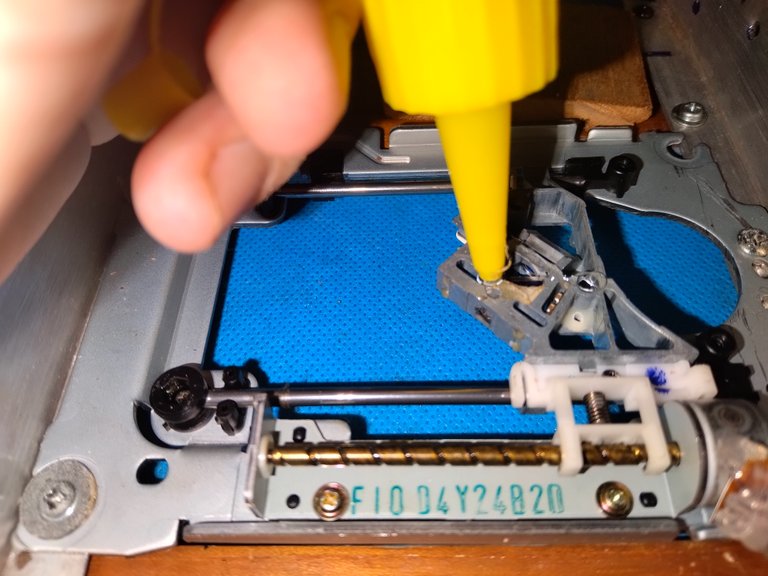
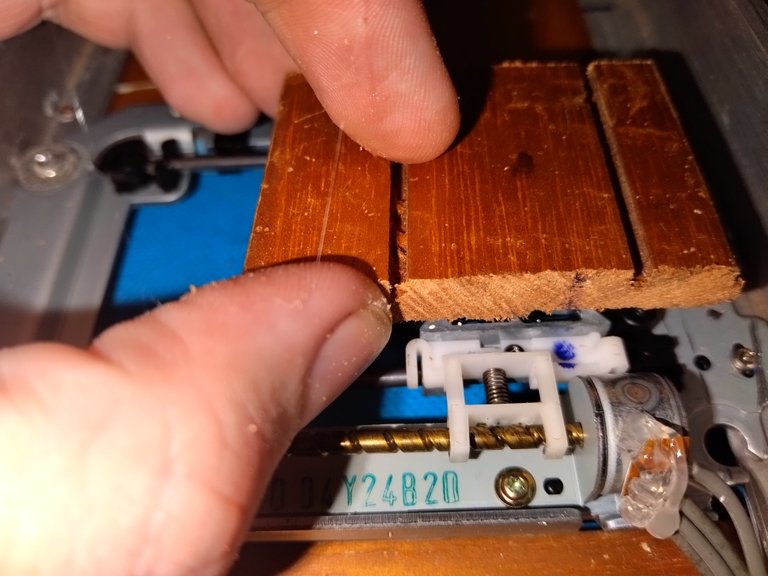
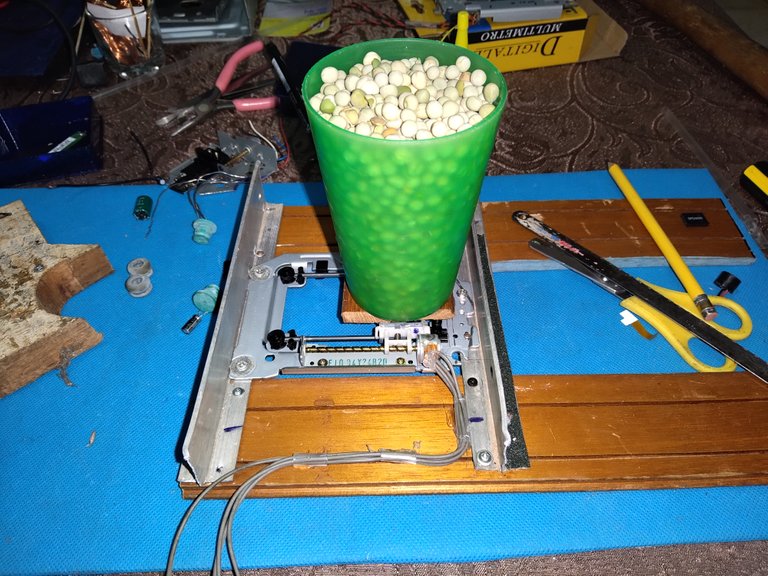
So as not to complicate myself later, I decided to glue a small wooden base on the base of the axis that you just fixed to the woods. On it we will later place the leveling table, although that will be for a next post, since it would be one of the last steps.
I simply placed silicone and with a glass of peas on top I let it dry for a few hours. None of this will be subject to great pressure or force, so large anchors are not needed, just being firm is enough.
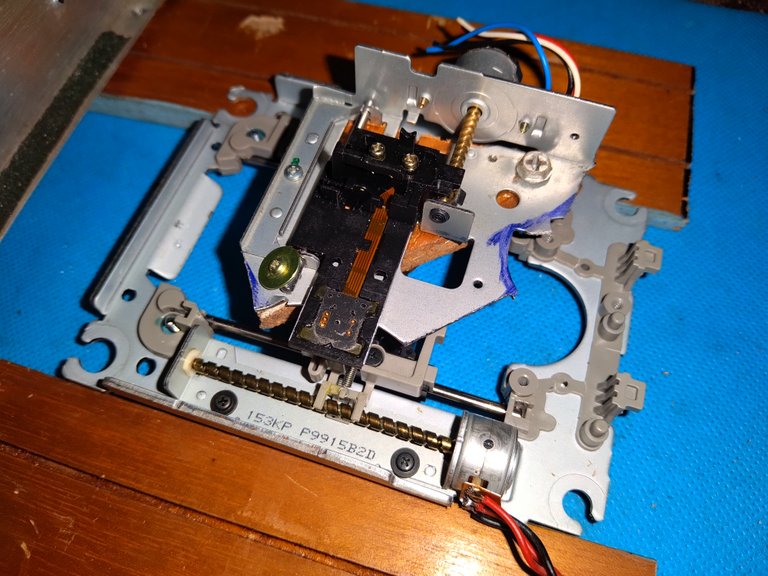
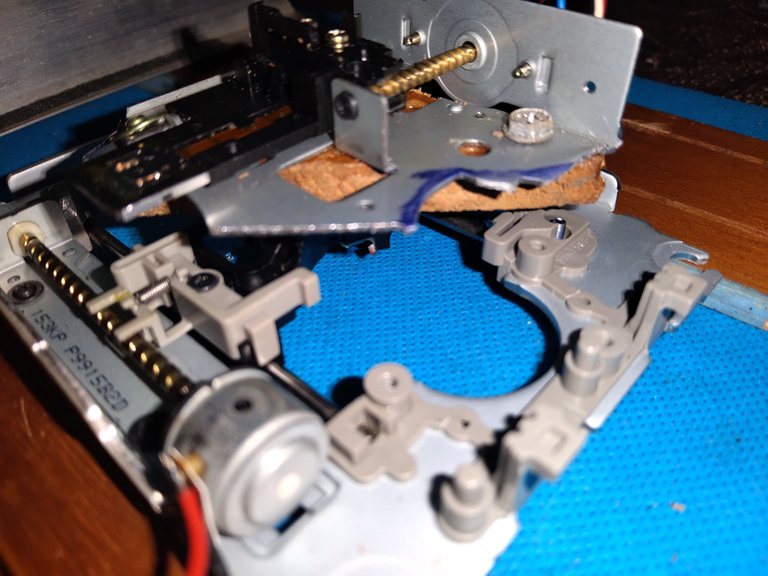
On the other device, I am also going to glue a piece of wood and on top of the device that we cut. It is not very mysterious, the important thing is that it is very well centered and that the movements are reversed, that is, the one below must move from right to left and the one that we hit above must move from top to bottom. Again, I used silicone and allowed to mow down for several hours.
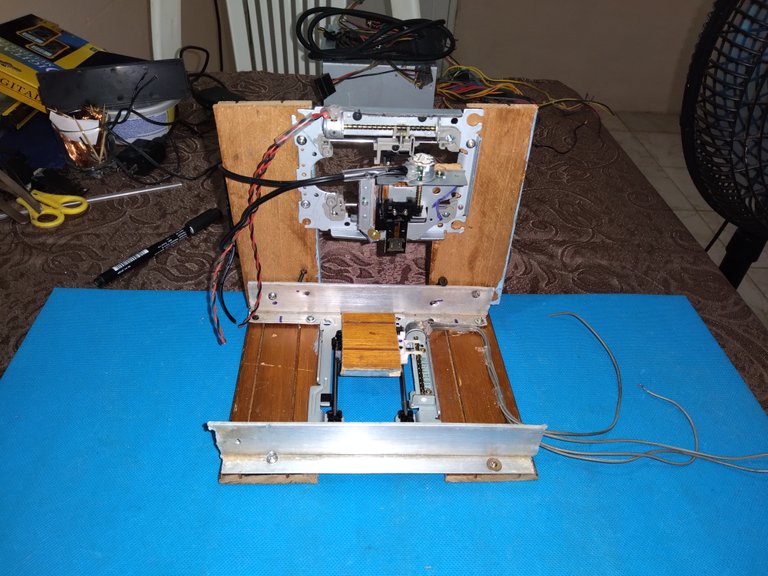
As you can see, it's not the prettiest 3D printer on the market, although that doesn't really matter, because no matter how ugly and small it may be, when it's working we can make custom parts to build a bigger and better one. That in the end that is the objective, to be able to create another with pieces designed and made by me using this one.
Here below I will leave you a small Gif so that you can see the movement and understand a little better how it works, logically there is still a long way to go, I hope for the next post to be able to show you the manufacture of a 3D pencil that will eventually become the ejector and I also plan to make run the motors with a control and make it work without the need for a controller board, you'll see later, thanks for reading, I'll leave you with the gif ☺️
