
Well Hello There Fellow Technicians And Hivers
Now if I can say anything about this week is that it's going perfect! Work-wise of course.
For the first time in months it feels like we are actually setting out some good progress, with that I have to add that the big boss isn't at the shop and while I do mostly enjoy his company sometimes he can be a little invasive when it comes to finishing jobs and such. It's not that he deliberately interrupts you so that your work can take longer it's just everyone has to do his errands and while most of the stuff is quick and easy runs it does take up a lot of time.
So me and Bossman (Big boss's son) decided to push as hard as we can to get the jobs out for next week the Big Boss will be back in town.
I have something interesting to share with everyone today, I will be adding a external cooler on the transmission oil line. It already has one but I will be adding another one.
So the oil from the transmission runs through the radiator so its both water cooled and aircooled since it runs through the radiator but we will add another radiator on the front. It wont drop the temperature by alot but 2 to 5 degrees can make a colossal difference in the performance and longevity of the transmission.
Let's see what we can do.
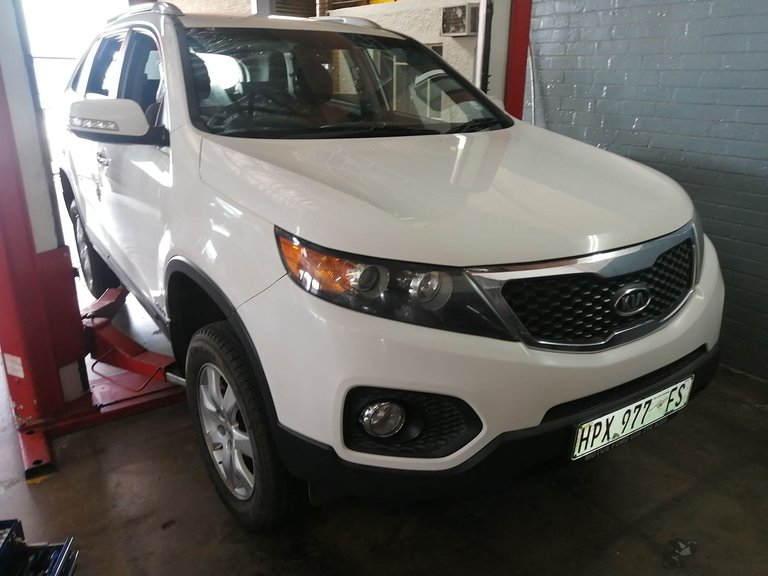
We did the transmission of this KIA about a year ago but the owner didn't want us to do anything cooling related and told us that he would do it himself since he is also a technician himself... Now a year later he comes up with stories and a very big attitude. Bottom line is he did not clean and flush his radiators and claims that he has.
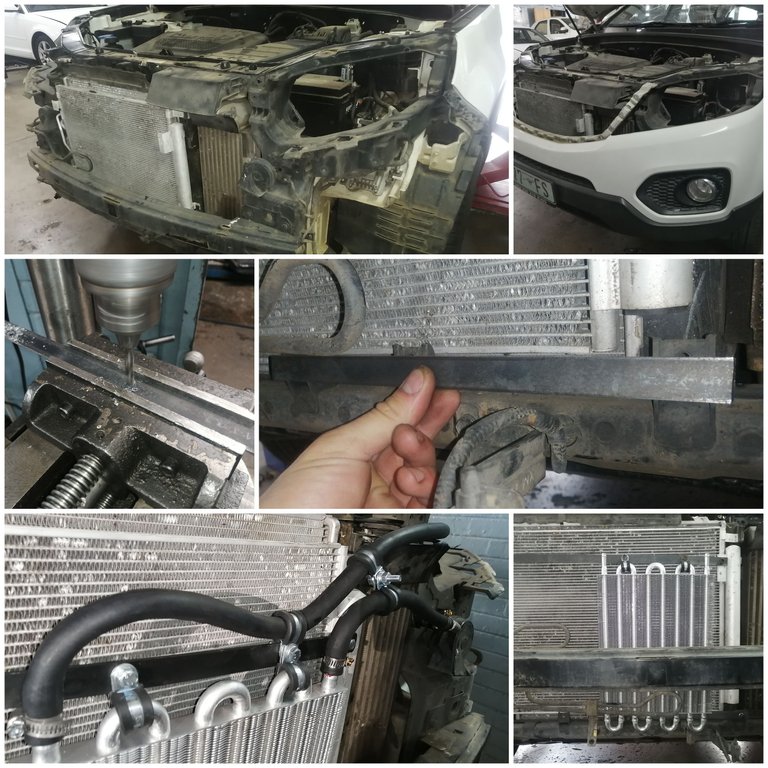
Doing a quick inspection of the radiators it was very clear that he has not cleaned them.
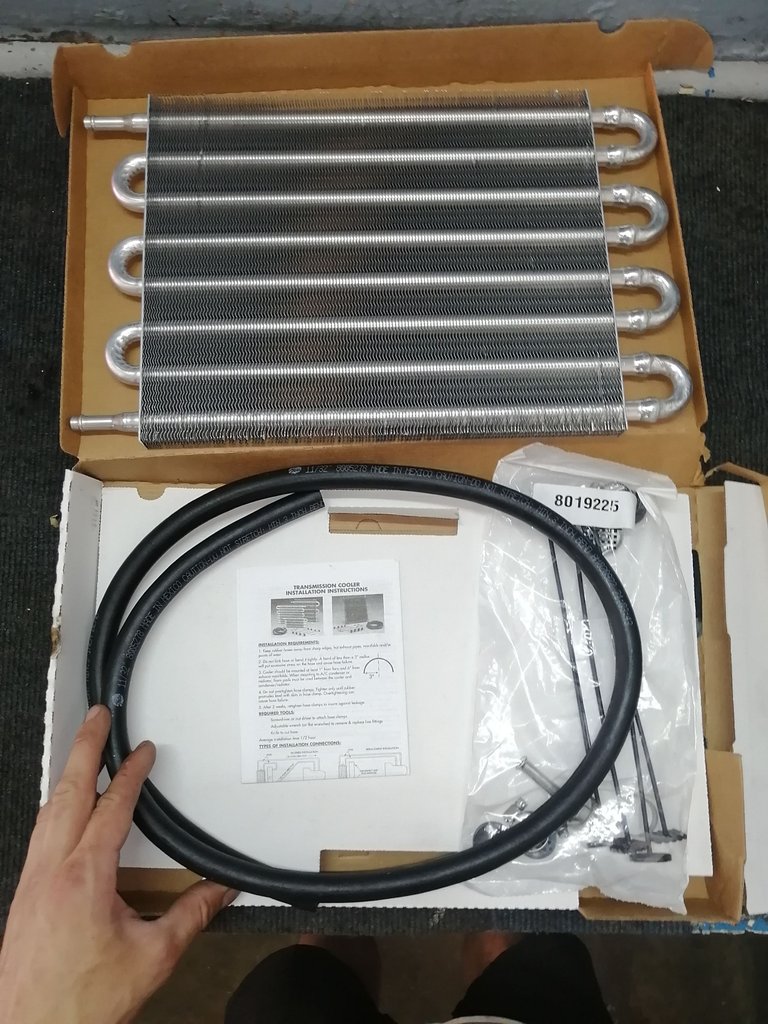
Luckily it will be a very easy job we got this kit with everything included that we might need. However we rarely use the tie downs they supply, it's a bunch of crap to be honest.
What we do use is the cooler, the piping and the hose clamps. We tend to make our own mounts to support the cooler. It doesn't work well with friction and vibration so you have to make sure none of the piping or the cooler itself touches anything in a manner where it can vibrate a little. (If that makes sense at all.)
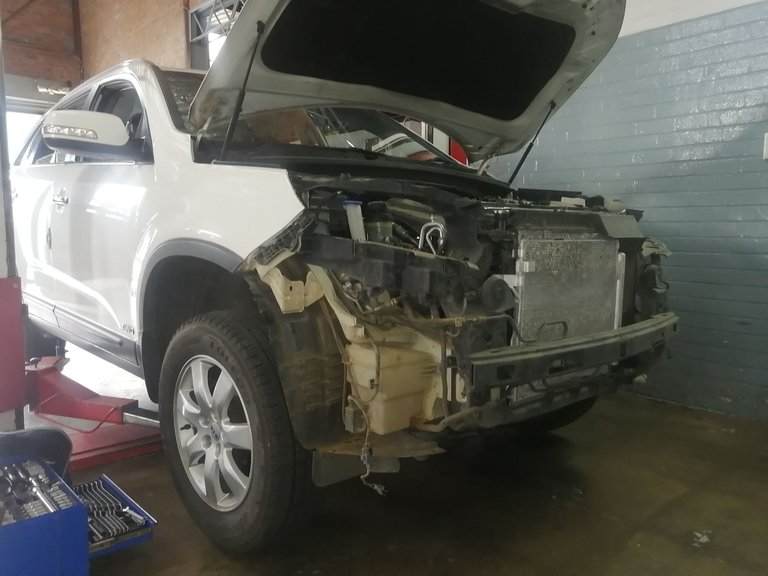
Let's see what needs to be removed. I was hoping on the fact that I don't need to remove the bumper but it's very clear that I might well need to. If I want to do this the right and proper way and make sure there are no oil leak or piping that vibrates against a surface.
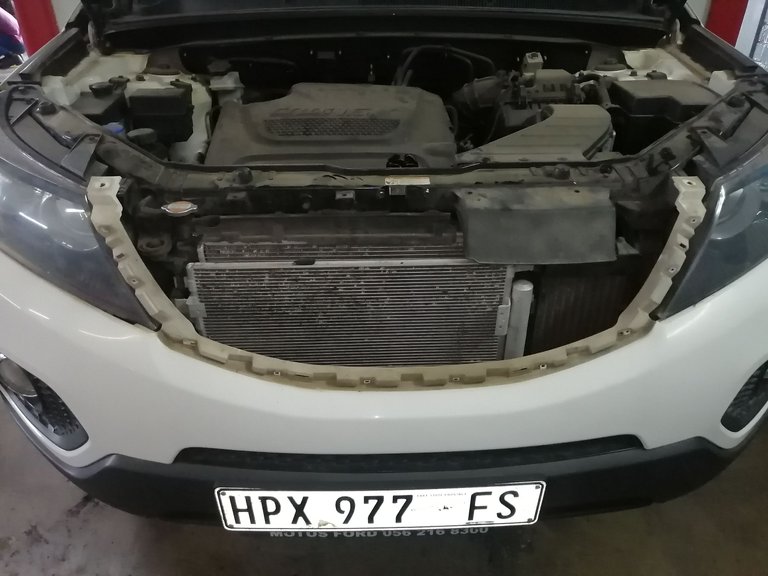
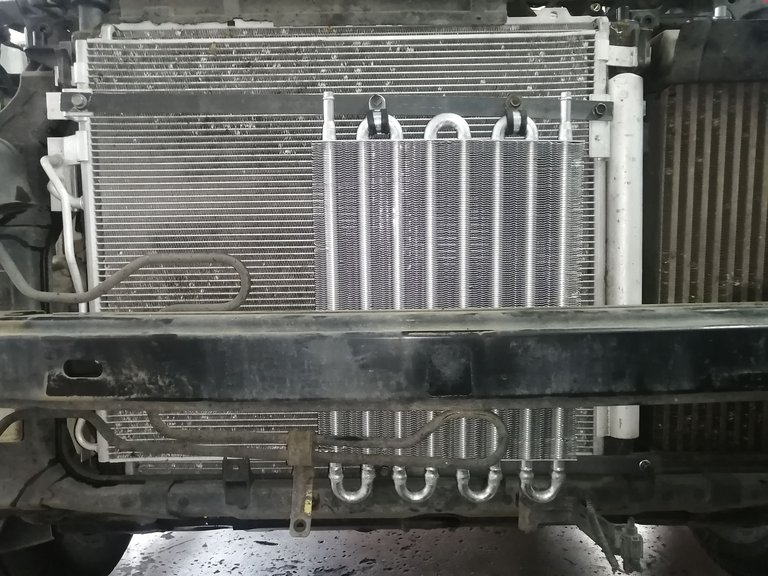
Starting with the top section of the bumper and removing it I can already start to see where I would be mounting this cooler, but first the bumper needs out.
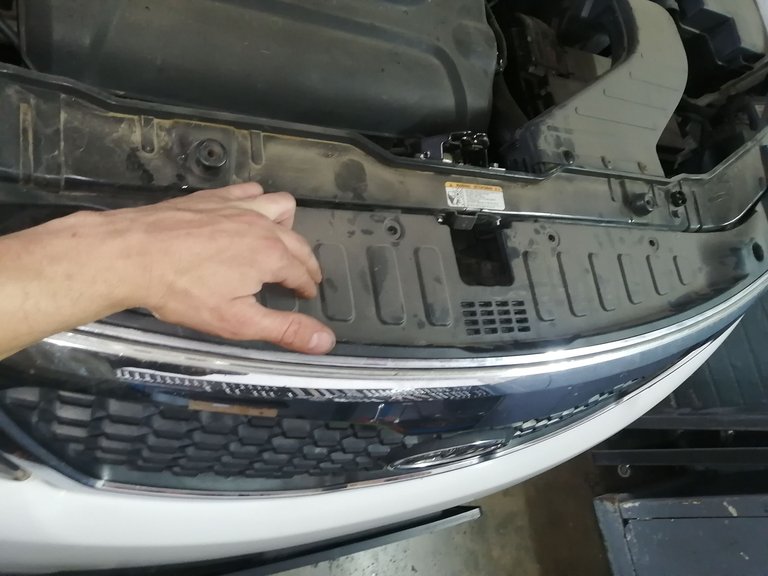
Look between the gaps you can see both the radiator and condenser of the vehicle, the condenser is the silvery shining one at the front, we will add the extra external cooler on the front of that.
I'm quite keen on seeing how much the temperatures will drop since the transmission is getting double the cooling it got before. Which means the clutches and solenoids all will be working at lower temps and boy I'm sure they will love that. Don't get me wrong the vehicle won't get a boost in horsepower or all that fancy things we all like but the transmission will last a few years longer that's for sure.
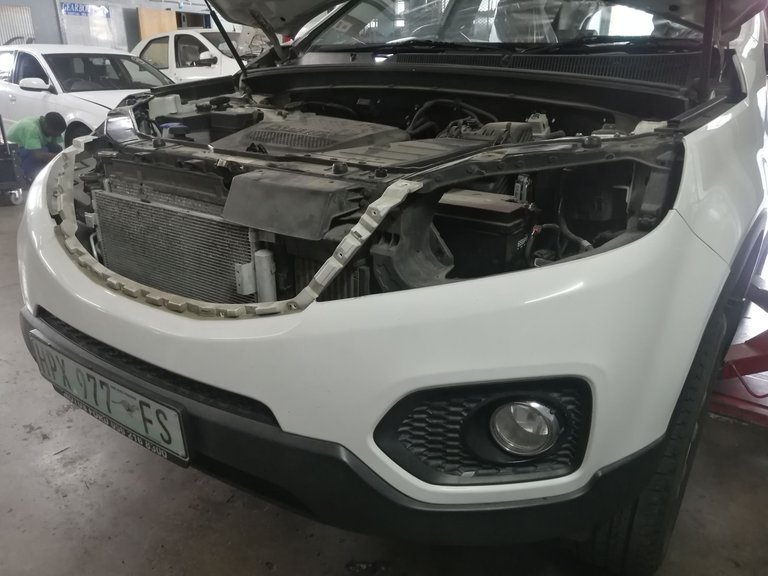
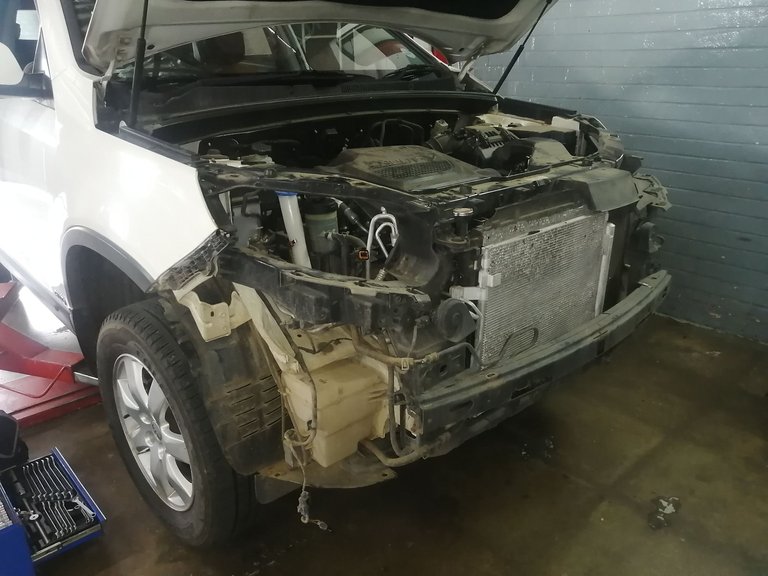
Sooo as it turned out I have to remove the whole bumper, or actually I prefer it, if there is one thing I absolutely hate it would be to work through a struggle.
Off it comes I don't care who says what, let's start with the lights. I haven't pulled the bumper of a KIA Sorento before but usually these things are held together with only a few small bolts. However most people have no clue how to remove these. Always end up breaking the stuff.
I decided to remove the headlights to see what I needed to do. If I knew where to loosen I might have gotten it out without removing the headlights although they remove very easily.
Well she's basically off, only the fog lights power cables remaining and then we can do a proper examination.
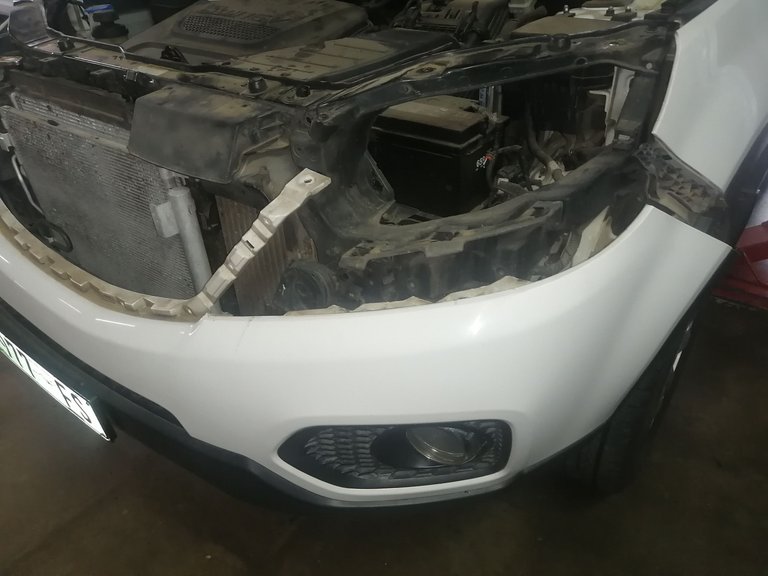
Okay I'll be honest I stood there for a whole ten minutes trying to get the bearings together and see how exactly I need to pull this apart. As I said earlier people tend to break them and I ain't in no mood to do more fixing than I have to. Especially when it's as unwanted as it is.
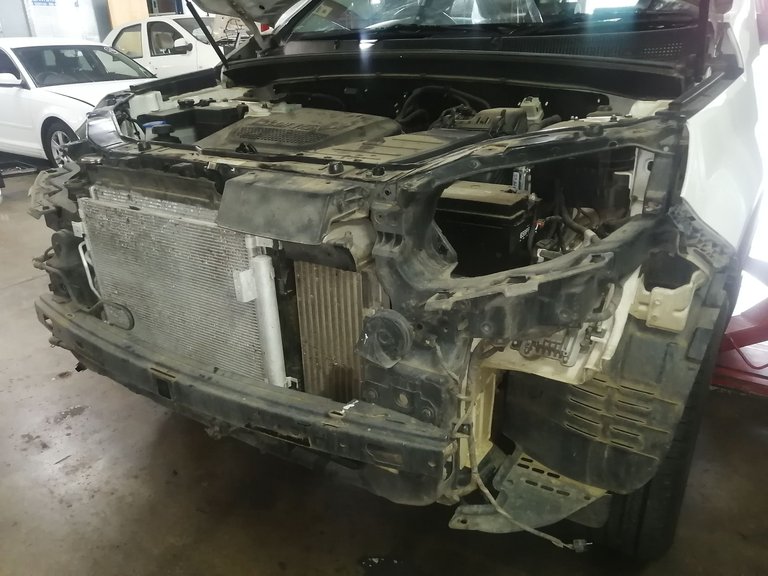
I know it looks like a damn frikking wreck right!
I've got a plan and I am ready to execute it! Fortunately this car has a lot of threaded holes or hooking places where you can push bolts and nuts through and mount some stuff. Now that I like, with most cars you really have to bolt these together with other stuff.
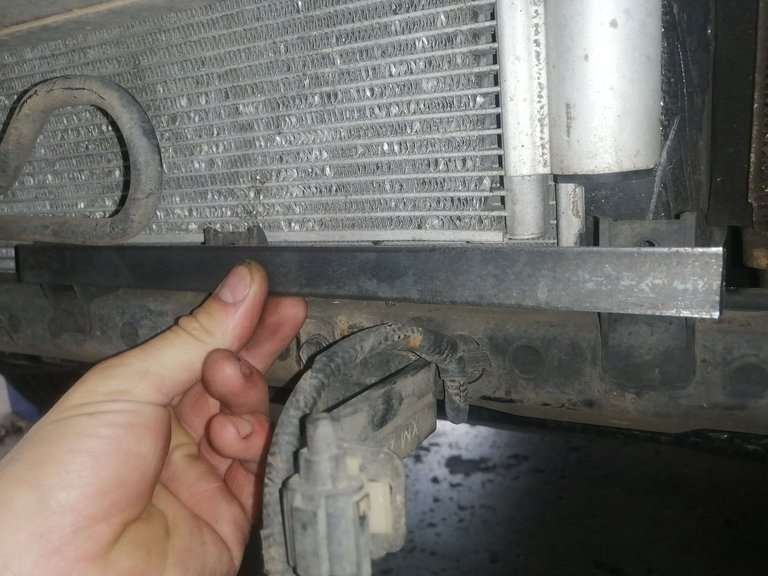
So I'll mount a little piece of flat bar both at the top and the bottom.
The first photo is the bottom part, you can't see it in the photo but behind the flat bar is place to mount the metal bar and then I can mount the cooler to the metal bar.
Eazy Peazy, Lemon Squeezy.
The top section of the condensor already has threaded holes in which I can drive bolts. So to save some time and effort I will be using them as they serve no other purpose.
Yes I know it's not straight, we shall account for that later on. The threaded holes aren't exactly level with each other so the cooler might be a little skew, but it's not there for looking pretty it's there to work.
Oh BTW sorry for blurred photo.

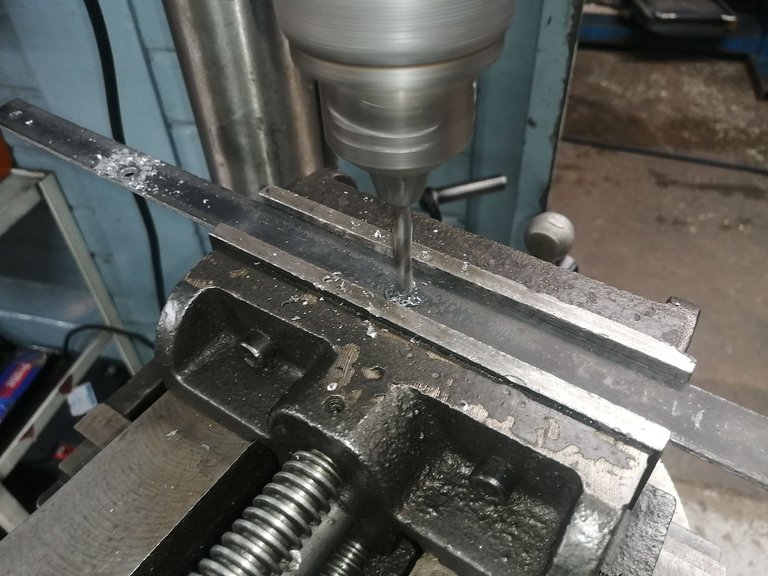
I still had to drill some holes, not everything is always smooth sailing, I'd say this was probably the most important part to get right, or no wait... Perhaps not causing an oil leak and end up burning the transmission to bits, I think that might be the most important part... Okay but besides that.. In order not to waste metal I had be careful with the spacing on them.
Double check the double check.
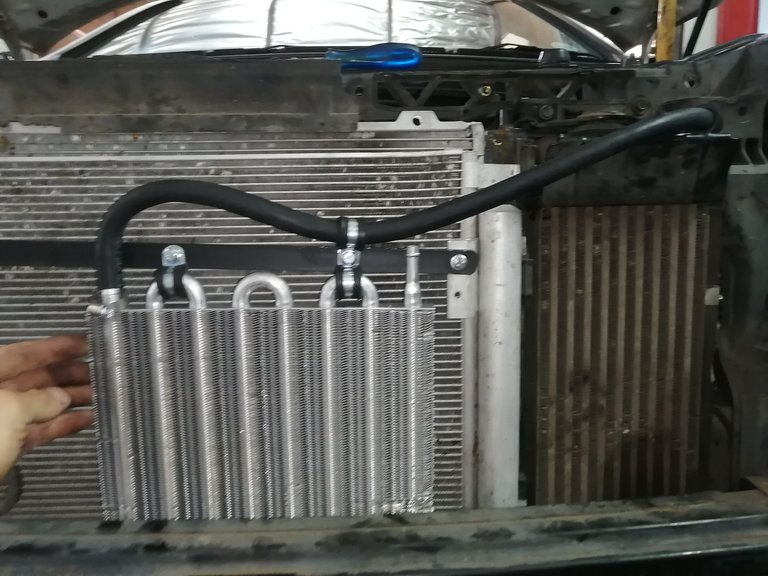
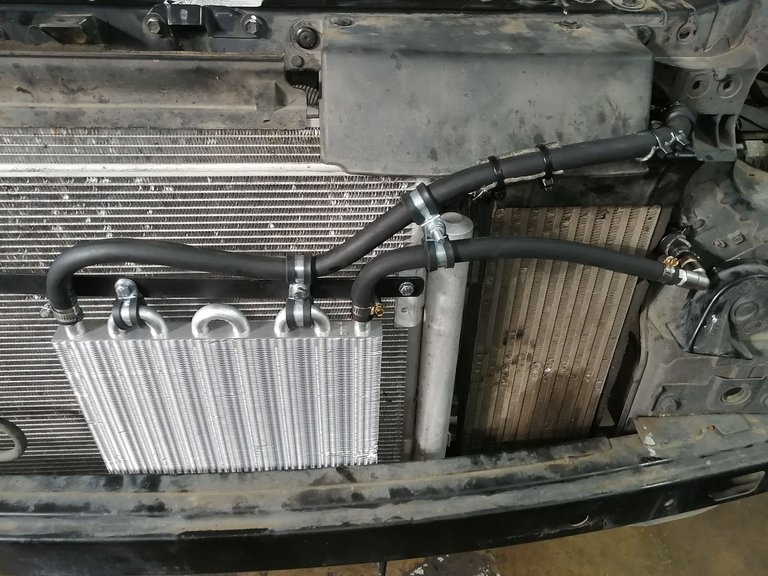
Well the cooler is somewhat in place, since the flat bar is a bit skewed to the bottom on the right I tried drilling the mounting hole a little bit higher to get it more straight. It's not perfectly level but it is closer and not as hard on the eye anymore. Yahhh.
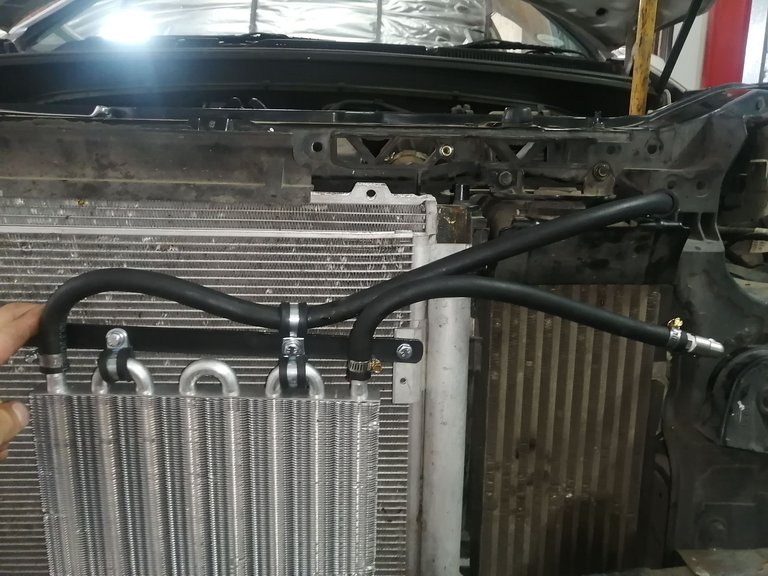
Before I bolt everything down I had to make sure that everything was indeed going to work out at the end, well the piping would probably be the biggest head ache of all. That has to be done right, it's very crucial, the bends can't be too... bendy? And they need to be stable and not shaking constantly while driving.. The shaking is okay but when it starts touching surfaces it will begin to work through the piping and it will cause a oil leak and we don't want that now do we.
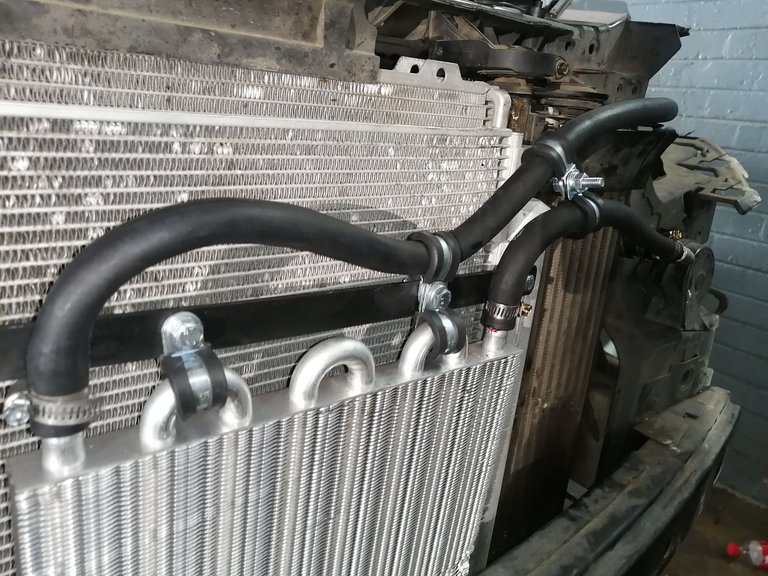
After making sure that the piping will indeed work and can be routed properly I set down to the task of properly bolting the cooler down, along with that I added a few clamps to the piping hoses as well to minimize the vibrations going through them.
This was a lot of fun and a great break away from the normal mechanical work we do on a daily basis.. I told Bossman now this is hella fun.😂
I am so to say done with this job... Well I've still got a bumper to add back to the vehicle along with headlights, however I think this vehicle needs a proper driving around first before I can proceed to putting back the bumper.
Ohhh yes we are going to drive it just like that, no bumper, no headlights. conquering it out with the street police!!!
Last but not least! I have to remember to top up the transmission fluid.. Since I've got a few more channels and a meter or two of piping added it might just be under filled.
We didn't test drive it yet, this would only be possible on the morrow.
Have a great one people! Until next time!
Dated 07/02/2023


Connecting the people of #HIVE across South Africa. #hive

