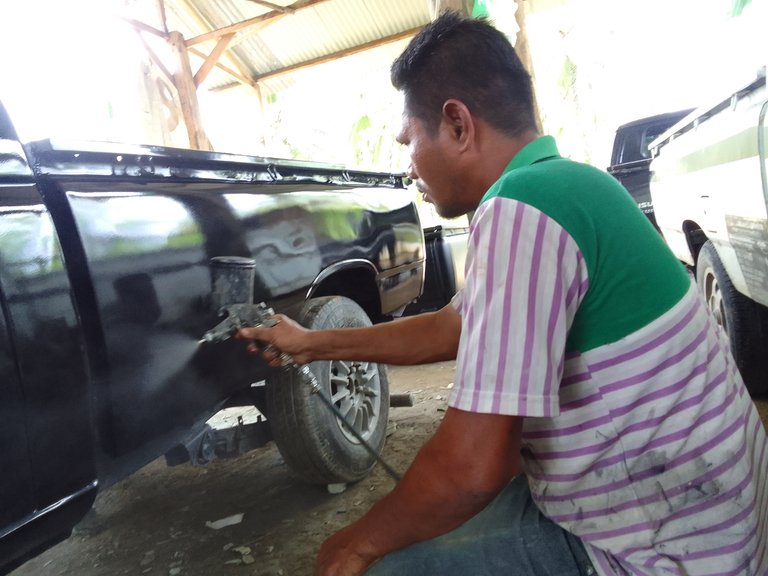
Hello friends, we will meet again in the posts this time, on this occasion I will post my activities today, namely in the field of painting a 1997 panther car which I posted a few days ago. Alright friends, before that I would like to say hello to the whole community wherever you are, best regards from me to the community, I hope you are given success and always given health so that you can carry out daily activities, okay friends, this is my post today in my activities today I am painting a panther car, namely the panther pick up in 1997, coincidentally the weather today is very supportive because there is no cloudy or rainy weather so I conclude that today I will do the painting, namely the panther pick up car, and I want to share my experience in the field of car painting with all my colleagues so that all my colleagues can follow or want to learn in car painting, continue to follow me in this post in the manufacture or painting of a car and welding, hopefully it will be of benefit to us all and colleagues...
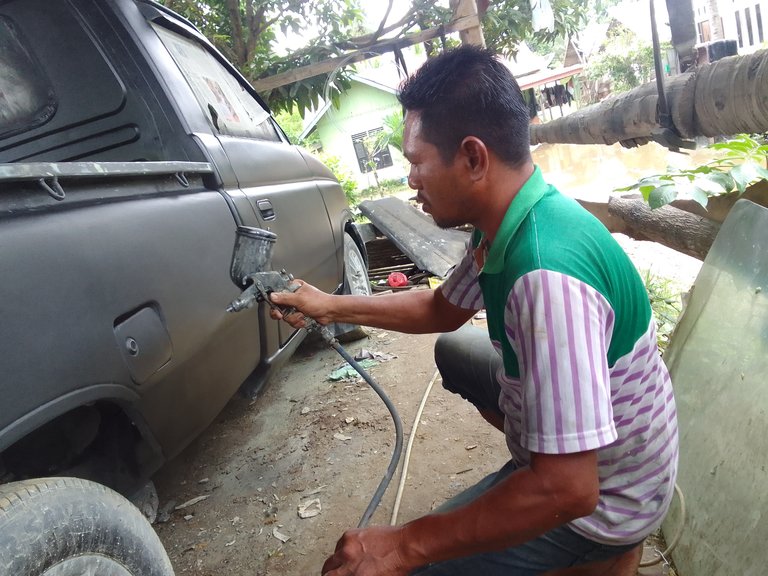
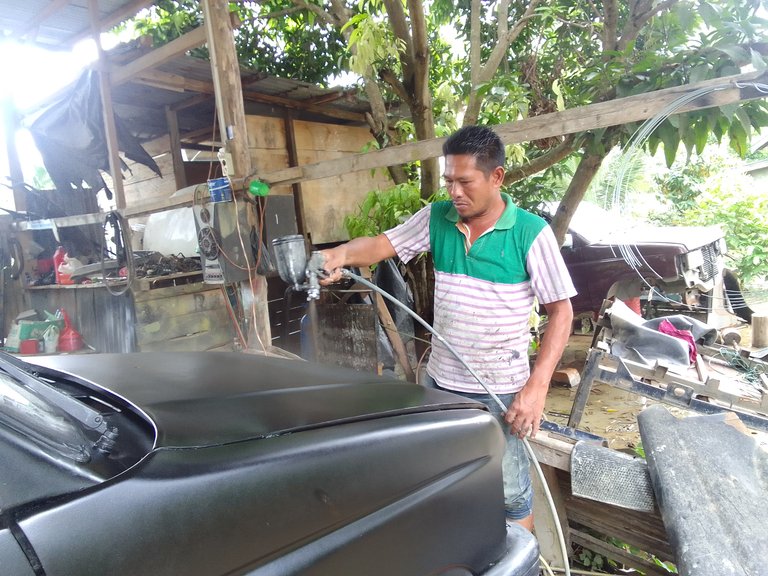
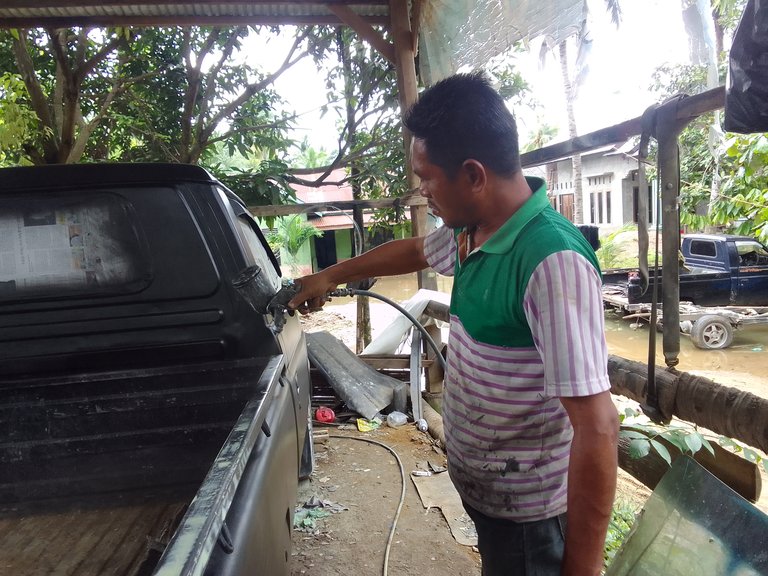
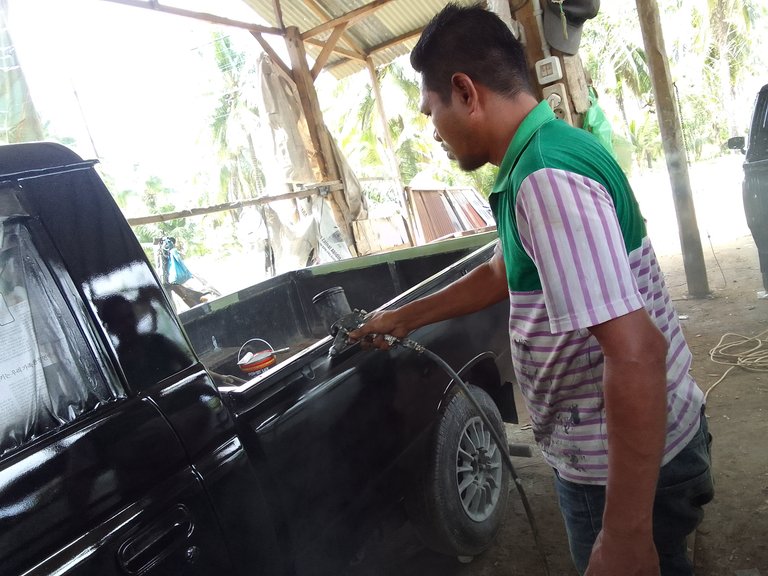
Well, the way to do it is car painting. At first we need to clean, namely which media we have to putty on, we clean it, rub it using sandpaper number 80. After it is clean, we sand it and it is completely flat, then we do the stages, namely the stages in a month. Usually I use putty, namely Power Lux plastic putty, right? As for the method of taking it, we do it with the TVs first so that the blunt car plates stick together after drying, the initial stage or the first stage then we continue the summation evenly and neatly, we can putty it and then we leave it for 2 days for drying after it is completely dry what we have just done is the sanding stage, we sand using sandpaper or sandpaper number 80 or 150 after we rub the first stage, then we repeat the scrubbing stage, namely the second stage by sanding with sandpaper number 320 and try to make sure that all the media we scrub is correct -really smooth and completely non-porous or stained with coarse sandpaper. After that, we dry it for about 3 hours, then we do the stage, namely the epoxy painting stage, as I said in the post a few days ago, I posted how to press the car, we just need to extract it with two layers or two layers, how to mix it already I explained in my post a few days ago that is 1 to 1, 1 to 1 means one can of paint and 1 liter of thinner...
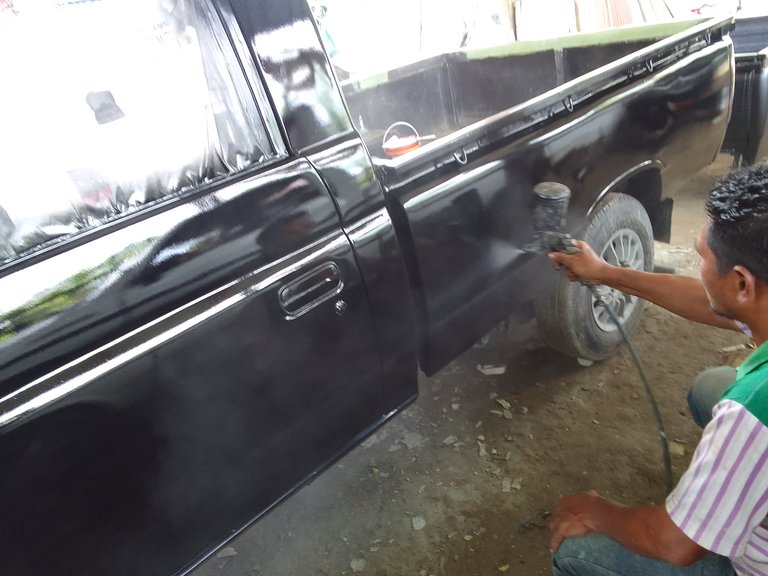
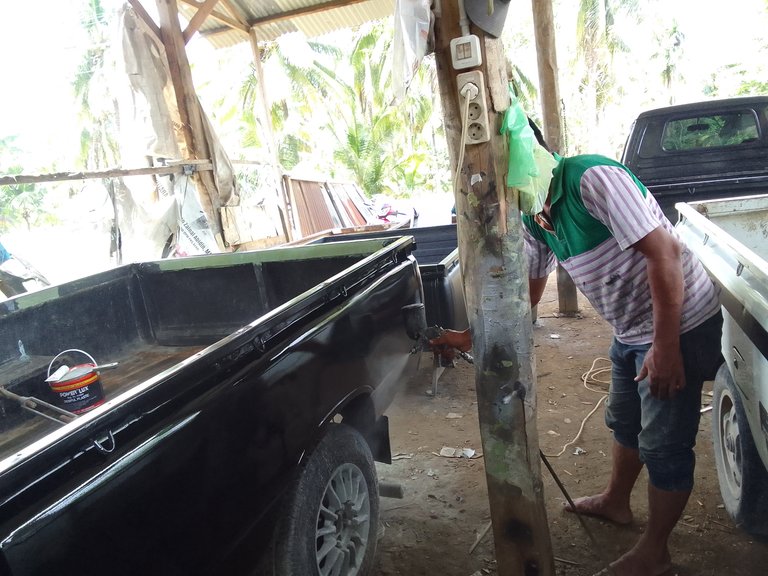
After that we do the steps, namely the epoxy and then we leave it under the hot sun for 2 days so that the epoxy is completely dry so that when we do the painting it becomes finished or increases the color, the original color so that unwanted things don't happen such as causing curls or damage substance in the media. after it's completely dry, then we sand it again with sandpaper or sand paper numbered 600. the result after that we wipe with a clean cloth so that the media is not dusty or sticky the dust flying on the surface of the media that we want to paint, and the way to mix the paint is the same as what I said in the post a few days ago, which is one to 1 namely 1 paint and 1 liter of thinner then we mix the two in another container or in another place then we stir for 30 minutes so that the dinner with the paint really blends together, after everything is finished we just do the painting to the surface of the media we want to paint we do from the first stage we do it thinly first so it doesn't cause the paint to be rough i we do it step by step as much as 3 layers or 3 layers and make sure all corners are splashed with paint...
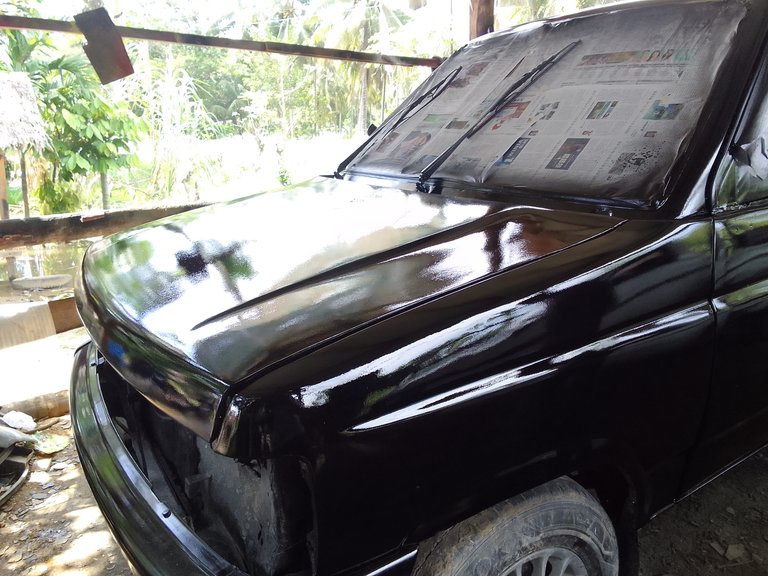
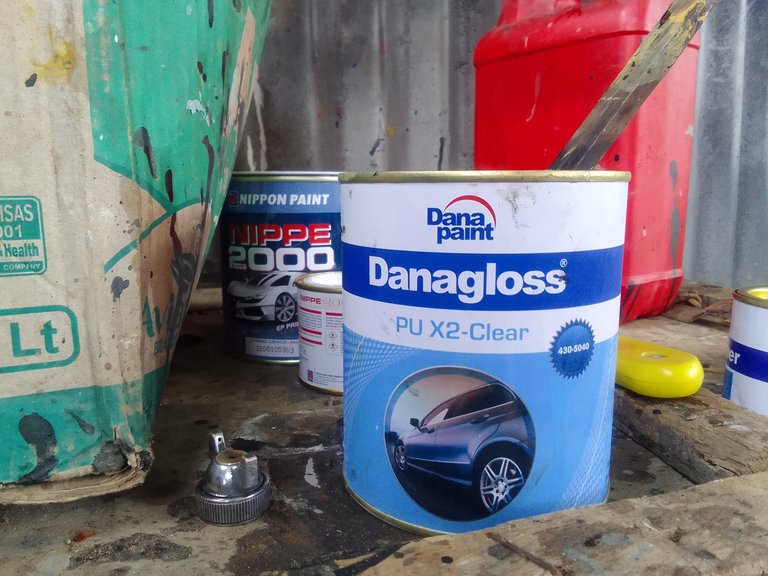
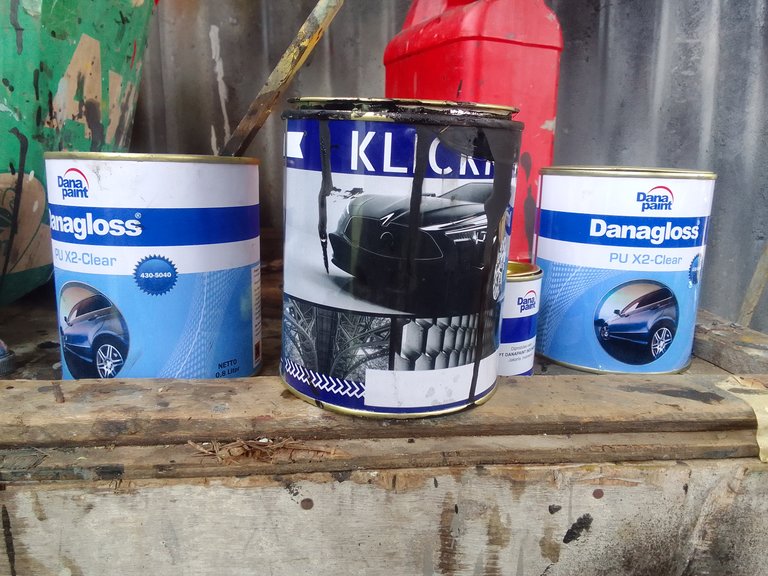
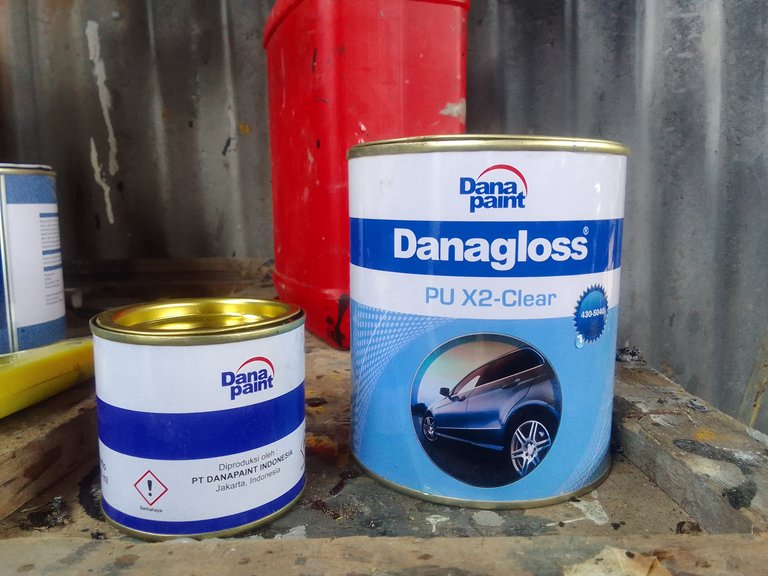

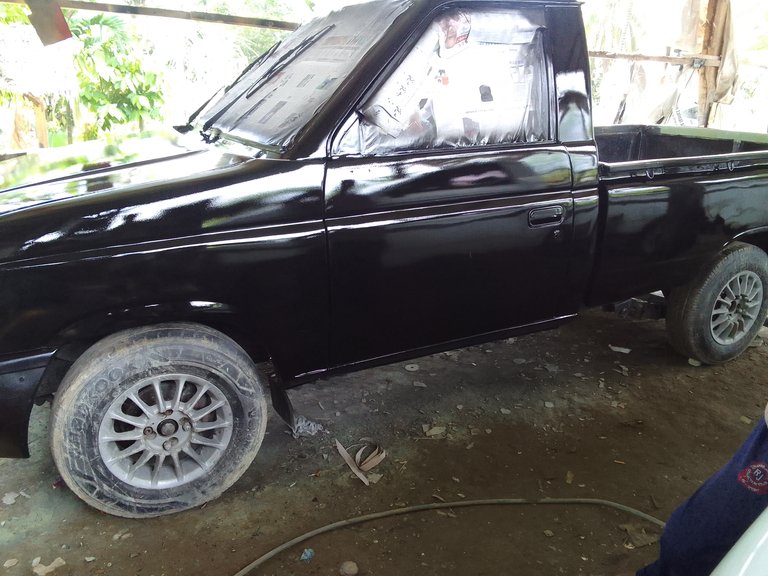
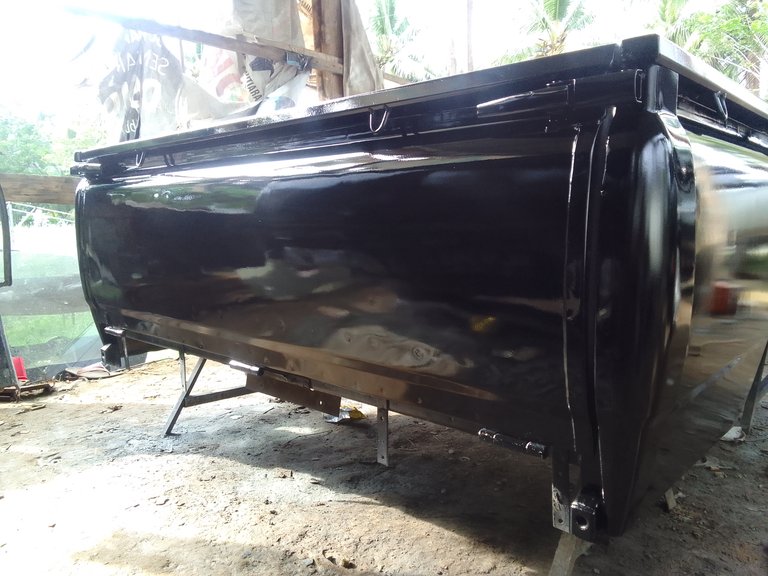
After the chat is over, we do the final or finishing stage, so we do watering with anti-scratch, and this anti-scratch I usually use danagloss, and the paint is super black. So the method of stirring is the same as I said earlier, namely 1 to 1 so that it doesn't get runny. If it's runny, when we do the painting, it will melt or flow. the stage until it's finished and we also only do 3 layers or 3 layers. And this is the result that we have done today, there is also one more step, namely the polishing stage so that the chat is really smooth and crooked or shiny. After we have finished all the painting stages, we wait or we dry it in the sun for 2 weeks so that it is completely dry to the inside, if it is not completely dry, it will not shine perfectly, it won't last long, so if it is really dry, but the result is more perfect and the shine is more durable like the original factory default...
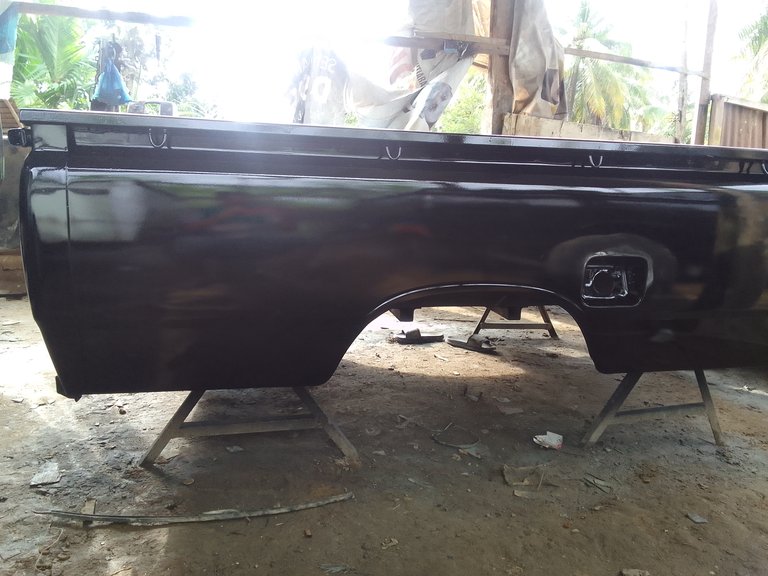
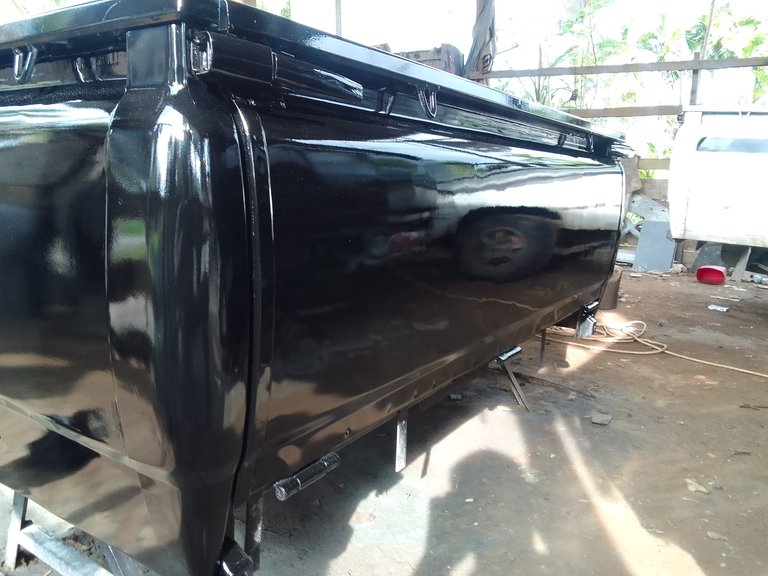
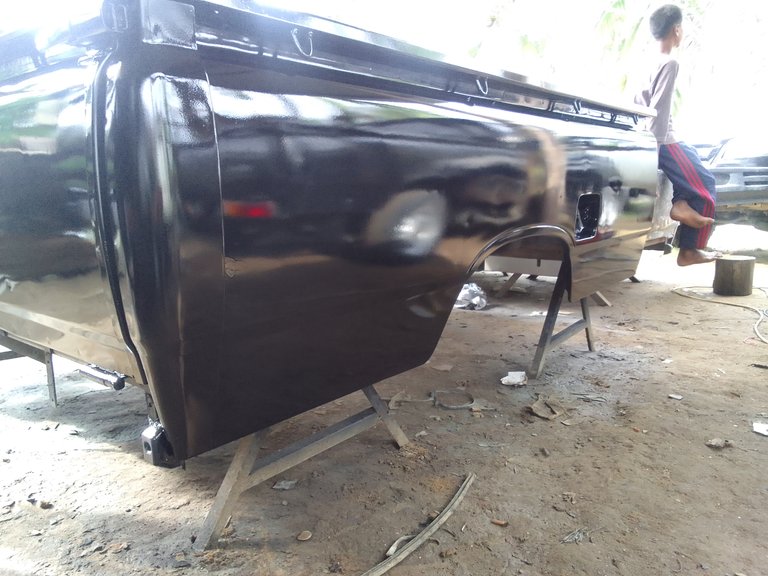
And this is the result of our work on today's opportunity and there is still one more stage as I said earlier and for those of you who are curious, wait for my next post and this is my experience for all my friends, I hope it will be useful for friends who want practice, please learn with the tutorial, good luck in learning it and don't have any doubts in doing something that we want to do, all right, I hope all of this will be of benefit to all of us. don't become curious and I will continue to post my activities in the field of car repair. I ask for support from all of you so that I can carry out the following activities or posts.
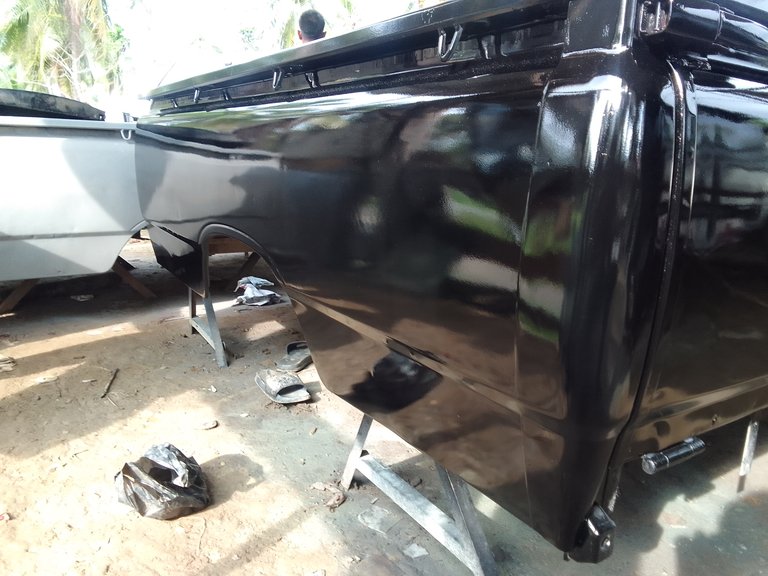
enough here first and thank you...


