Que tal amigos 👋😀 cuántos de ustedes cuando pequeños no querían empinar un papalote o algo más sencillo, una Chilinga, pues hoy vengo a enseñarles como hice una hace unos días, comencemos 😉.
Hello friends! 👋😀 How many of you, when you were little, didn't want to fly a kite or something simpler, like a Chilinga? Well, today I'm here to show you how I made one a few days ago. Let's get started 😉
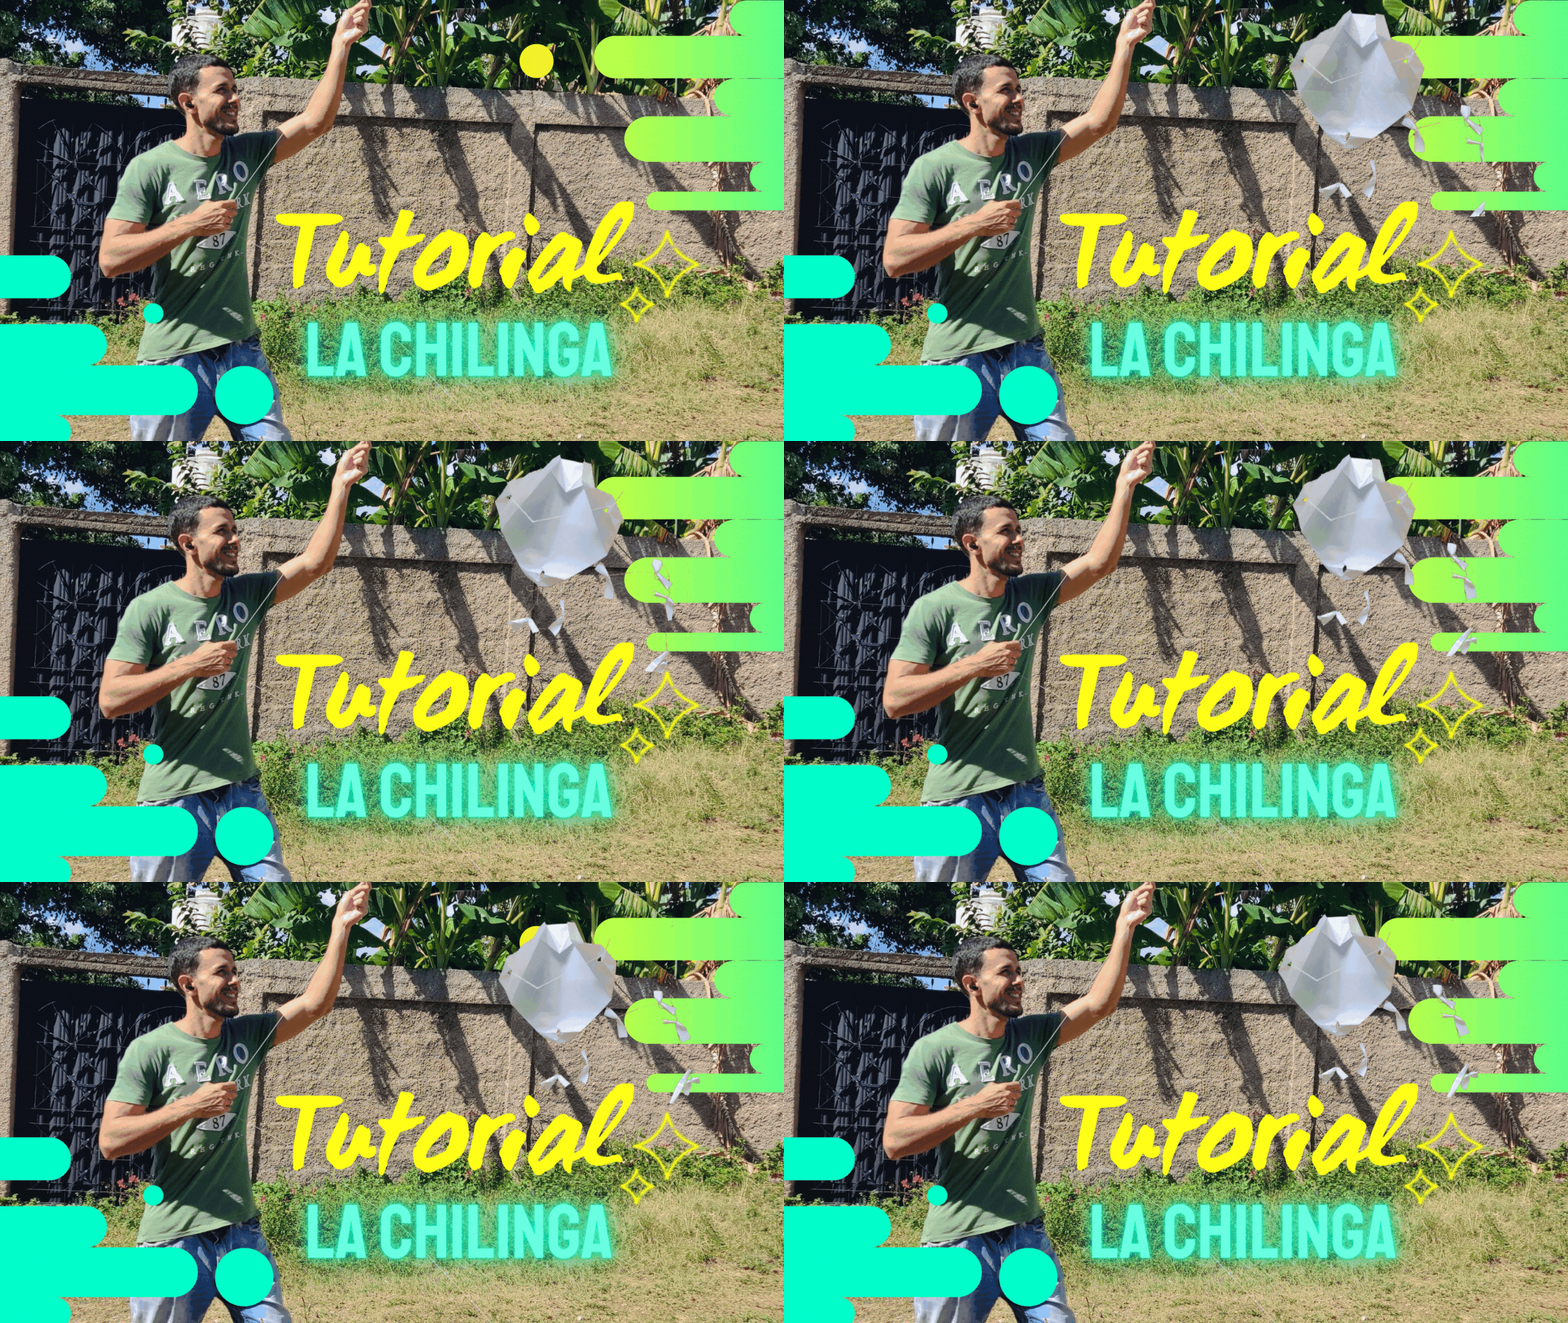
Hace una semana aproximadamente, decidí tomar algunas fotos para hacer un tutorial de cómo hacer una chilinga, para los que no la conozcan son un tipo de cometa tradicional cubano.
En este tutorial, utilizaremos materiales fáciles de conseguir, como papel, hilo y tijera 😳, si 😅 solo eso.
About a week ago, I decided to take some photos to create a tutorial on how to make a Chilinga. For those who don't know, it's a traditional Cuban kite.
In this tutorial, we'll use easy-to-find materials like paper, string, and scissors 😳, yes 😅, just that.
Ahora les enseñaré los pasos a seguir:
Now, let me show you the steps:
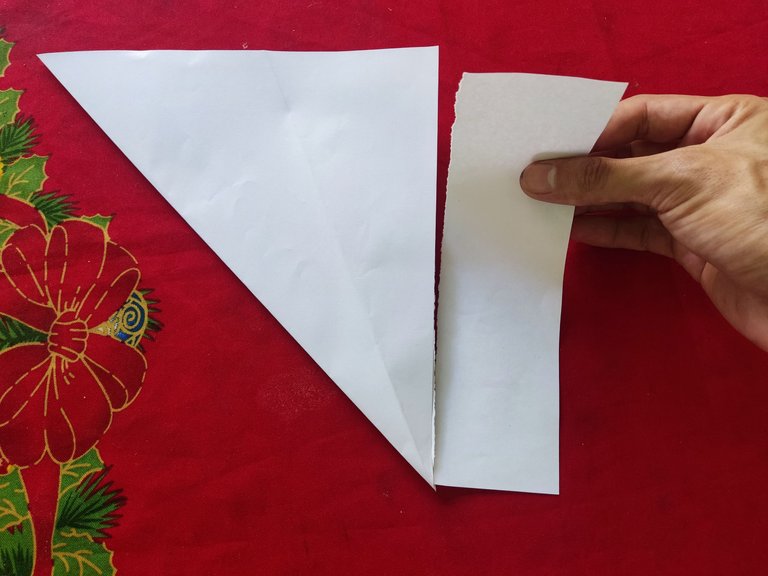
1- Toma una hoja de papel y doblala para cortarla en forma de cuadrado.
Take a sheet of paper and fold it to cut it into a square shape.
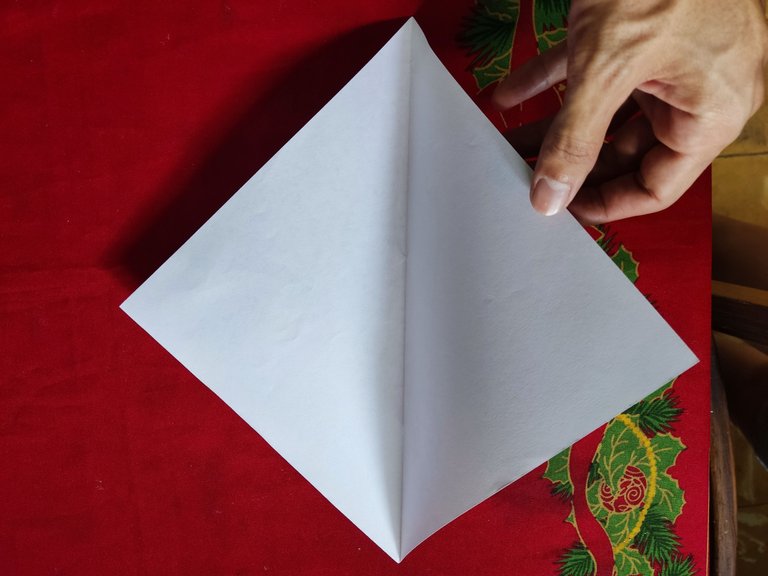
2- Dobla el cuadrado por la mitad de forma diagonal.
Fold the square in half diagonally.
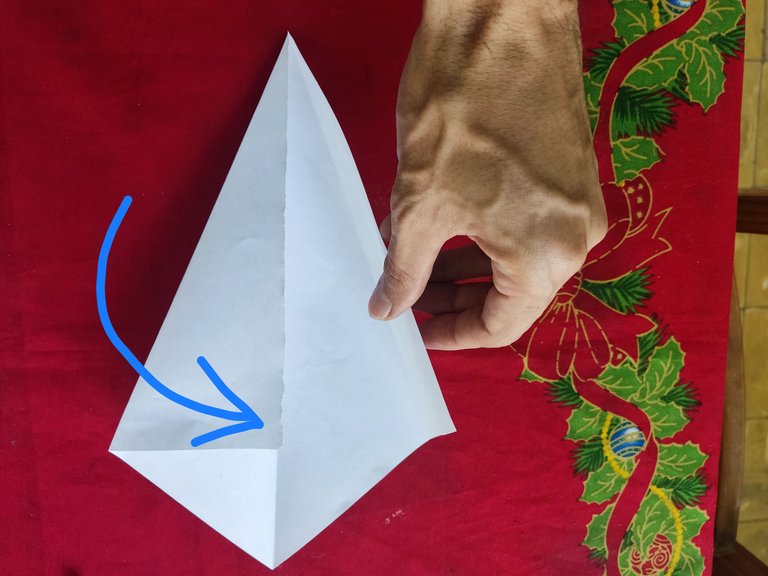
3- Dobla los extremos del cuadrado hacia el centro, formando un triángulo.
Fold the ends of the square toward the center, forming a triangle.
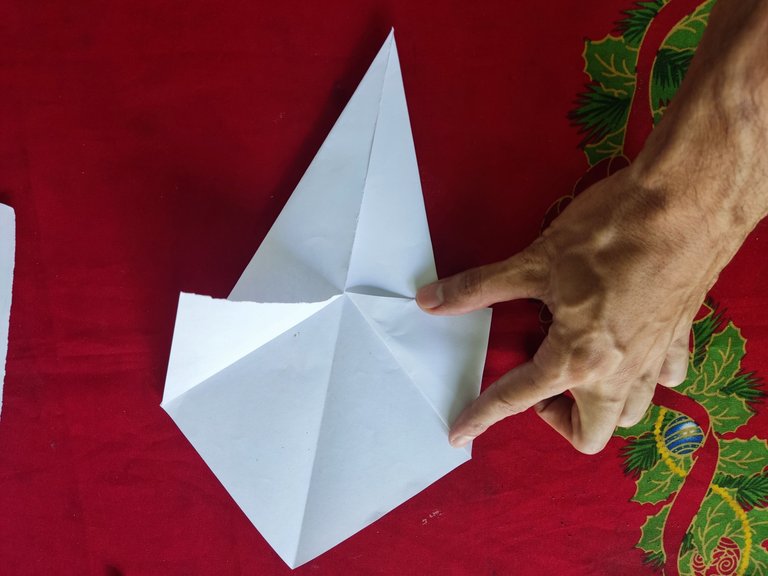
4- Dobla las puntas del triángulo hacia arriba de esta forma.
Fold the tips of the triangle upwards like this.
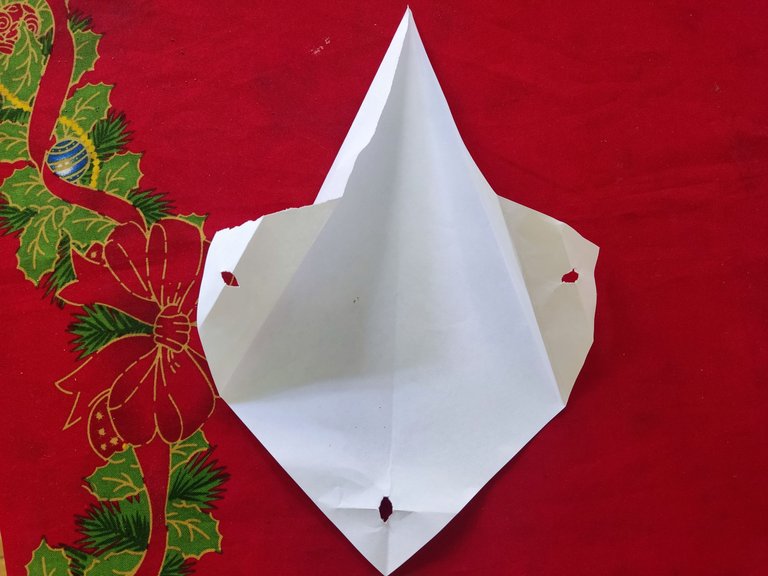
5- Haz pequeños agujeros en las puntas de la chilinga como les muestro.
Make small holes in the tips of the Chilinga, as shown.
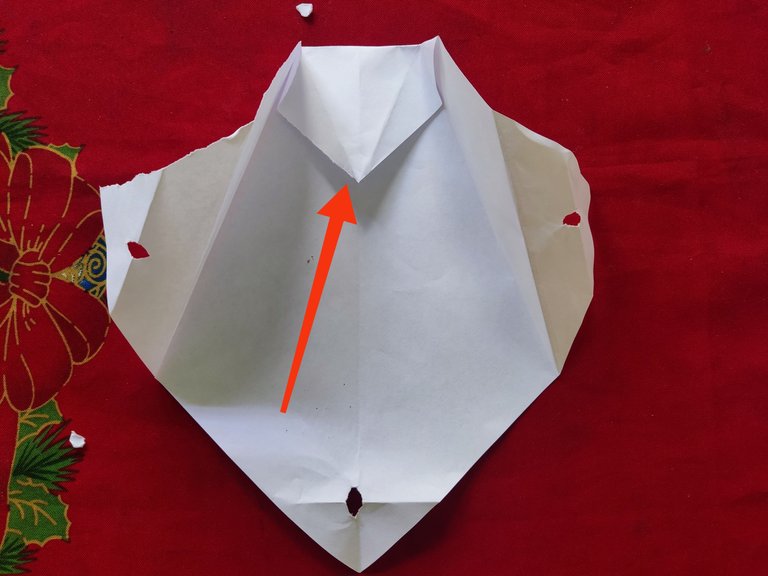
6- La punta de arriba en el momento de hacer el tutorial la doble hace adelante, pero a la hora de empinar la Chilinga me di cuenta que es mejor doblarla hacia atrás 😉.
At the top, during the tutorial, I folded the tip forward, but when flying the Chilinga, I realized it's better to fold it backward 😉.
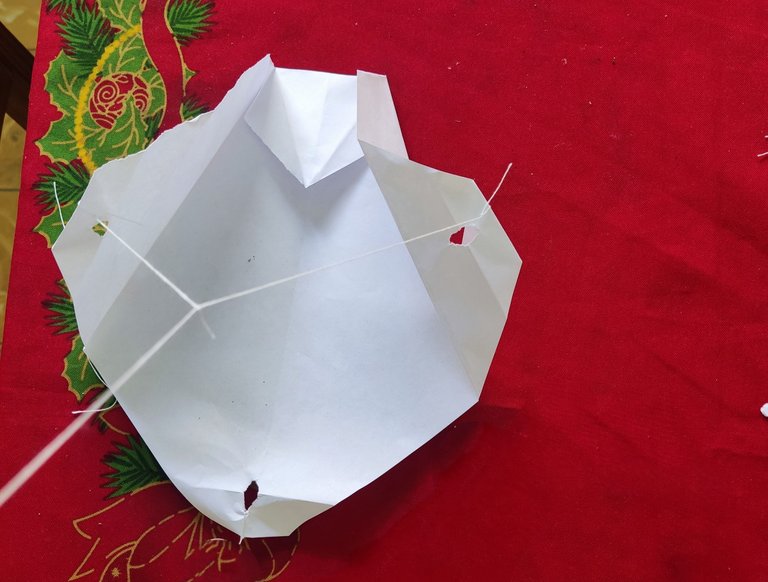
7- Pasa el hilo por los agujeros y átalo de la siguiente forma para luego atarlo a un palo de madera pequeño dónde puedan enrrollarlo.
Thread the string through the holes and tie it as shown, then attach it to a small wooden stick for winding.
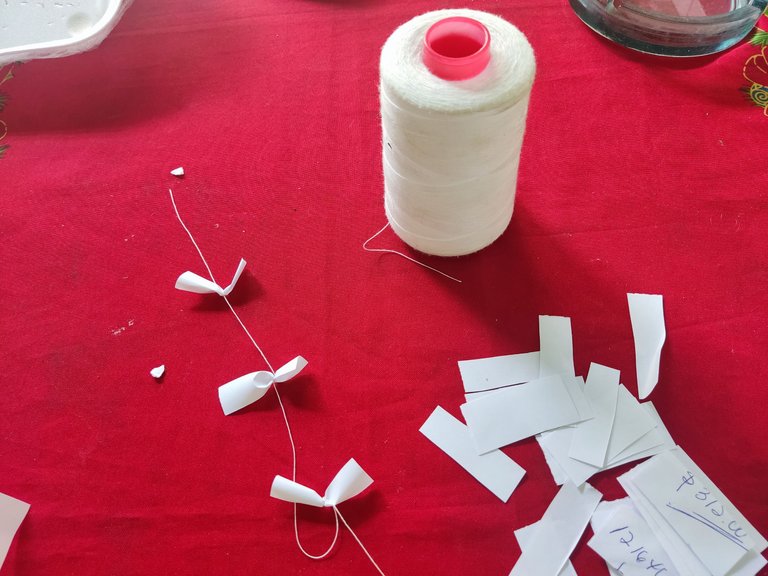
8- En la cola pueden picar pedacitos de papel y amarrarlos de esta forma.
For the tail, you can cut small pieces of paper and tie them like this.
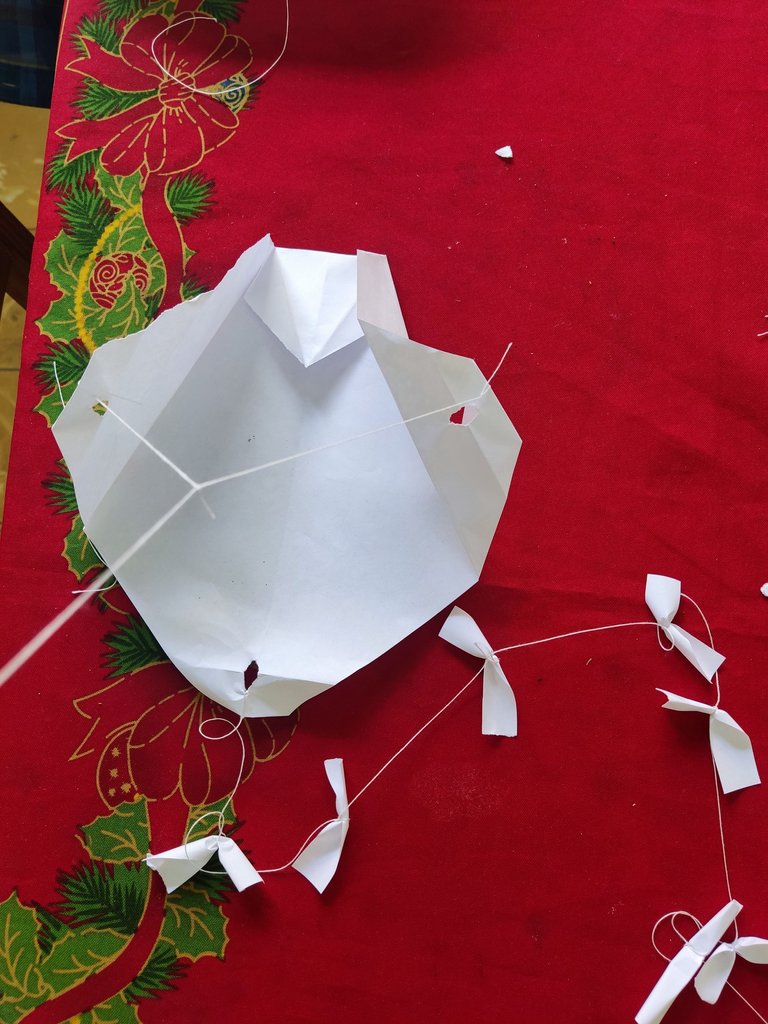
9- Listo ¡Ya tienes tu chilinga lista para volar!
There you go! Your Chilinga is ready to fly
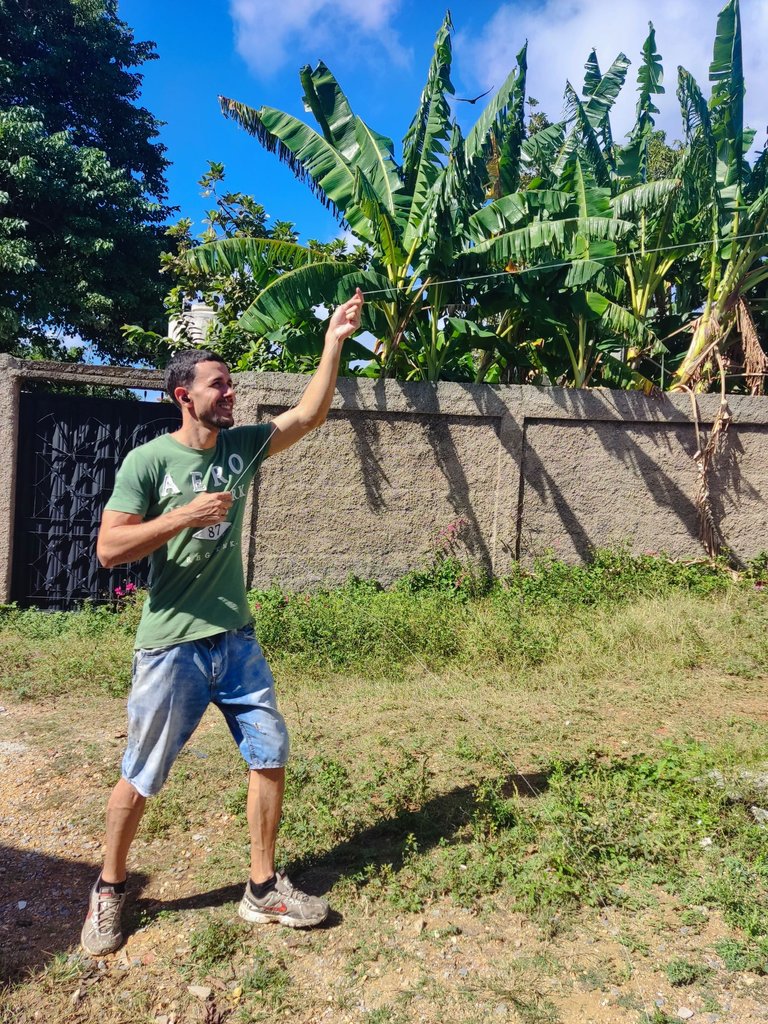
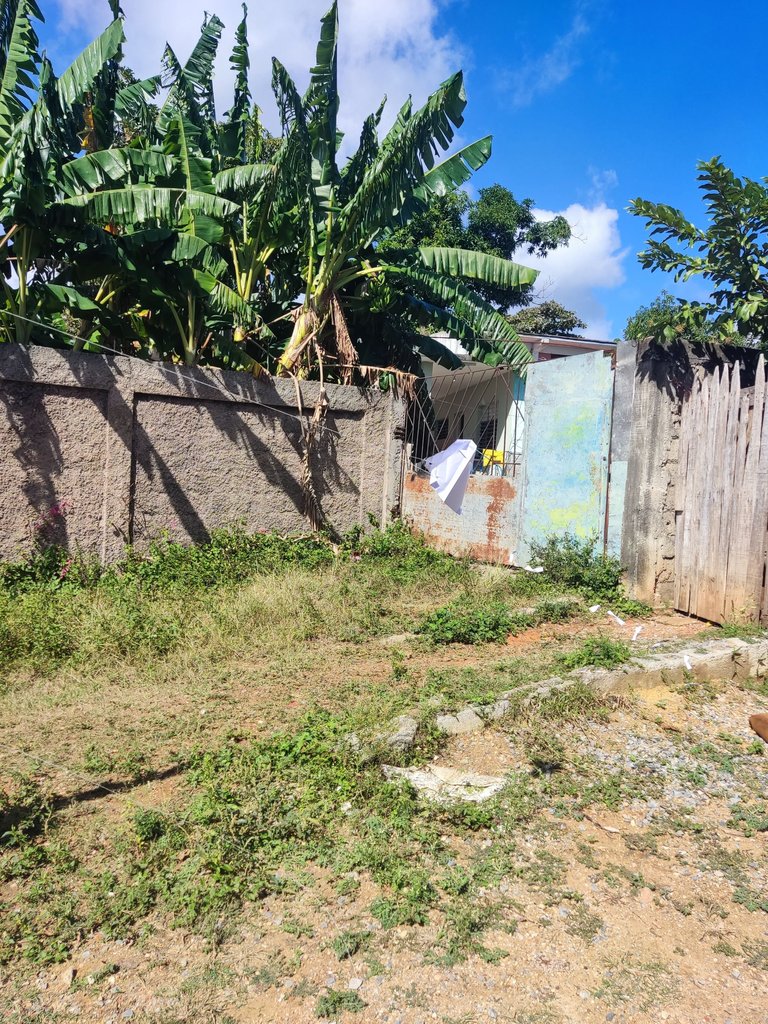
Luego de terminarla fui al patio de la casa a un espacio abierto, pero el aire que hacía venía y se iba y no logré que se elevara, por lo que decidí subirme a la placa y ahí si logré que volará 😃.
After finishing it, I went to the backyard to an open space, but the air was inconsistent, so I climbed to the roof, and there, I managed to make it soar 😃.
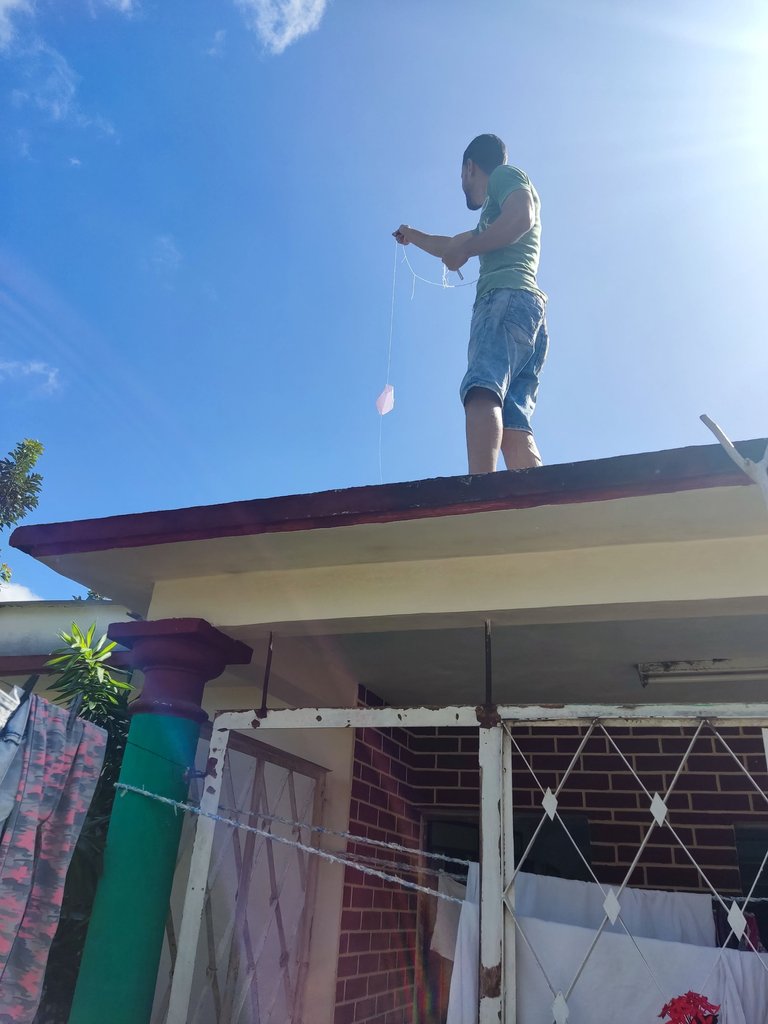
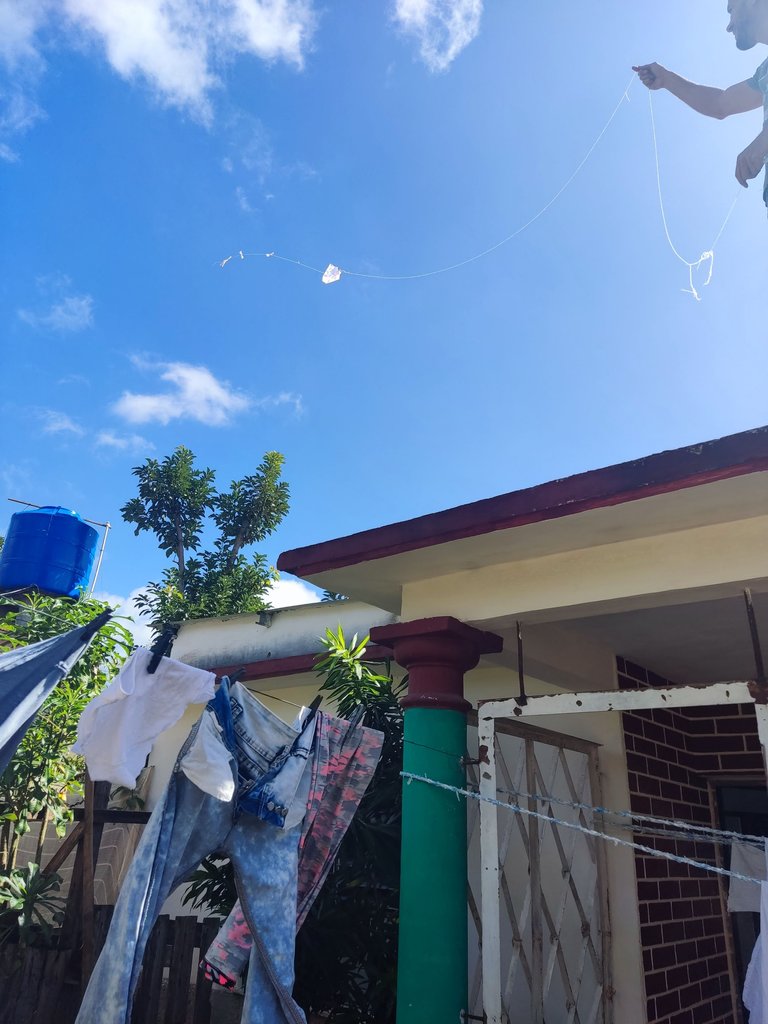
La idea de hacer la Chilinga me llegó por querer entretener a mi hermanita Sabrina con algo diferente, les confieso que no me acordaba de hacerla, pero mientras la confeccionaba me fui acordando 😅.
The idea to make the Chilinga came from wanting to entertain my little sister Sabrina with something different. I confess I didn't remember how to make it, but as I crafted it, the memories came back 😅.
El hilo que utilicen no tiene que ser muy fuerte, pues la Chilinga no les va hacer tanta presión, en mi caso utilice un hilo que tengo guardado hace tiempo el cual está hasta podrido pq se parte con facilidad 😅.
The string you use doesn't have to be very strong, as the Chilinga won't exert much pressure. In my case, I used an old string that I had stored for a long time, and it's even a bit frayed because it breaks easily 😅.
Sin más espero que se embullen hacer una Chilinga 😉, si les gusto o tienen alguna duda no olviden comentar 😜✌️.
Without further ado, I hope you feel like making a Chilinga 😉. If you liked it or have any questions, don't forget to comment 😜✌️.
Follow me:
 |  |  |
|---|---|---|


