Hello Hive gardeners!
Hoping everyone had a lovely week and that you will have an even better weekend. It is a beautiful hot day in Rustenburg, South Africa, the perfect kind of day for gardening, or even writing about gardening!
It has been another busy week but, as always, I managed to slip away from the endless daily duties and obligations so that I could spend some much-needed time messing about in the garden.
I usually have at least two projects running simultaneously, one big one that could take weeks or even months, and a small/quick project, that takes only a few days, just to keep things interesting. This week, as my quick project, I once again be attempted to propagate lavender from my garden. I am no expert and everything I am doing is for the sake of learning and improving my very limited gardening skills, but…. I have made enough mistakes, done a lot of research and had some really excellent help from an app that identifies and diagnoses plants. All in all, I feel like this batch will be successful!
For the sake of experimenting, and to make things more fun, I decided to compare two different methods of potting the cuttings. Both methods basically just try to create a nice humid greenhouse effect for the plants, but on a small scale. The methods I tried were, the traditional pot and plastic bag method and the mini bottle greenhouses way, I did not attempt to propagate in water as the heat and humidity has proven to be an issue in the past when doing it that way.
Luckily it was pretty easy doing both methods at the same time, here’s how I did it and what I used:
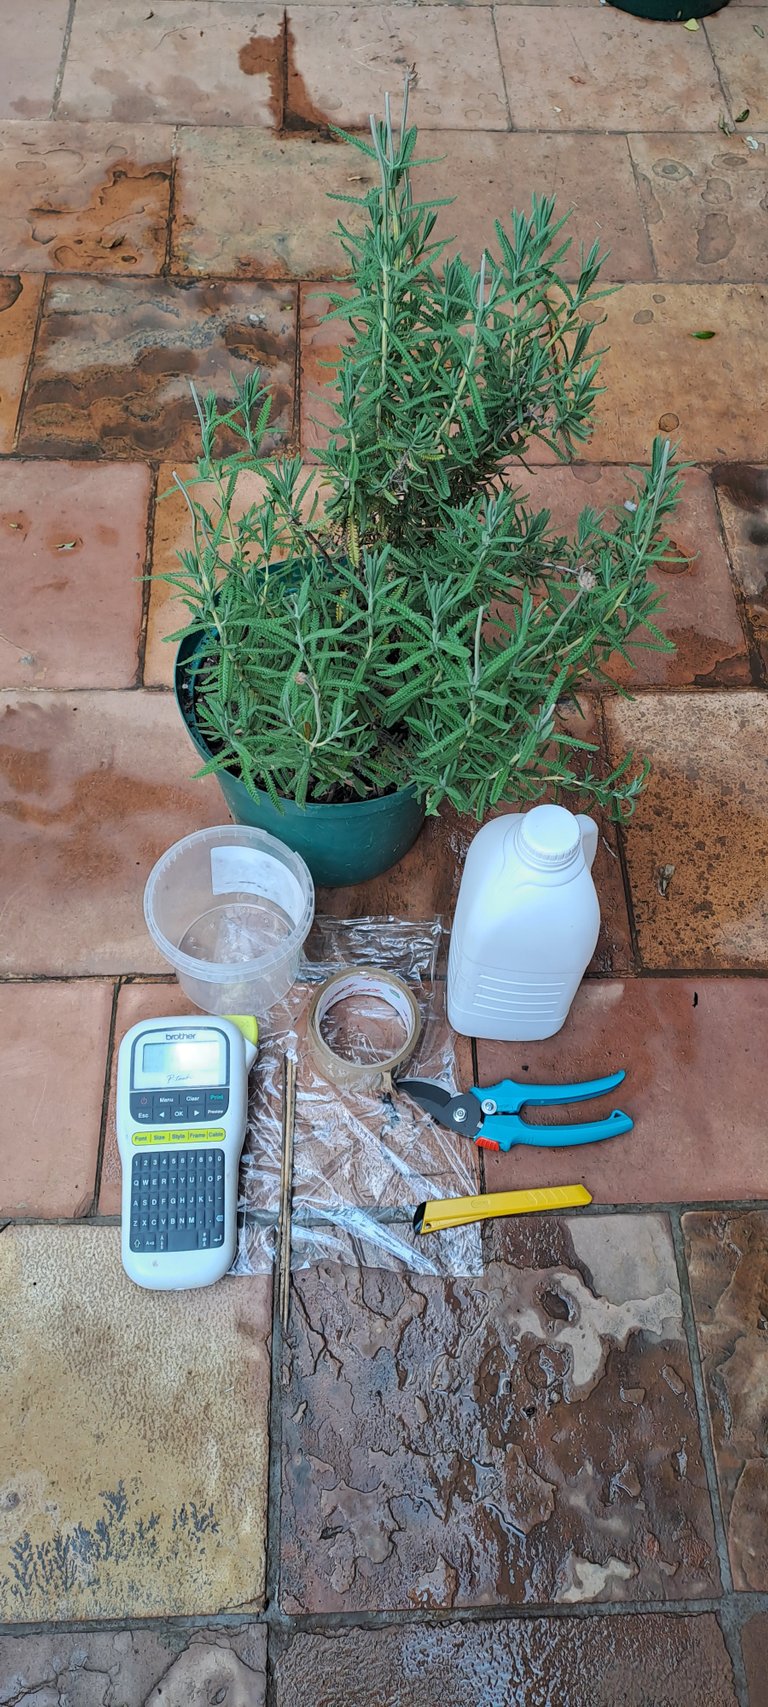
- Small container for plant
- Empty washed 2 litre milk/juice bottle
- Craft knife
- Plastic bag big enough to fit over plant container (freezer bags work best)
- Something to poke holes in milk bottle with (I used a weeding hook XD)
- Potting Soil
- Skewer Sticks (3-4)
- Duct Tape (I didn’t have any so I used tape I found in my husband’s tape drawer instead)
- Pruning Shears (Always clean before use!)
- Rooting Compound
- Lavender Plant
- Optional – Labels
Prepping Planting Containers

Both the milk jug and pot were pretty easy to set up, though I’m sure, as you can see from the photos, I had to improvise a little bit on the plant pot as all of my free pots were too large for the plastic bags, I had available at the time. All I had to do was poke a few holes in the bottom of both the plastic tub and milk bottle and I was almost done.

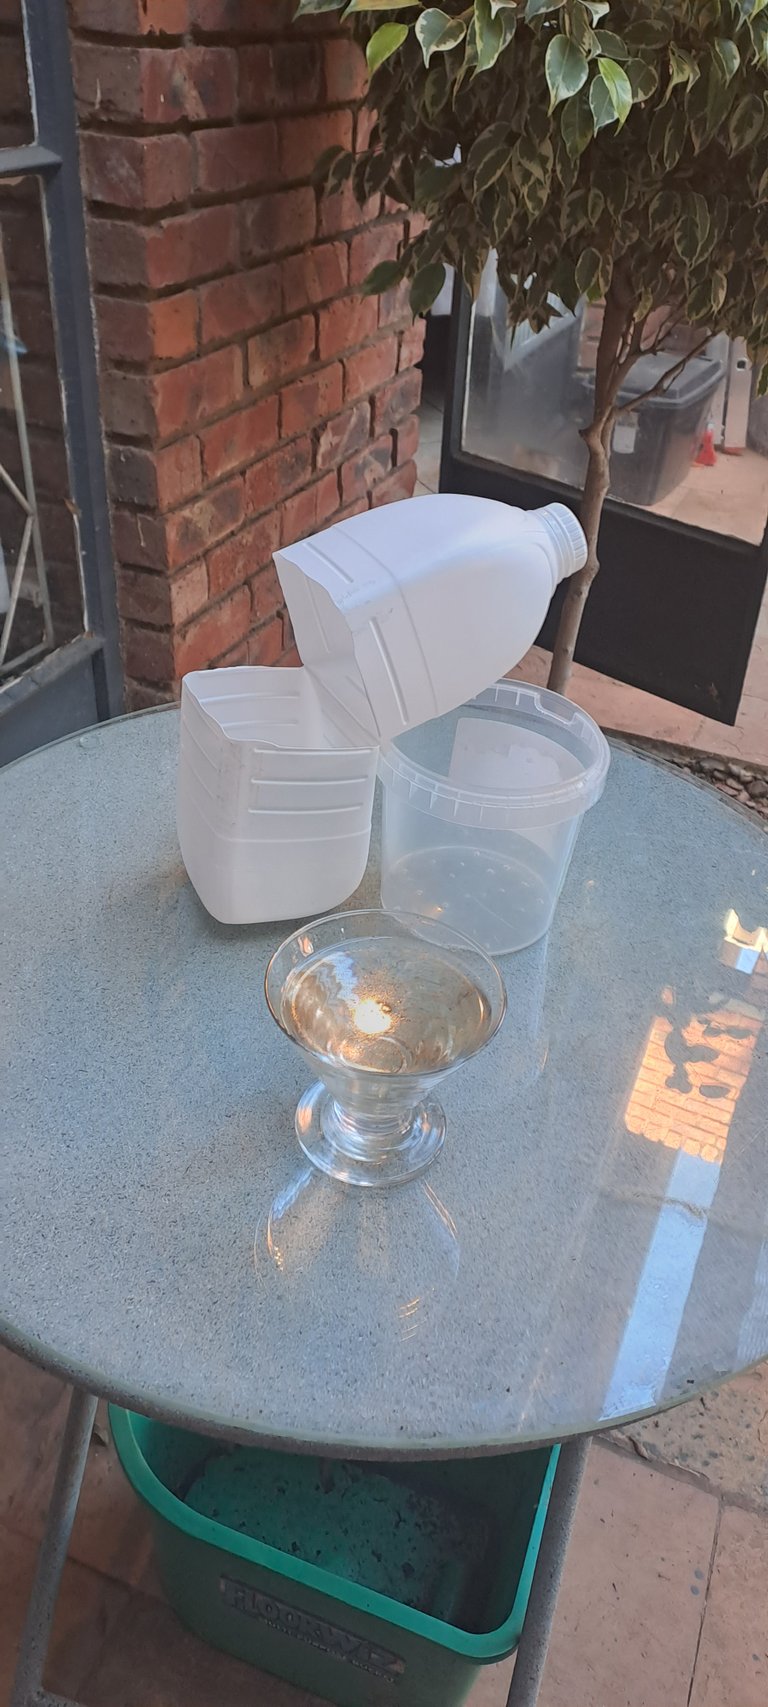
To cut the milk bottle, using a craft knife or similar cutting tool, cut around the top third of the bottle, about 2 cm from the bottom of the handle. Cut only around the front and sides, leaving the back uncut. Easy as that and onto the next step!
Adding Soil & Sticks
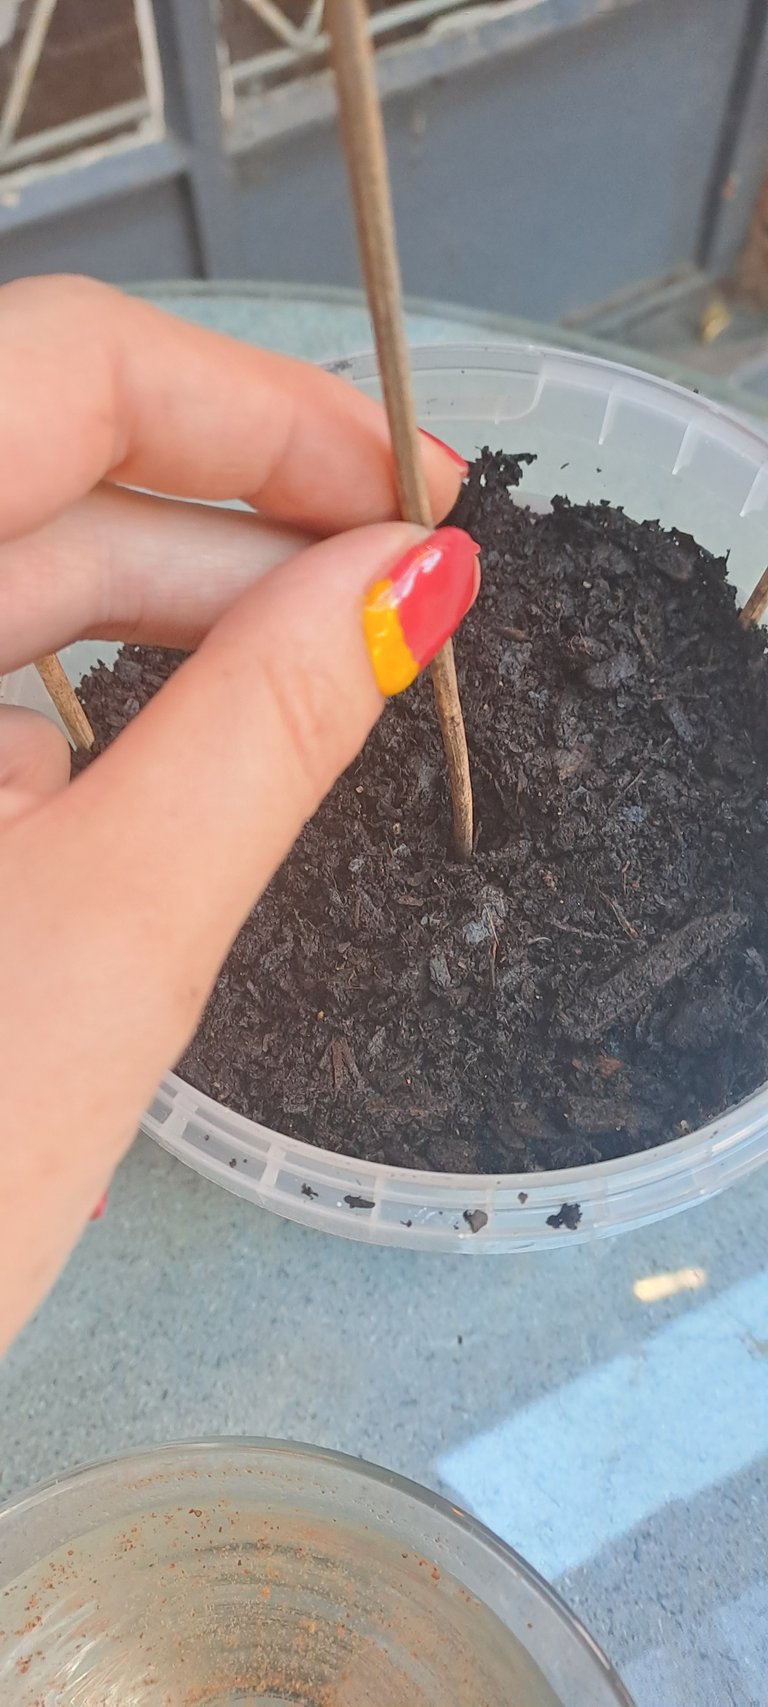
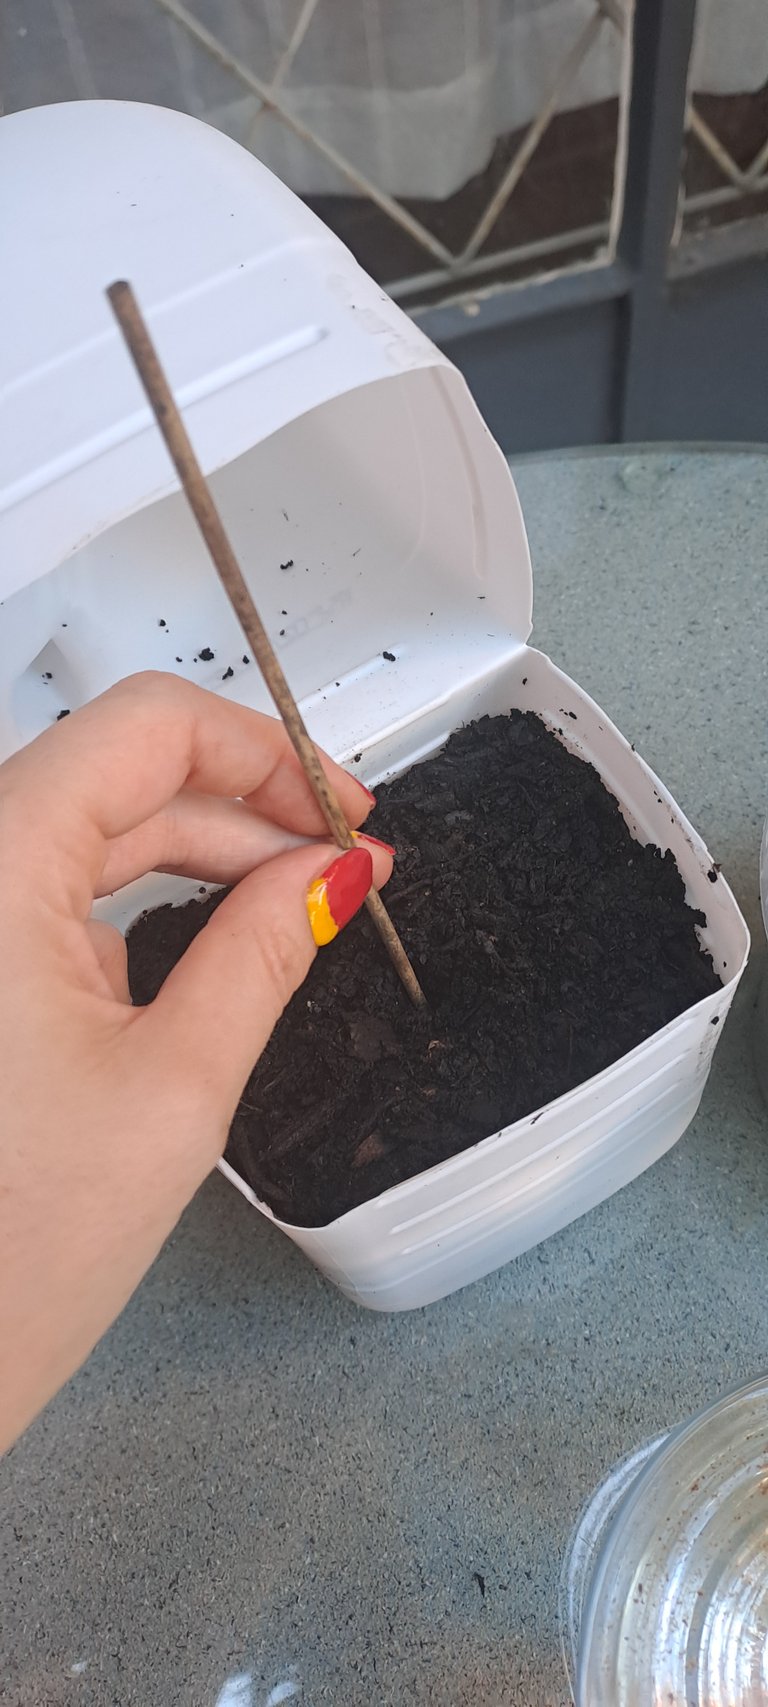

Next, I filled my containers with potting soil, and using one of the skewer sticks, made a hole of about 2-3cm deep in each container. The holes don’t need to be wide, just wide enough so that the cutting can slip in there easily.
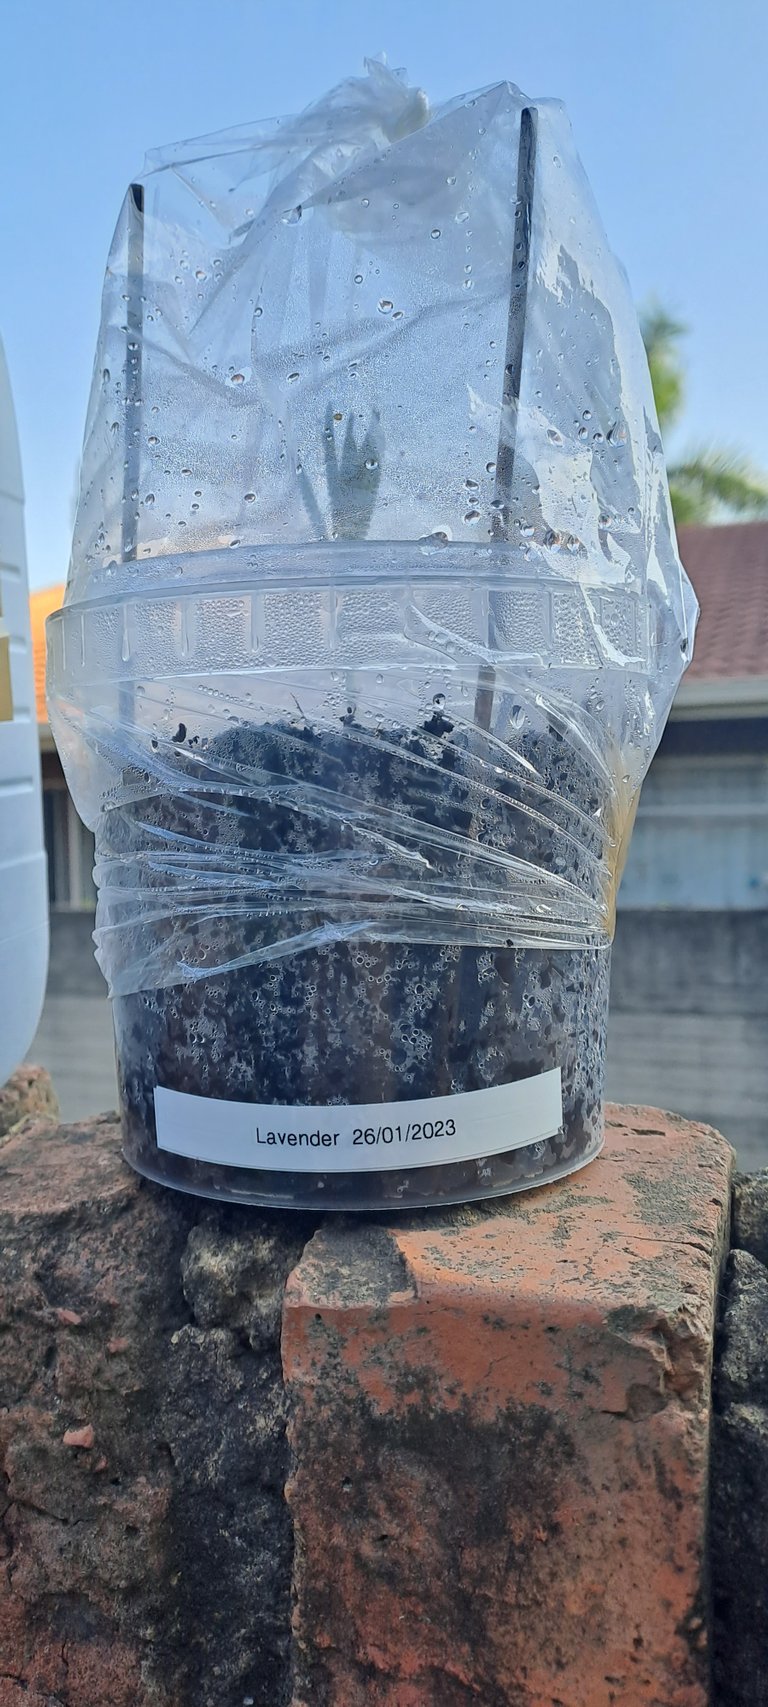
As an added step, when using the pot and bag method, you will have to put skewer sticks around the inside of the pot, to keep the bag from sagging when wet and touching your cutting. I have made the mistake of letting the bag touch the plant in a previous attempt, and it made the leaves rot, won’t be doing that again!
Selecting and making Lavender Cuttings
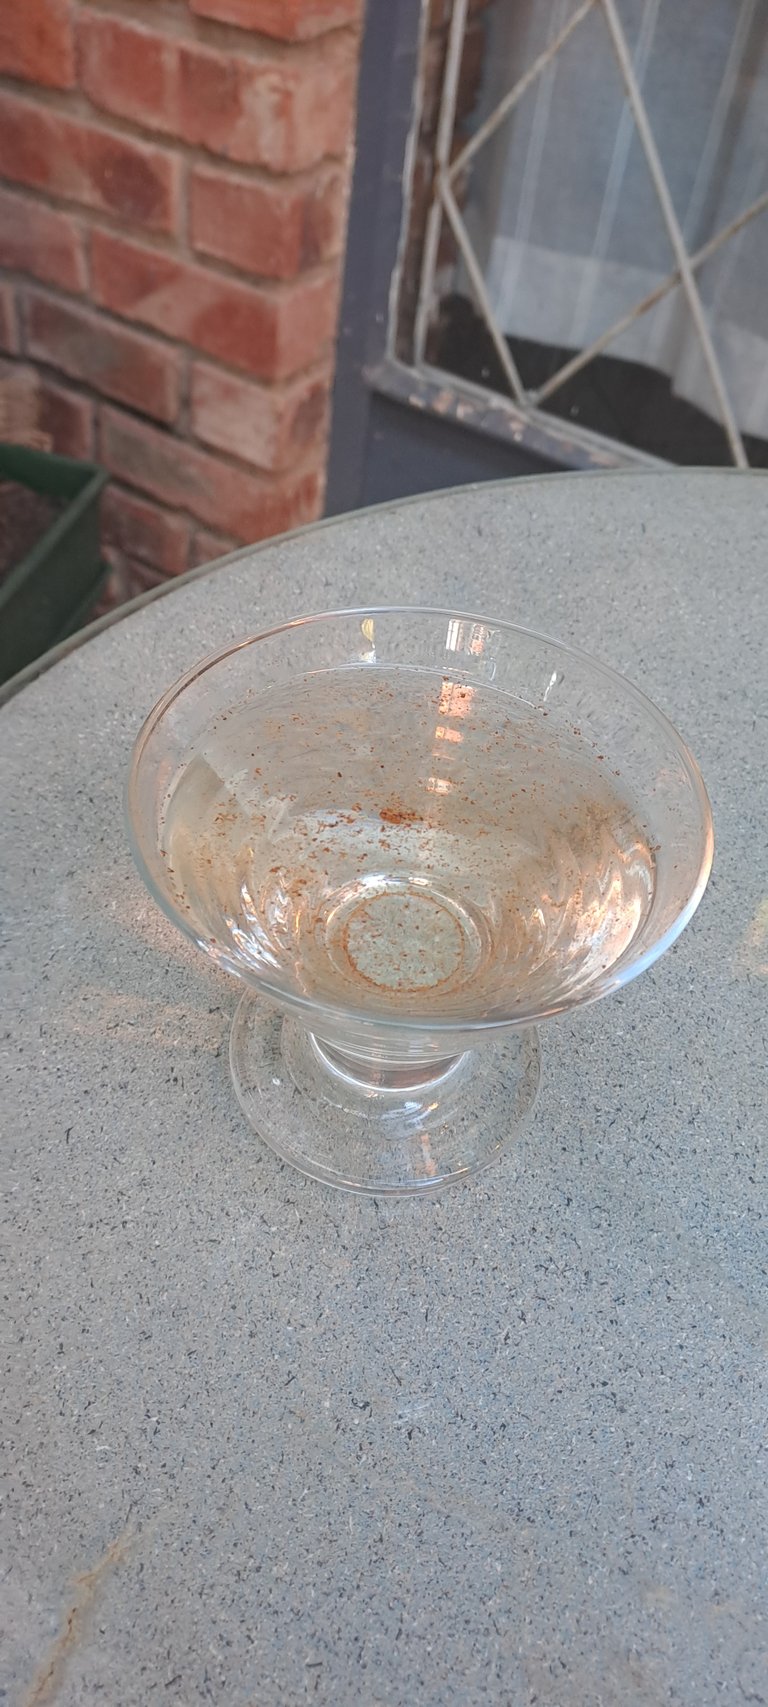
In order to promote rooting and keep the cutting healthy, it is recommended that you use some sort of rooting compound. I usually prefer to use a more natural (and DIY) alternative, so I made my own rooting compound using apple cider vinegar, water and a little bit of cinnamon.
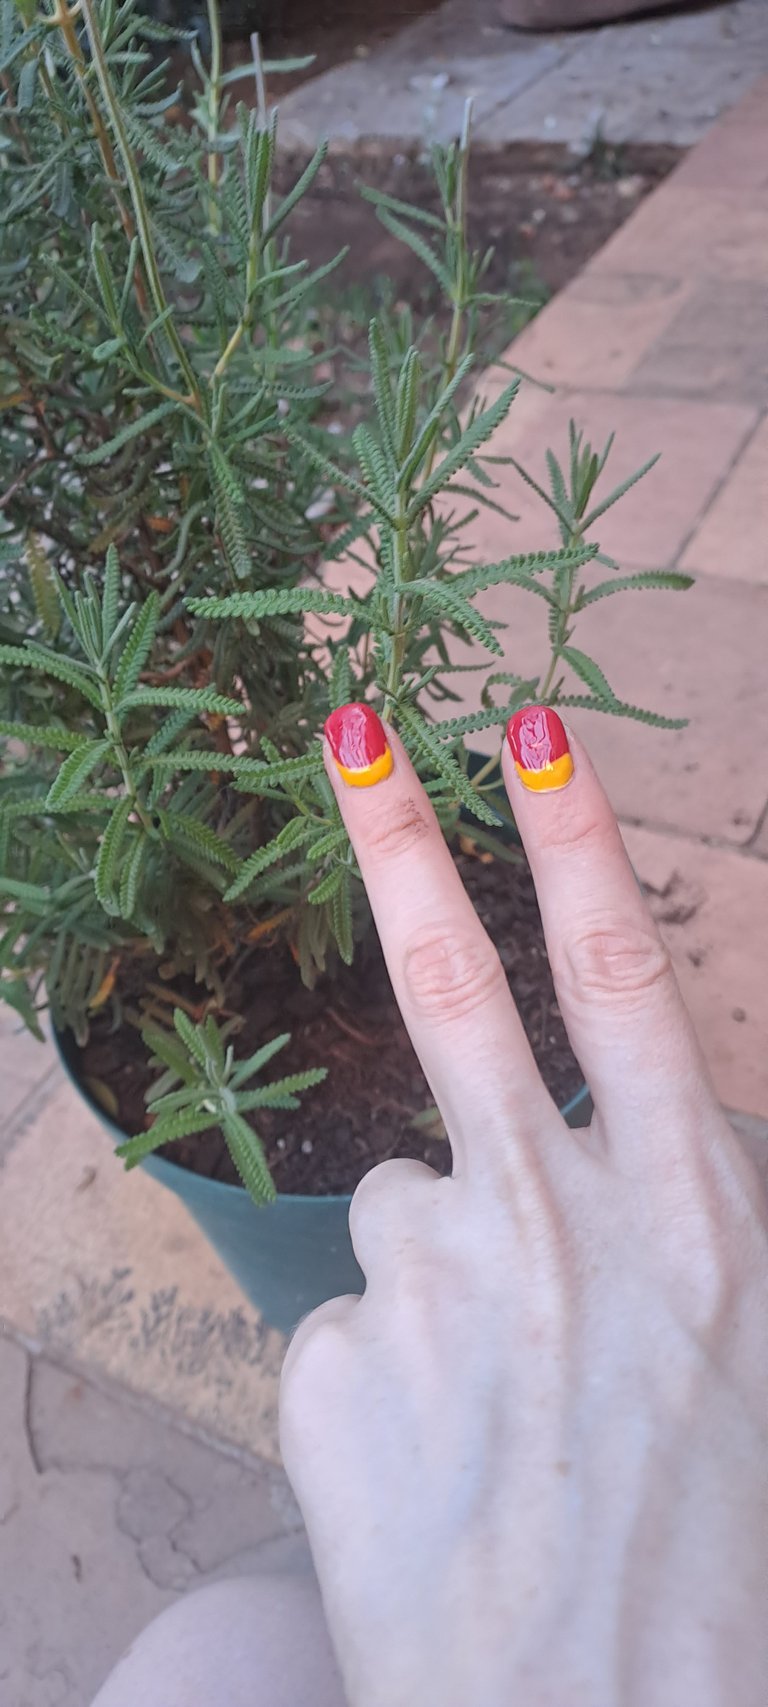
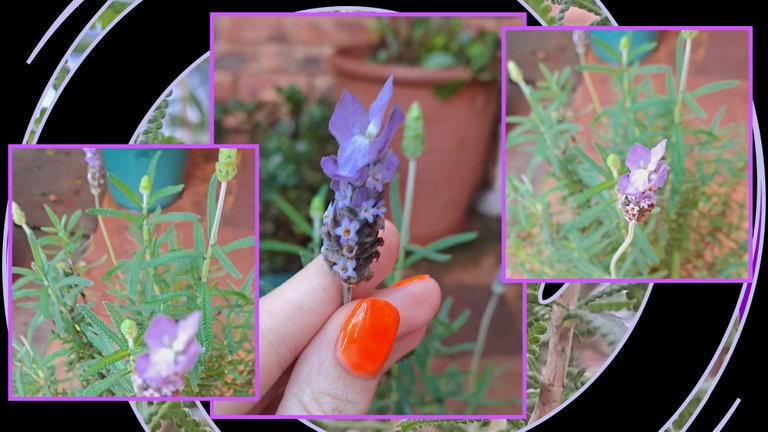
To prepare the cuttings, I selected two new, straight healthy-looking pieces, they don’t show too well on this photo, my cameras were being silly again.
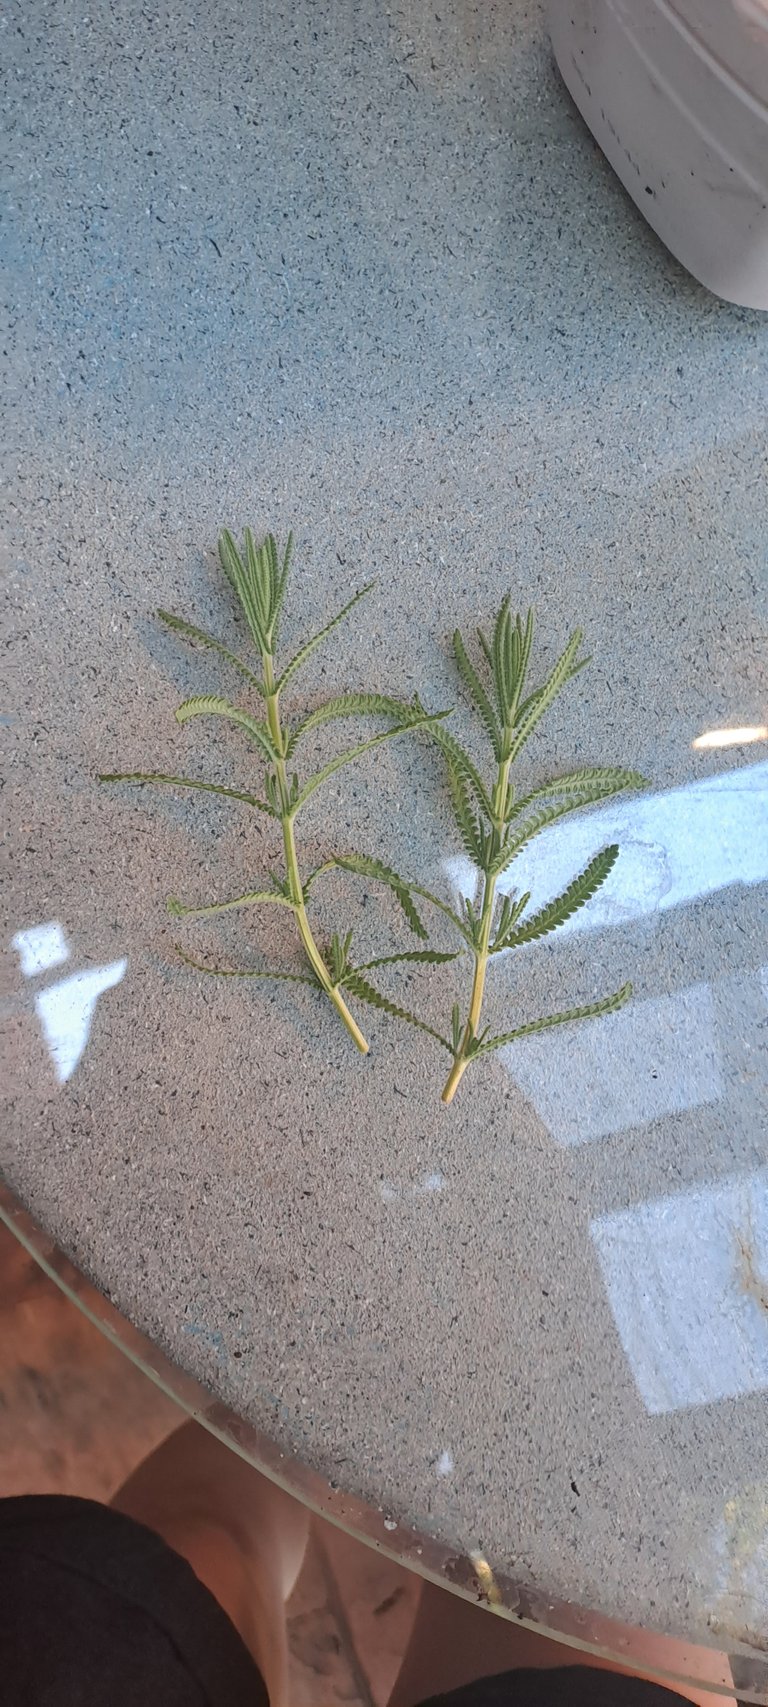
Using a clean pair of clipping shears, I cut the selected pieces around 10-12cm in length.

To prepare them for rooting, first gently remove most of the leaves, leaving a few at the top. It should look something like this.


Next, using a clean, sharp craft knife/razor slice a piece off the tip, as shown. This will promote rooting. Now the cuttings are ready to be dipped in the rooting compound…


…and finally, into the soil we go! After that, I put secured the plastic bag on the pot and taped up the edges of the milk bottle before moving them to a lovely sunny spot on my wall, away from toddlers and cats.
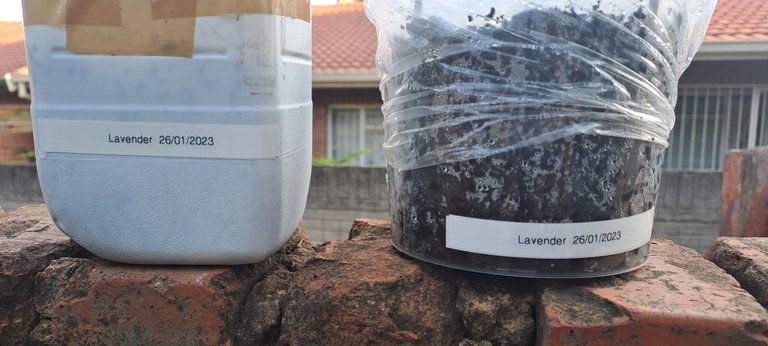
As a finishing touch, I also labelled them, I could lie and say it is to track data on my plants more easily, but I just really like playing with the label maker right now. XD
All in all, I think this was quite an easy project and I am feeling positive that things will go well but only time will tell so I will be updating on these little guys and their progress in a few weeks. Can’t wait to see what happens!
As an added bonus:
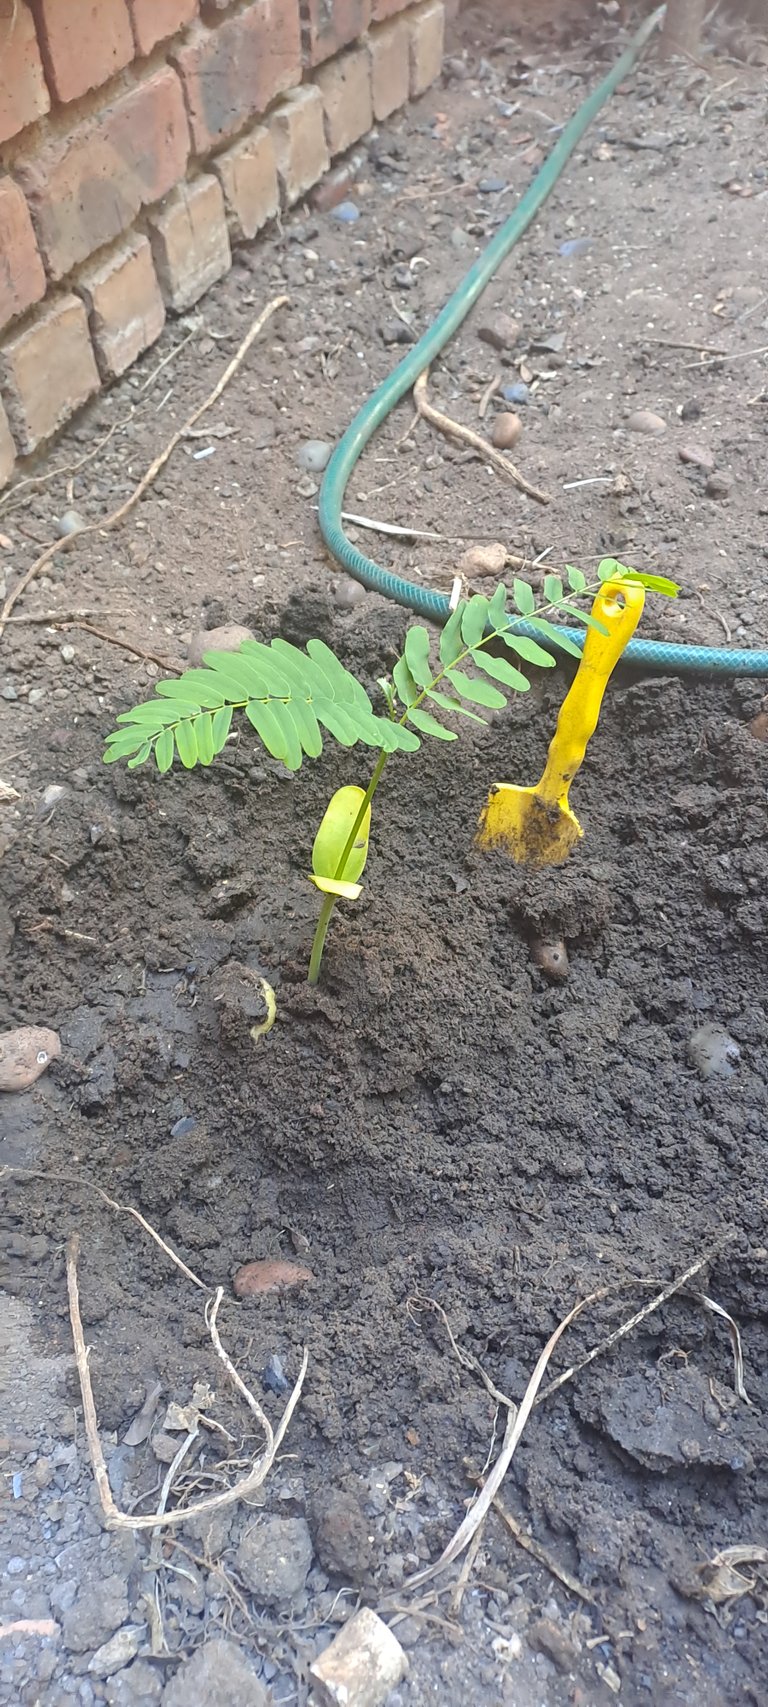

I often, after first scanning it to check for kid and pet safety, try to save anything and everything interesting I find growing in my garden. Killing them just because they aren’t growing where I want them seems unfair to me, so moving/potting or, now even bonsai attempts, are always worth it.
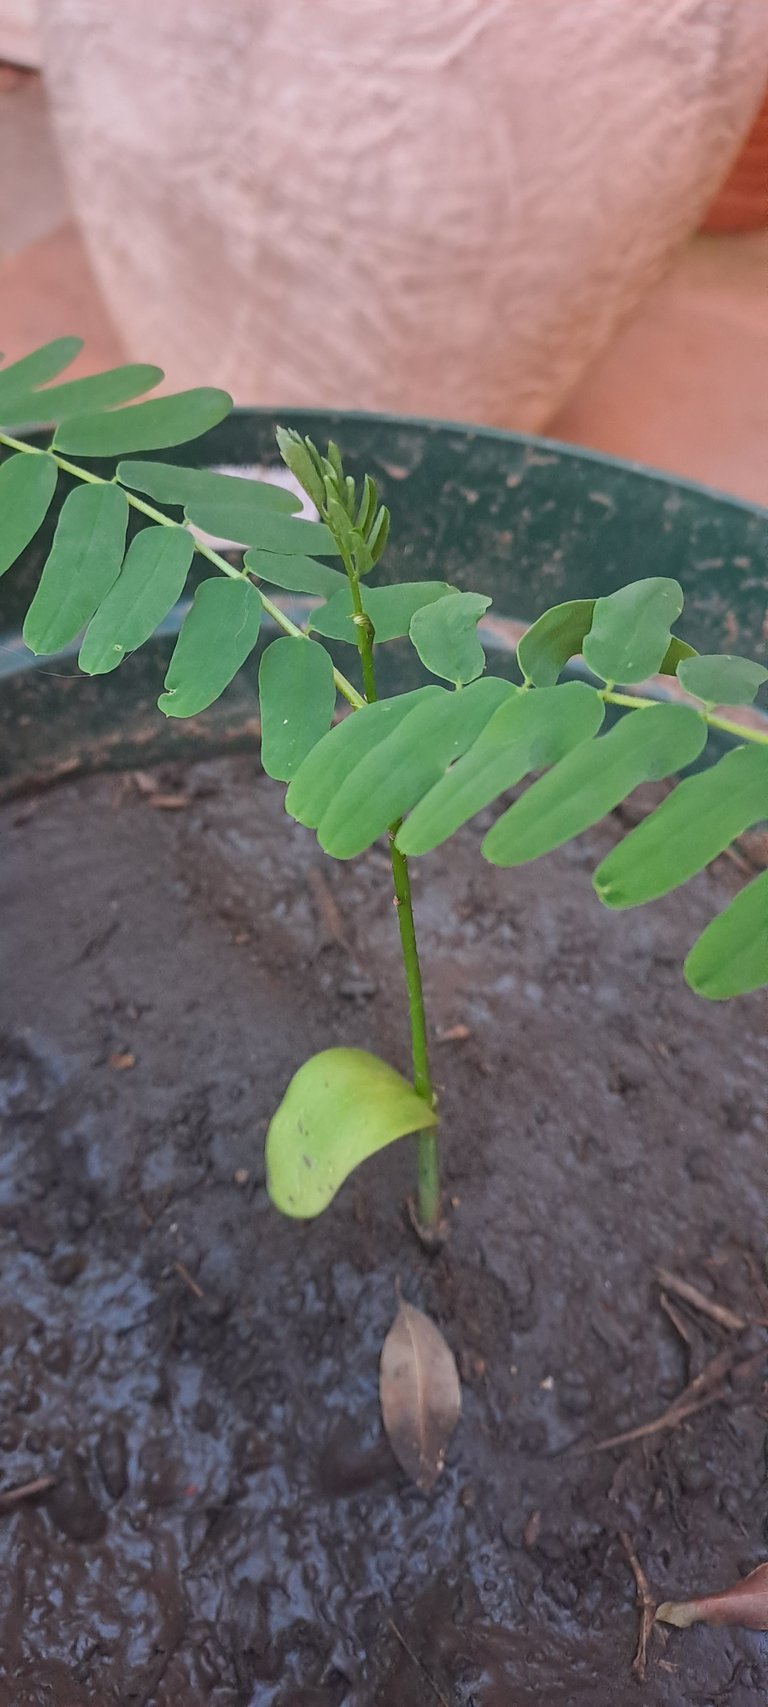
Earlier this week I found one such thing. Having popped up overnight and standing at least 15cm tall already, a little Tamarind tree was happily growing smack bang in the middle of my future vegetable garden. I knew only two things about it at the time; that it had to go, and that I was keeping it. As usual I started doing research like crazy, found out what a tamarind tree is and also that you could indeed bonsai it. It is my first time attempting to bonsai anything, it is still alive and has even grown two new leaves since being moved to its new container so hopefully this will not be the last time, I get to show off this guy.
Thank you for reading, and till next time, happy growing!
Credits : All images belong to me
Photo cover created in Adobe Illustrator


