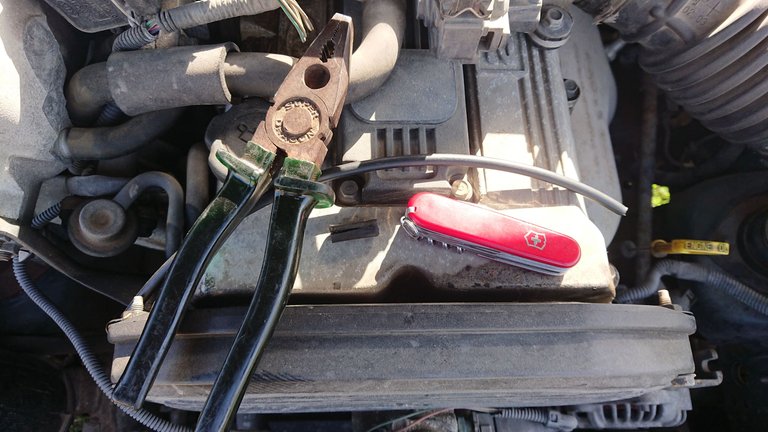
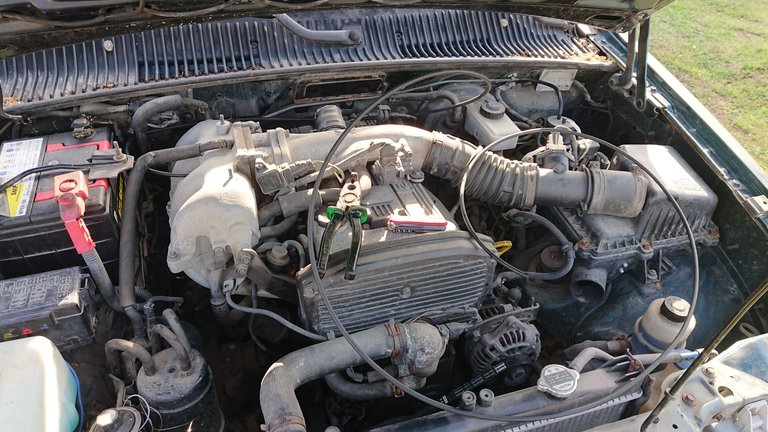
The ones privileged to follow my adventures might have noticed that I have referred to the erratic behaviour of my car's 4x4. During my last urbex (see previous posts) I grabbed the chance to deal with it hence it looks like an exploited diagram in the following picture:
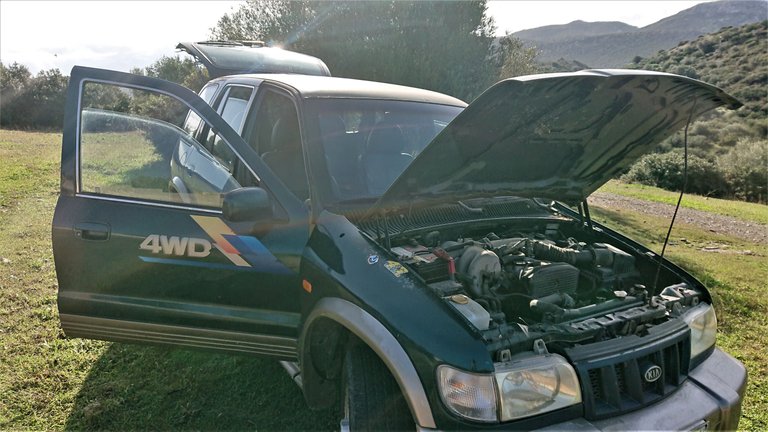
In order to understand the issue keep in mind that the 4x4 in these cars is activated by the vacuum created from the engine. What usually goes wrong is that one or more of the many rubber pipes delivering the vacuum cracks and loses pressure. Then the front wheel hubs don't engage and can't deliver power to the front wheels.
Since I am well aware of the issue I always carry hoses with me. Here's one piece I just cut ready to substitute the one that I found cracked:
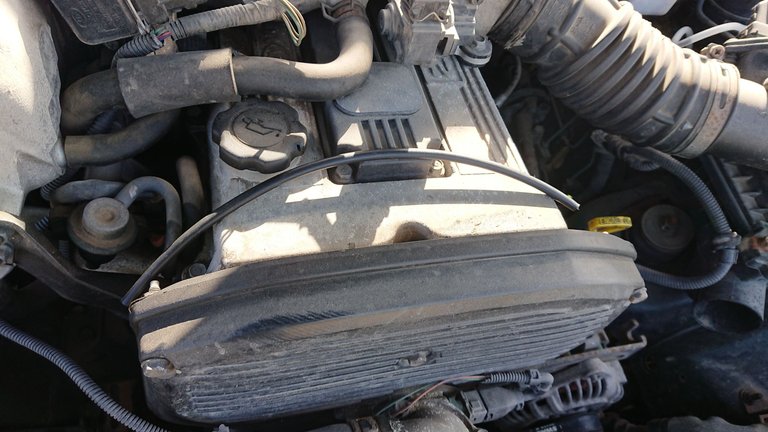
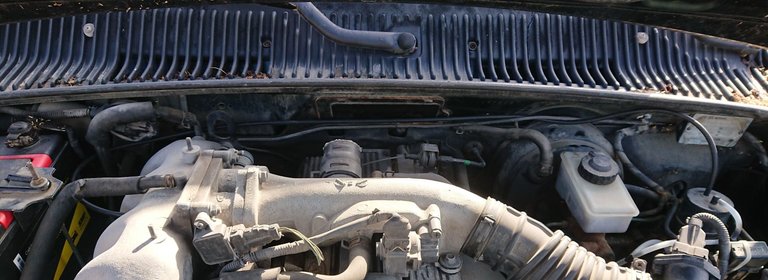
Since I'm on it I decide to use another source of vacuum closer to the engine's intake hoping that this will suck better (no pun intended) than the previous one (it's the uncapped nipple right in the middle):
Time to cap the previous and harder to reach one:
Moral of the day, always carry a Swiss knife with you:
However, don't keep it in your money bag while heading for your flight like I did. Fortunately mine is just under the length limit. You should have seen me waiting for the police in Turkey to measure it before my flight to Athens 🙂
In the above image you can also see the cracked piece I removed lying between the plier and the knife. It wasn't so easy to take it out, neither was trying to focus:
Time to check the 4x4 and no better terrain than a wet and green uphill:
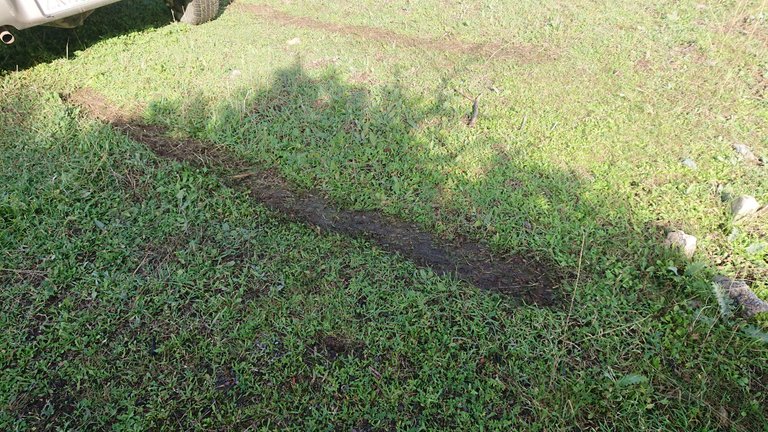
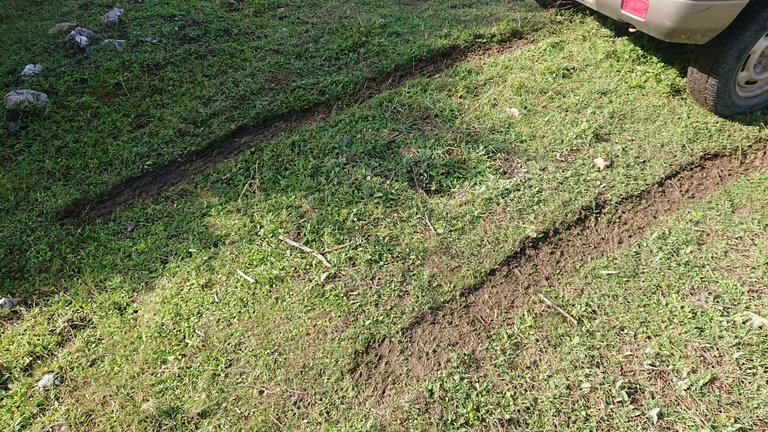
As you can tell from the skid marks the car is still very tail happy which means no 4x4.
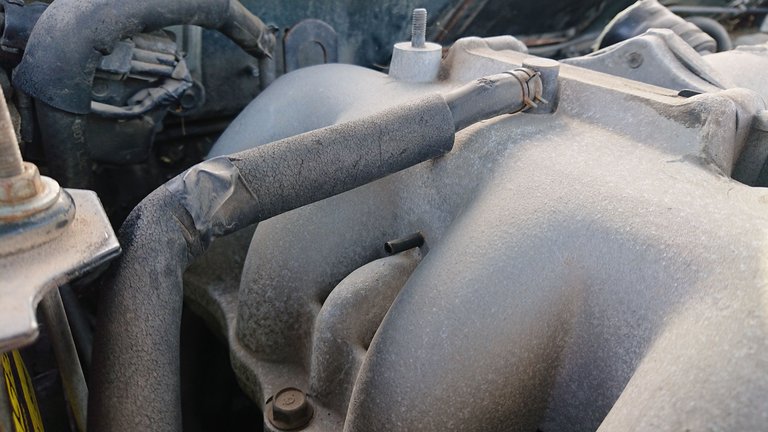
Back to the engine and this time I decide to substitute a whole part of the original routing which as you saw before was also hard to reach - this long black new line will play is about to play its role (after I cut it down to size):
Post installation you can see the line running from the left of the engine then over the firewall before it ends on that canister on the right:
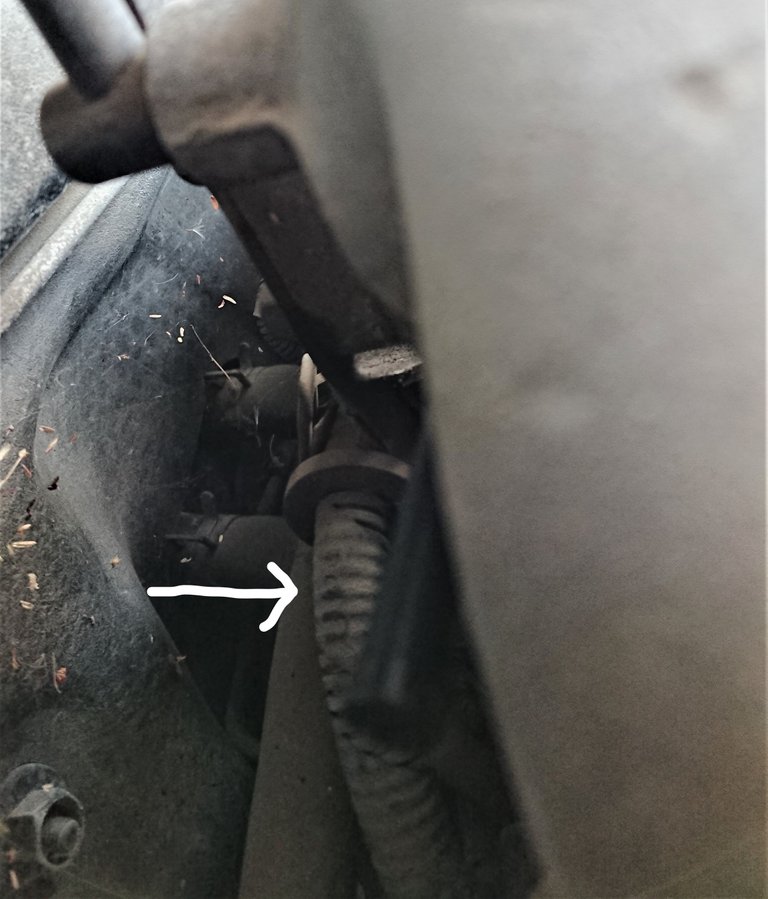
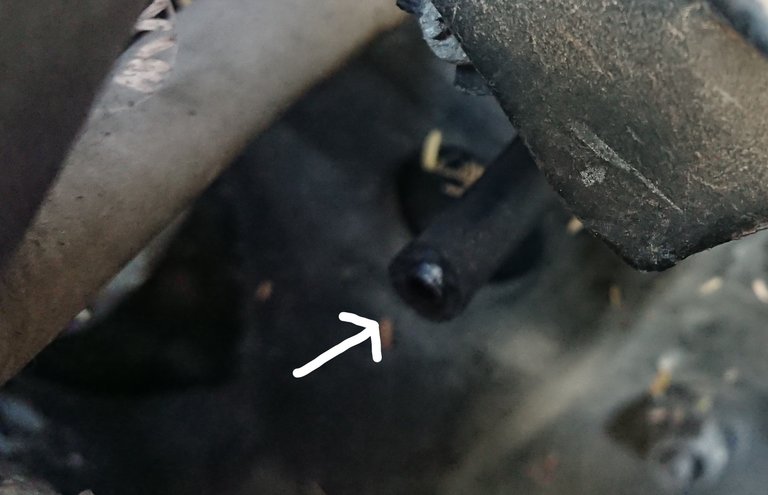
A further examination found more cracks in the system. Here's one near the front left wheel:
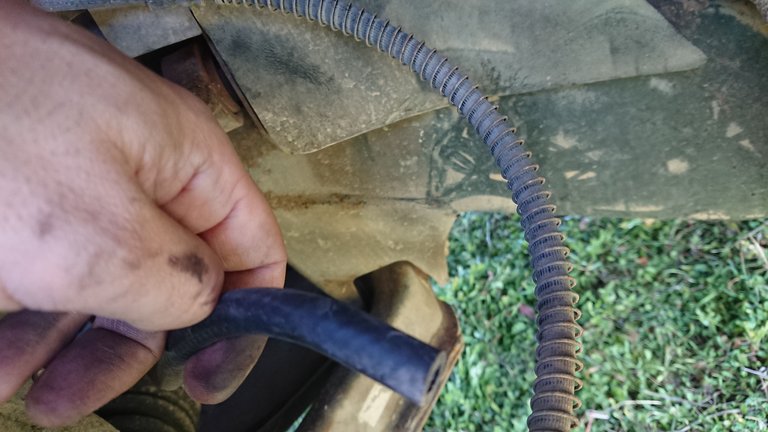
Hard to see isn't it? Let me help you:
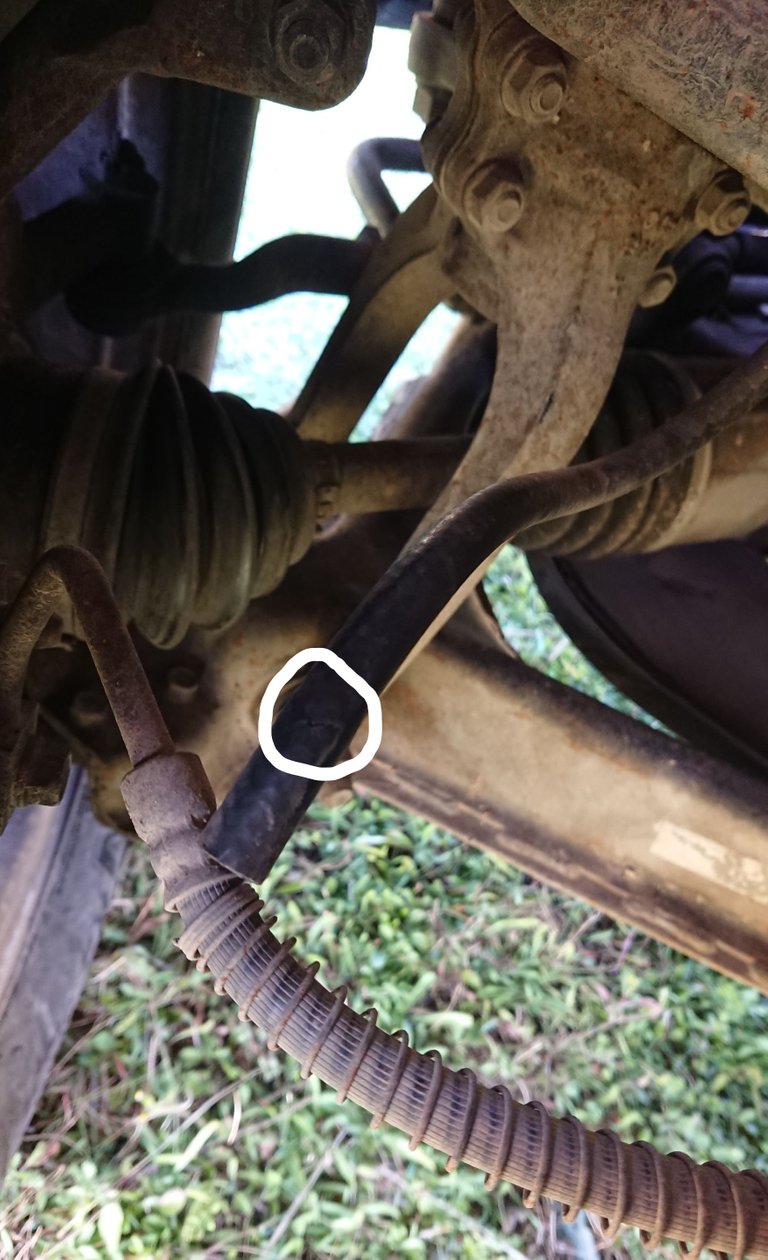
Apologies for the far from perfect photos but with a pair of dirty hands in the absence of another helping pair I couldn't do much better.
While I fixed all the above issues the 4x4 still does not engage which means I have to examine the situation even further whenever I find the time and chance to do so.
Since the whole thing begs the question "why don't you just change all lines with the best ones you can find and finish with it?" I feel the need to tell you this: When I started having such issues this was my initial thought. I found out though that even though I was asking for the best hoses possible at automotive or repair shops they would only last for a couple of years. Even heavy duty fuel lines, even lines out of high end VW cars. All went crap sooner or later. The only lines that outlived all of them and are still standing are the ones I DIYed. I have used hoses from a motorcycle airbag cupid and (here's the super fun fact) pipes from Heineken beer barrels. Unfortunately Heineken has discontinued them and it's far from cost effective to buy airbag cupids for that purpose 😂
I'll keep you updated if I make progress on that - thanks for reading.