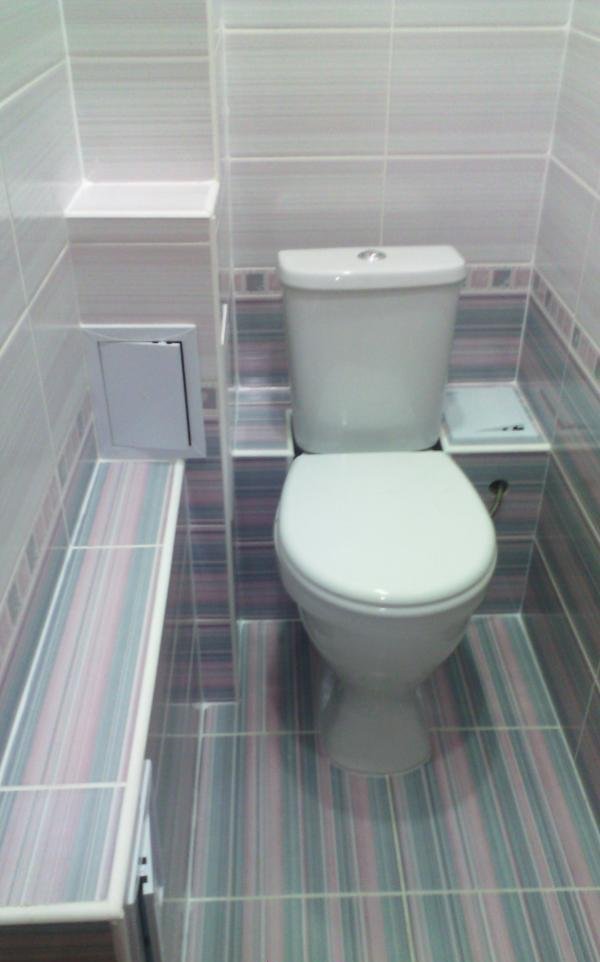
Ceramic tiles are popular and respected in many countries of the world because of their practicality, the incredible variety of colors and sizes, and a number of other reasons.
It's time to update the tiles in the bathroom. To do this, you need to prepare the walls and floor for further work. Initially, we dismantle the old tiles, clean the walls of old paint and plaster or putty that has come off from the masonry. Then we prime all the surfaces to be laid out (preferably concrete with contact). We proceed to the installation of frames for boxes that will close the water and sewer pipes. At the same time, it is very important not to forget to prepare places for inspection hatches in places where meters are installed.
Las baldosas cerámicas son populares y respetadas en muchos países del mundo debido a su practicidad, la increíble variedad de colores y tamaños, y muchas otras razones.
Es hora de actualizar los azulejos en el baño. Para hacer esto, debe preparar las paredes y el piso para seguir trabajando. Inicialmente, desmontamos los azulejos viejos, limpiamos las paredes de pintura vieja y yeso o masilla que se haya desprendido de la mampostería. Luego imprimamos todas las superficies a replantear (preferiblemente hormigón con contacto). Procedemos a la instalación de marcos para cajas que cerrarán las tuberías de agua y alcantarillado. Al mismo tiempo, es muy importante no olvidar preparar lugares para escotillas de inspección en lugares donde se instalen medidores.
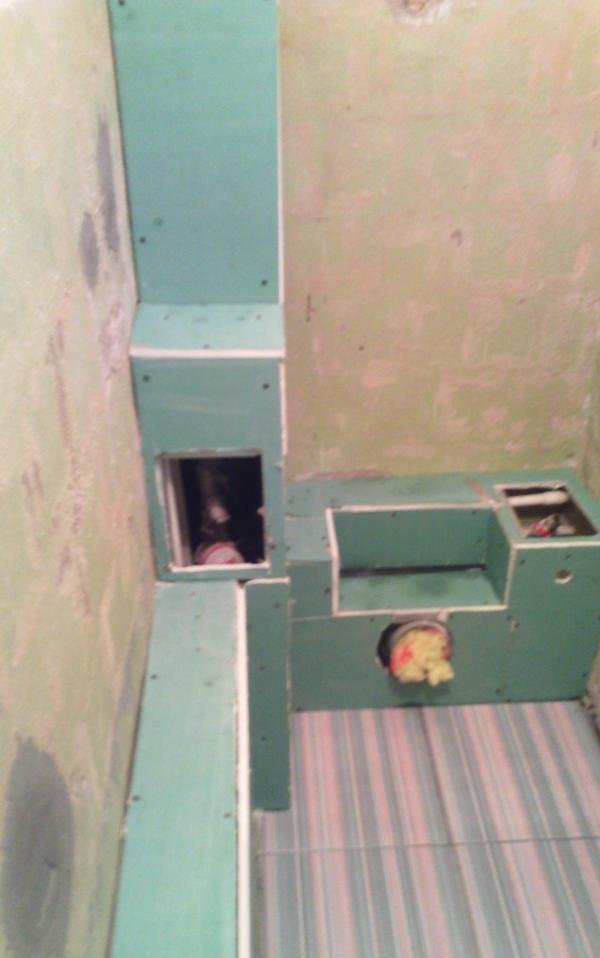
After we sheathe the frames with the help of GKL (it is better to be moisture resistant, for obvious reasons). It is enough to treat GKL with deep penetration soil. After the preparatory work is completed, we proceed directly to laying out the tiles.
First of all, we mark the floor and walls. On each wall we draw a vertical line strictly in the middle, in order to determine which trim will turn out in the corner. It will depend on this how to start laying out the tiles: from the line in different directions or, skipping it, in the center of the tile. According to the same scheme, we make markings on the floor.
Después, enfundamos los marcos con la ayuda de GKL (es mejor que sean resistentes a la humedad, por razones obvias). Es suficiente tratar GKL con suelo de penetración profunda. Una vez que se completa el trabajo preparatorio, procedemos directamente a colocar las baldosas.
En primer lugar, marcamos el suelo y las paredes. En cada pared, dibujamos una línea vertical estrictamente en el medio, para determinar qué moldura resultará en la esquina. De esto dependerá cómo comenzar a colocar los mosaicos: desde la línea en diferentes direcciones o, saltándola, en el centro del mosaico. De acuerdo con el mismo esquema, hacemos marcas en el piso.
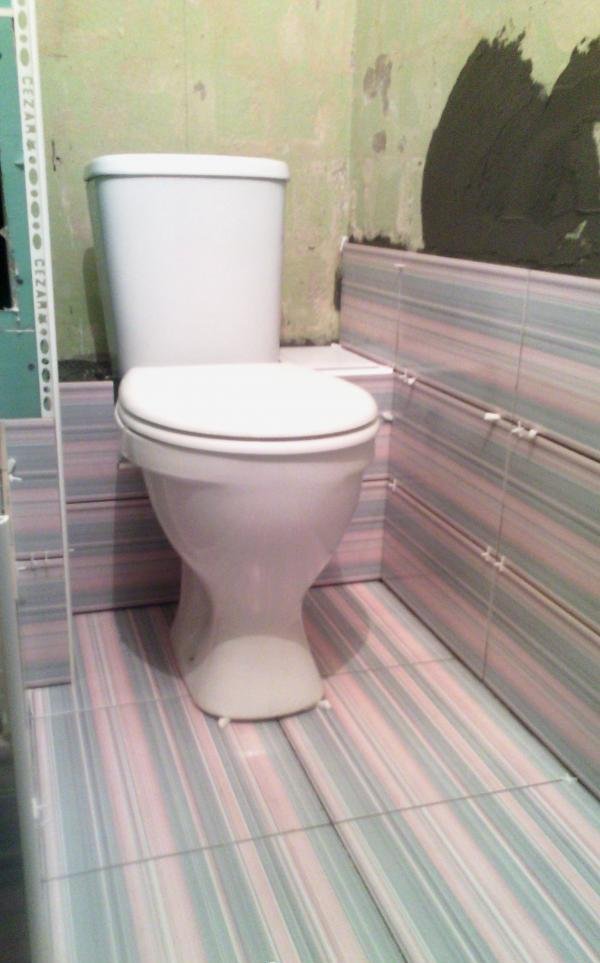
A very important point: when laying floor tiles, the adhesive is applied with a notched trowel to both the base and the tile. At the same time, voids under the tiles are not allowed. The work is done with the help of crosses and wedges, the latter help to level out discrepancies in the size of the tiles. The floor is laid out in one horizontal plane.
Un punto muy importante: al colocar baldosas, el adhesivo se aplica con una llana dentada tanto en la base como en la baldosa. Al mismo tiempo, no se permiten huecos debajo de las tejas. El trabajo se realiza con la ayuda de cruces y cuñas, estas últimas ayudan a nivelar las discrepancias en el tamaño de las baldosas. El piso está dispuesto en un plano horizontal.
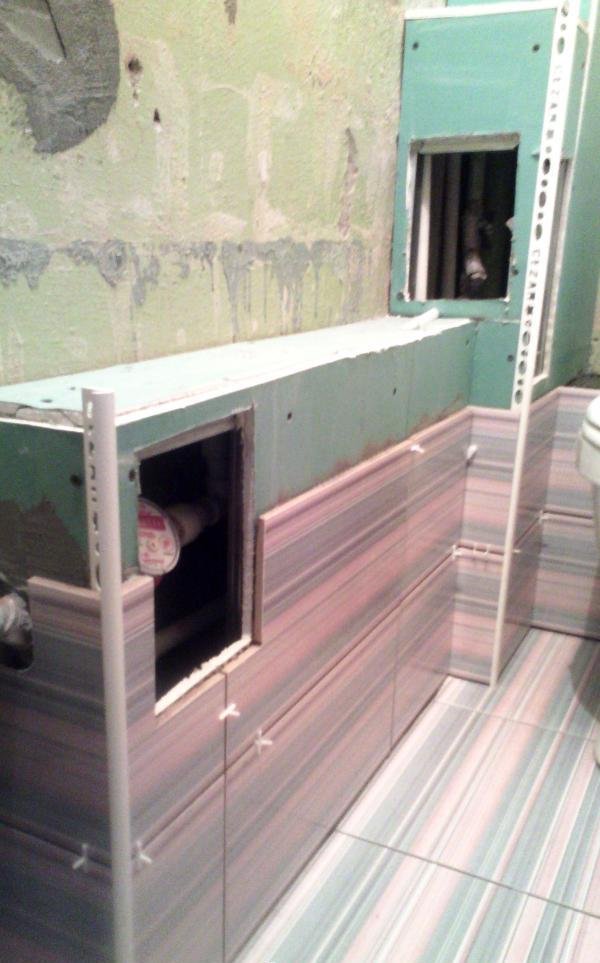
When gluing tiles on the walls, it is very important to lay out the first row evenly - this is the key to a beautiful and even jointing in the future.
Al pegar azulejos en las paredes, es muy importante colocar la primera fila de manera uniforme; esta es la clave para una unión hermosa y uniforme en el futuro.
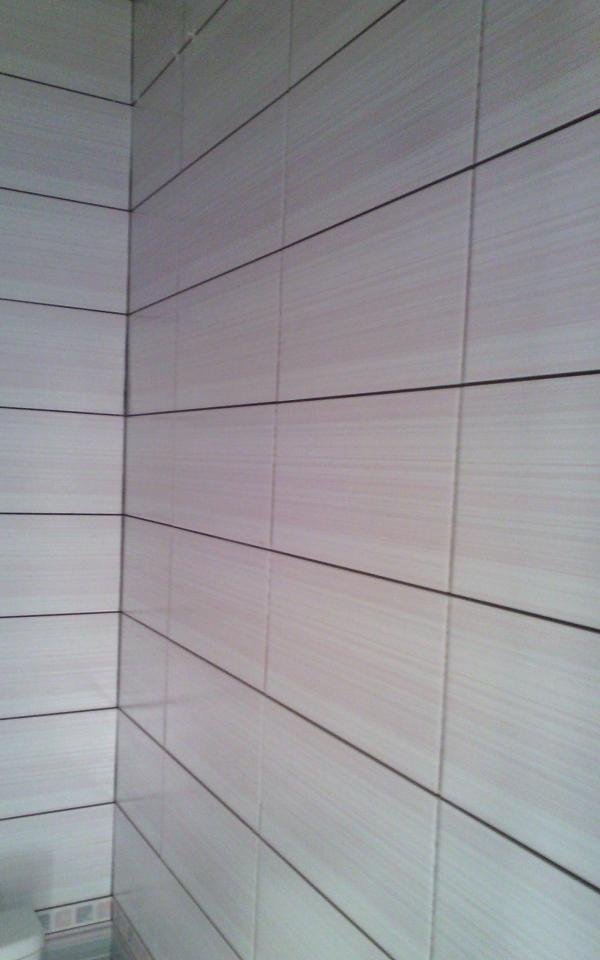
We ennoble the outer corners with plastic corners. Voids under the tile of the topmost row are also not allowed, because. when installing profiles for the ceiling, you can get into the void.
Ennoblecemos las esquinas exteriores con esquinas de plástico. Tampoco se permiten espacios vacíos debajo del mosaico de la fila superior, porque. al instalar perfiles para el techo, puede entrar en el vacío.
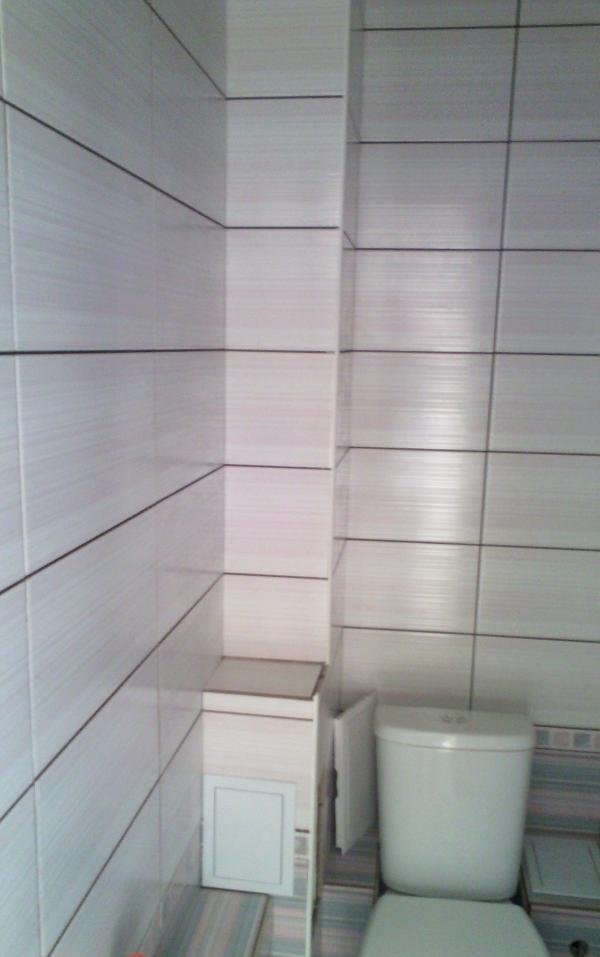
Grouting is done the next day after the end of the work, so that the glue has time to dry. Otherwise, the tinted grout will not dry evenly and will not be uniform.
La lechada se realiza al día siguiente del final del trabajo, para que el pegamento tenga tiempo de secarse. De lo contrario, la lechada teñida no se secará uniformemente y no será uniforme.
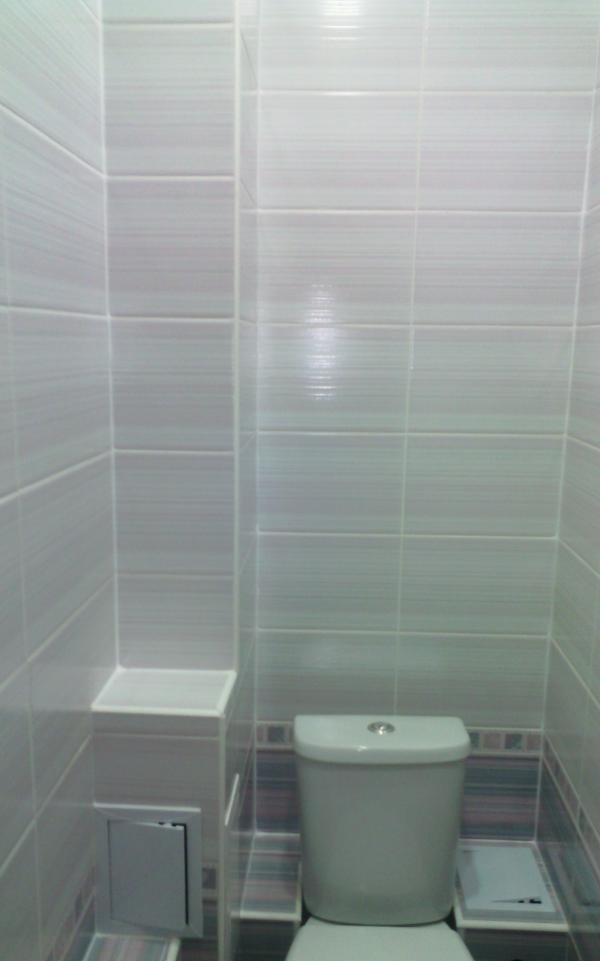
The preparation of mixtures (glue and grout) is carried out strictly according to the instructions on the package. The grout is applied with a rubber spatula, after 10 minutes it is washed off with a sponge moistened with water diagonally. After 30-40 minutes, the tiles are wiped with a dry soft cloth, and all seams are also rubbed with a cloth to remove bumps and shells.
La preparación de mezclas (pegamento y lechada) se realiza estrictamente de acuerdo con las instrucciones del paquete. La lechada se aplica con una espátula de goma, después de 10 minutos se lava con una esponja humedecida con agua en diagonal. Después de 30-40 minutos, las baldosas se limpian con un paño suave y seco, y todas las costuras también se frotan con un paño para eliminar las protuberancias y las conchas.
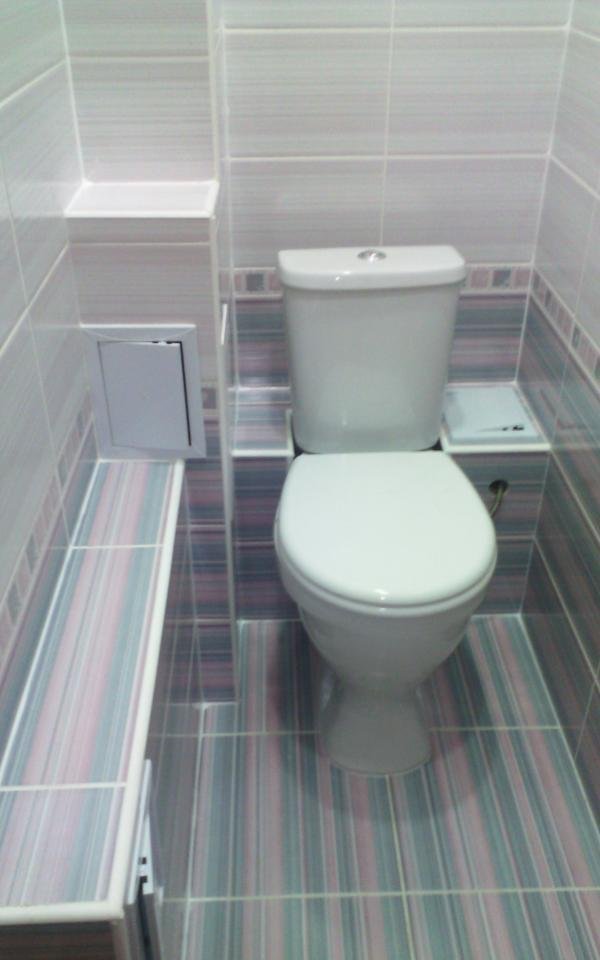
After this mandatory procedure, even, smooth, beautiful, and most importantly sealed seams are obtained. Internal corners remain free of grout, they are sealed the next day with sanitary silicone in the color of the joint or any other of your choice.
By adhering to these simple rules, you will be satisfied with the new bathroom for a long time.
Después de este procedimiento obligatorio, se obtienen costuras uniformes, suaves, hermosas y, lo más importante, selladas. Las esquinas internas quedan libres de lechada, se sellan al día siguiente con silicona sanitaria del color de la junta o cualquier otro de su elección.
Si sigue estas sencillas reglas, estará satisfecho con el nuevo baño durante mucho tiempo.