Part Three
Let's get that handle securely attached to the mallet head.
(Look here for the previous part to this build)

This is where I left off from before. I applied EVA foam to the large tube and the end caps to form the mallet head.
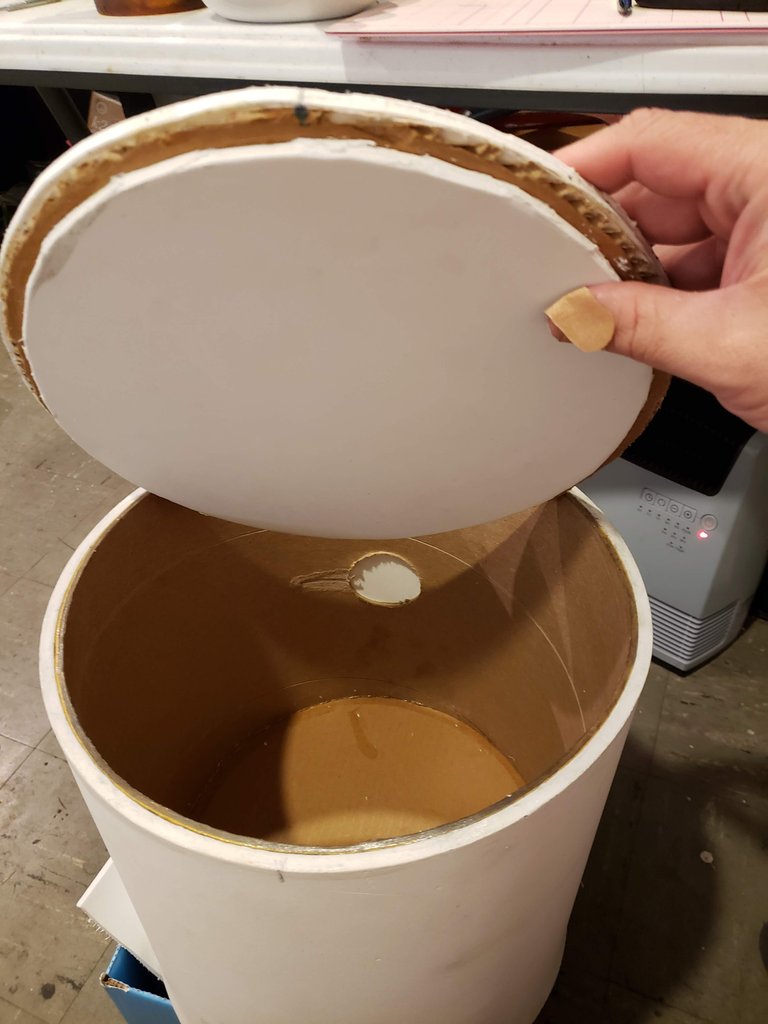
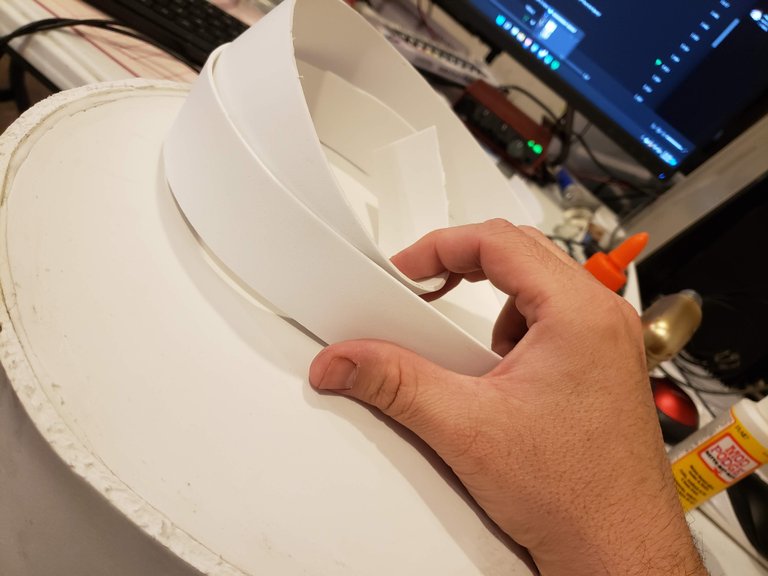
Then I cut these strips from a thinner EVA foam. These will wrap the ends of the tube at the caps to add a slight flared angle as well as hold this thing together a bit better.
When I started this mallet and then got the handle/head connection sorted out, I was starting to think about it being a bummer that I won't be able to take advantage of the interior of this once it's sealed up and painted.
As I thought about this more I decided to add an additional dimension to this prop by making the interior accessible and turning it into a covert storage device.
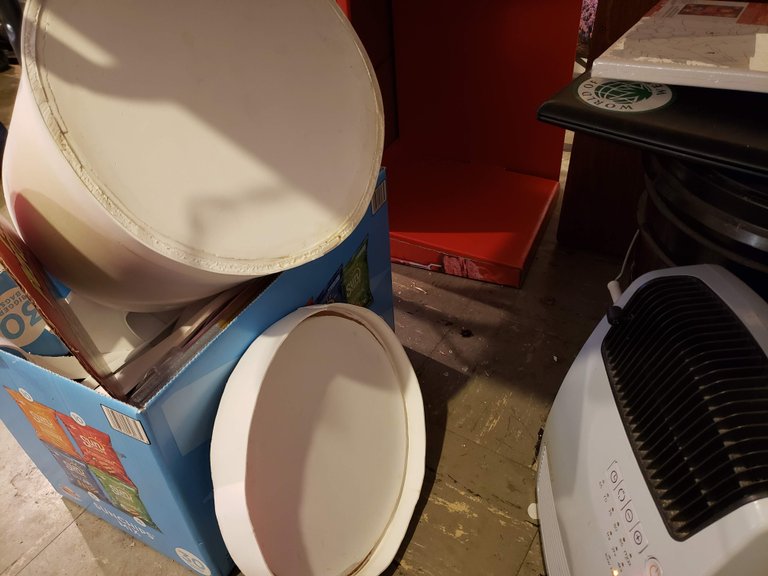
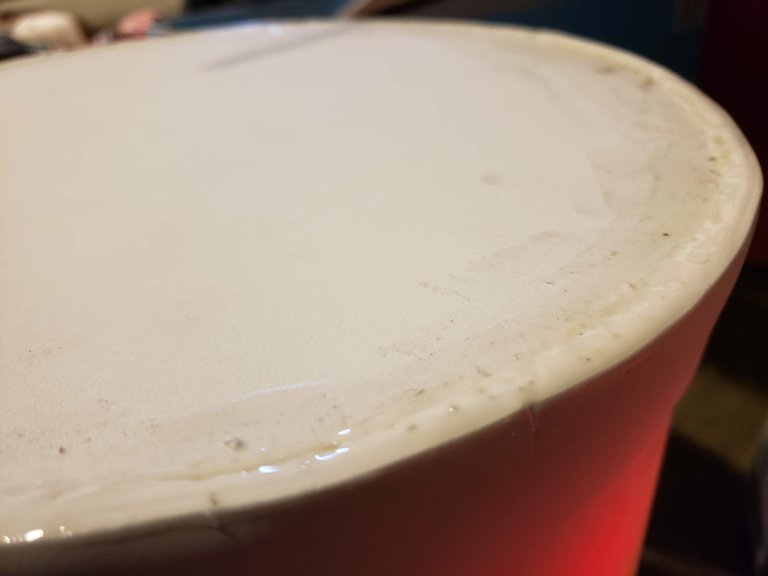
I figure this will certainly come in handy if it's used at a convention or other such nerdish event. So with the end caps I permanently affixed one cap to the mallet head and the other cap will become a sealable lid. Once I got those sorted out with the thin straps I put them aside to dry.
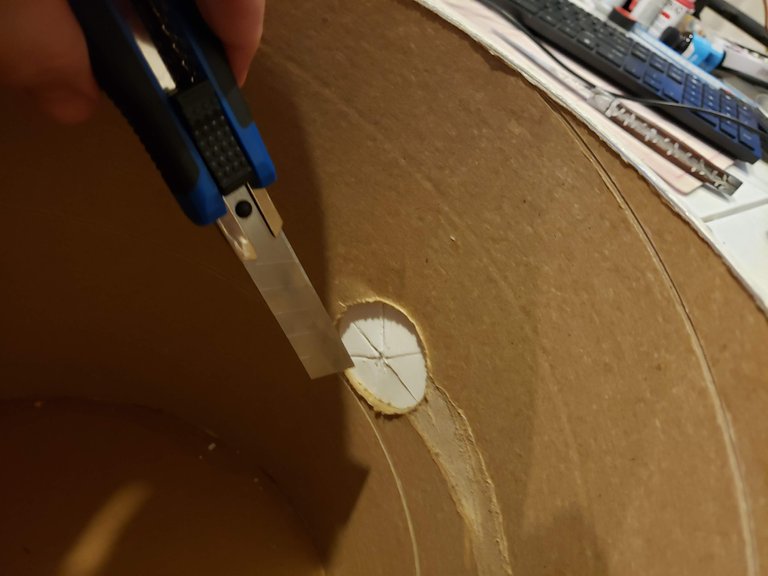
There is this business with the two holes that need to be sorted out. Not a problem, I went in and cut a six-way star shape into the foam on those two spots.
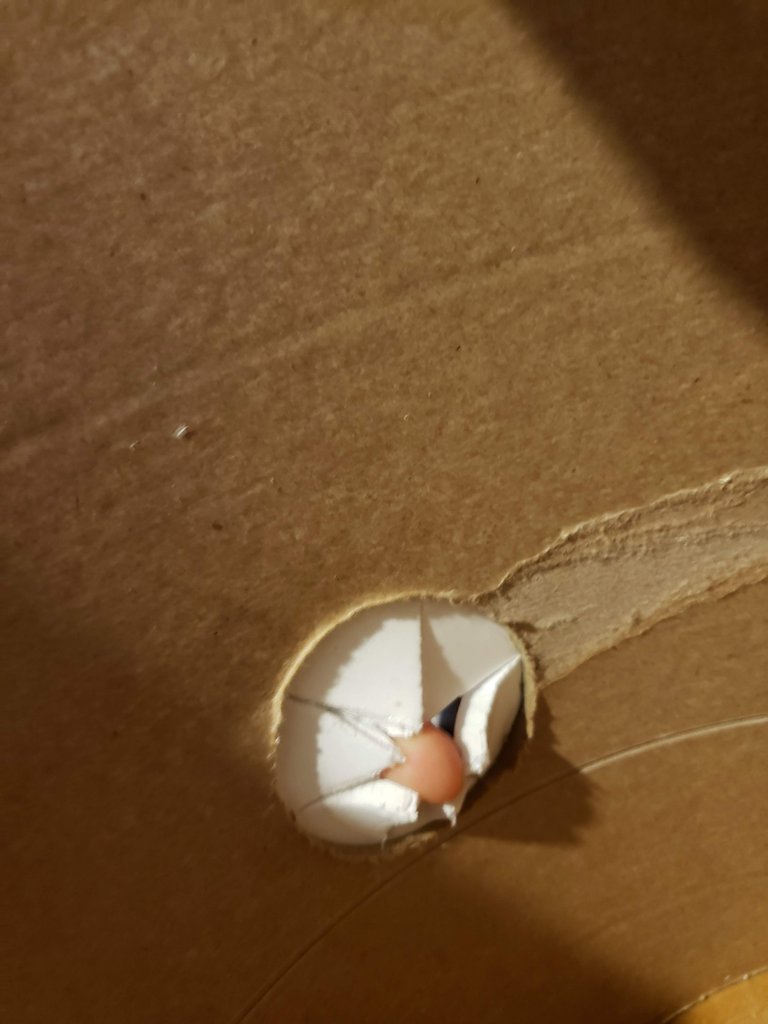
Since the hole was cut just slightly larger than the diameter of the handle, I can use these foam flaps to fill the gap. The will also help to add a little shock absorption.
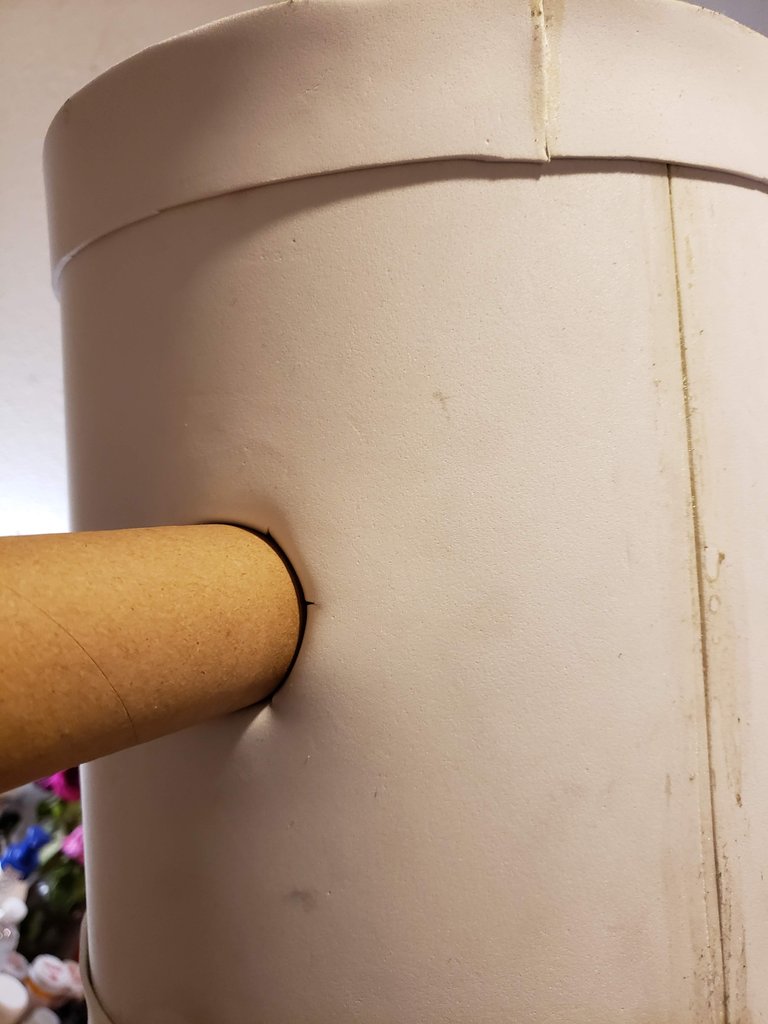
See there? I just wedged it in and it fit snuggly. On hindsight though, I would have liked wrapping the foam so the seam was at the bottom rather than off to the side like that. No worries though because paint and texture comes later and this will hide this sort of thing.
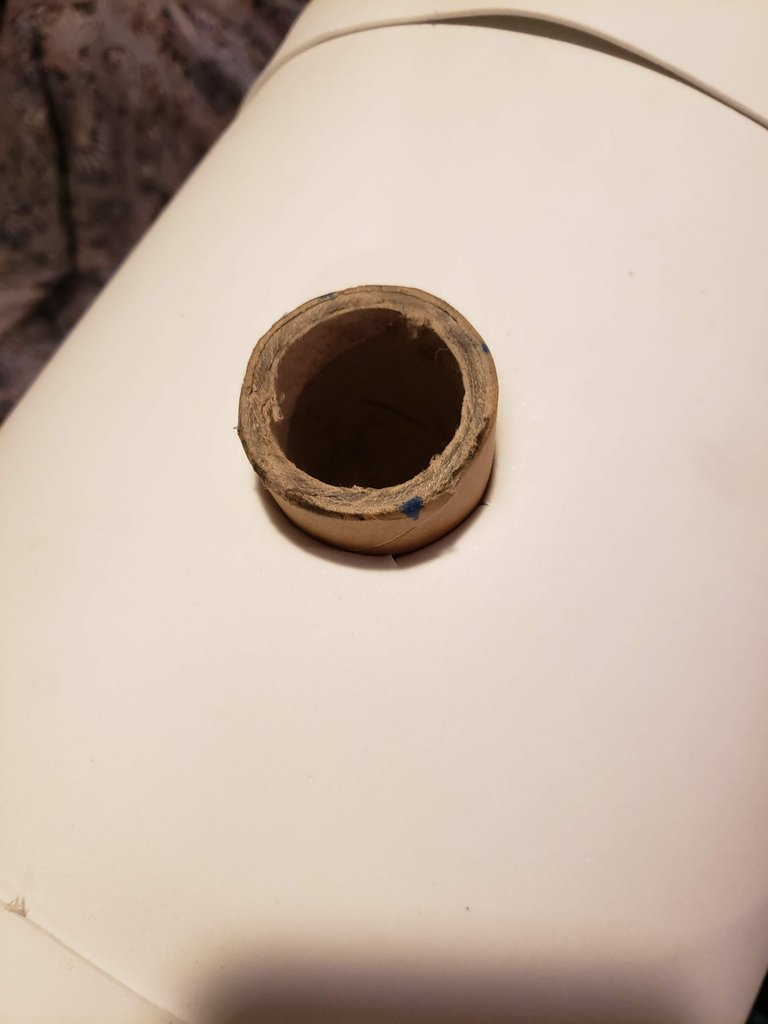
To get the handle out of the other end, I had to push the flaps in and finesse the handle though from the inside of the tube. But I managed to get it smoothed out and tucked nicely.
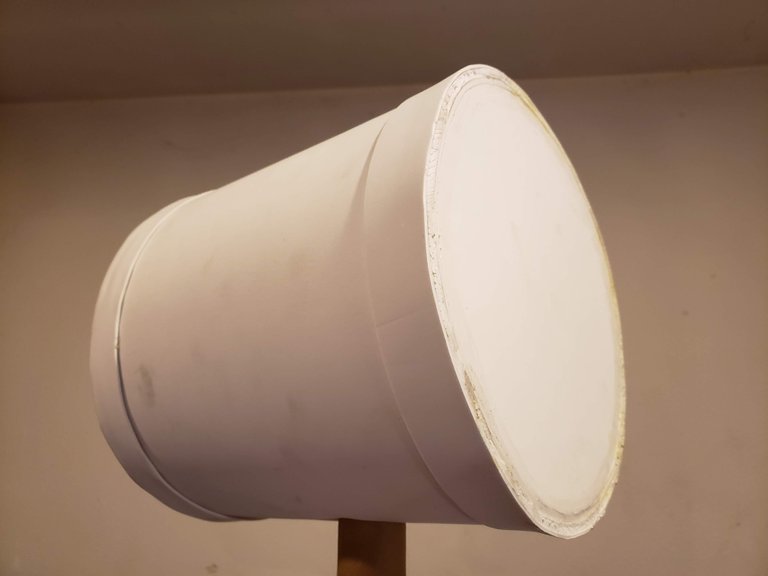
As you see, although I haven't fastened anything the foam flaps are holding onto the handle fairly well.
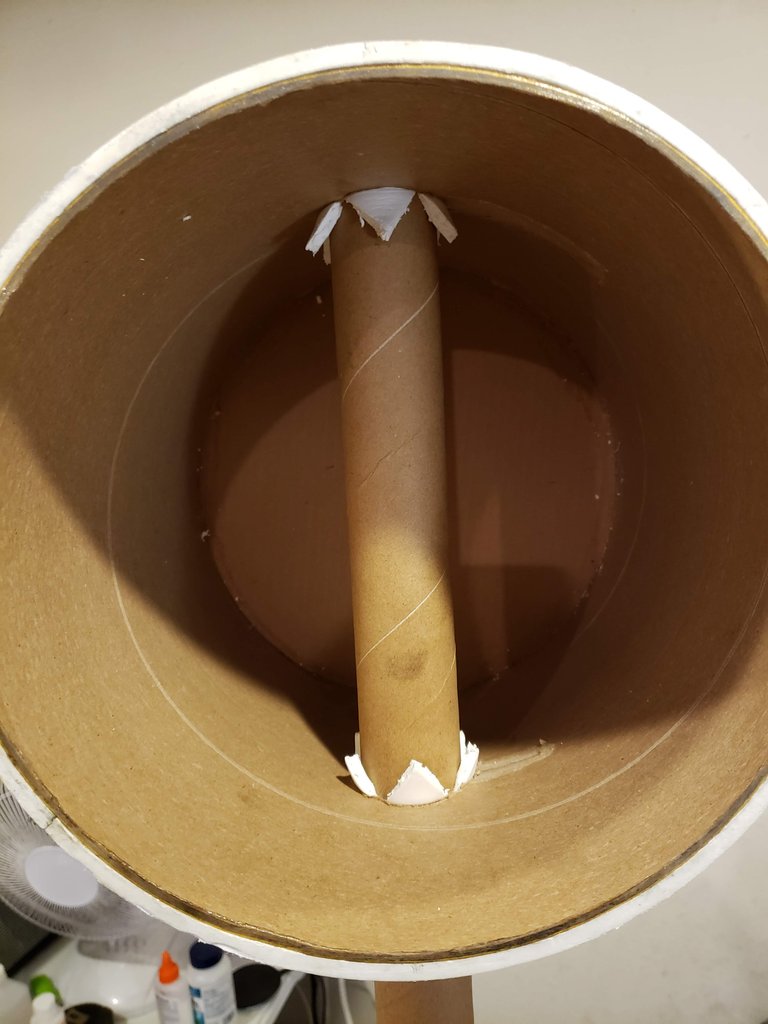
Don't get me wrong, I will definitely need to permanently affix this to the handle. Otherwise some injuries or damage can occur.
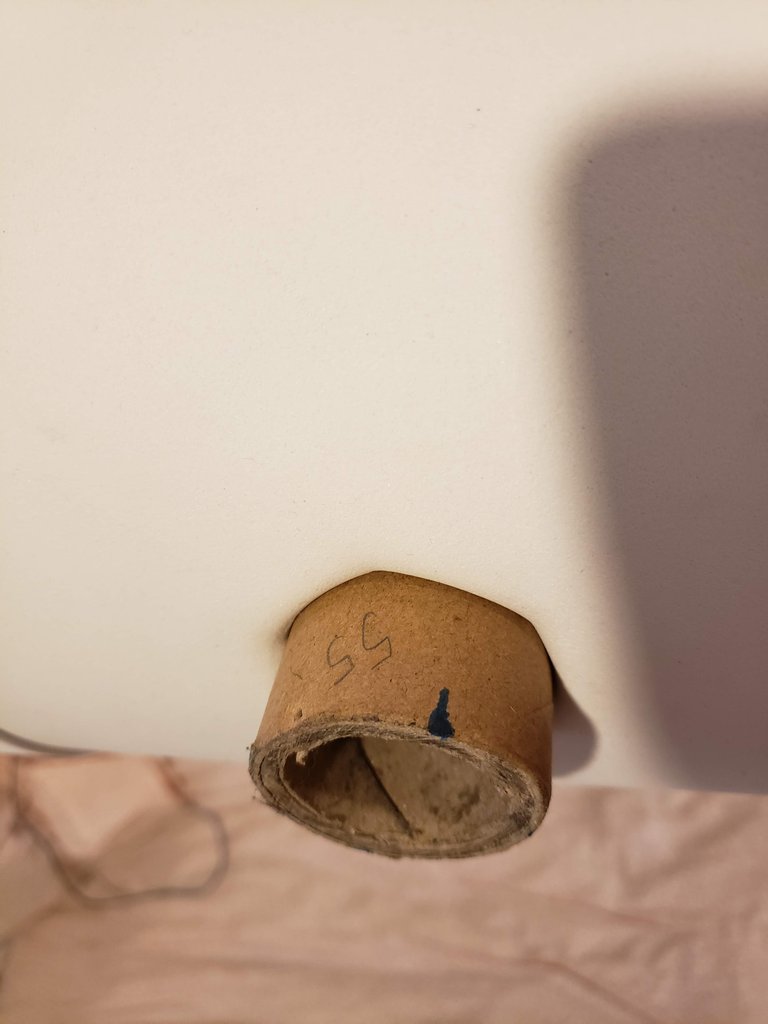
I decided that I would drill a couple of holes, the thickness of a barbeque skewer. I have a bag of wooden skewers that I could pull from.
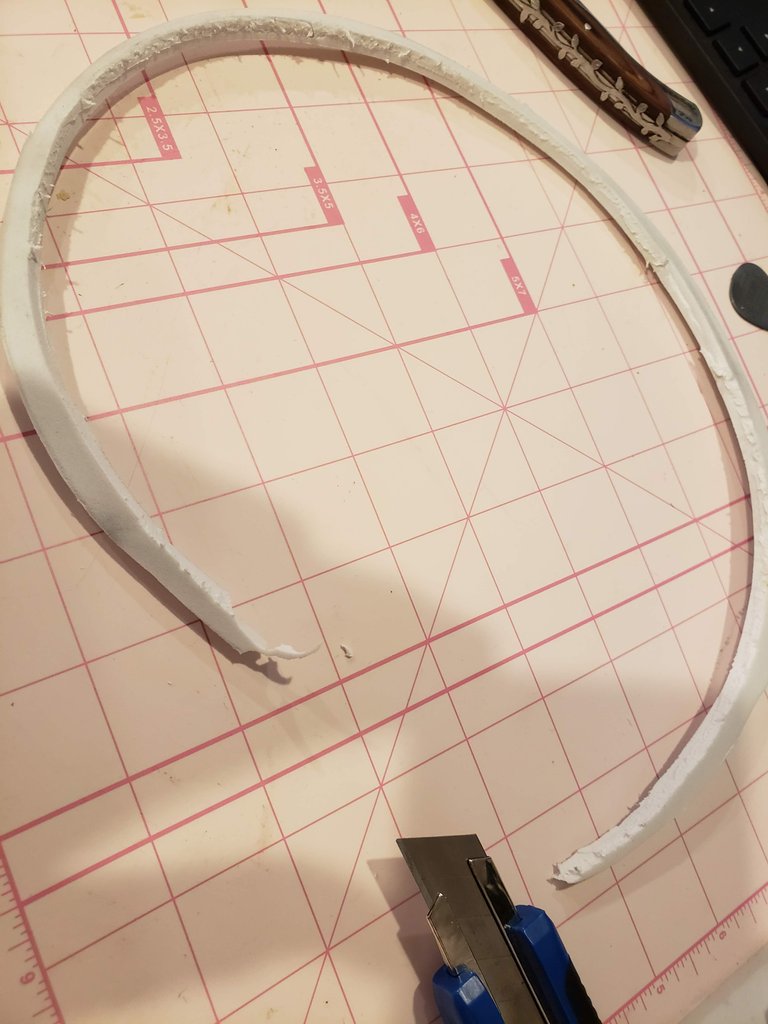
I cut this curved strip from some foam scraps.
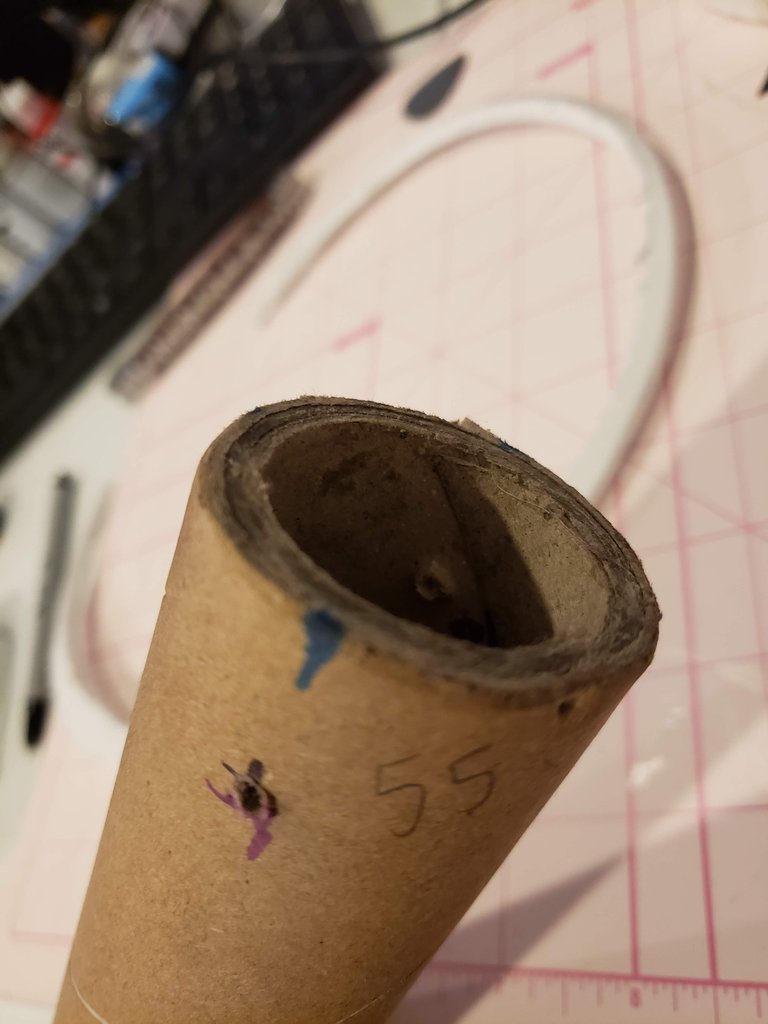
After drilling the holes into the handle I pushed the skewer through and clipped the ends but left some extra length.
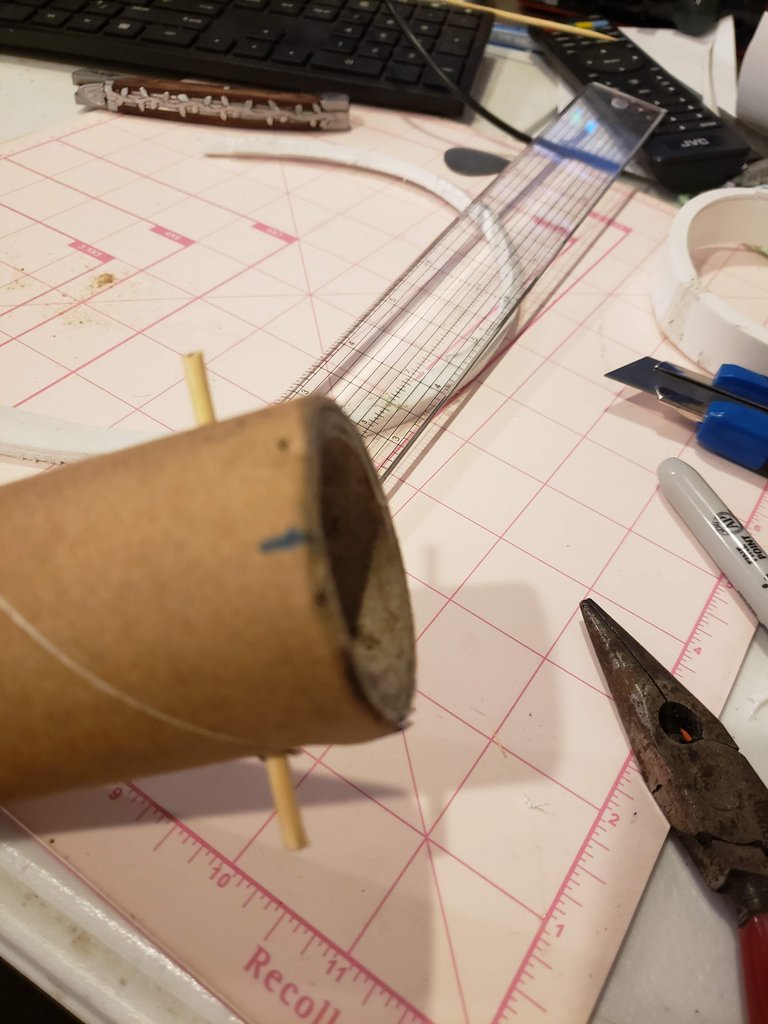
That curved strip was then rubber cemented to the handle just under this wooden peg.
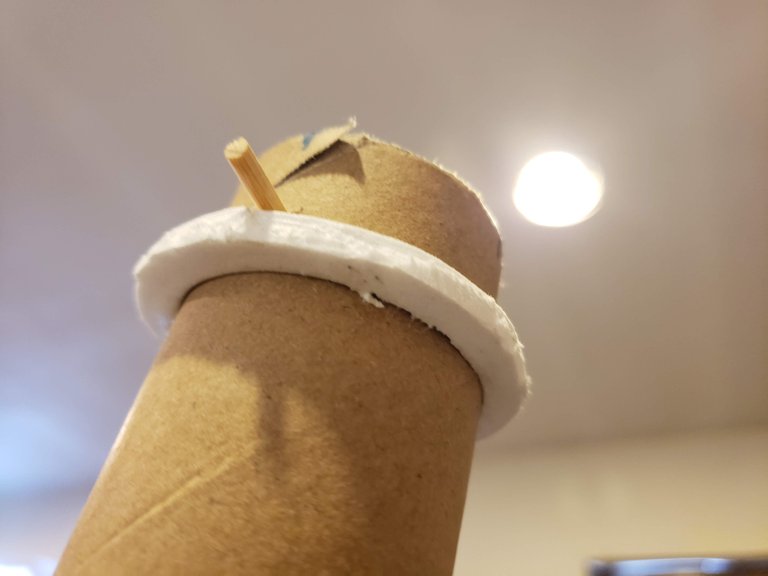
Also threw some glue into the mix after the mallet head was pushed up firmly against the ring and peg.
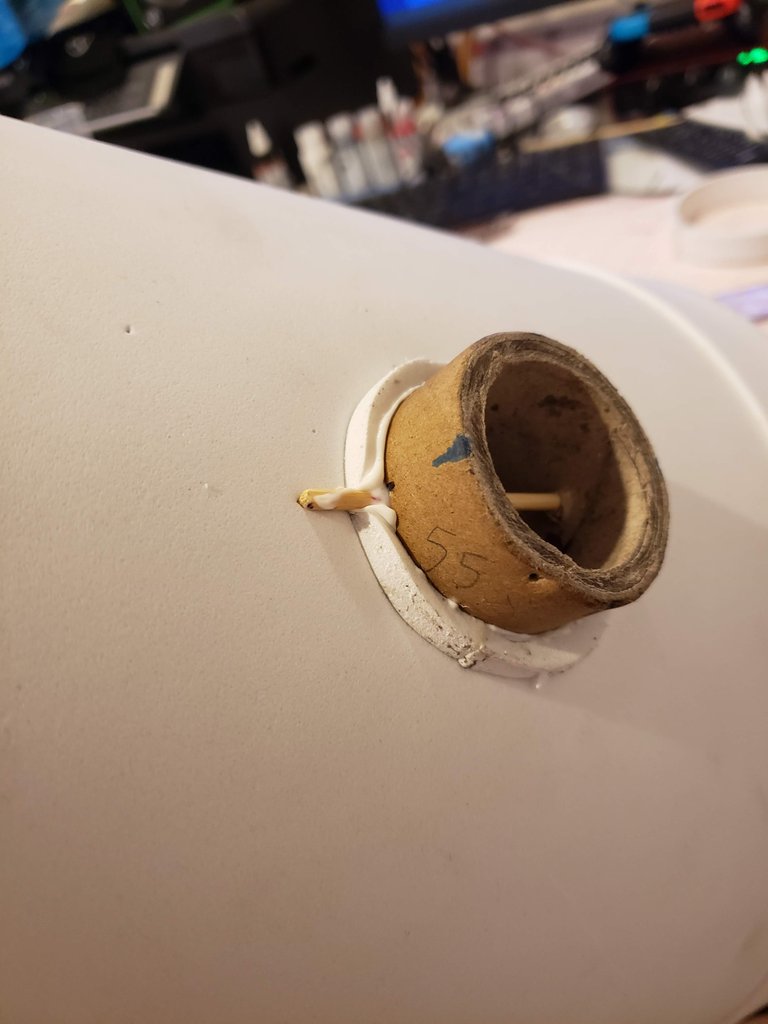
Here is what it looks like in its final position before it's permanently stuck this way.
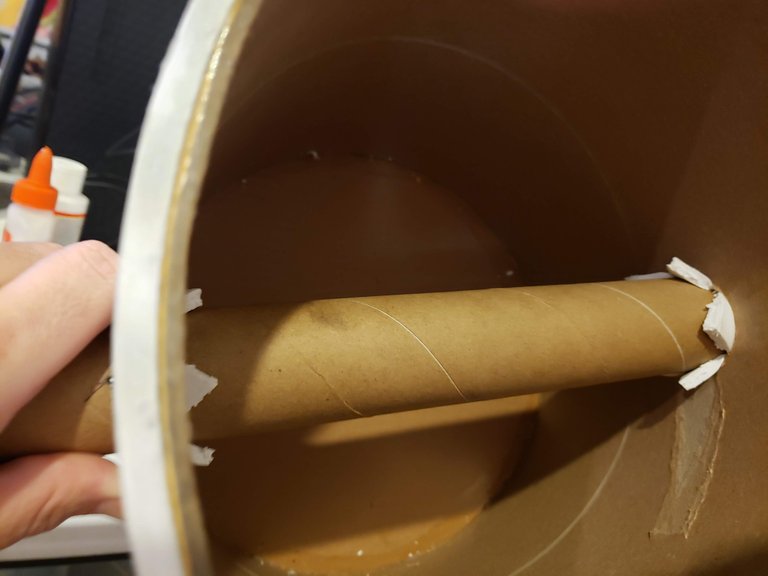
The other hole that was drilled was positioned to be at the other side of the mallet head. Once in place I could push another skewer through.
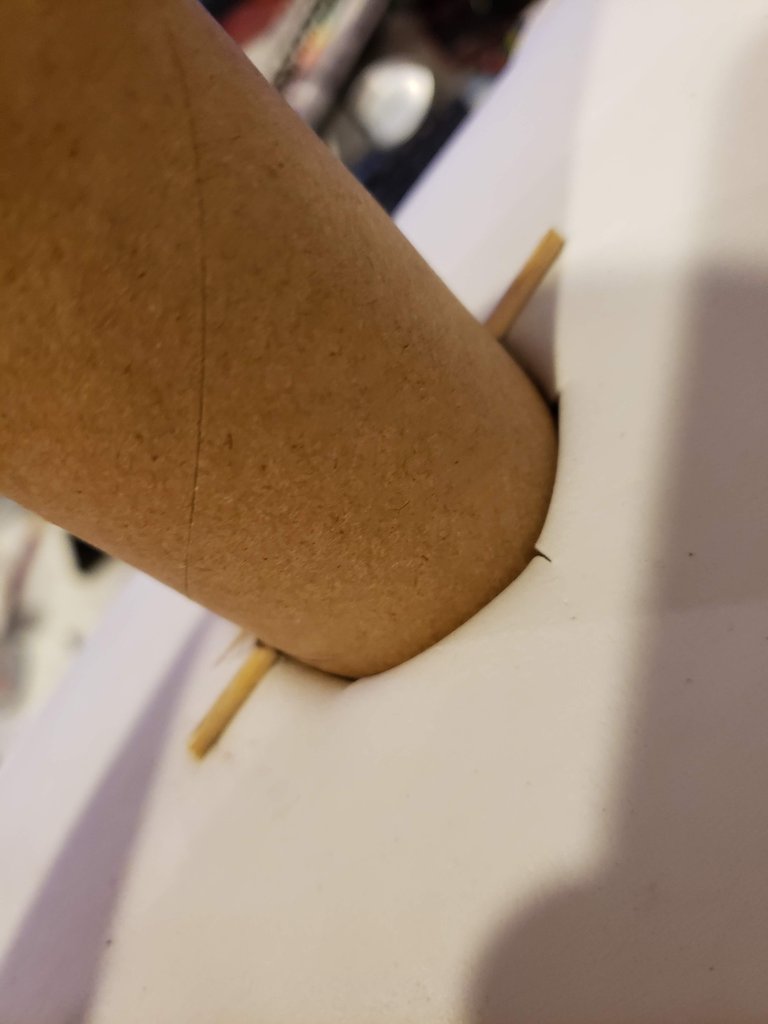
I applied more glue in the openings and pegged areas and set aside to dry.
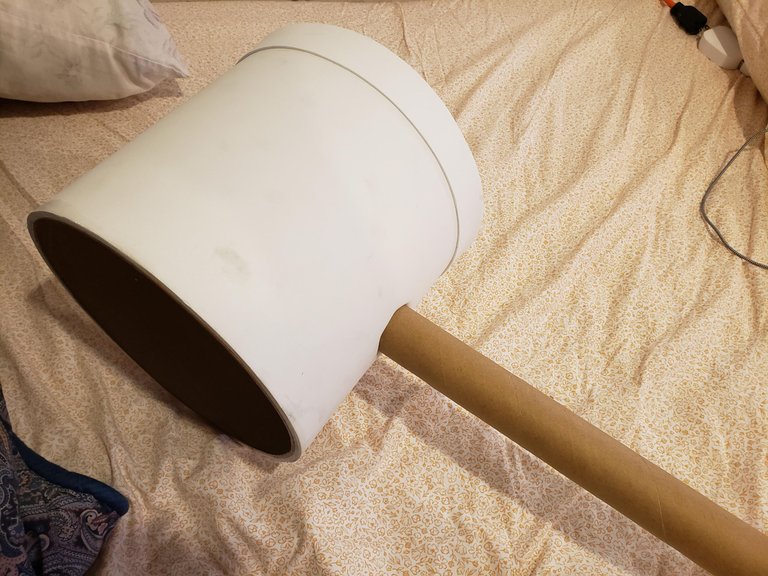
This concludes part three. In the next one, I'll show you how I wrapped the handle and blended the two parts together to begin looking like one object.
Come back for part four!

@SaintChristopher
[howz about a follow, toots?]
See The Whole Process
Part 1: Mallet Head & Handle
Part 2: Foam Application to Head
Previous Prop Builds
HEY Y'ALL! My Second Build is Miss Minutes from Marvel's Loki
I Tried My Hand At Prop Making.


