Part Eight
This prop is ALMOST finished!
(Look here for the previous part to this build)
This is where I left off from before. Save for that bit of handle at the top, the whole hammer has been painted.
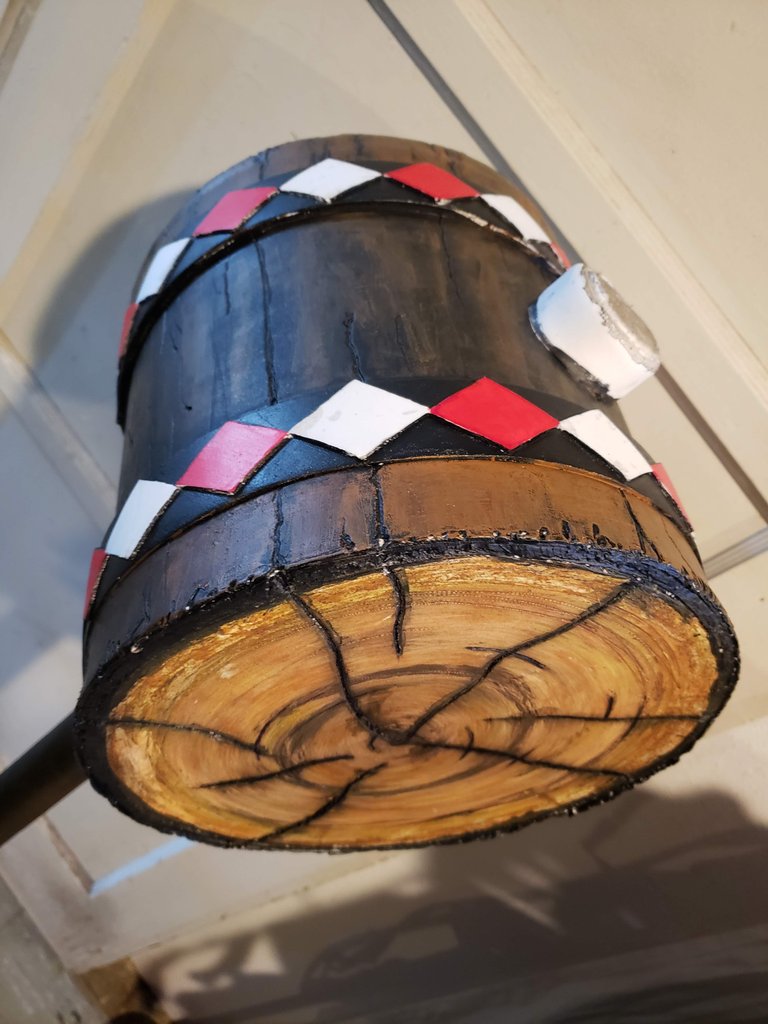
A few posts back I lined the inside of the mallet head with foam.
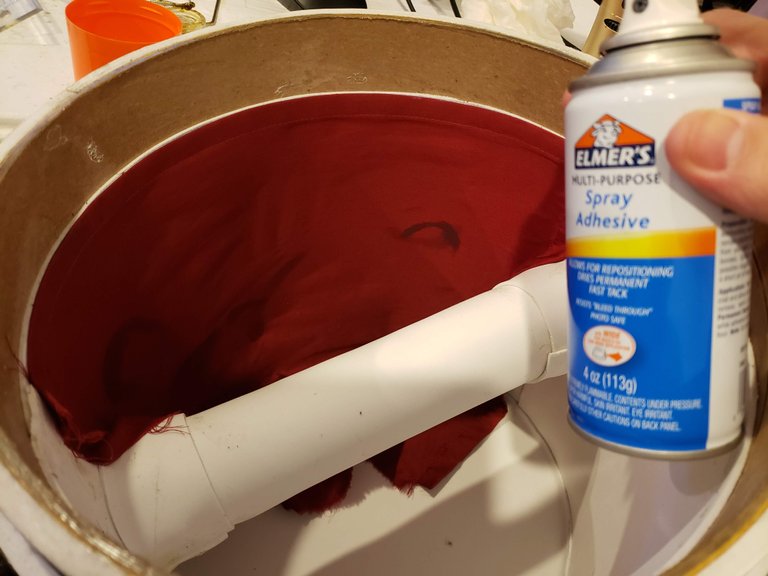
Here I am taking an old bedsheet that isn't used anymore and using them over the foam. If I were to do this again, I would use a fabric that is a bit thicker.
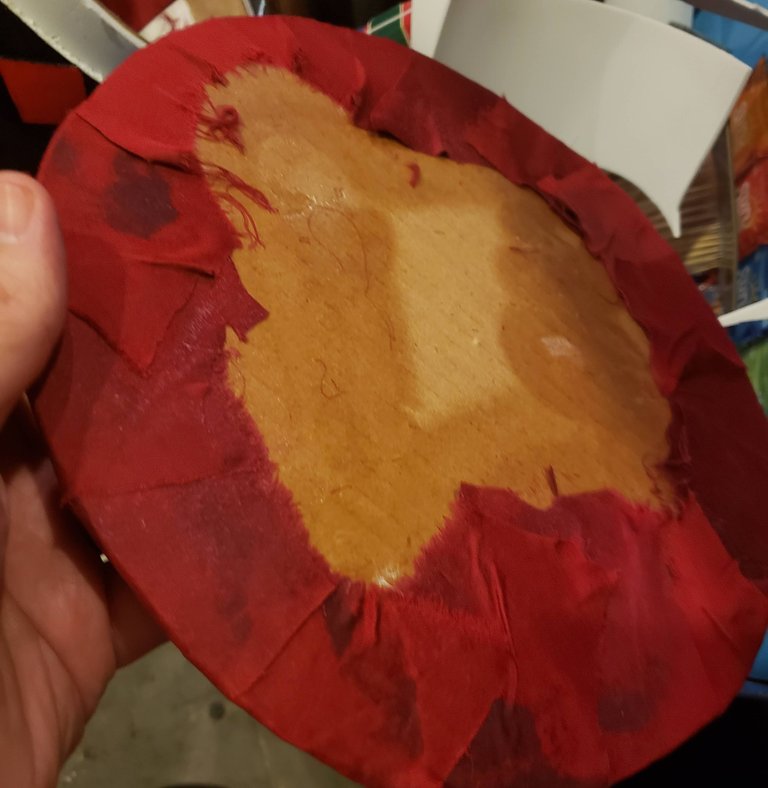
This inside stuff was a last minute addition to the overall plan to make it more useful and more different and more unique.
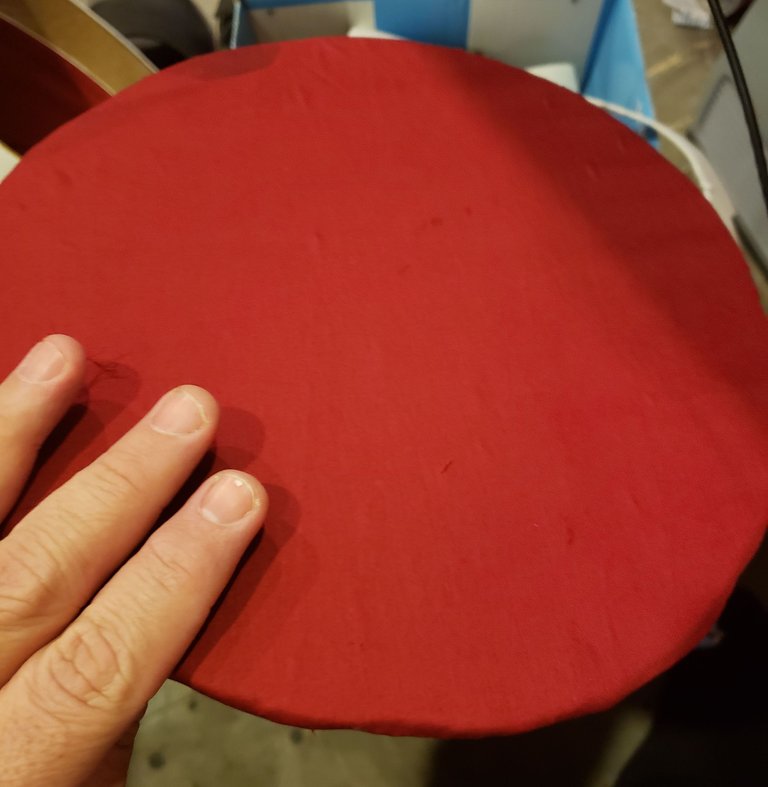
I just slipped this circular cutout down at the bottom to add a bit more support to the bottom of this container.
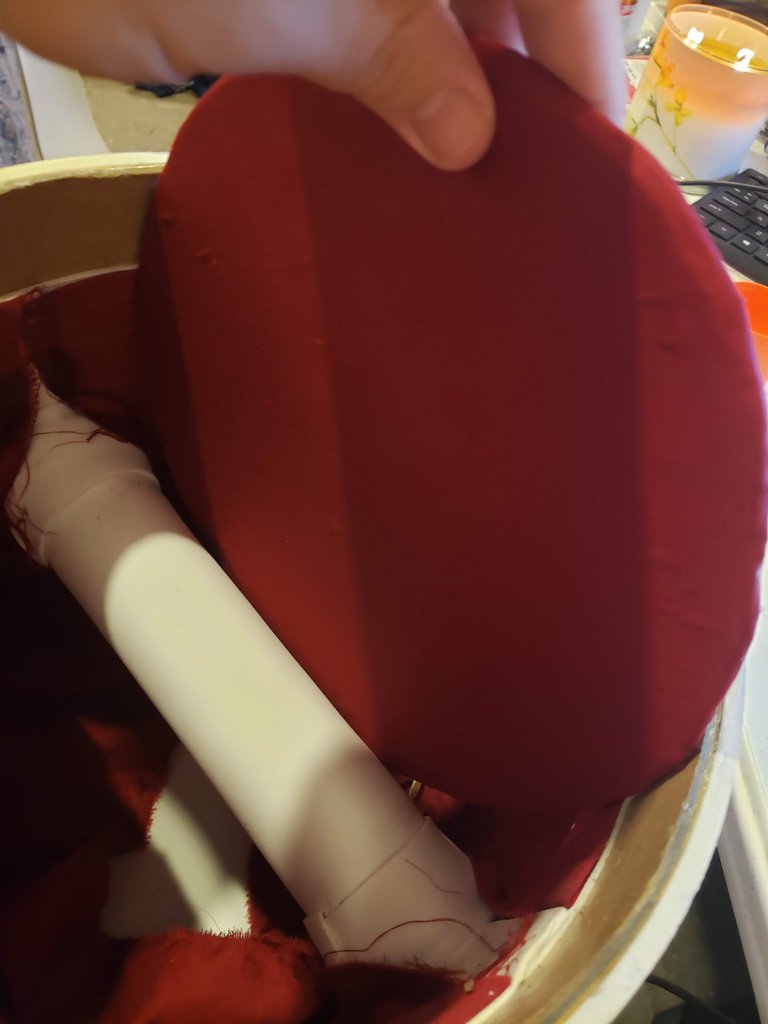
The spots were places where the spray adhesive got a little wet and this fabric was pretty thin. The inside will need some dry time.
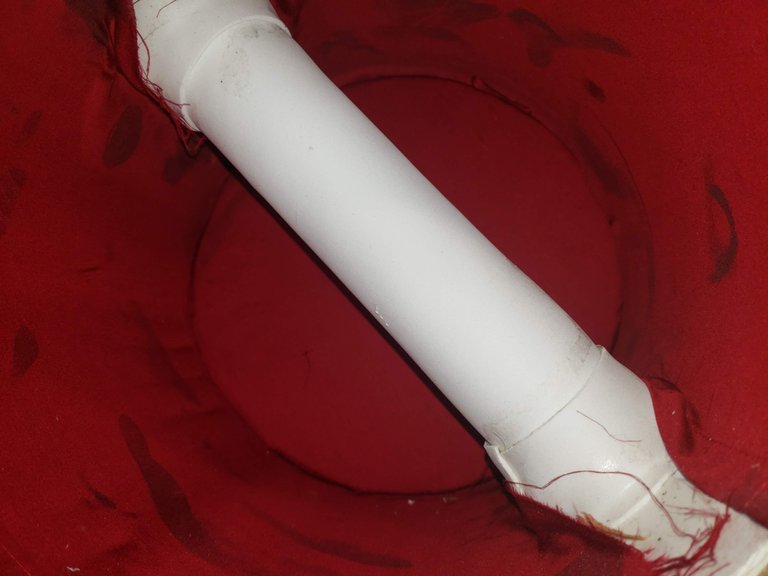
Some remaining strips of this fabric go around the handle so it all matches.
LOL
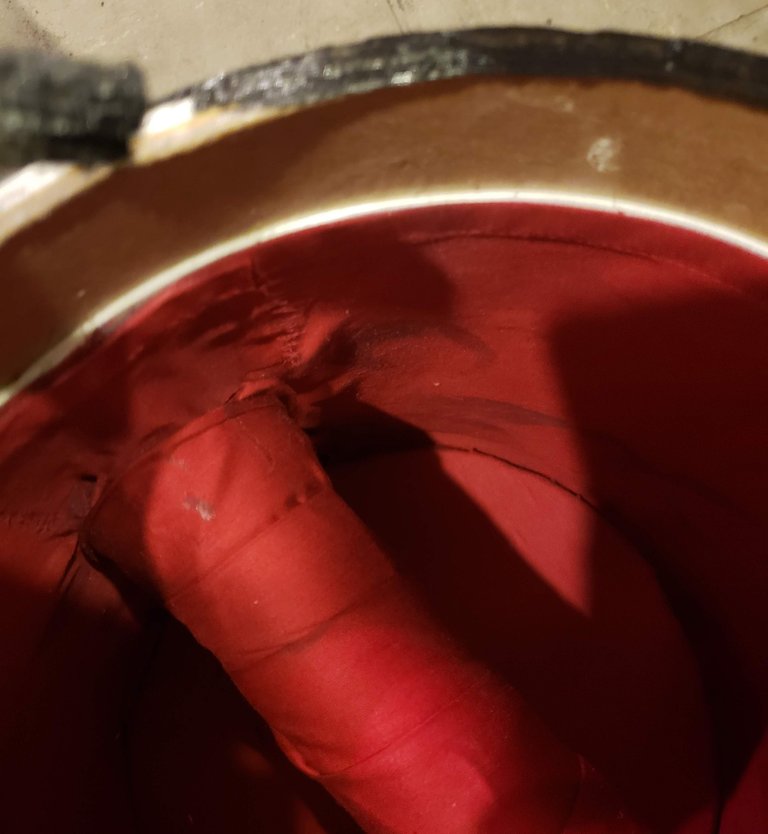
Now it's a soft interior and I could have stopped there,
but I wanted to keep doing things...
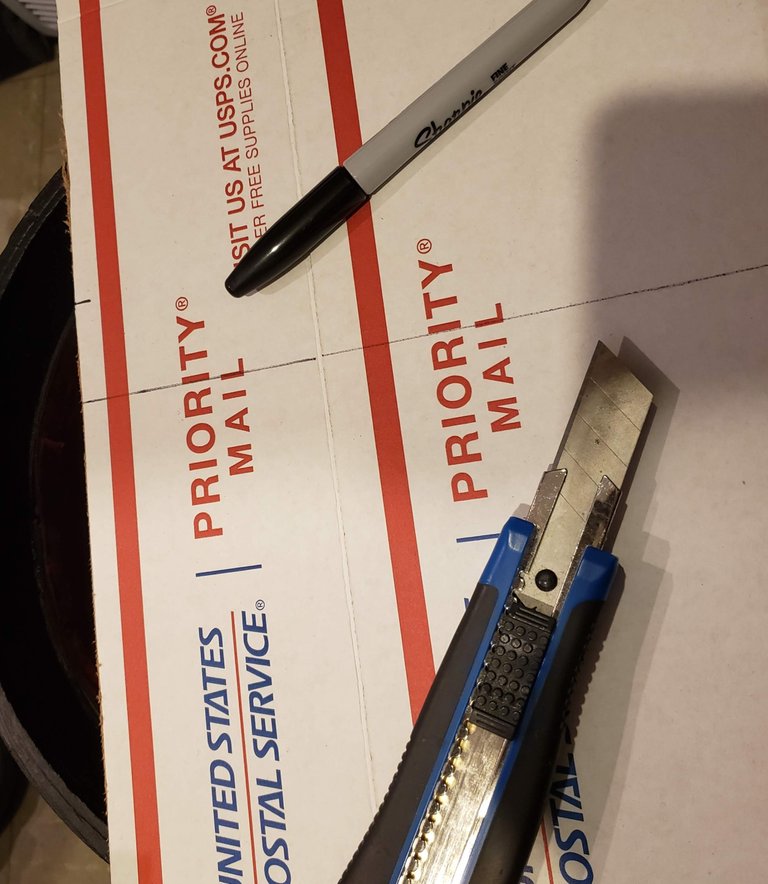
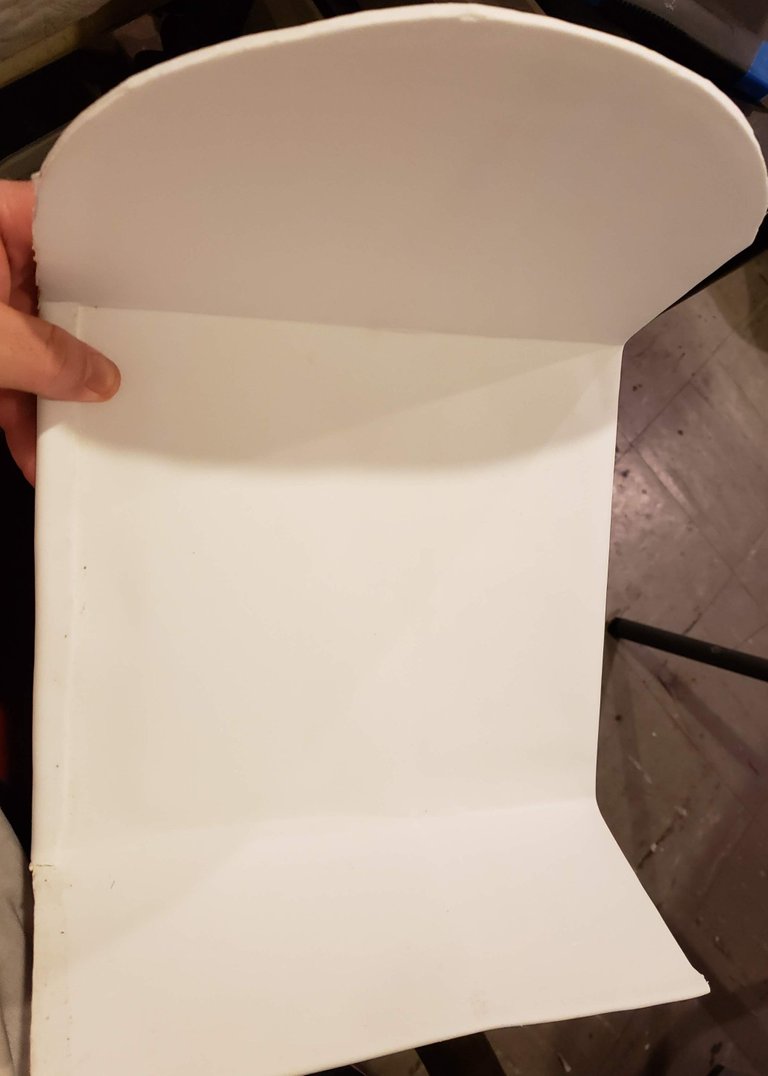
I cut this shape here to fit as a kind of compartment.
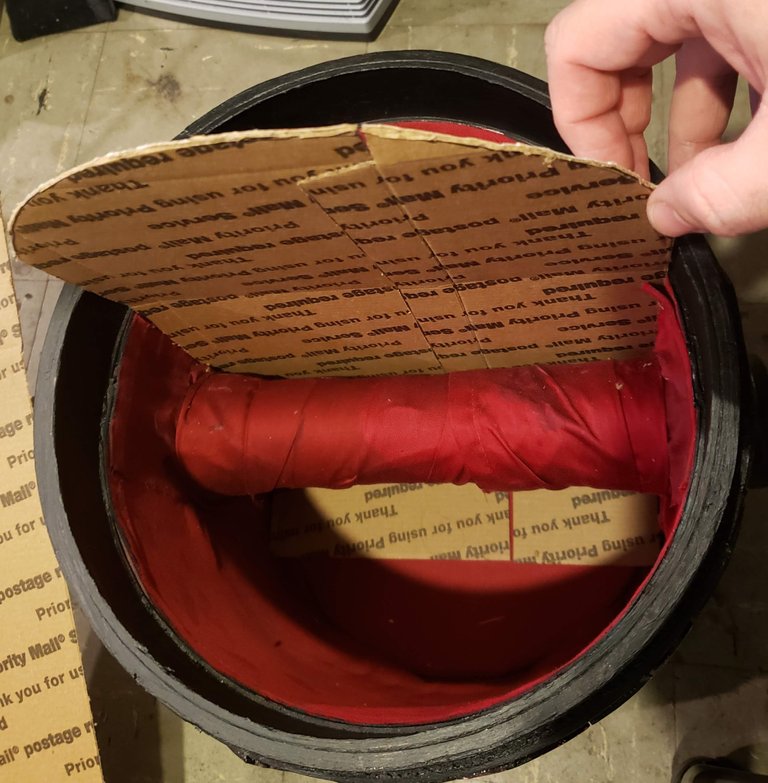
But I can't put it in like this, it needs foam and fabric.
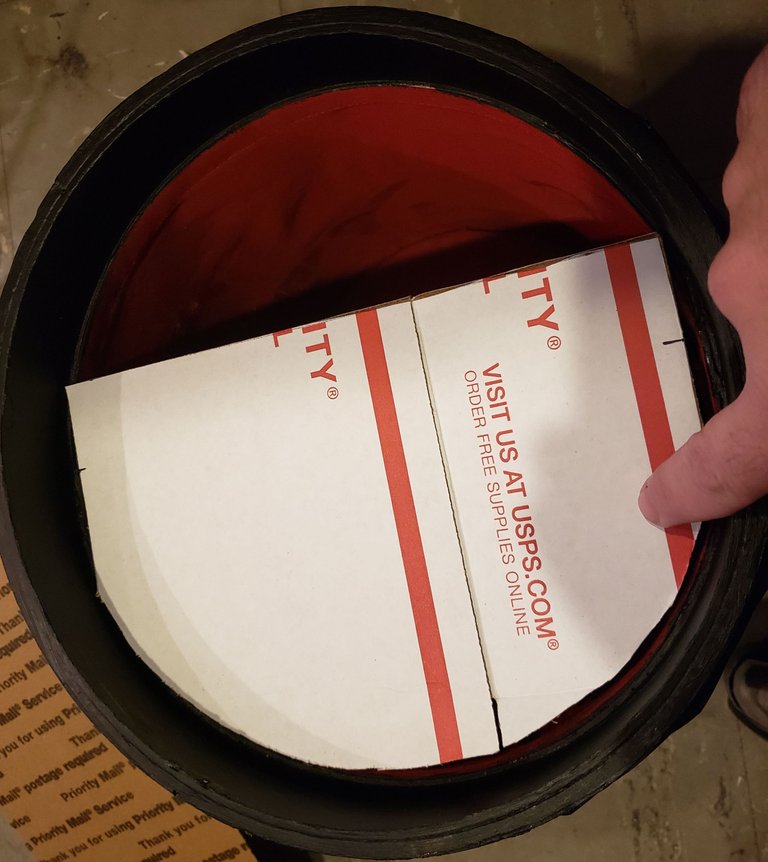
I also cut this to make another division. So now there are two small compartments under the lid.
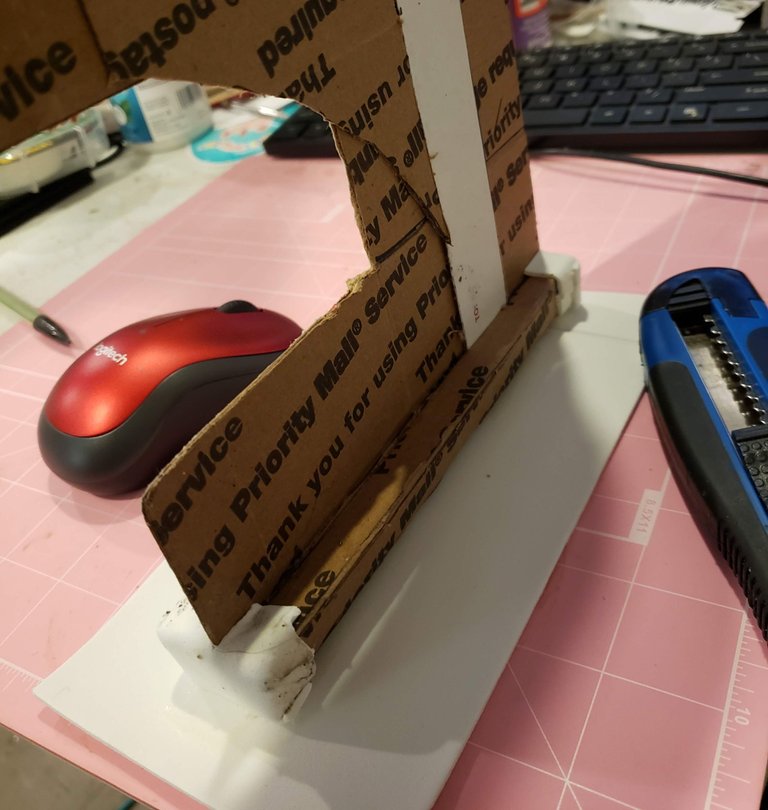
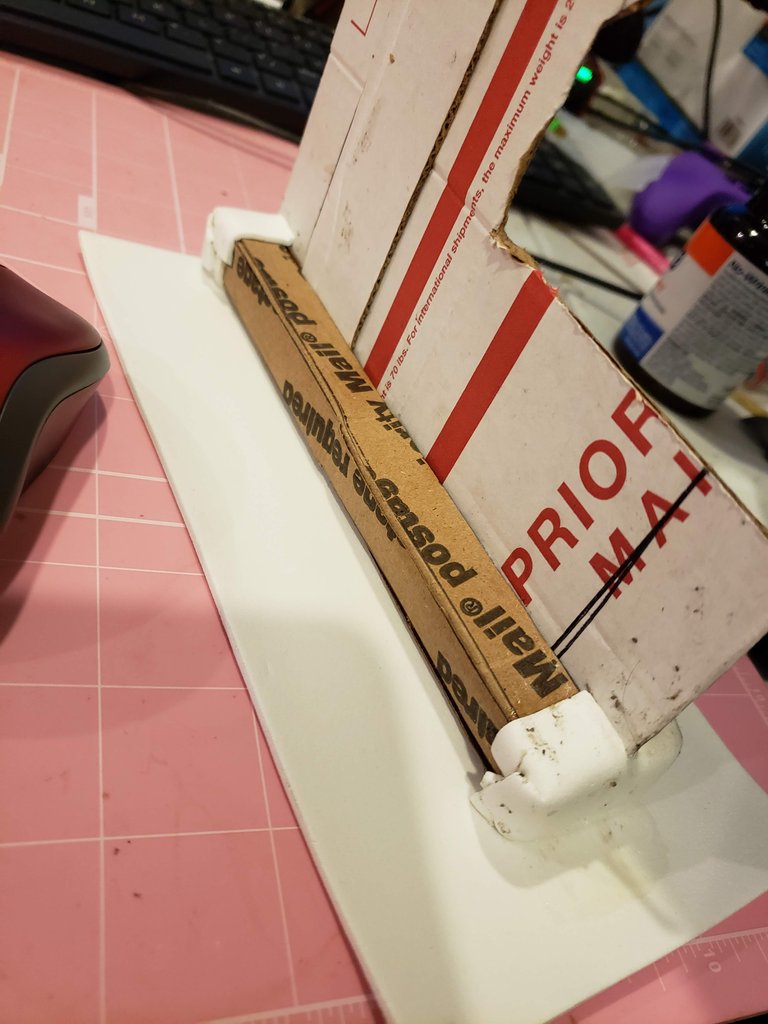
Now covered in the thinnest EVA foam I have.
I also needed a couple of magnets
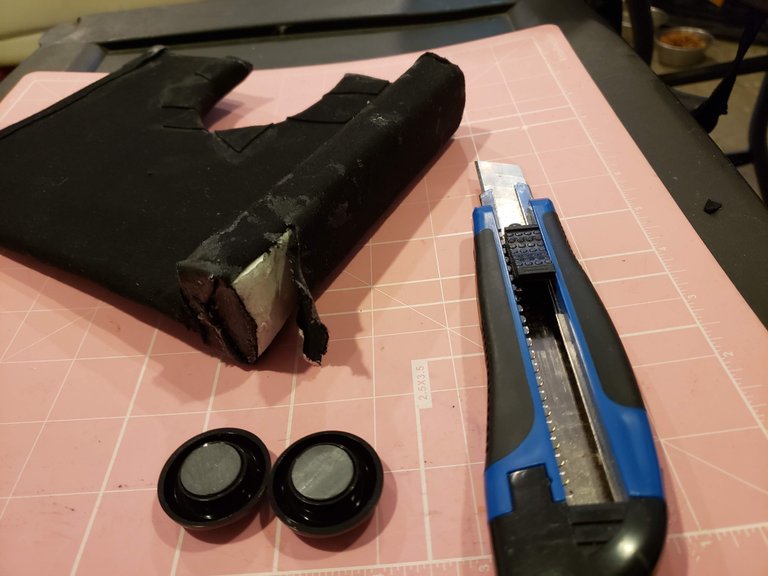
One for the top of this divider and the other will go into the compartment lid.
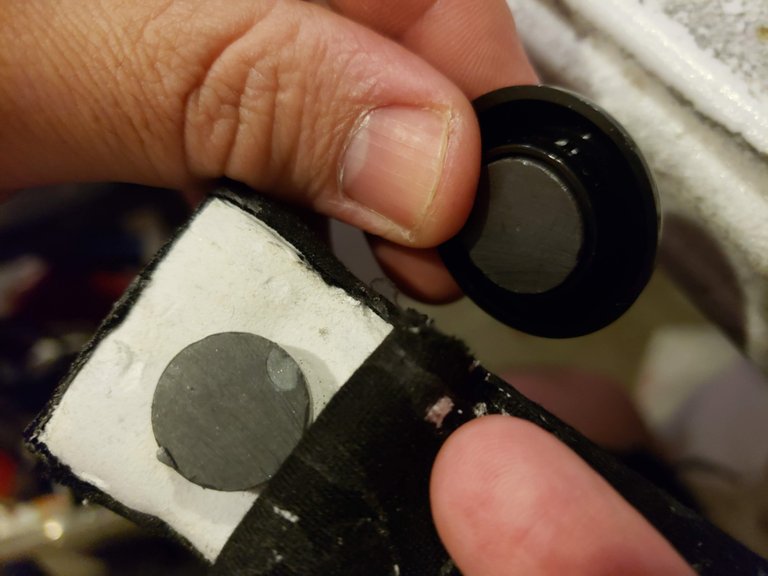
I got these two cardboard pieces covered in foam and two kinds of fabric.
I will need to clean those glue spots.
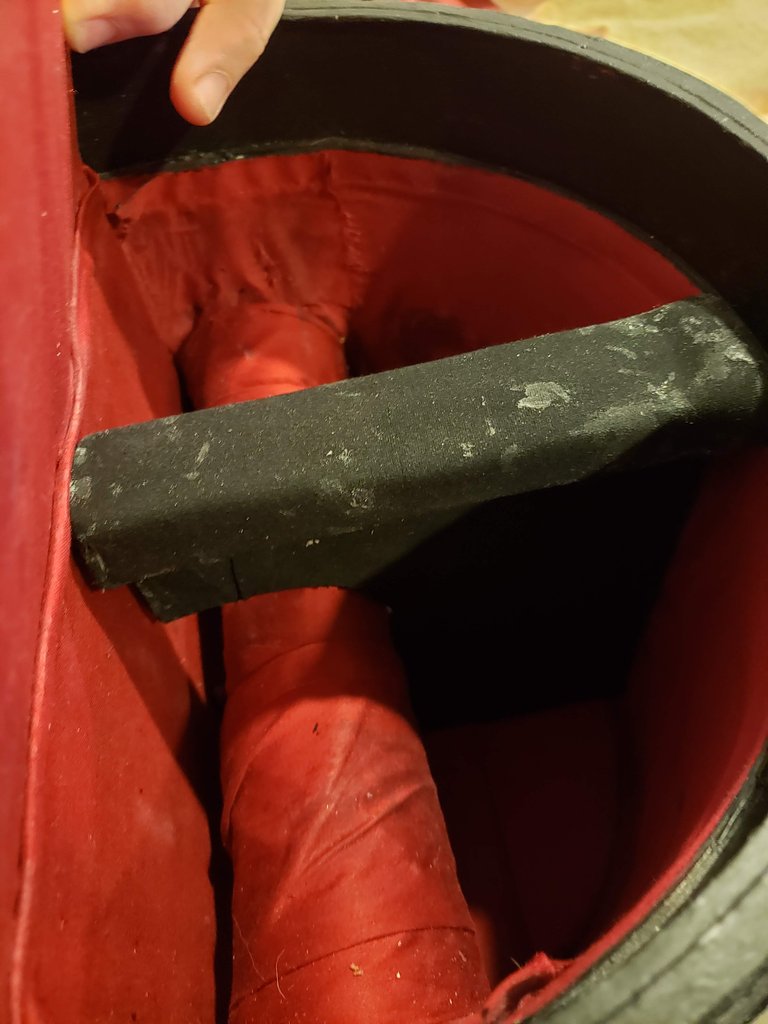
Since I didn't like how the red took to the adhesive, I also used this thicker, stretchier black fabric.
It also lends to the two tone Harley motif.
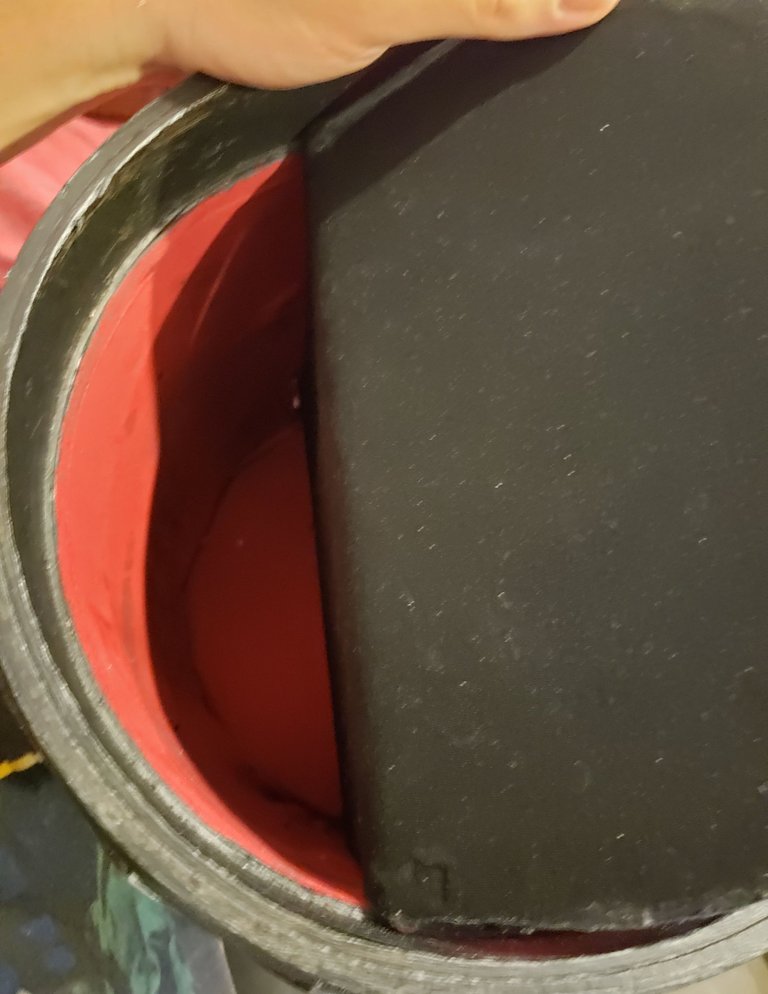
As if it wasn't silly enough, I added this to the top...
Made from my thickest EVA foam.
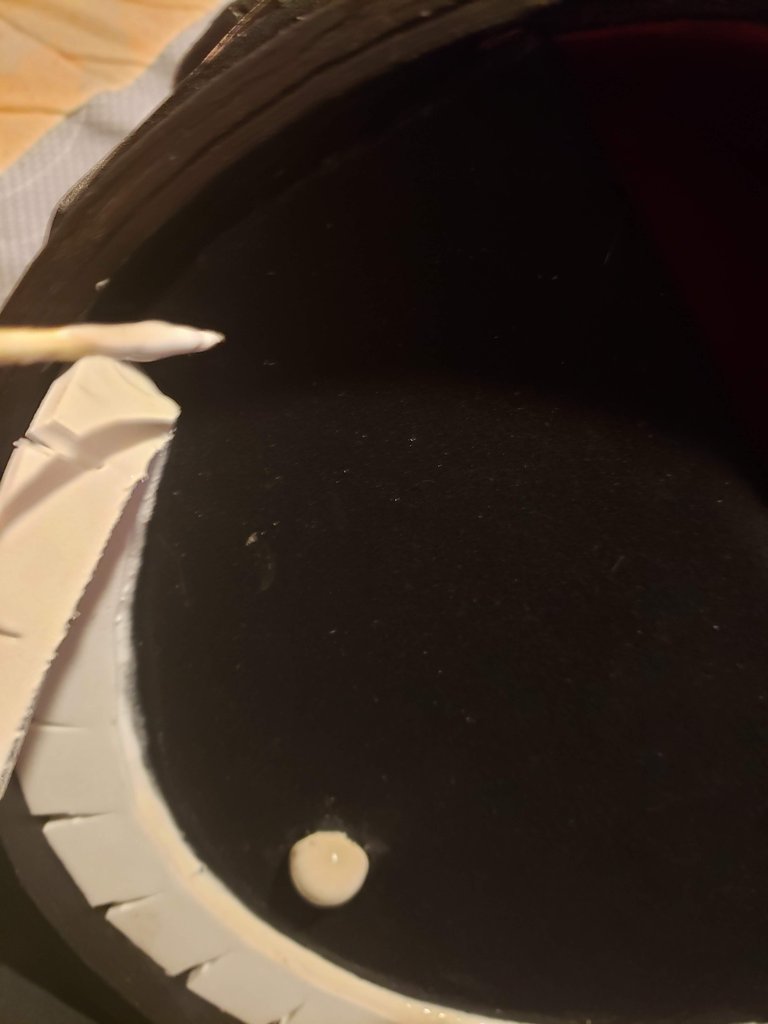
It's a full grin that I am using on the compartment lid to make it fit snuggly around the inner edge.
This wooden tack/pin will serve as a knob but will be made to resemble a nose.
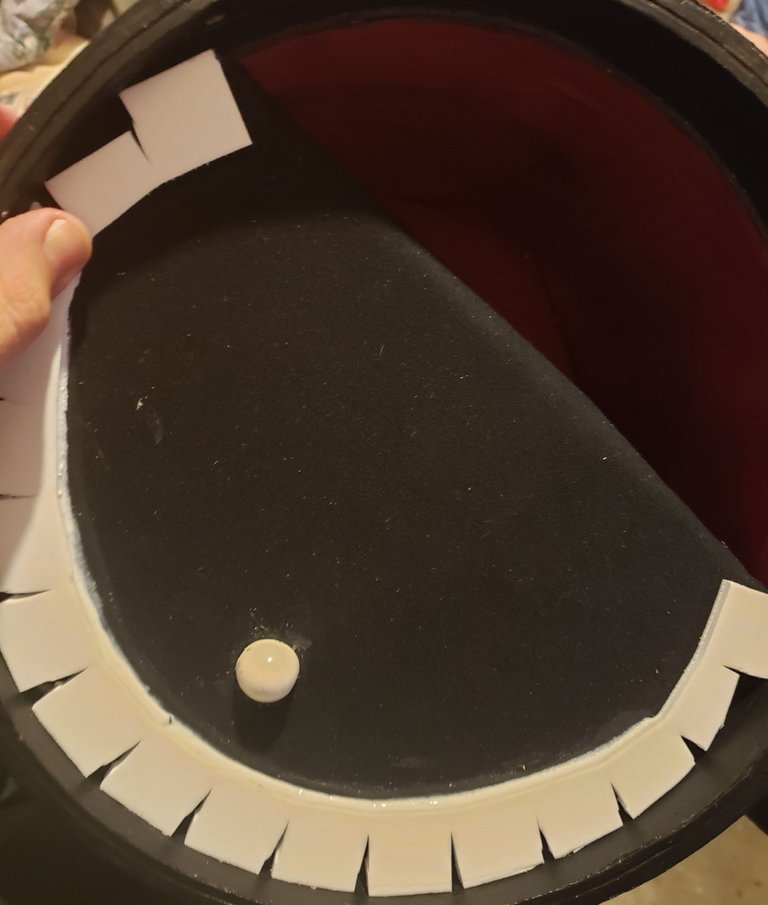
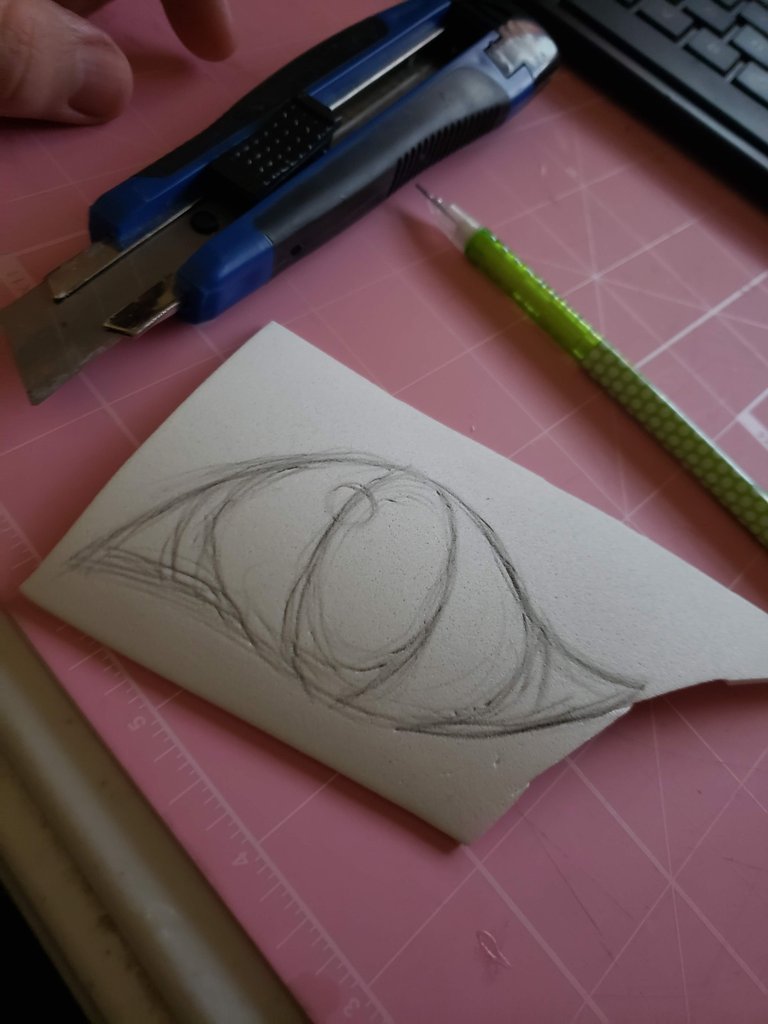
Next I needed some decorative eyes. Very cat-like eyes. I cut each component of the eyes so I can glue them all on in a stack, to give them some depth.
Then I needed some ears, since it looked like I'm going with a cat theme on the inside.
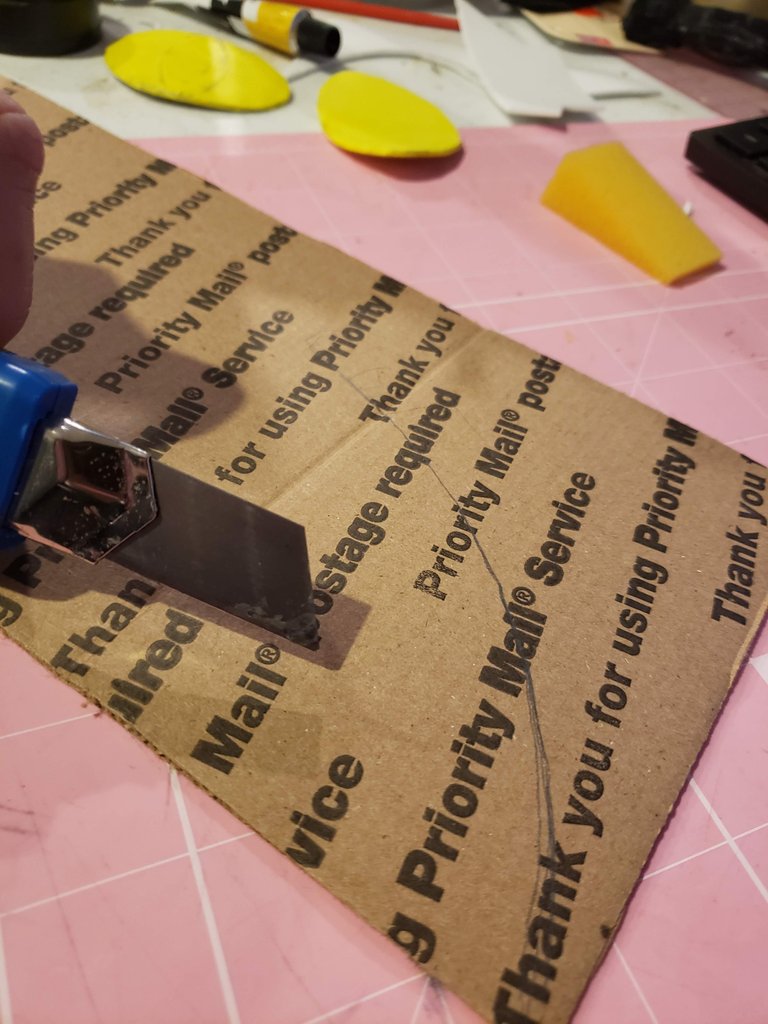
Soft, Black Kitty... needs foam and cloth.
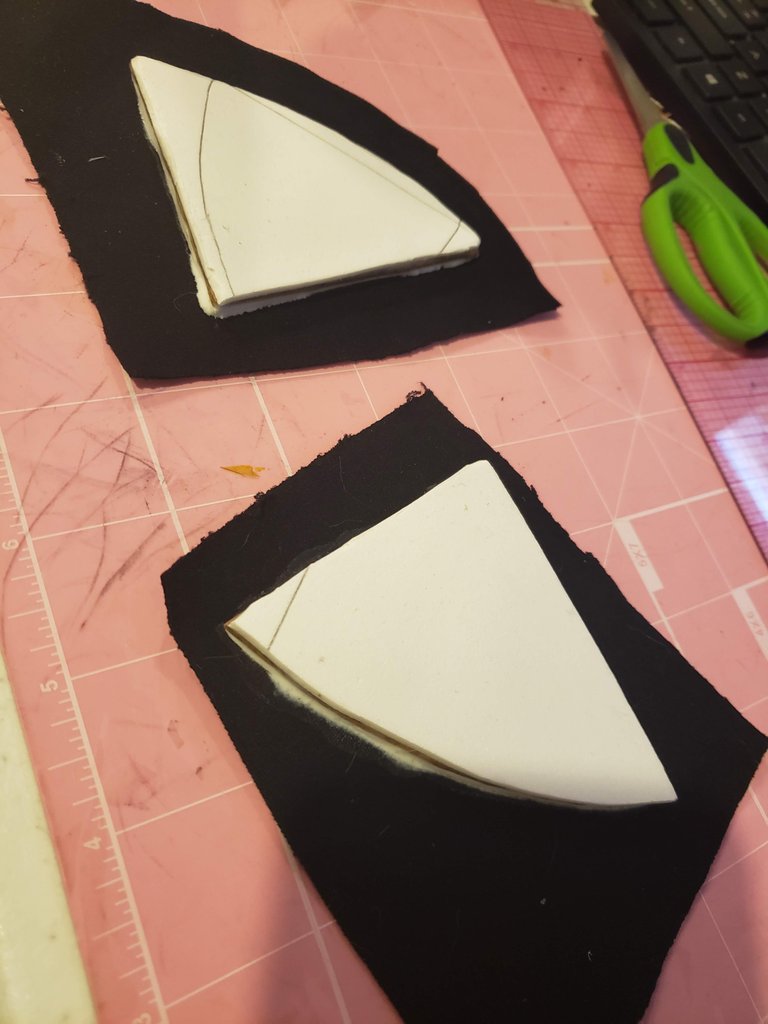
Making sure they fit before gluing them on for real.
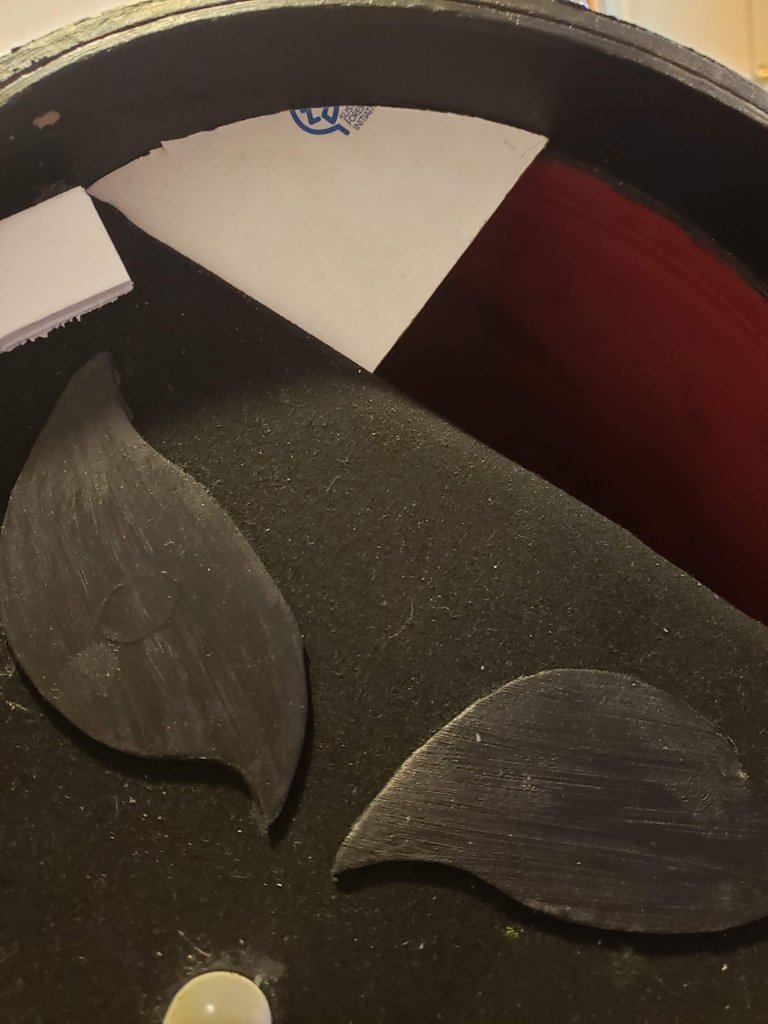
I want them to be flappy so now they have soft hinges. Black elastic for the hinges and thin foam over the top to be the pink of the ear. These needed time to dry.
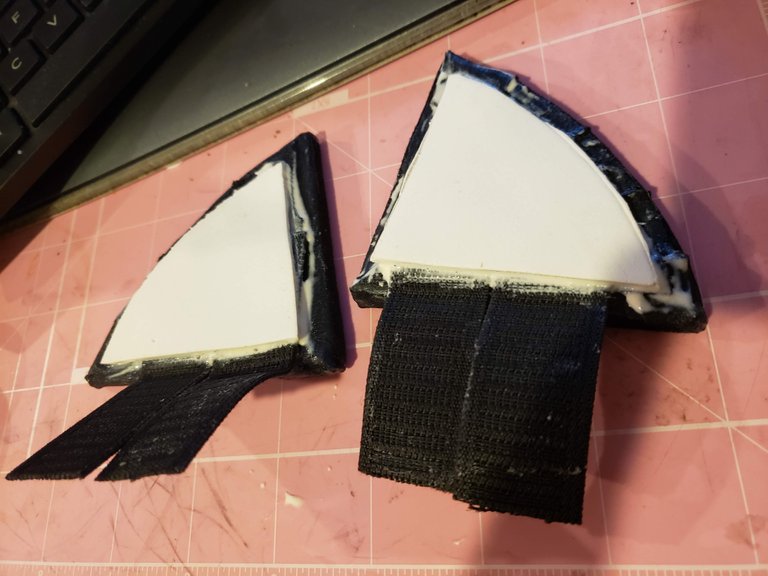
Now that they are attached see how they flip?
LOL
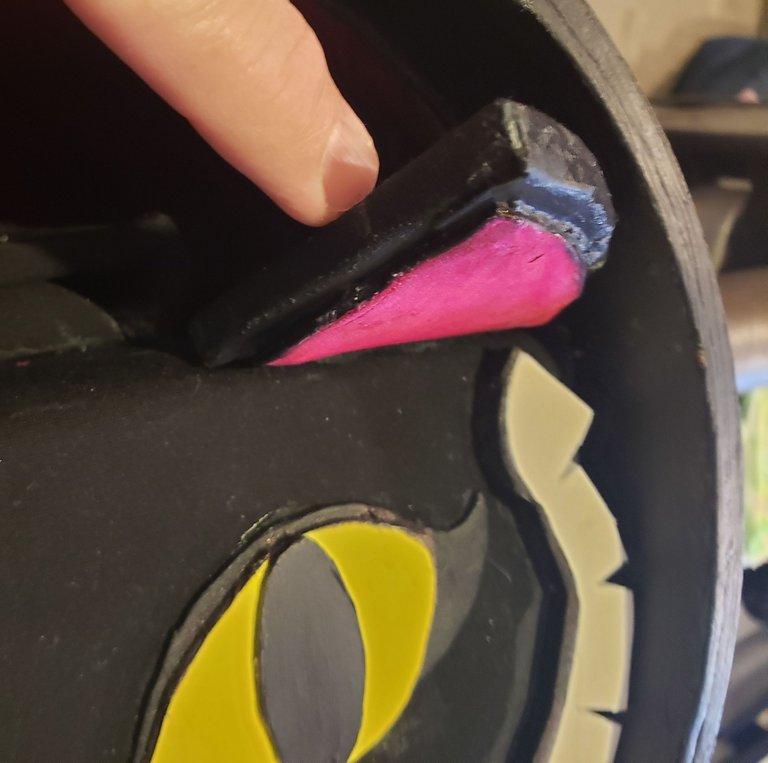
Also, I didn't get good shots of the step where I made the phone pouch that you can see between the ears.
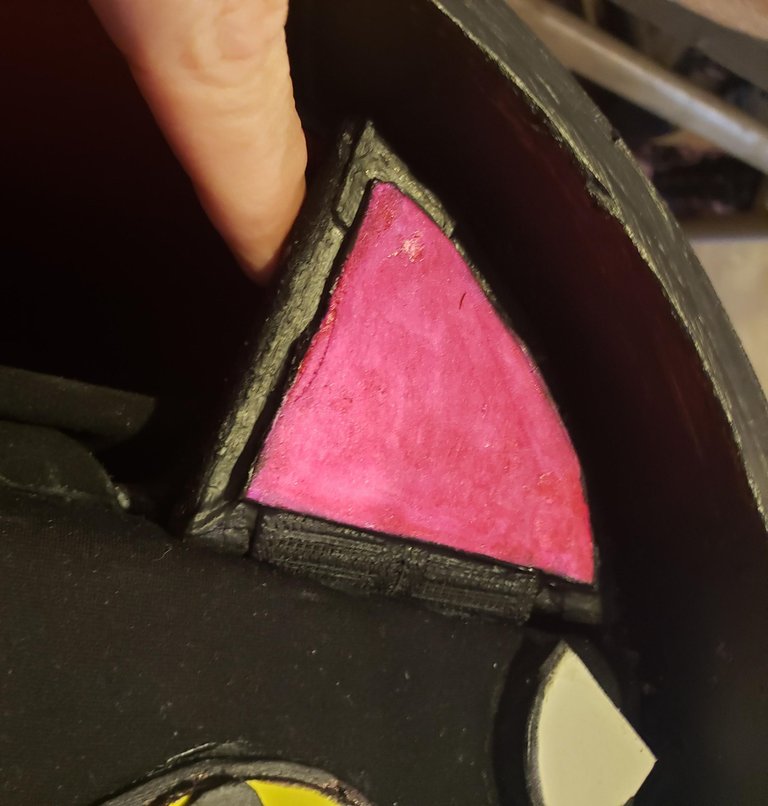
Now to open the compartment you grab the nose.
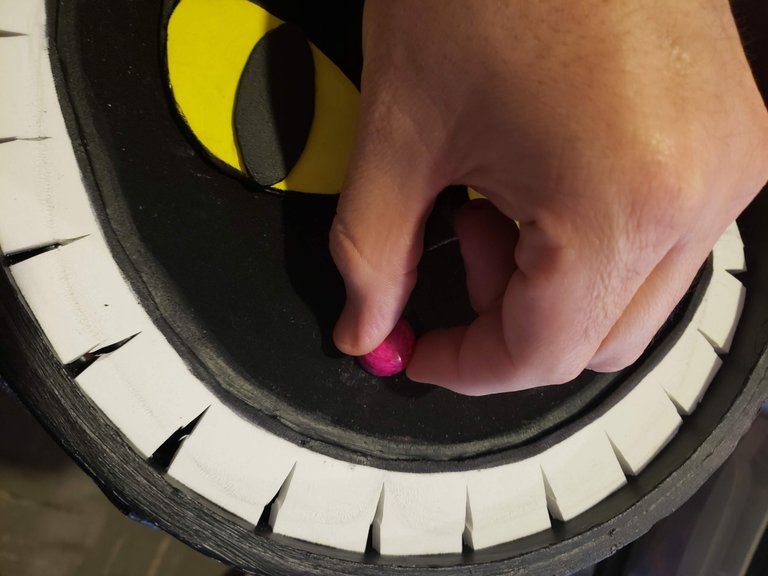
The magnet holds the lid down.
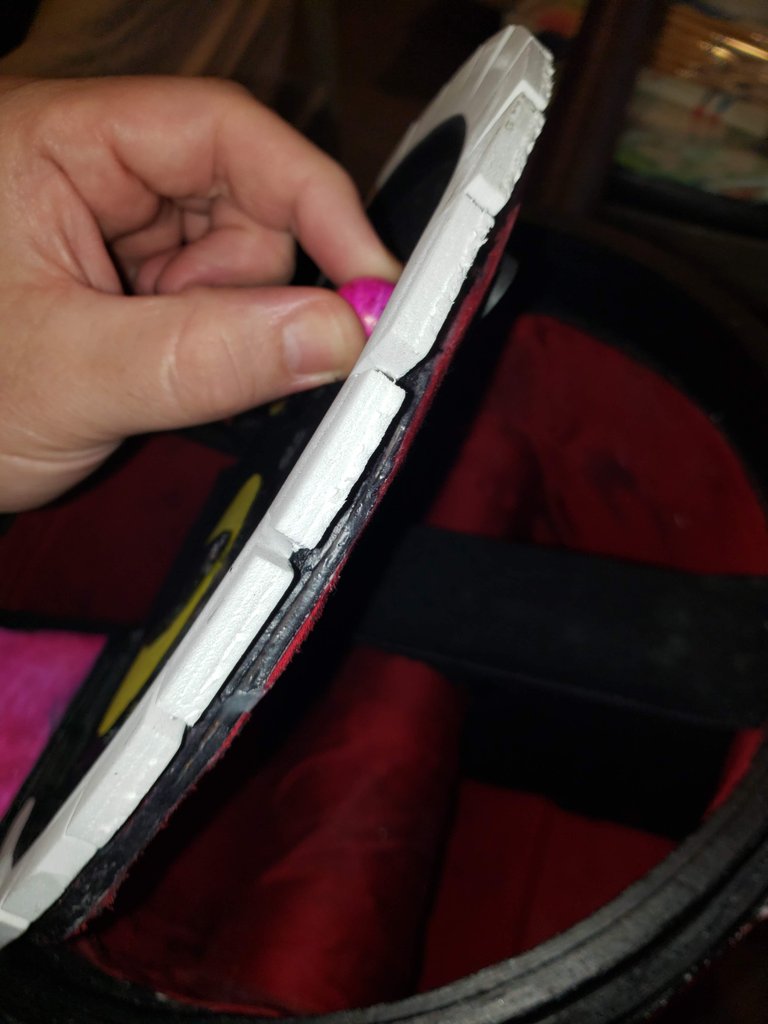
I added a coat of Mod Podge on the foam parts.
This made the teeth stronger AND even gave the teeth a more toothy color.
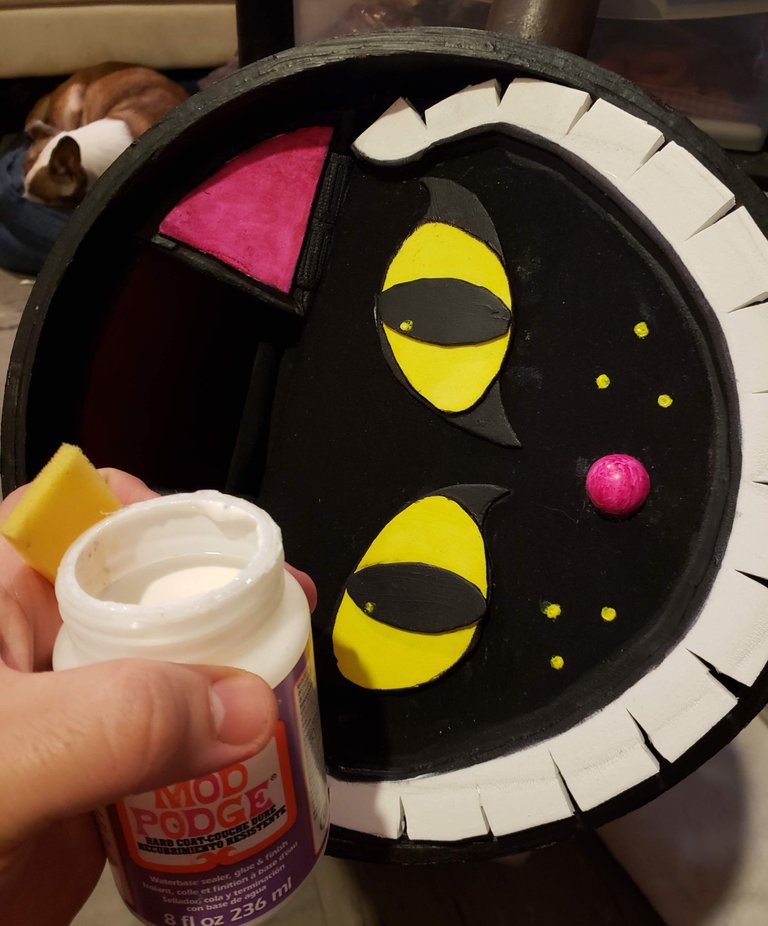
Now there are two smaller compartments under the cat lid and a larger one over the ears, with a small phone pocket.
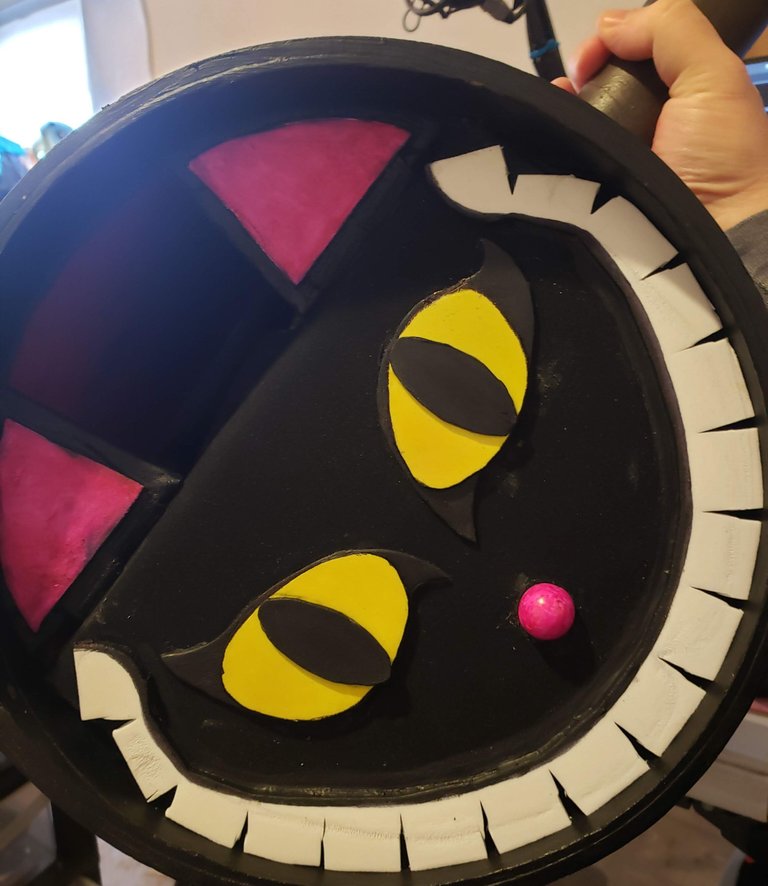
A stealthy purse/pocketbook/satchel/backpack sort of thing. And otherwise it's your primary prop.
This concludes part eight.
In the next one, I return to the outside of the prop to put on the finishing touches and then this prop build will be complete!
Come back for part nine!

@SaintChristopher
[step right up. test your strength]
See The Whole Process
Part 1: Mallet Head & Handle
Part 2: Foam Application to Head
Part 3: Setting the Handle into the Mallet Head
Part 4: Wrapping the Handle
Part 5: Interior and Exterior Foam Work
Part 6: Applying Paint
Part 7: Finishing Up Exterior Paint
Previous Prop Builds
HEY Y'ALL! My Second Build is Miss Minutes from Marvel's Loki
I Tried My Hand At Prop Making.