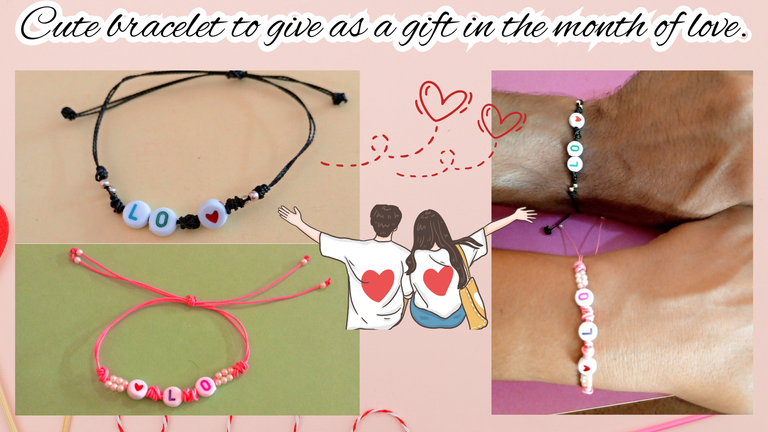

Saludos para todos mis apreciados artesanos de esta linda comunidad HiveDiy, el día de hoy vengo a compartir con ustedes una pulsera que hice para este mes del amor y la amistad, este proyecto me animo mucho porque desde hace un tiempo he querido hacer mis pulseras, y en estas fechas donde se ve mucho el compartir de detalles, me atreví hacer unas pulseras con un nudo que pensé que hacerlo era difícil, pero me resulto sumamente fácil, siguiendo algunos tutoriales pude aprender hacer el nudo franciscano un nudo que le da estilo y belleza a las pulseras, además es ideal para cerrar las pulseras, aquí les voy a mostrar el paso a paso de como fue que inicie este nuevo proyecto que me tiene entusiasmada.
Las fotografías que verán a continuación, fueron tomadas con mi teléfono modelo TECNO SPARK GO 2023.

Greetings to all my appreciated artisans of this beautiful community HiveDiy, today I come to share with you a bracelet I made for this month of love and friendship, this project encouraged me a lot because for some time I have wanted to make my bracelets, and in these dates where you see a lot of sharing of details, I dared to make bracelets with a knot that I thought it was difficult to do, but I found it extremely easy, following some tutorials I could learn to make the Franciscan knot a knot that gives style and beauty to the bracelets, it is also ideal for closing the bracelets, here I will show you the step by step of how I started this new project that has me excited.
The pictures you will see below were taken with my phone model TECNO SPARK GO 2023.

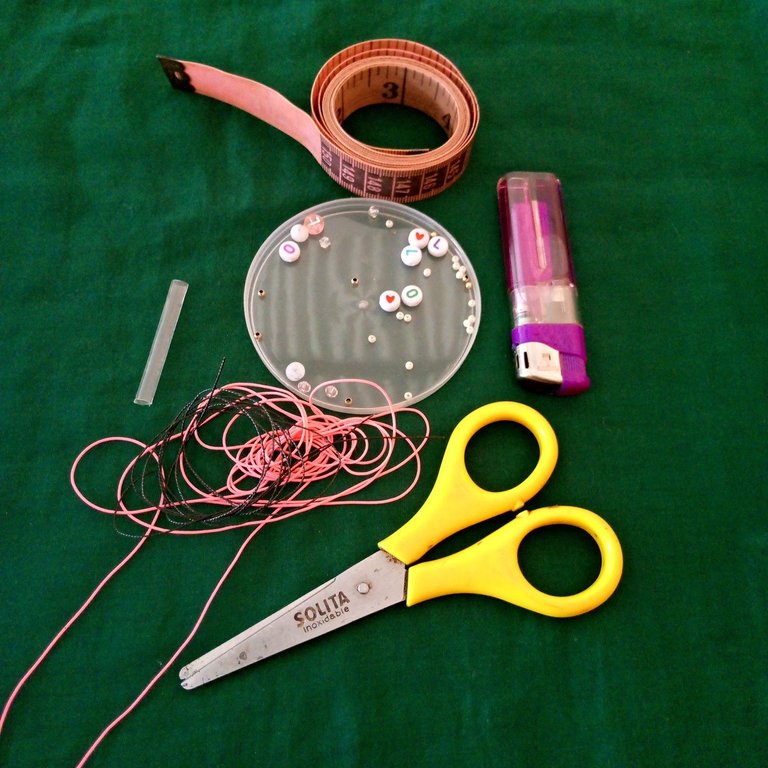

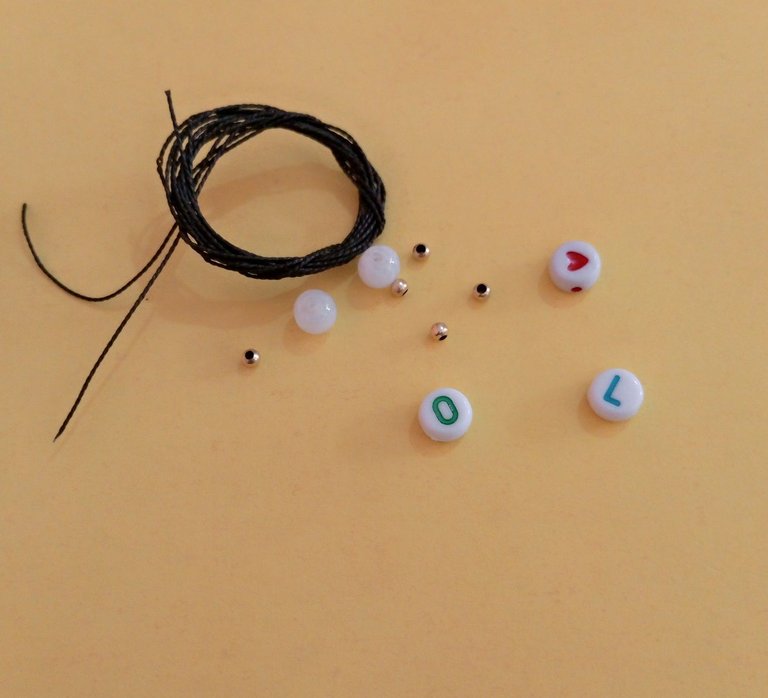
Materiales.
- Hilo chino.
- Mostacillas.
- Abalorios con letras.
- Encendedor.
- Tijera.
- Cinta métrica.
- Pitillo plástico.

Material.
- Hilo chino.
- Mostacillas.
- Abalorios con letras.
- Encendedor.
- Tijera.
- Cinta métrica.
- Pitillo plástico.

 |  |  |
|---|

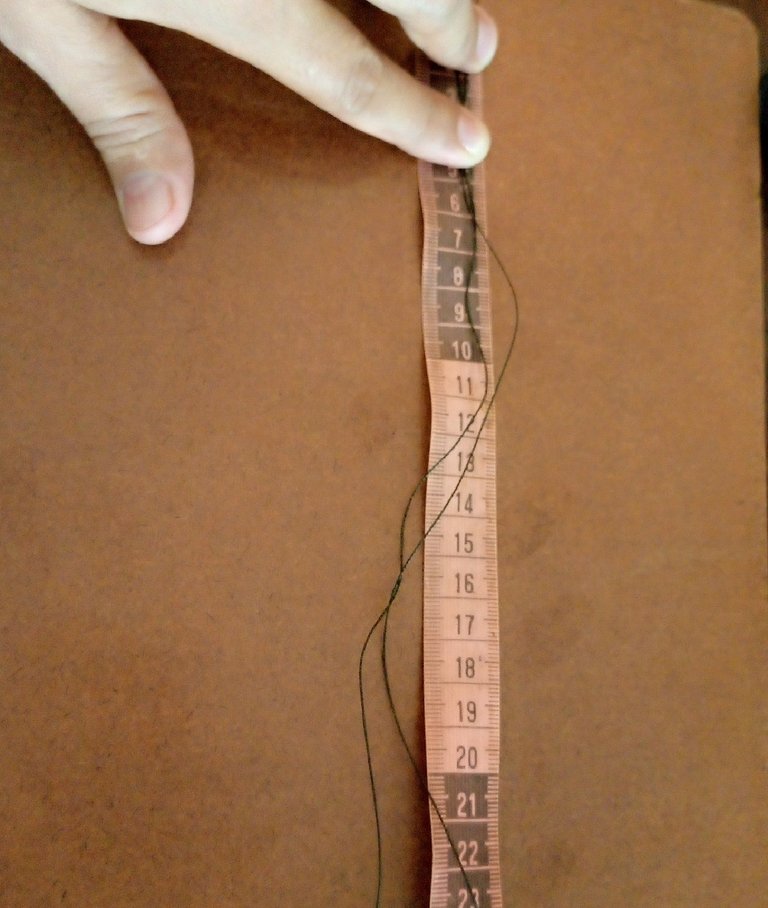
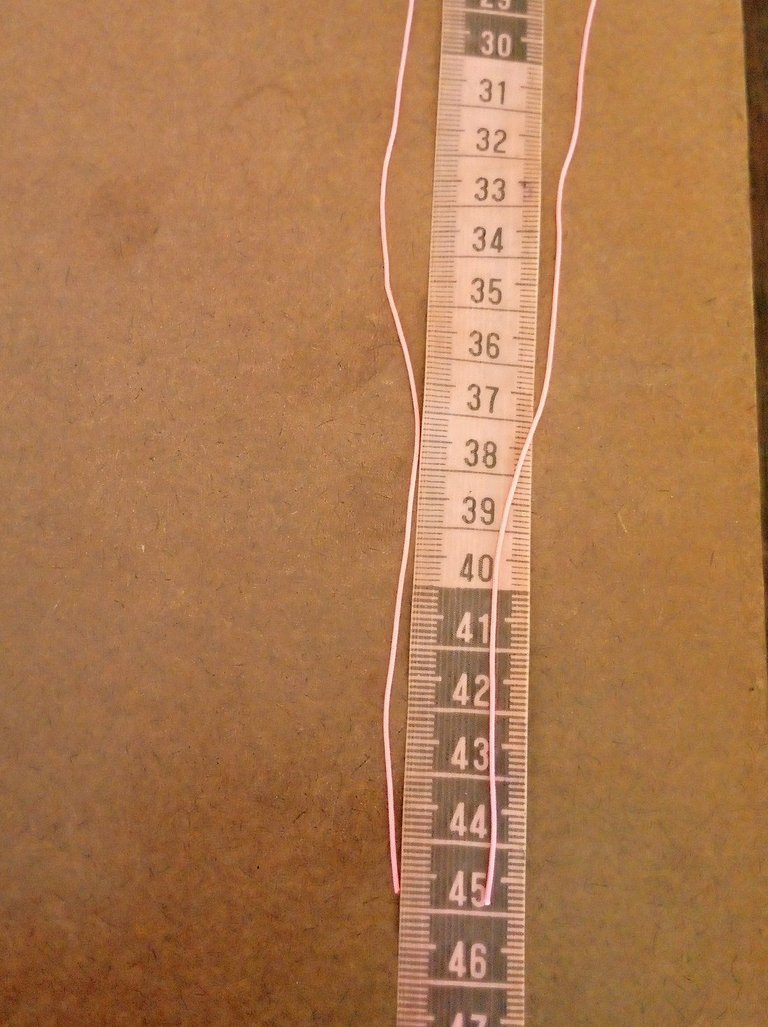
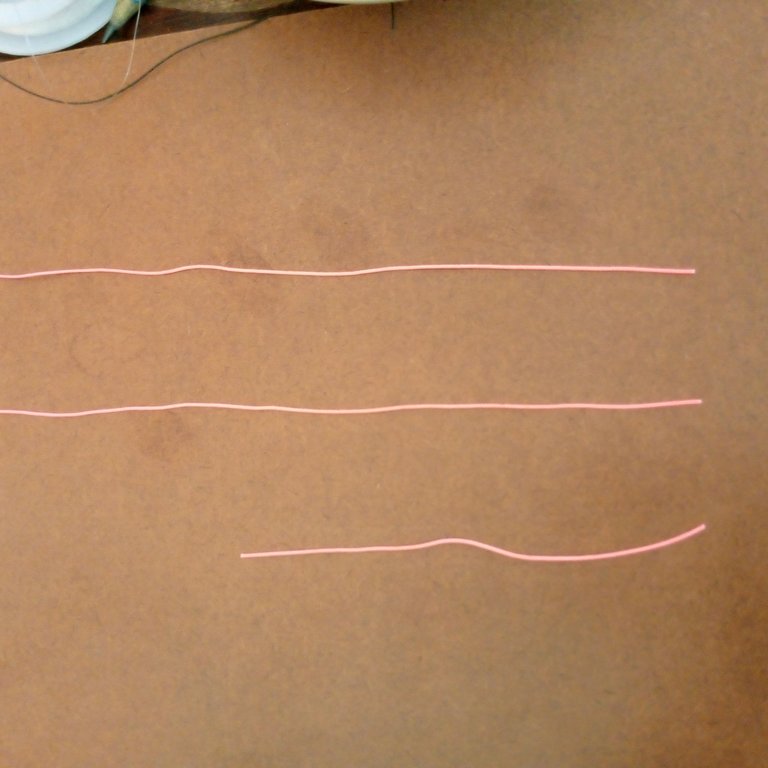
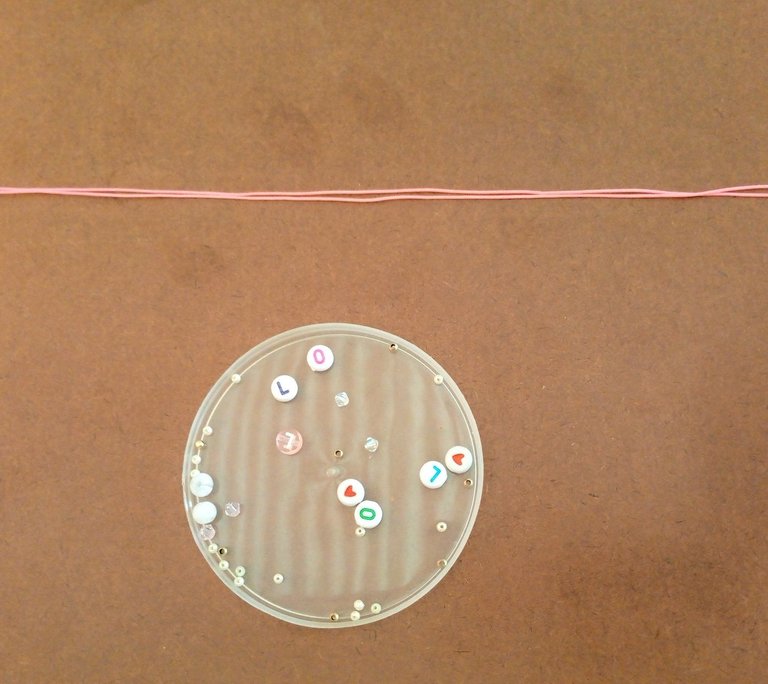
Para comenzar medí los hilos negro y rosado, por una parte, medí dos guías de hilo negro en 45 cm, el hilo rosado lo medí en 42 cm igual en dos partes para hacer unas pulseras con doble hilo, más dos trozos de hilo de 10 cm cada uno para hacer el nudo de cierre de las pulseras, estas medidas las hice con la cinta métrica.

To start I measured the black and pink threads, on the one hand, I measured two guides of black thread in 45 cm, the pink thread I measured it in 42 cm in two parts to make bracelets with double thread, plus two pieces of thread of 10 cm each to make the closing knot of the bracelets, these measurements were made with the tape measure.

 |  |  |
|---|

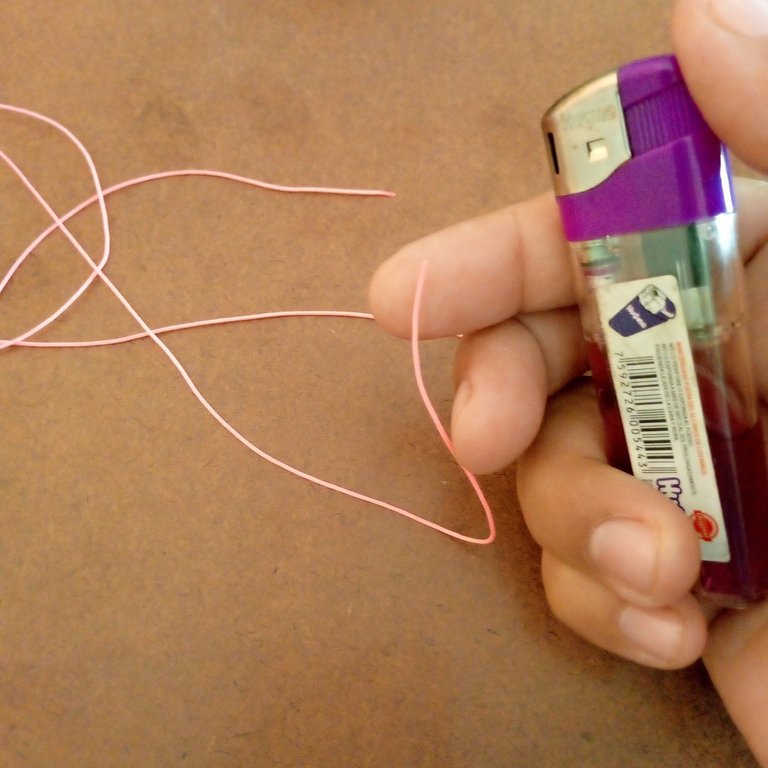
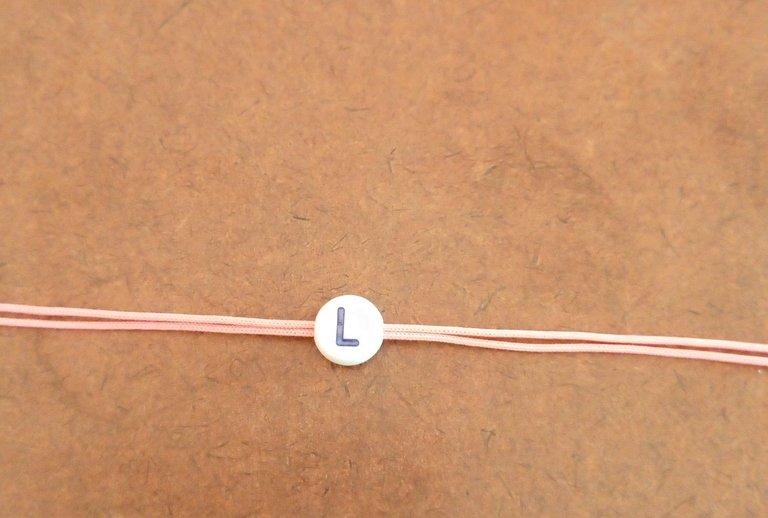
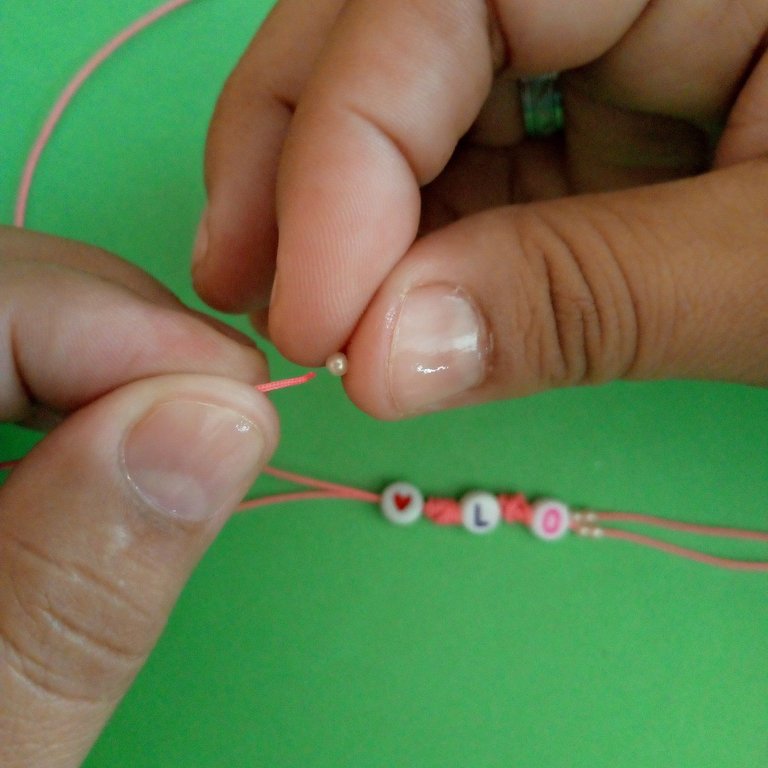
Luego tome las puntas del hilo y las queme un poco con el encendedor para hacer rigidez y una punta más aguda para poder insertar las mostacillas.
Lo primero que hice fue unir las dos puntas y colocar el primer abalorio de letra.

Then I took the ends of the thread and burned them a little with the lighter to make them stiffer and one end sharper so I could insert the beads.
The first thing I did was to join the two ends and place the first letter bead.

 |  |  |
|---|

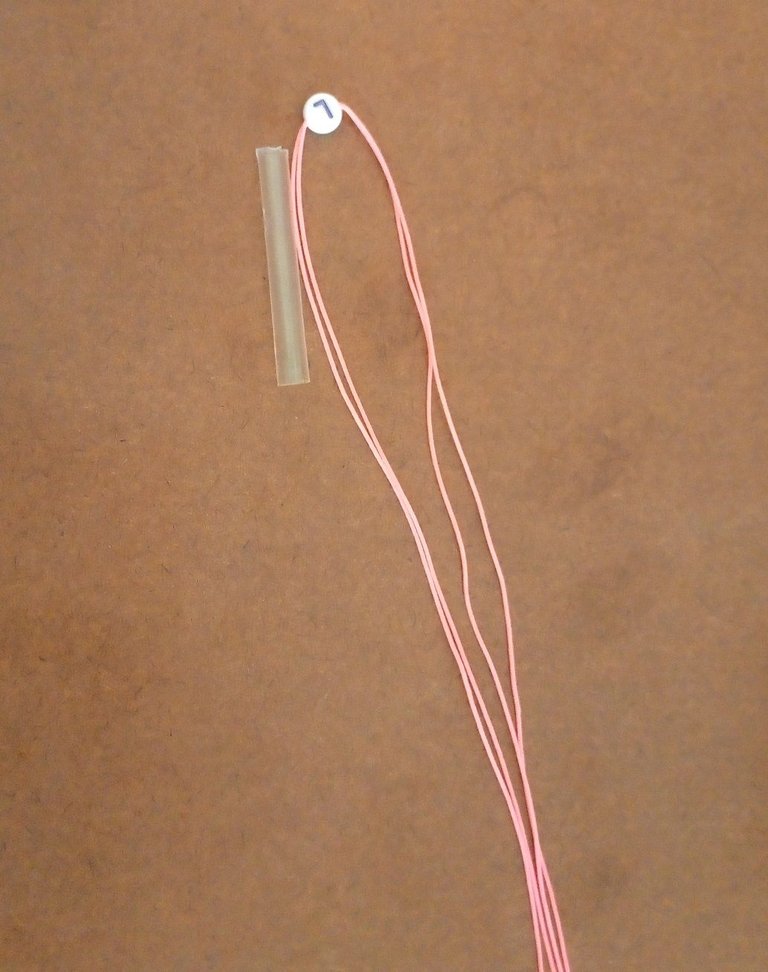
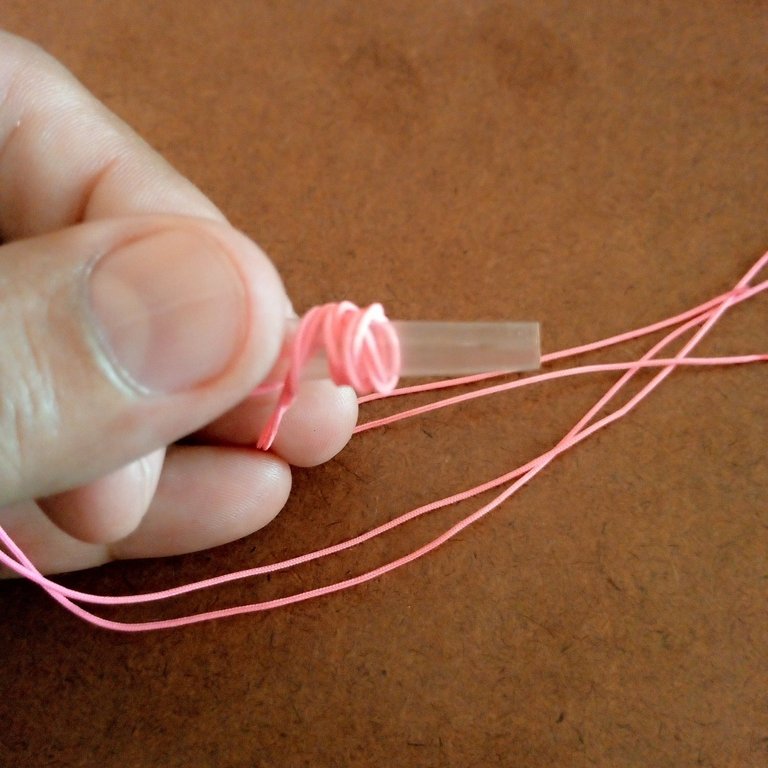
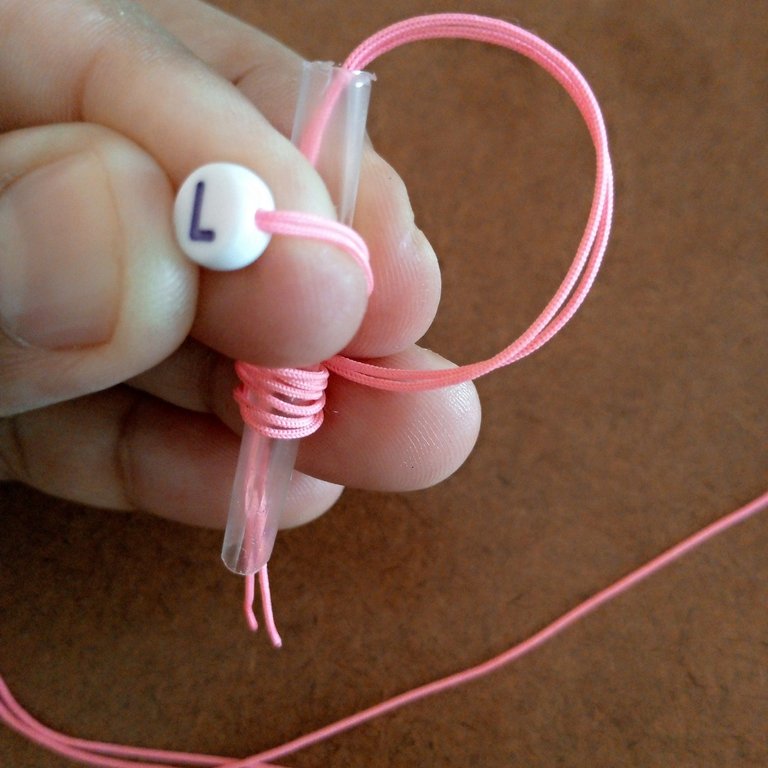
Seguido tomé un trozo de pitillo plástico para hacer el nudo franciscano, este lo realicé posicionando mi mano izquierda en el centro de los hilos, para sostener el hilo y el pitillo por la mitad, con mi mano derecha sostuve la otra mitad del hilo y comencé a enrollar 6 vueltas de derecha a izquierda luego, este hilo que sobra lo introduje dentro del pitillo hasta que salga una parte y continúe sosteniendo con mis dedos pulgares índice y medio.

Then I took a piece of plastic straw to make the Franciscan knot, I made it positioning my left hand in the center of the threads, to hold the thread and the straw in the middle, with my right hand I held the other half of the thread and began to wind 6 turns from right to left then, this thread that was left over I introduced it inside the straw until a part came out and continued holding it with my fingers.

 |  |  |
|---|

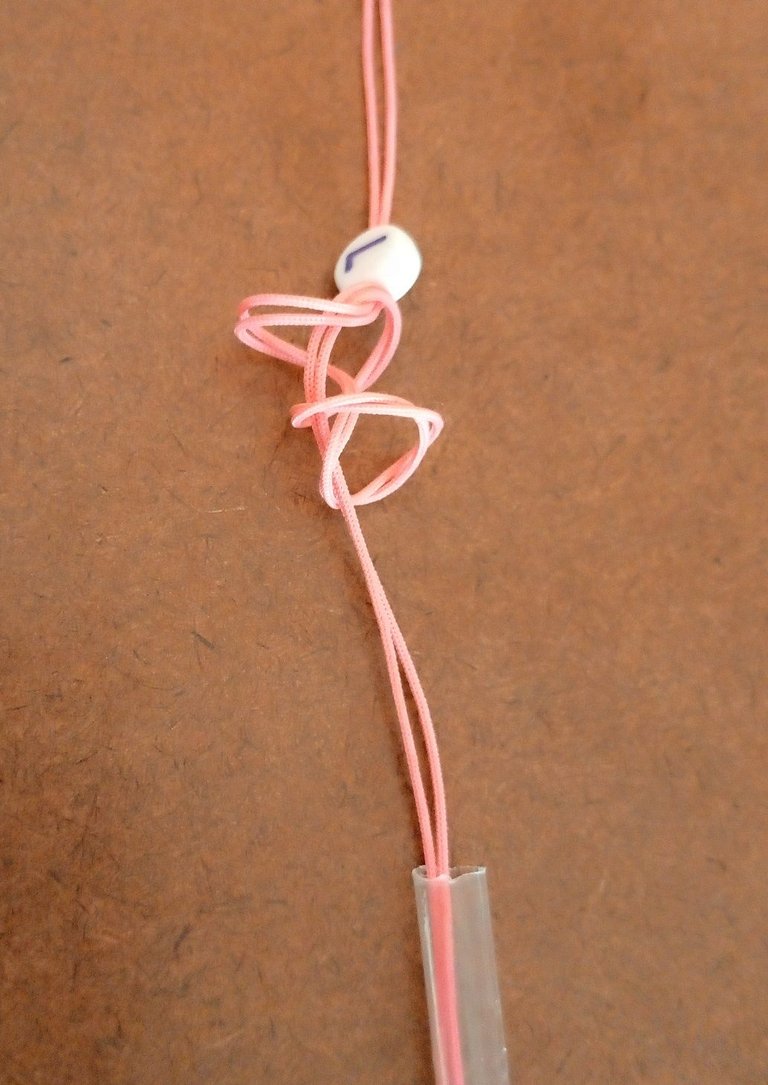
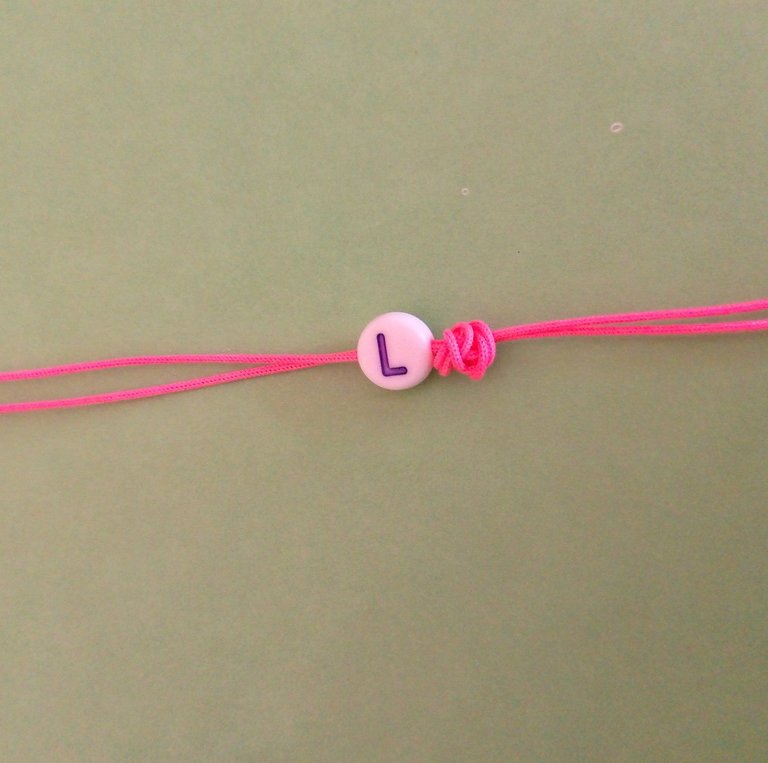
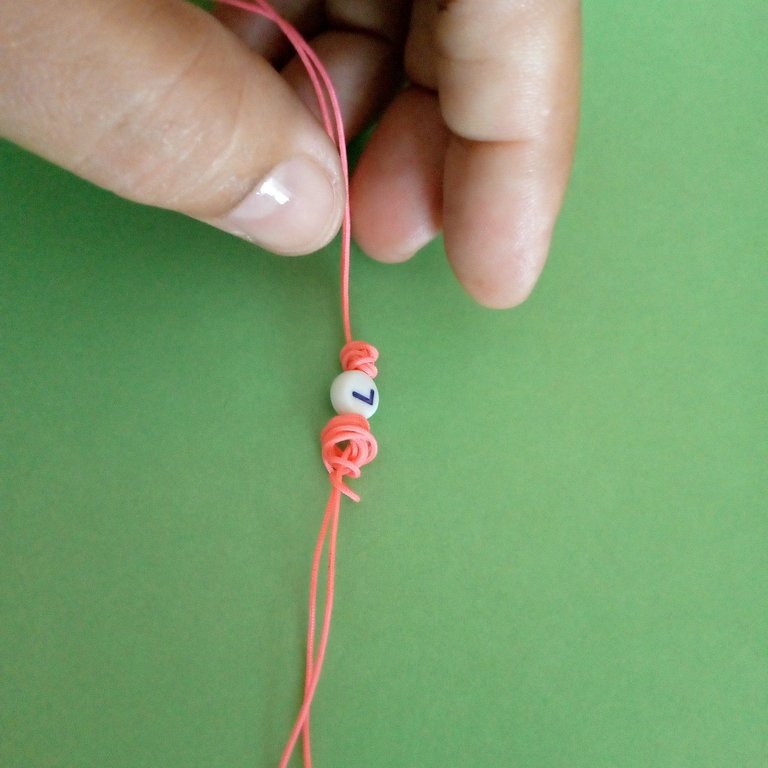
Después retiré el pitillo arrastrándolo hacia abajo, y aquí se nota como queda el hilo dentro del tejido, luego lo que hice fue comenzar a unir esas vueltas, halando con cuidado los extremos de las puntas de los hilos de cada lado, hasta lograr un nudo, este mismo procedimiento lo realice para hacer el nudo de ambos lados, quedando la letra centrada.

Then I removed the straw by dragging it downwards, and here you can see how the thread remains inside the fabric, then what I did was to start joining those turns, carefully pulling the ends of the ends of the threads on each side, until a knot was made, this same procedure was done to make the knot on both sides, leaving the letter centered.

 |  |  |
|---|

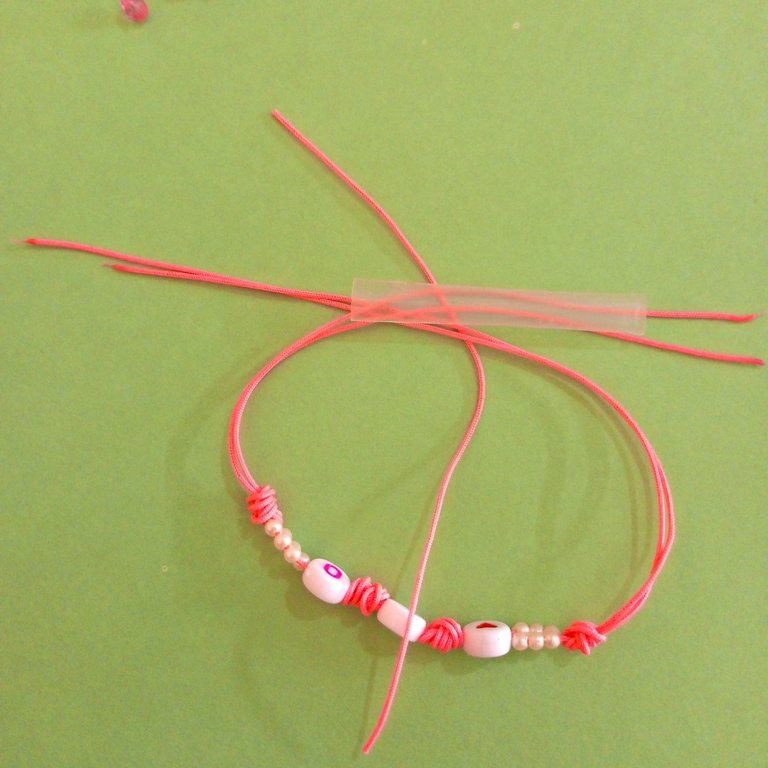
Teniendo listos los dos primeros nudos, inserte dos abalorios más uno de cada lado de los nudos, seguido coloque las mostacillas mini perlas, estas las coloque por una sola hebra de hilo, por un lado, y una hebra por el otro lado.
Total de mostacillas, tres para una hebra de hilo y tres para la otra, total seis mostacillas de un lado, estas las cerré con un nudo hecho con las mismas técnicas del nudo anterior.
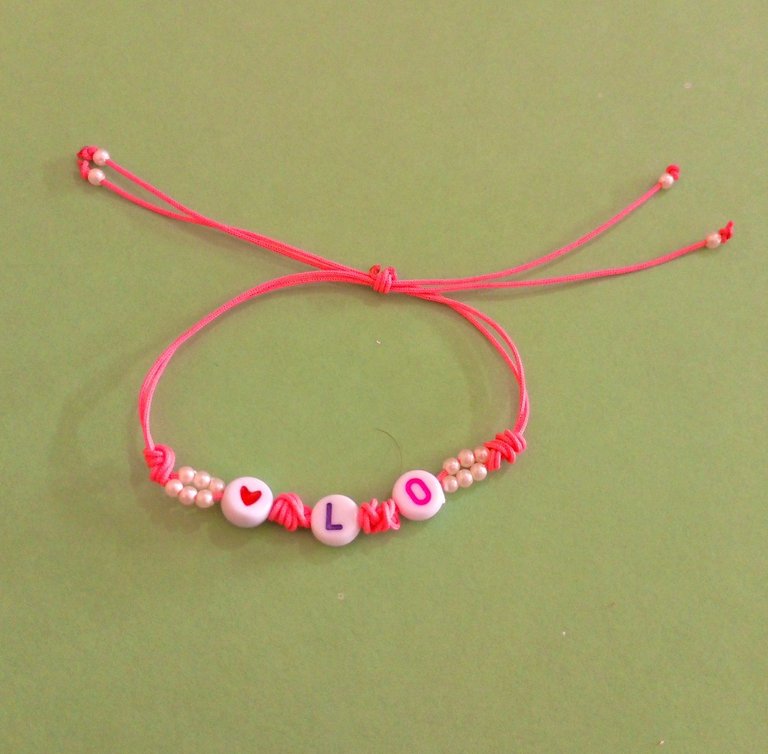
Este paso lo realicé a ambos lados de la pulsera derecha izquierda, lo que da como resultado una pulsera de cuatro nudos, tres abalorios y doce mostacillas.
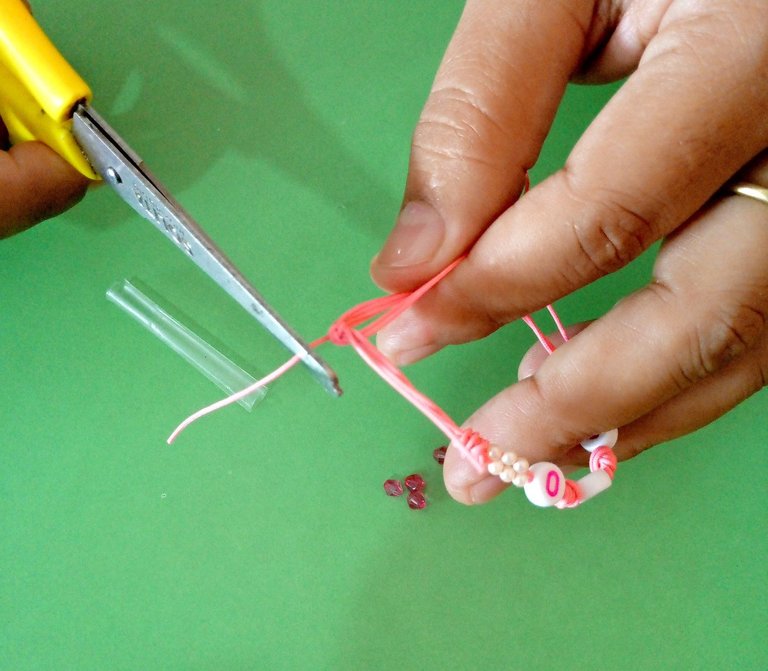
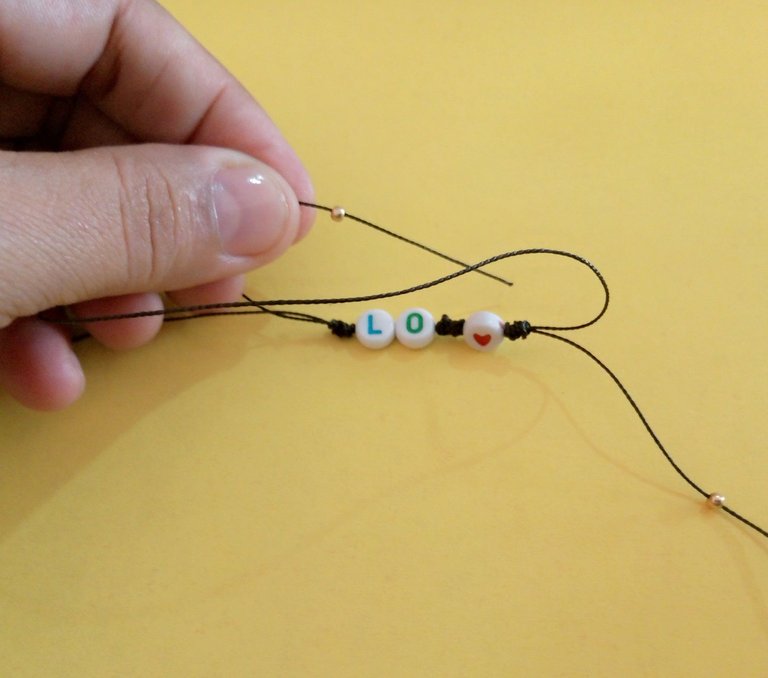
En este punto ya esta pulsera está lista para hacer el nudo de cerrado, que lo hice cruzando los extremos de hilos sobrantes a ambos lados, colocando sobre estos el pitillo plástico, más el trozo de hilo de 10 cm.
Este trozo de hilo se coloca por debajo de los hilos de la pulsera y el pitillo, dejando el extremo derecho más largo porque es el que va a hacer el nudo, el otro extremo queda para ajustar, por eso se debe hacer un extremo un poco más largo.
Teniendo en cuenta este punto, se comienza a enrollando el hilo de derecha a izquierda contando las vueltas, aquí le di cuatro vueltas, este nudo es sumamente pequeño, pero hace una buena función de cerrado.
Luego de las vueltas se introduce el hilo dentro del pitillo, se desliza el pitillo por debajo y se comienza a ajustar el nudo.

Having the first two knots ready, insert two more beads, one on each side of the knots, then place the mini pearl beads on one strand of thread on one side and one strand on the other side.
Total of beads, three for one strand of thread and three for the other, total six beads on one side, these I closed with a knot made with the same techniques of the previous knot.
This step was done on both sides of the bracelet right left, resulting in a bracelet with four knots, three beads and twelve beads.
At this point this bracelet is ready to make the closing knot, which I did by crossing the ends of excess threads on both sides, placing on these the plastic straw, plus the piece of thread of 10 cm.
This piece of thread is placed below the threads of the bracelet and the straw, leaving the right end longer because it is the one that will make the knot, the other end is left to adjust, so you should make one end a little longer.
Considering this point, start winding the thread from right to left counting the turns, here I gave four turns, this knot is extremely small, but it makes a good function of closed.
After the turns, introduce the thread inside the straw, slide the straw underneath and start tightening the knot.

 |  |  |
|---|

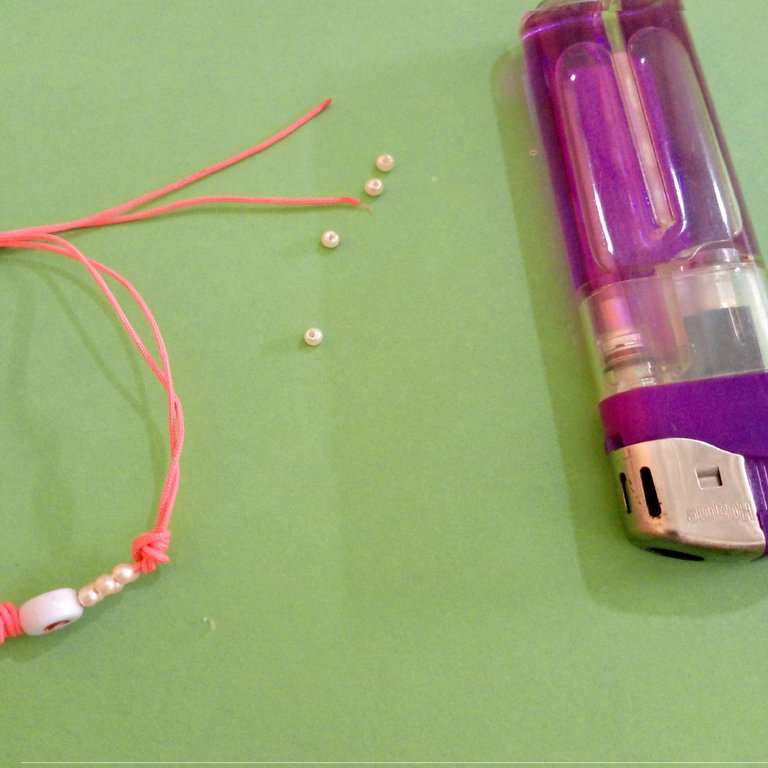
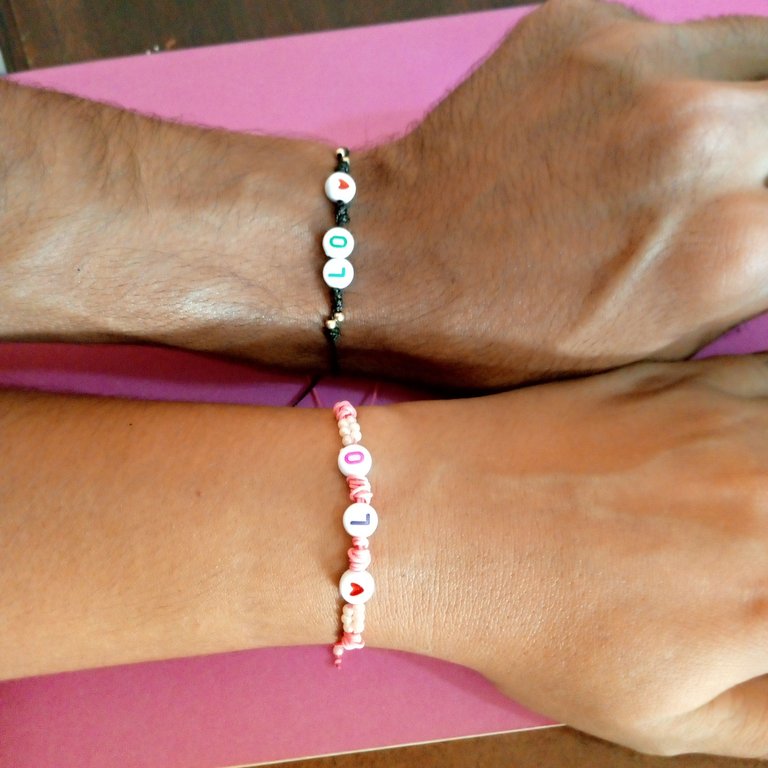
Una vez terminando el nudo de cerrado de la pulsera, solo resta colocar una mini perla en las puntas, hacer un nudo sencillo y sellar las puntas con el encendedor, para evitar que los hilos de las puntas pasen por el nudo de cierre.
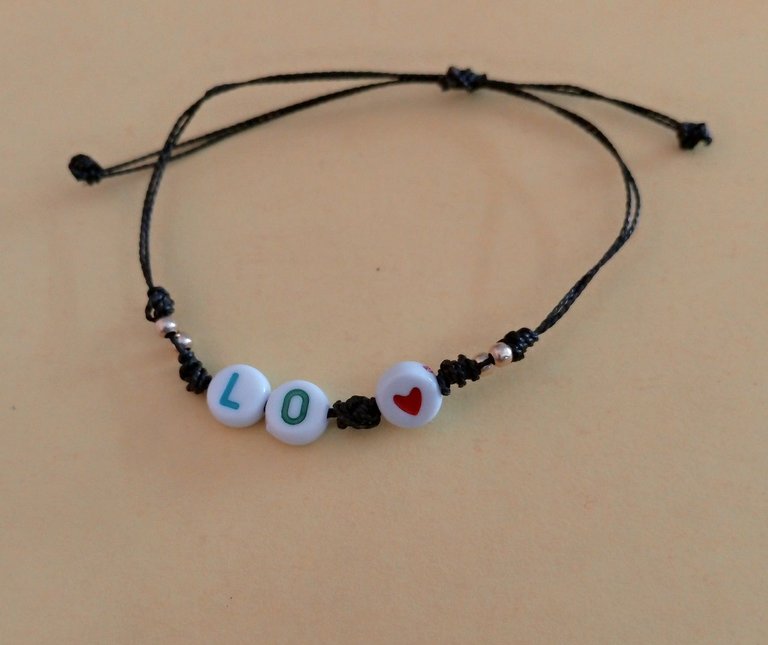
Terminando con la pulsera rosada comencé hacer la pulsera de hilo negro, este hilo me pareció más rígido, pero fue el hilo en negro que conseguí para el momento, sin embargo, la pulsera en negro también quedo bien bonita.
Los pasos para hacer la pulsera en negro siguen el mismo patrón de la anterior.

Once finished the closing knot of the bracelet, it only remains to place a mini pearl at the ends, make a simple knot and seal the ends with the lighter, to prevent the threads of the ends pass through the closing knot.
Finishing with the pink bracelet I started making the black thread bracelet, this thread seemed to me more rigid, but it was the black thread that I got for the moment, however, the black bracelet was also very nice.
The steps to make the black bracelet follow the same pattern of the previous one.

 |  |  |
|---|

Aquí termina mi publicación del día, espero que sea de su agrado, y si aún no se han dado la tarea de hacer sus pulseras, con estos nudos que parecen difíciles, inténtelos y verán que fácil les resulta, que después querrán hacer muchas pulseras para todos, así me siento en este momento jajaja. Gracias por acompañarme en este día se les quiere mucho, espero que todos se encuentren muy bien.

Here ends my publication of the day, I hope you like it, and if you have not yet been given the task of making your bracelets, with these knots that seem difficult, try them and you will see how easy it is, then you will want to make many bracelets for everyone, so I feel at this moment hahaha. Thank you for joining me on this day, you are very much loved, I hope you are all very well.

social networks / redes sociales
Traductor Deepl
Translated Deepl
Ediciones Canva
Editions Canva
